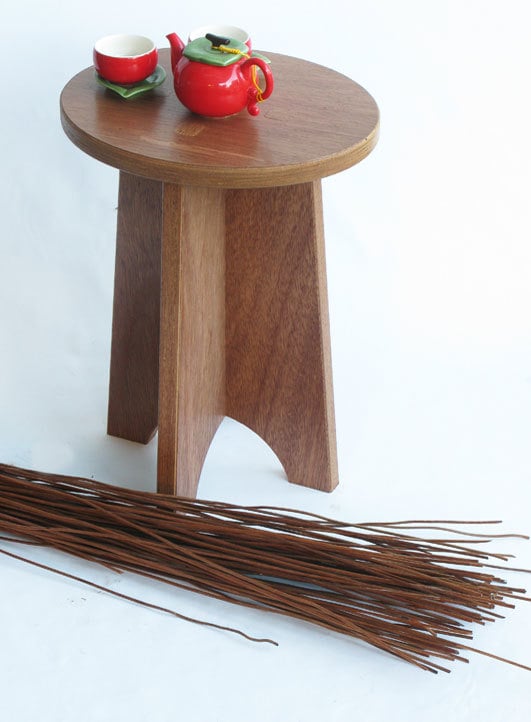
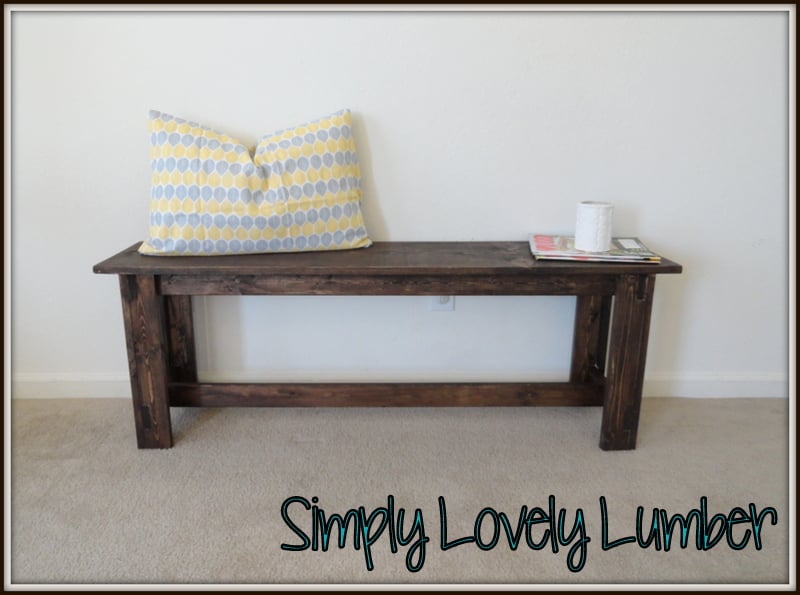
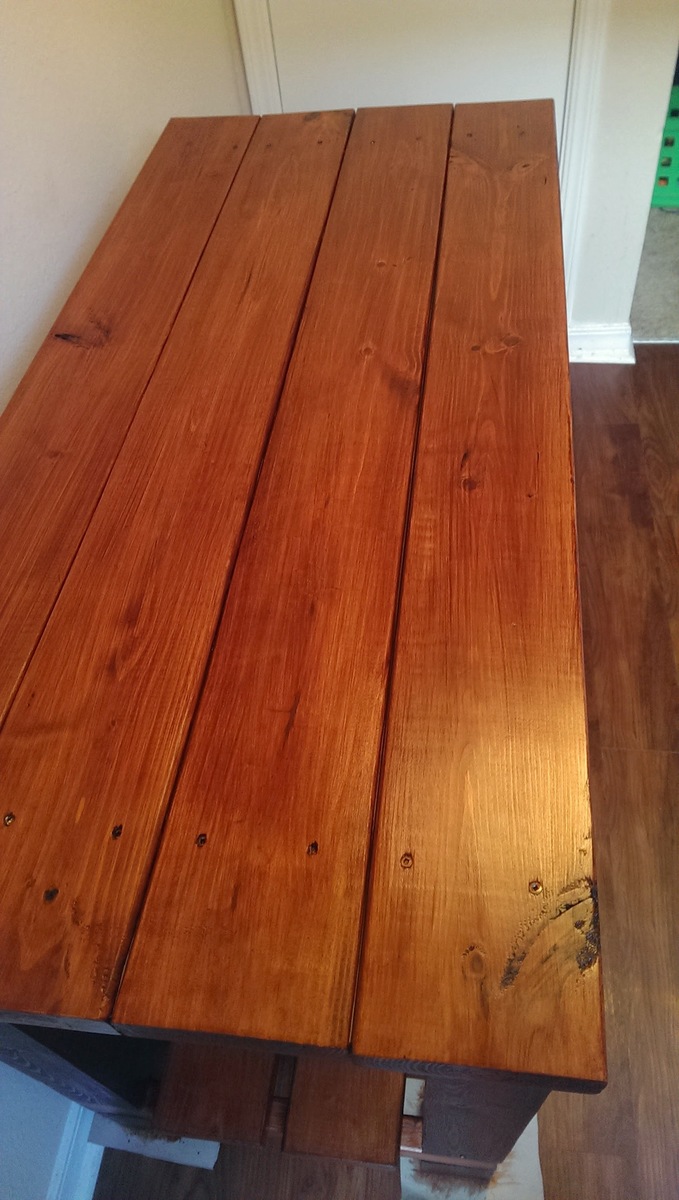
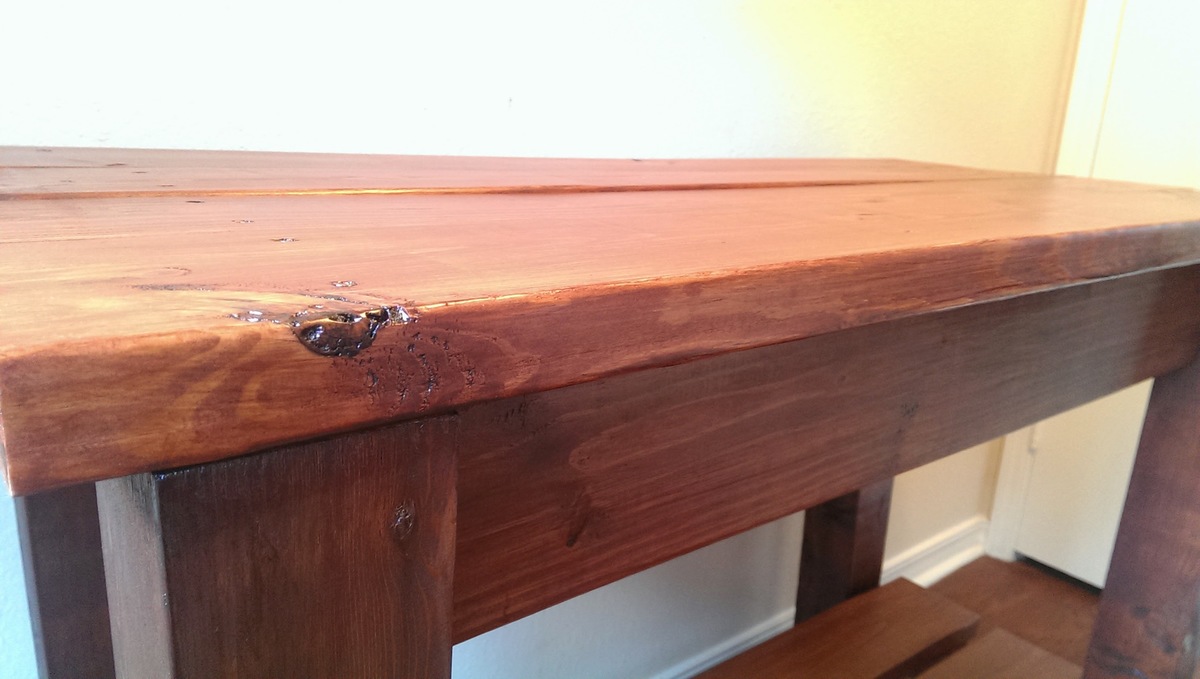
Fancy X Farmhouse Table & Bench
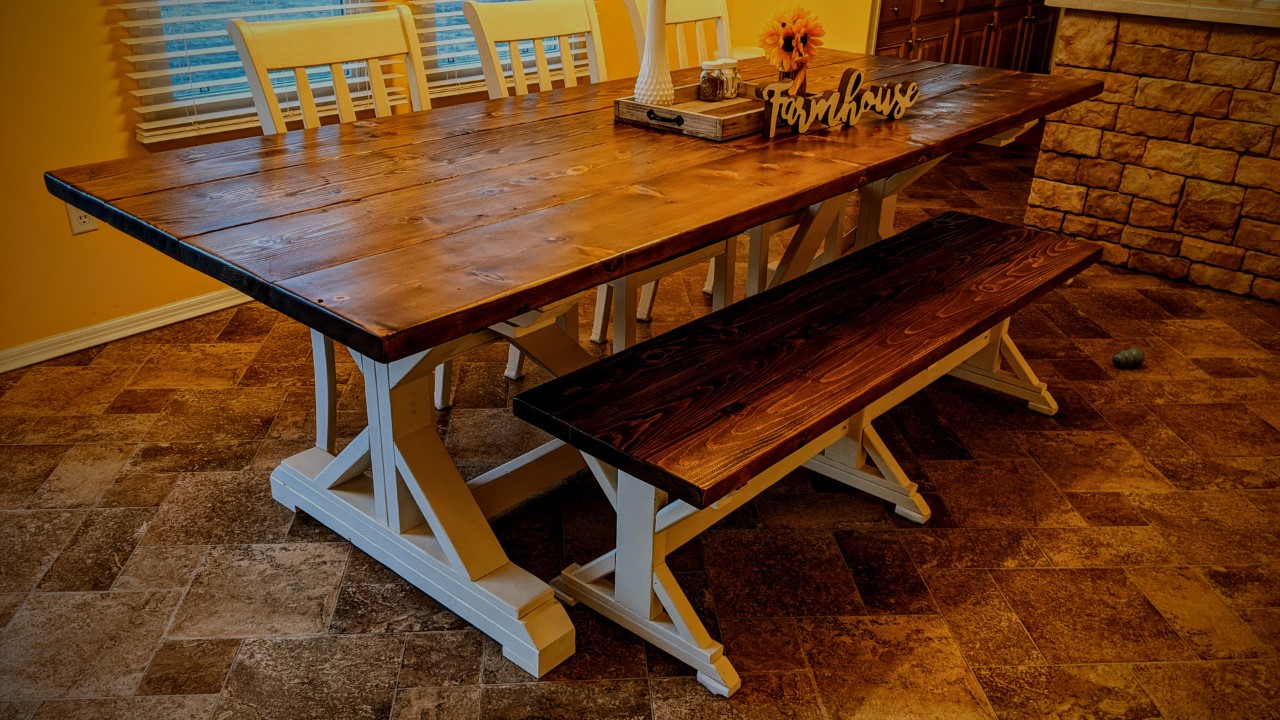
Thank you for the easy to follow plans! This table is a wonderful addition to our home!
Built from Plan(s)
Thank you for the easy to follow plans! This table is a wonderful addition to our home!
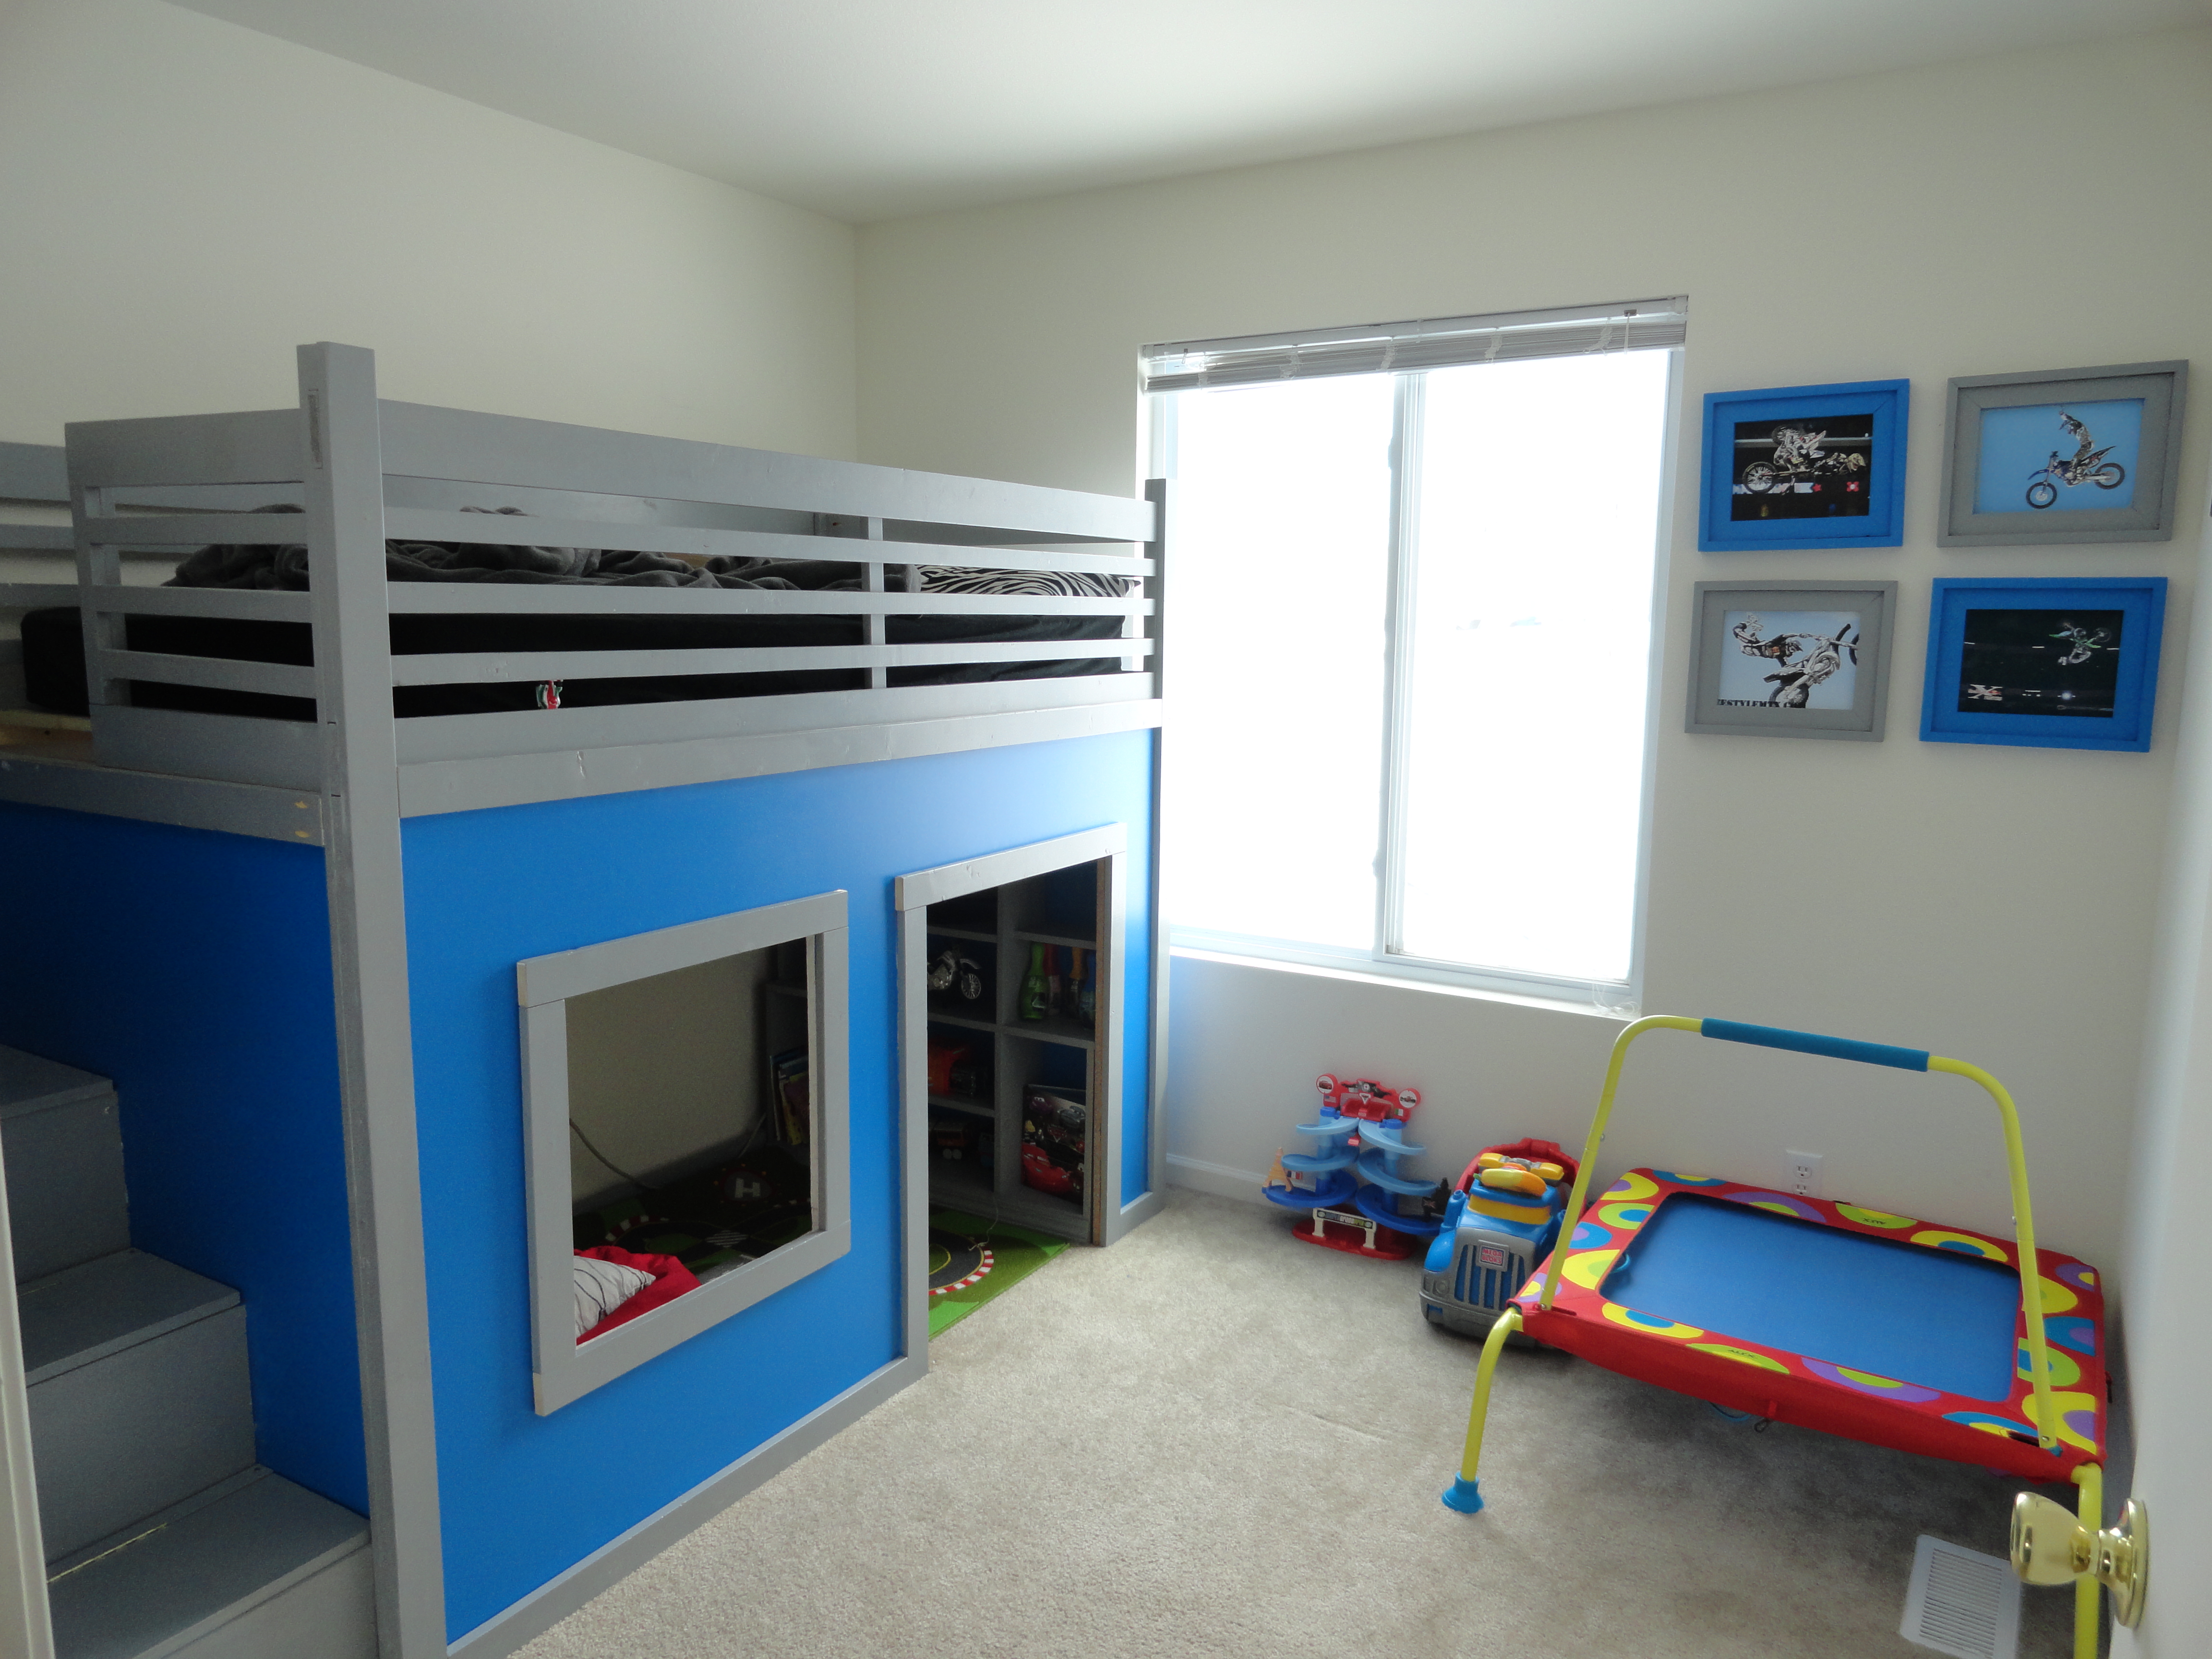
Here are some frames I made for my sons dirt bike themed room. I love DIY because I'm able to match everything up. The bed, frames, and mini media wall under the bed are all painted to match a dirt bike jersey that I will be make a frame for soon.
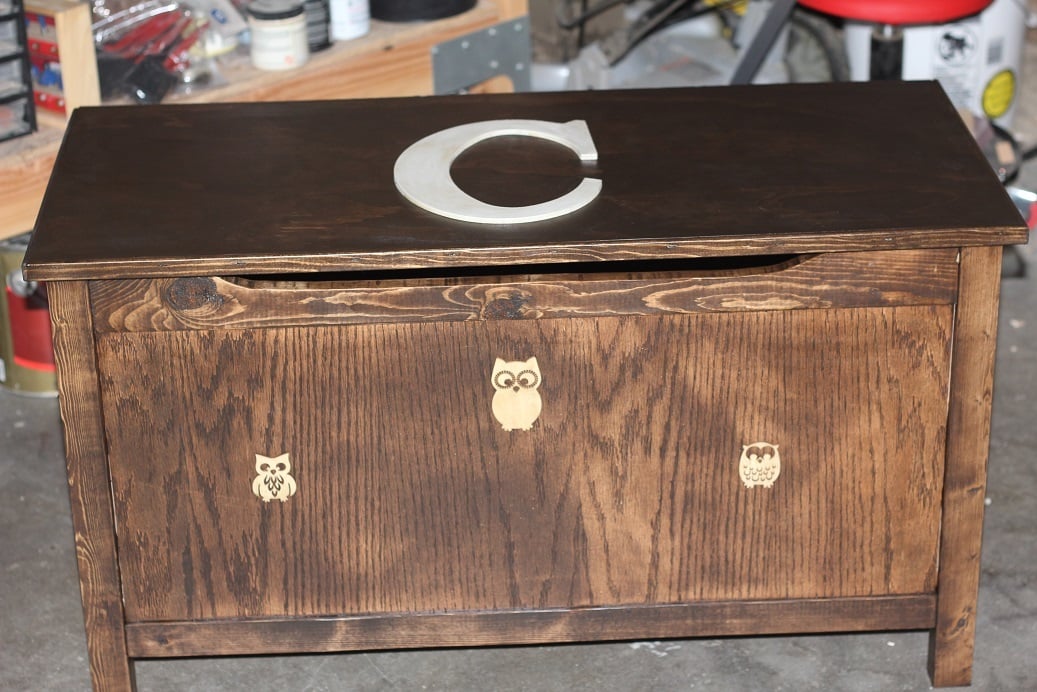
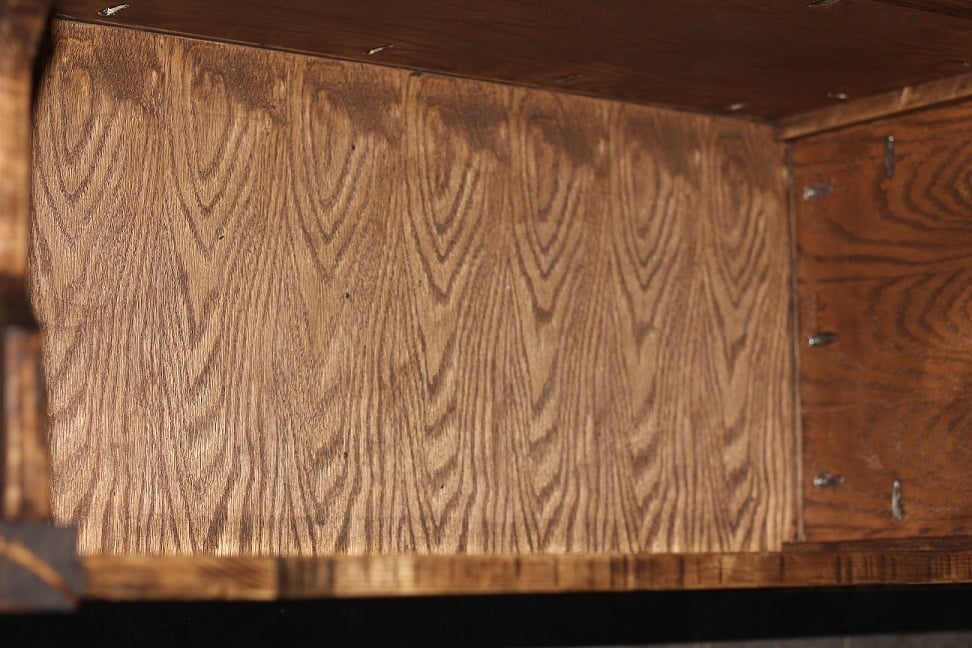
Made this toy chest for my niece this Christmas. Pretty easy build. Used some leftover wood and plywood for the top to cut down on cost. Instead of edge banding, I used some screen moulding. The wooden owls were purchased from Hobby Lobby and glued on to match her room, as well as the "C" on top. Cutouts routered on both front and sides to better protect fingers, and for looks.

I have been working on using my cad skills to make somthing using a CNC router so this is what I came up with. I designed it a a flat pack with minimal assembly. Very comfortable.
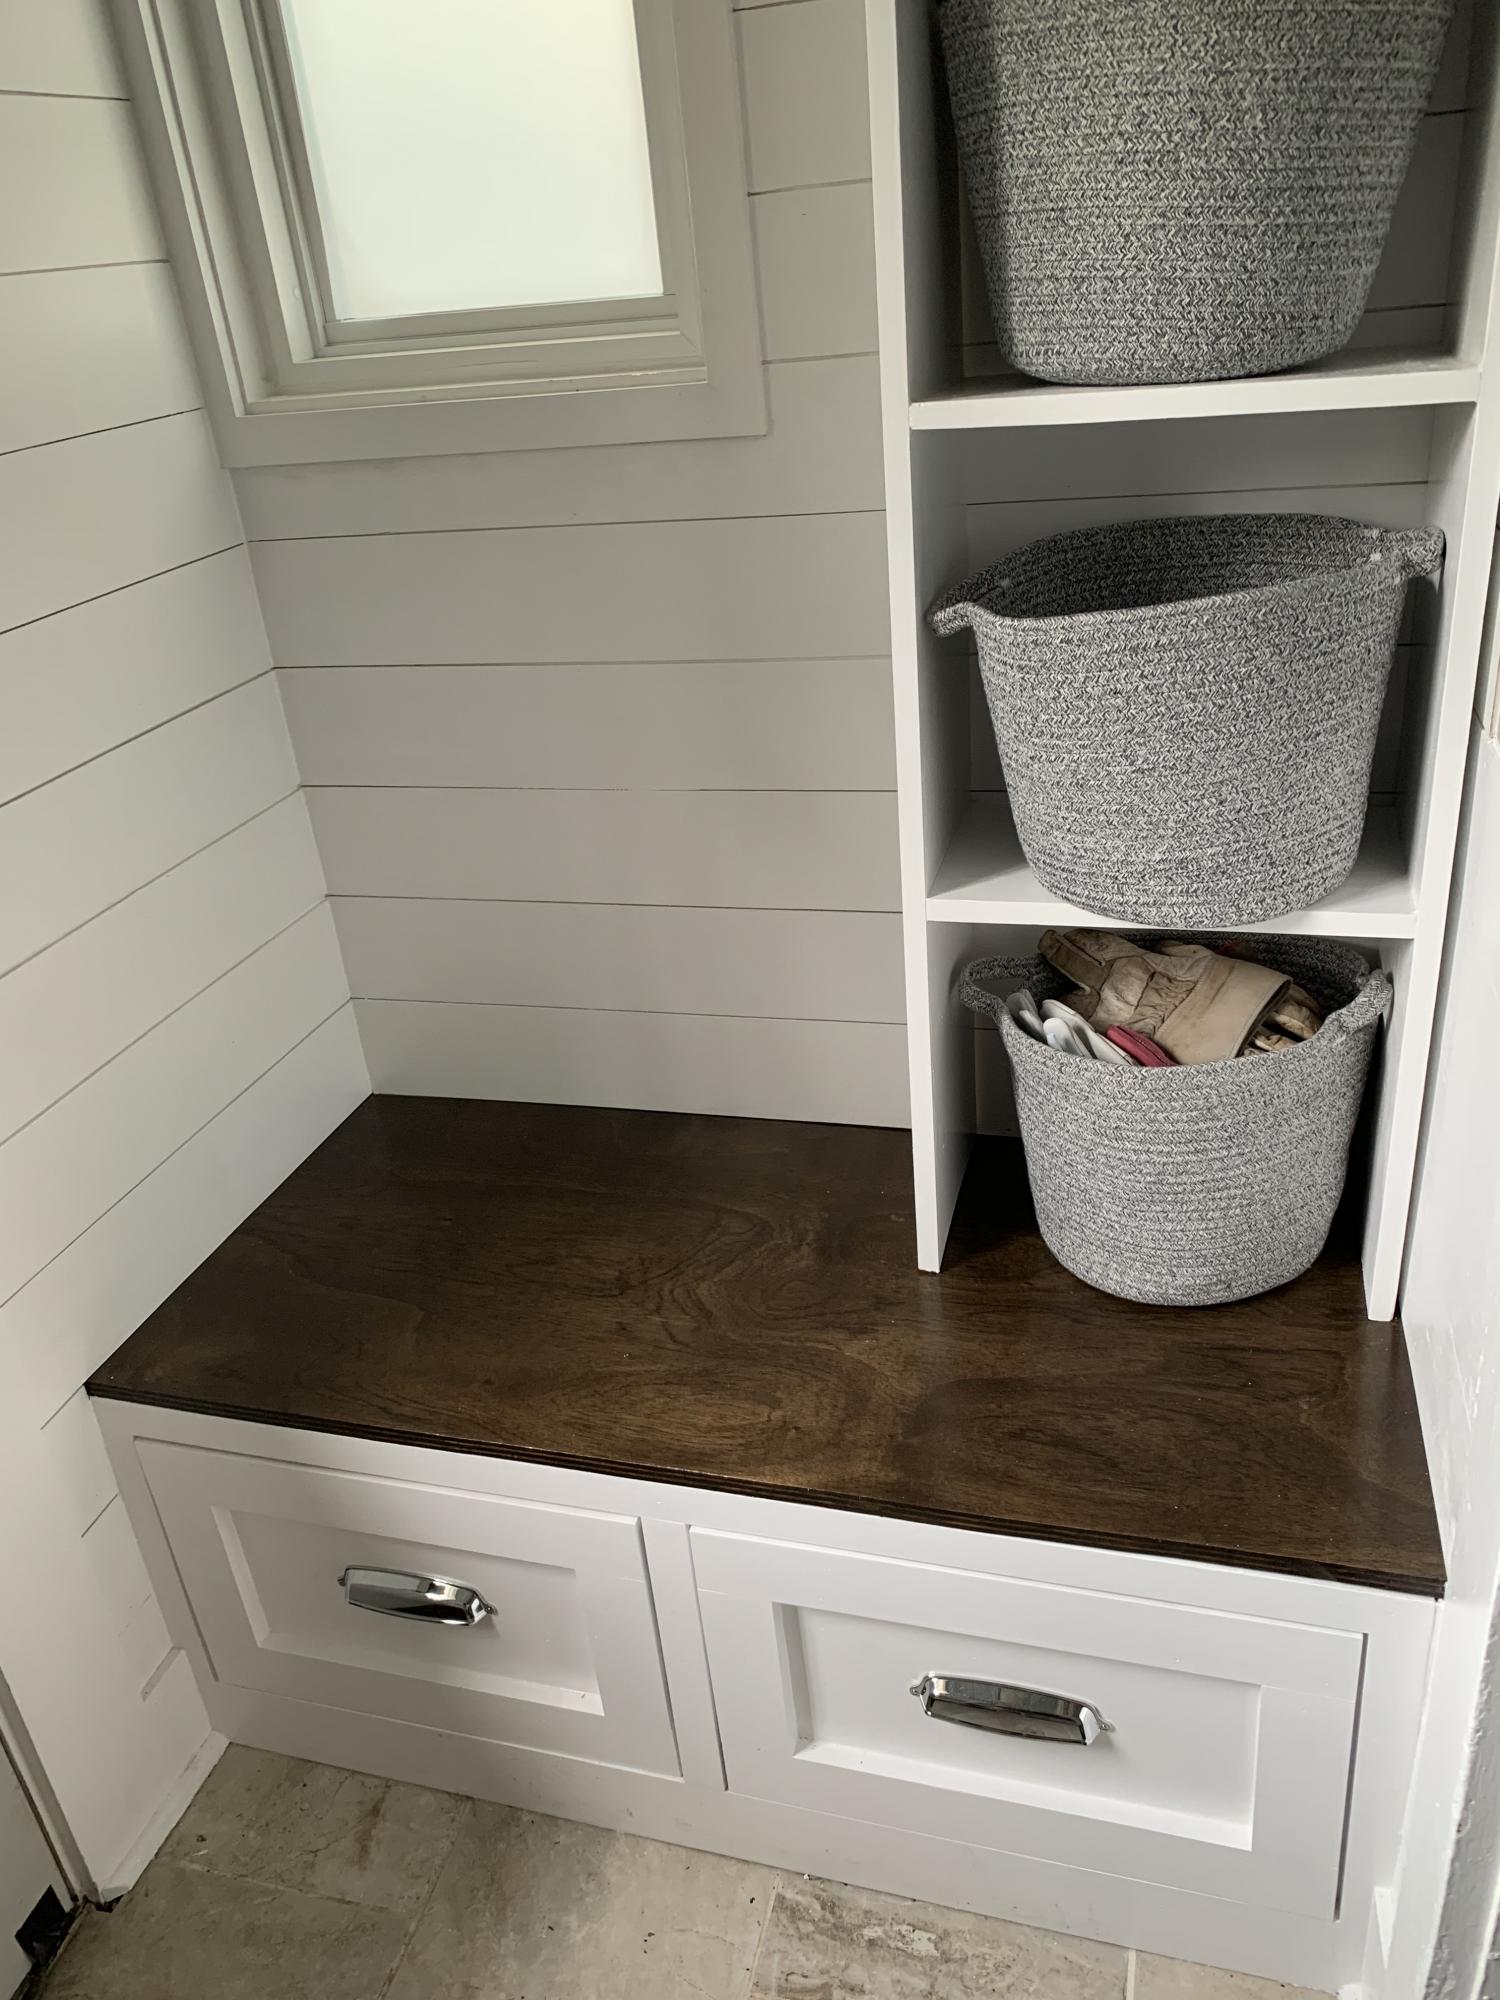
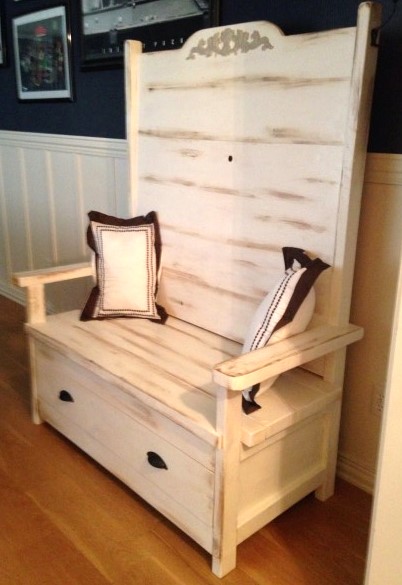
I cannot thank you enough for the great plans for this mudroom bench! Being my very first woodworking project, I couldn't be happier with the result. Having a home built in 1927 means I have to use every inch of space for multiple things. I attempted to store tools and shoes in an Ikea cabinet which meant I never saw the cute little window. After weeks of planning, I finally got up the nerve to start building and wow!
In fact, having successfully built my mudroom out, I proceeded to rip out my pantry to the studs and redo it, too. Keep the great plans coming!

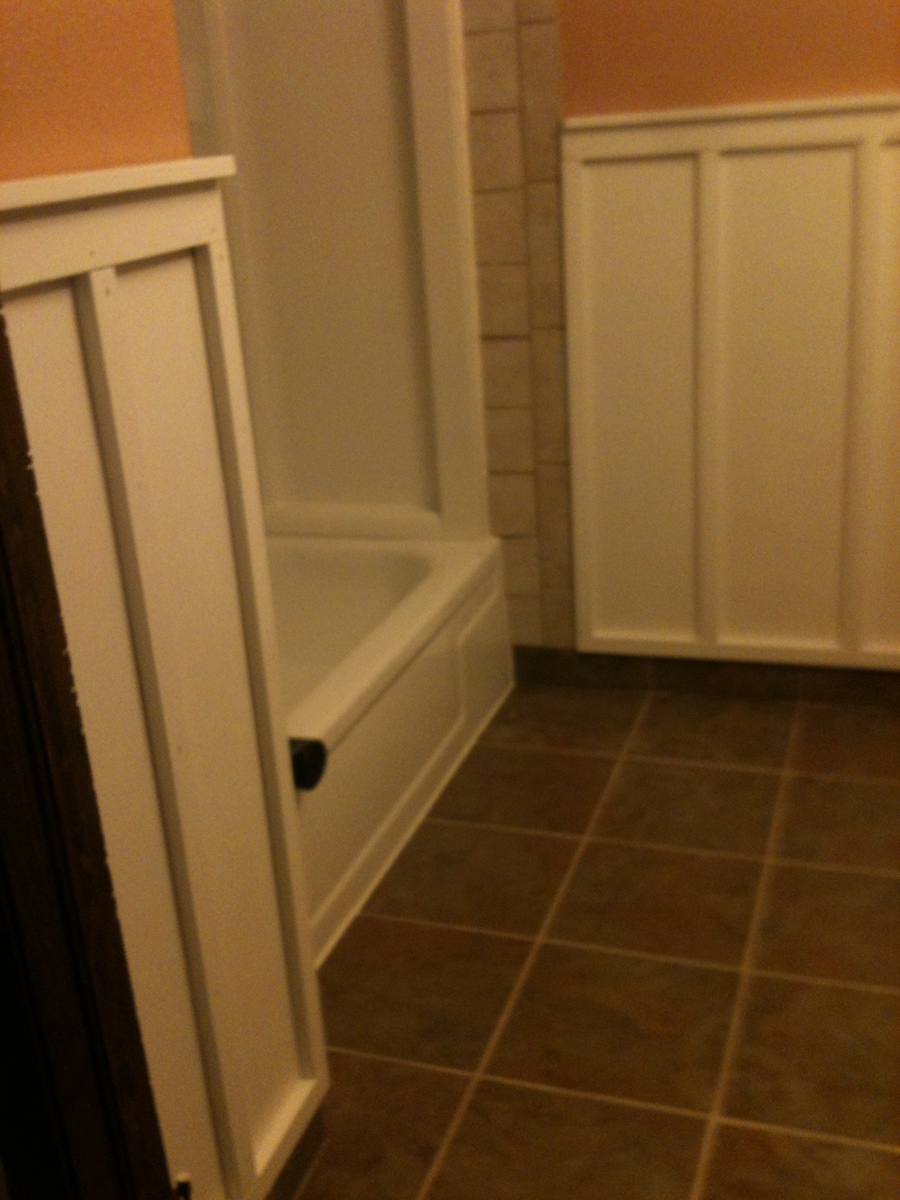
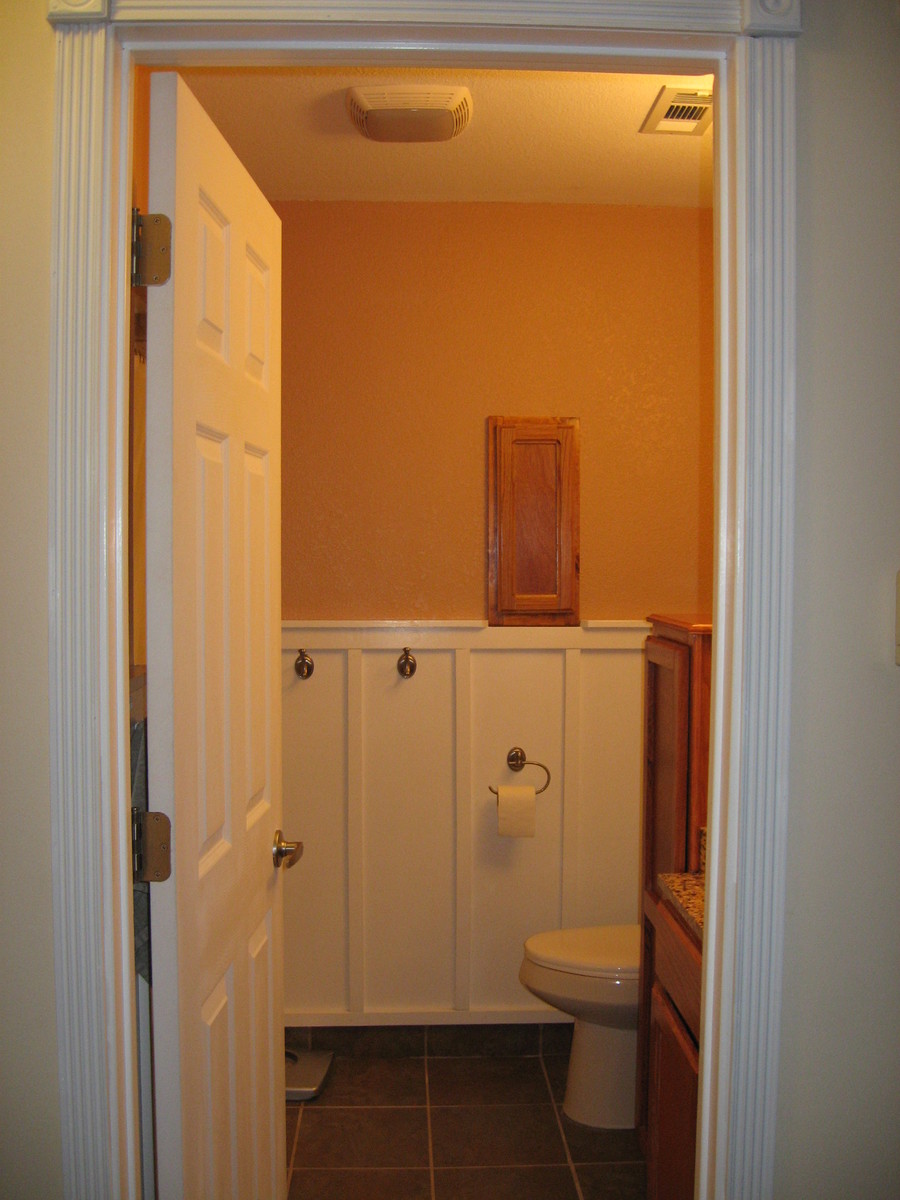
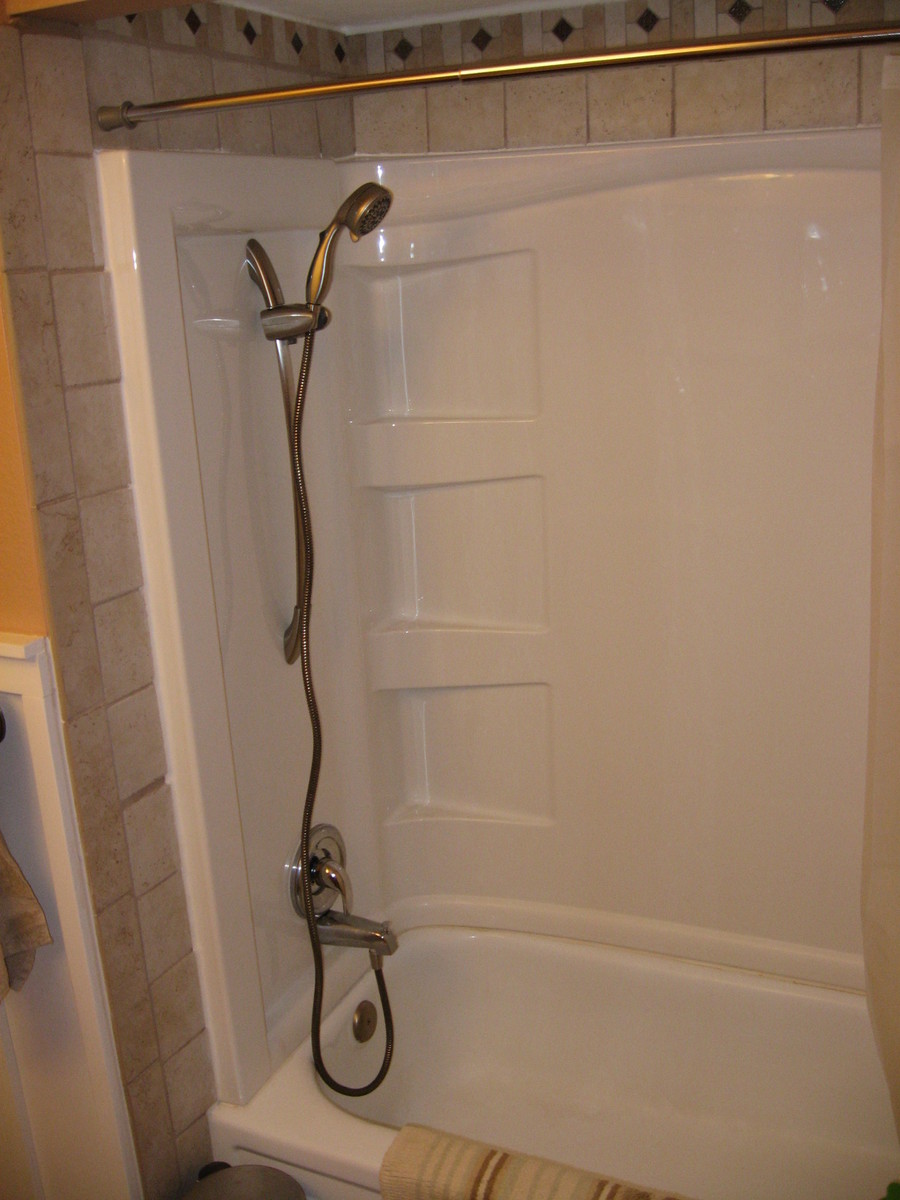
This project was actually completed last year, but I am late getting it posted. I had been asking for a board and batten bathroom, and then luckily Ana posted pictures of one, giving the handy hubby a better idea of what I was wanting.
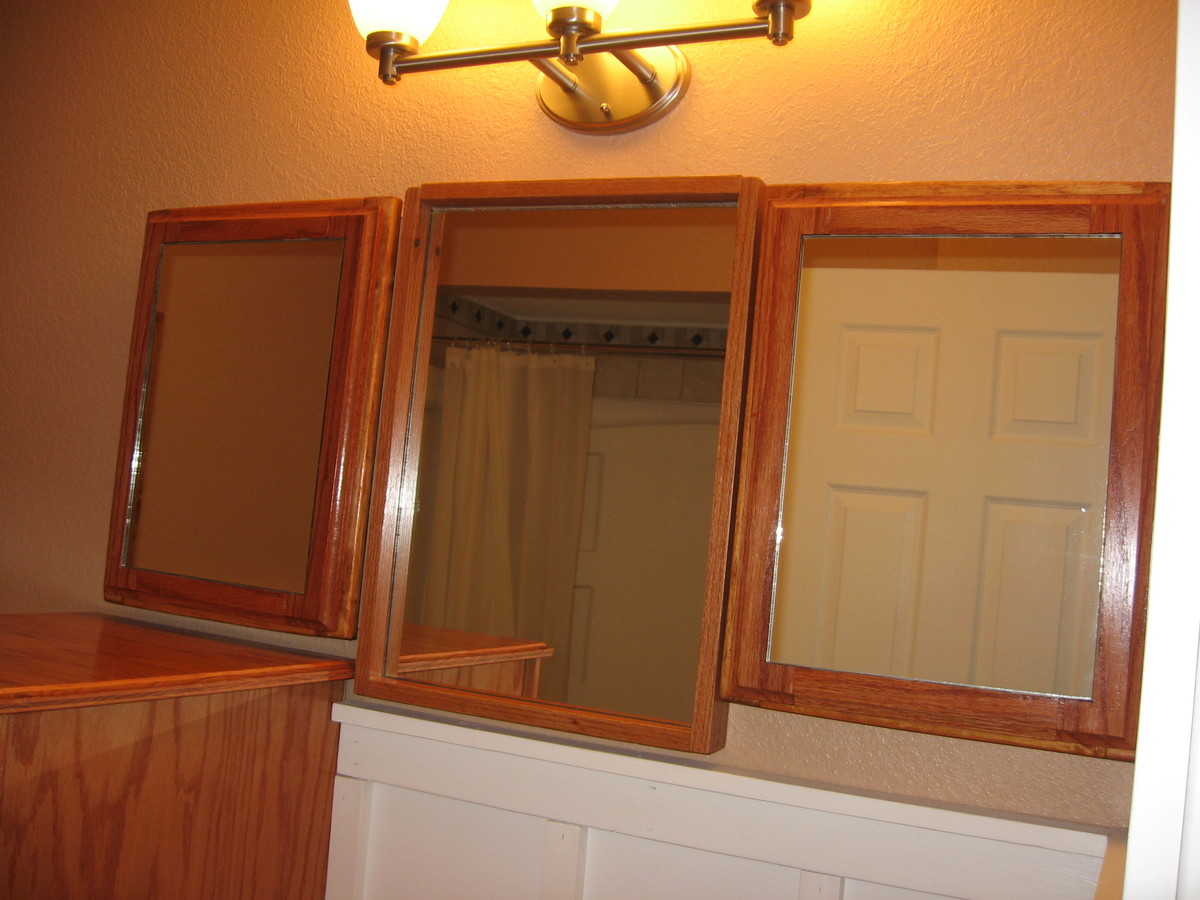
The cabinets, built-in medicine cabinets, mirror frame, and toilet paper niche are all custom designed and built by the hubby. The counter top and sink were custom ordered through Home Depot to fit the space.
The bathroom didn't originally have a shower head, so after removing the 70s gold flecked tiles covering the walls up to chair rail height and repairing/replacing drywall we purchased shower walls and then he tiled around and above.
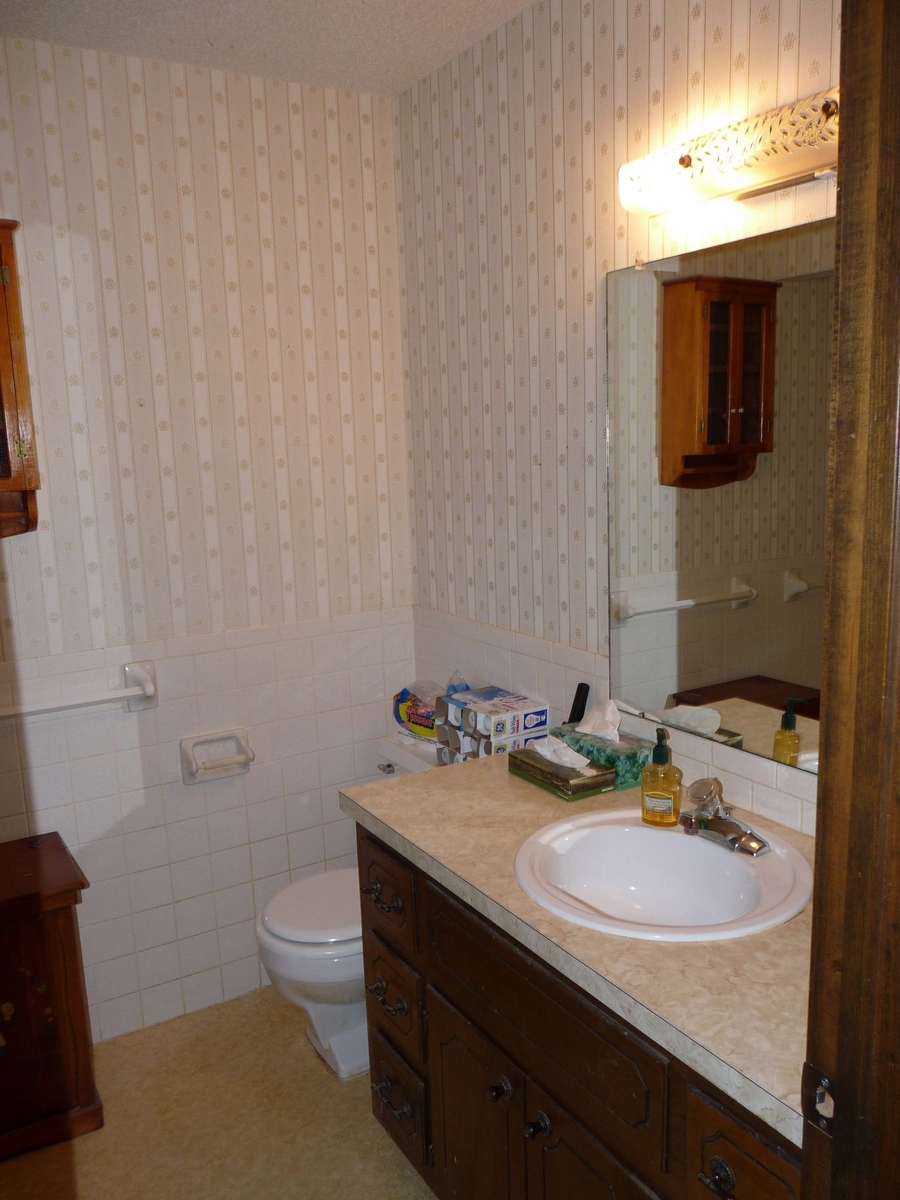
This was a major, months-long undertaking that included gutting the entire room, and then the building began. Everything in the room from the popcorn ceiling down to the yellow linoleum flooring save for the toilet and tub had to be replaced,the toilet we had bought since we moved in and the tub is metal and was in great condition.
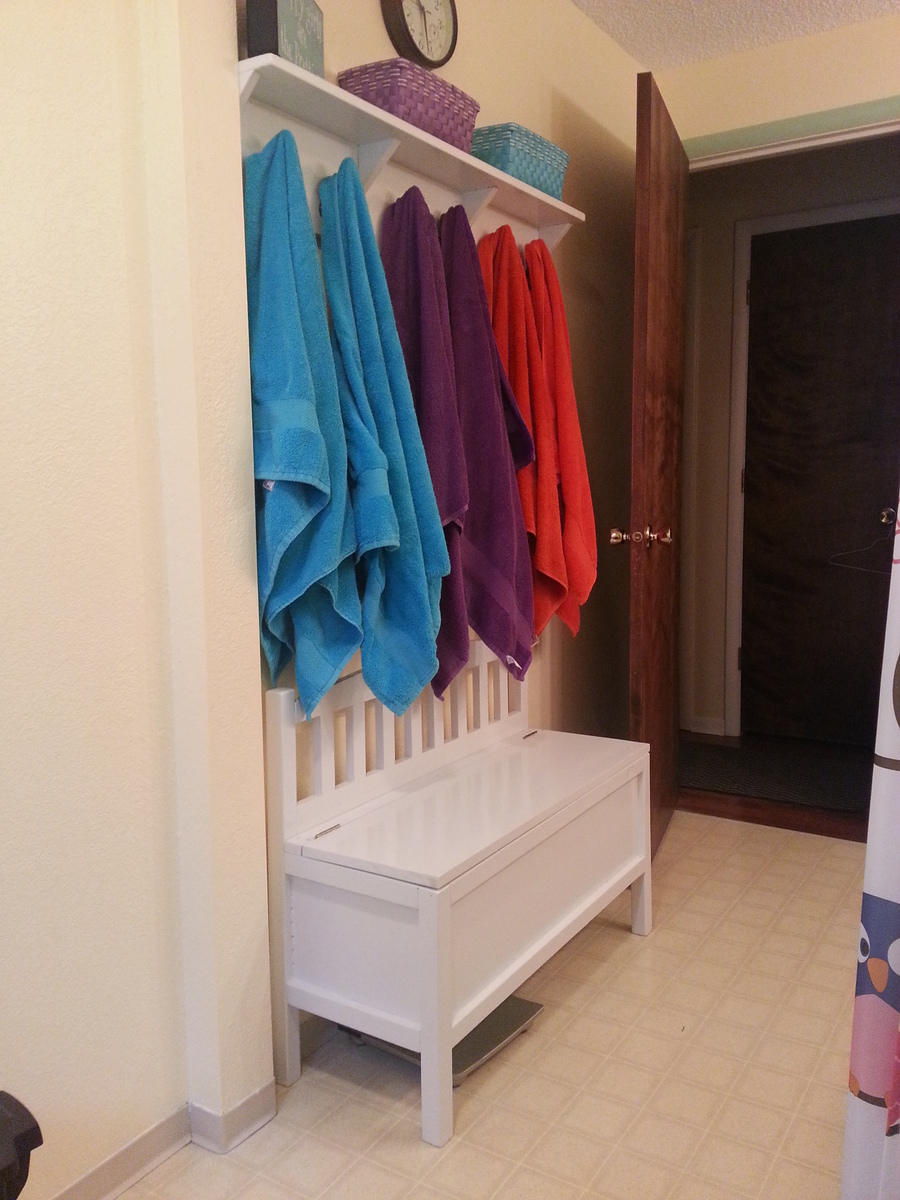
This bench was the perfect size for a long wall in our bathroom! My husband added a solid front panel and used peg board to create a vented back panel. Then he made the seat hinged. Now we have a great bench that doubles as a laundry hamper with two compartments. I absolutely love it!

Tue, 01/27/2015 - 15:27
Wow! I love how creative you are and the modifications! Fabulous!
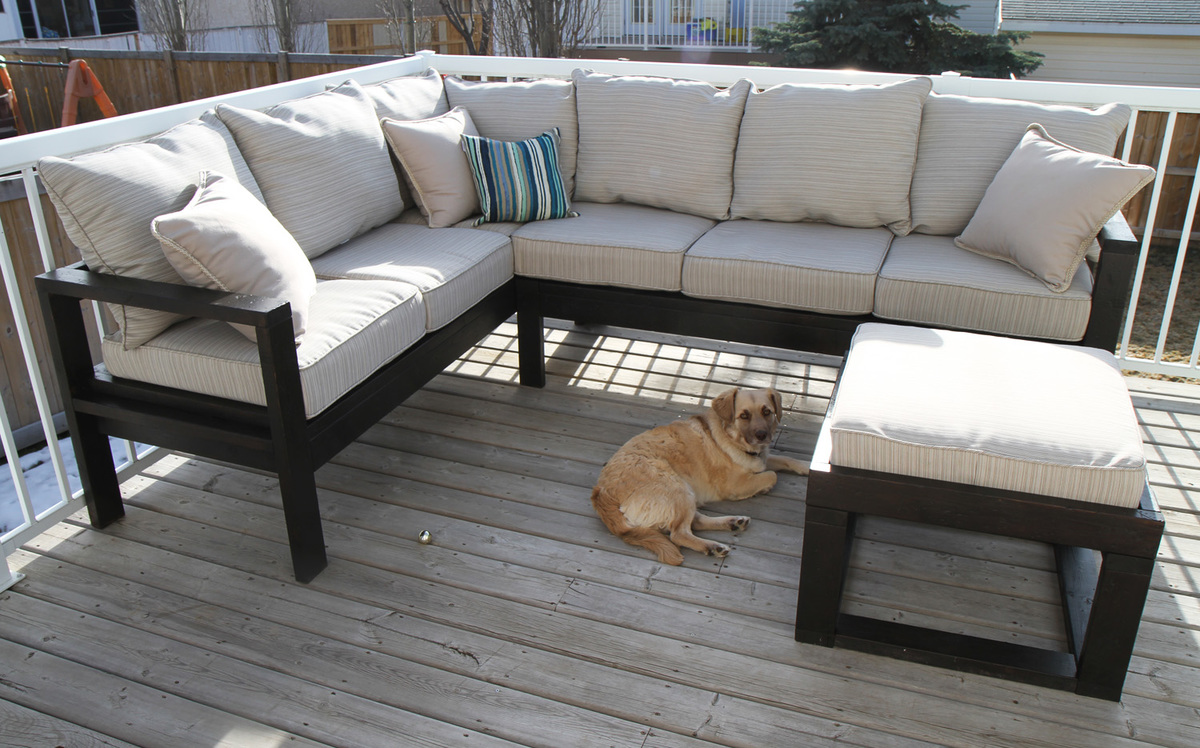
Modifed slightly to make a sectional. Used extra cushion for an Ottoman. Added an additional board behind/beside cushions to hold them firmly in place. (2x2)
Purchased 9' boards instead from our lumberyard. Cushions from Lowe's, throw pillows from WalMart/Canadian Tire.
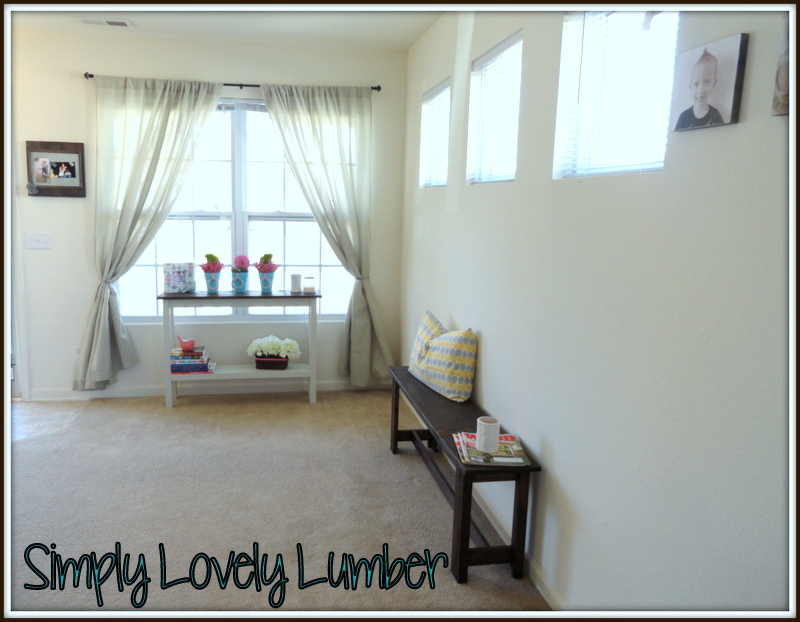
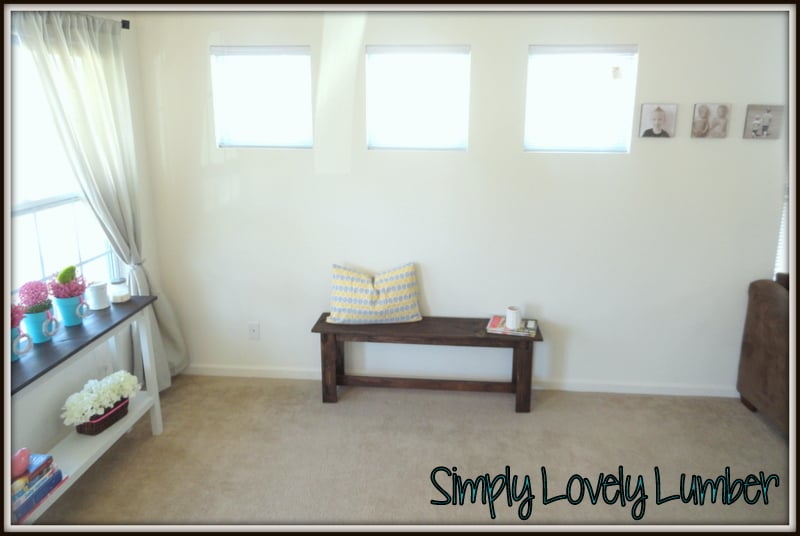
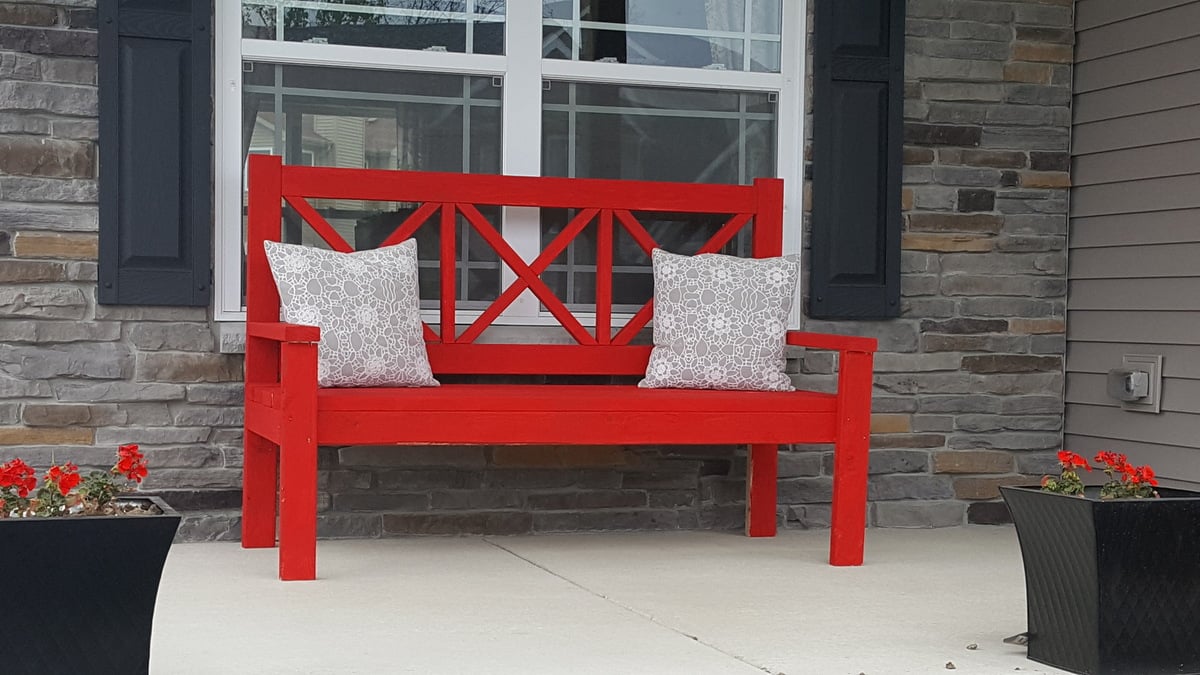
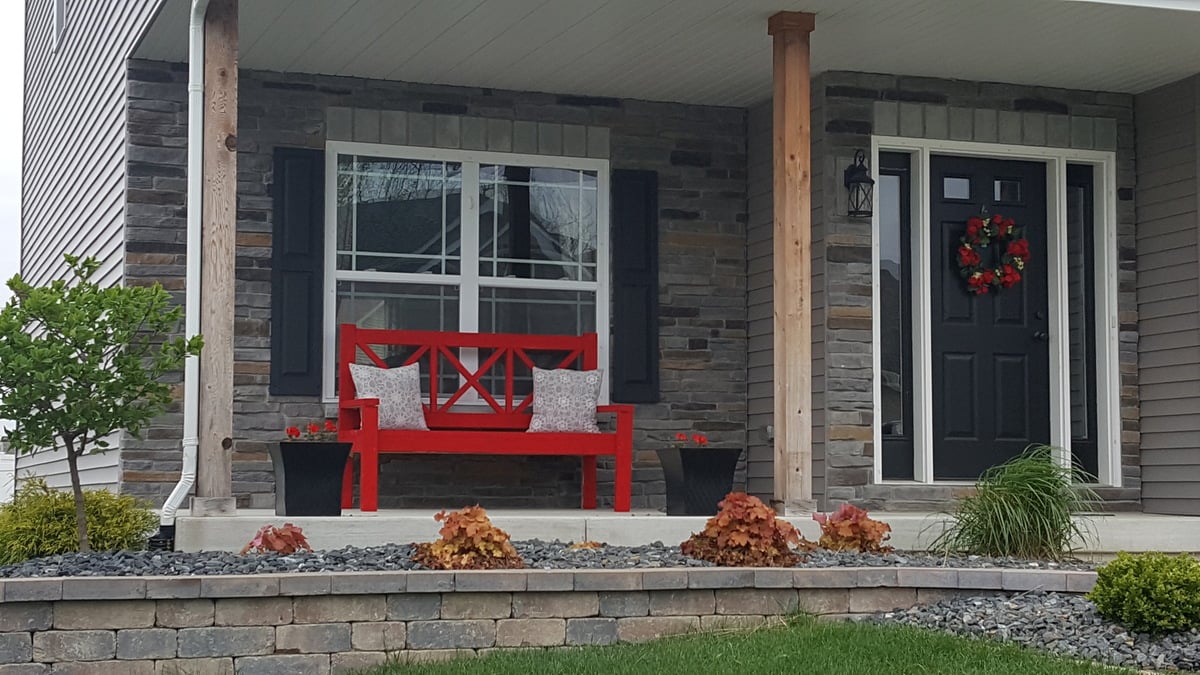
I love this bench. It is so solid. I have now built three of them for around our yard/porch. If you have the necessary tools and skills (intermediate level) you can build it in an afternoon. I built it in 4 hours with lots of breaks. My cost estimate includes paint and screws.


Built this mostly out of scraps I had in my garage. I had to get a few pieces but it was an easy build. I left out the x but I will probably be adding it soon and putting it out on my front porch once it warms up. For now it's filling a big empty wall in my living room!

Found this plans for the Gaby kitchen island and fell in love. So, I decided to try my handy work at it one weekend.
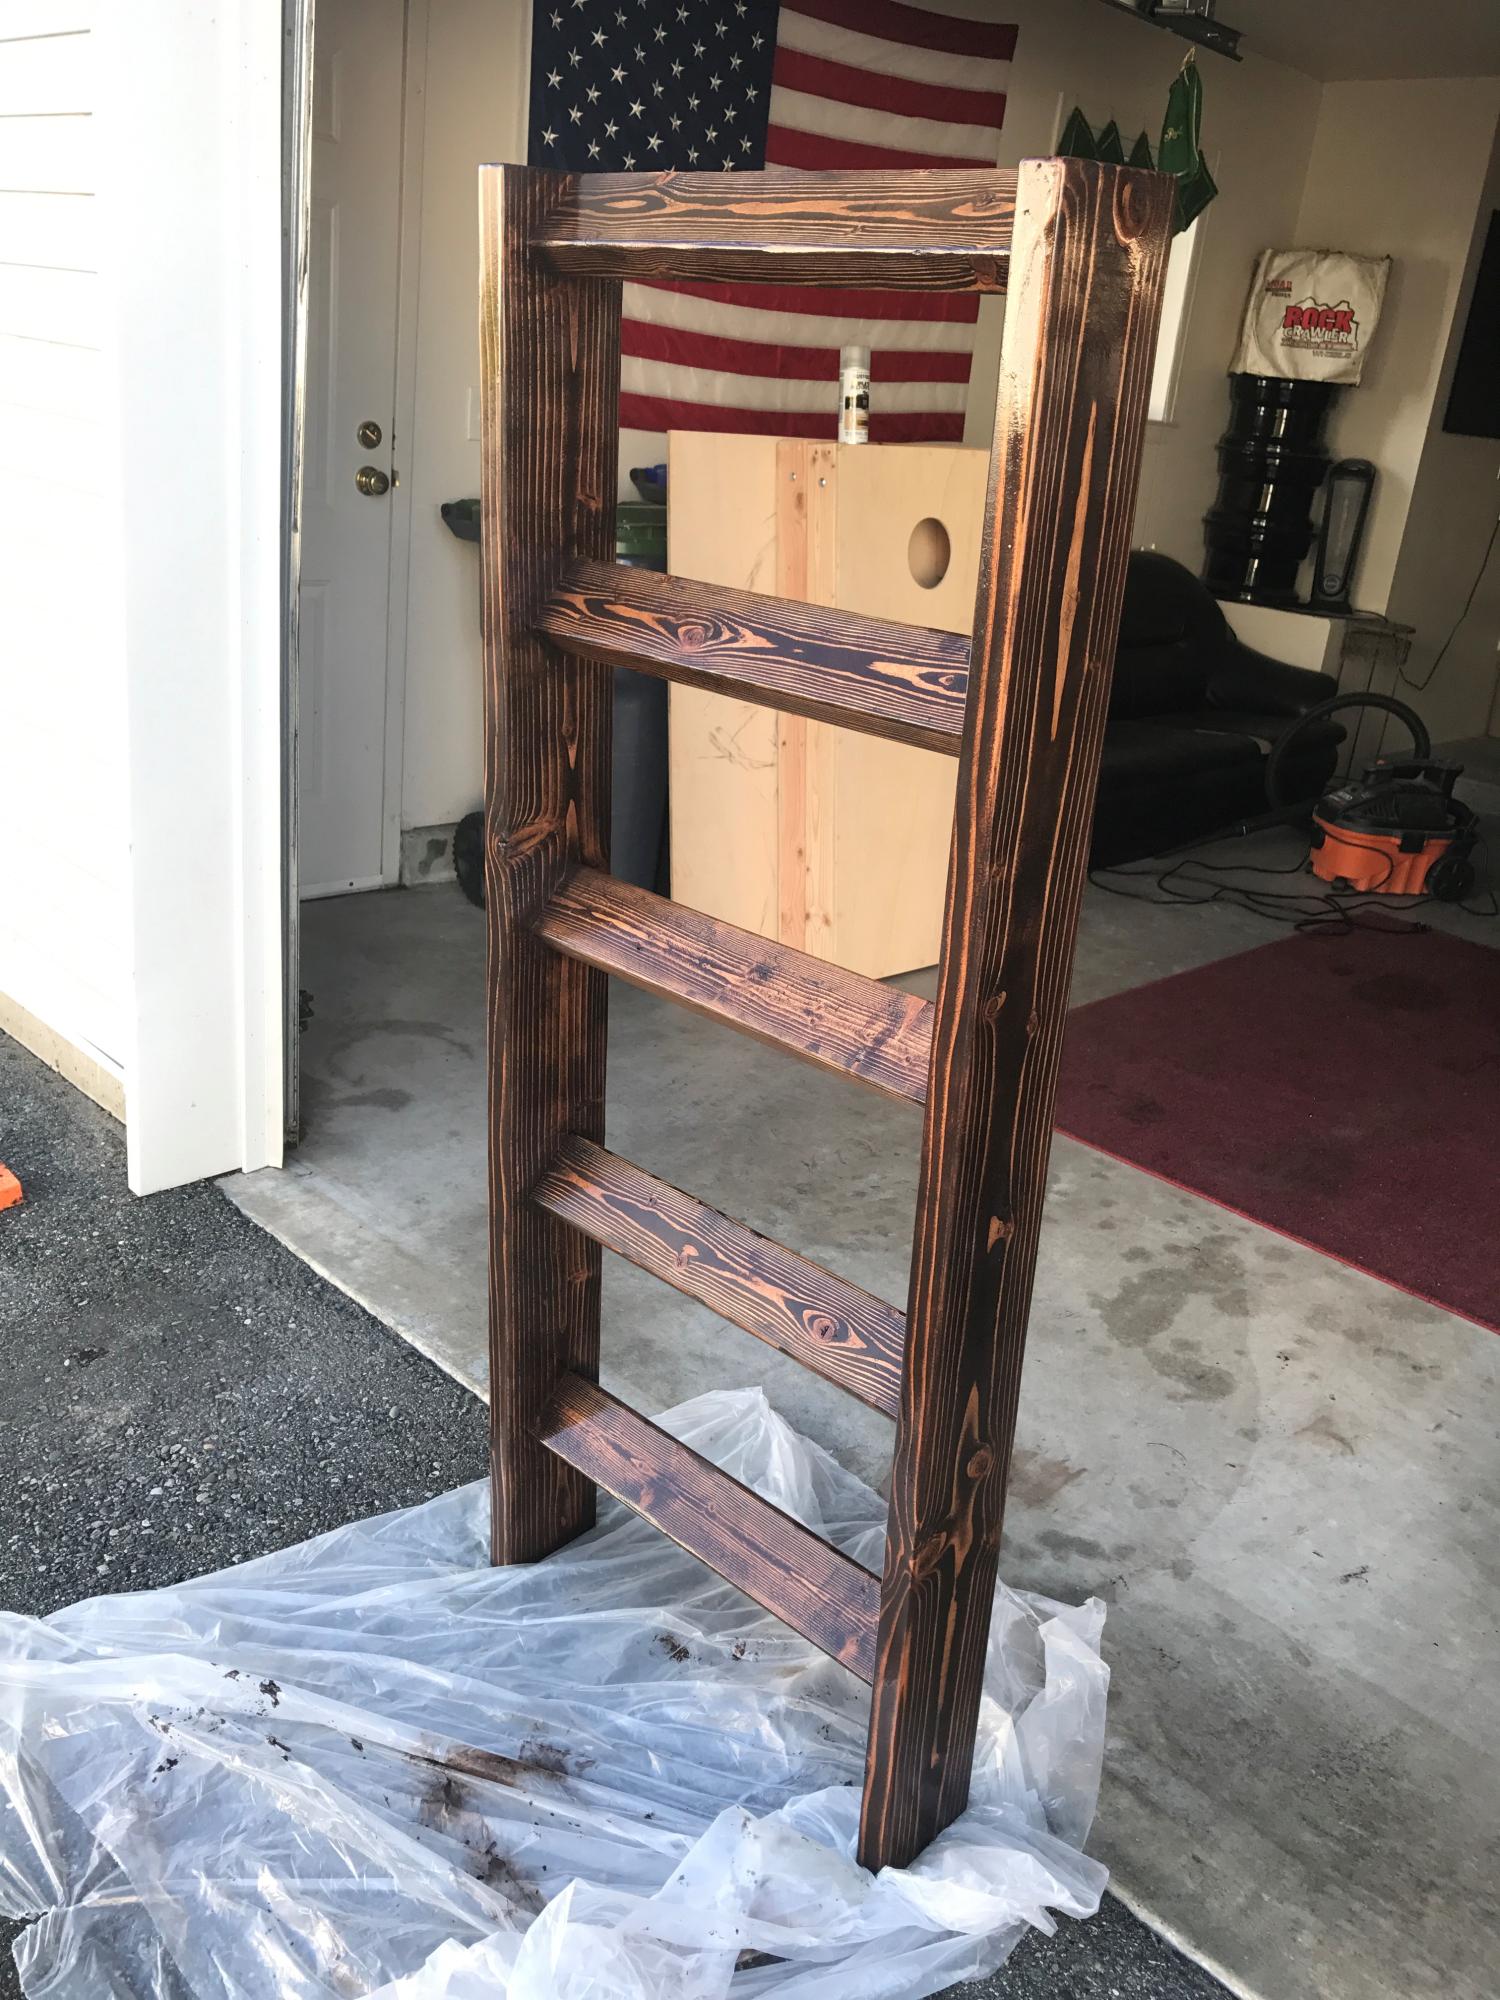
Used 2x6 boards on the outside to give it a bit more depth, mounted the rungs at a 45 degree angle and used a pocket hole jig so no screws show. Height is 5' and left a bit more room on the bottom so I could cut it shorter if I ever move. Sanded it down and applied stain and a polyurethane coat to finish and protect.

We made two of the Picnic Table to Bench units in the month of March. The second one is in the bottom part of the picture hidden by the wood rack. I took the picture from our upstairs porch. My husband is still amazed that we accomplished this. He is not a DIY'er. We built a new house in 2016 and had a bunch of leftover wood sitting on our (unfinished) basement floor. We managed to build our benches mostly from that wood. We did have to buy 3 more pieces to finish the second back/tabletop. Then we got the balance of the wood moved out to our storage barn. The color is deck stain from our porches. I chose 20 hours as our time frame because the used wood required a lot of sanding and prep work. Our time frame was probably about 3 weeks but we are 68 and 73 years old and were really in no hurry. The plans were very simple to follow. We made them 6 feet long.
I built this in a weekend. I used the Kreg pocket hole jig to build frame and also secure back panels to side rails. The bench is 4' wide and almost 6' tall. I put the coat hooks on either side of the top rails.
Fri, 02/06/2015 - 22:34
I'm a beginner but would like to know more of the measurements and shopping list you had to build this for myself, with just a few modifications. Lol! Looks great! Thanks for sharing!
Instructions were very easy to follow. I got wood at Home Depot and had it cut to size there as well (fit better in car that way). Without help it will take longer than if you can get a person to help out. I needed to go buy a Kreg jig, Kreg nails, and a c clamp. I used chalk paint from Joanne's. Done in 2 days.
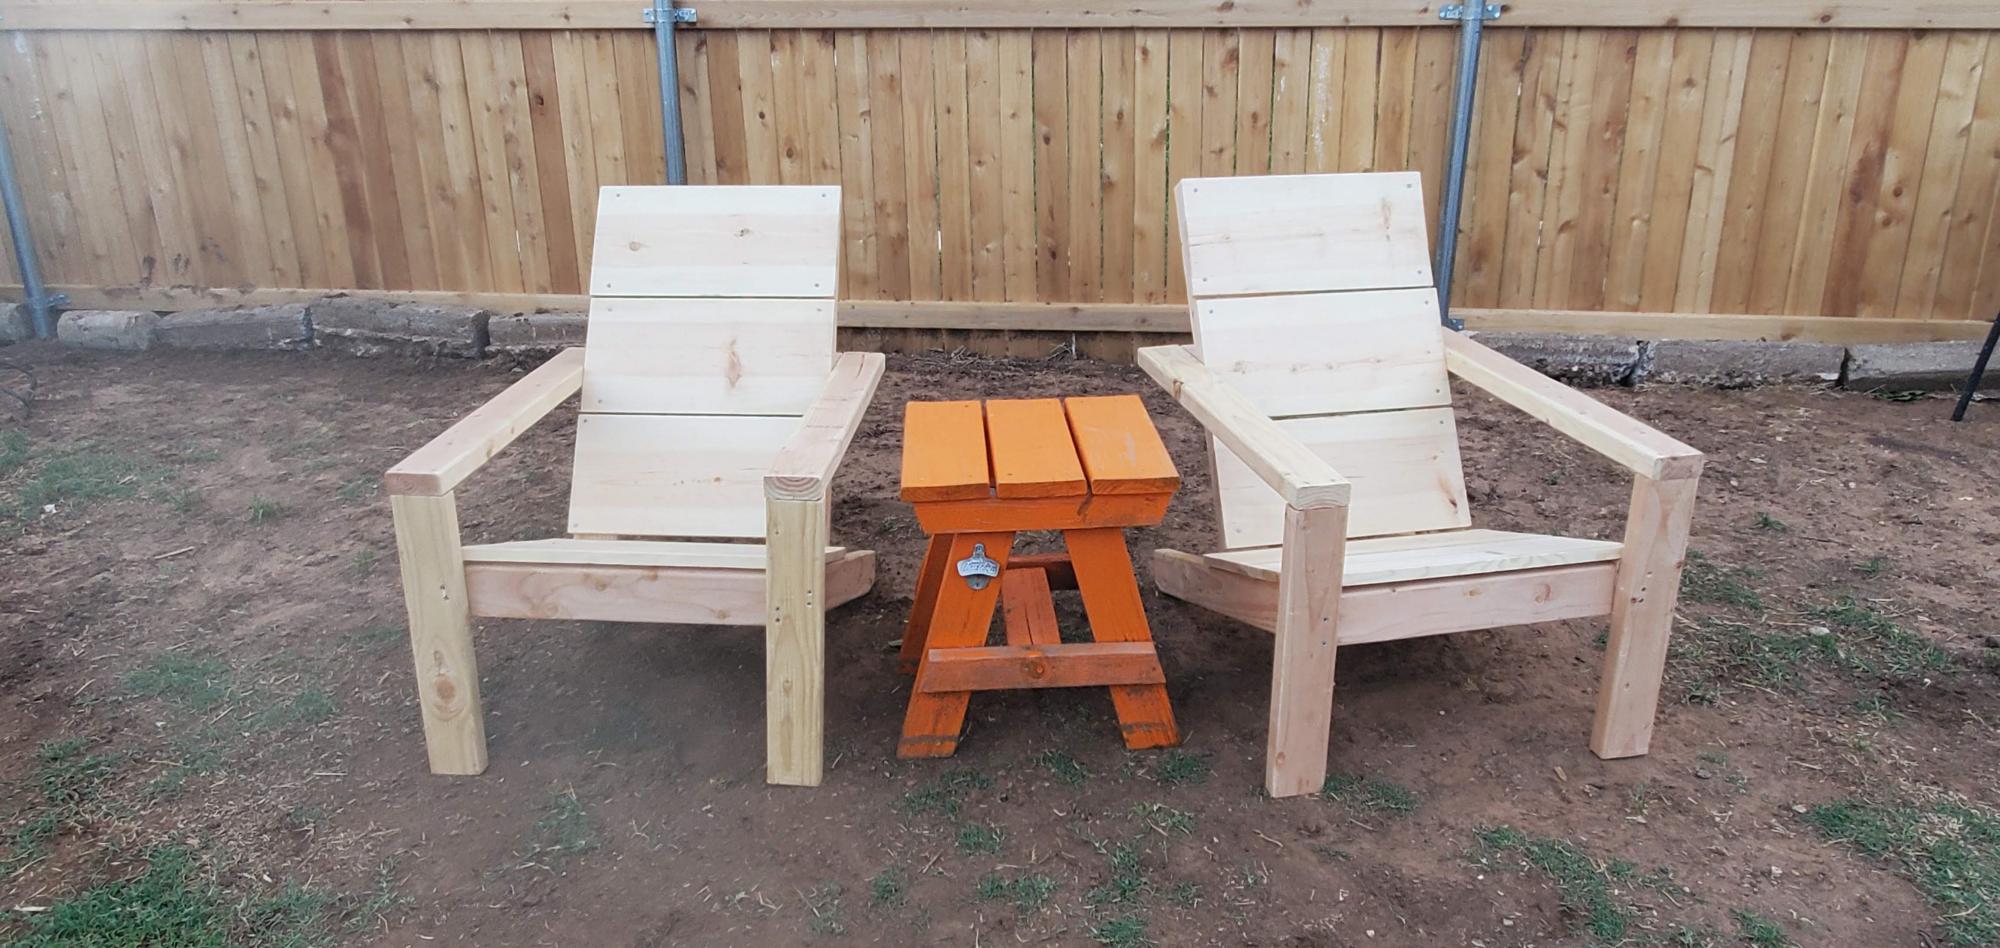
I ended up painting them a Bright Blue and Bright Red like crayola colors and I forgot to take an after picture but I was so excited about this because it was my FIRST time building something with wood. My husband made the table with the scraps I had leftover.
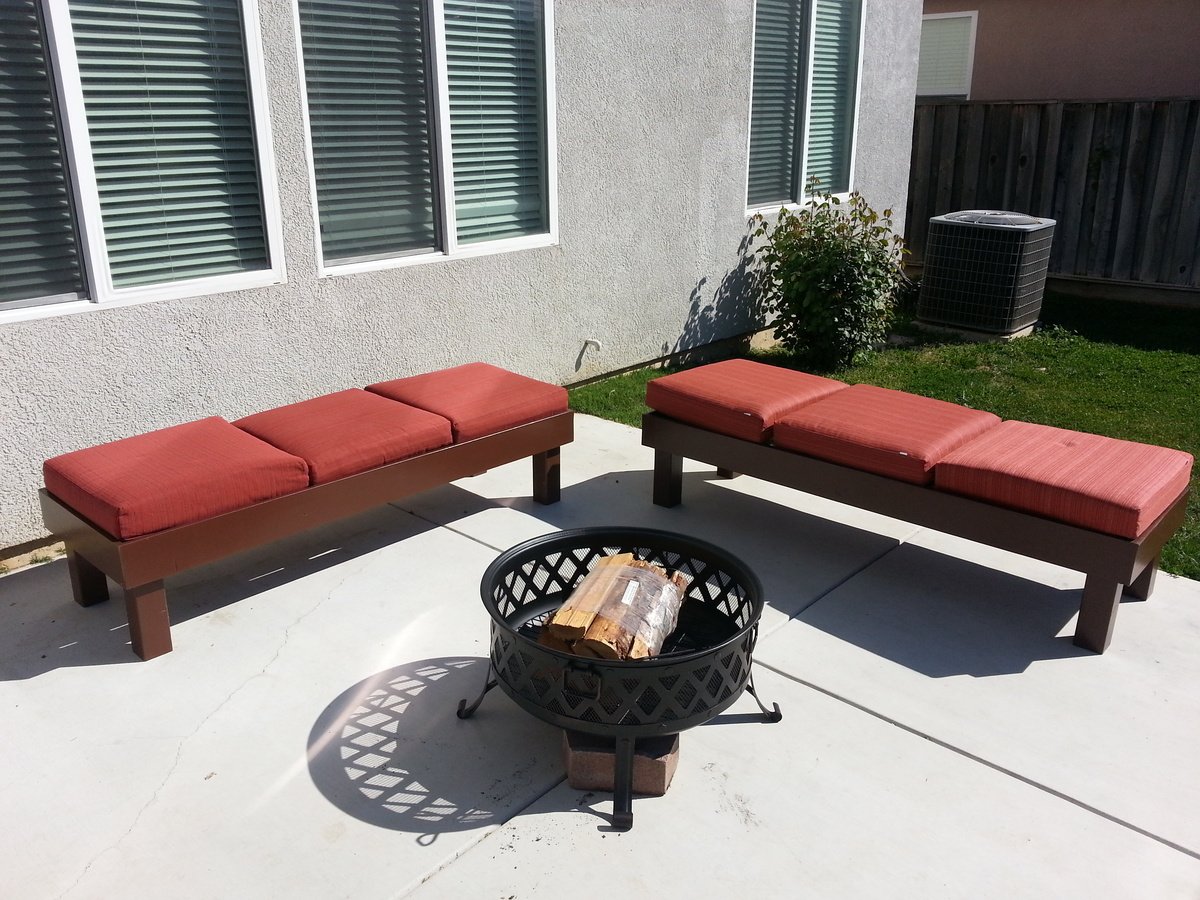
My family and I really enjoyed camping last year and with the addition of another child we will not be able to get out this season. So, I modified the simple bench plan to create a comfortable seating area while we "camp" in the backyard. With the money I saved building vs. buying, I was able to purchase a new miter saw and sander and still save a ton of green. I plan on building a couple side tables to complete the set. Thanks for the site Ana, it helps make our home more warm and affordable.


Sun, 06/28/2020 - 19:32
Those are BEAUTIFUL, and exactly what I am thinking of.
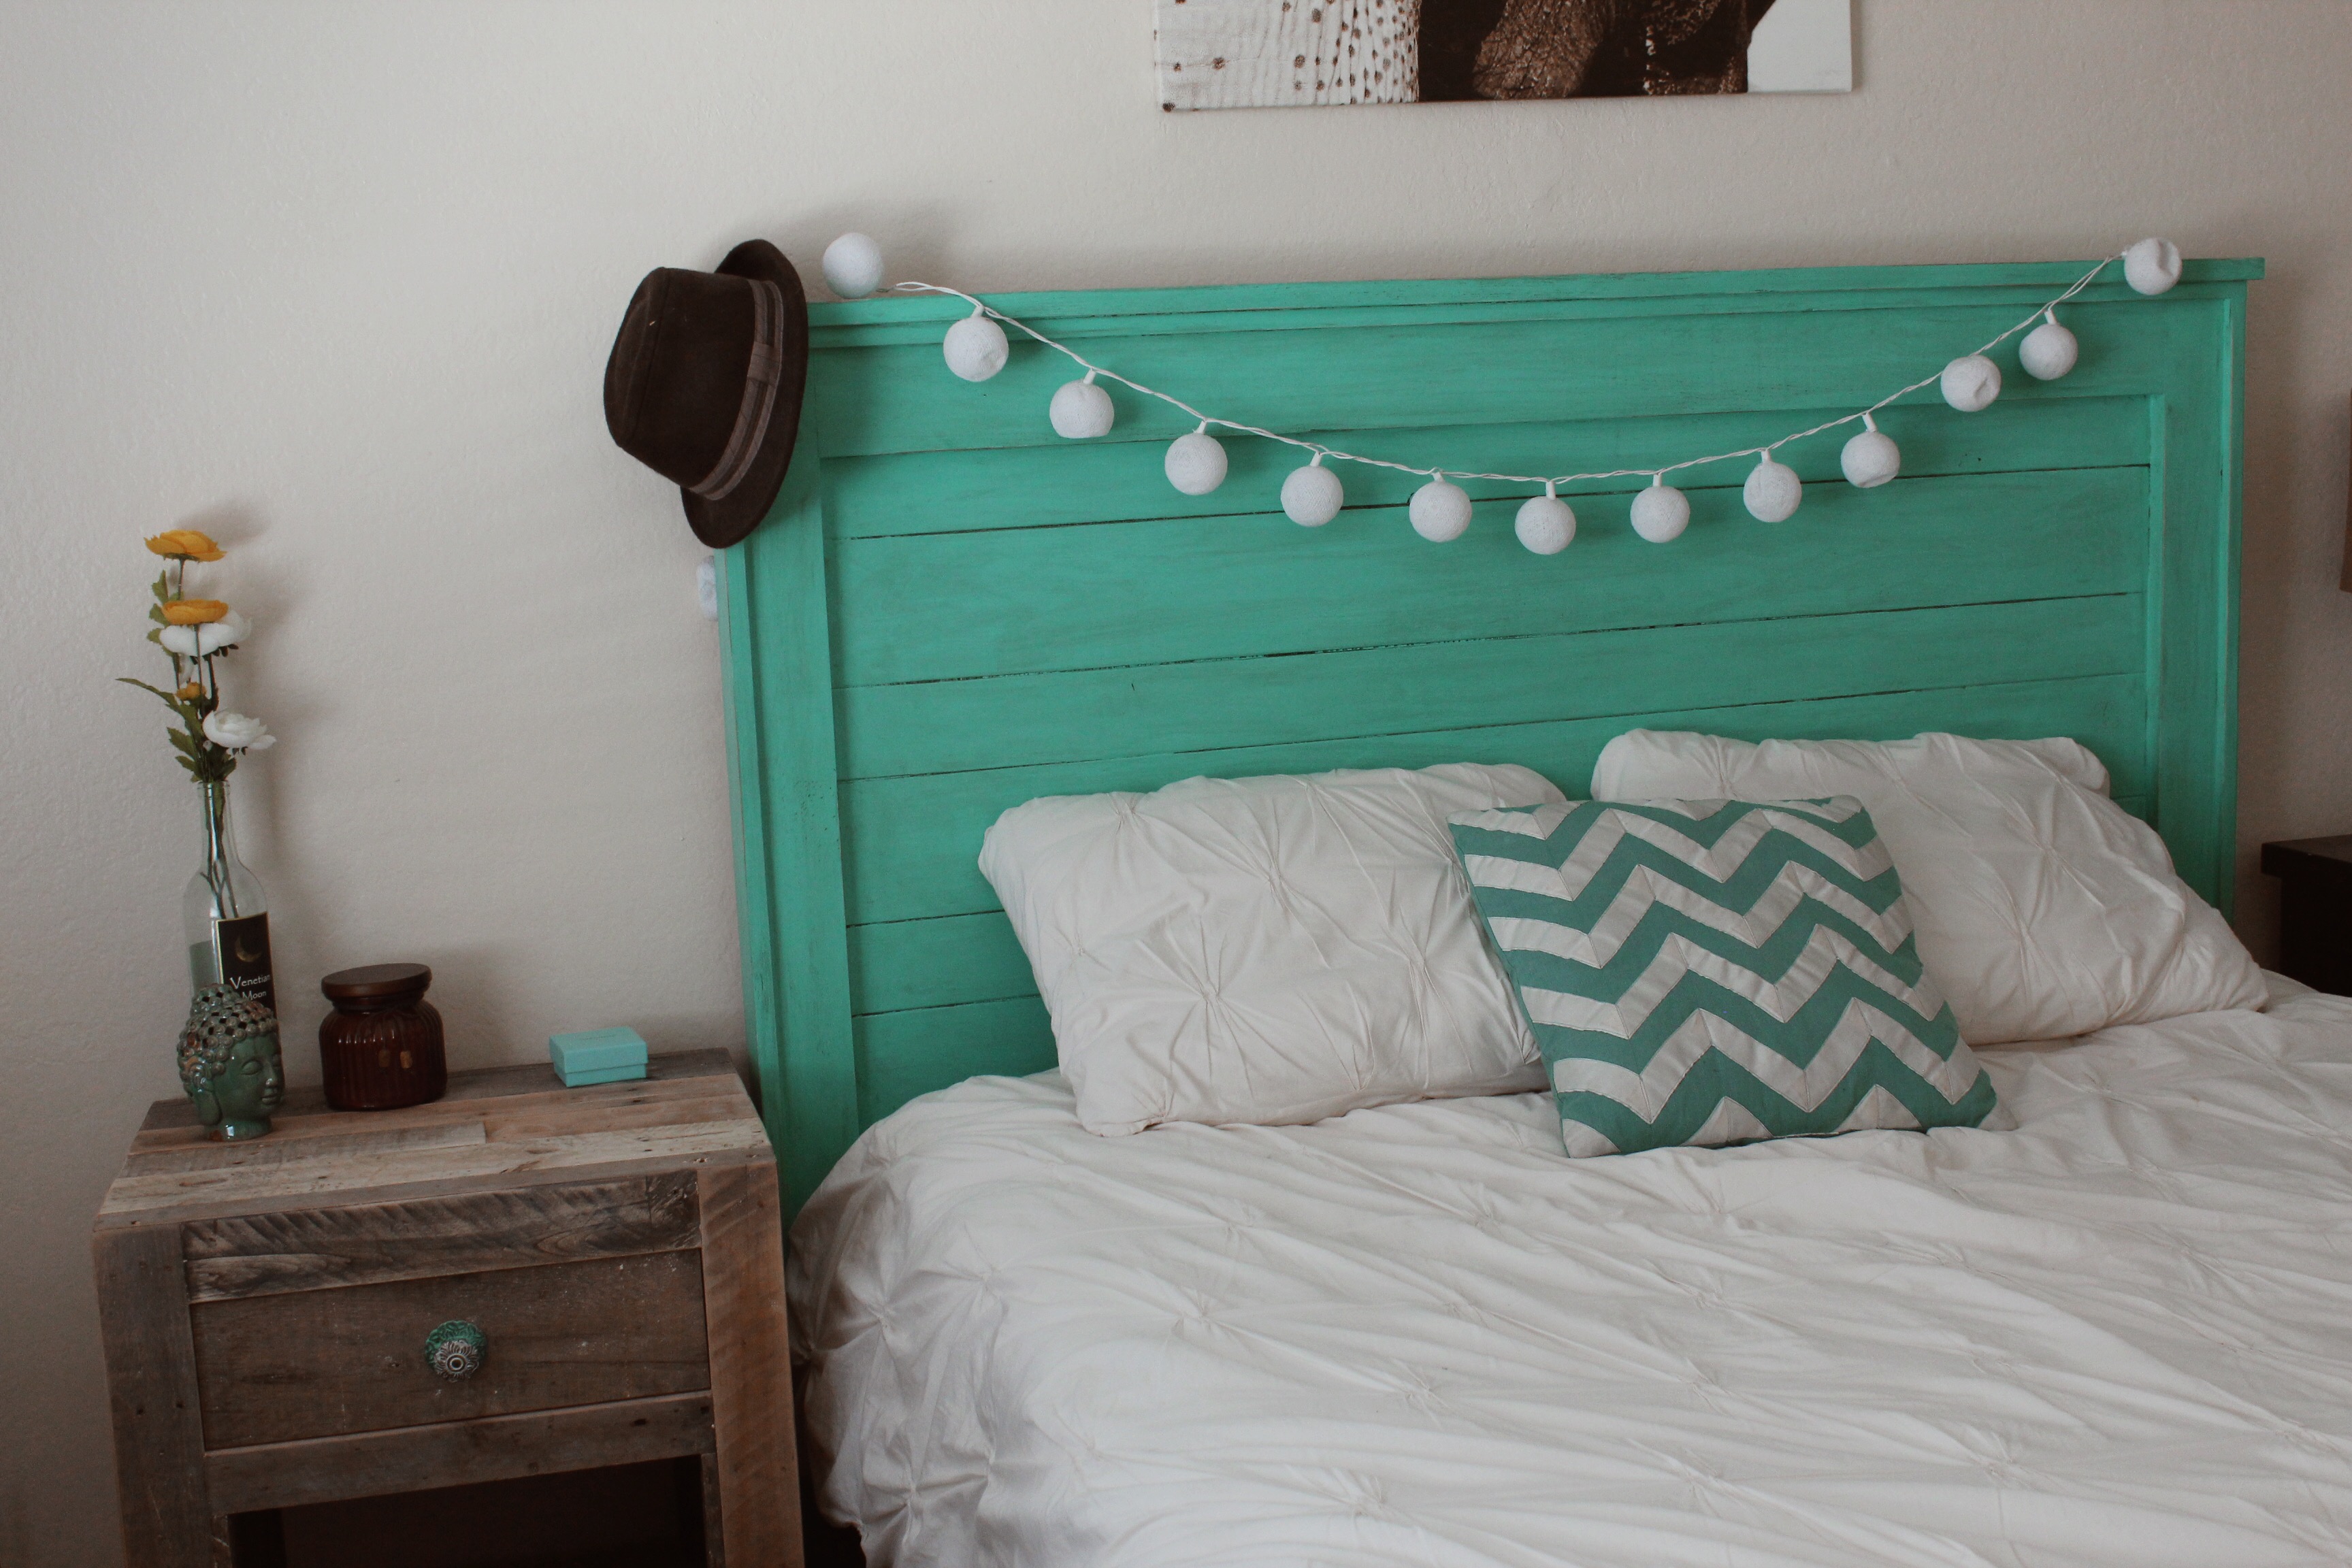
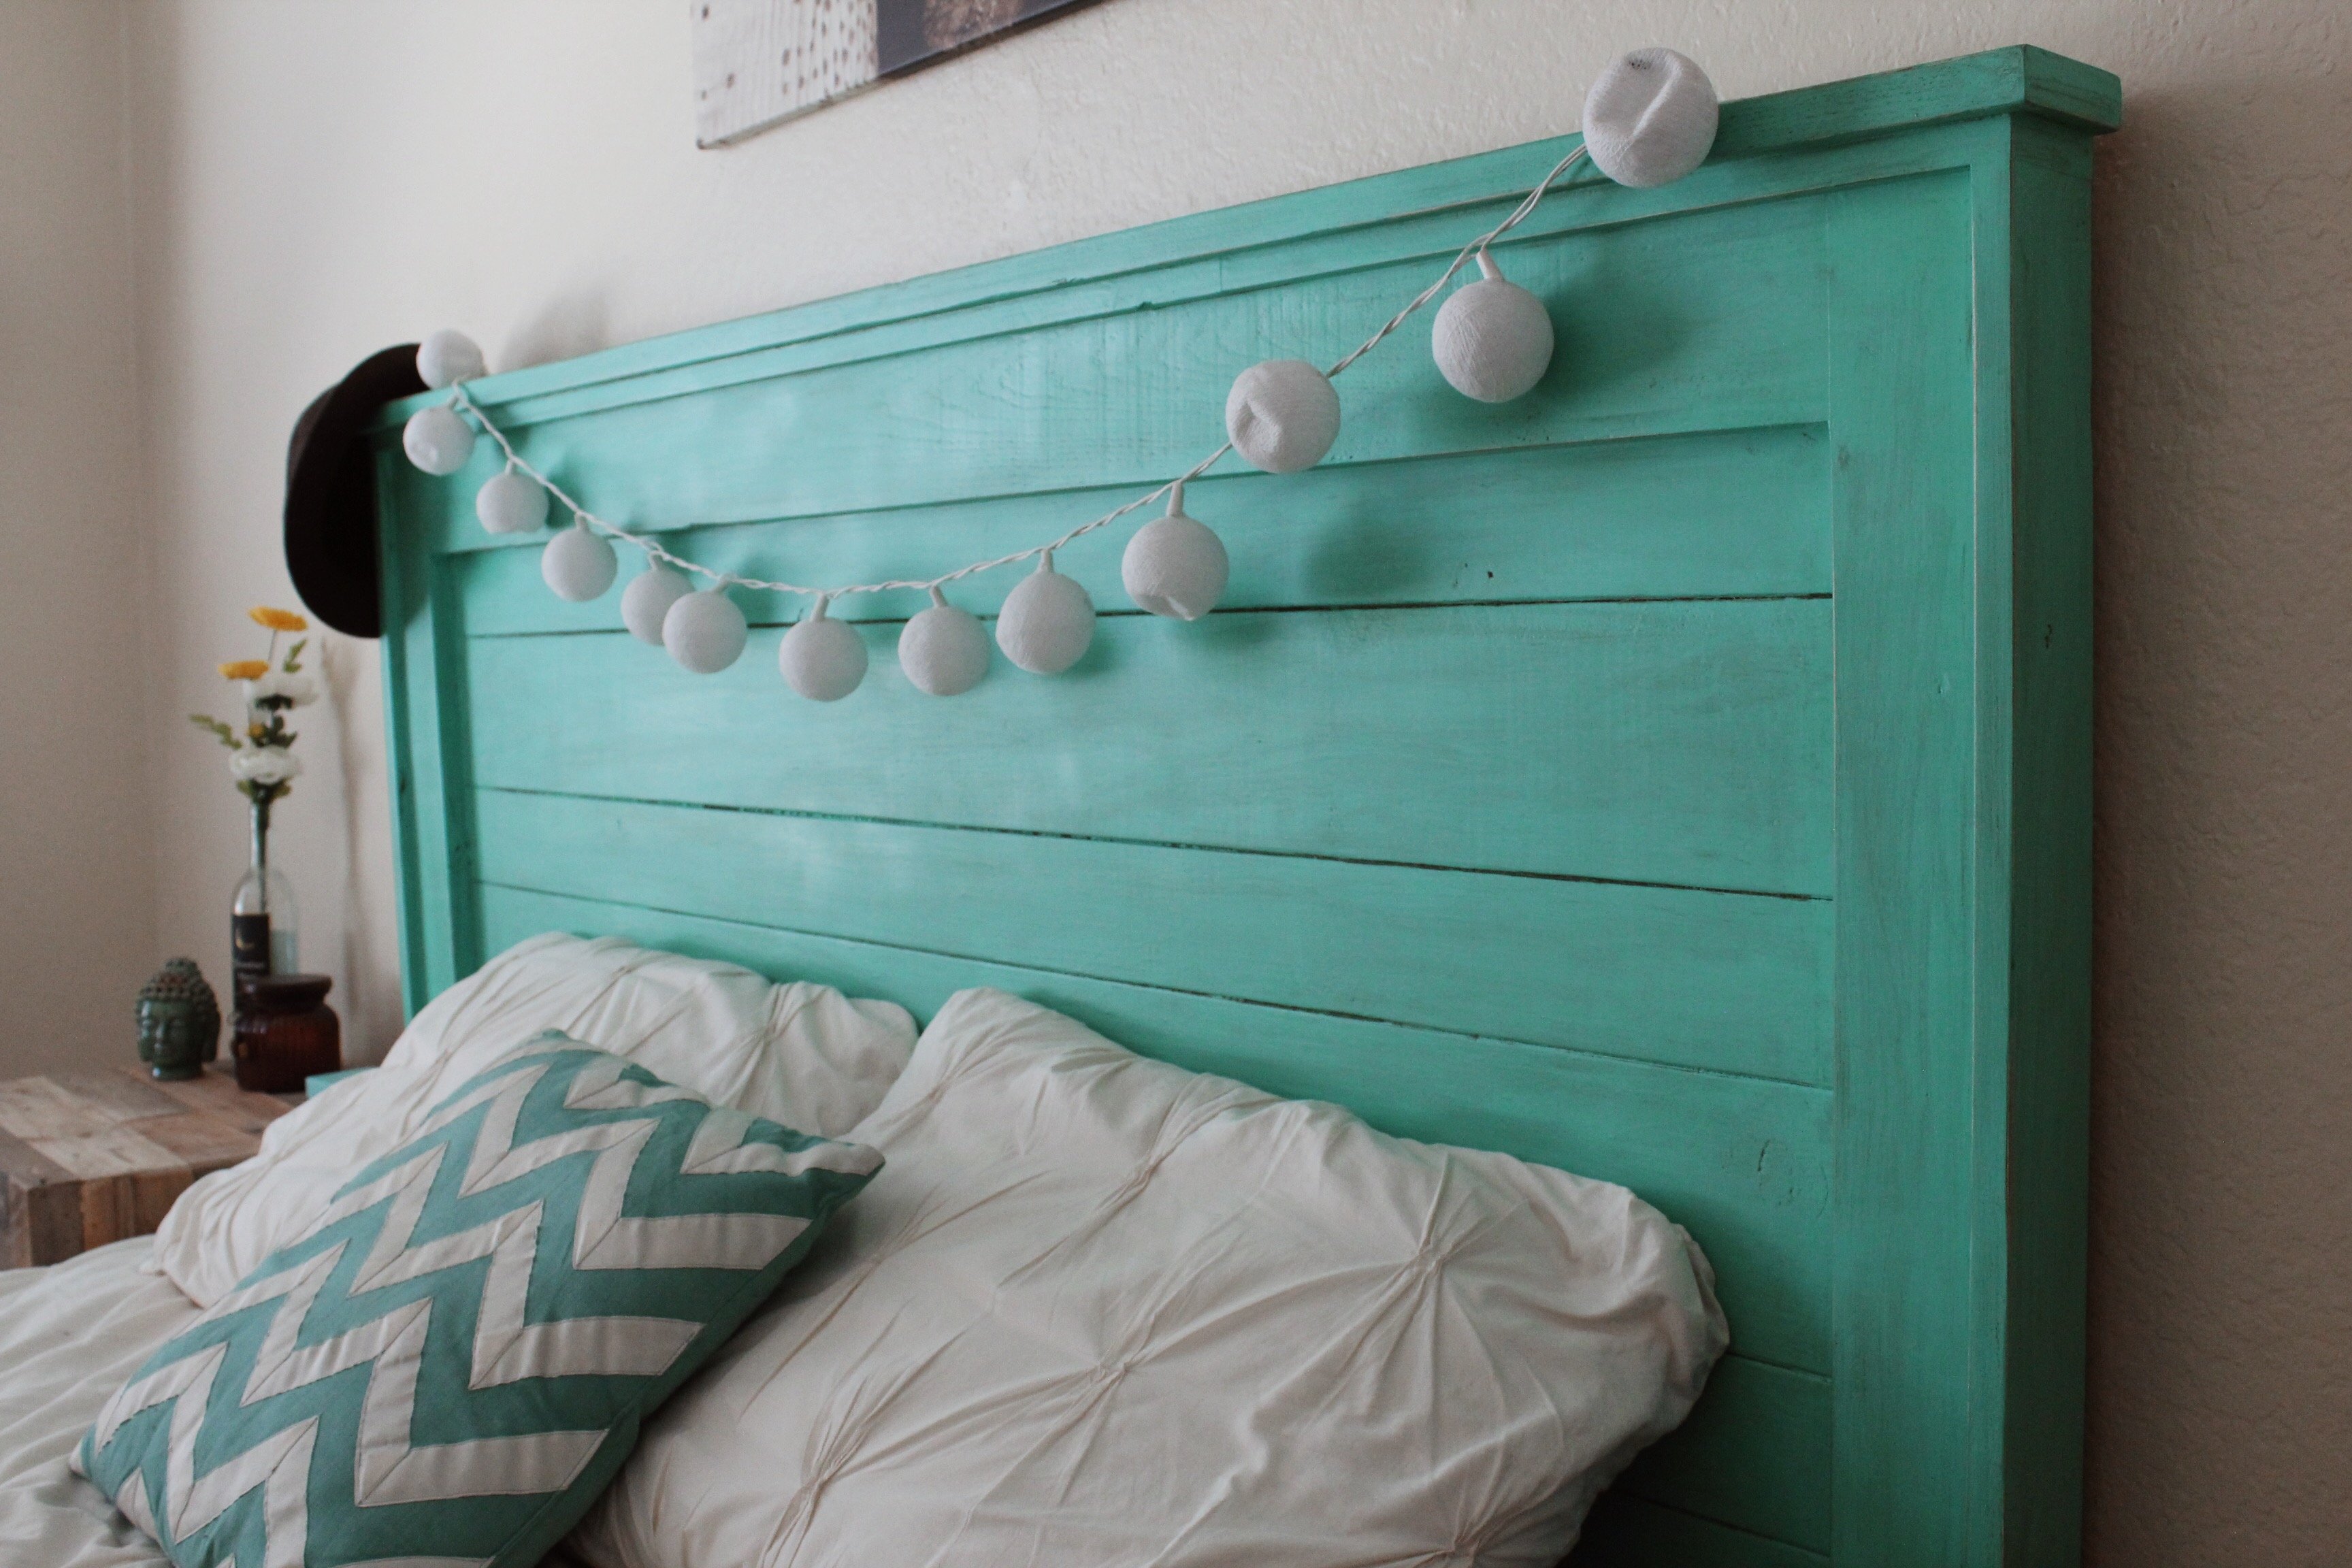
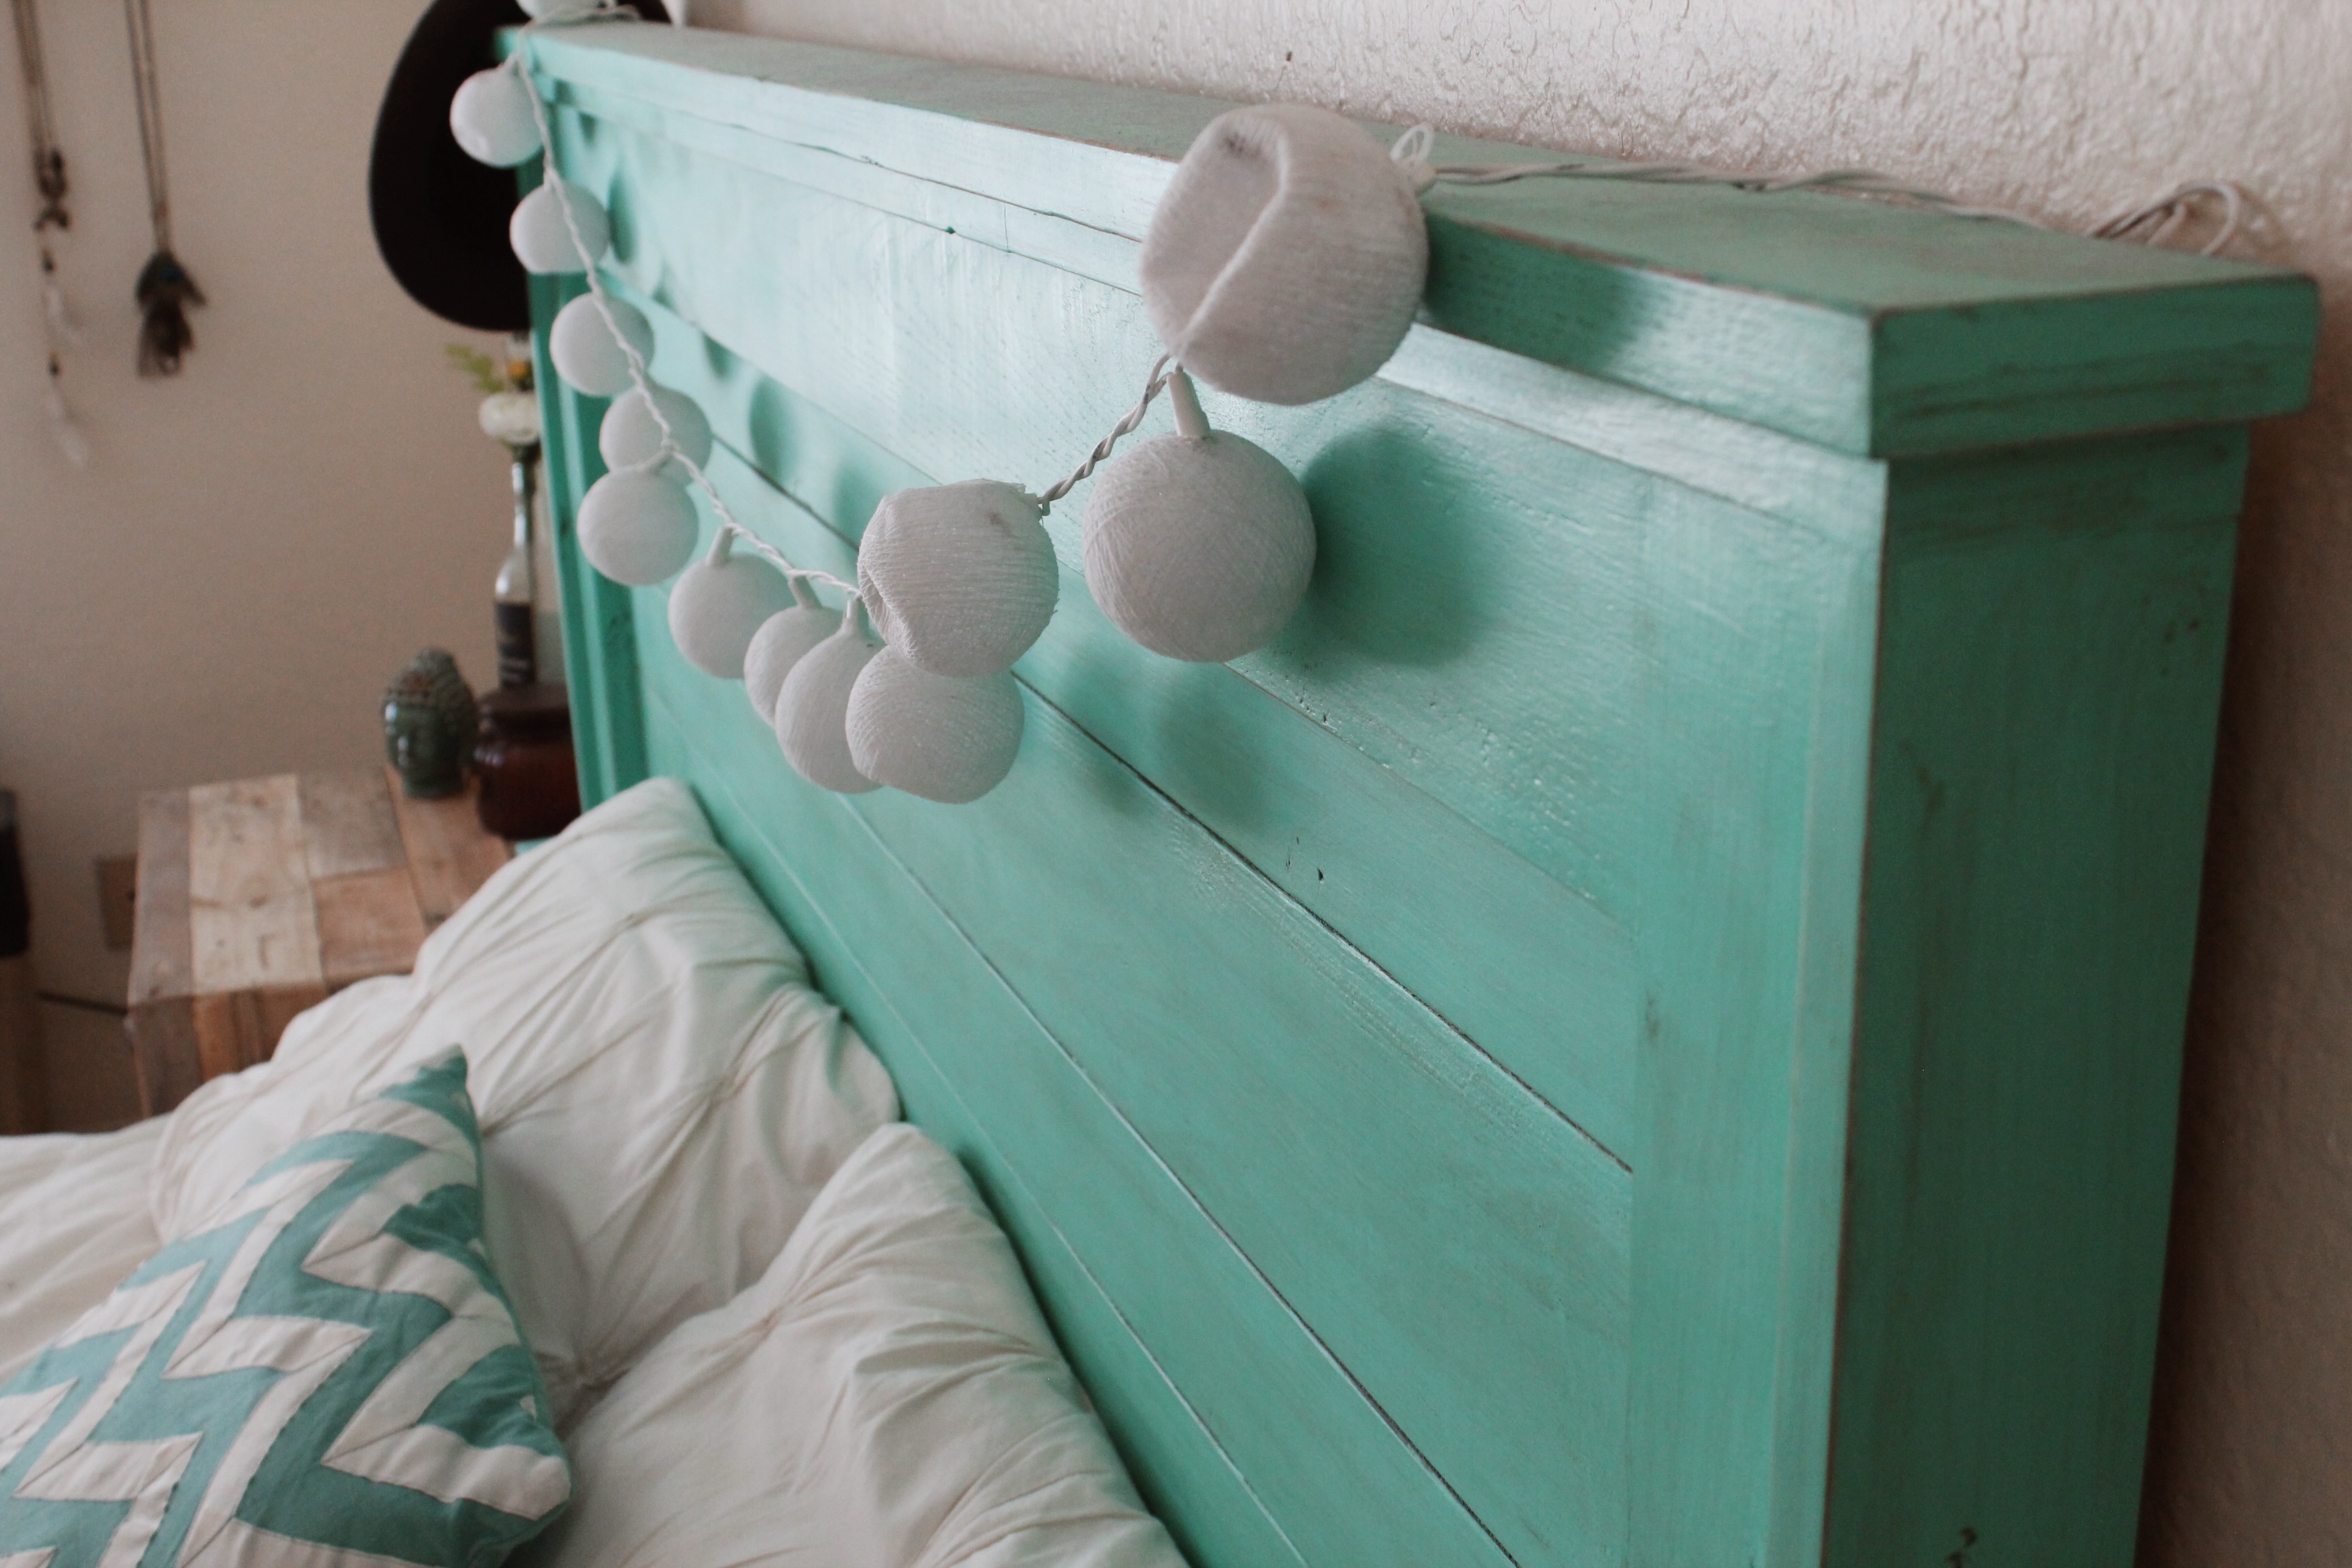
I built this headboard a while back but just never got around to posting it. I distressed the wood, painted it mint green and applied a chocolate glaze.
Thu, 02/12/2015 - 00:07
The colors here are so cute and classy! I love it!
Thu, 02/12/2015 - 00:07
The colors here are so cute and classy! I love it!
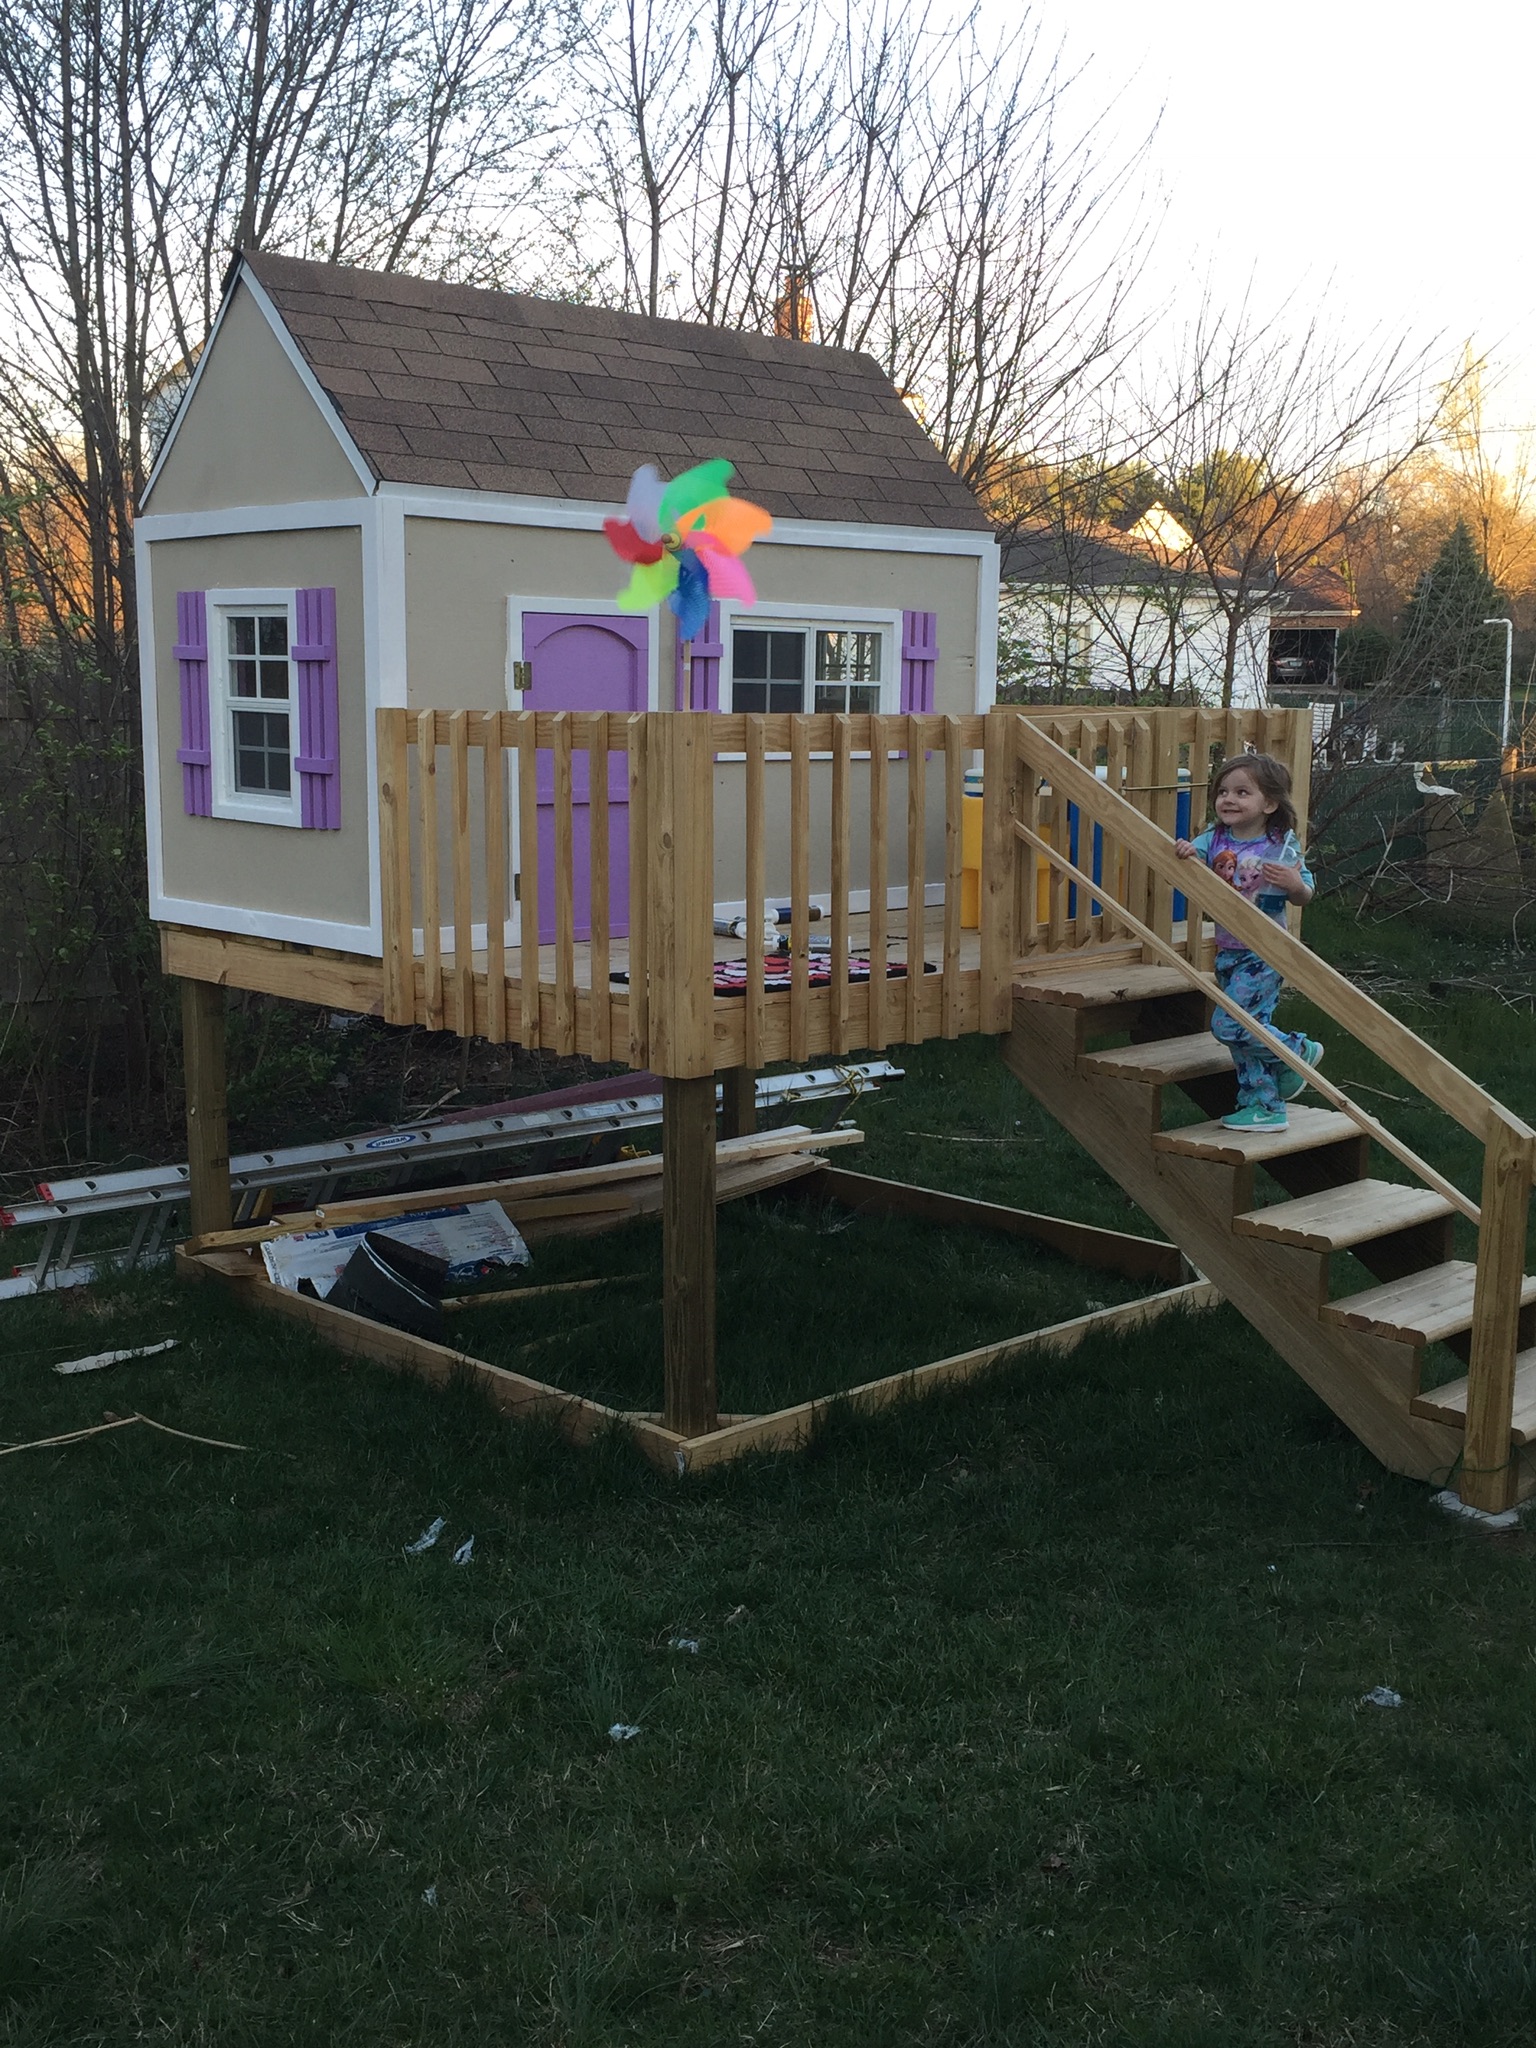
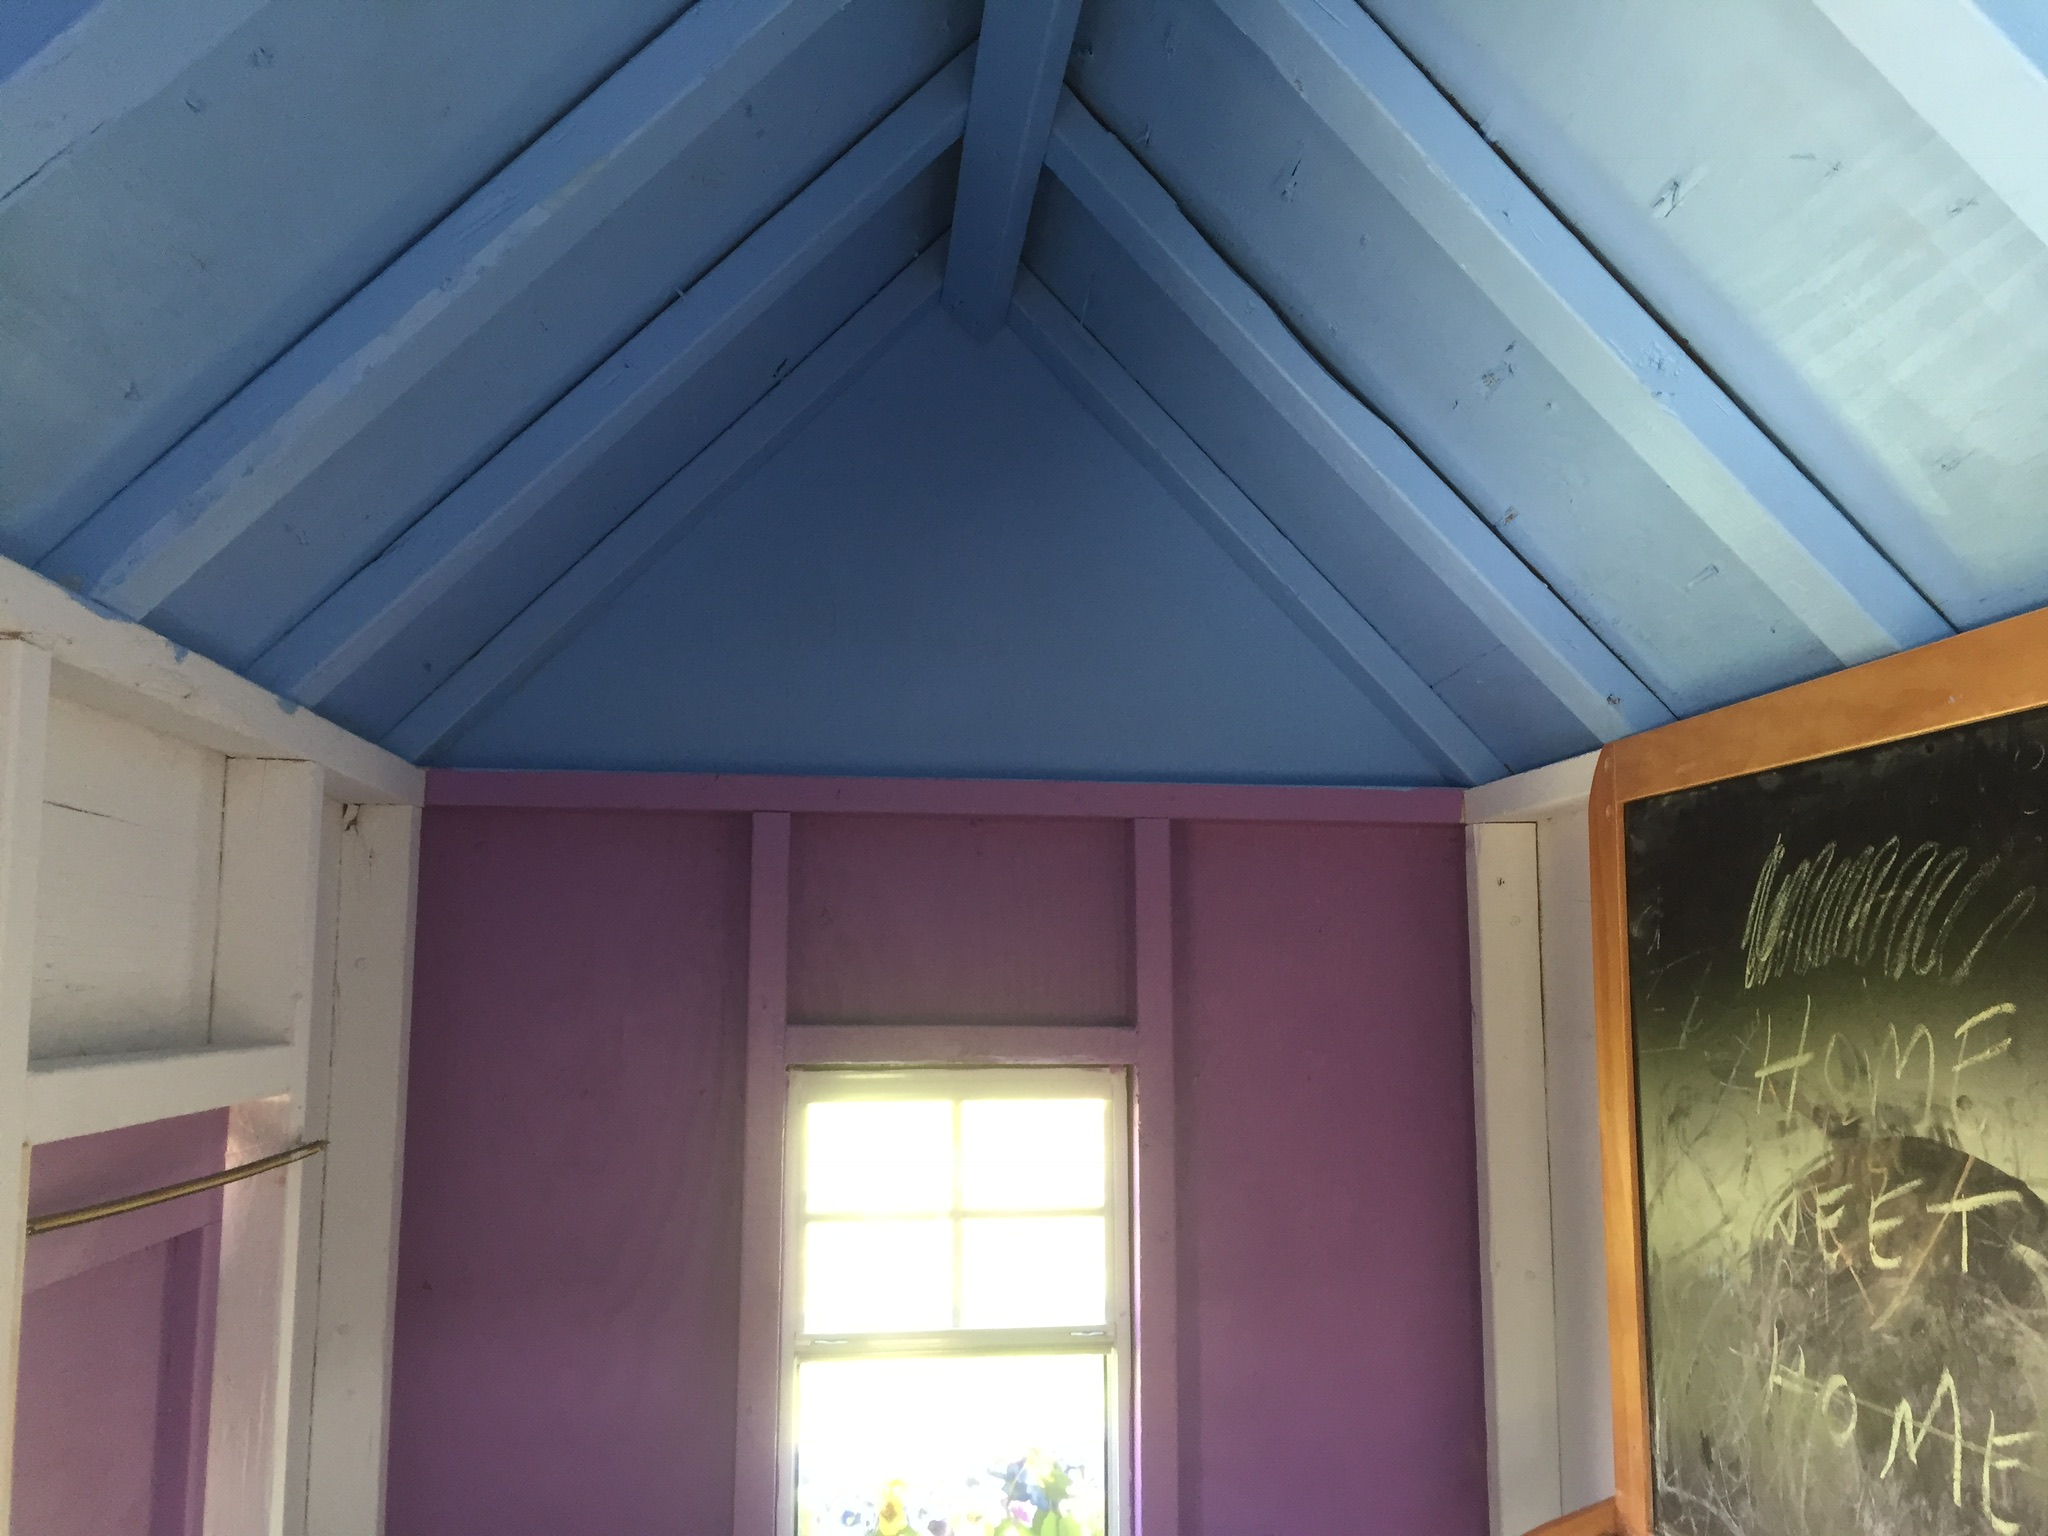
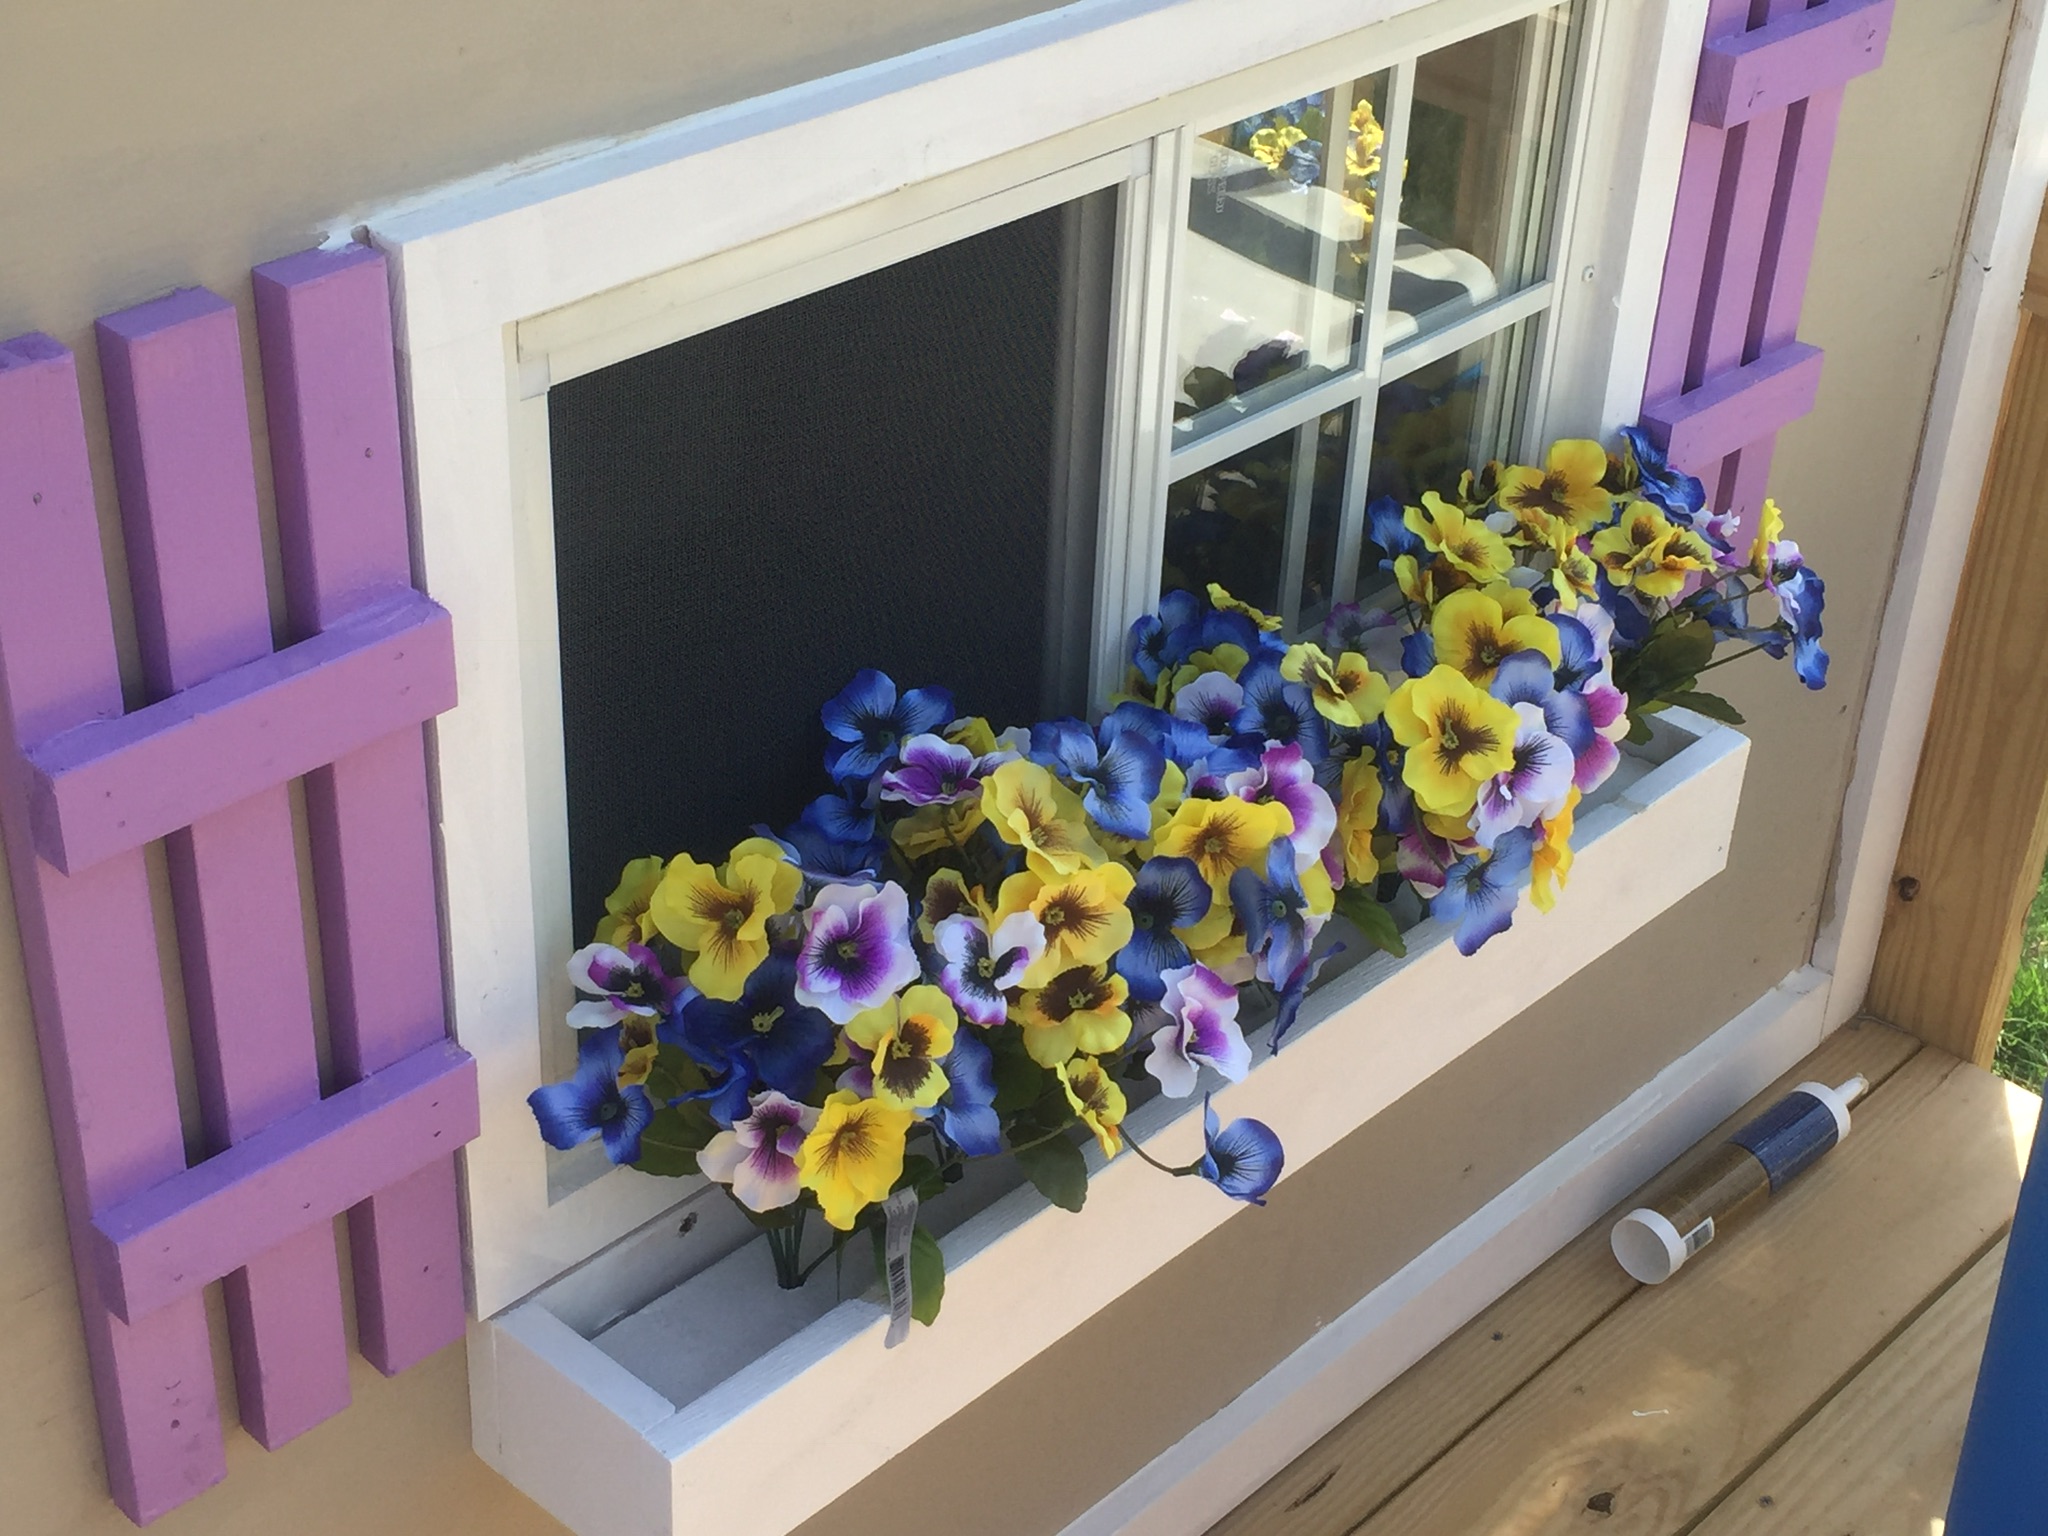
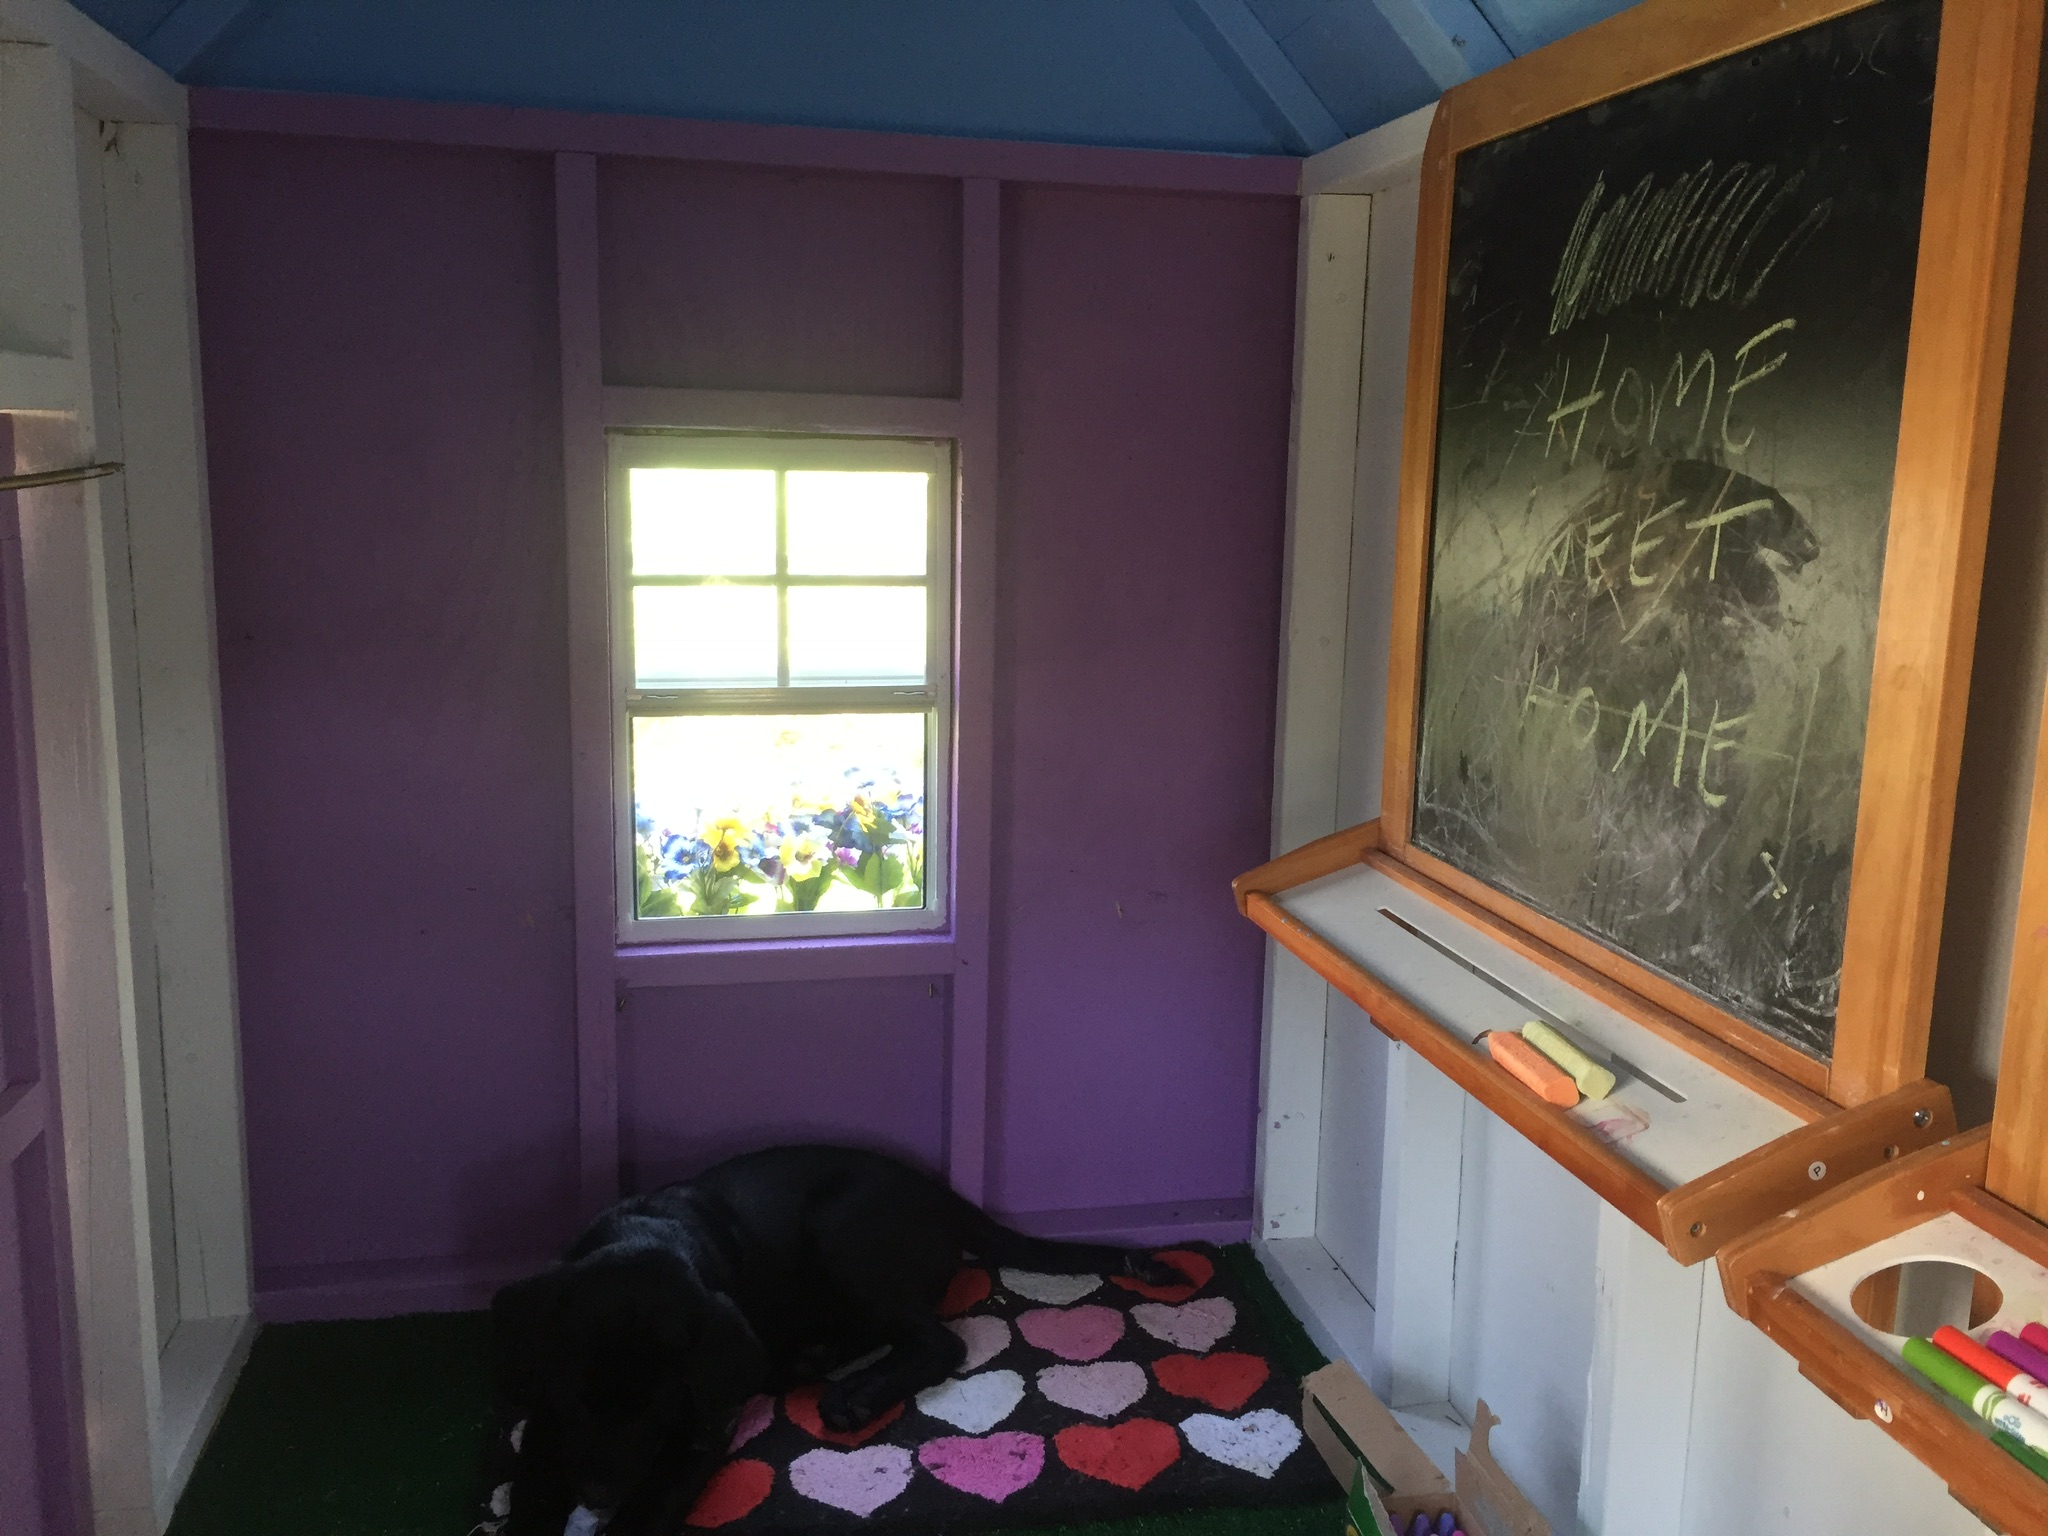
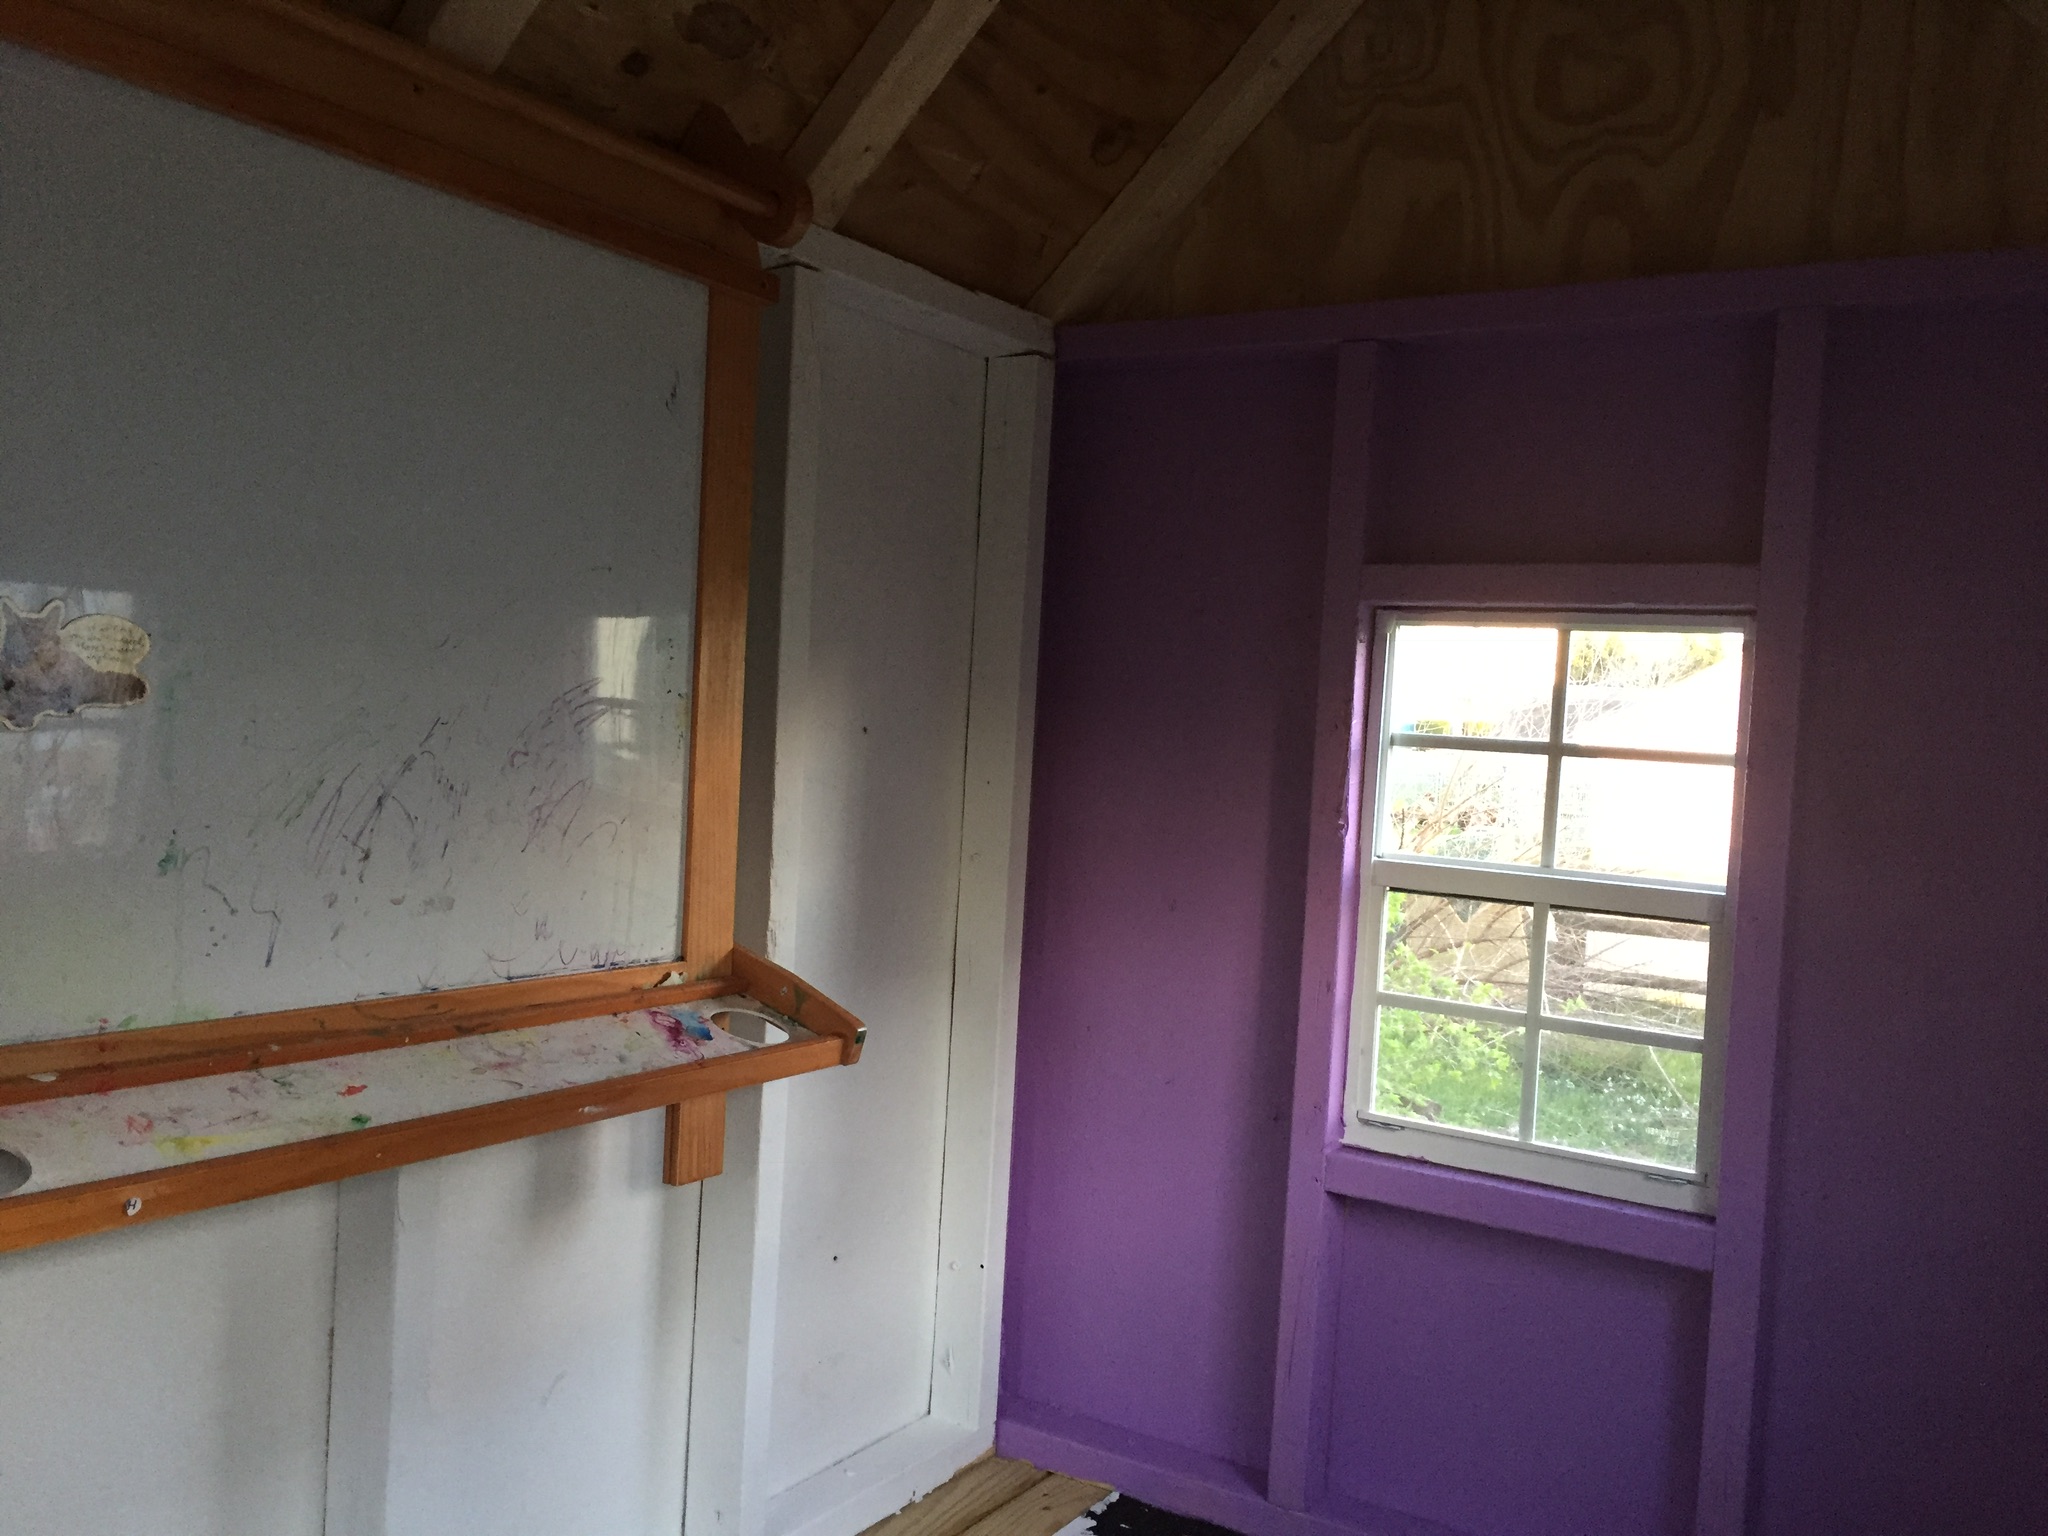
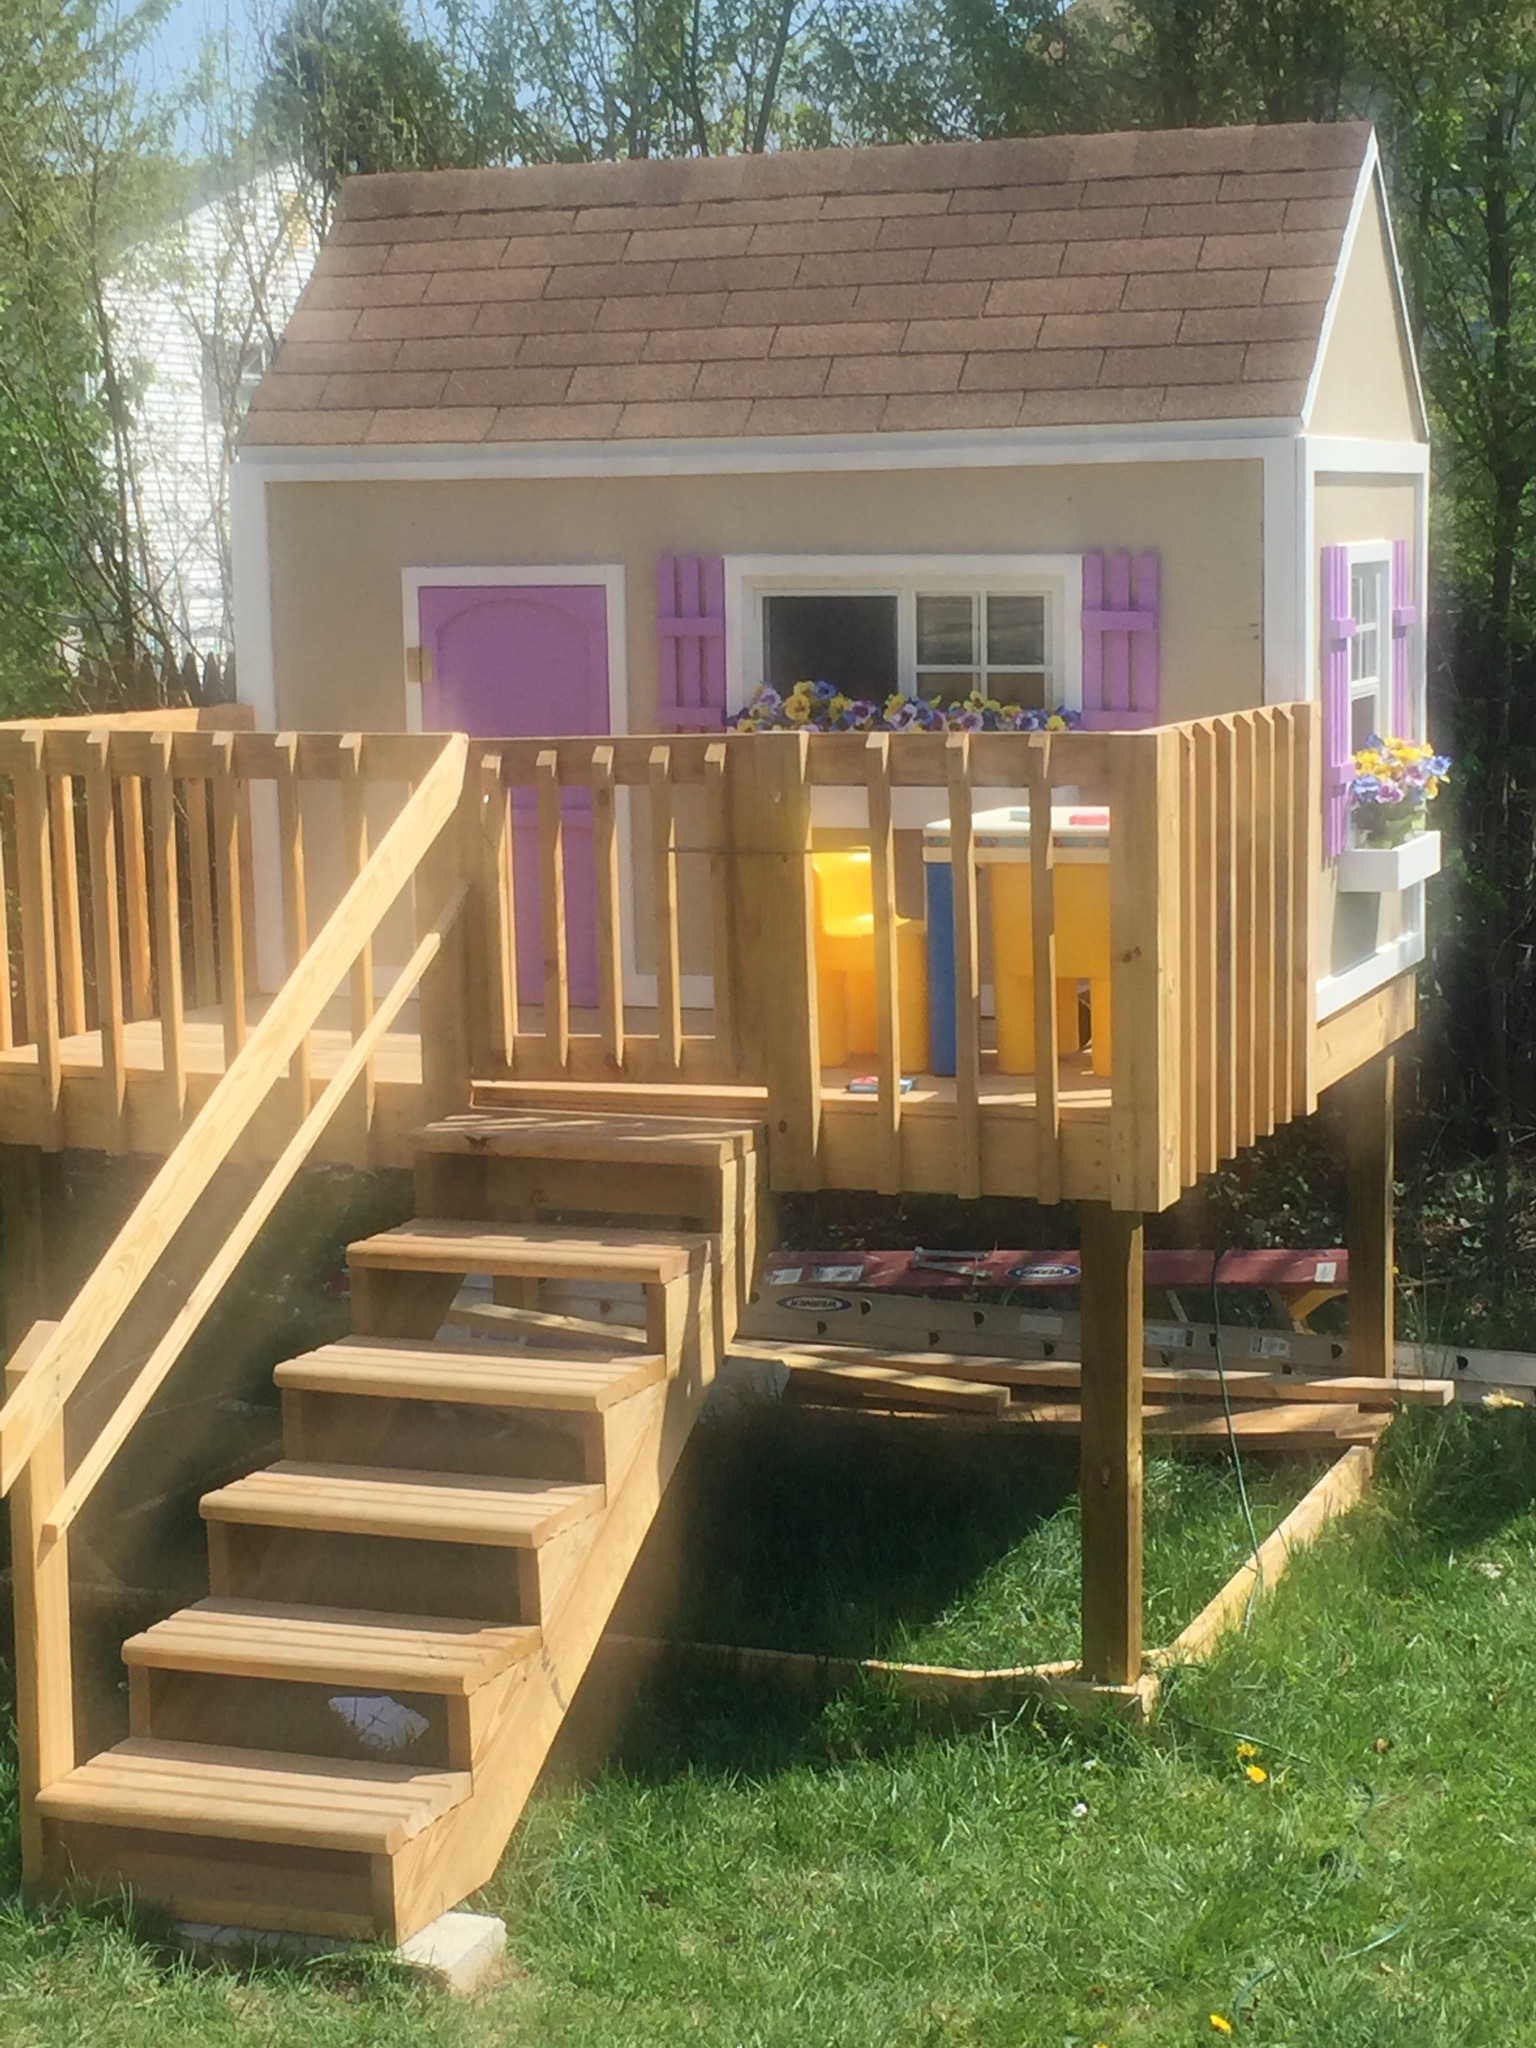
Made from plans on website. Granddaughters favorite color is purple so that's the theme. Siding and room match house.
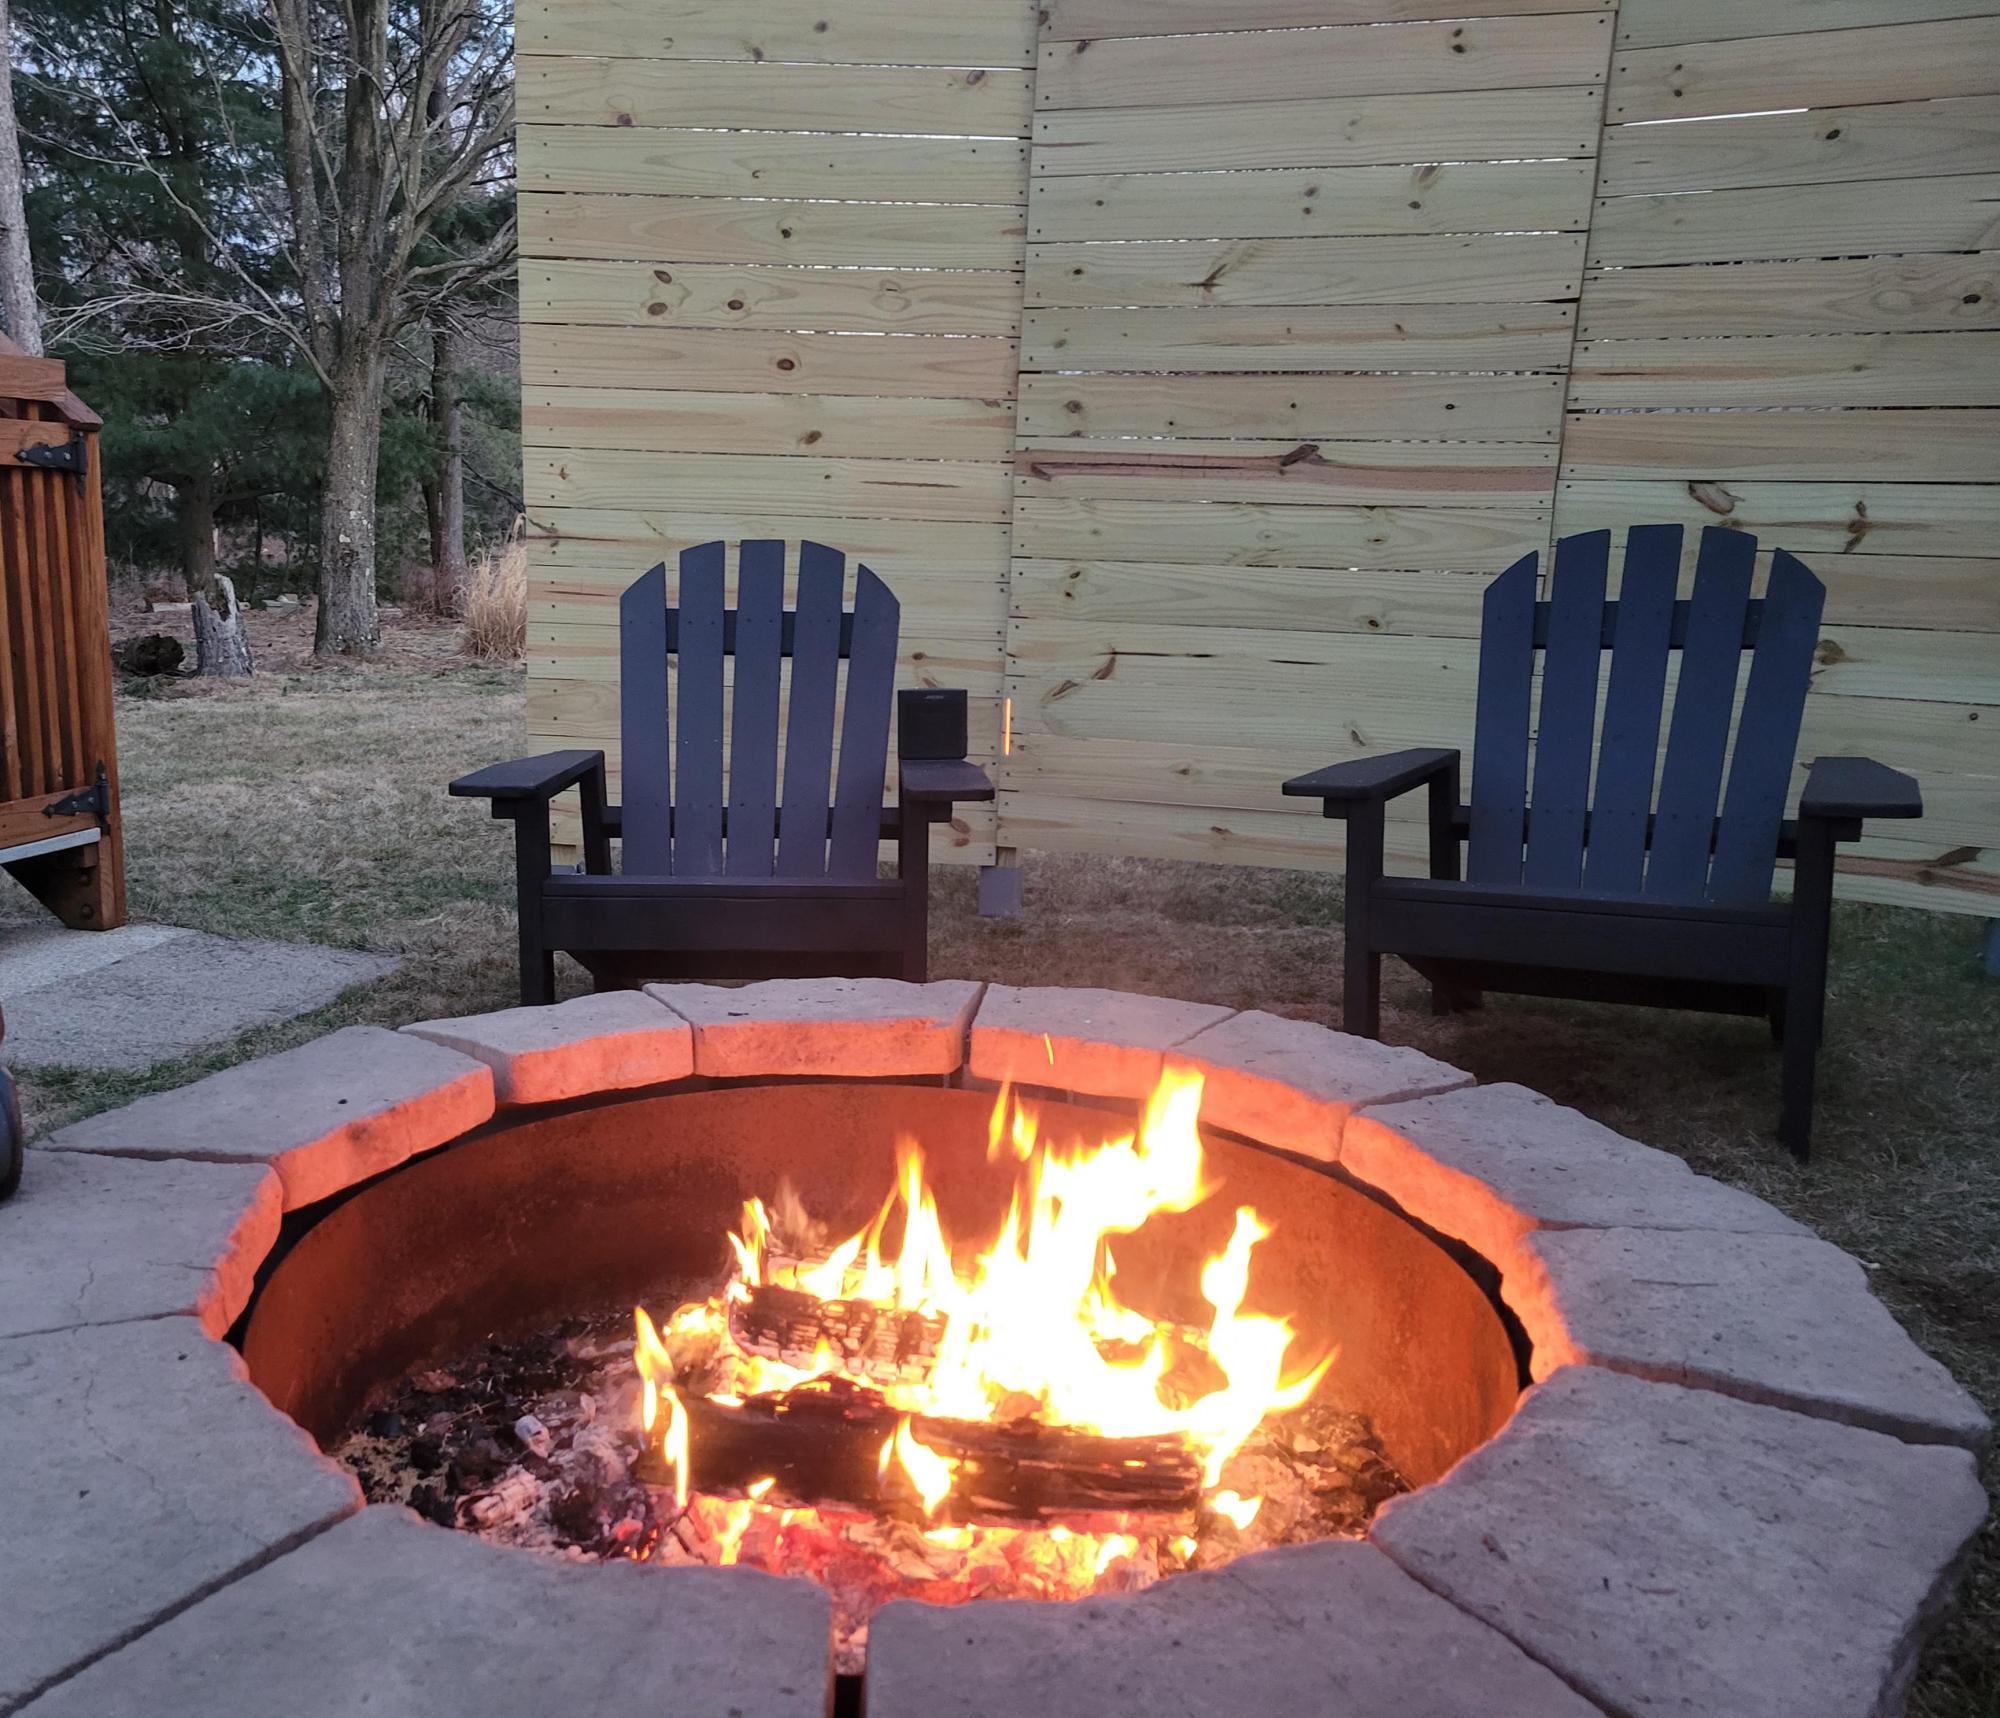
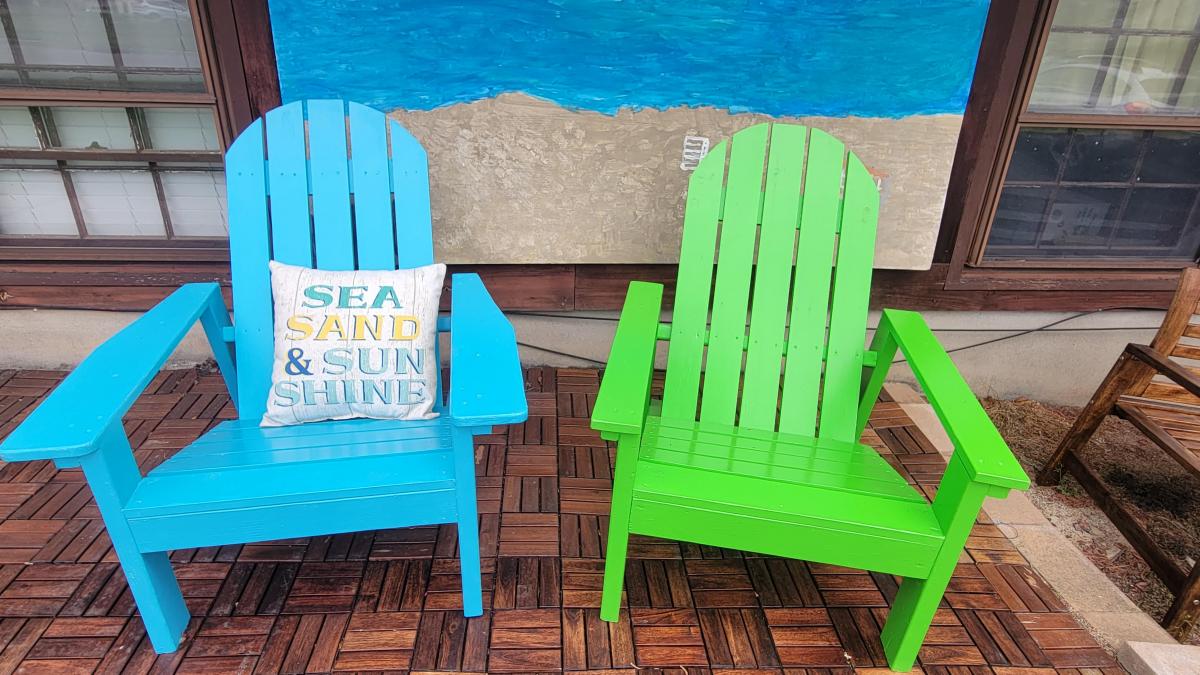
I originally made the Adirondack chairs in a Beach style, then I made them matte black for around the fire pit. I modified the design a little, making the arms wider (to accommodate food and drink better) and fanned the back a bit. Everyone loves the look and how comfortable they are, as well as how sturdy they are. Goodbye to those plastic chairs that break.
Thanks for the great project ideas during the quarantine.
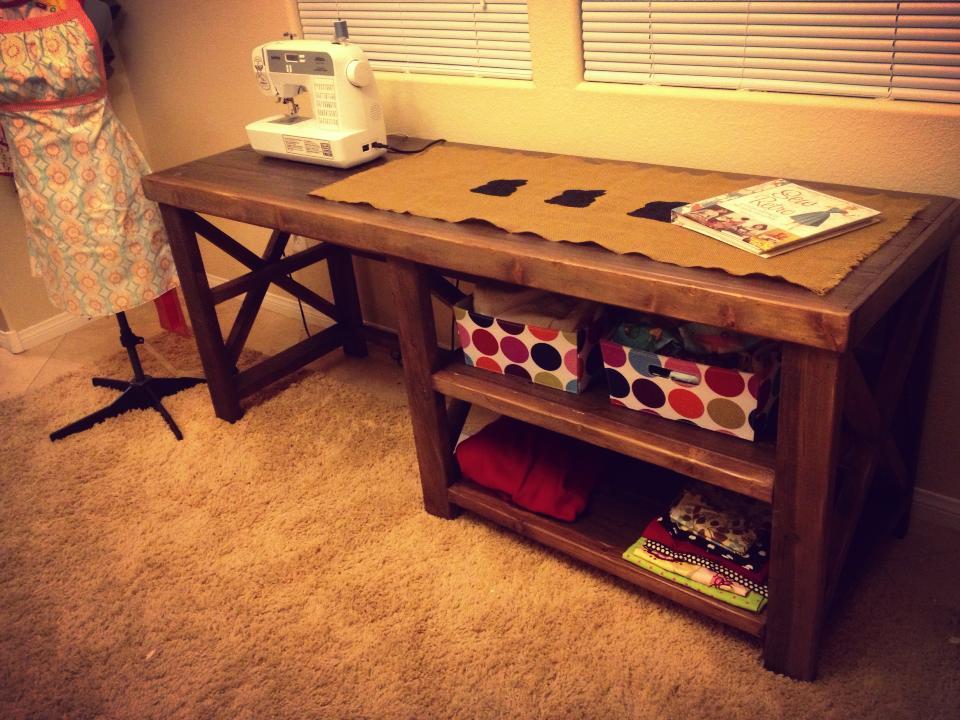
My wife asked me to build her a sewing table so I modified the x console a bit. Pretty happy with the result. Still need to add the hardware to complete the piece. Finished with the vinegar / steel wool solution after pre treating it with black tea. First time using that technique and will definitely use it again.
In reply to beautiful by katiemakes
Fri, 04/05/2013 - 22:20
I can't remember where I stumbled across the technique but basically you take some steel wool (0000), tear it up, put it in a big glass jar, fill it with stinky white vinegar and let it sit for a few days to dissolve the wool. Shake the jar every day or two and don't cap it tight. In about three days the wool will have dissolved and you will have a murky liquid.
I then brewed some black tea I bought at Walmart and painted the entire piece with the tea. After it dried I painted over it with the vinegar, and wallah! it totally changed colors...not sure why it does...something to do with oxidization and tannin and chemical reactions.
Then I went over the entire piece with furniture wax.
There are plenty of online tutorials which go into more detail. My suggestions is make sure your surface is completely clean and as smooth as possible. Let your tea layer completely dry before applying the vinegar and then let your vinegar layer dry outside. We rushed the table into our house mere moments after it was dry to the touch, so our home smelled like stinky, rusty vinegar for a few days. I can't stand the smell of vinegar....I loathe salt and vinegar chips....blah.
Anyway, glad you liked it.

Tue, 04/07/2015 - 06:05
Love this mod. Might copy but will cut into the desk portion so the sewing machine surface is flush. I have a desk in which it sits on top now and have thought of cutting into it, but it's Amish made and the thought of ruining work gives me the willies, ha! Anyway, great job!
Wed, 04/08/2015 - 08:52
Love this! Would like to build for a make up/get ready table! Do you have the plans you used or how did you modify this?!
Comments
Ana White Admin
Mon, 03/22/2021 - 09:59
Nice!
The table is beautiful and looks great in your space, thank you for sharing!