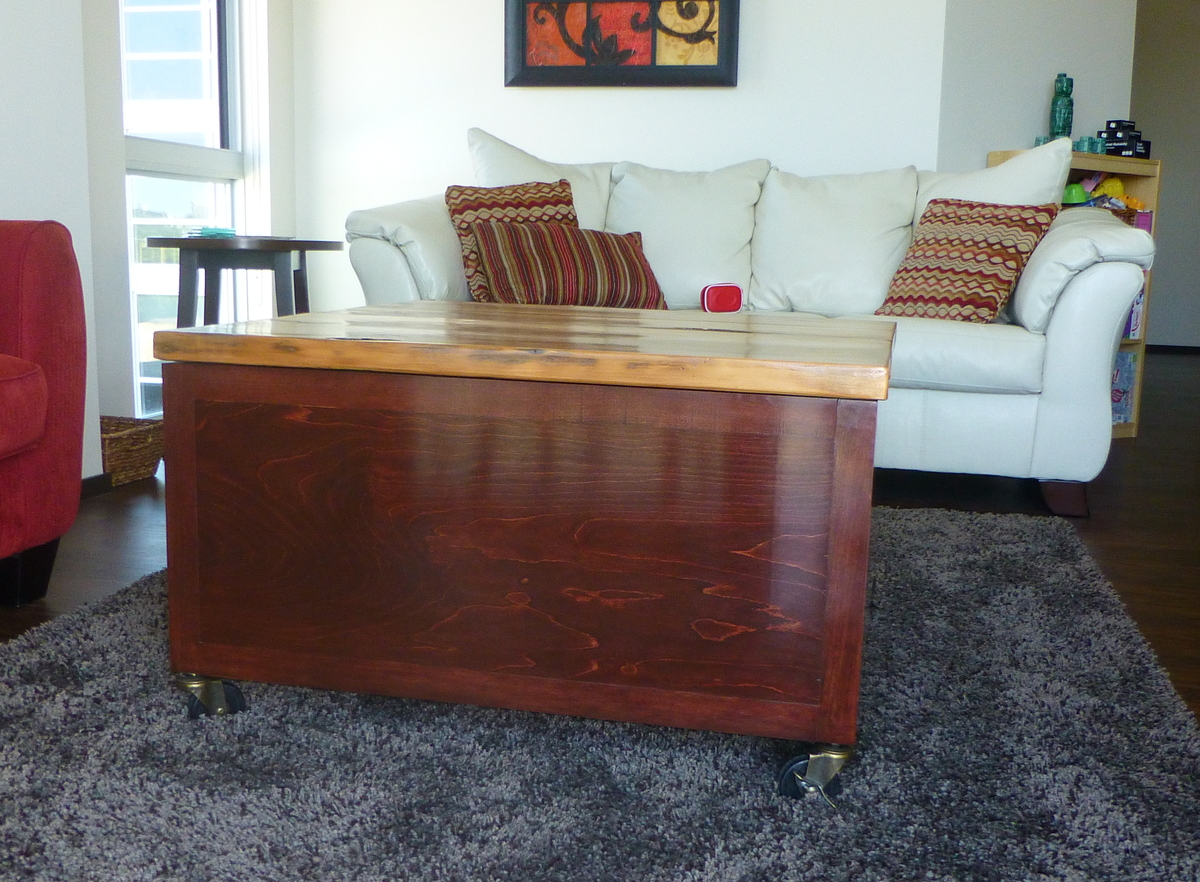
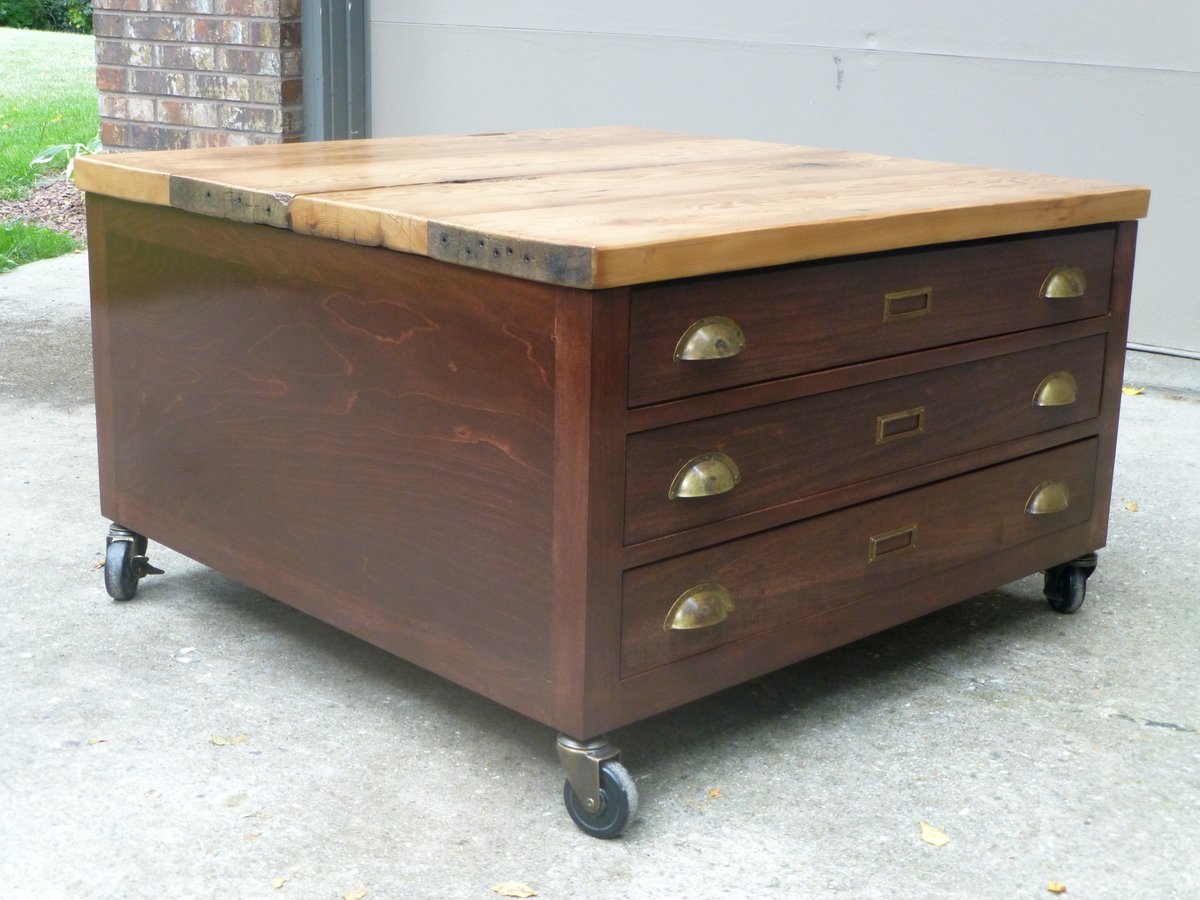
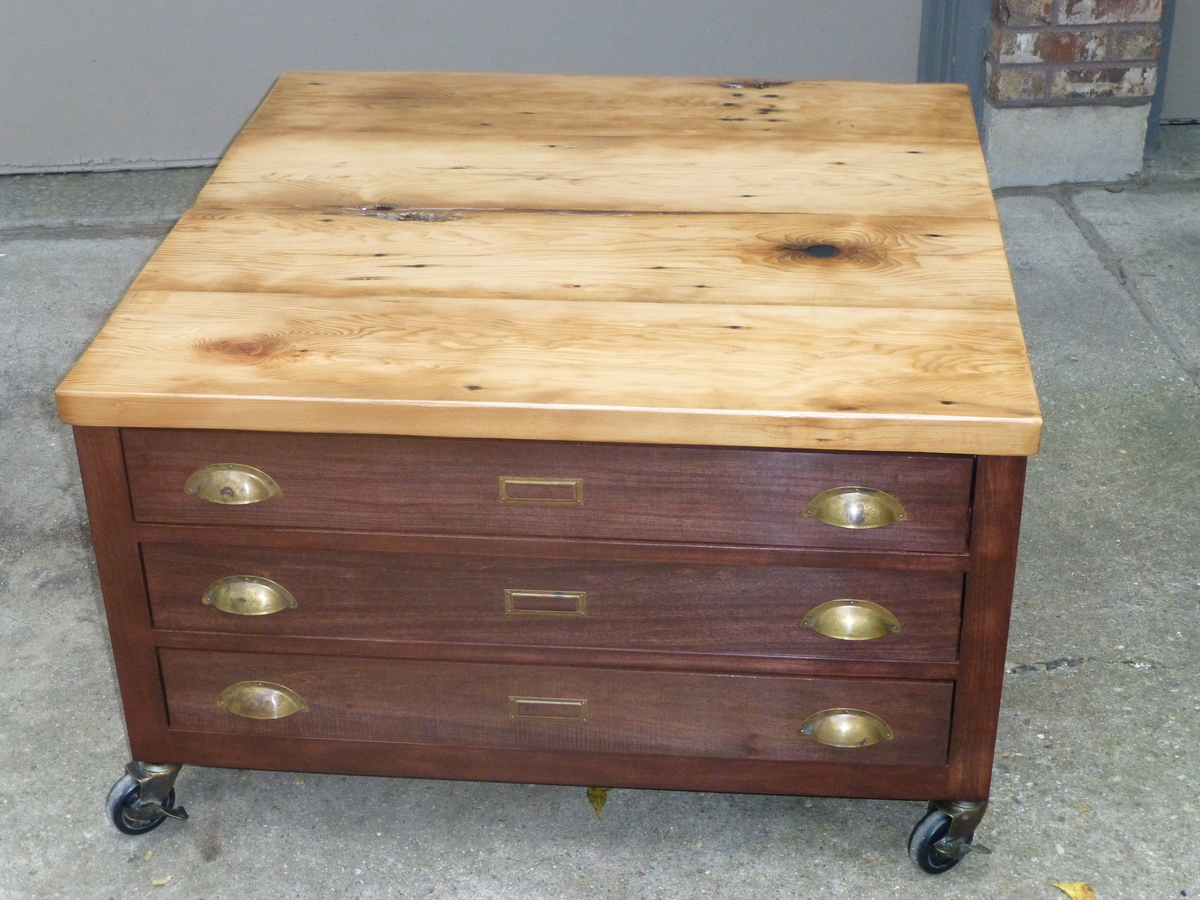
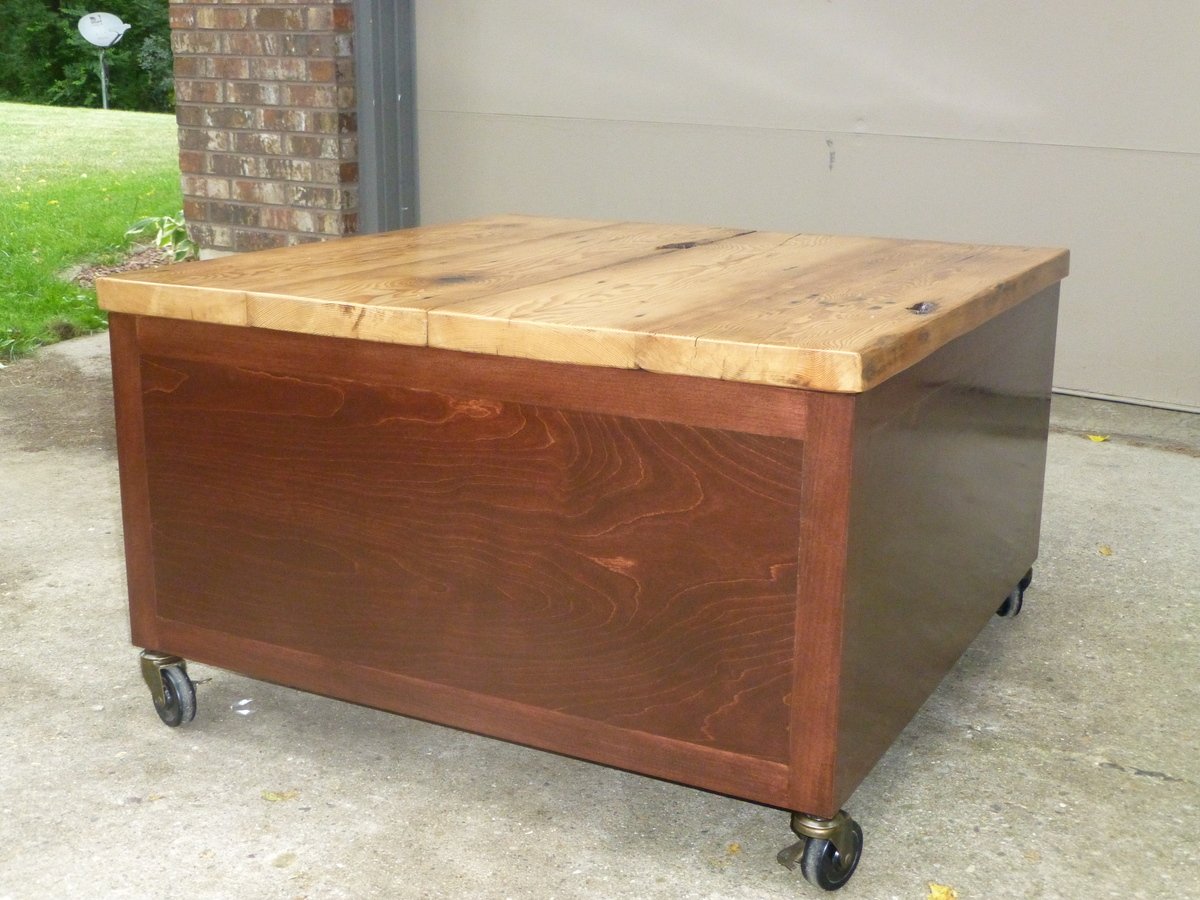
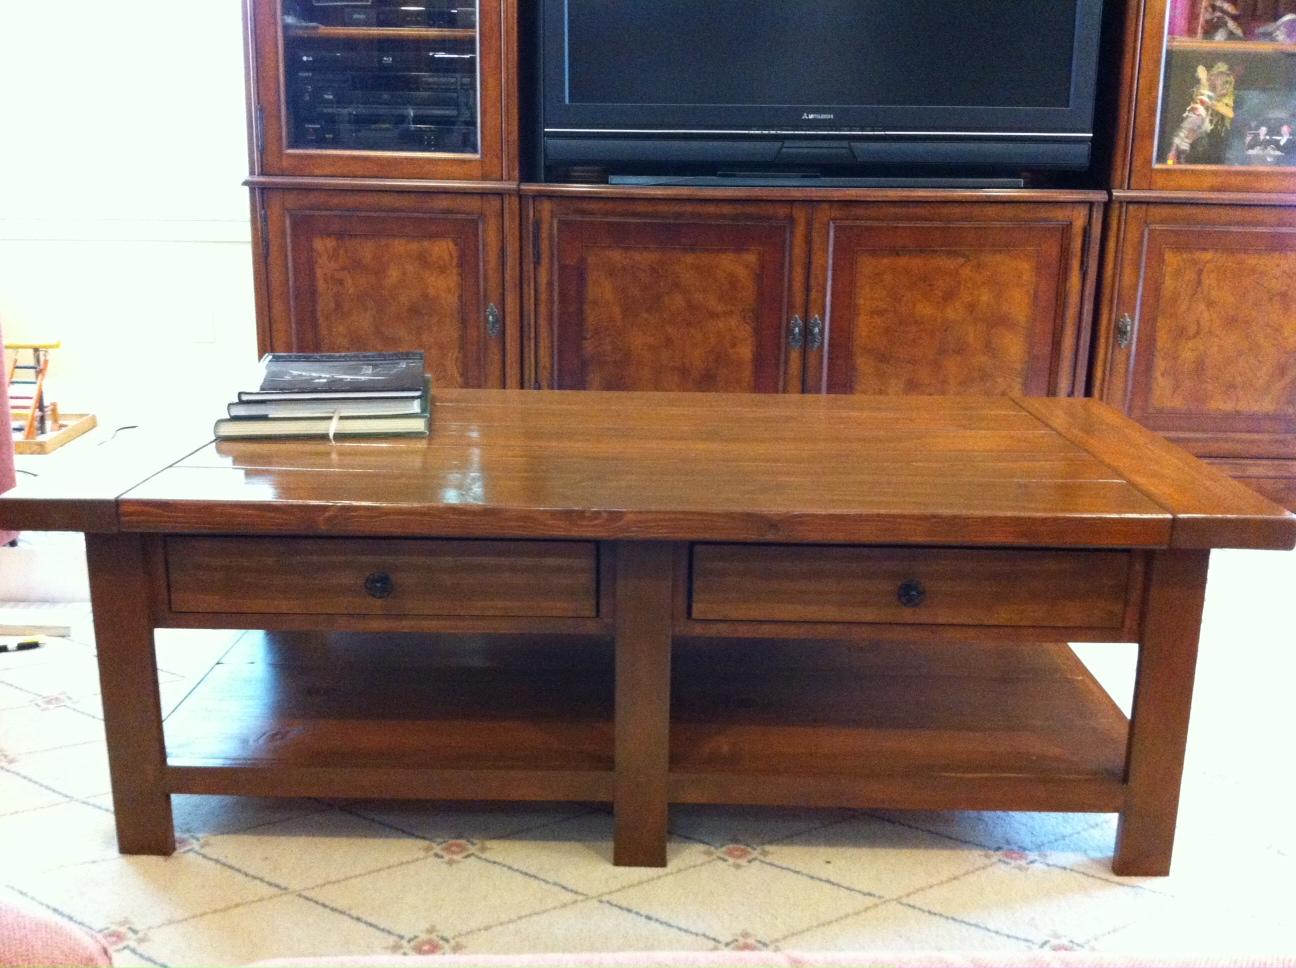
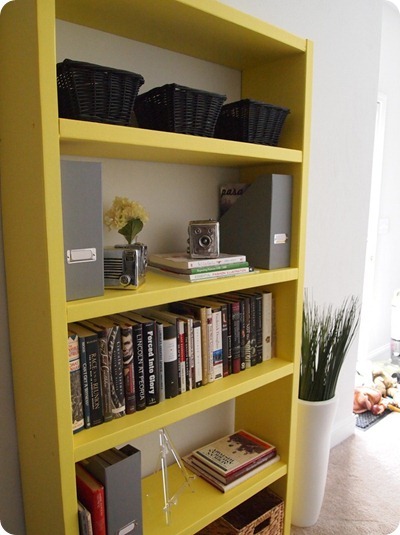
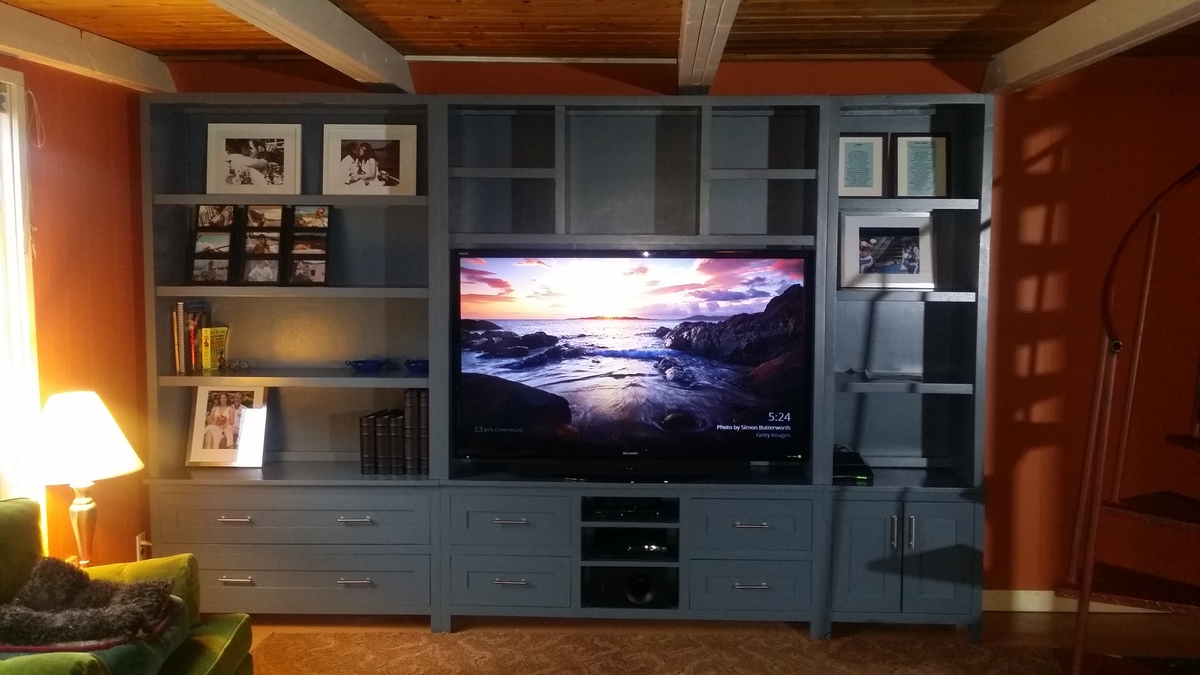
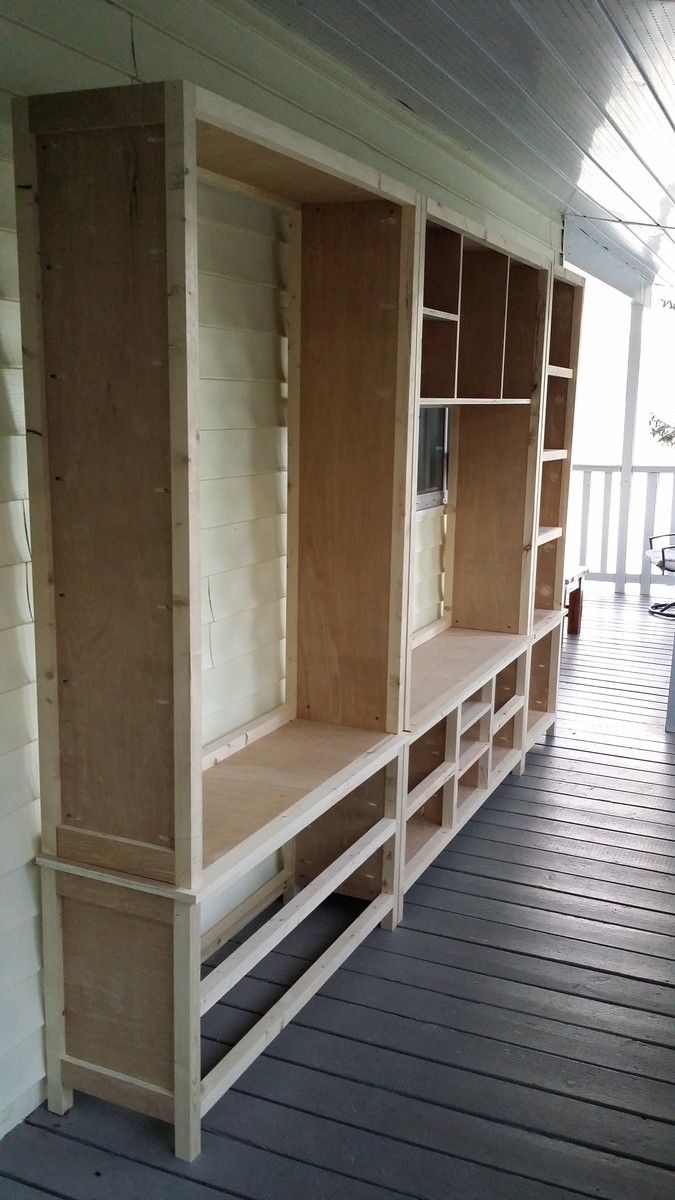
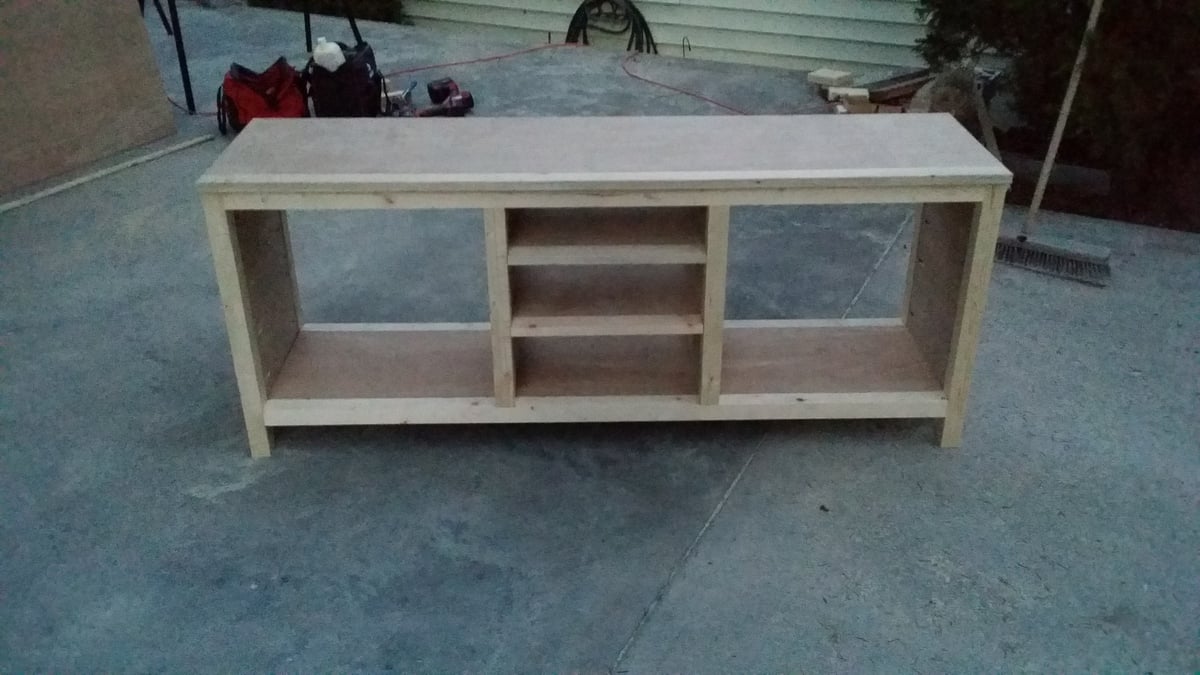
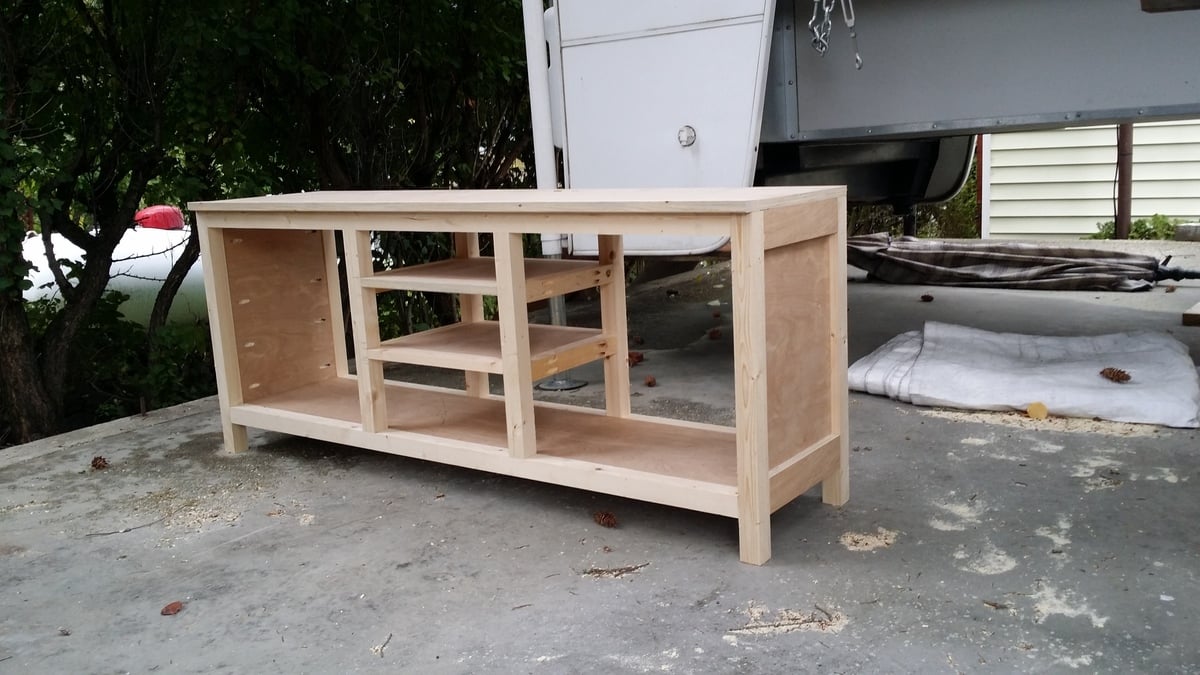
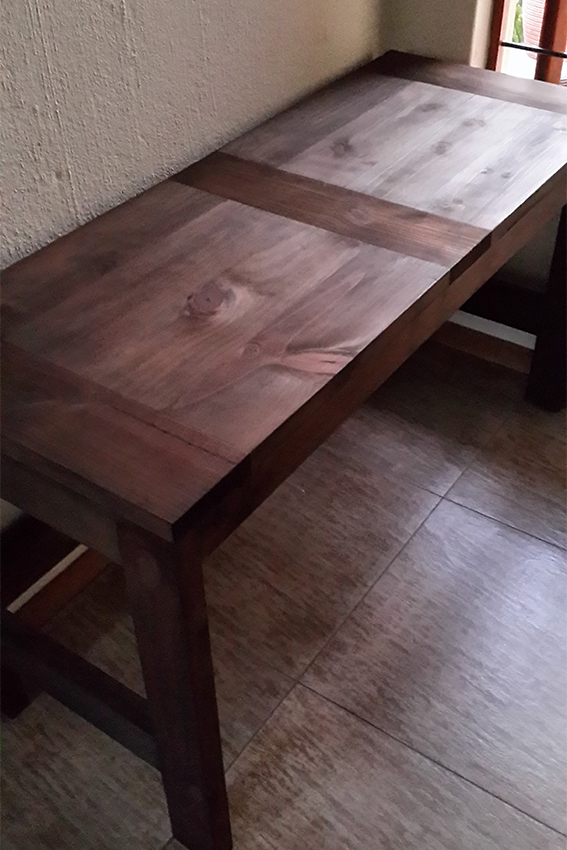
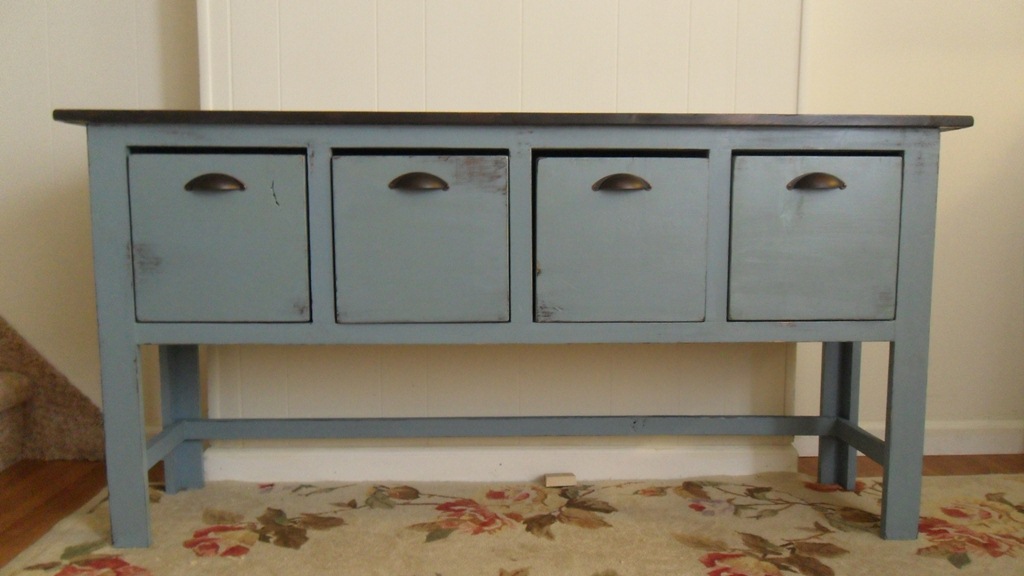
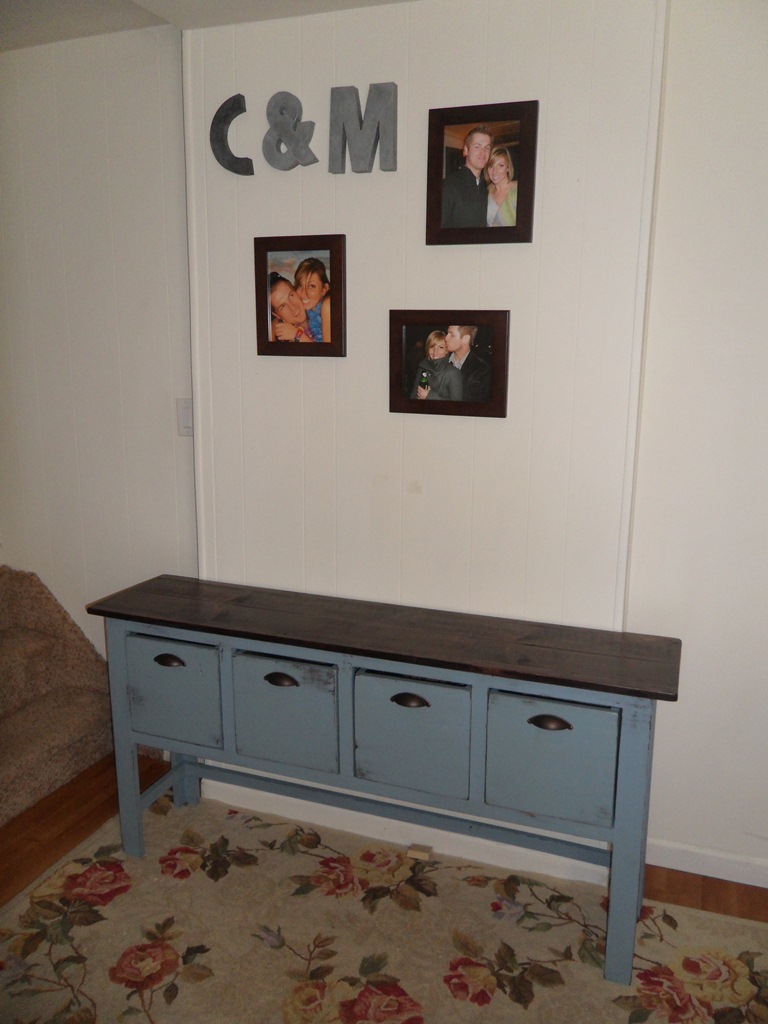
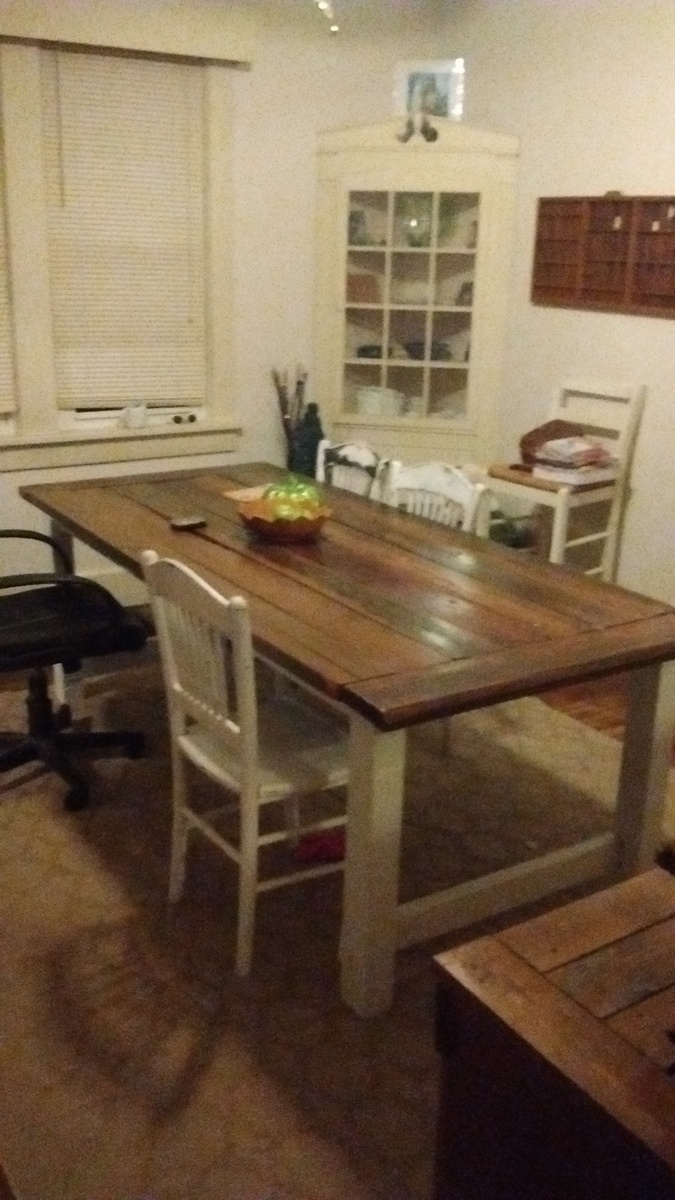
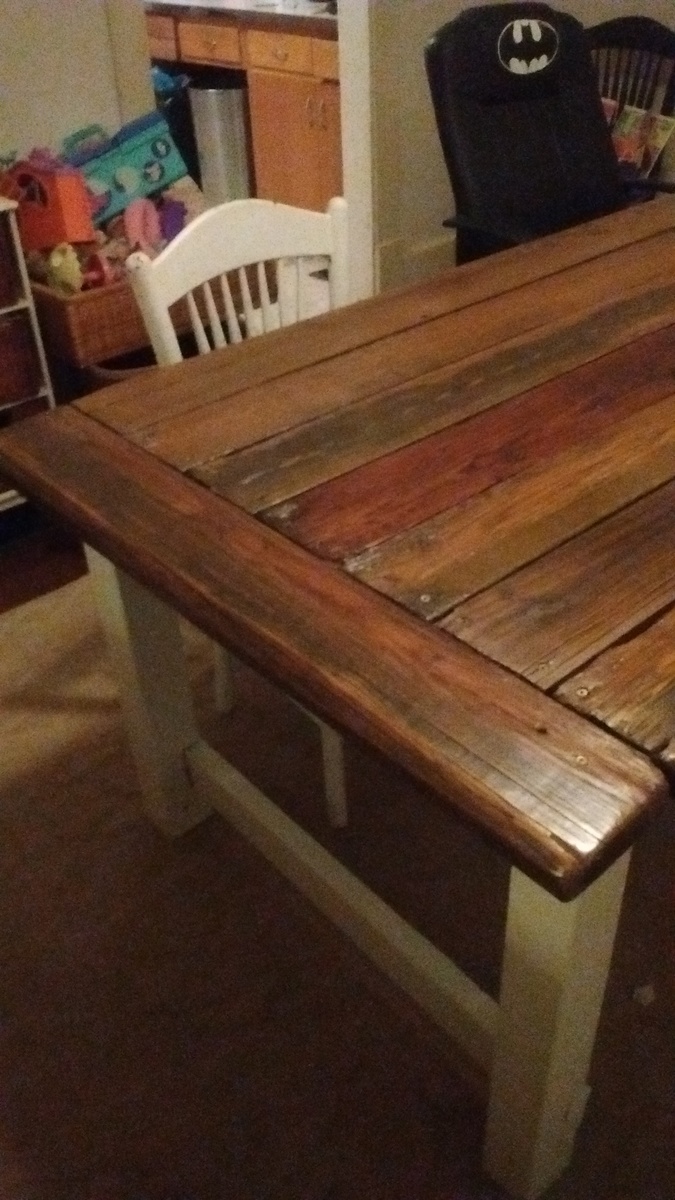
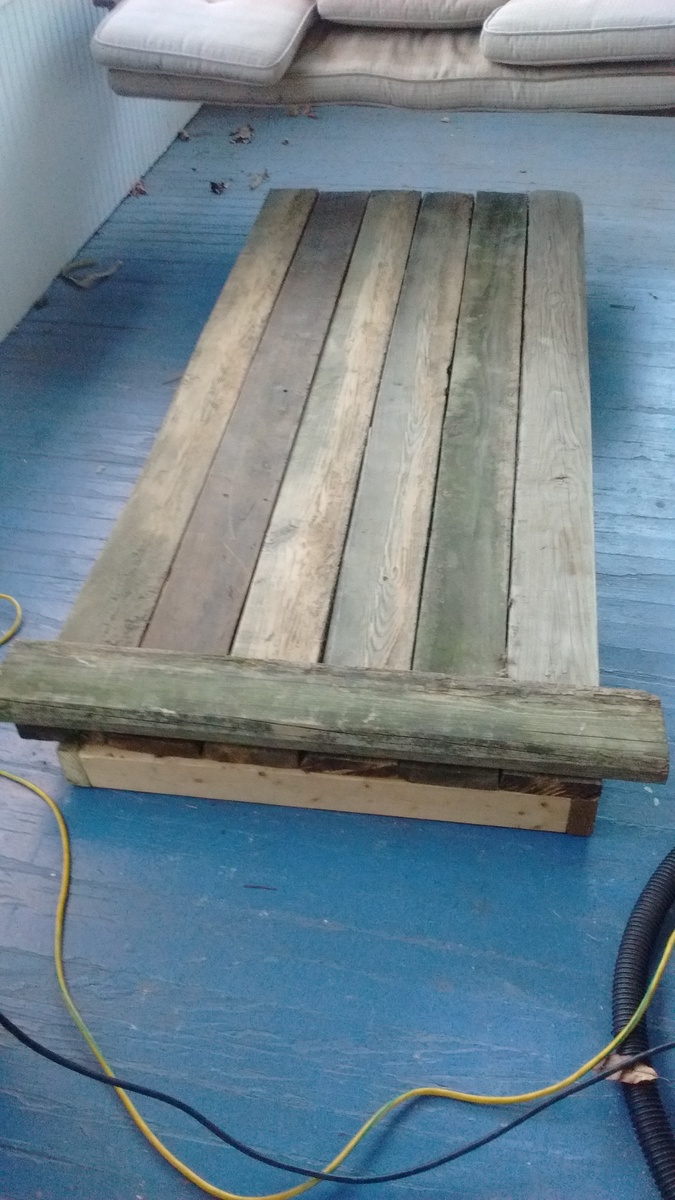
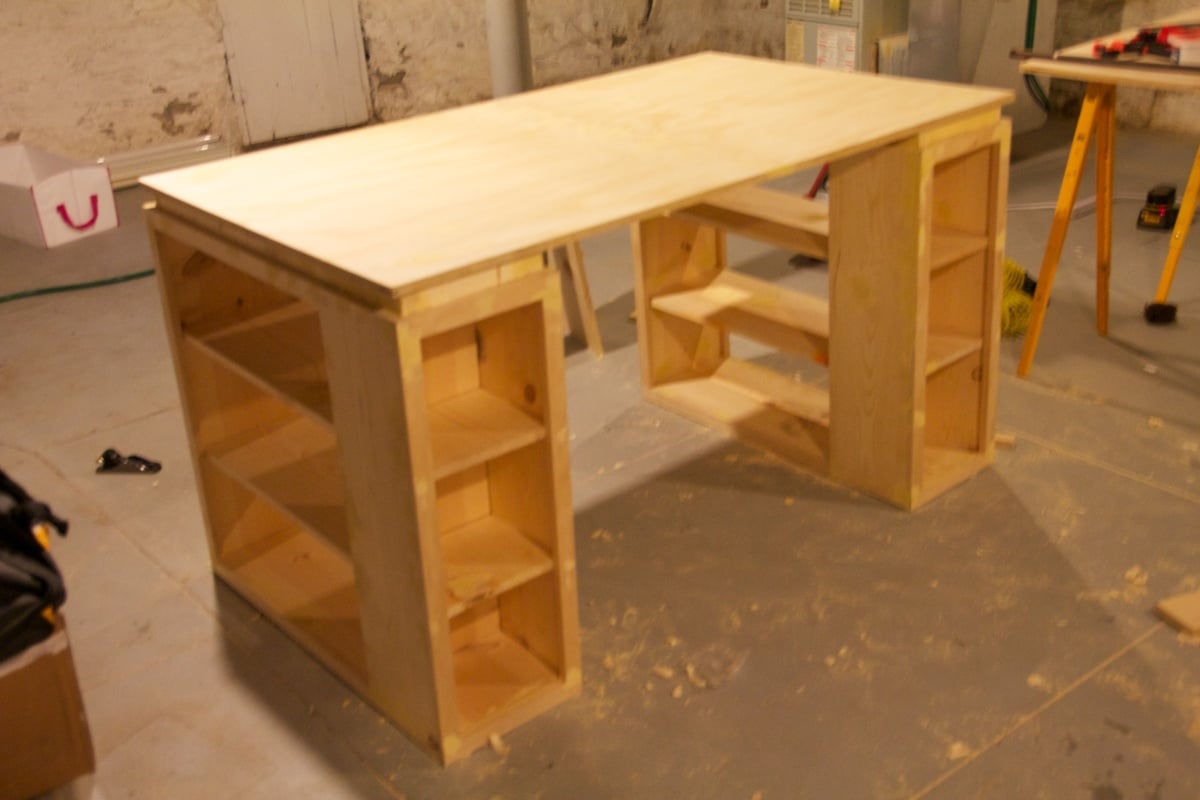
Library Coffee Table with Reclaimed Barn Wood Top
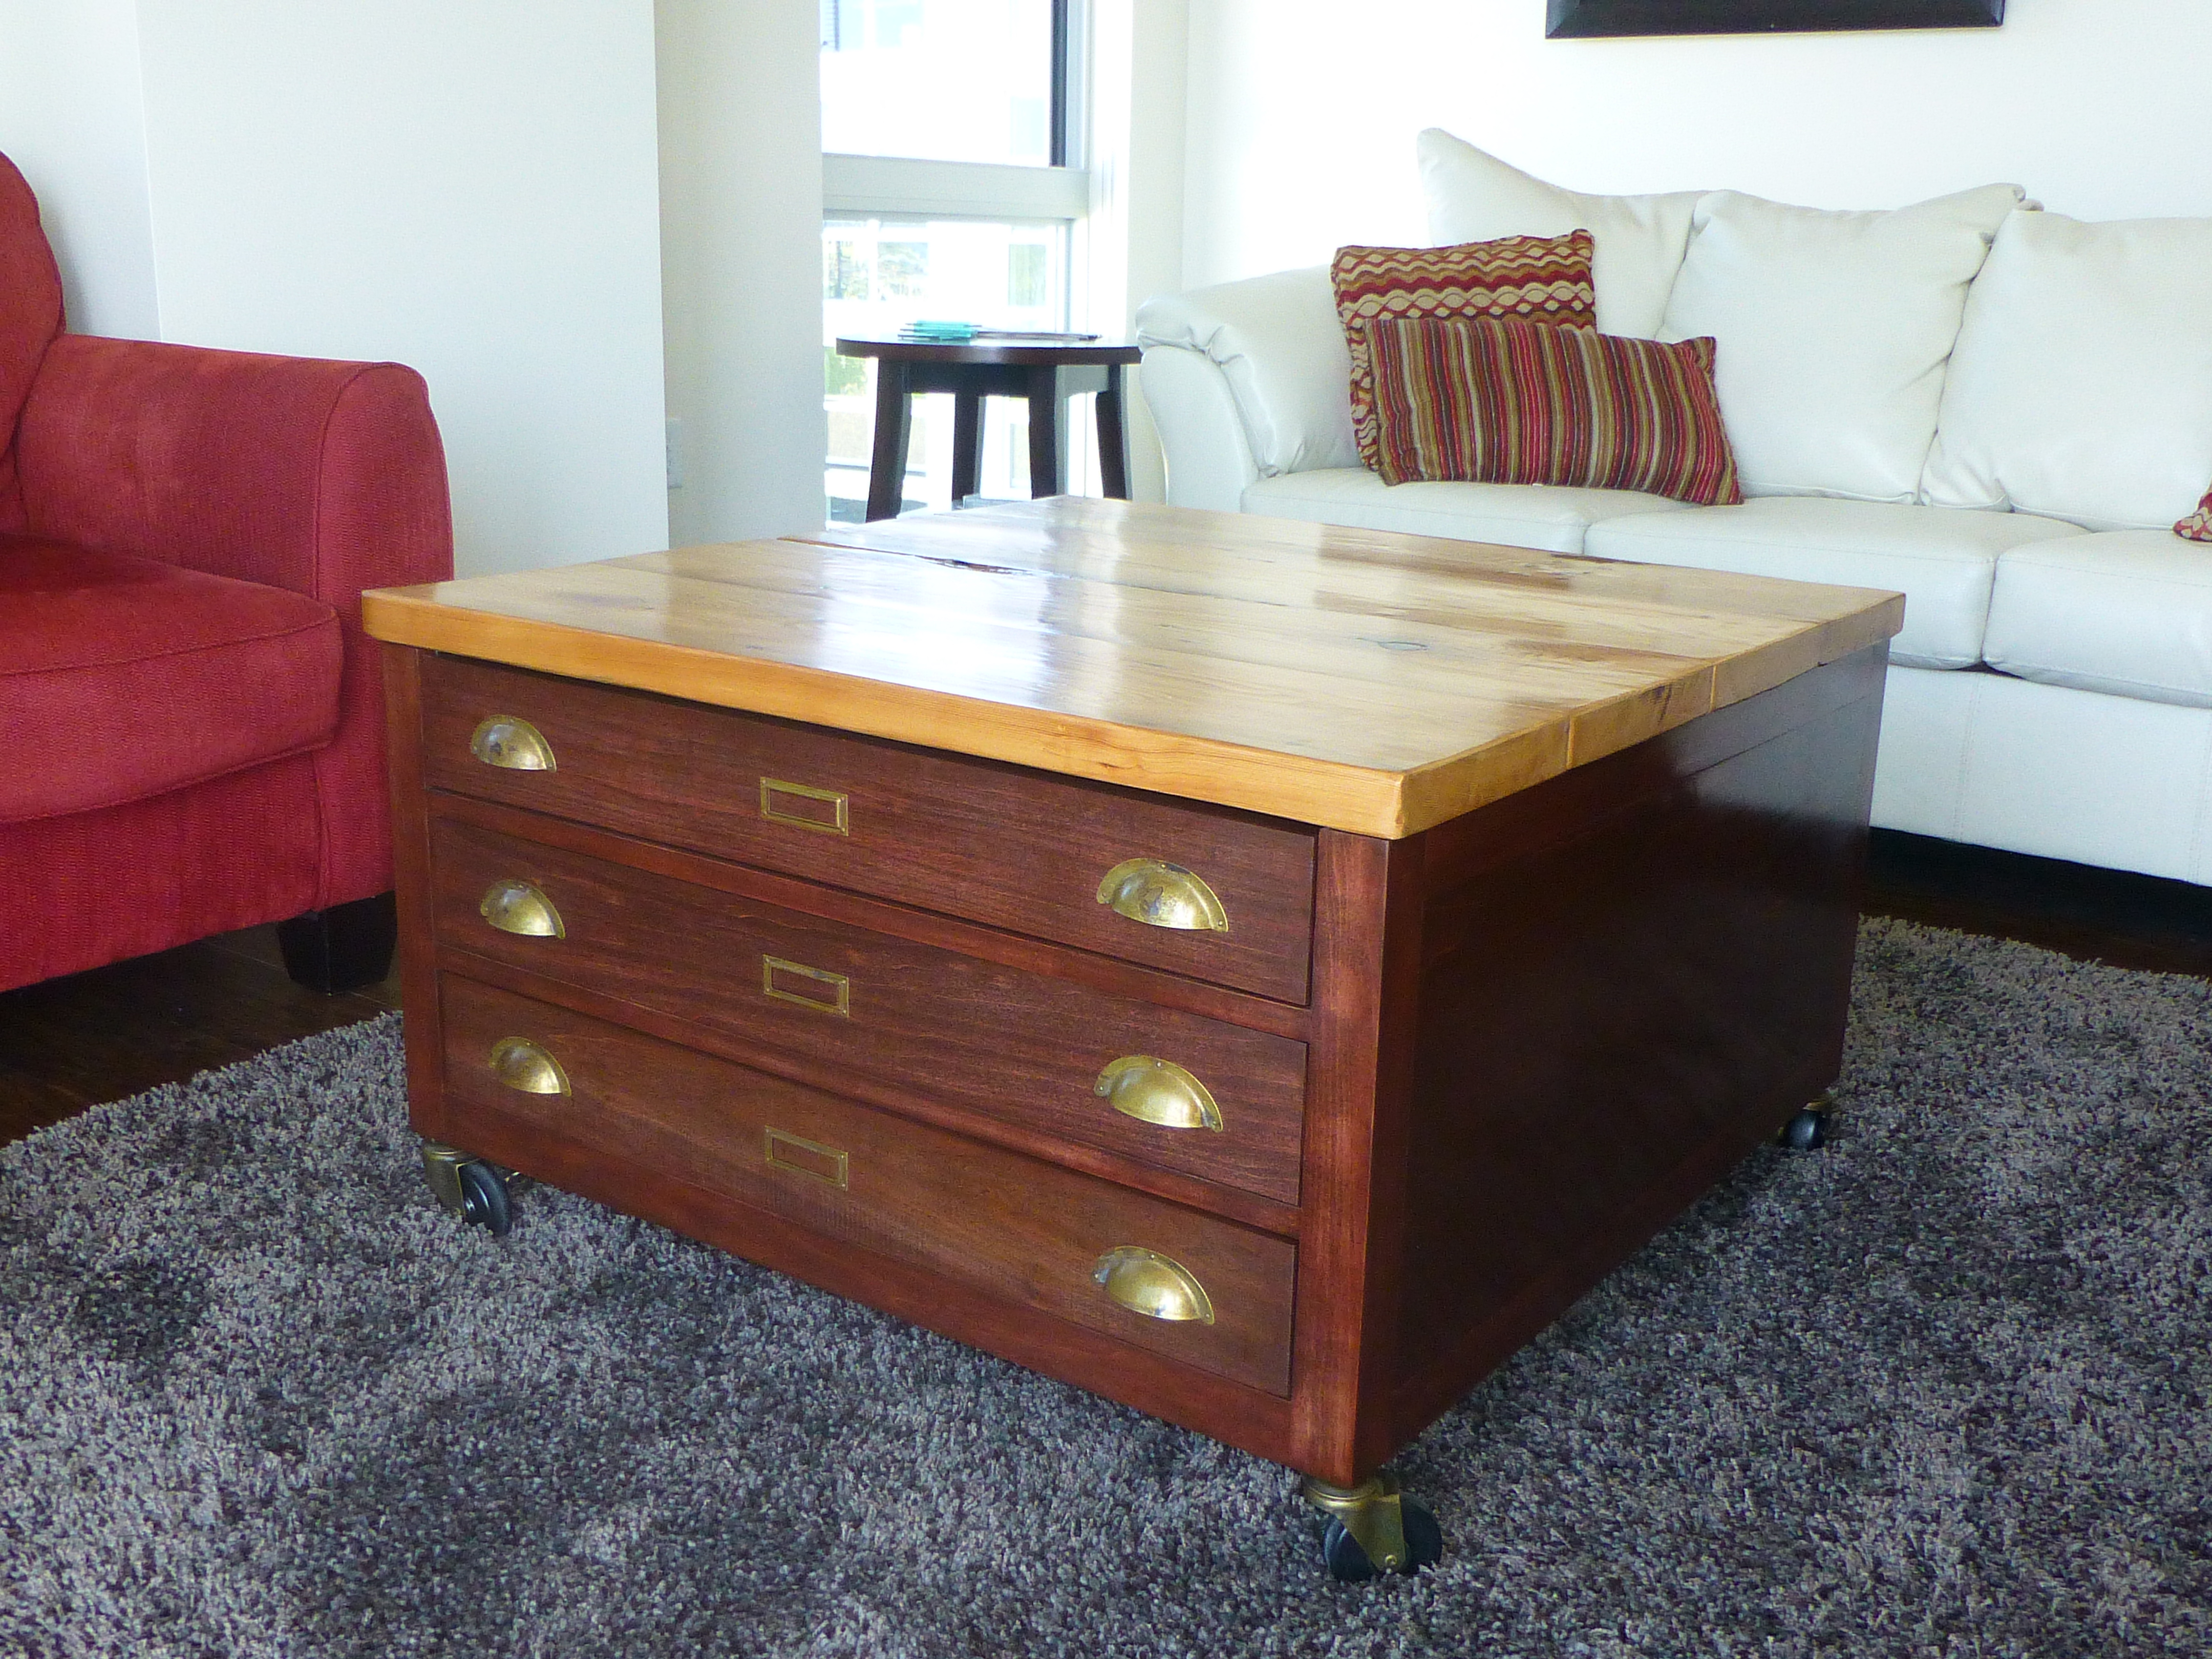
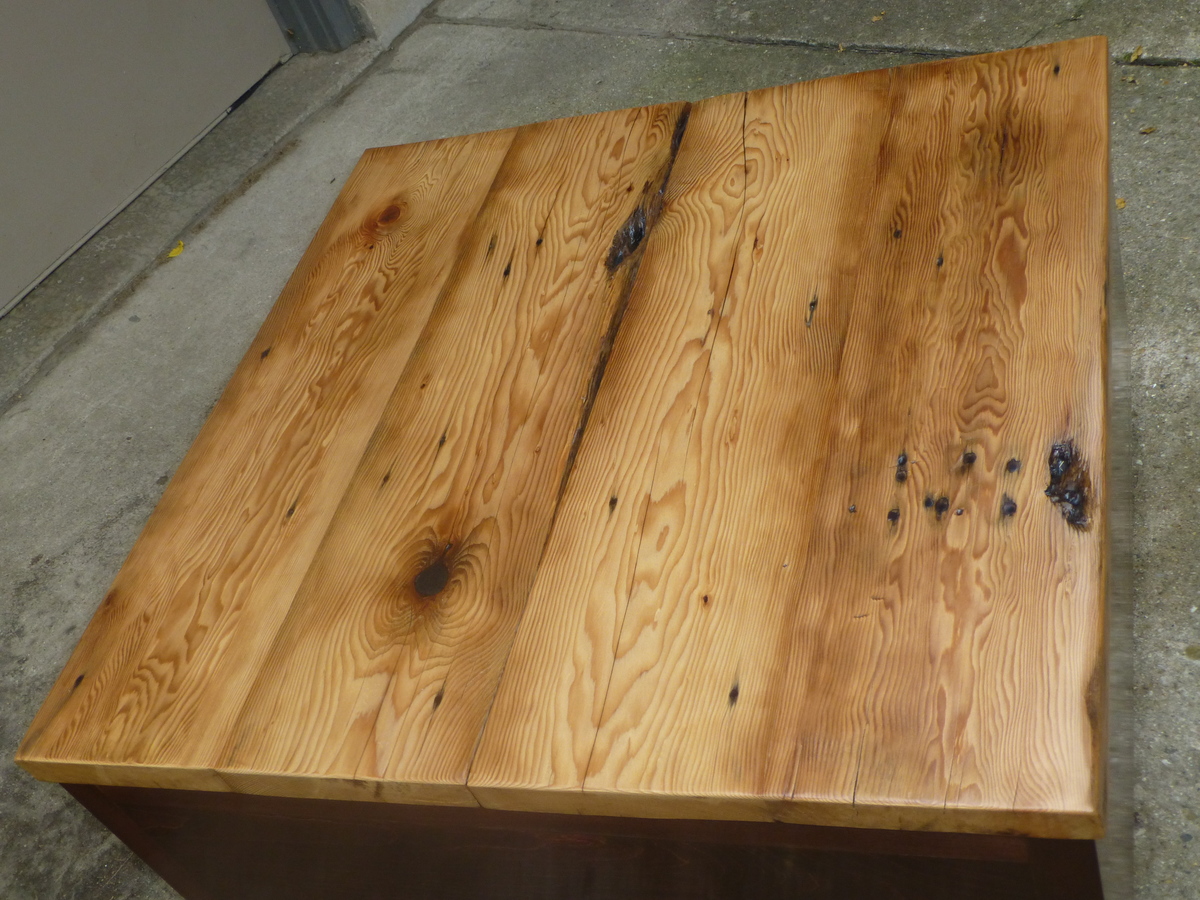
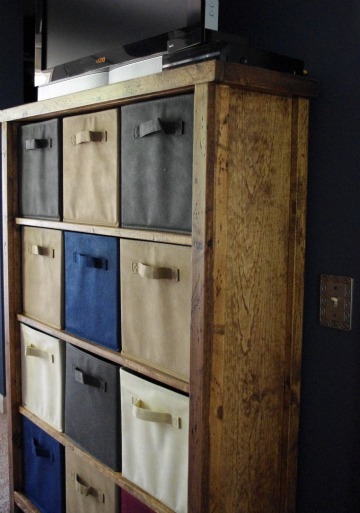
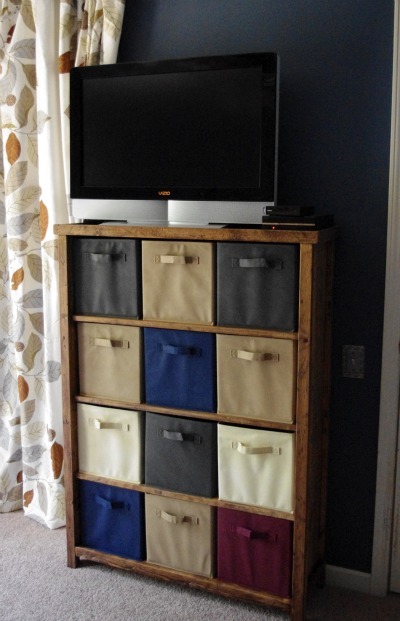
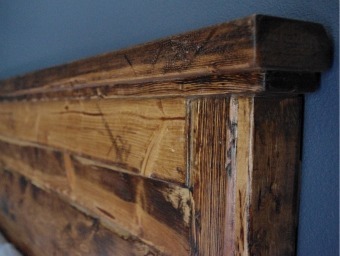
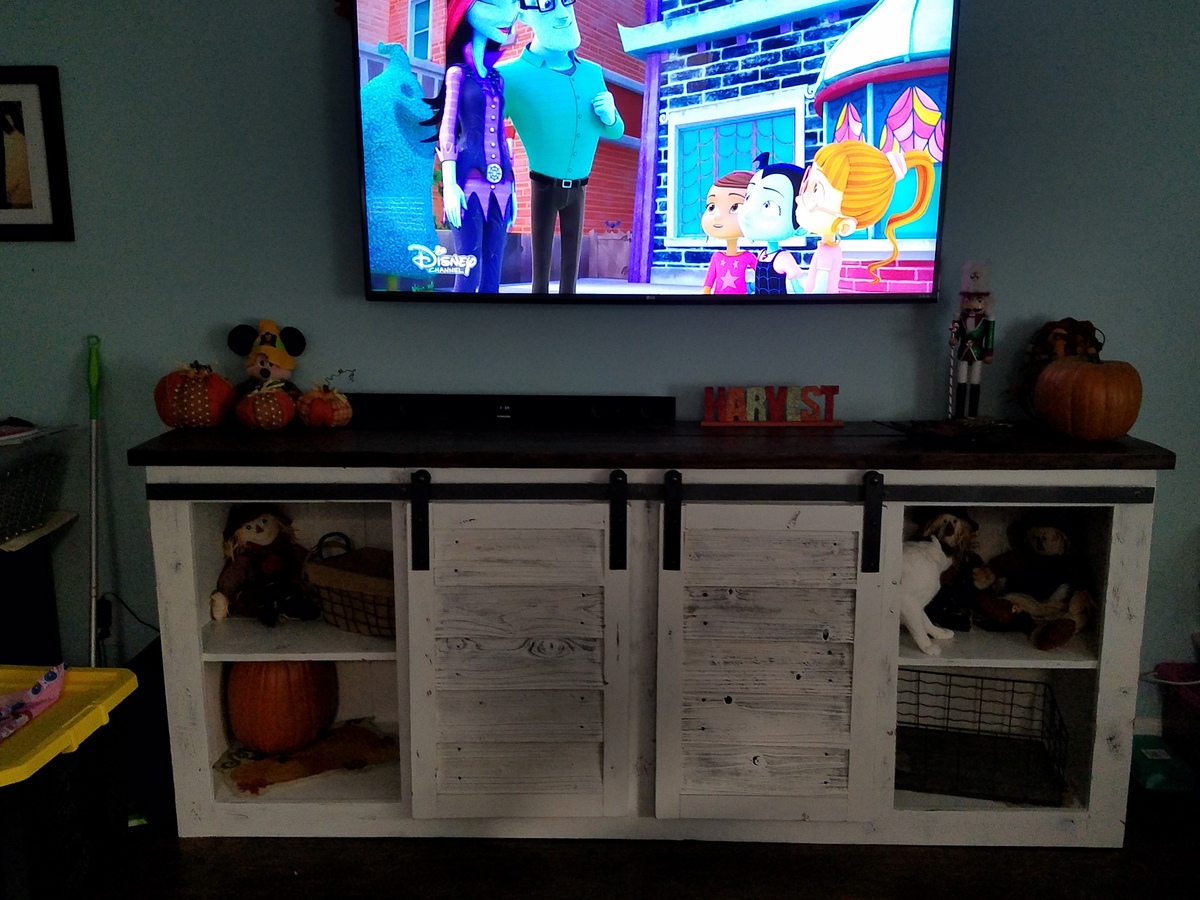
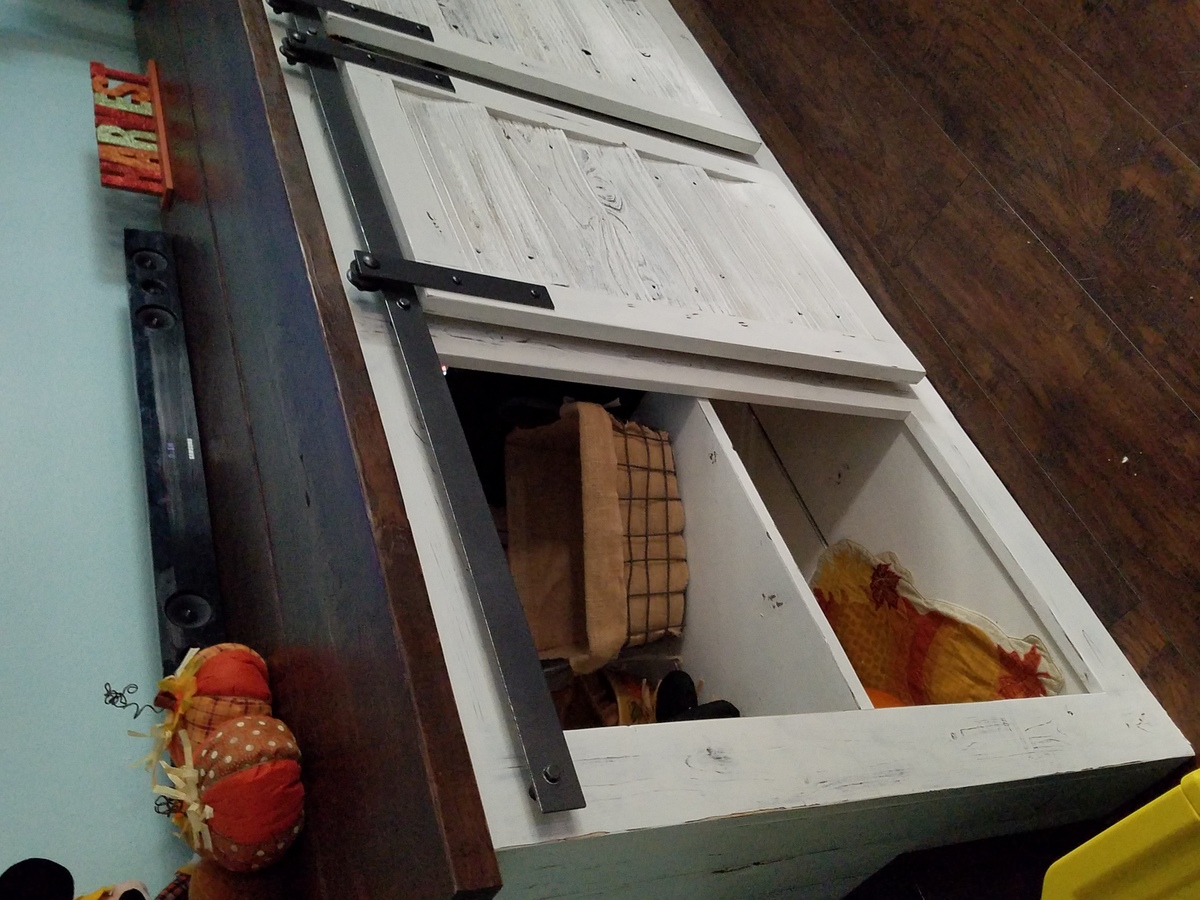
Modified the plans to be only 3 drawers which saved on weight and hardware. Used reclaimed 100+ year old barn wood for the top, adding lots of character.
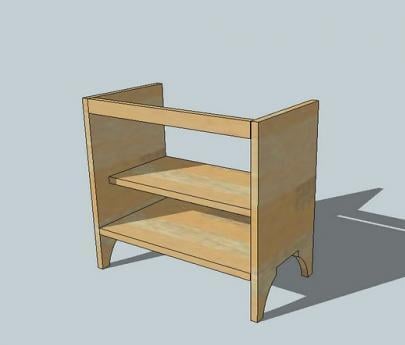
Built from Plan(s)
Estimated Time Investment
Week Long Project (20 Hours or More)
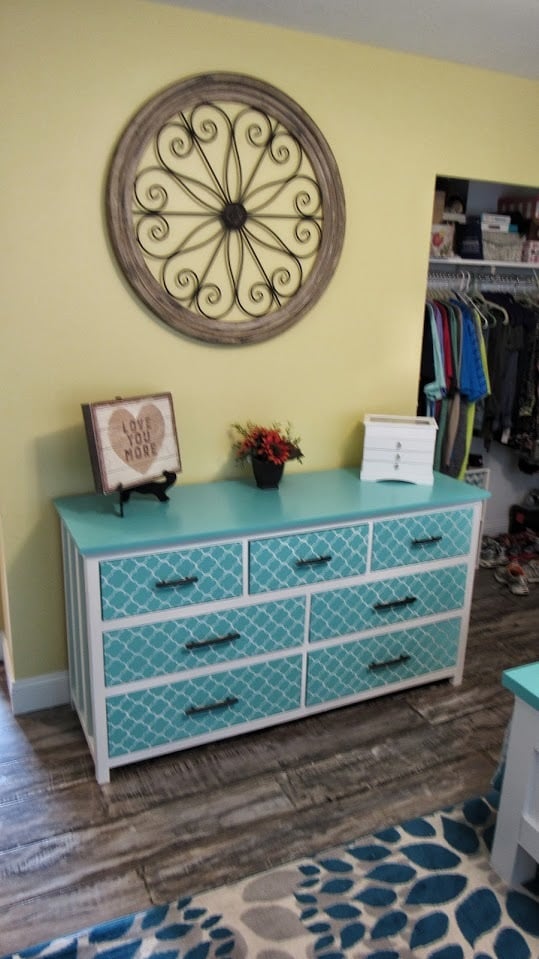
Finish Used
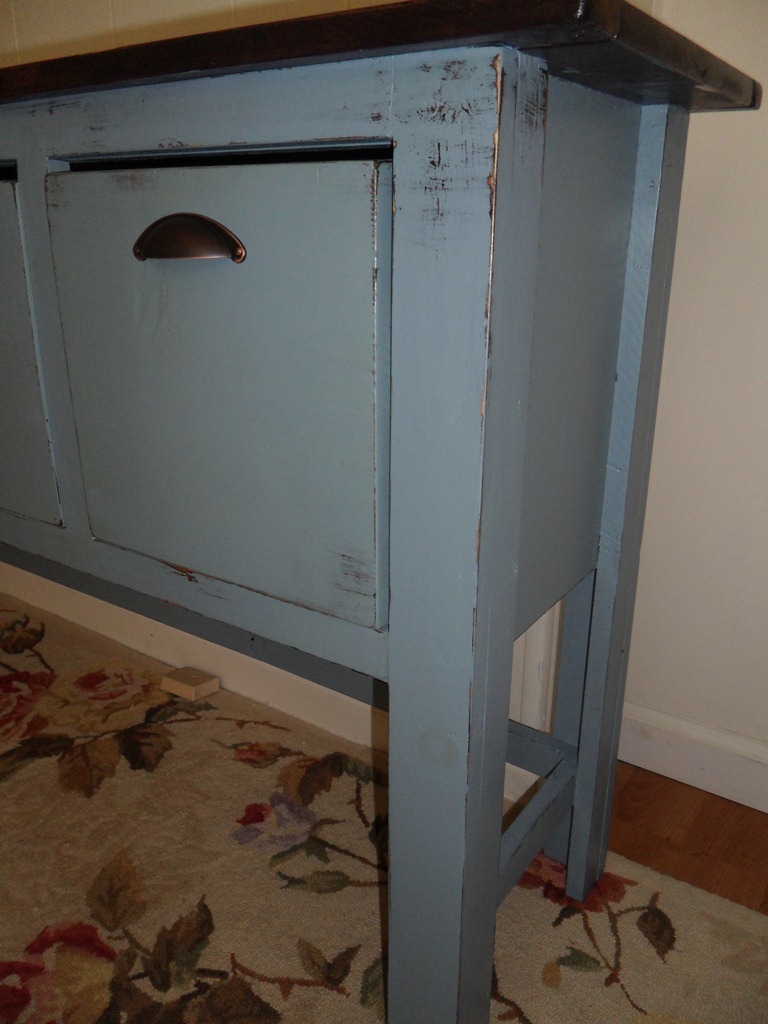
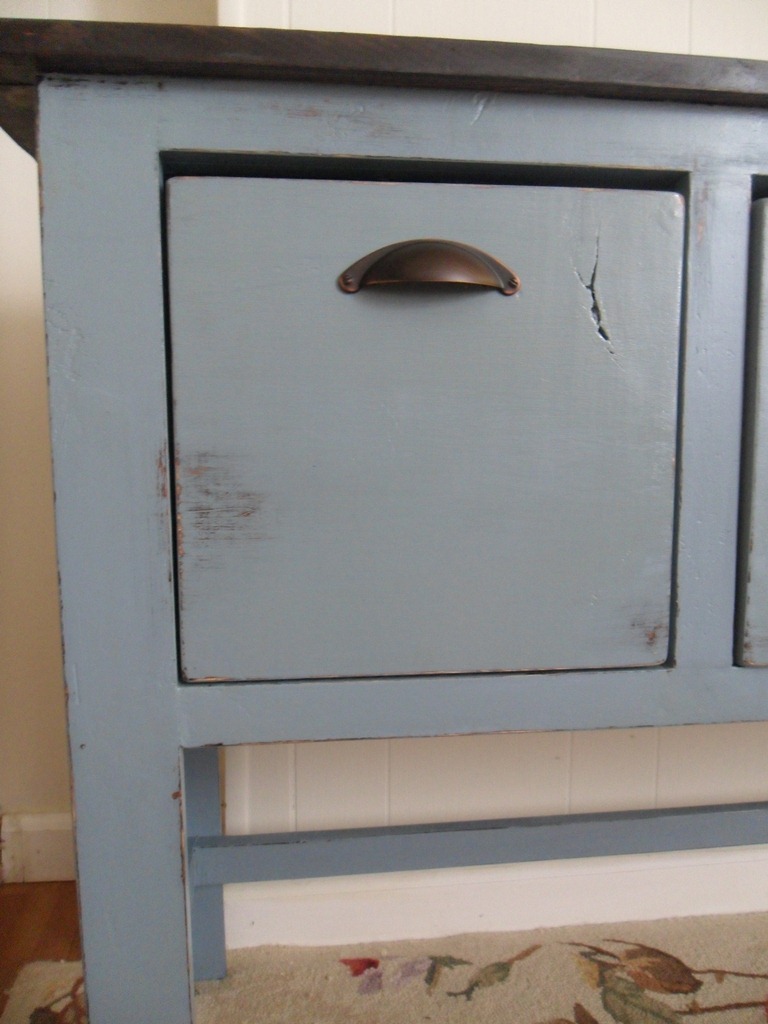
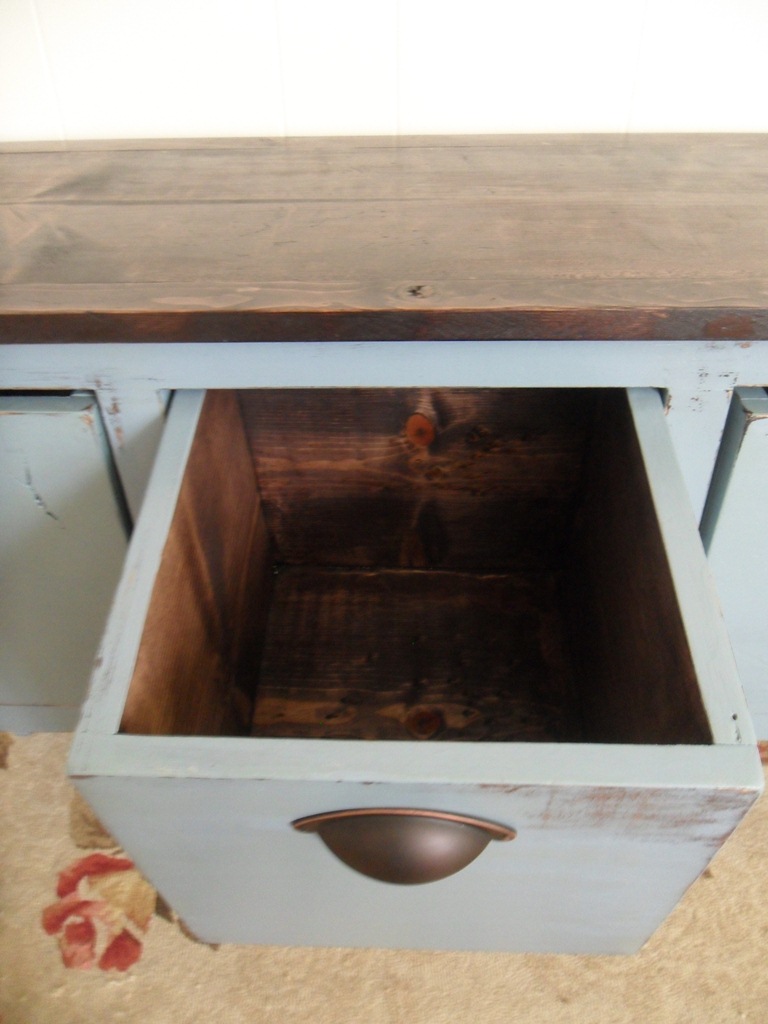
Cabinet: Minwax gel stain in Red Elm, and Winwax wipe-on satin poly. Top: West System epoxy to stabilize and fill 'defects', sanding sealer and wipe-on satin poly.
Recommended Skill Level
Intermediate


Comments
spiceylg
Thu, 08/22/2013 - 04:44
Gorgeous
Totally looks professionally built!