Community Brag Posts

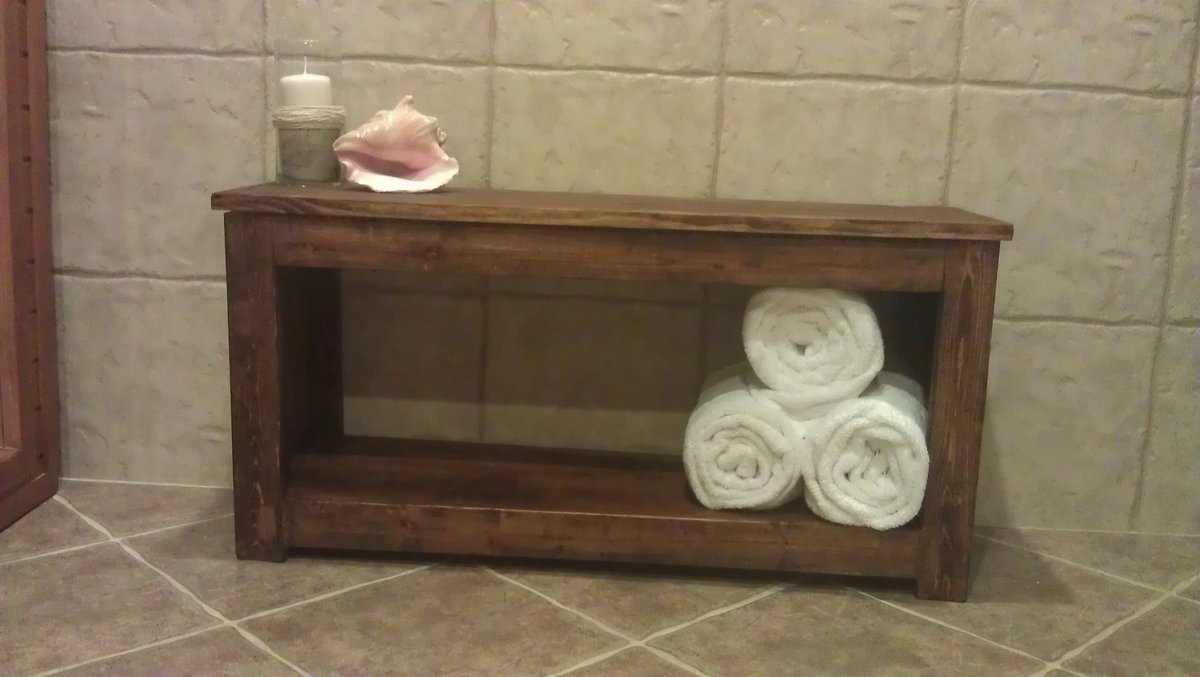
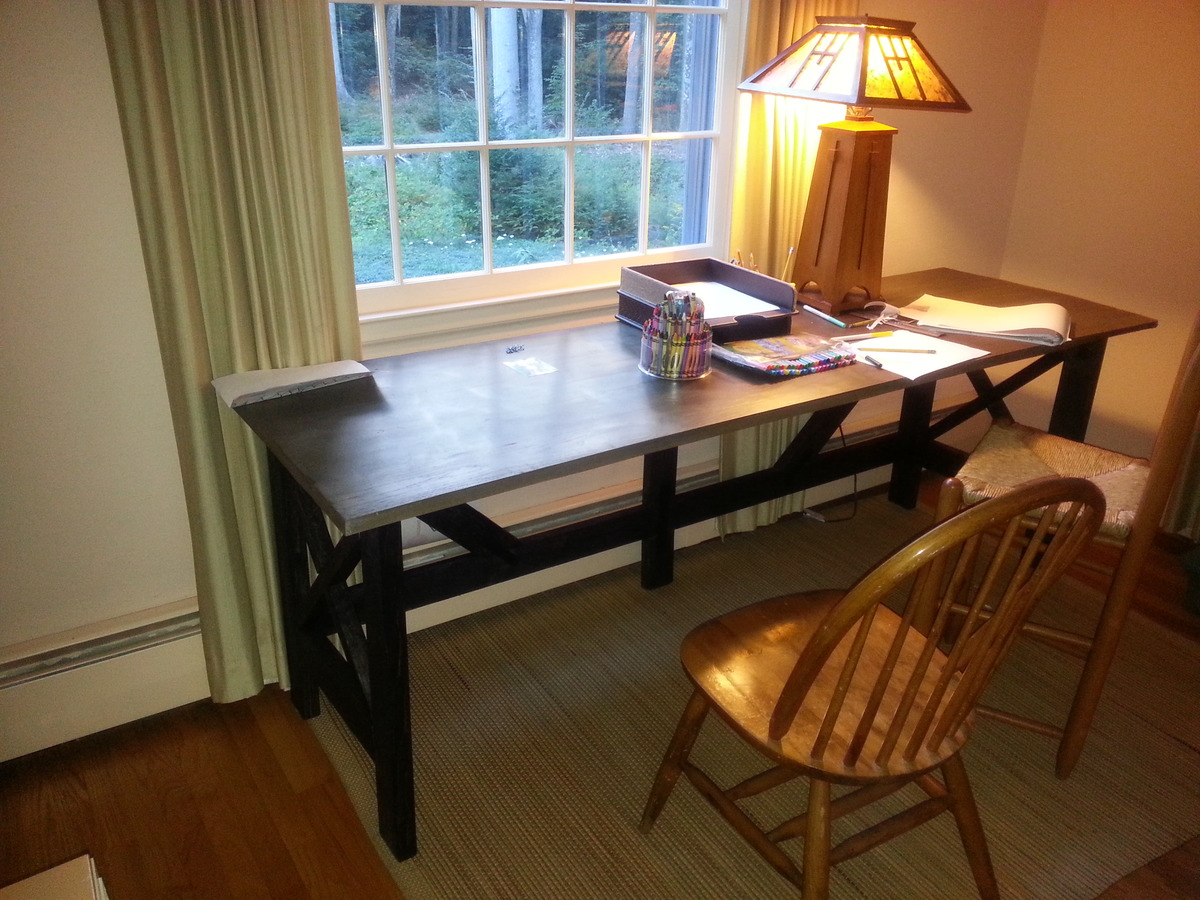
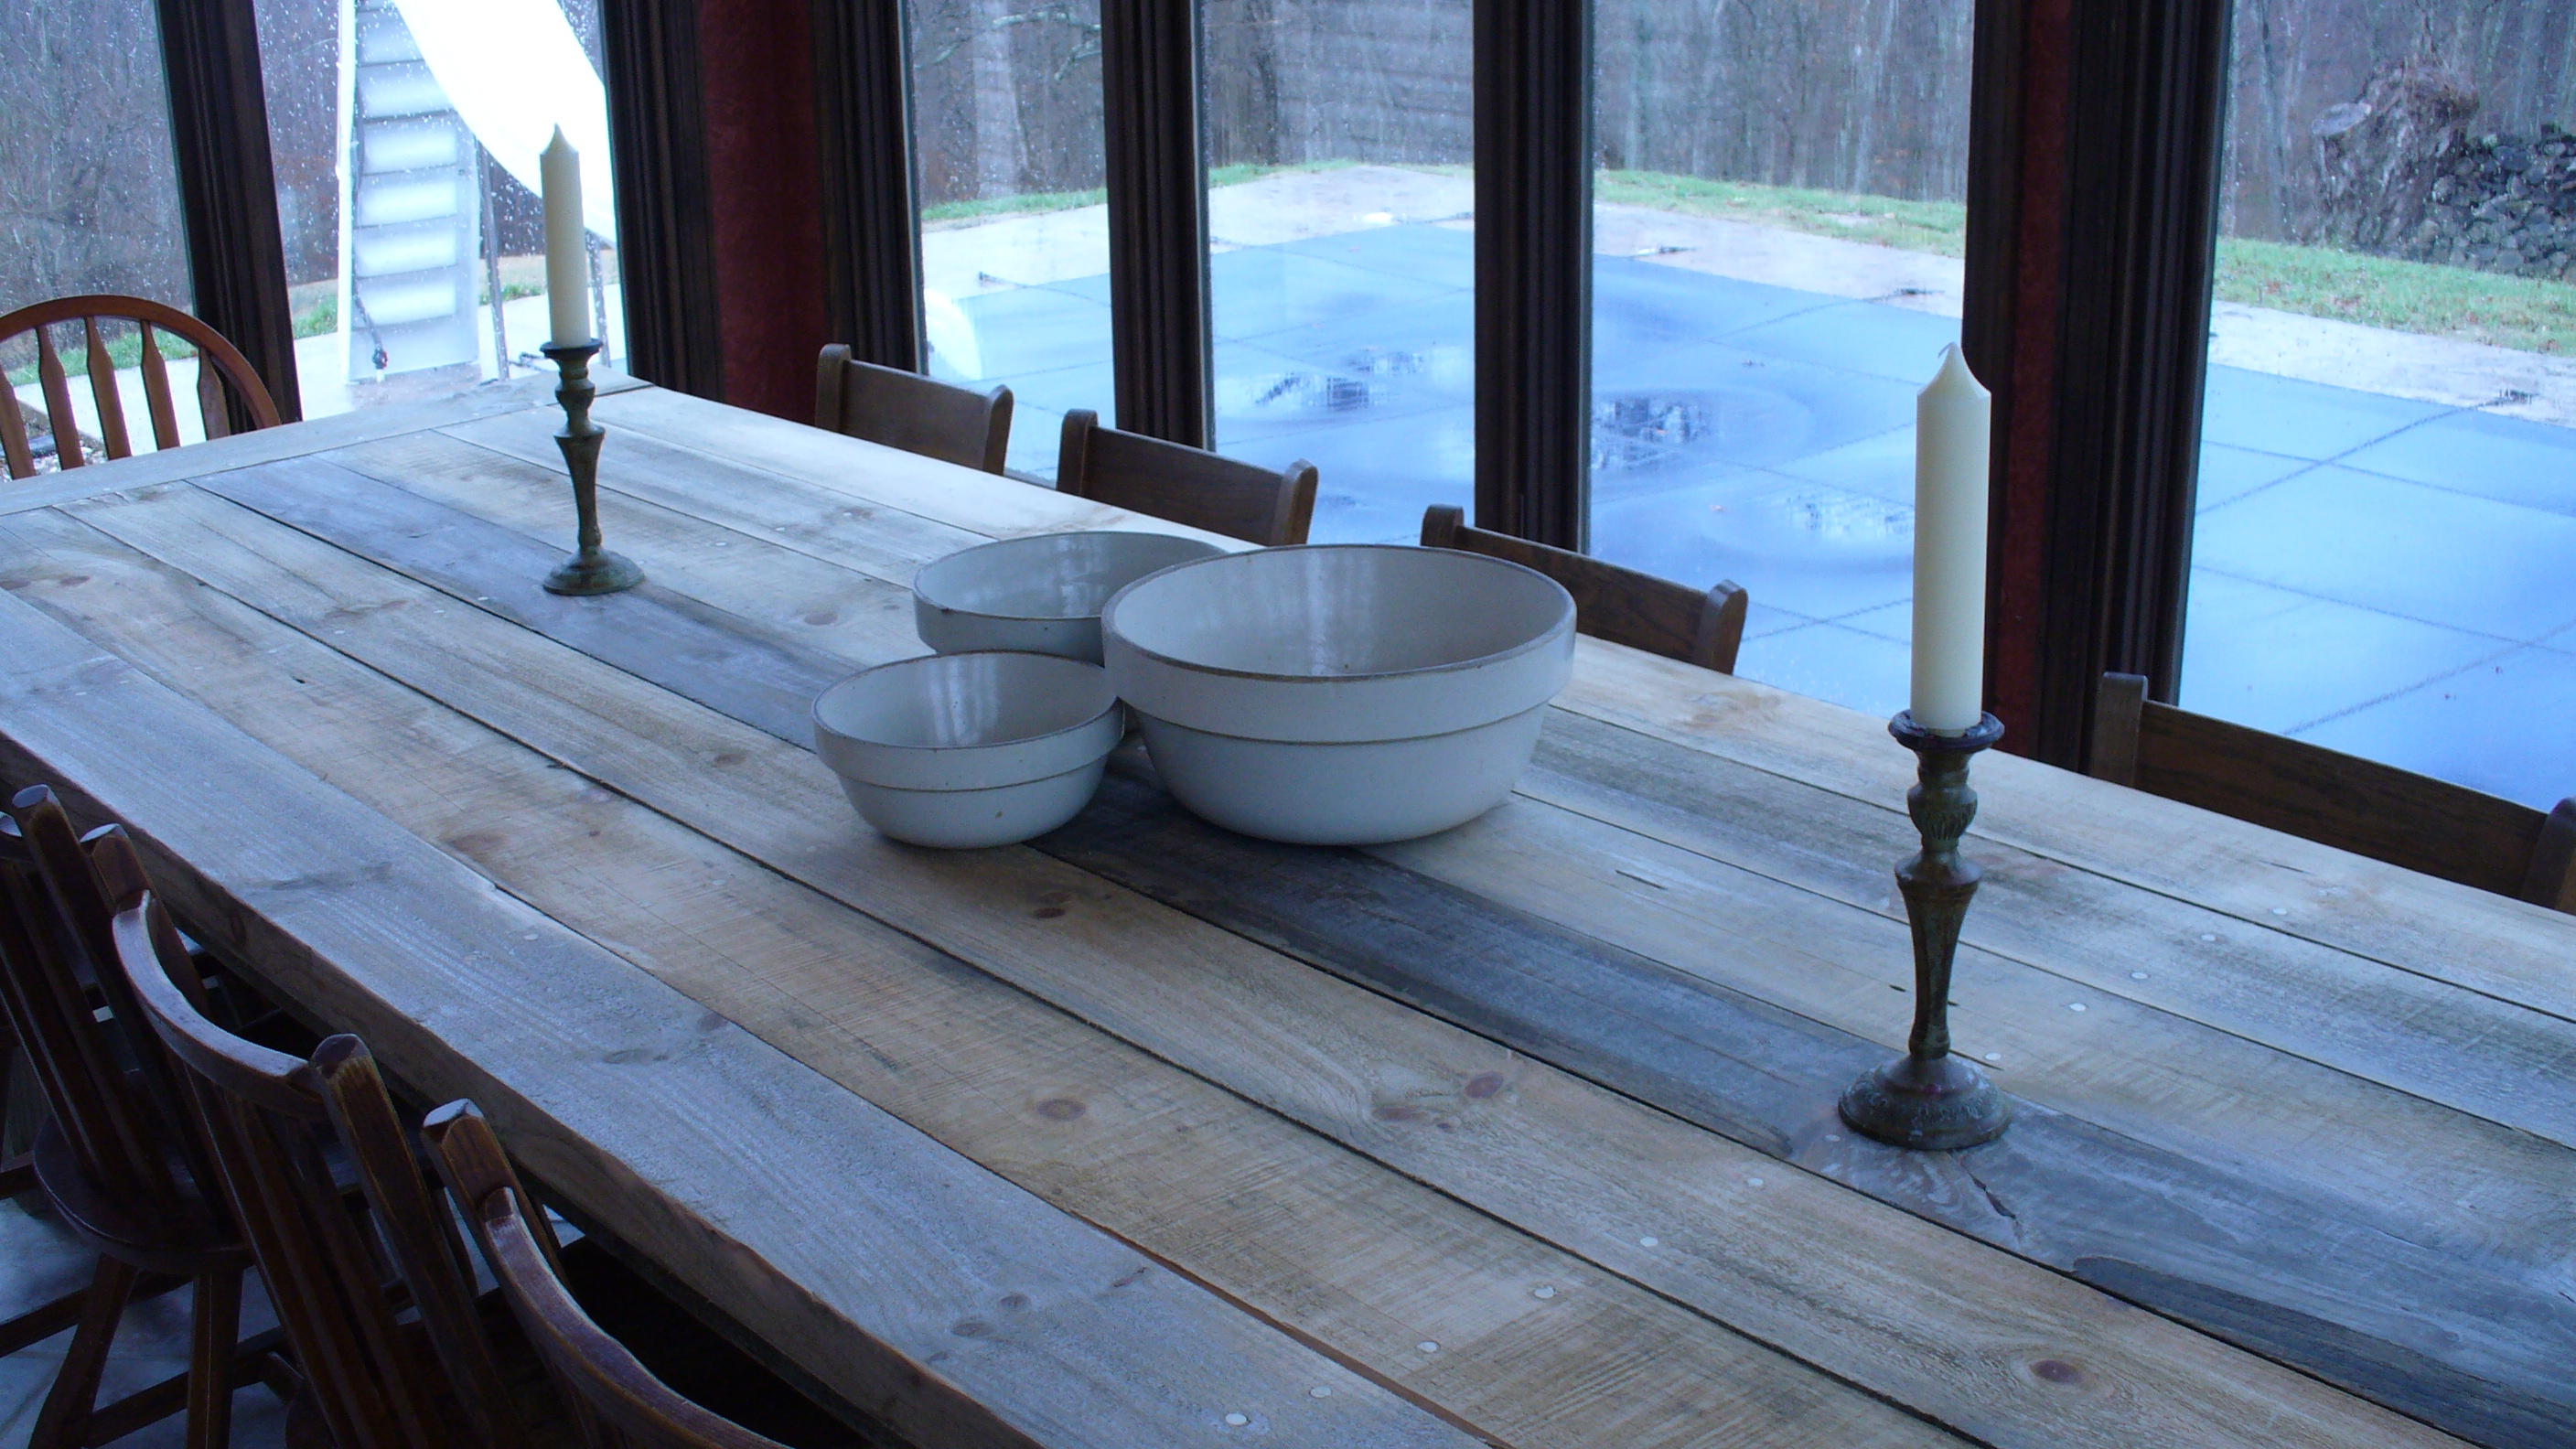
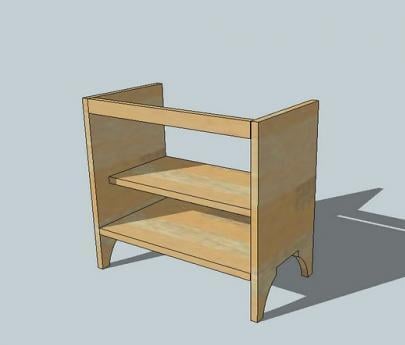
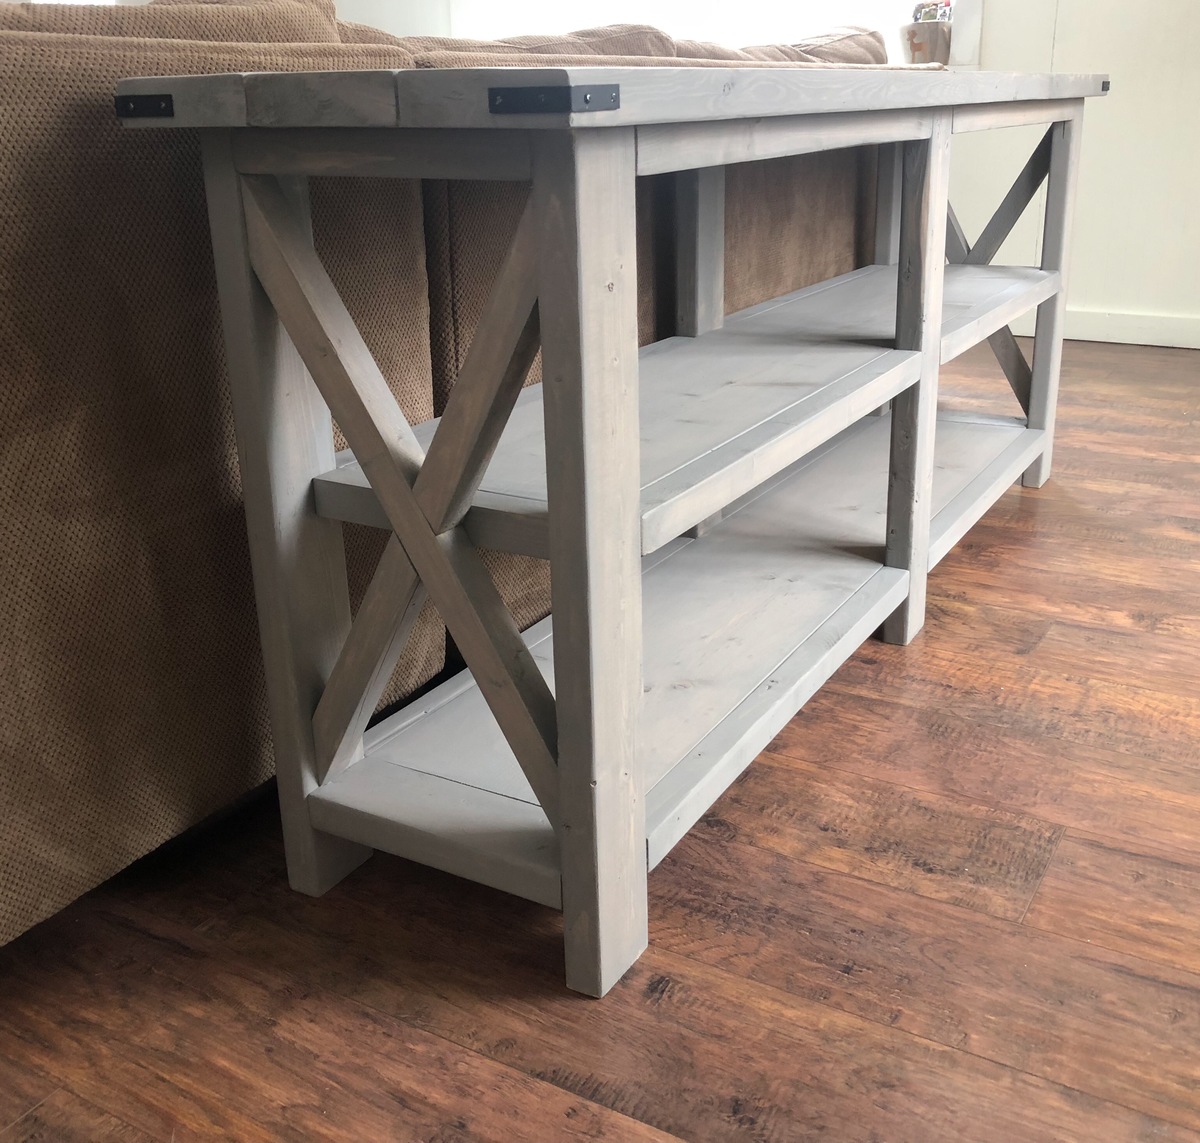
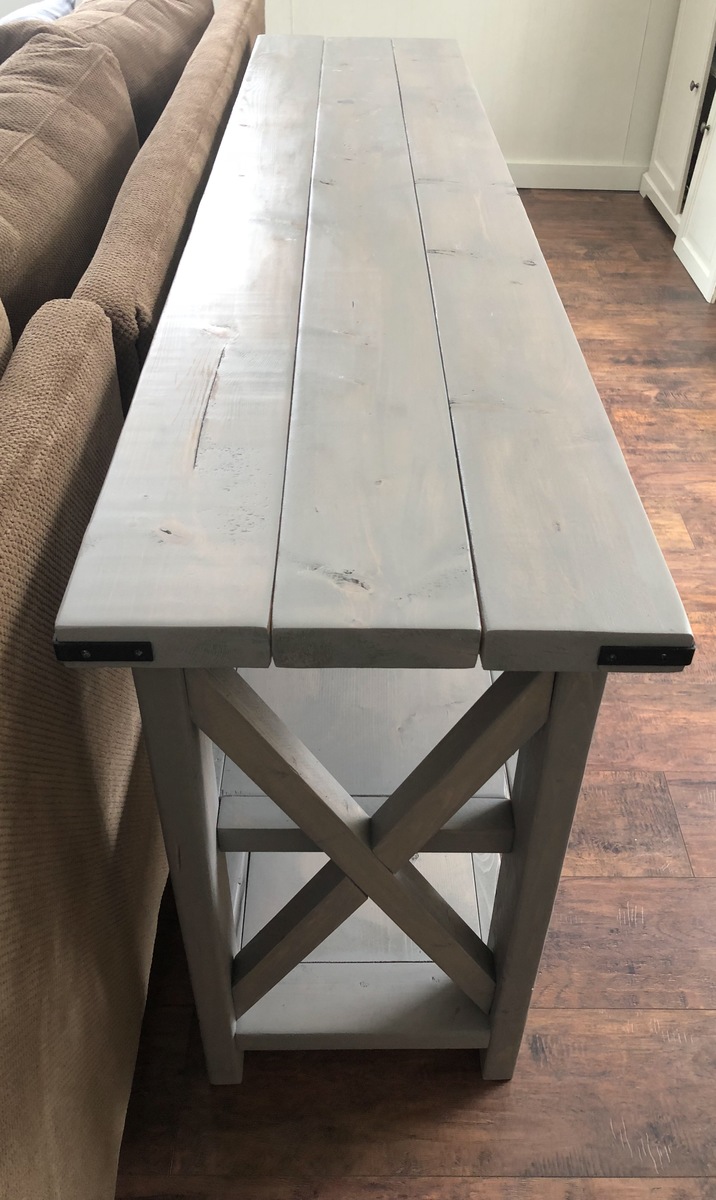
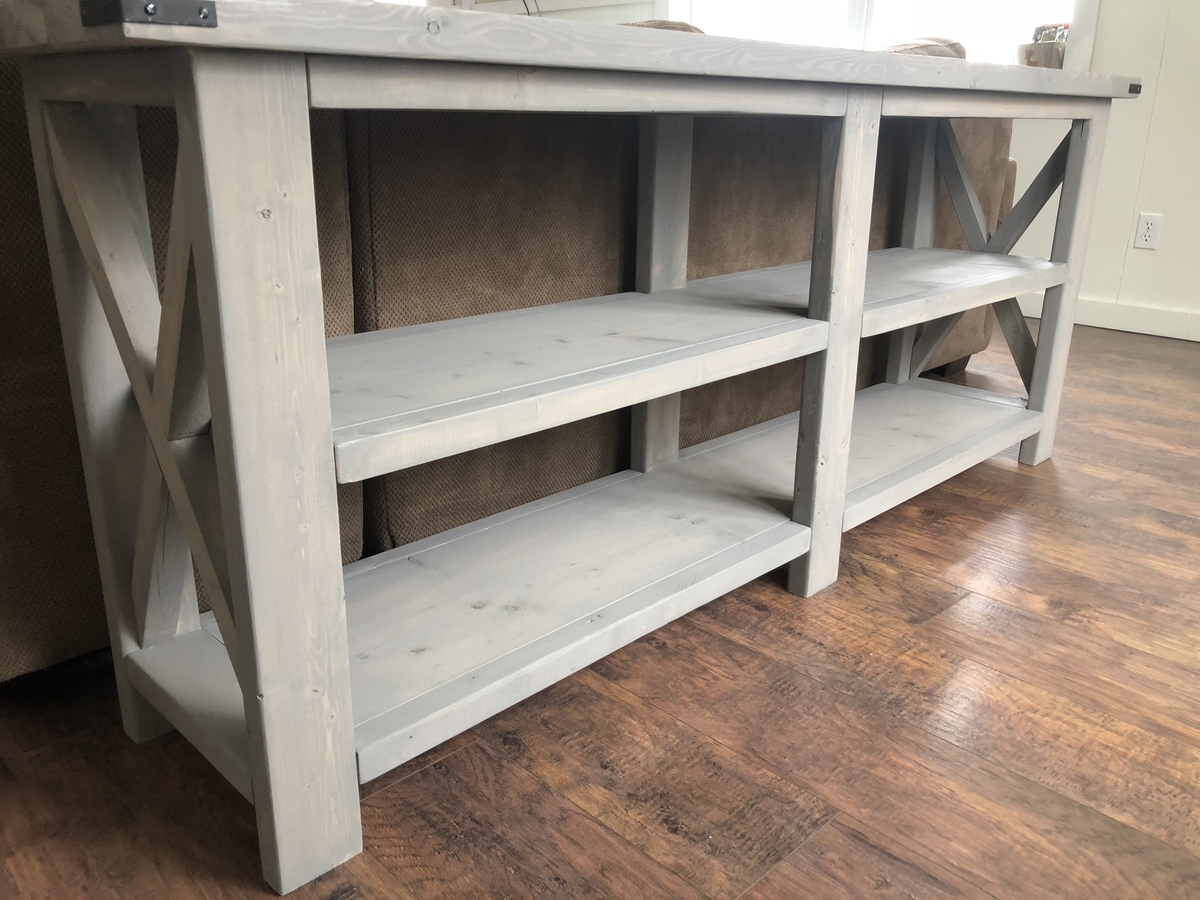
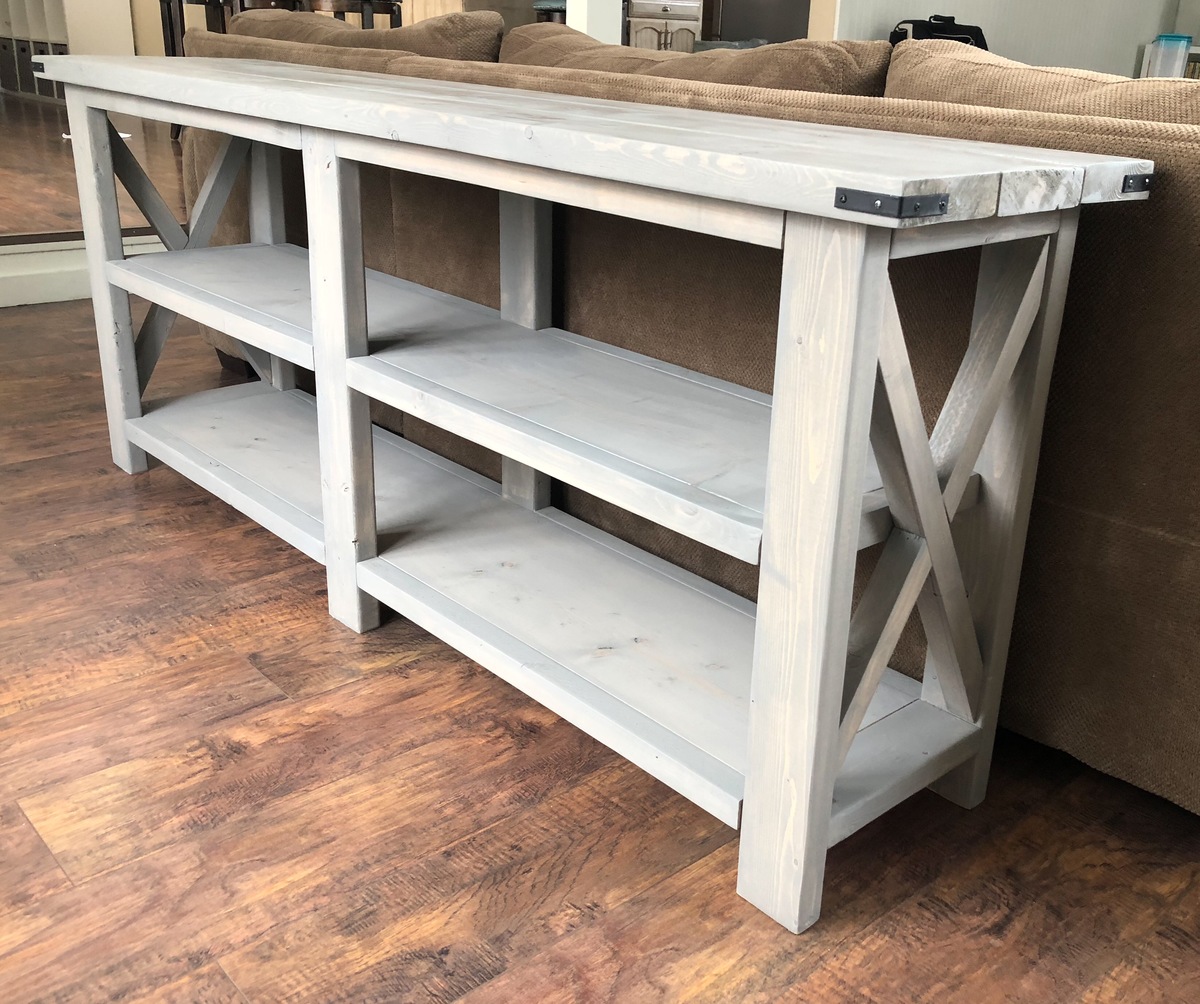
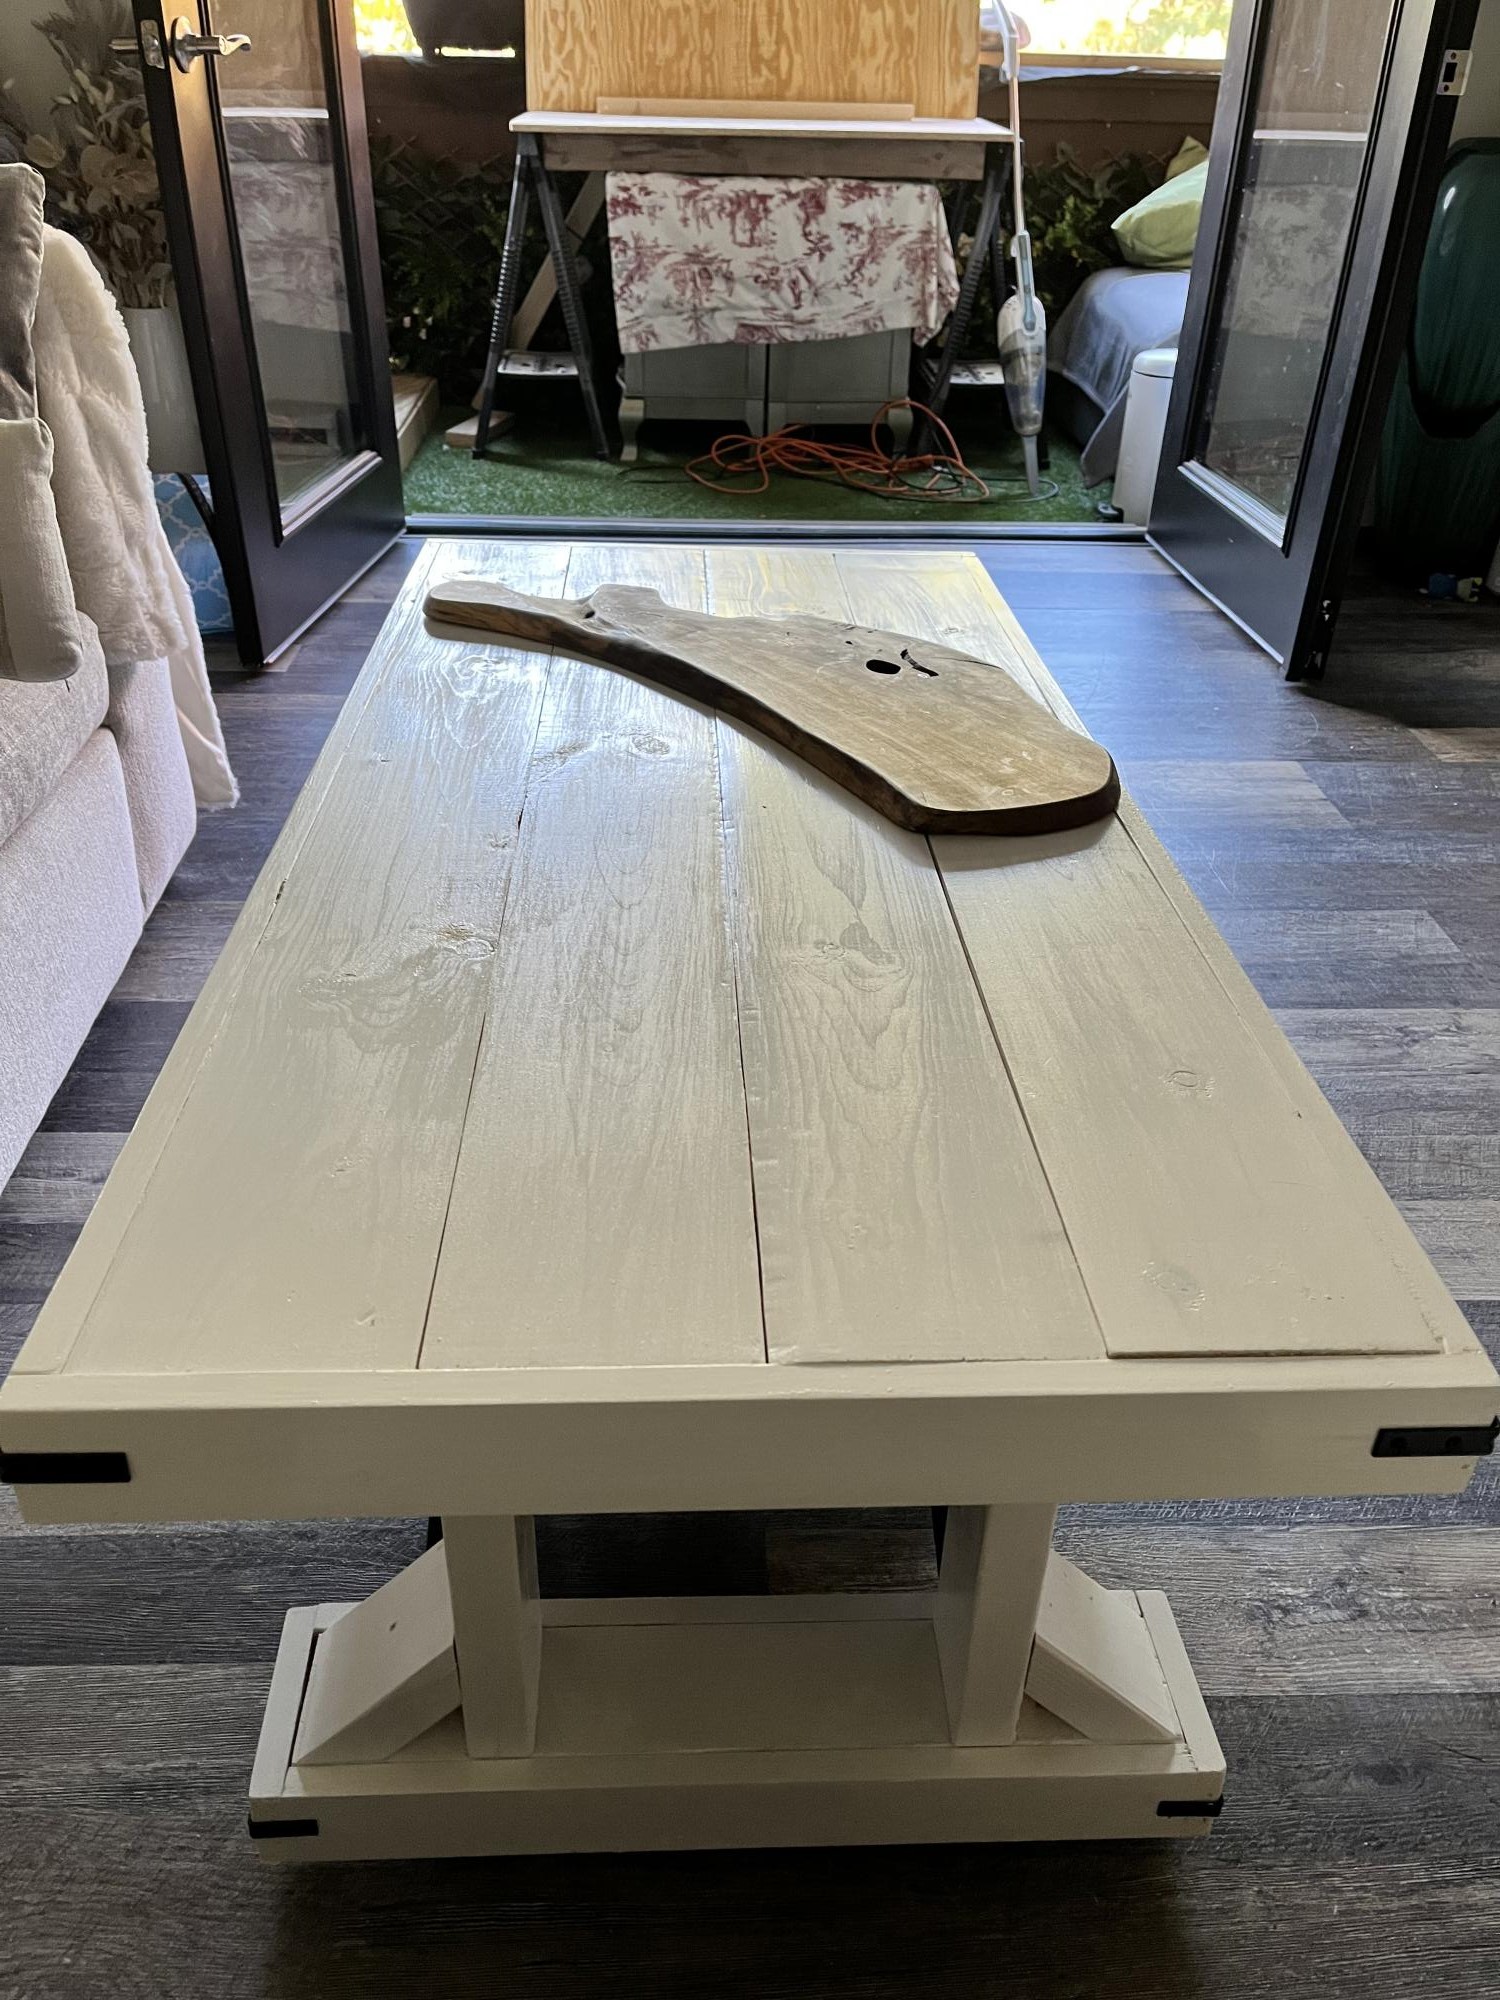
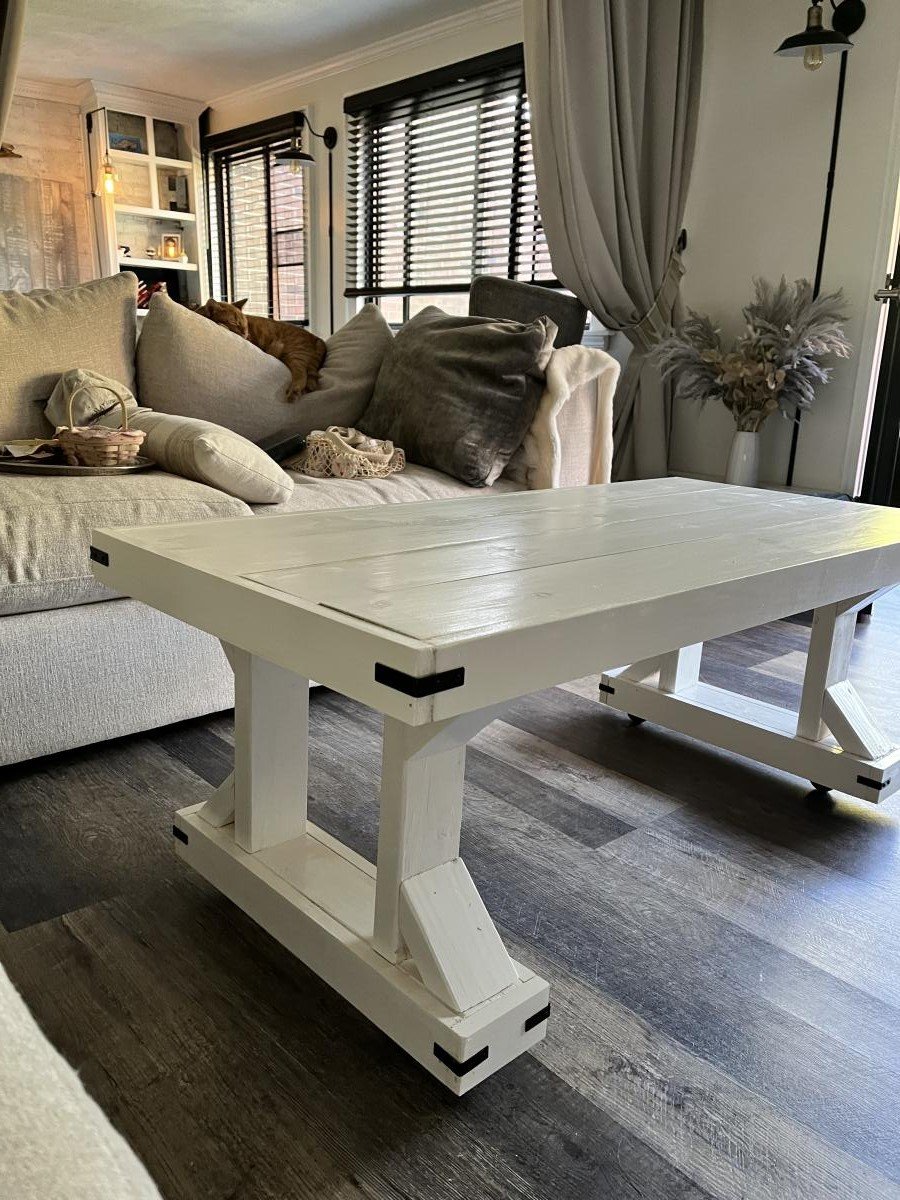
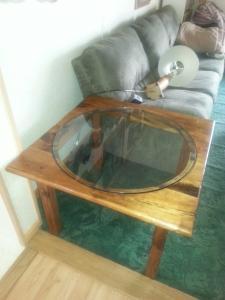
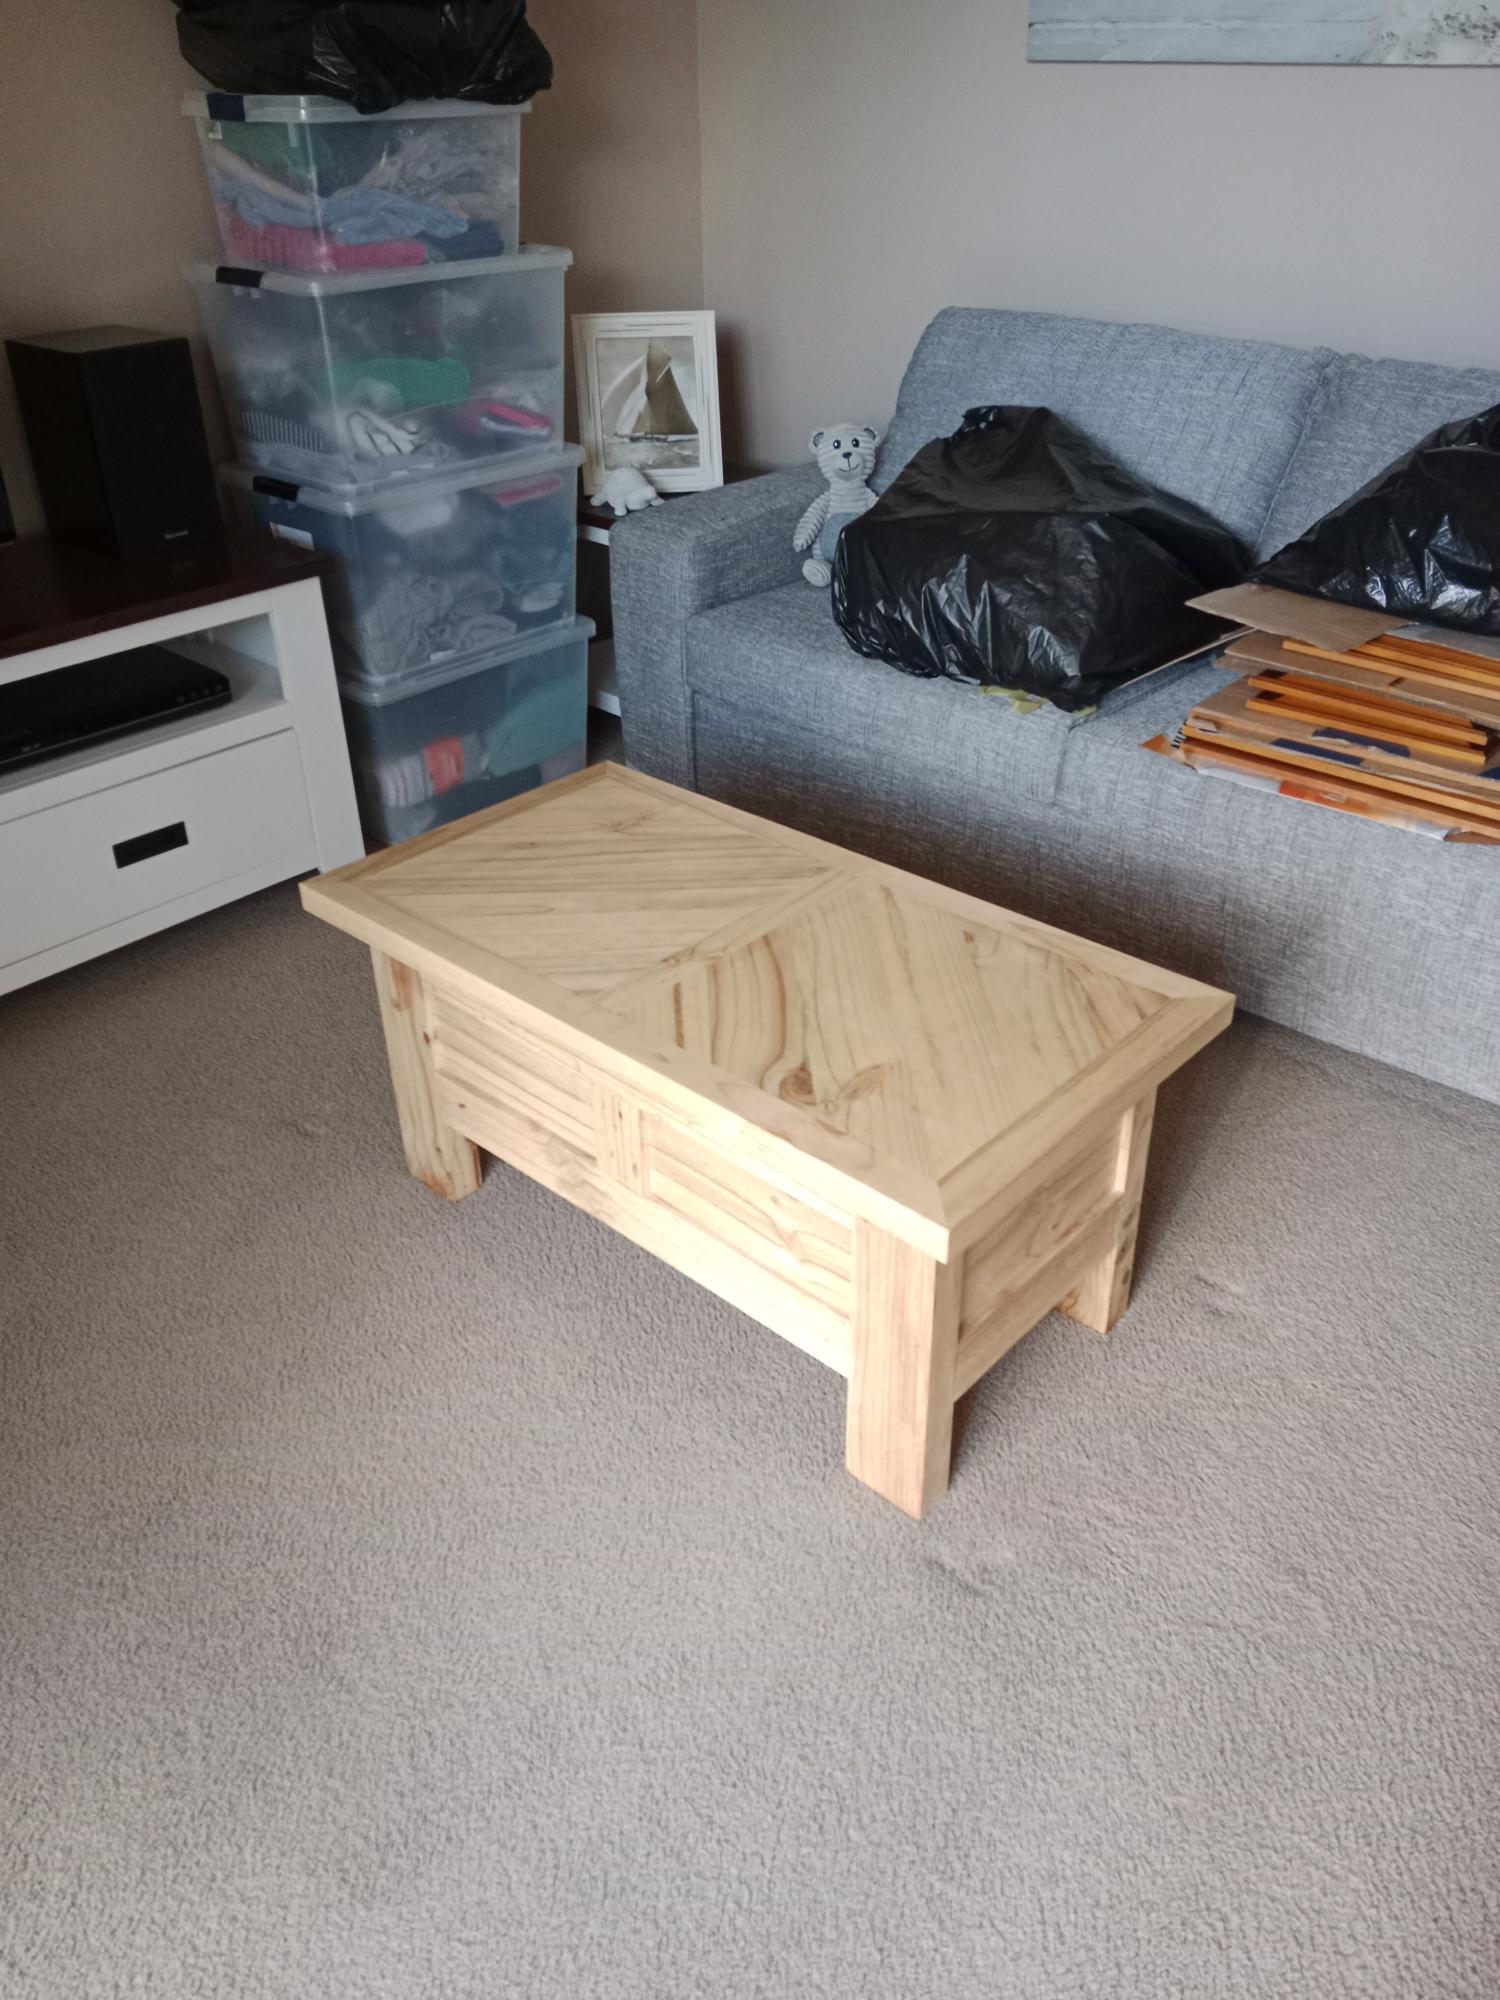
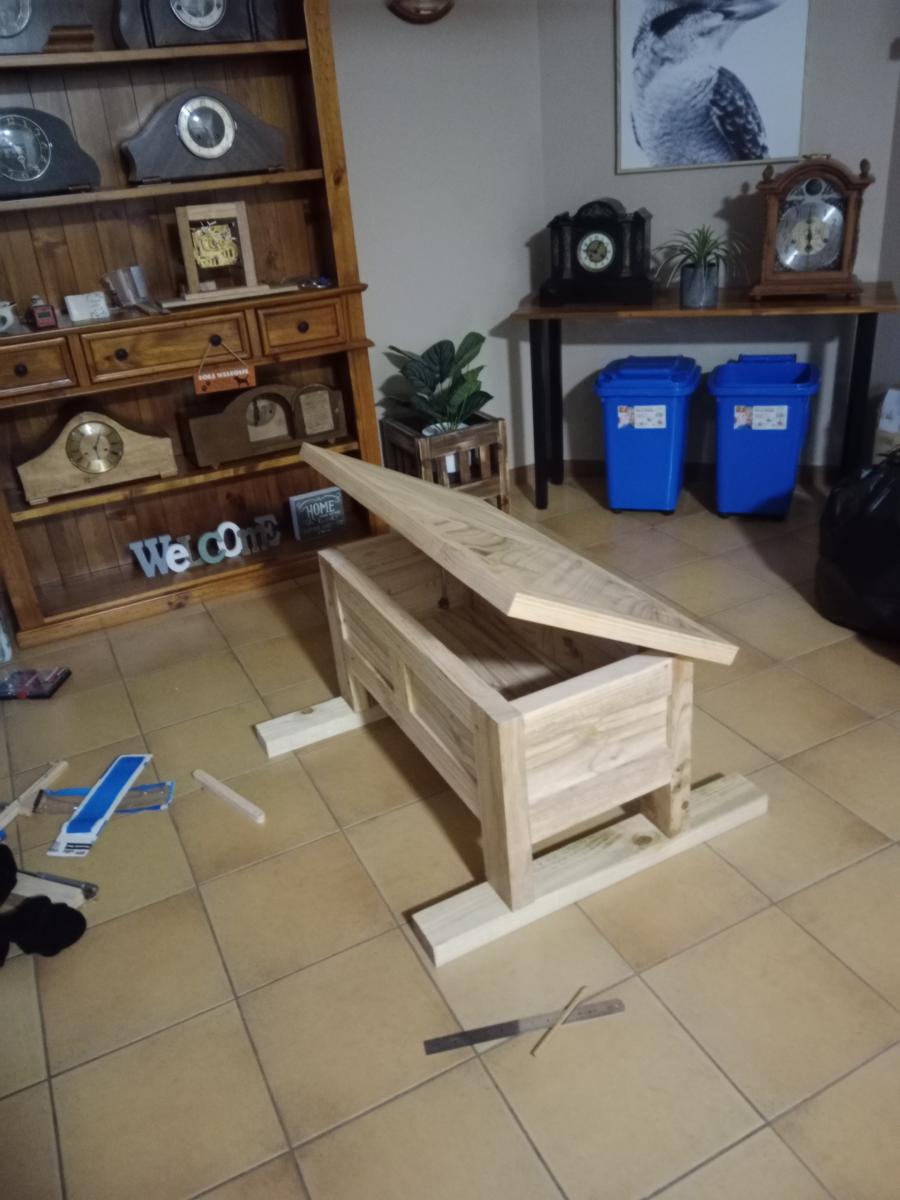
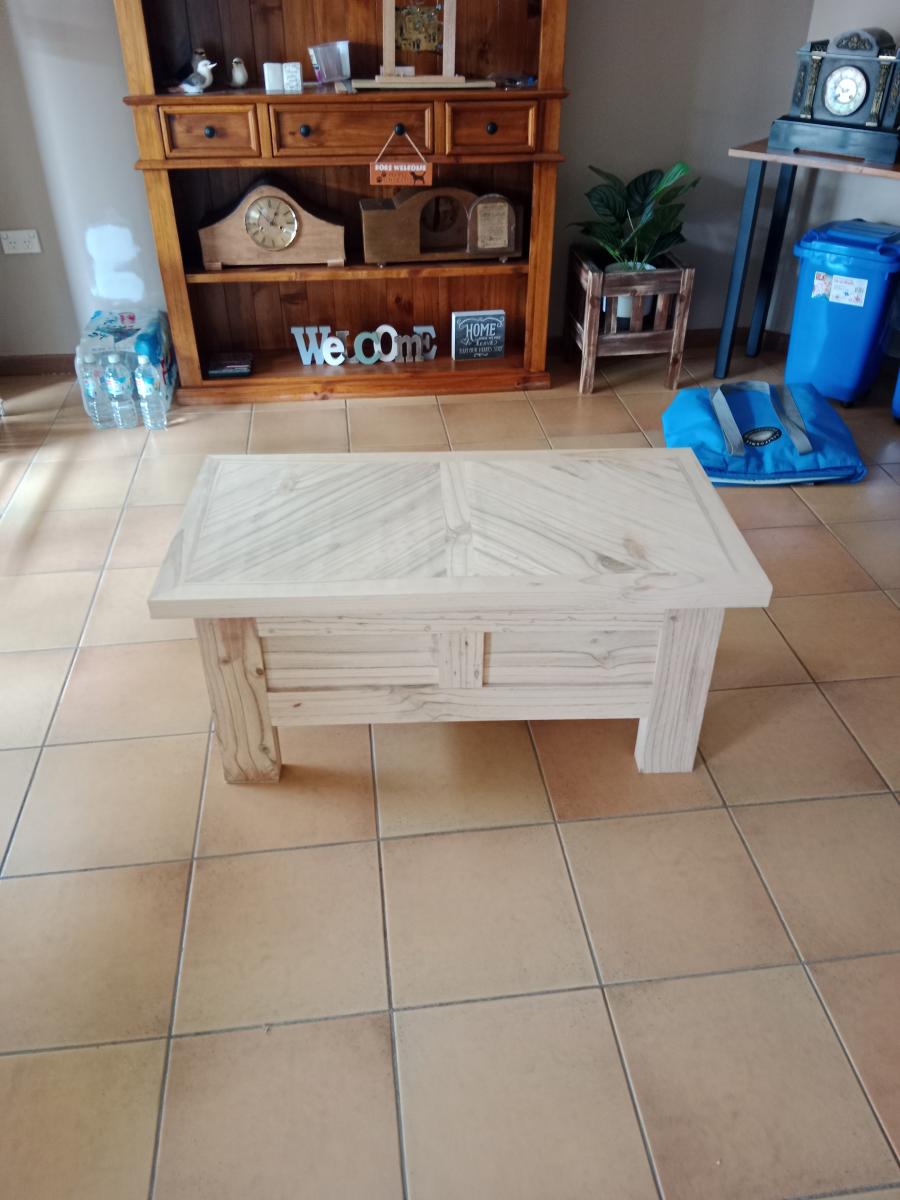
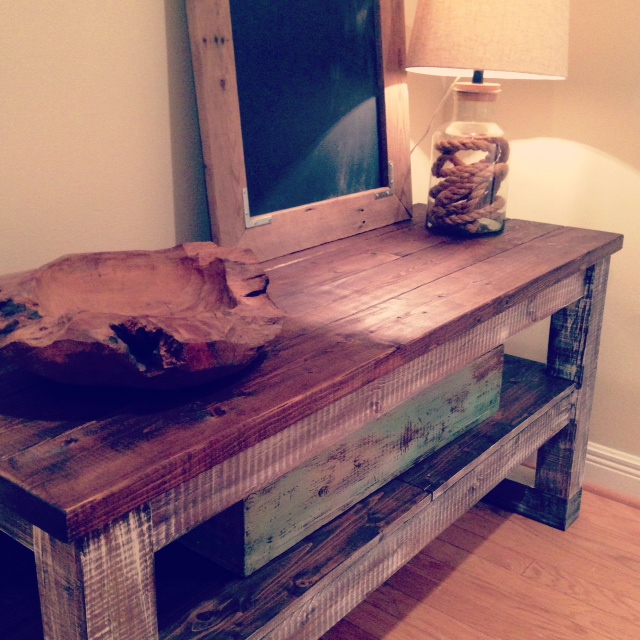
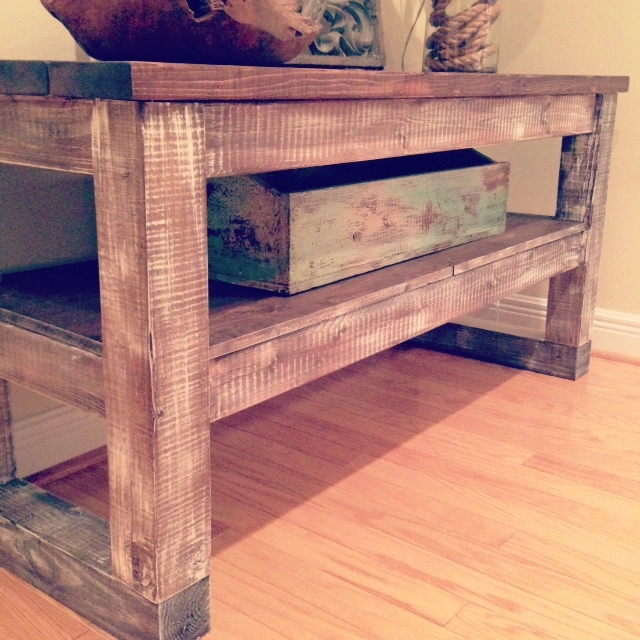
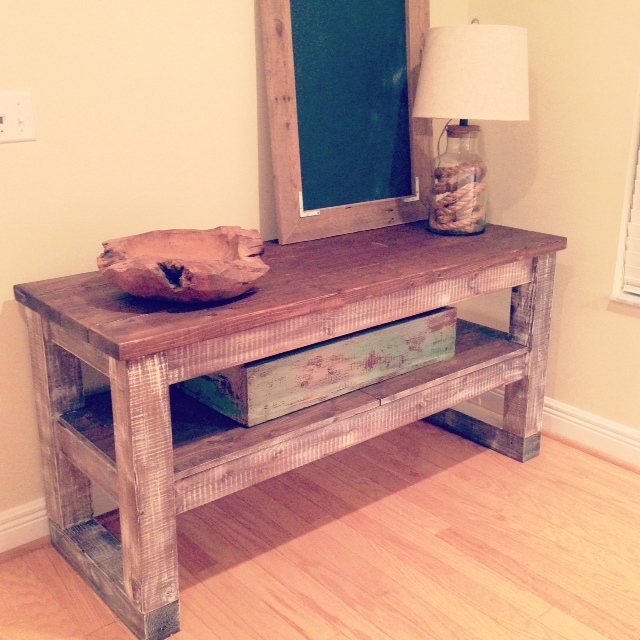
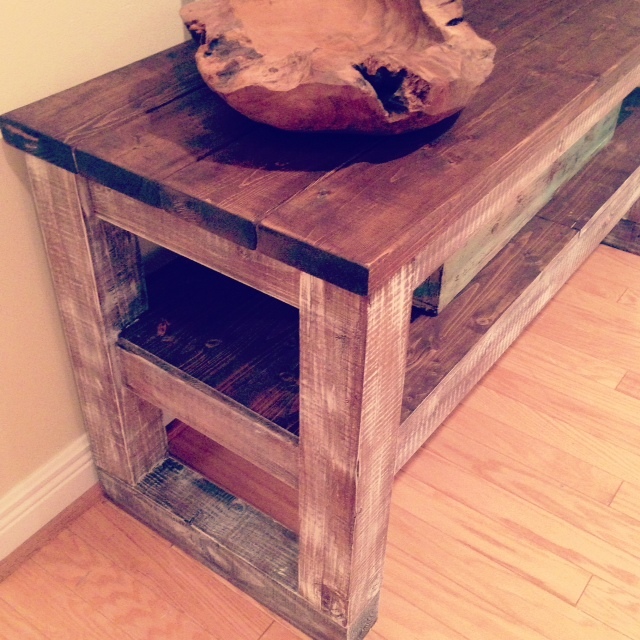
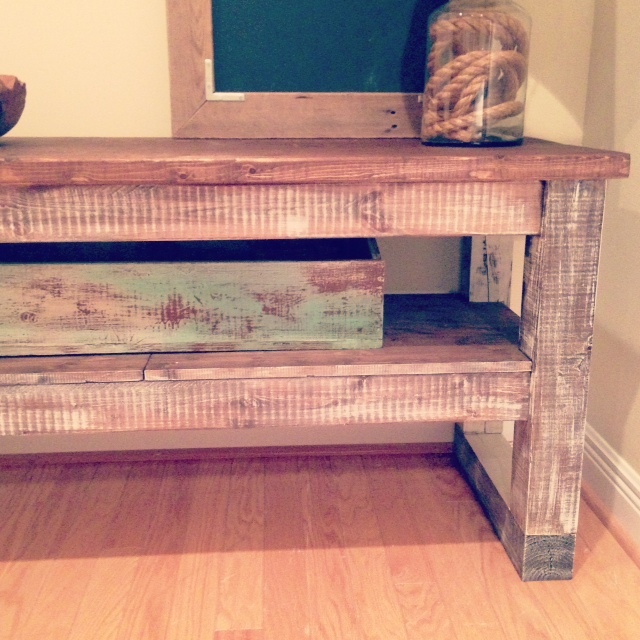
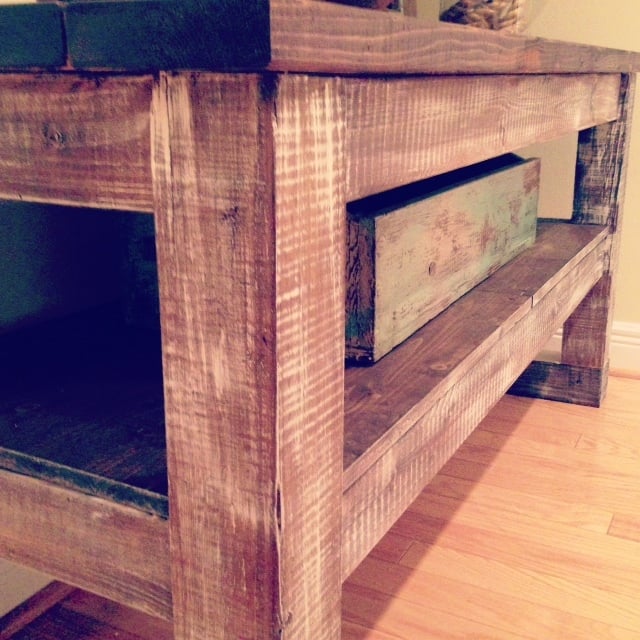
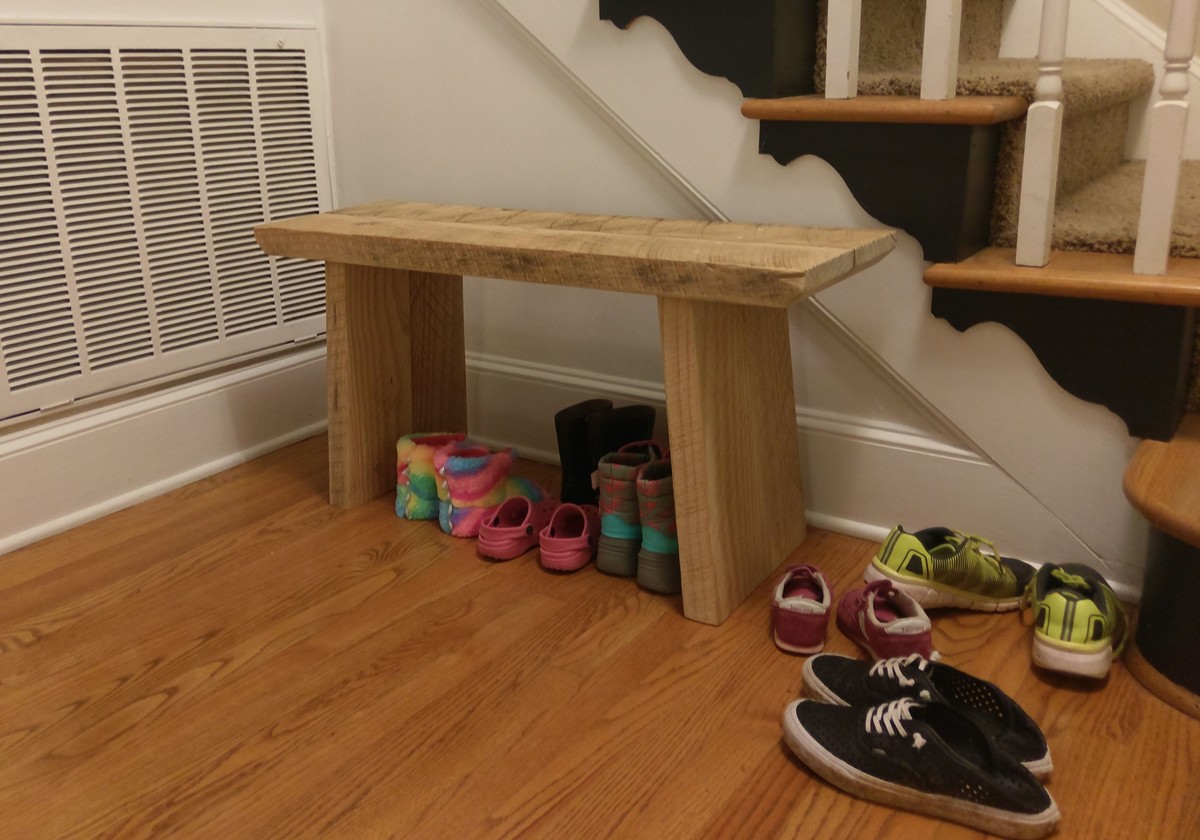
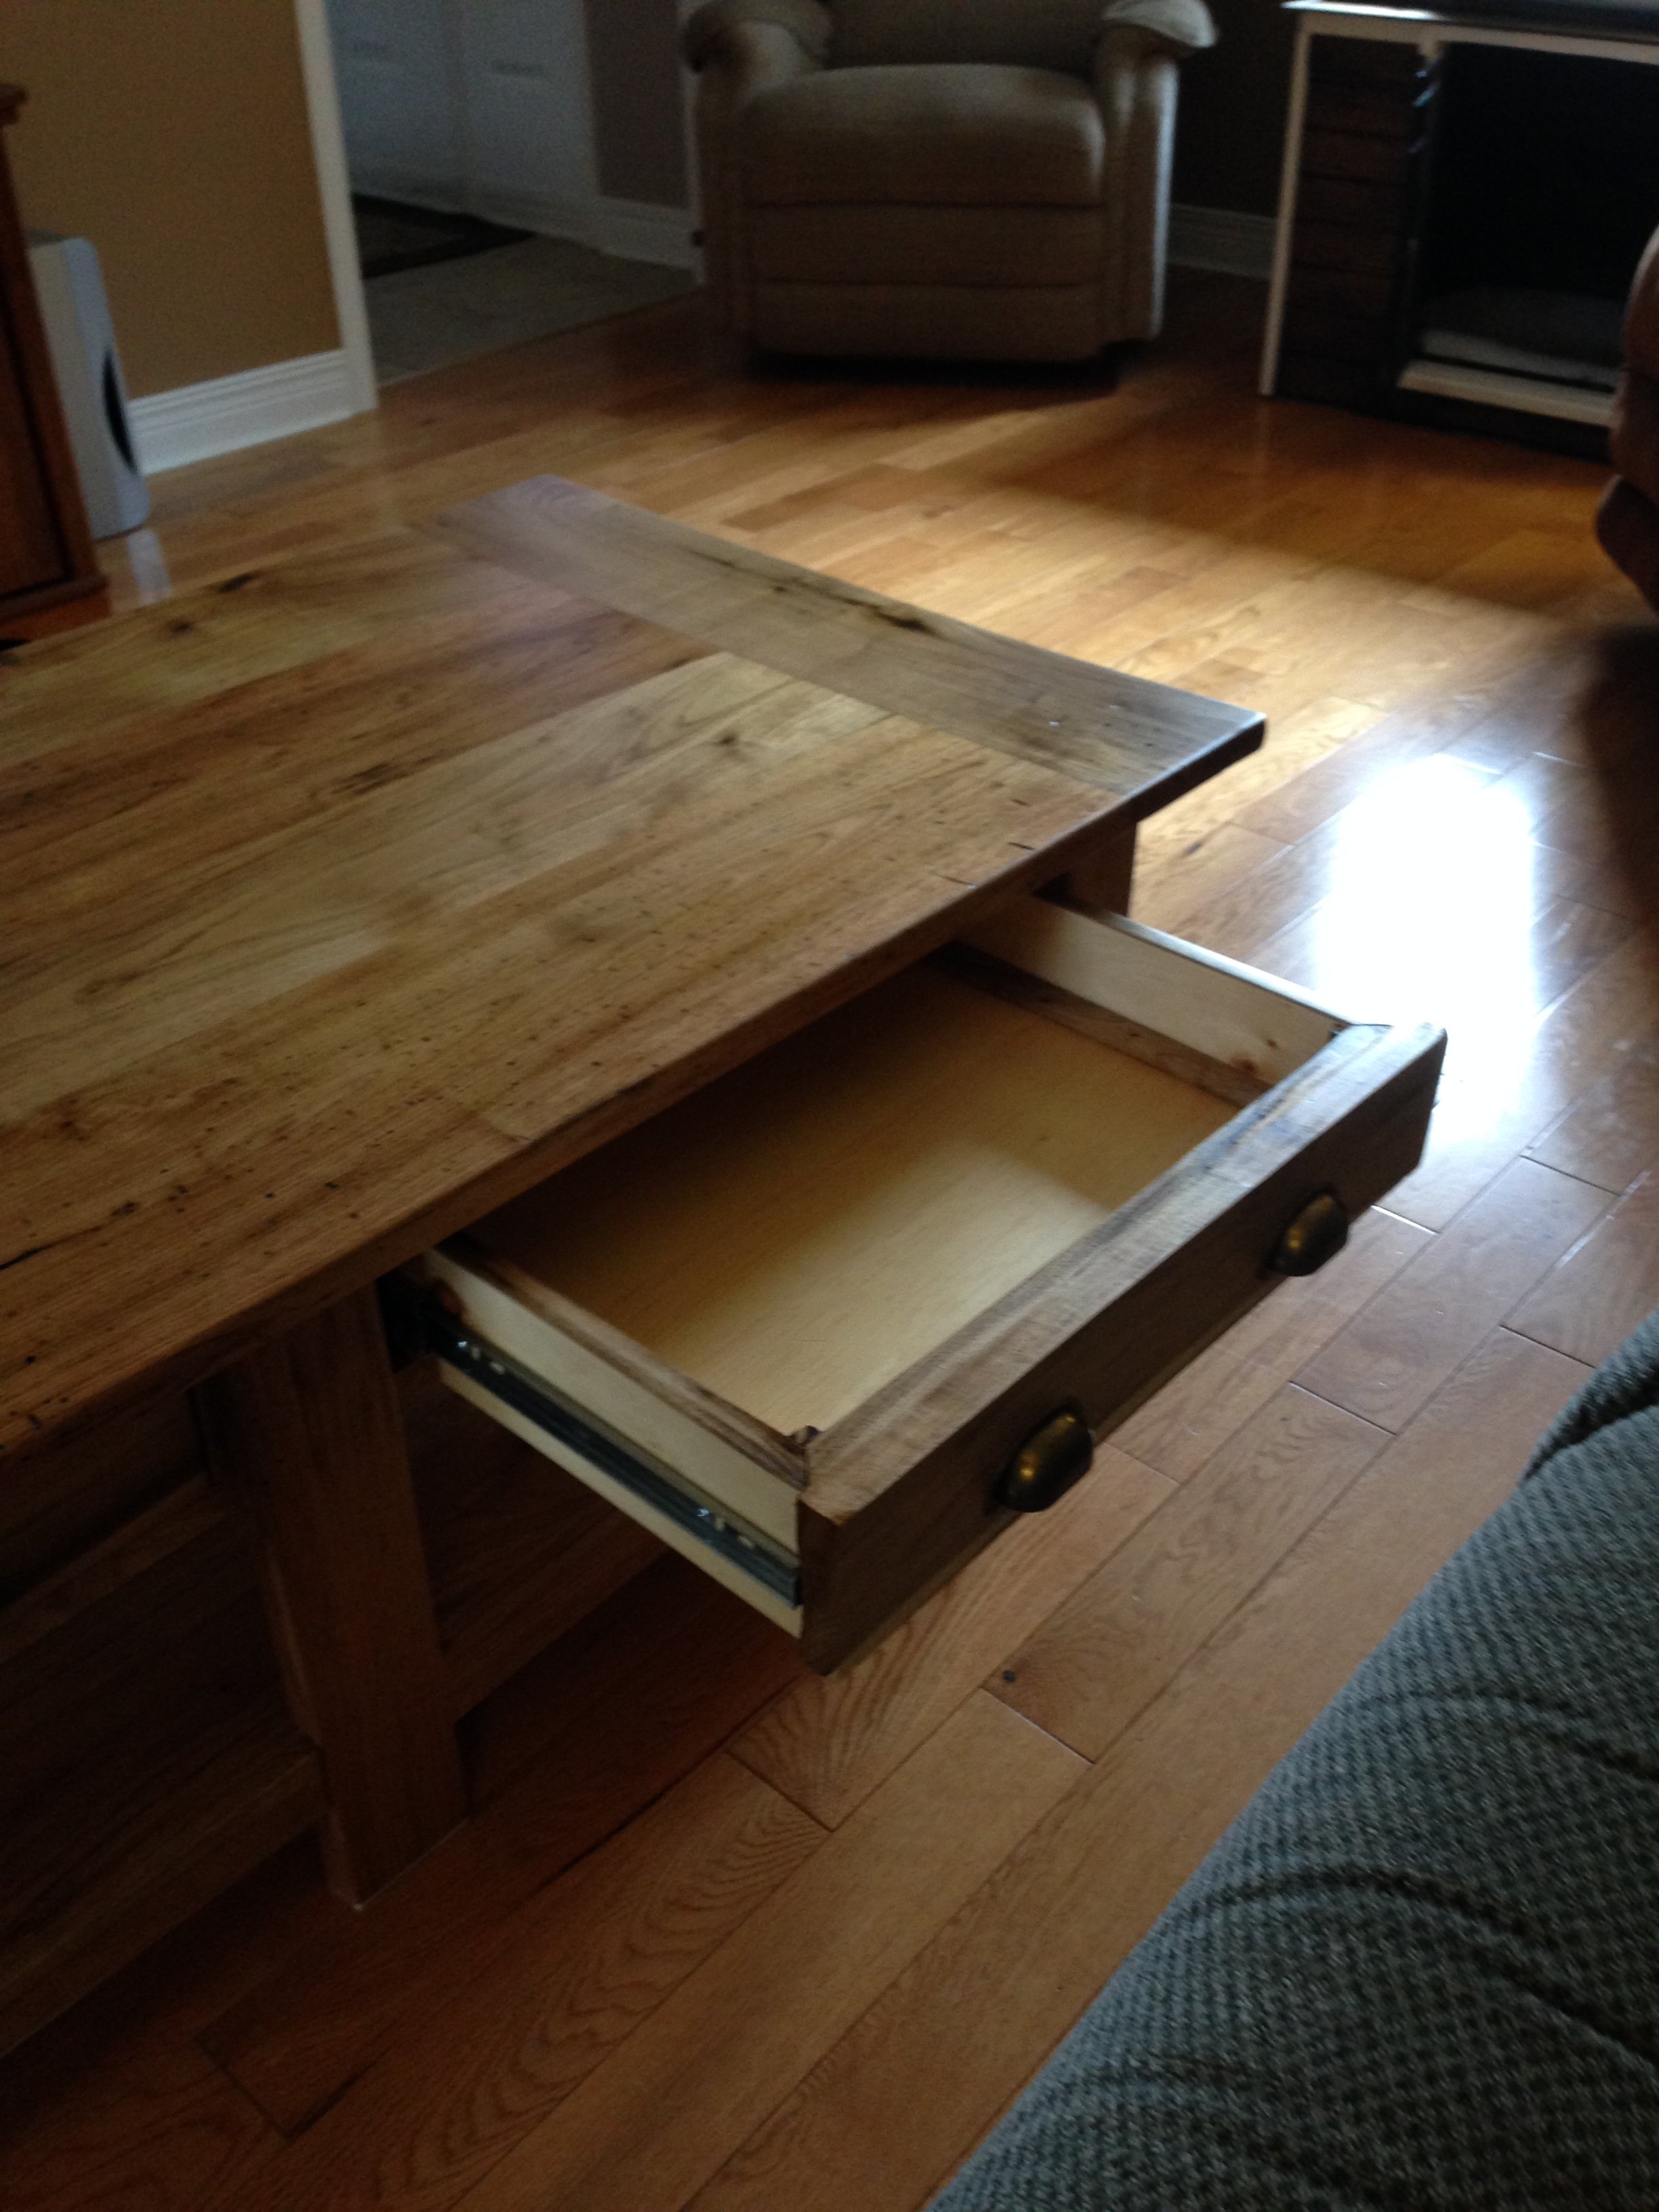
Butternut Coffee Table

Submitted by jsliter on Sat, 11/14/2015 - 08:49

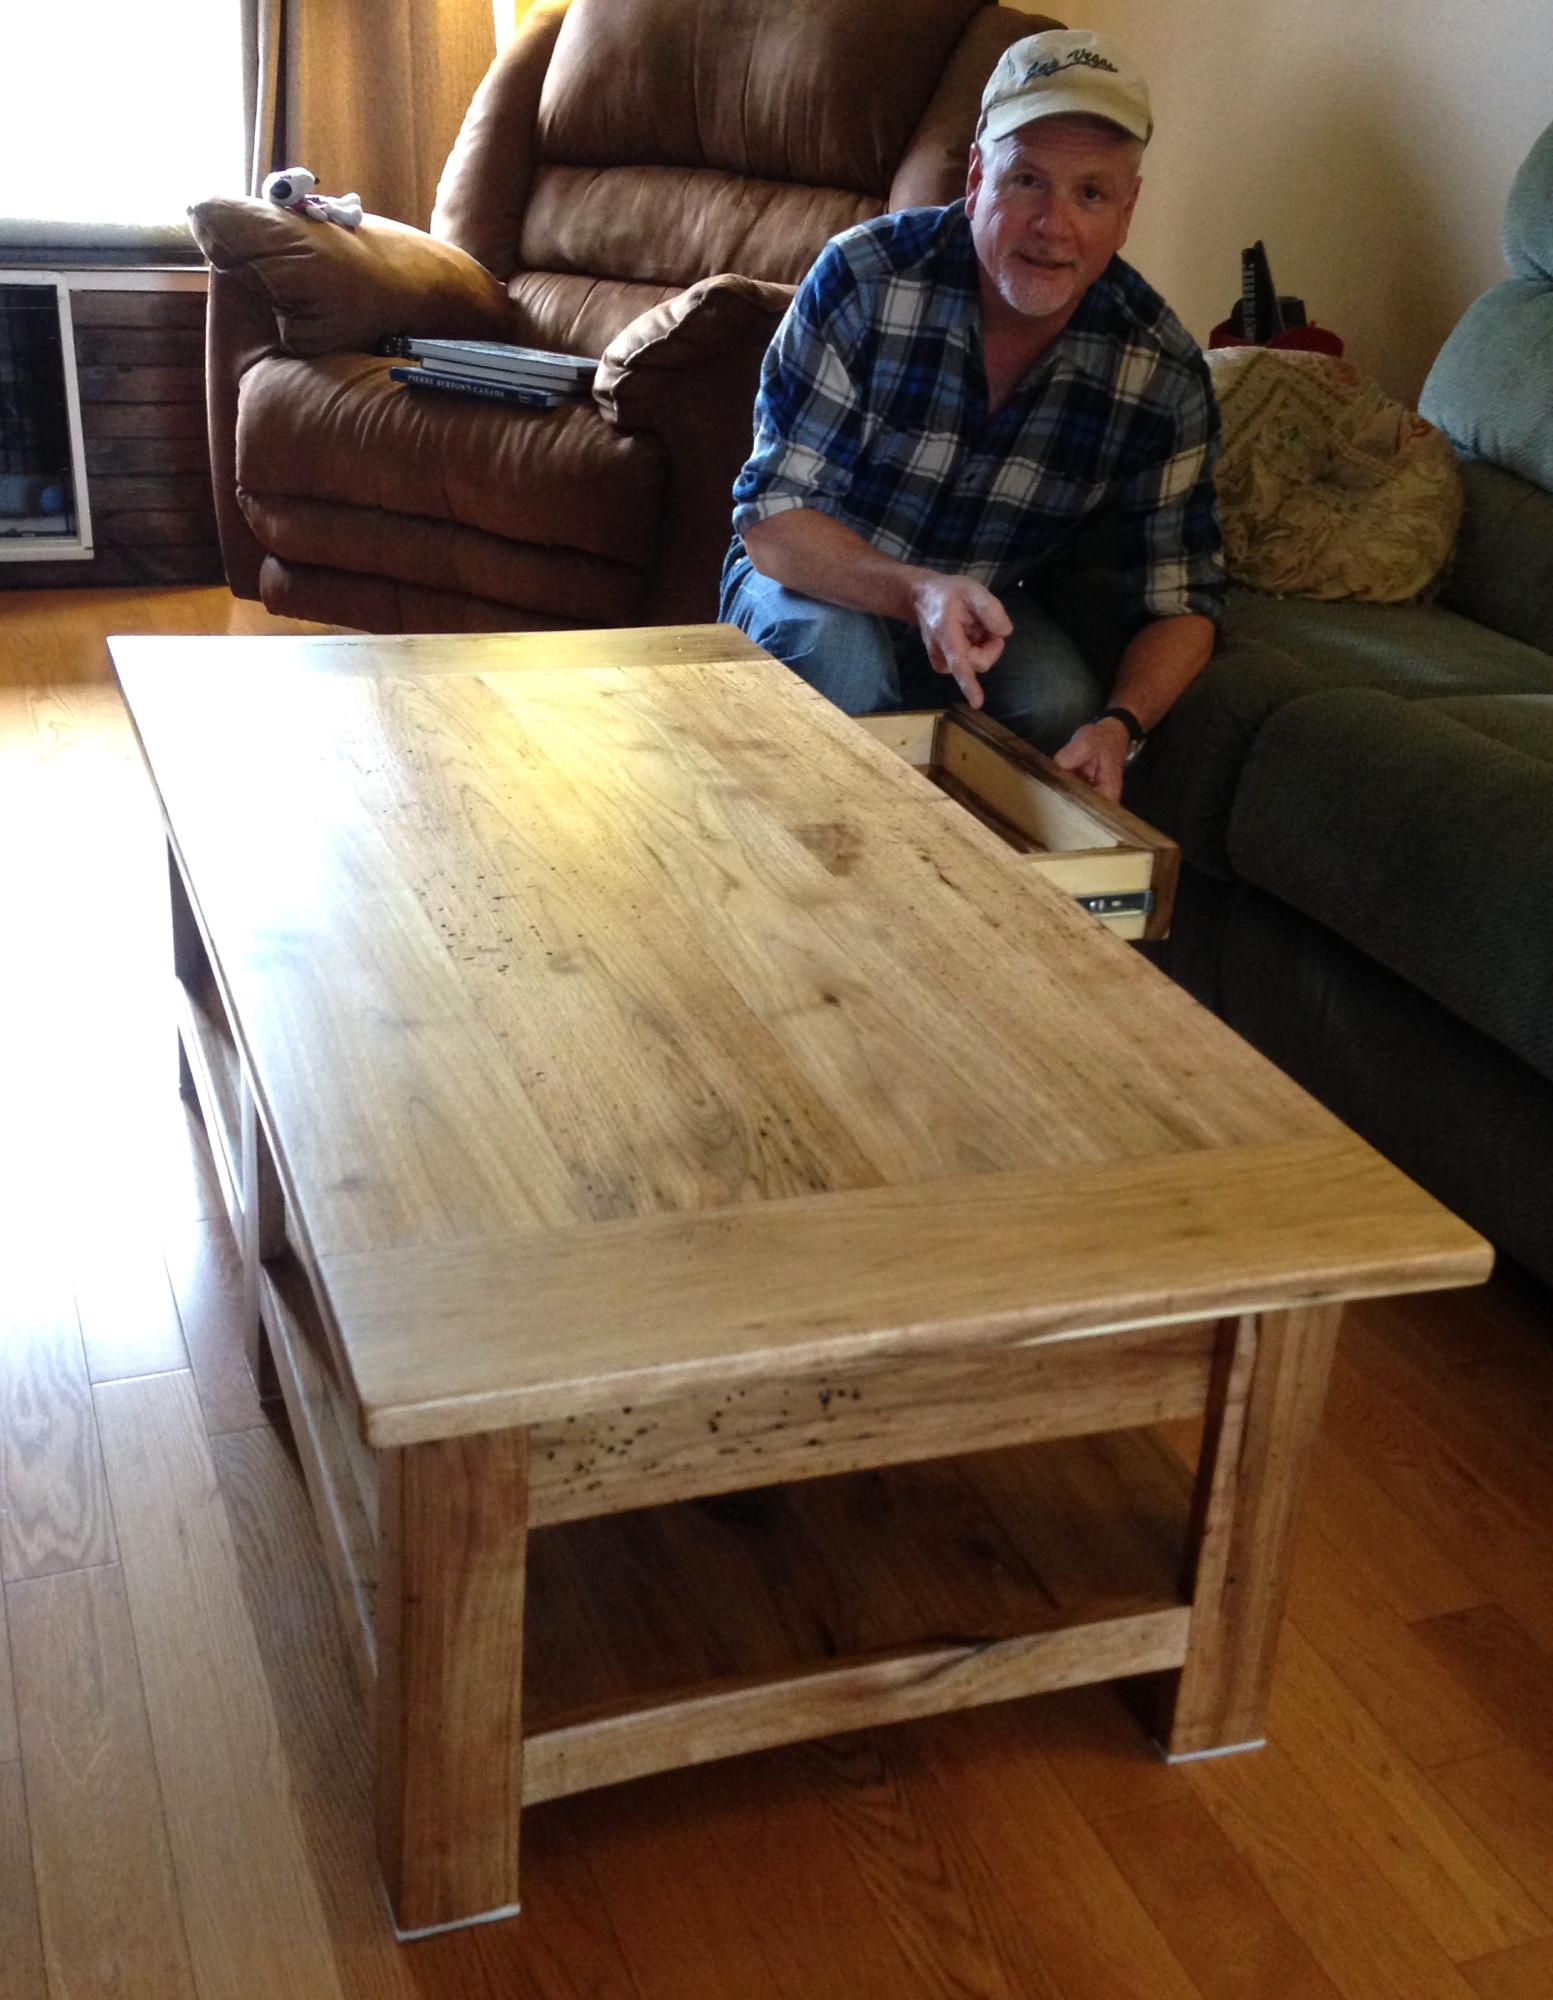
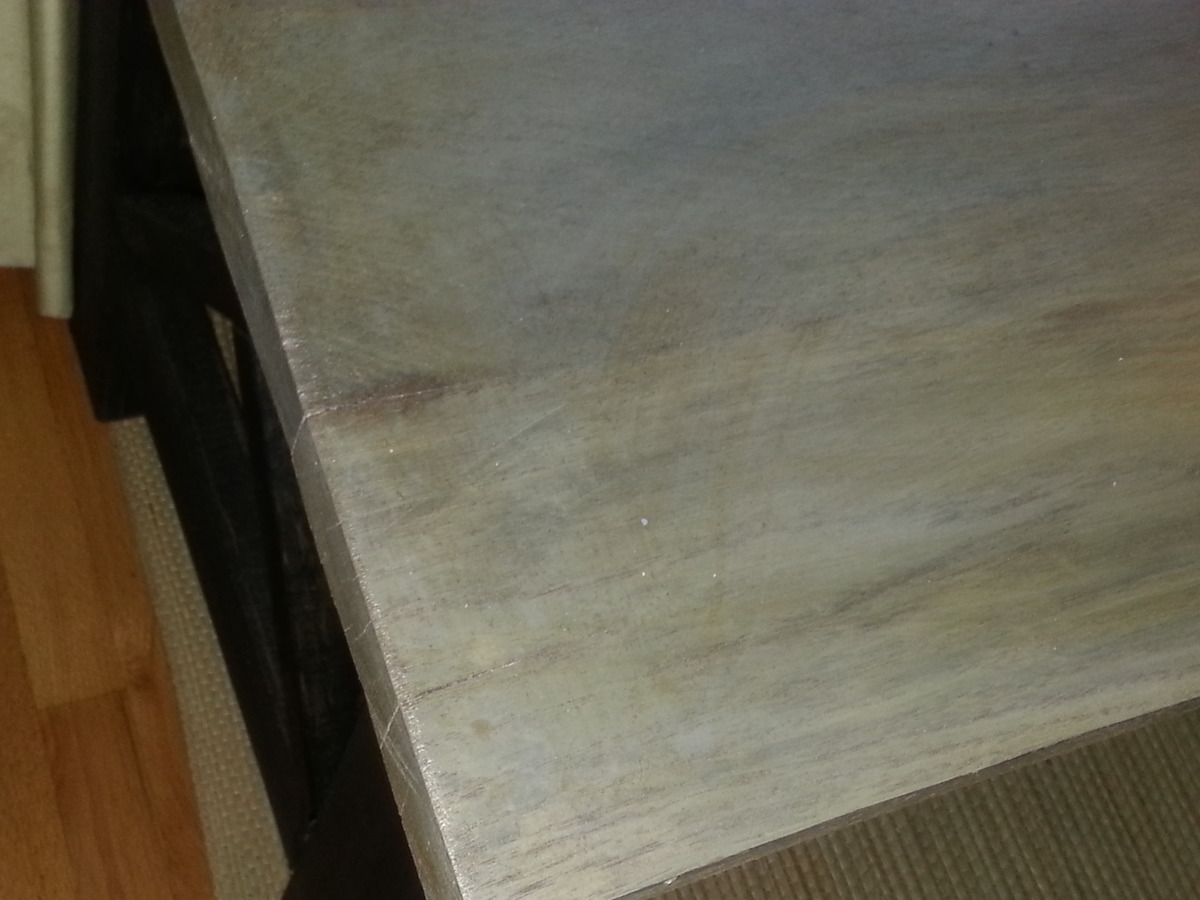
I built this table out of really rough old lumber from our family farm.  Lots of sanding and a real rustic look.  Thanks for the plans!  I love it!

Estimated Cost
$100
Estimated Time Investment
Week Long Project (20 Hours or More)
Finish Used
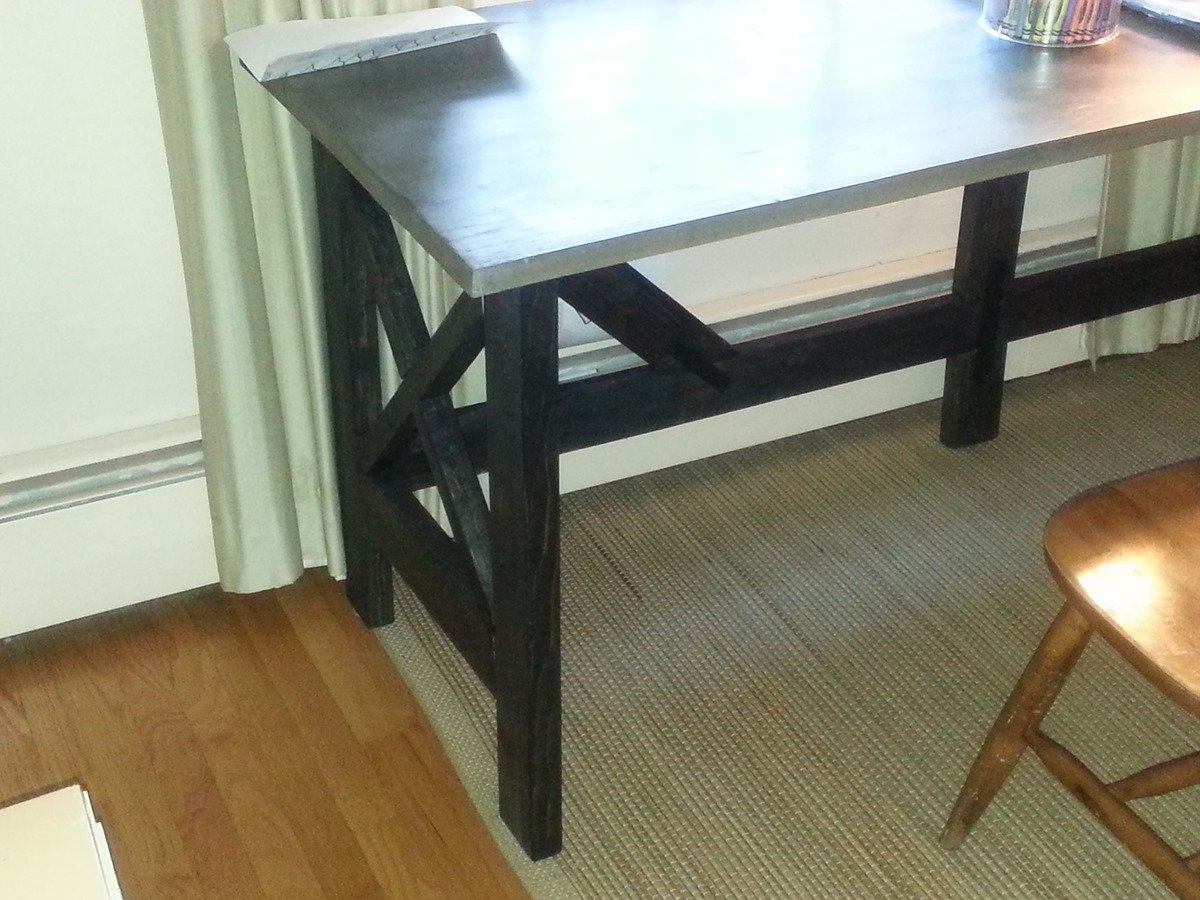
Oil finish - after drying, used three coats of Clearcoat - satin.
Recommended Skill Level
Beginner

Dream Dollhouse

Submitted by Anonymous (not verified) on Tue, 01/01/2019 - 11:40

Built for 3 year old Granddaughter 2018 Christmas.  Great instructions thanks.  Added ridge cap instead of chimney. Stained floors for the hardwood floor look.

Estimated Cost
$115
Estimated Time Investment
Weekend Project (10-20 Hours)
Recommended Skill Level
Intermediate

Small Bathroom Shelf

Submitted by vendo on Mon, 09/26/2022 - 10:05

We had an existing cabinet in our small bathroom, so I build this small "bookshelf" to fit perfectly under it for more storage. Always inspired by Ana, this is just a bookshelf made with 1x8 boards with a 1x2 face frame. Quick, easy and functional, that's how I like it.

Built from Plan(s)

Spa Bench!

I took this project on not sure how it would come out and I am very happy with the results!!

Built from Plan(s)
Estimated Cost
$20.00
Estimated Time Investment
Afternoon Project (3-6 Hours)
Finish Used
Stain with Polyurethane
Recommended Skill Level
Starter Project

Rustic X Desk from - Console Plan

Submitted by ezematis1 on Thu, 09/12/2013 - 06:09

I wanted to create a library table (big desk) for my two youngest boys so they would have a craft/homework space. I liked the plan for rustic x console so I adapted it to make this 7 ft desk. Kids love it so much I couldn't even get a picture of it before they started using it.

Built from Plan(s)
Estimated Time Investment
Day Project (6-9 Hours)
Finish Used
I used minwax ebony for the base. The top is a semi solid gray benjamin moore stain. Then I rubbed rusty steel wool and vinegar over it. Then topped with a spray poly.
Recommended Skill Level
Beginner

Comments

Joni

Fri, 09/13/2013 - 07:02

I love what you did with the finish on the top. It makes it look like metal. It looks so good with the black base. Very unique!!

ezematis1

Fri, 09/13/2013 - 11:07

The vinegar will turn oak dark purple (not a chemist so I can't tell you why). The first coat of stain (gray) protects the wood (but not entirely) from that reaction. So when you rub the rusty steel wool and vinegar over the surface and let it sit, it creates depth. But it is easy.

balloongal247

Fri, 05/09/2014 - 07:55

This desk is great! I love the X plans, and I need a better desk than what I have. Would you be willing to do a plan post to share how you modified the console to a desk. While I've been lurking Ana-White for a few months, I've yet to actually build things, so I'm not sure I want to attempt going too far off plan on one of my first eventual projects.

trundle Bed

Submitted by TrayScates on Mon, 10/03/2022 - 19:06

Revised plans to fit smaller mattress, removed side, and simplified head board and footboard.

Built from Plan(s)

Comments

Big Farm Table

Submitted by fontzmark on Mon, 08/22/2011 - 03:10

11' Rustic Farm Table made out of 2" rough cut pine. Used a couple different plans from here and just kinda made it work to fit the space. Used a power sander to add some character and to smooth it out and wear it down in spots. Some of the wood wasn't as bluish gray, so I soaked steel wool in white vinegar and brushed it on, seemed to help a bit, especially on the fresh cuts.

Estimated Cost
$60 for the the wood and a box of screws.
Estimated Time Investment
Afternoon Project (3-6 Hours)
Finish Used
Soaked some steel wool in white vinegar over night to blend it a little, now that it has been exposed to sunlight it is pretty even though.
Recommended Skill Level
Beginner

Comments

Guest (not verified)

Tue, 08/23/2011 - 05:21

Brings me back to my Grandparents house where our family filled the entire table! Great Job!

fontzmark

Fri, 09/02/2011 - 21:40

Thanks so much for the nice compliments, it really wasn't that hard, it's the wood that makes it special, thanks again.

David (not verified)

Wed, 09/07/2011 - 14:27

The table length is 11'. How wide is the table?

Eren Daugherty (not verified)

Mon, 10/31/2011 - 17:11

Absolutley stunning I am looking to make a farm house table to stay out side was going to use pressure treated lumber and pour a concrete top do u think this design will hold a 500 lb top?

Stephanie (not verified)

Mon, 04/02/2012 - 06:26

we are in process of building our table and we want to keep the natural wood distressed look and we don't want the shiny lacquer look... how did you seal this table to protect from spills?

Sara (not verified)

Wed, 06/13/2012 - 09:56

What did you use to secure the table-top boards to the base? I have some masonry nails that I have considered using but I'm worried that nails will not work as well in the long run since I plan on using my table outdoors. Do you remember what you used? How are they holding up?

Kelley O'K (not verified)

Sat, 07/14/2012 - 06:05

I LOVE how you used the 2" rough cut pine! We need a 9 foot table for our huge banquet and this is perfect...the use of steel wool and vinegar is a great idea. You've inspired me, thanks!

Table centerpiece trough

Submitted by brittanyj on Fri, 11/20/2015 - 10:20

Used scrap cedar fence pickets for this build- only sanded the roughness off the top so that the saw marks remained to give it a rustic look.  added tea stain then steel wool vinegar mix to age the boards, then a coat of poly on top.  Very quick build, held together by brad nails. 

Estimated Cost
Free- Scrap cedar fence pickets
Estimated Time Investment
An Hour or Two (0-2 Hours)
Finish Used
steel wool and vinegar mix painted on after a tea stain. Poly on top.
Recommended Skill Level
Beginner

Rustic X Console

Submitted by Anonymous (not verified) on Tue, 01/08/2019 - 11:04

This project took an afternoon to cut and assemble and a morning to paint. I wanted to try a light grey stain but only had dark browns on hand so I did a grey wash with some grey paint I had from another project and wiped down with an old rag. I love how it turned out! The X’s Were a little tricky for this beginner but I figured it out after a refresher course with the speed square. 

Built from Plan(s)
Estimated Cost
$68
Estimated Time Investment
Afternoon Project (3-6 Hours)
Finish Used
Grey Wash with a light poly coat on top
Recommended Skill Level
Beginner

Custom made easy. Thank you!

Submitted by Anonymous (not verified) on Mon, 10/17/2022 - 12:59

Wanted something that could accommodate two foot stools so I made a couple of changes to the bottom construction and added casters. My version is a bit rough and ready (first time building a piece of furniture) but your plan was easy to follow and it's perfect for our space. Thank you for making these plans available and your comprehensive videos! My husband wants to know when I'm starting my next project.

Comments

Benches

Submitted by stcarroll on Fri, 08/26/2011 - 09:33

For years I have wanted a dining room table with benches and after searching the net for plans for my husband to make it happen, I found Ana's site and knew that it was a possibility to build it and that it didn't have to be a project only for my husband. My husband built the table and my first build was the benches. My husband found a couple of wrought iron balusters that he used at supports on the table legs. We used 2 x instead of 1x which gave it a much bulkier look.

Estimated Cost
$30 for benches alone
Estimated Time Investment
Afternoon Project (3-6 Hours)
Finish Used
Minwax Ebony stain with 2 coats poly.
Recommended Skill Level
Starter Project

Comments

Lynn Babjak (not verified)

Tue, 09/20/2011 - 13:14

Nice job on the table. The stretchers are a great idea. The benches really get off the set.

Play Kitchen

I had an old bookshelf in the garage.....wobbly and just not having any justice. I took it apart and turned it into a play kitchen. Used the plans and modified to what wood I had available from the shelves.

Built from Plan(s)
Estimated Time Investment
Day Project (6-9 Hours)
Finish Used
Unknown- left it as it was- top of pine is layered in poly so it can take all the banging.
Recommended Skill Level
Beginner

Comments

butternut table

Got some butternut from a friend and here it is.

Estimated Time Investment
Weekend Project (10-20 Hours)
Finish Used
Oak then clear
Recommended Skill Level
Intermediate

Comments

Farmhouse Storage Bed in Cheyenne

Submitted by Anonymous (not verified) on Sat, 01/12/2019 - 17:10

First time building furniture and enjoyed the project.  I used better lumber as I wanted to avoid paint but it turned out well for my first try.  Thank you Ana White for a good set of plans.

Estimated Cost
$700 but I used premium lumber, hardware and finished all the surfaces which took more time and money.
Estimated Time Investment
Week Long Project (20 Hours or More)
Finish Used
Minwax black gel stain and 5 coats of minwax polycrylic.
Recommended Skill Level
Advanced

Numbered Cubbies

Submitted by kari on Sun, 08/28/2011 - 15:16

Like so many others, I saw this and had to have one of my own. It was cute and quick - perfect! I had the same height issues that others had. The center supports are too tall for the 1x2 and 1x3 on the front. I wound up using all 1x3's, 2 on the front and 3 on the back. Because the cubbies came out a bit deeper, I thought I would try it as a utensil holder in the kitchen. Cute, huh.

Built from Plan(s)
Estimated Cost
less than $10
Estimated Time Investment
Afternoon Project (3-6 Hours)
Finish Used
I tried Ana's antique finish. The first layer I spray painted black. I didn't know if Ana sprayed or brushed on the white, but I brushed on mine. Painted the numbers on, then distressed it a bit.
Recommended Skill Level
Beginner

Comments

Taylors console

Submitted by raybotelho on Thu, 09/19/2013 - 16:30

Loved working on this table. An easy build for sure. Couldn't find wheel casters that I liked so had to use another 4x4 to give it height. Will be building another one soon :)
Thank you so much for sharing the plans.

Built from Plan(s)
Estimated Time Investment
Weekend Project (10-20 Hours)
Finish Used
Stain and wry brushing
Recommended Skill Level
Starter Project

Comments

Val Manchuk

Sat, 09/21/2013 - 08:15

I love how you finished your project!
And the 2x4's across the bottom really make it look solid.

Val
artsybuildinglady

Alexandra's Indoor Playhouse

I built this indoor playhouse for my daughter who turned 2 in september. She loves to help mommy cook, loves to have little tea party's for her dolls and love to watch Chip n' Dale terriorize Donald Duck. So I thought I would give Alexandra her very own little house to do all those things. I hope you all like it and have just as much fun building one of these as I did. 

Estimated Cost
$500
Estimated Time Investment
Week Long Project (20 Hours or More)
Finish Used
Paint
Recommended Skill Level
Beginner

Comments

Simple And small reclaimed barn wood bench

My wife wanted a small bench for our entryway/foyer.  I happened to have some reclaimed pine barn wood laying in my shop, so I whipped this up.  

The original plan was to use a colored wax or thinned paint on it to give it a weathered appearance (which is why I did screws and plugs from the top - I thought they were going to be painted over), but the wood turned out too beautiful with all of the character.  We couldn't bring ourselves to paint it.

There are a few more pics and details in my blog post about this small reclaimed barn wood bench.

Estimated Time Investment
Afternoon Project (3-6 Hours)
Finish Used
Clear wax
Recommended Skill Level
Beginner

Greenhouse

Submitted by Anonymous (not verified) on Tue, 11/15/2022 - 10:12

The plans from Ana White were excellent! I worked on this greenhouse through last winter and finished this past March. It worked perfectly for my needs through the entire growing season. I highly recommend this plan for a cost effective greenhouse, even if you have no prior building construction experience (I didn't before I built this). It only cost me $1,100 or so when all was said and done. The cheapest I could find a comparable greenhouse of this size to purchase was $2,500.

Built from Plan(s)

Comments

Classic Storage System Desk

Submitted by kkroese on Wed, 08/31/2011 - 21:51

This was my first furniture project. I made this desk/vanity for my twin daughters' 9th birthday. I sized them to fit the space and added doors rather than drawers. I also made the stools using the plans for the upholstered bench - just resized. It was a fun project and I can't wait to start another! You can read more on my blog: http://karlakroese.blogspot.com/2011/08/new-hobby.html

Estimated Cost
$150
Estimated Time Investment
Week Long Project (20 Hours or More)
Finish Used
Paint. This phase of the building process is what took the longest. Aaargh! Building is fun, but sanding, priming, sanding, painting, sanding...stinks!! All that hard work, though, paid off. Sanding is key to a good paint finish.
Recommended Skill Level
Intermediate