Hockey Corn Hole Board
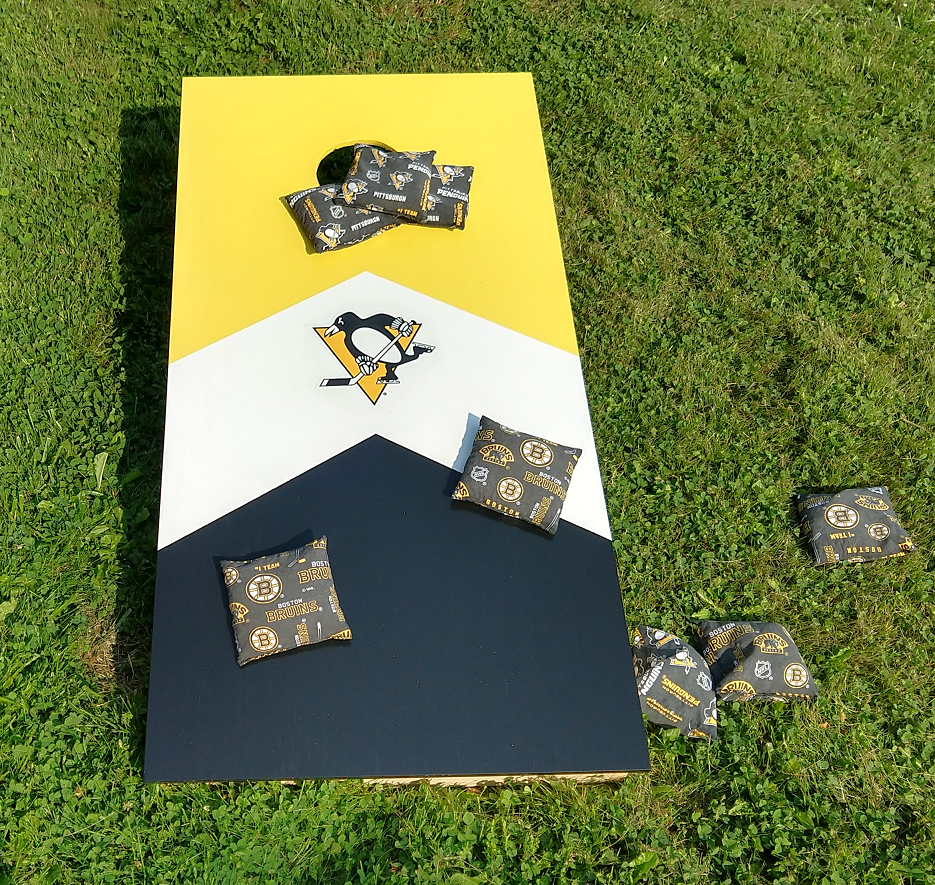
Did one with Bruins as well. Wife made the bags. Did another set with LA Rams for my brother.
Built from Plan(s)
Did one with Bruins as well. Wife made the bags. Did another set with LA Rams for my brother.

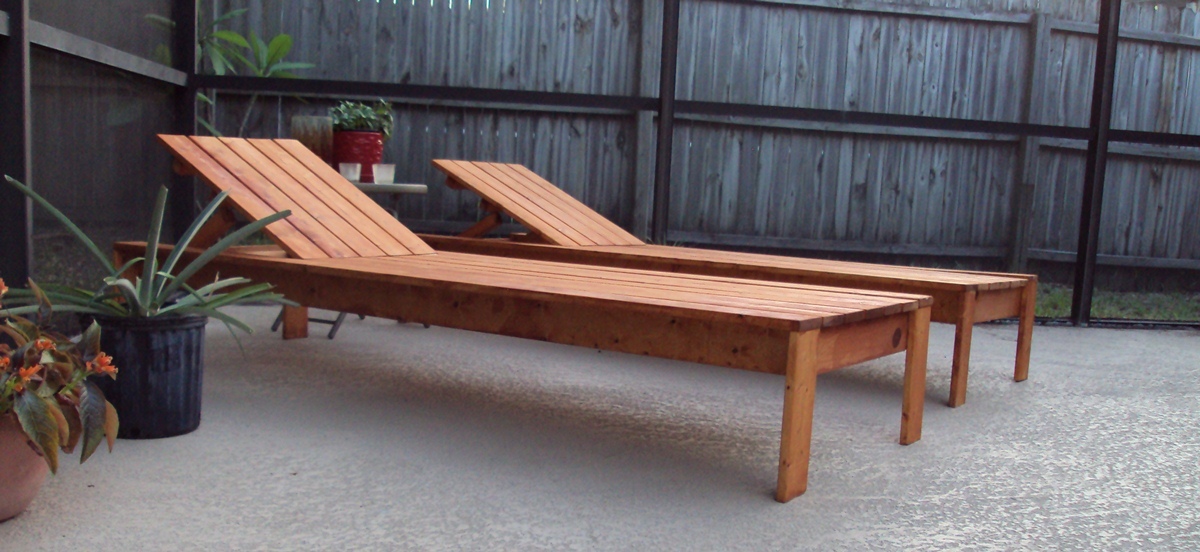
This was a very straightforward and easy build. As soon as they were compled, I wanted a dining table and chairs to coordinate. These chairs were intended to be used without cushins (is there anything better than laying out on a warm lounge chair when stepping out of the pool?) so I recessed the hinge completely below the deck. They were cut adn assembled in two evenings after the little one went to sleep. As you can see, my daughter and her friend approve.


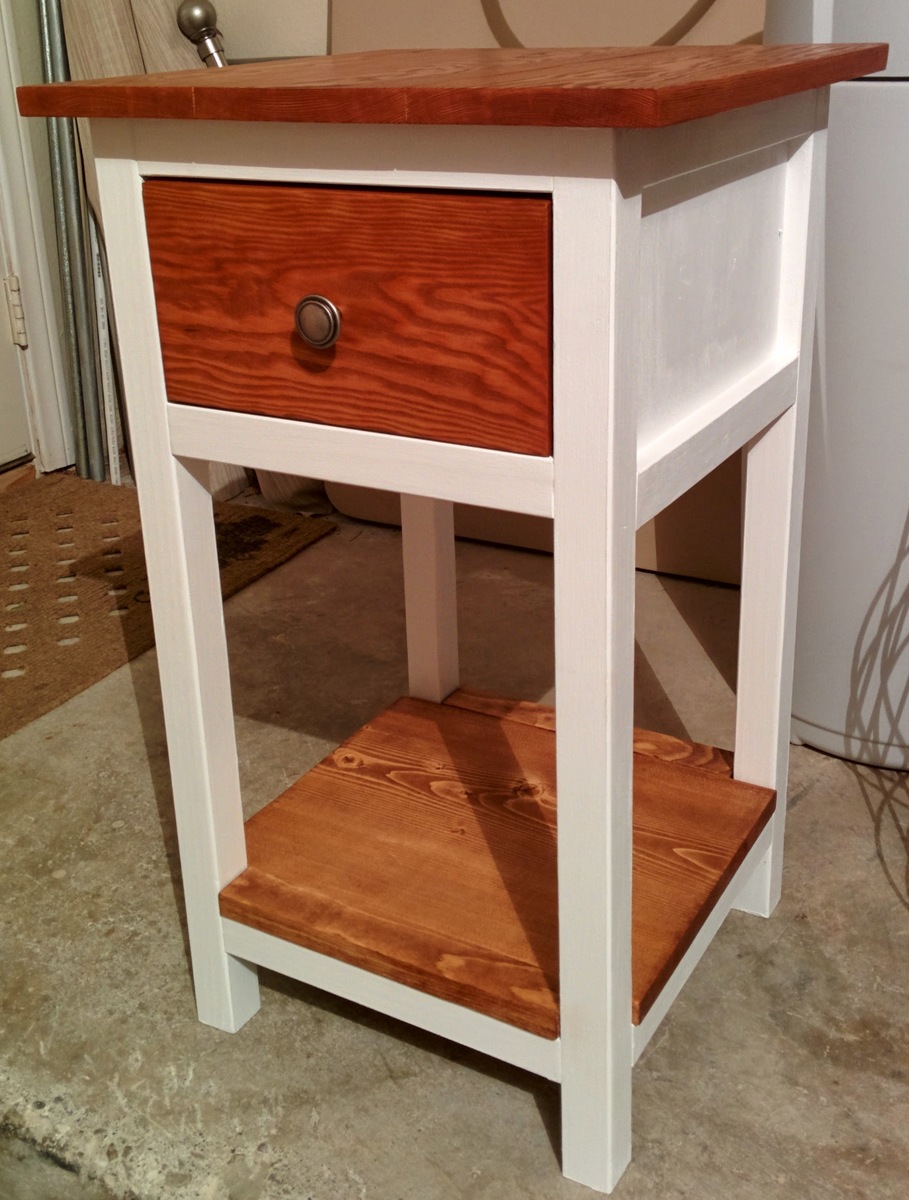
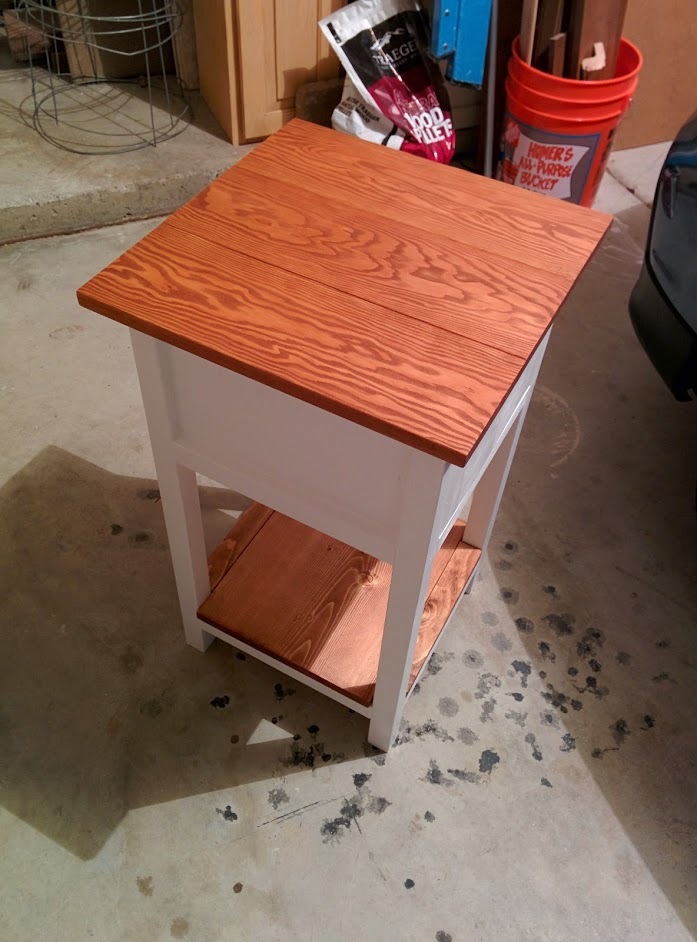
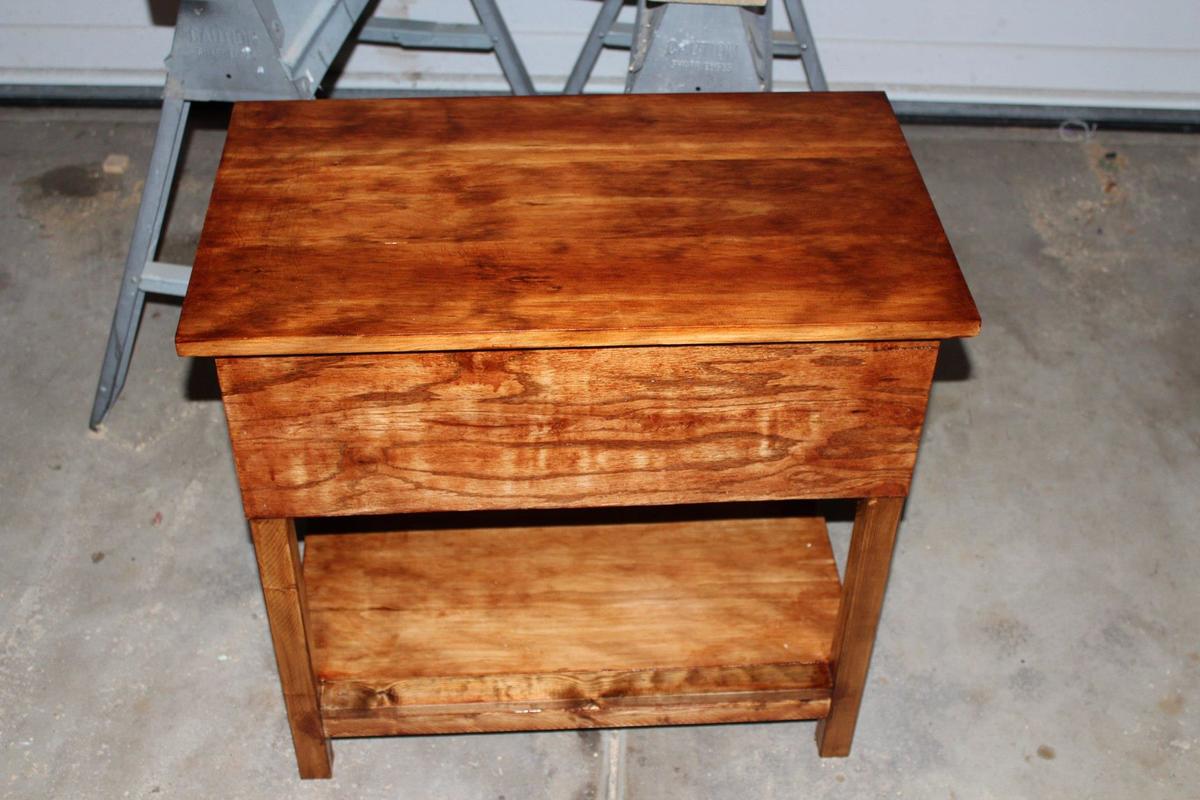
I made this for my Mom for Mother's Day. She has been wanting a little table to put next to her recliner (where she knits, reads and watches TV). For the top and drawer, I used Douglas Fir from Lowes. The rest is whitewood and redwood (legs). Overall the wood cost me about $50. I painted the body with high-gloss white paint and the stain on the wood is a mixture of min-wax Golden Pecan and English Chestnut. The finishing took the longest, but the build went very quickly.
I did notice that the cut list is a little off. You need 4 of the 1x2 pieces for the sides, not just two.
I may put a layer of varnish on it, but as of now it is not varnished.

Made a set in Kansas, moved em to Texas with us and couldn't move them to Kentucky, so I had to build another set! I know, such a shame right! Lol. These ones turned out better than the first! The first set was just stained, I got a little more crafty with these!!
Love your projects and videos! Thank you for the plans Ana.
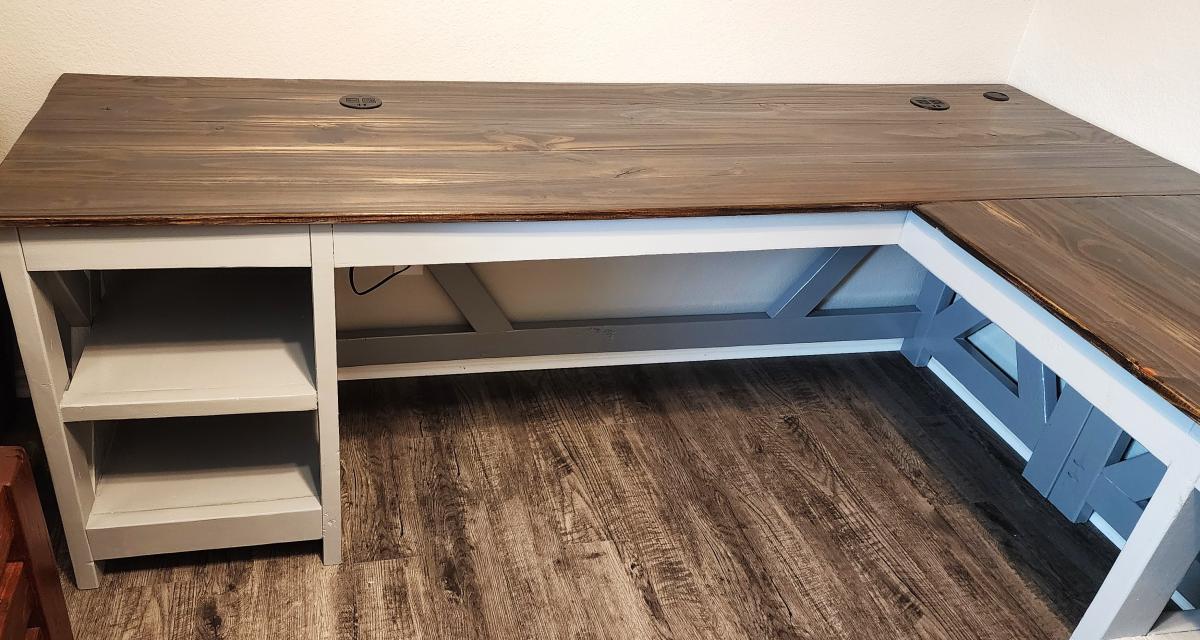
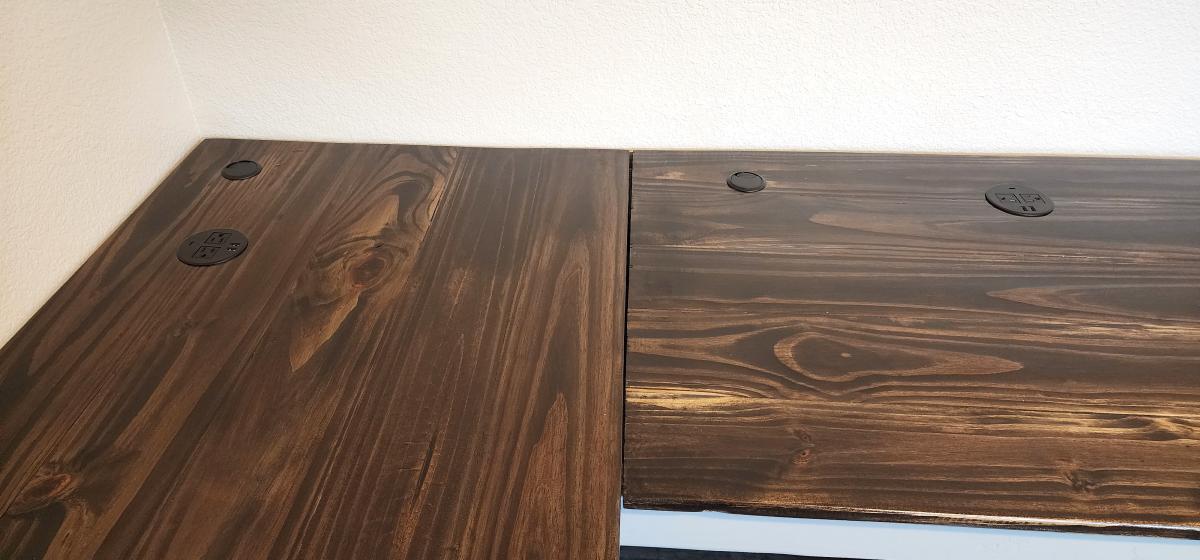
Desk for my wifes craft room.
Joshua Moore


I had a friend ask me to build this for her daughter. The bars are bungie cord that you can order by the roll. I made 3 frames the same size then put 2x2's on the inside corners and counter sunk the screws the stapled the bungie cord at the top and the bottom. I would highly recommend securing this to a stud in the wall incase a little one tried to climb on it.
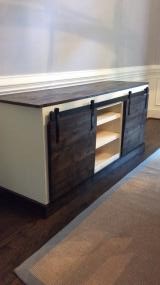
Sliding barn door console


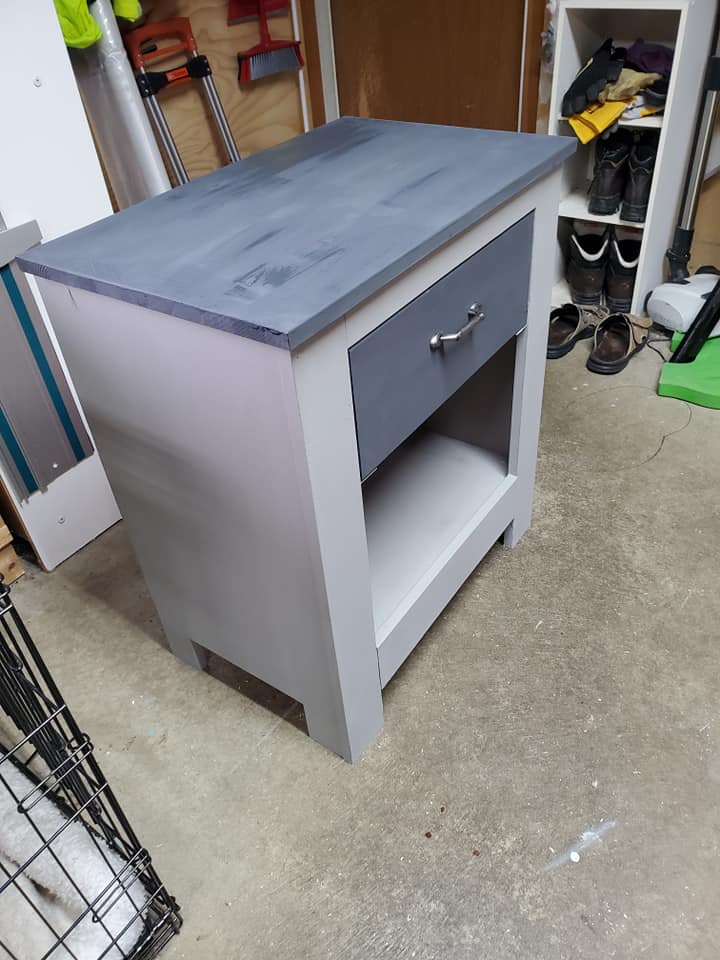
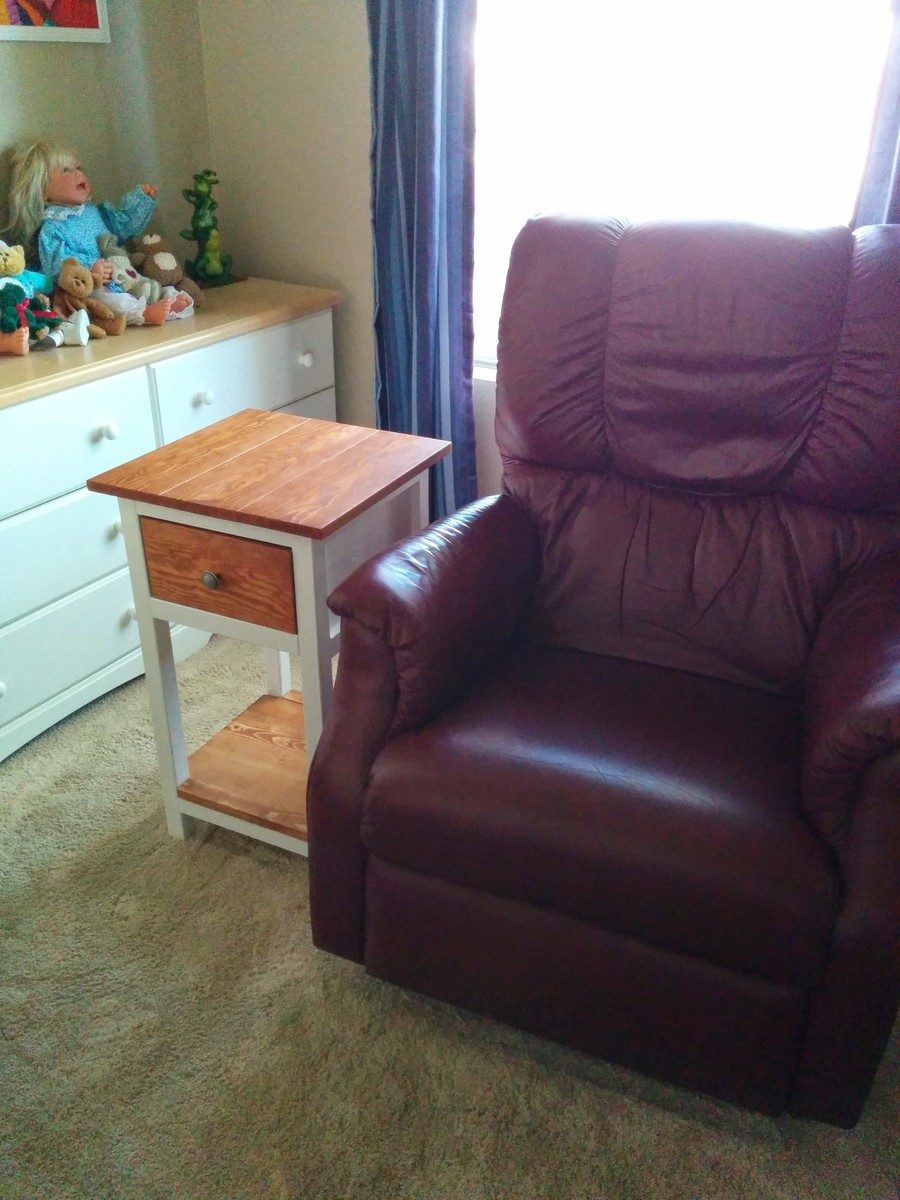
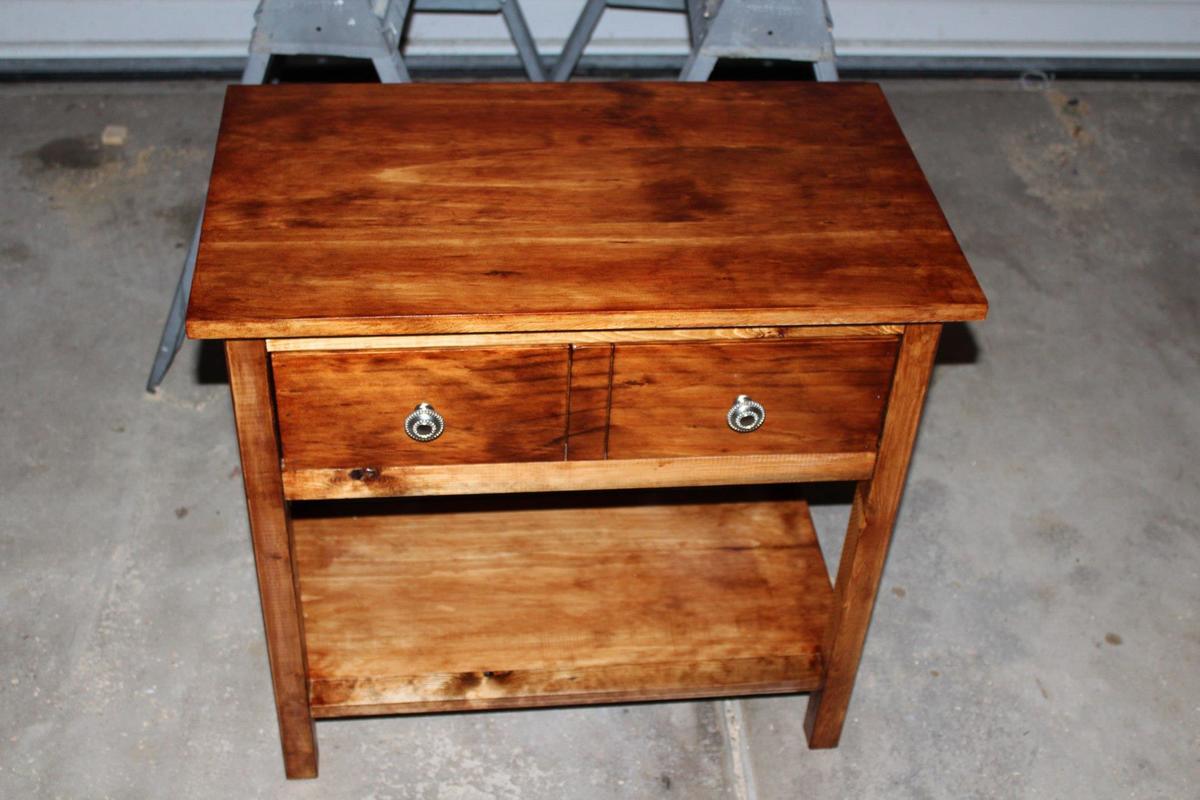
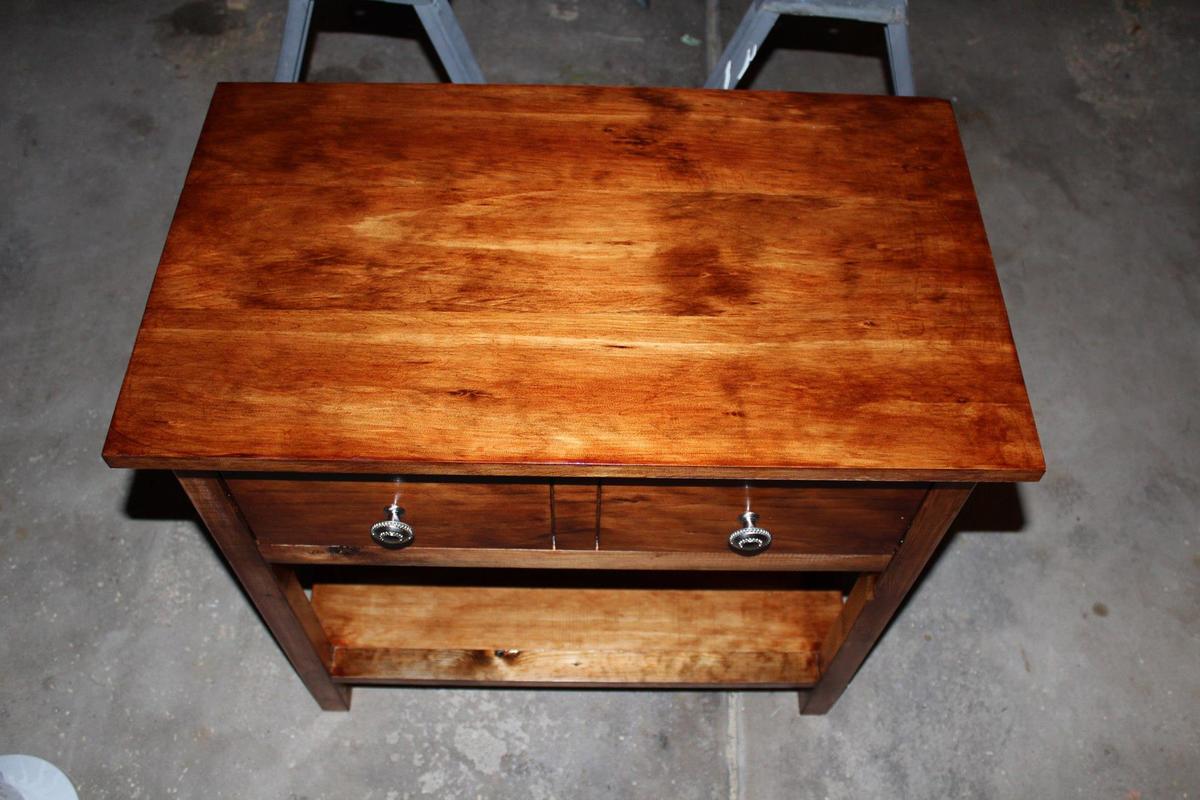
My Wife asked me to look into a night stand for her. I am so so so thankful that I was able to come across Ana's site. I showed the site to her and she asked me to build this night stand as opposed to going out and buying her some expensive poorly built nightstand. Thank you Ana for this wonderful site and the inspiration that some of us need to "get started."
One thing that I didn't think about when I started this project:
The cut list is a suggestion of what you will need to cut. I only ran into one major issue and that was with the inset bottom of my pull out drawer. I cut my drawer sides to the dimensions on the cut list (not paying attention to the note from Ana) and had to adjust my cuts for the drawer. I ended up ripping down the remainder of the 1x12 and paired it with the 1x6 that I had left over. Using the Kreg Jig I now had a perfect fit for my drawer.
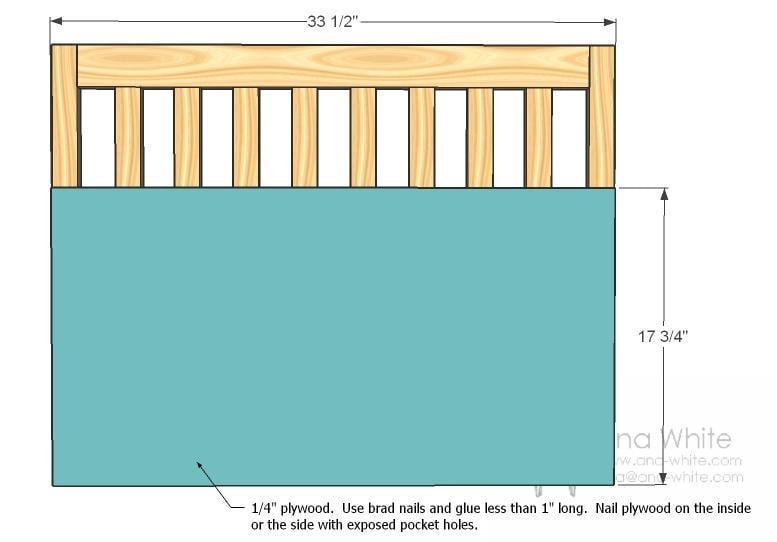
I would have liked to have had a darker stain (more of an espresso) and that is my fault for not buying different stains and testing them on my wood choices. As far as my wood choices I used 1x6 and 1x12 "white board" 1x2 and 2x2 precut pine and bought a scrap piece of 1/4in plywood for the backer.
The Kreg Jig made this project very easy to complete as well as my counter sink drill bit. Although not impossible to complete without these two tools it is remarkable easier to complete.

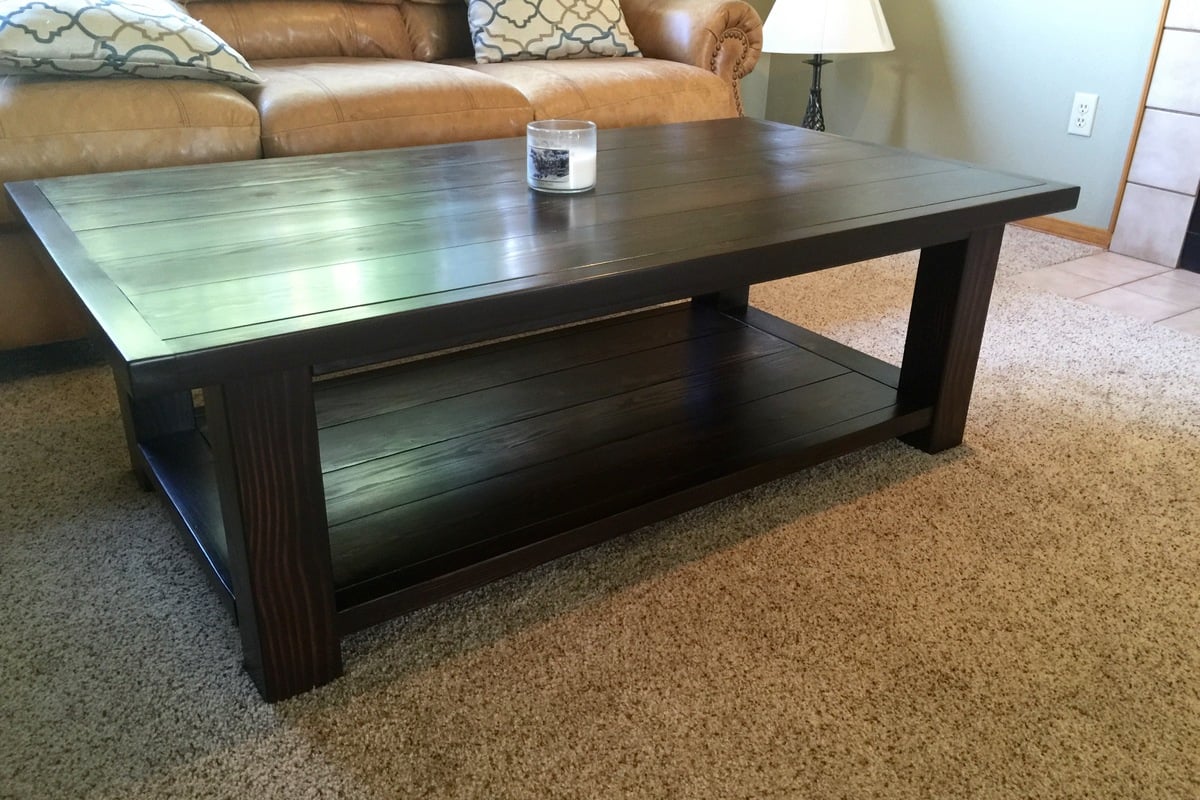
This was based on FatBob2Ks great design. I took iut the Xs used 4x4 legs and 2x6s fir the bottom shelf. I also put a furring strip around the edges to hide the end grain and add some surface area. I sanded starting with 89 grit, then 120 and finishing with 150. For stain I used a rag to rub on General Finishes Java Gel Stain for 2 coats. it's really forgiving on bare wood and you don't need conditioner. I sealed everything with Minwax satin poly wipe-on and did three coats.
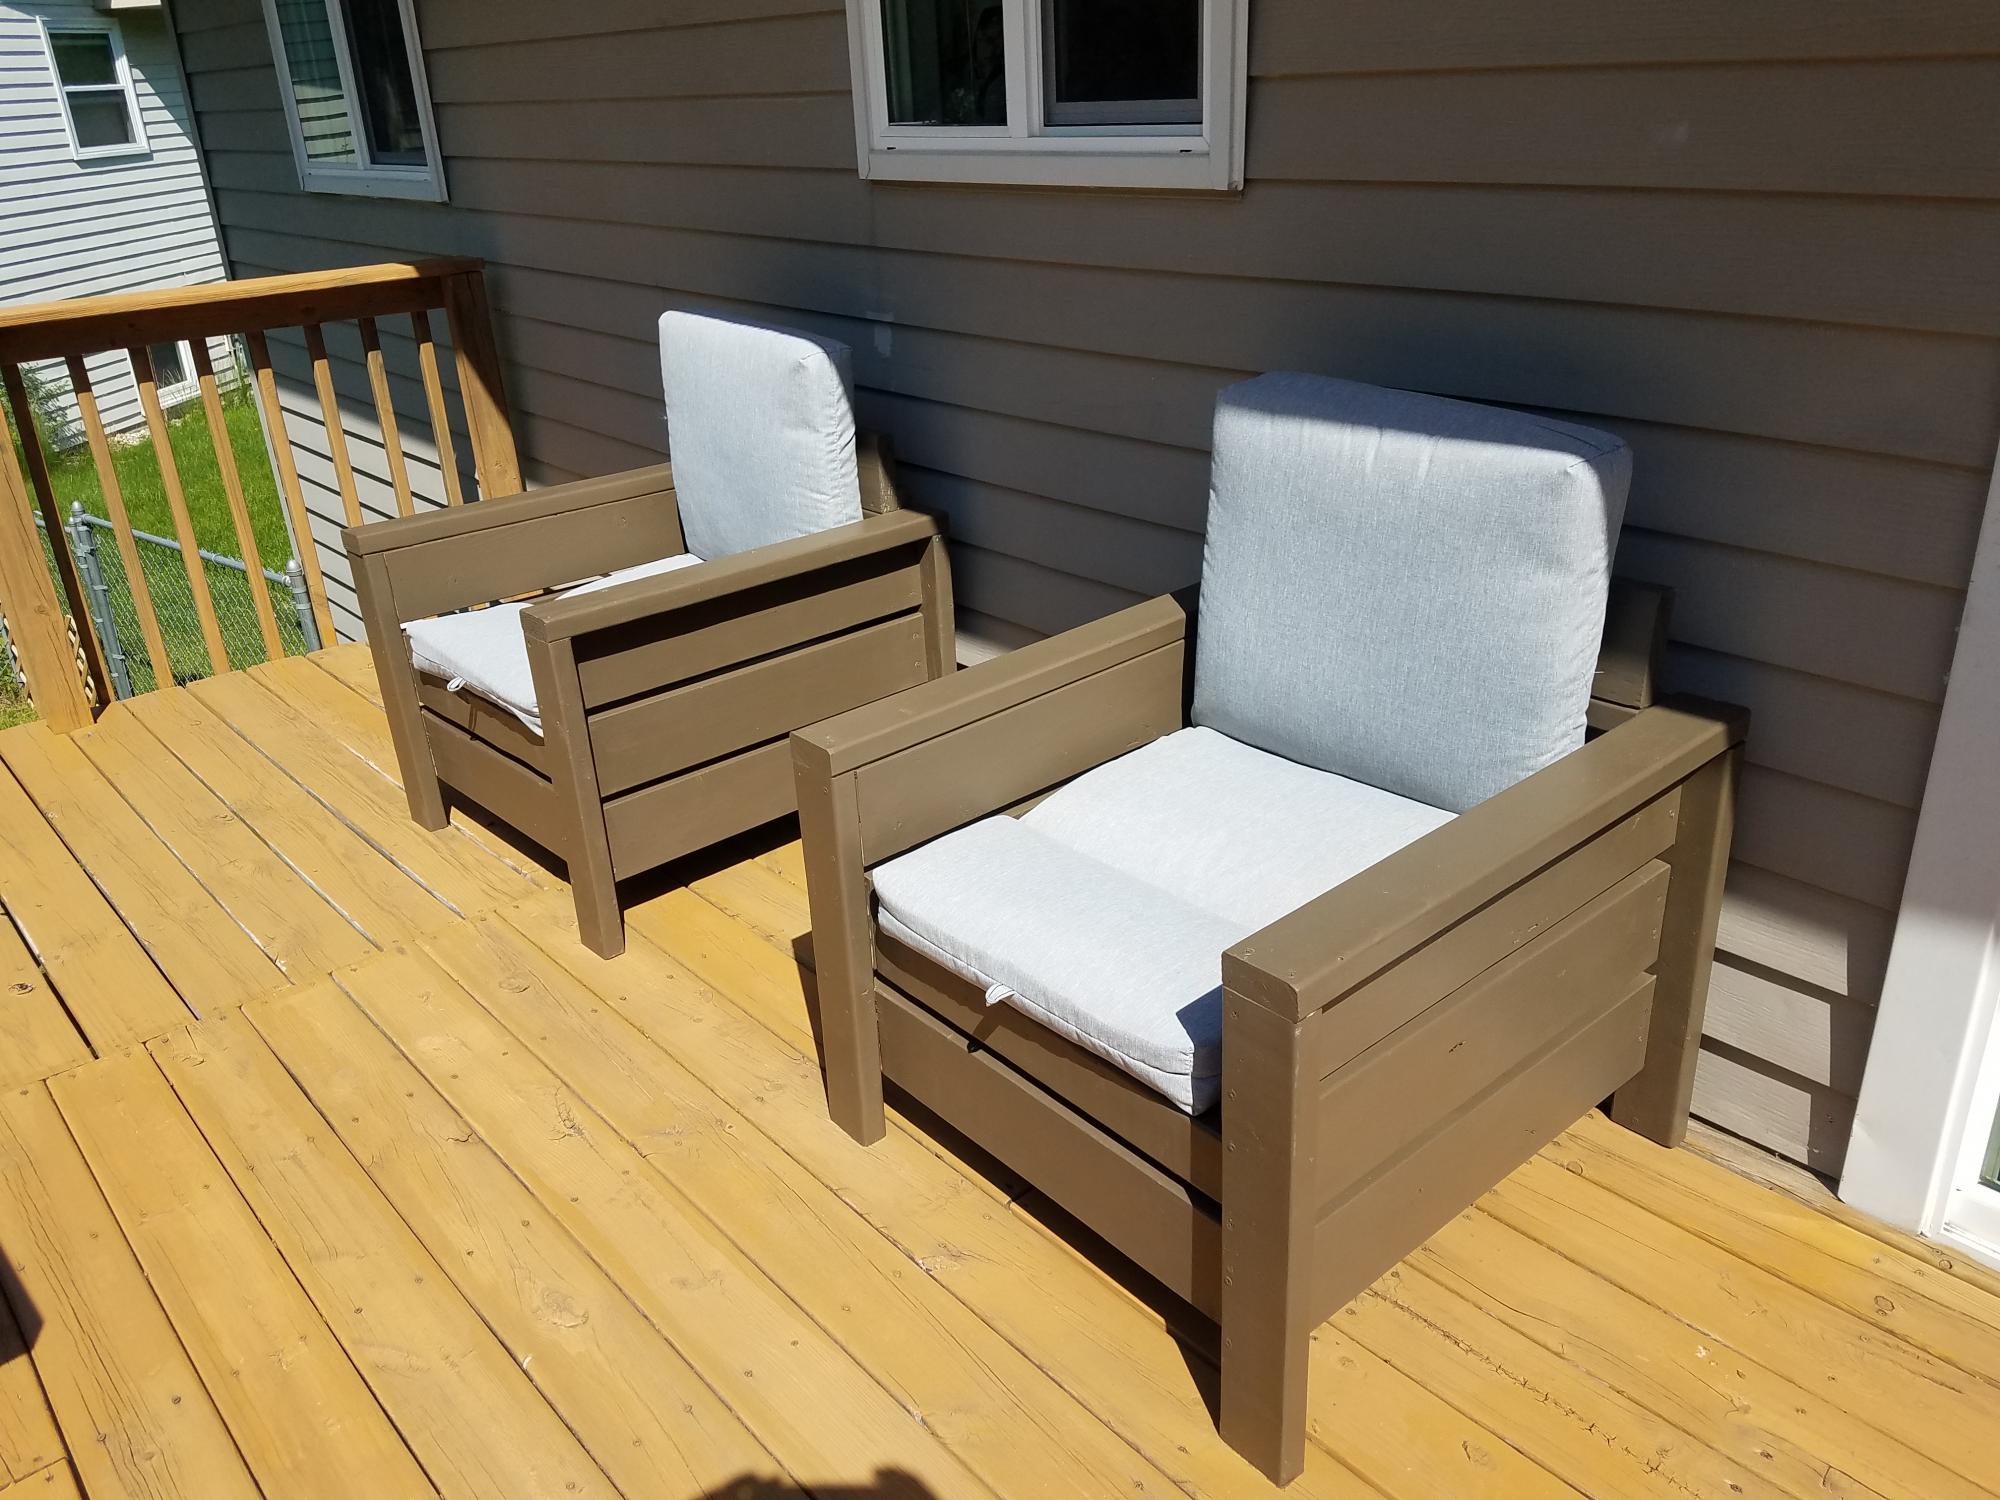
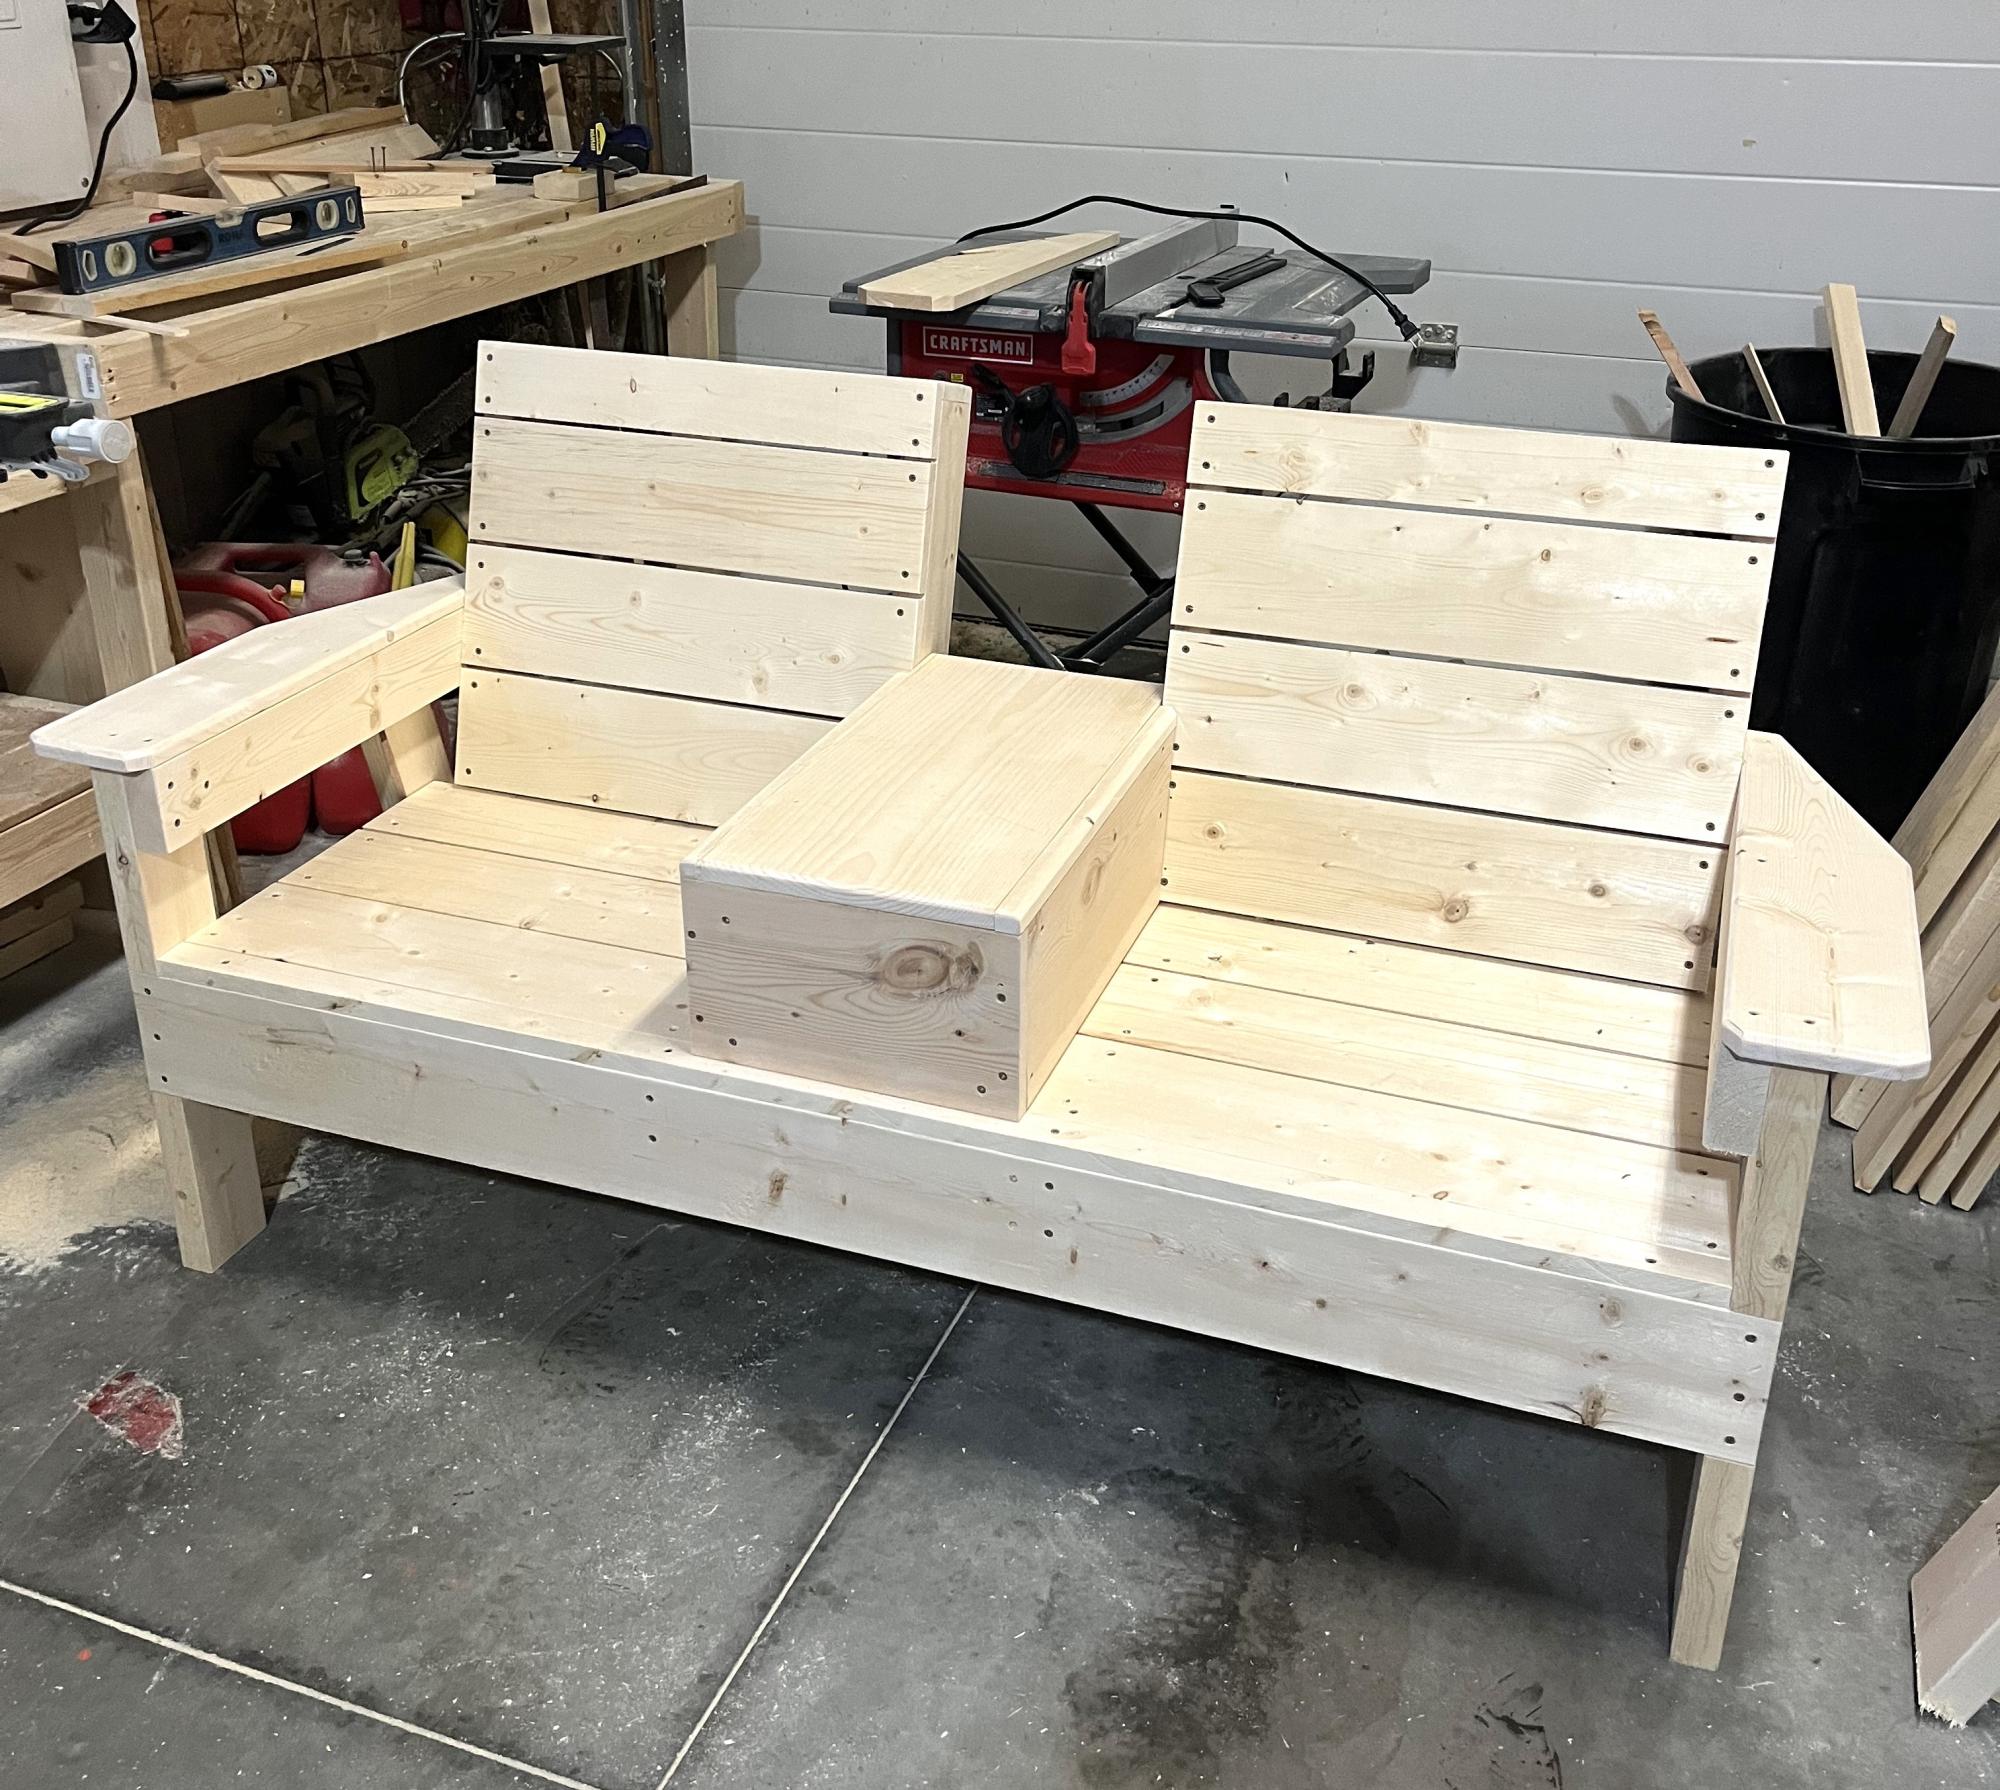
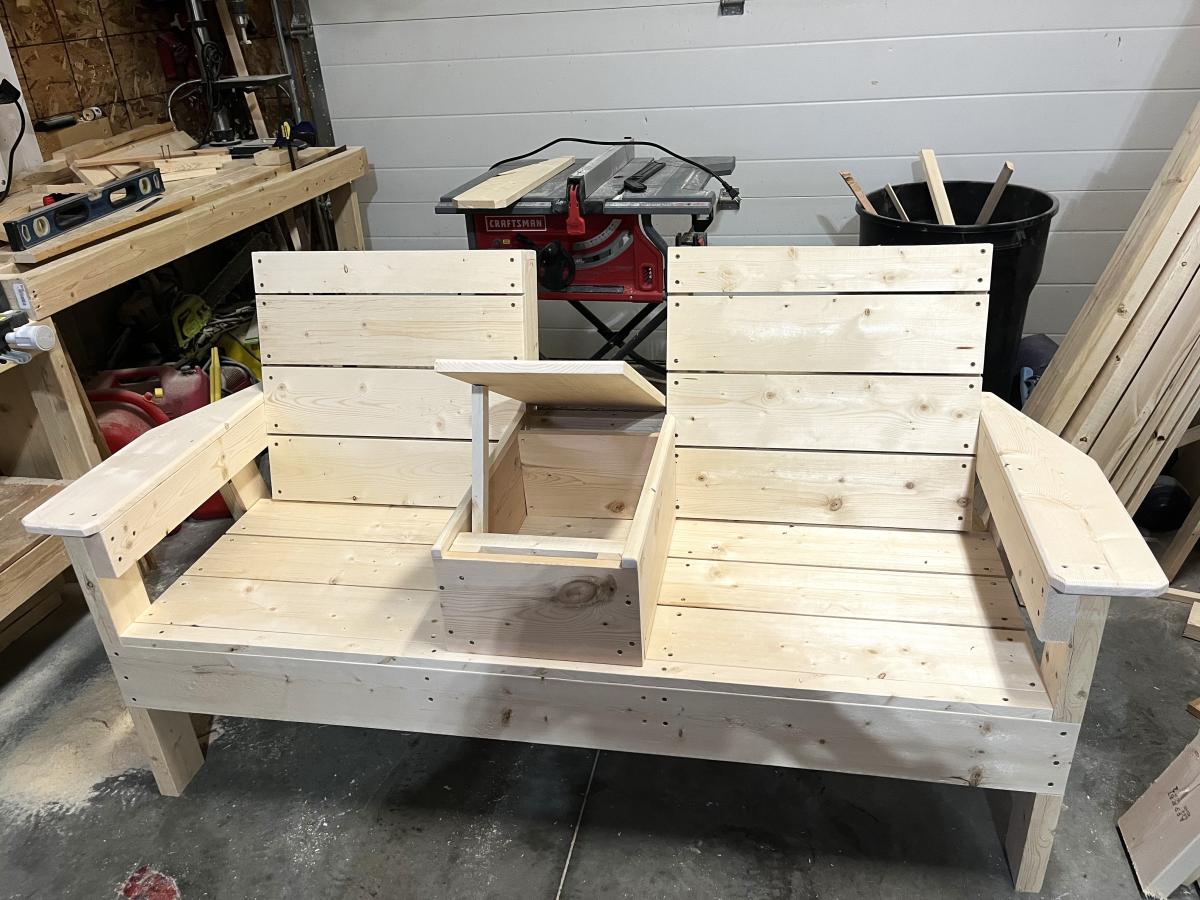
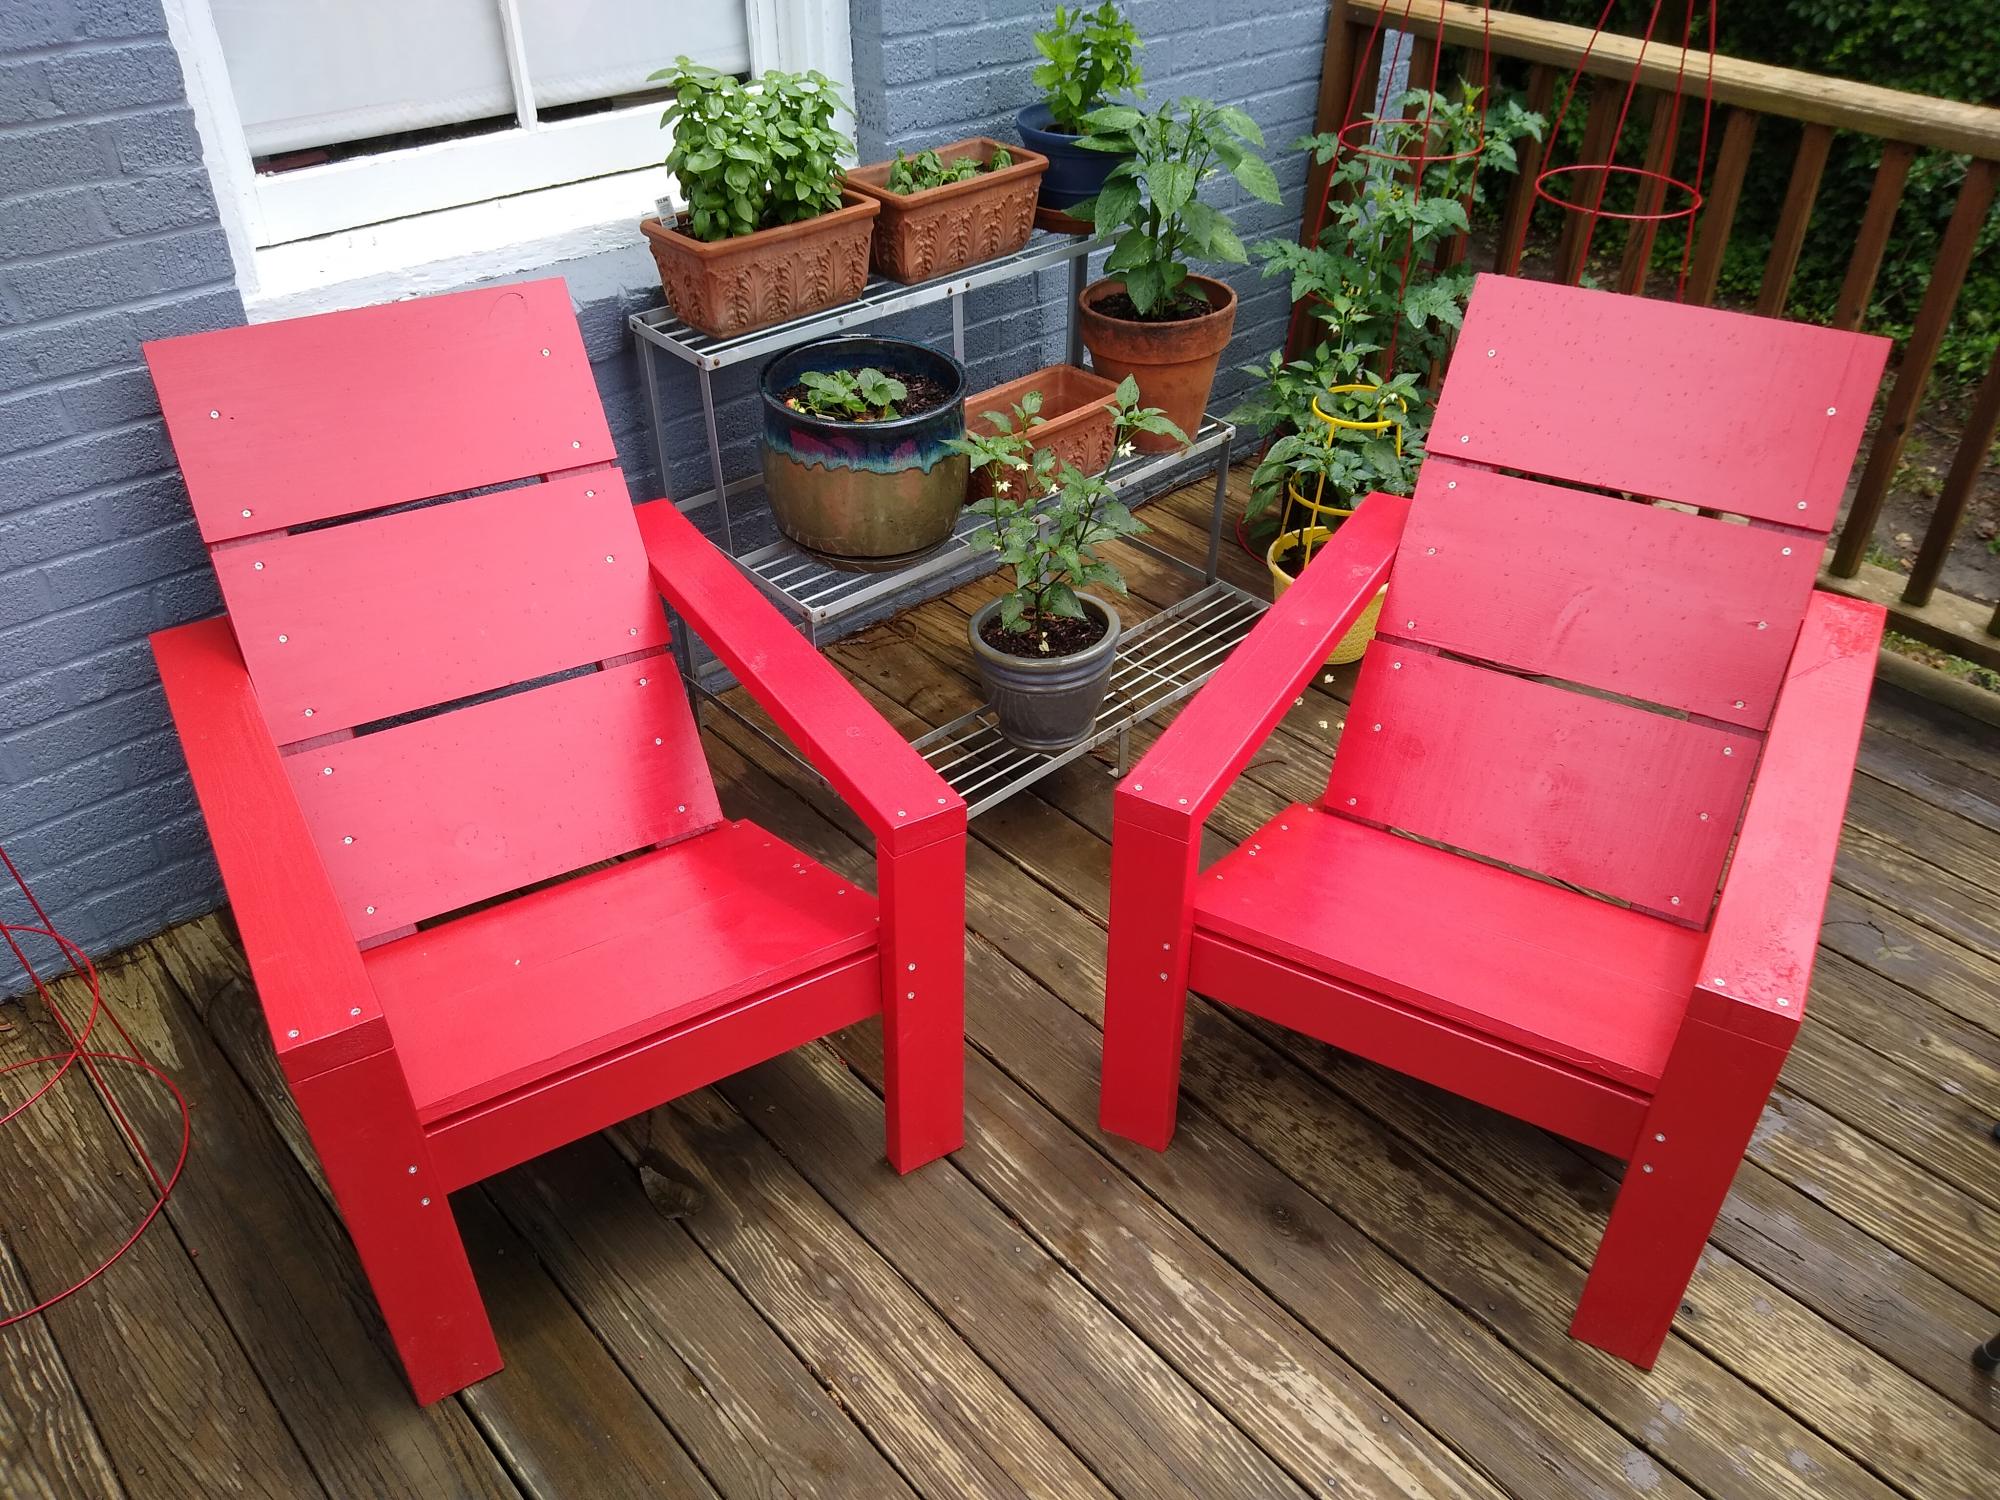
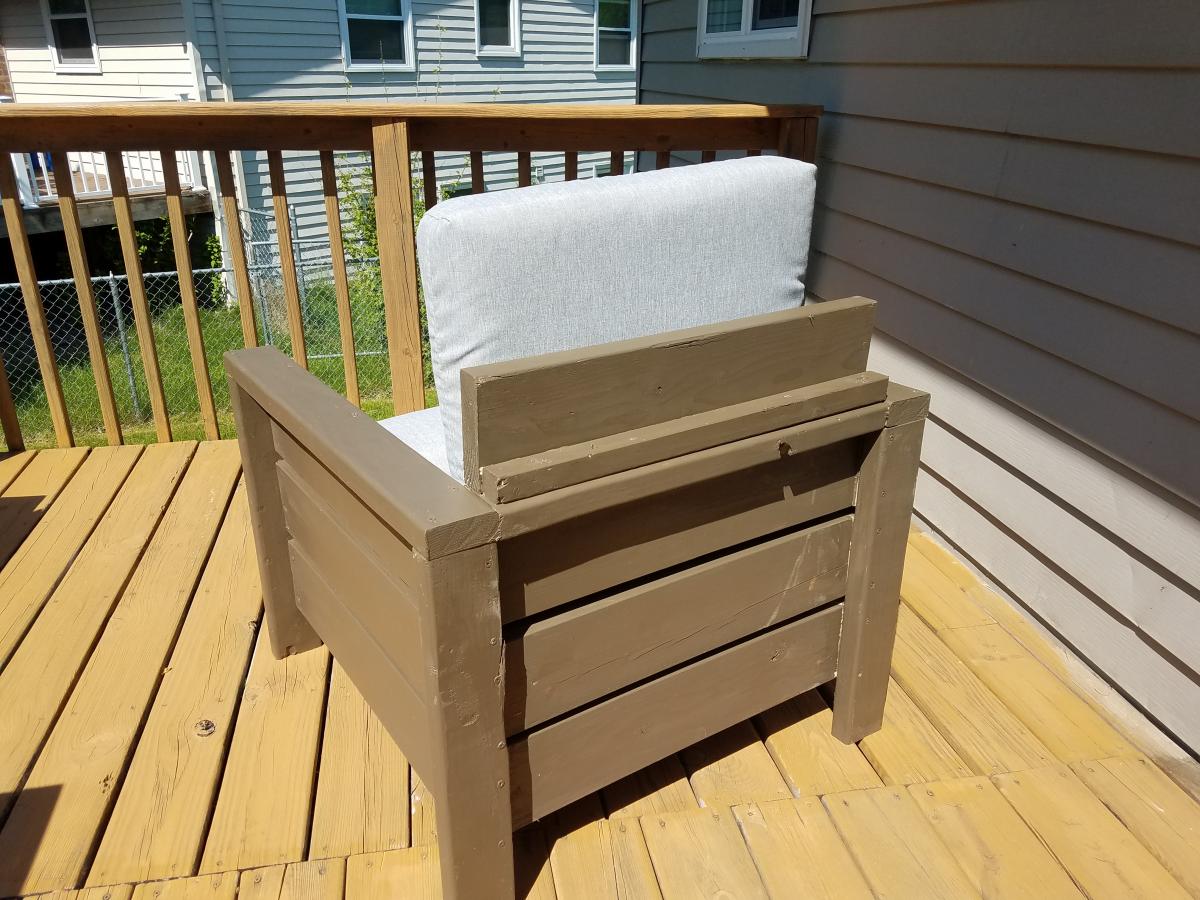
My first crack at building outdoor furniture. I built two of the Modern Outdoor Chairs built with 2 x 4 and 2 x 6. The first one was a little rough, but the second one was much better. In order to accommodate the higher cushions and make the chairs more comfortable, I added piece 2 x 6 secured to a 2 x 2 to make a partial backrest.
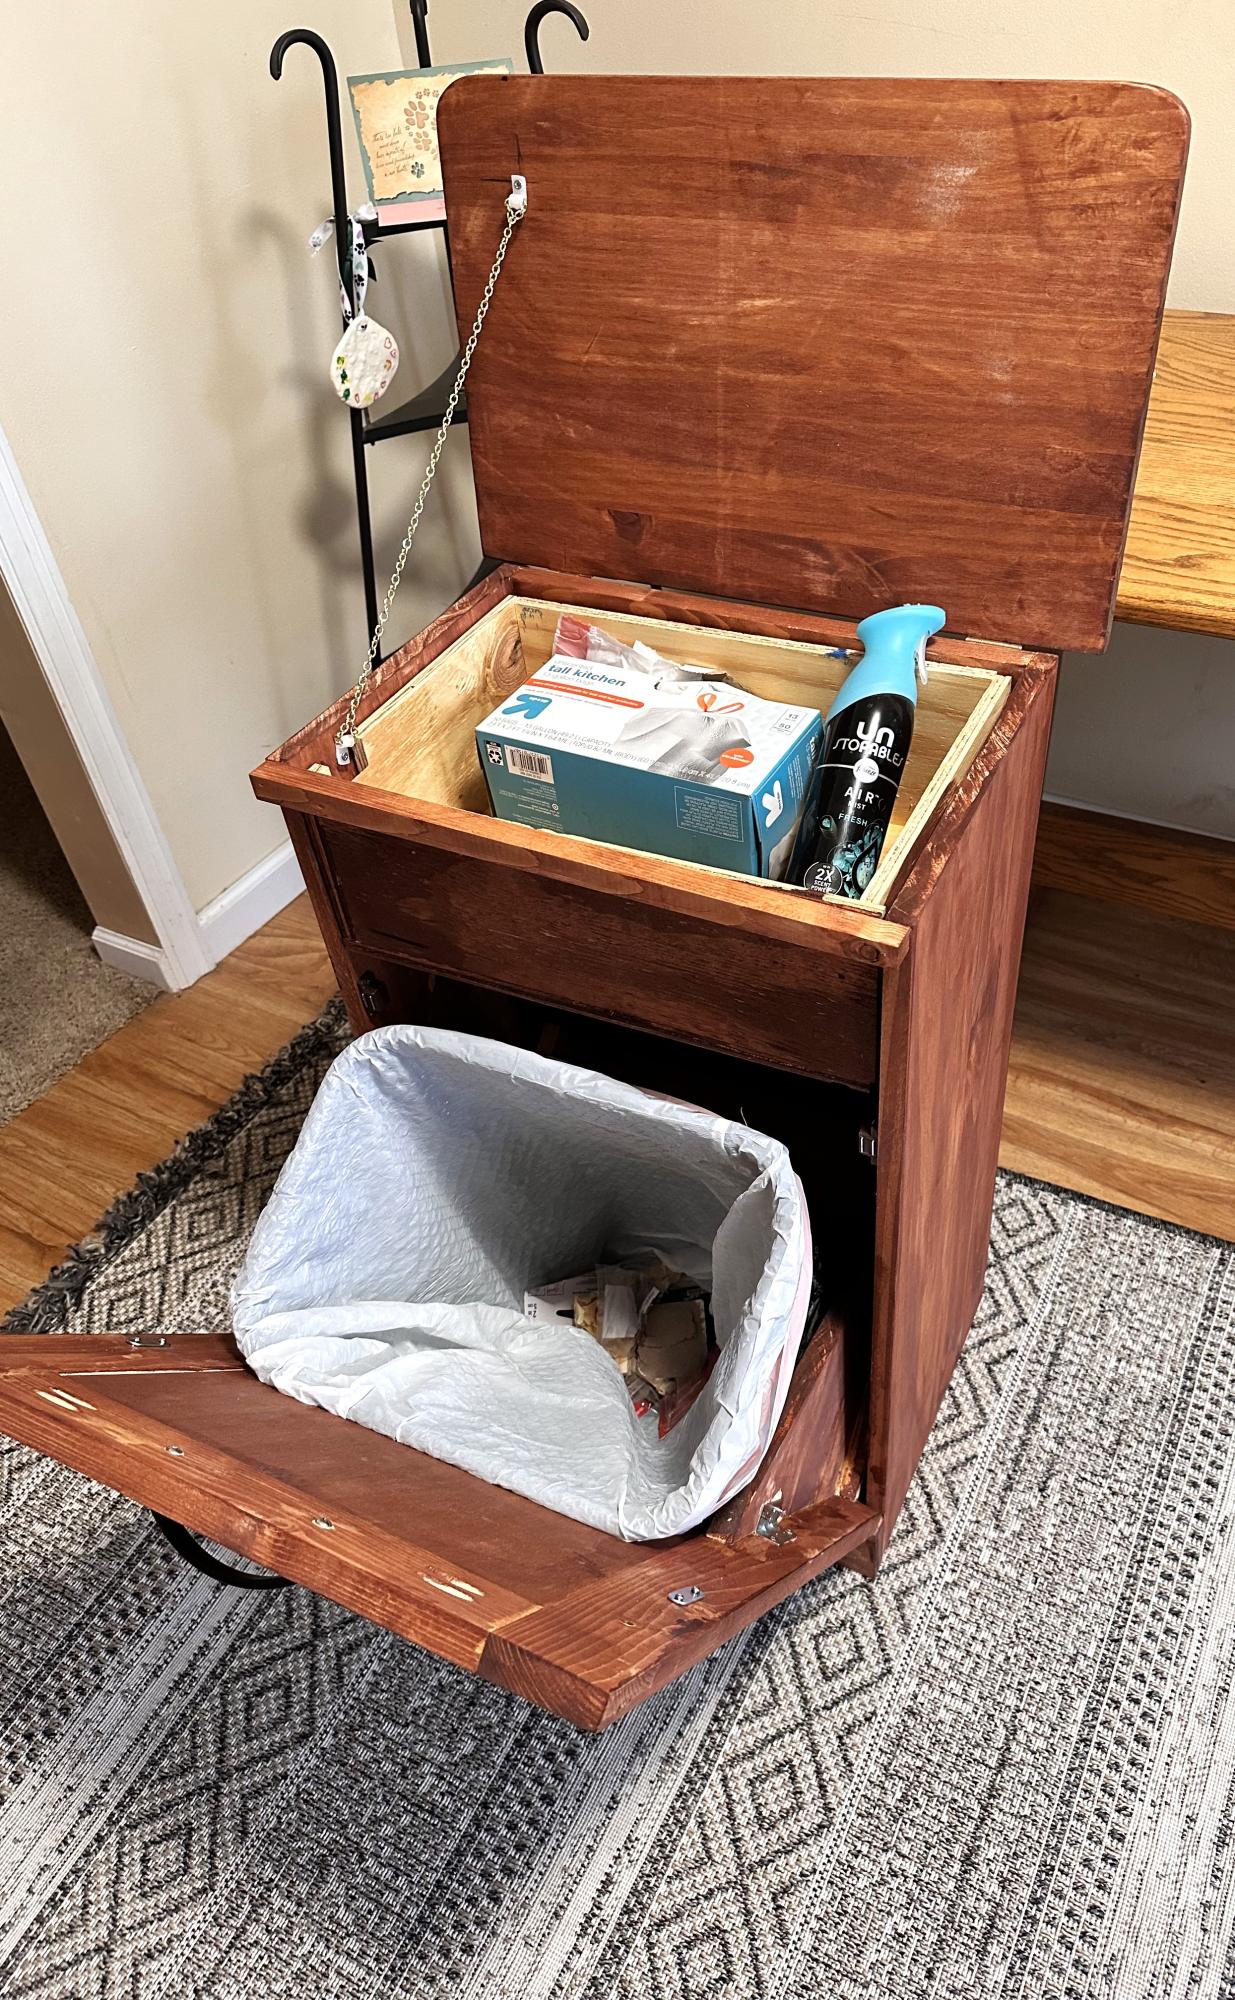
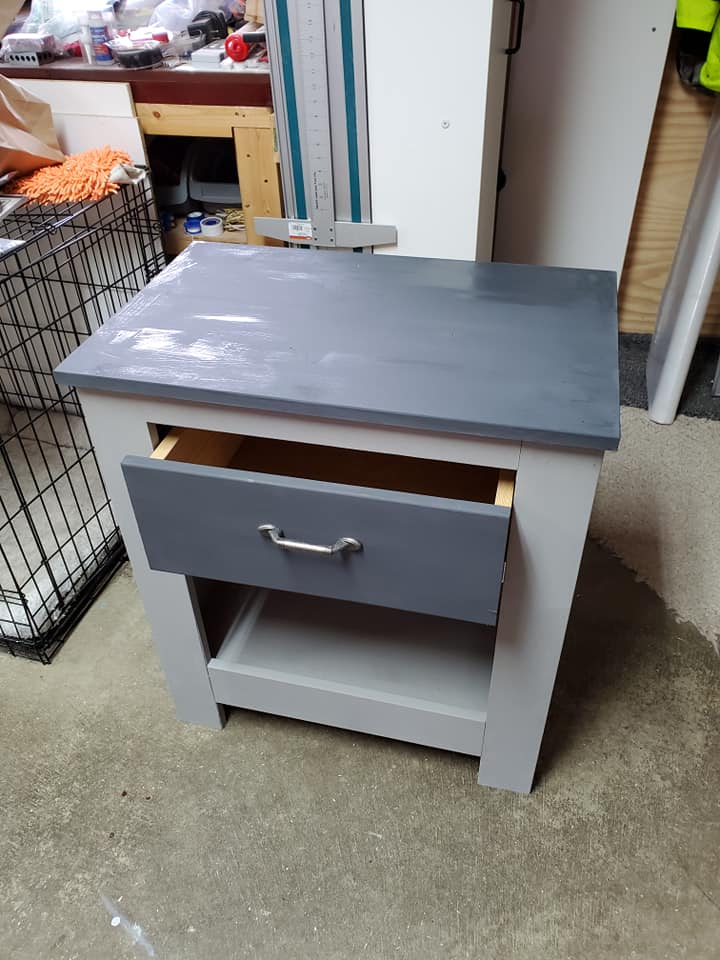
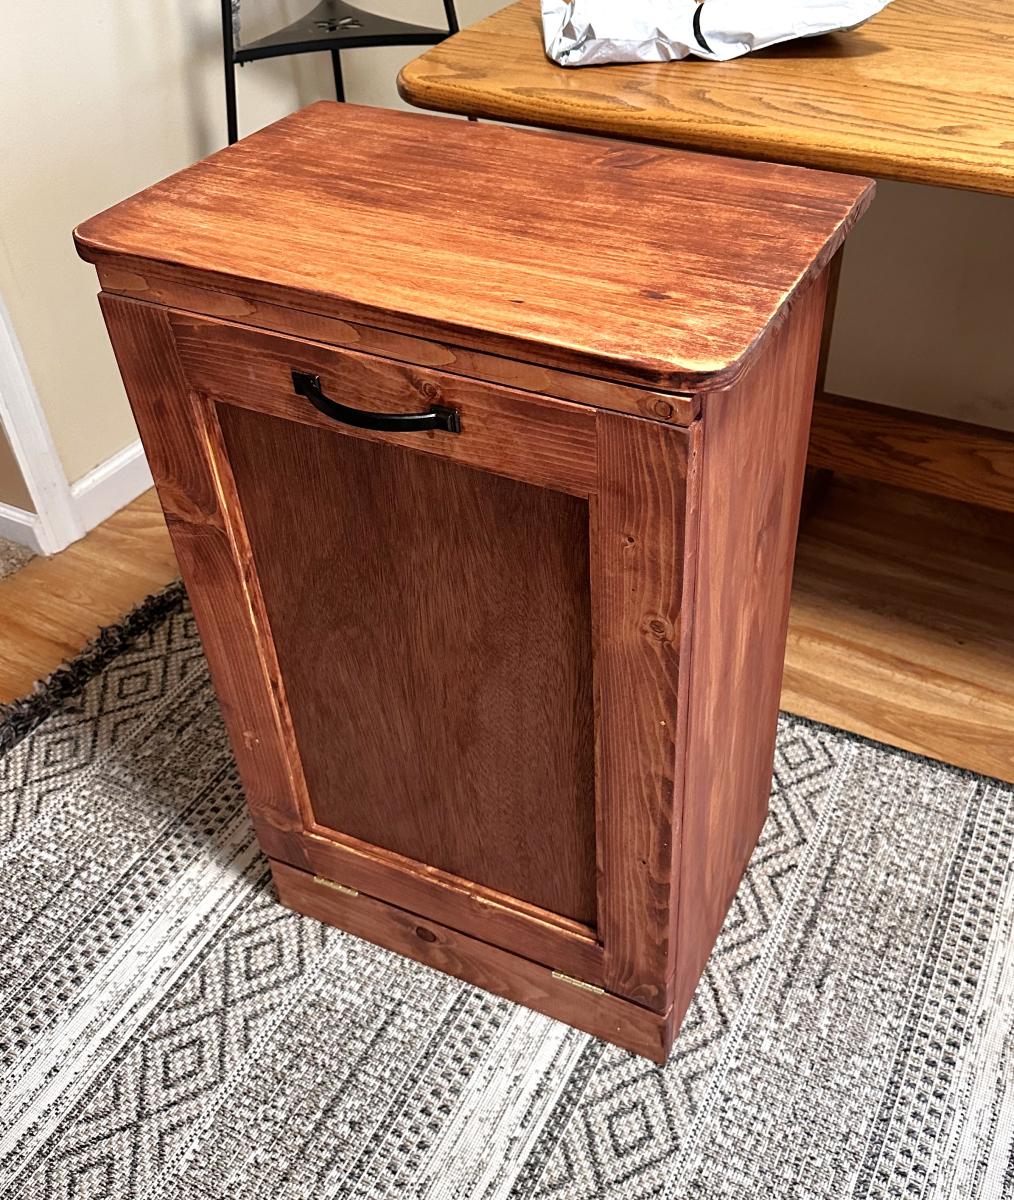
Replacing a trash bin for a friend whose cats could not get into. At the last minute I thought a little hiding area on top would give them some storage for bags and things. Had to go one size down on the Rubbermaid to allow for clearance when tilting open. They love it, the cats hate it.
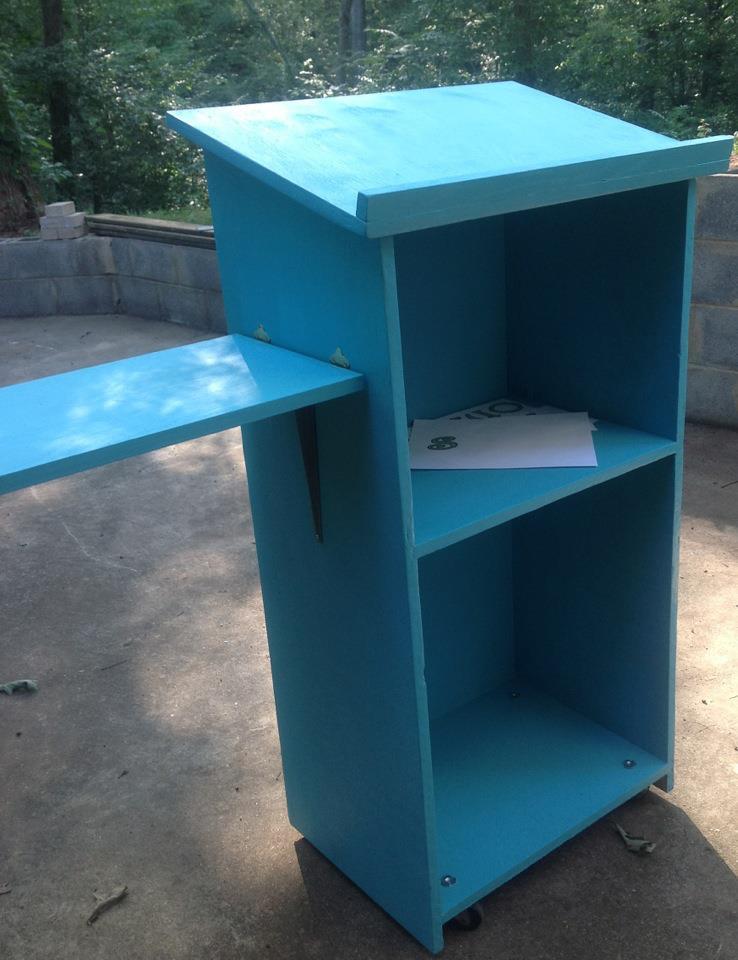
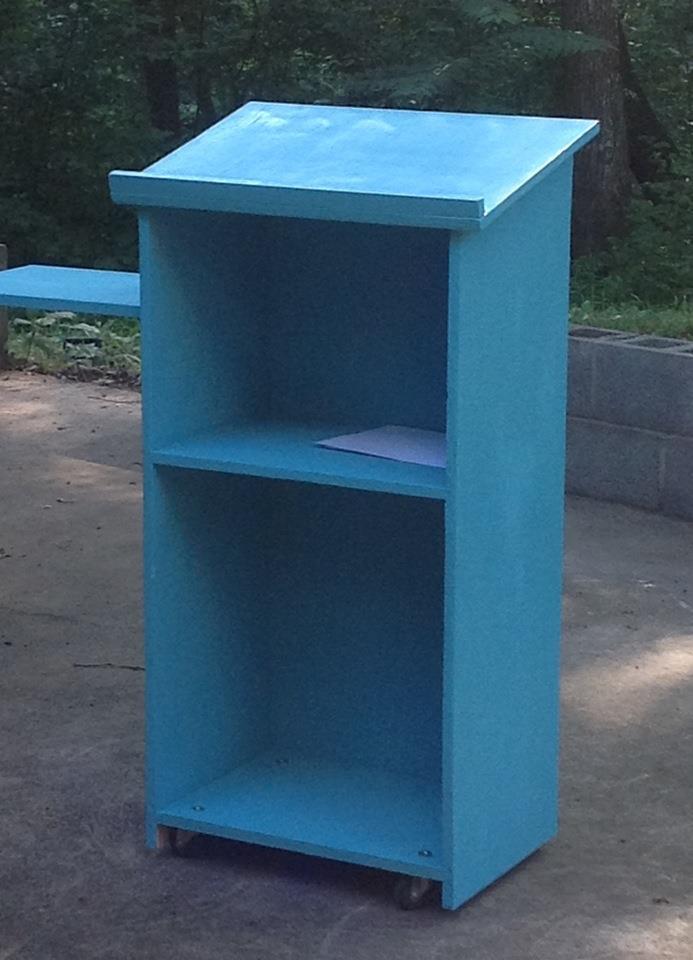
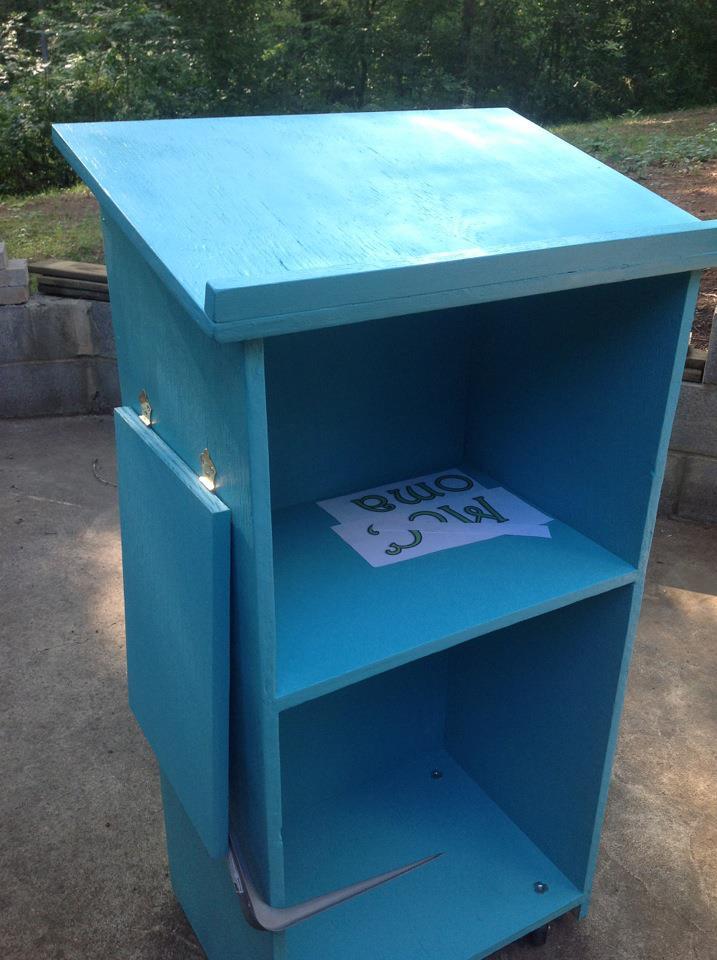
I recently landed my first teaching position, and unfortunately my predecessor left quite a blank canvas for my classroom. I will be teaching math and definitely needed a lectern to hold my book as reference for examples during instructional time. However, I was completely unable to fork over $200 for a lectern...so of course I turned to Ana White! I saw the Podium Plan that another had submitted, and used it as a guide with some changes:
1) My dimensions are 15" wide by 21" long by 43" tall (I'm shorter than your average bear).
2) Used the table saw set at 45 degrees to create mitered joint edges with my plywood
3) Inset the shelves into the frame for added stability using a router.
4) Added casters to the base for maneuverability
5) Added an easily-removable laptop shelf for the side for easy hook-up to the Promethean Board in the classroom.
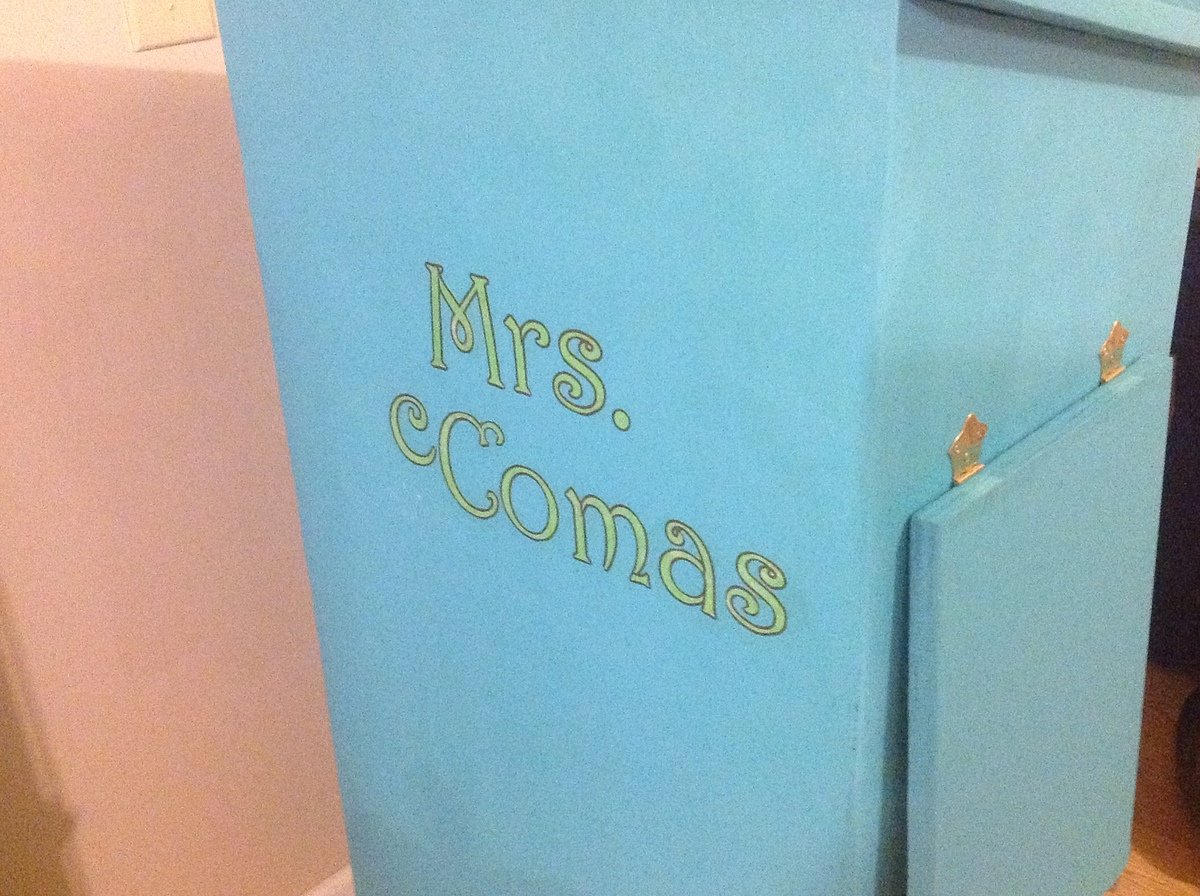
6) Decoupaging my name to the front for some visual interest...(and of course to claim ownership...:) )
My room is painted yellow, and all of my accessories are teal, lime green, and brown. This is gonna look GREAT in there, and best of all, it's attractive AND functional!

Sat, 07/28/2012 - 22:23
I don't remember having ANY teachers with anything this cool and personal in their classroom (except maybe woodshop, har-de-har-har). All the other teachers will be jealous!
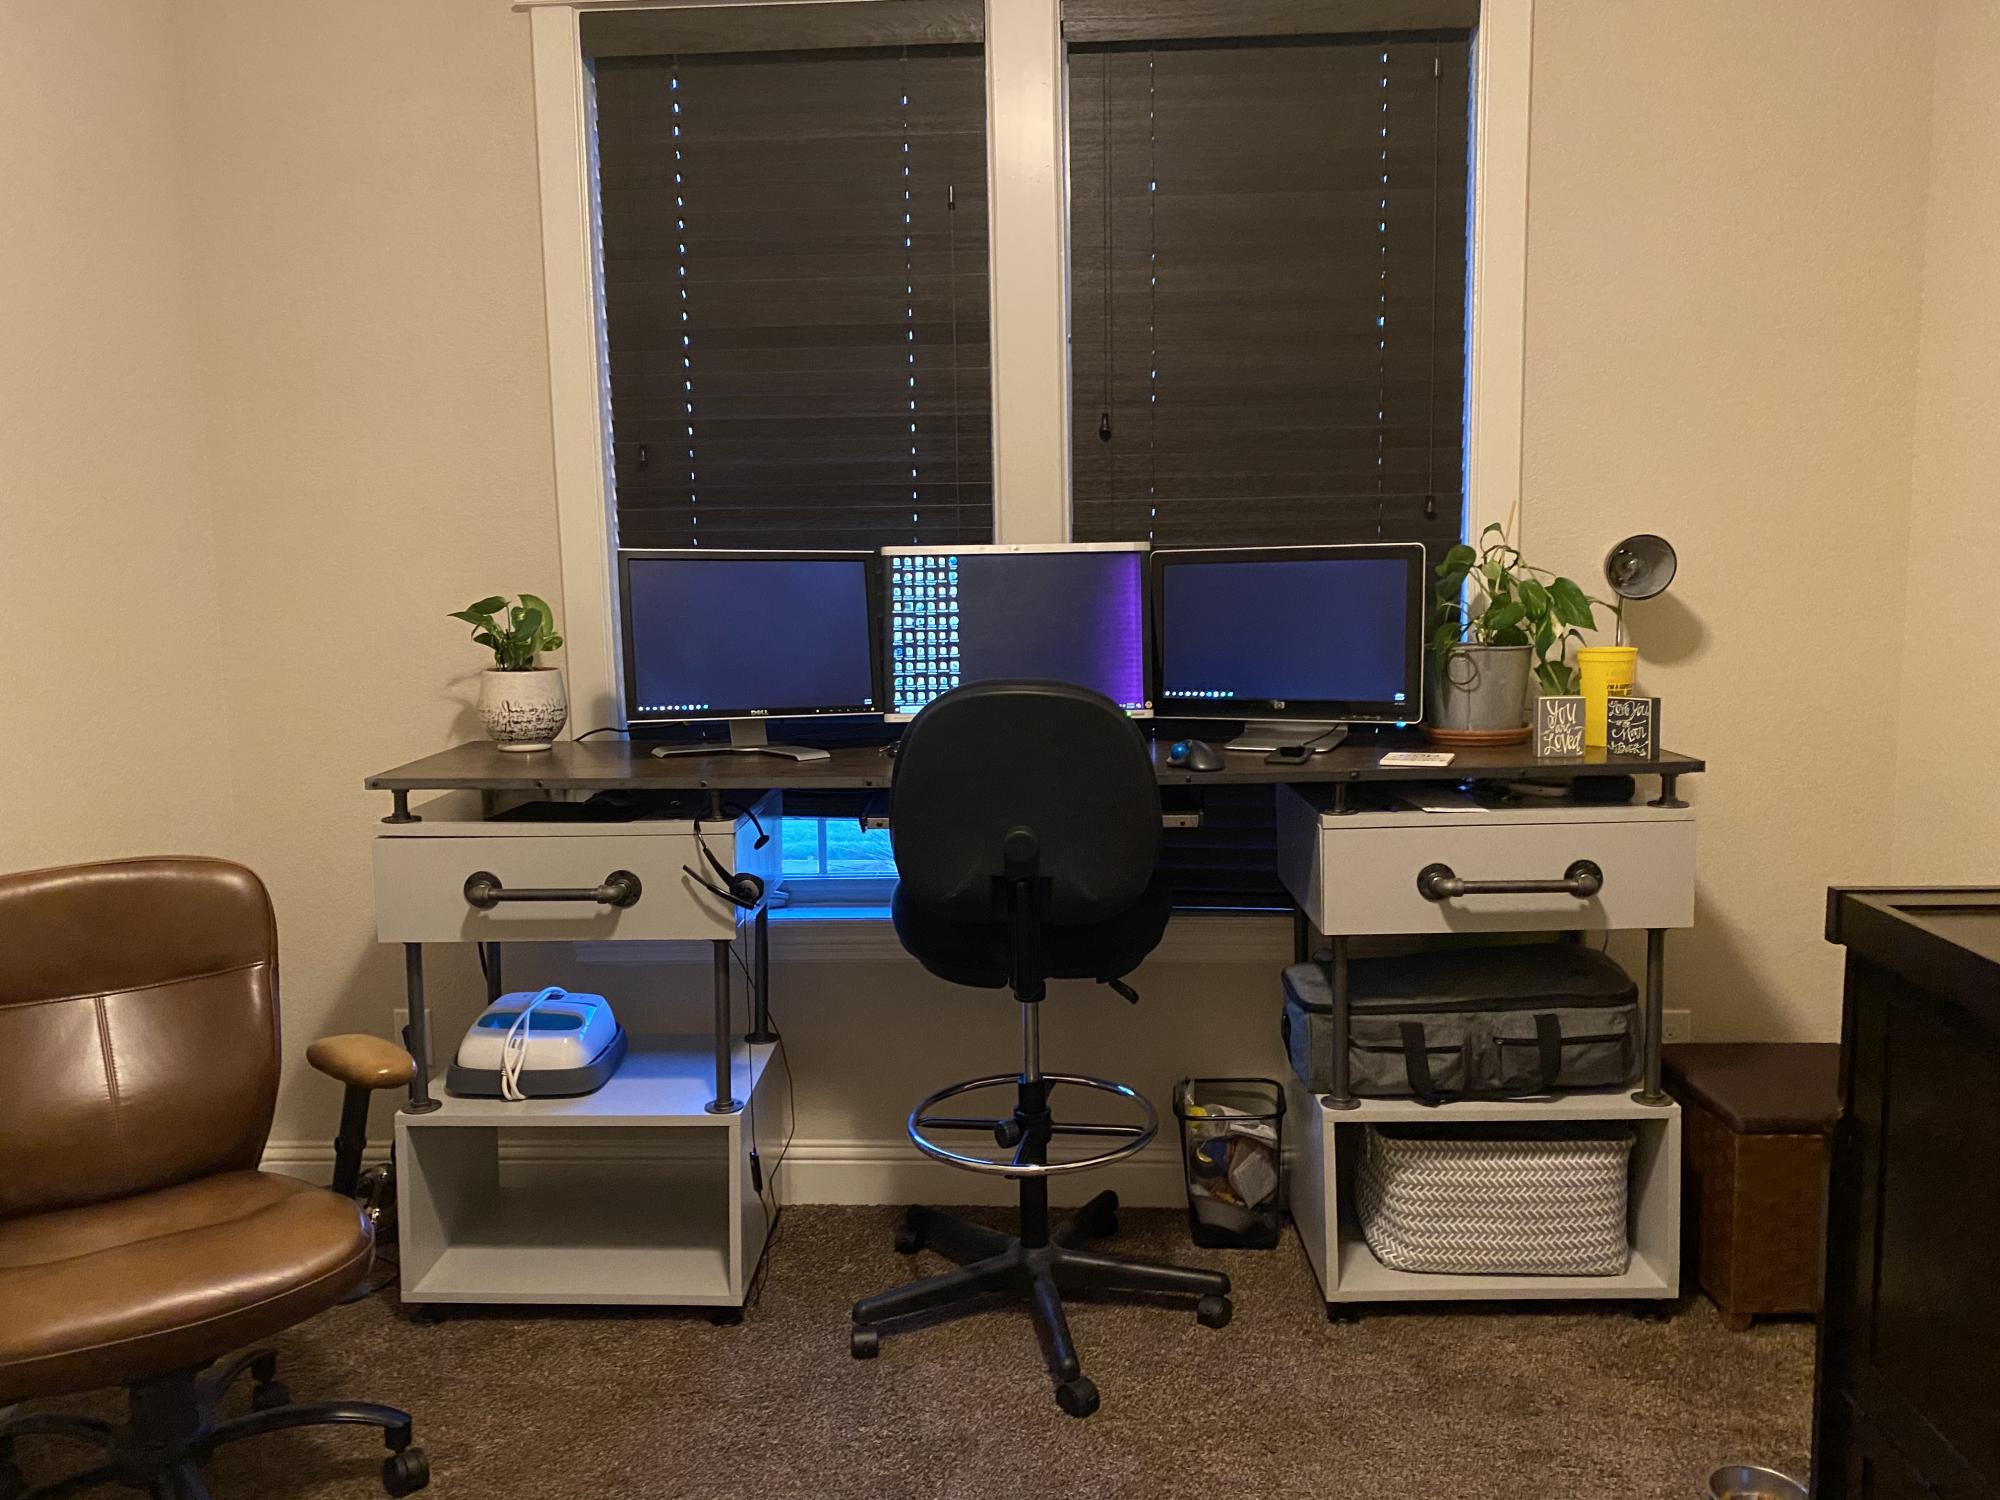
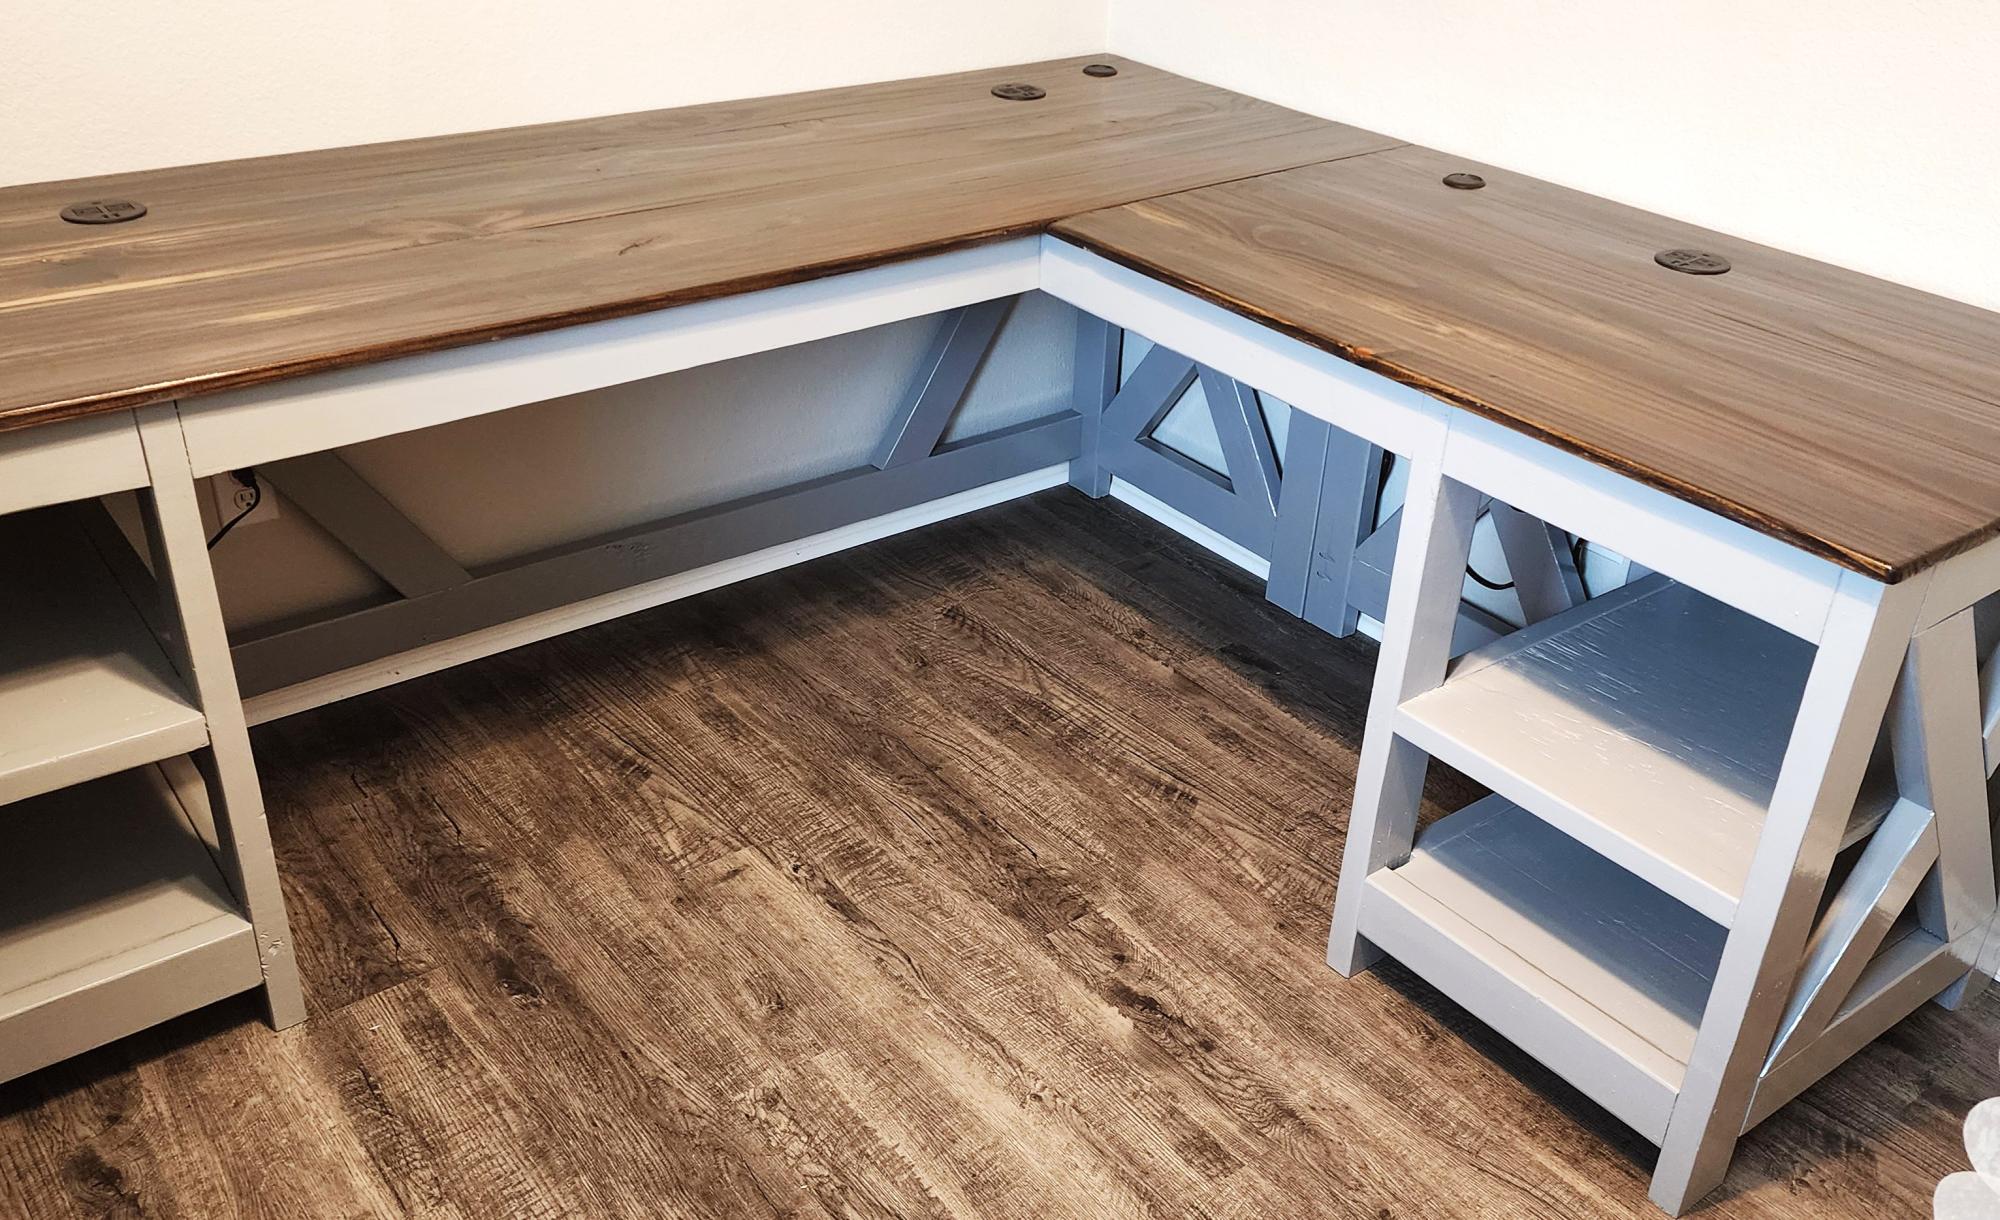
During the 2020 quarantine I started working from home and had to take up an office in my grandsons room. I wanted to leave enough space for him when he comes over so I needed it to be more narrows than most but with plenty of space for multiple monitors as well as workspace. I got ideas from many plans here but ultimately designed my own with a little inspiration from multiple plans. I included a pullout for the keyboard as well as 2 additional pullout shelves for added workspace.

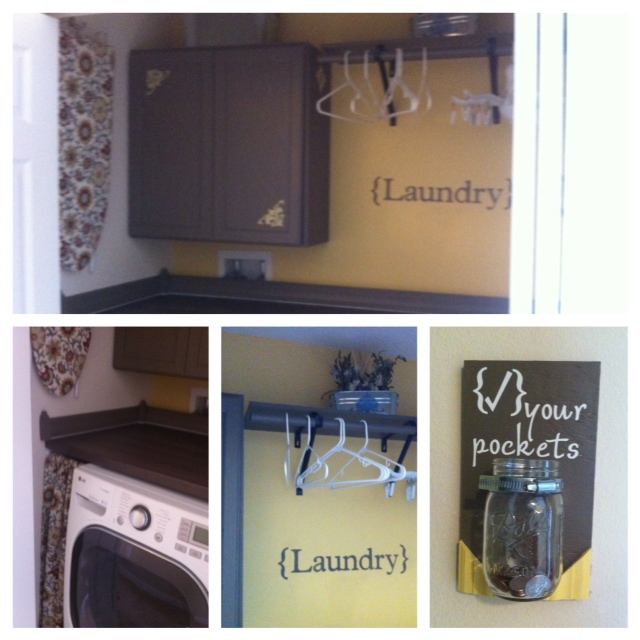
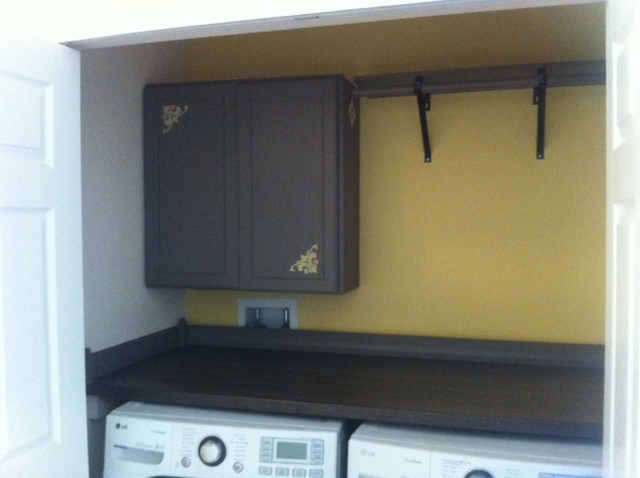
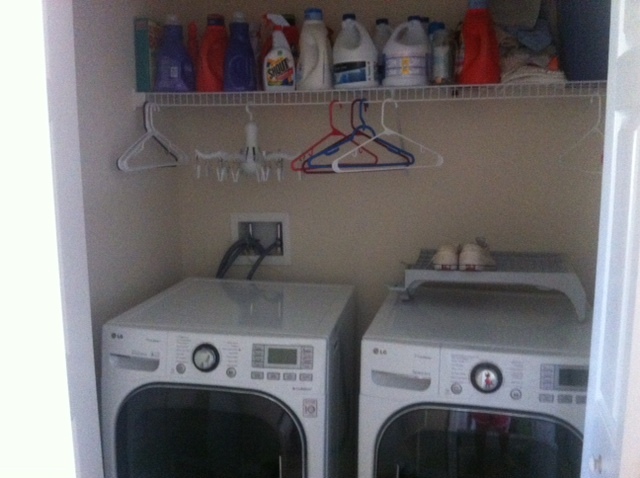
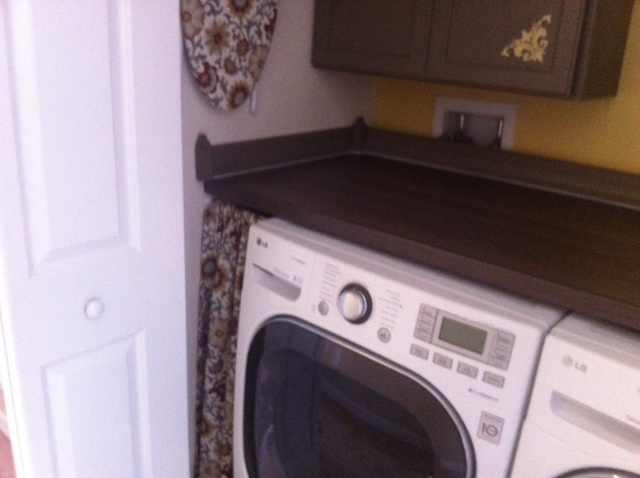
Laundry closet makeover. I was tired of having only the one wire shelf to store laundry supplies. So I added a cabinet, hanging rod, and counter-top over the washer/dryer for folding clothes. Also, behind the curtain on the left is a built-in garbage can for lit. Recovered small ironing board in same fabric as curtain and hung it up so save space.
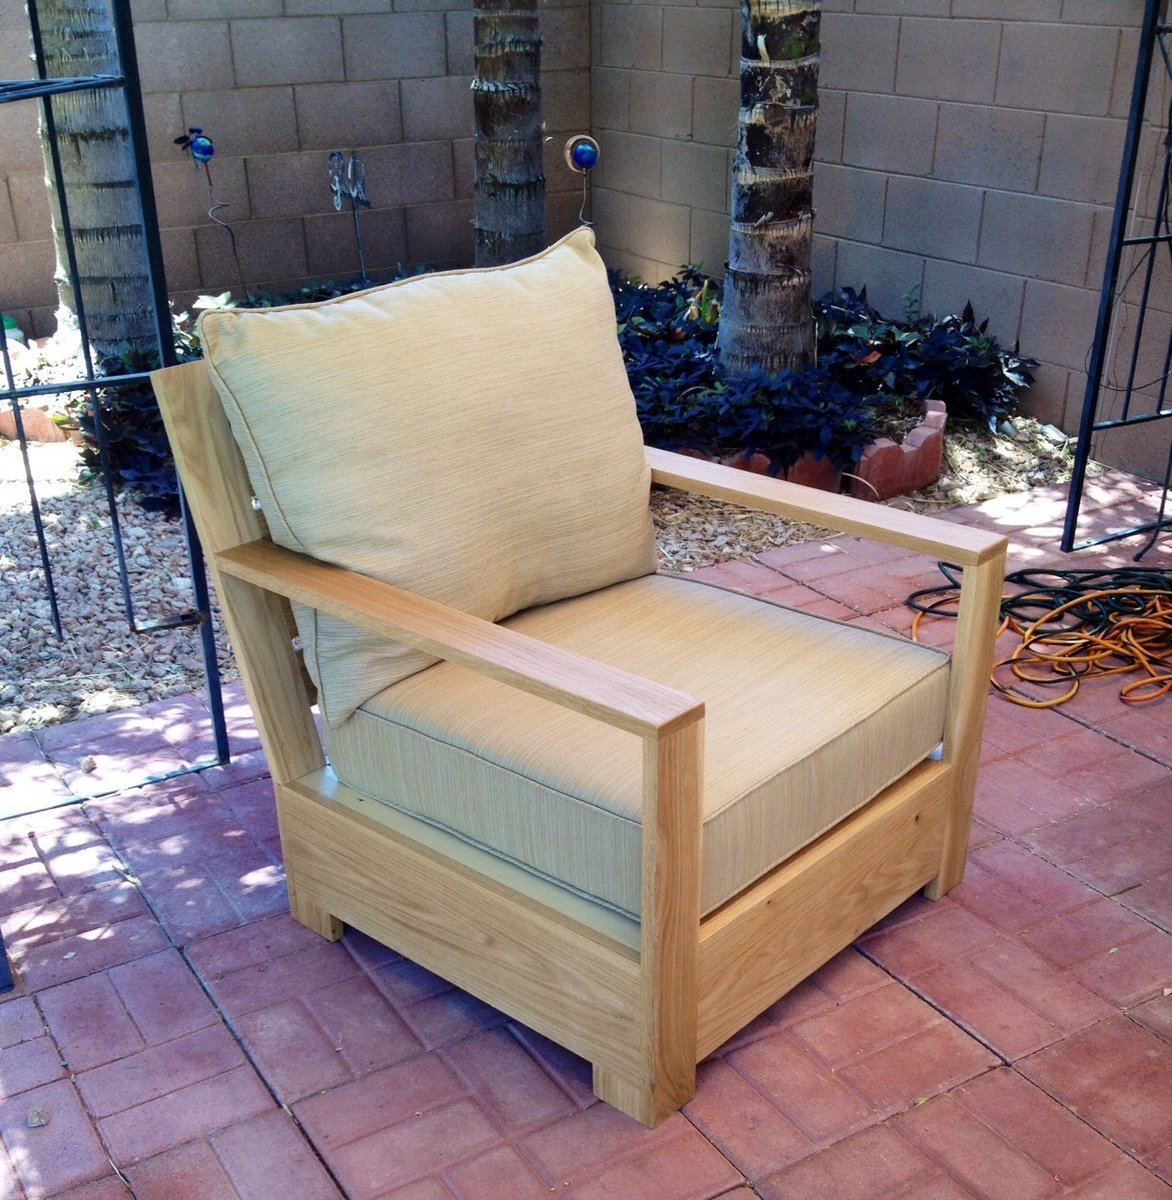
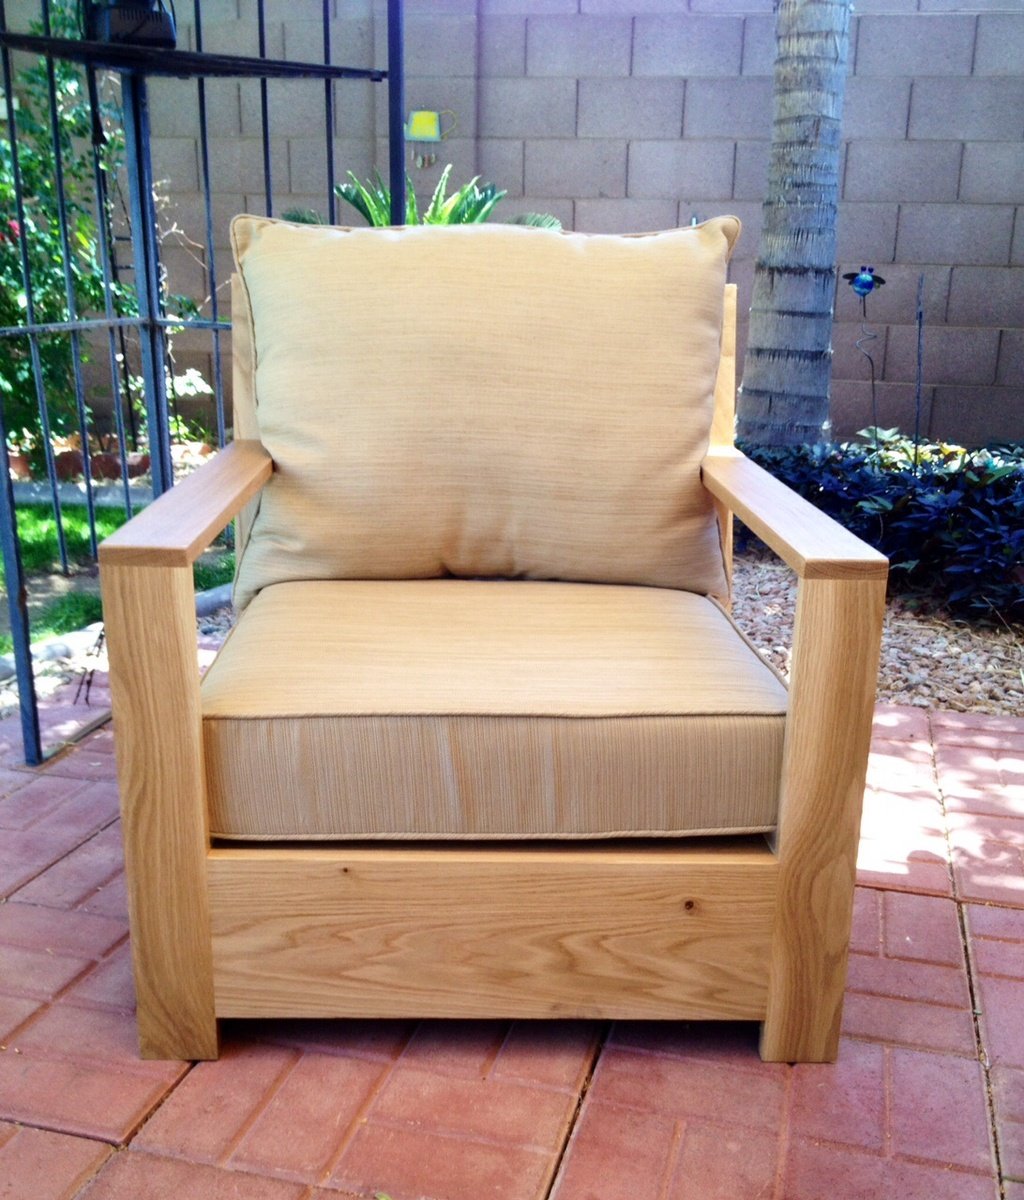
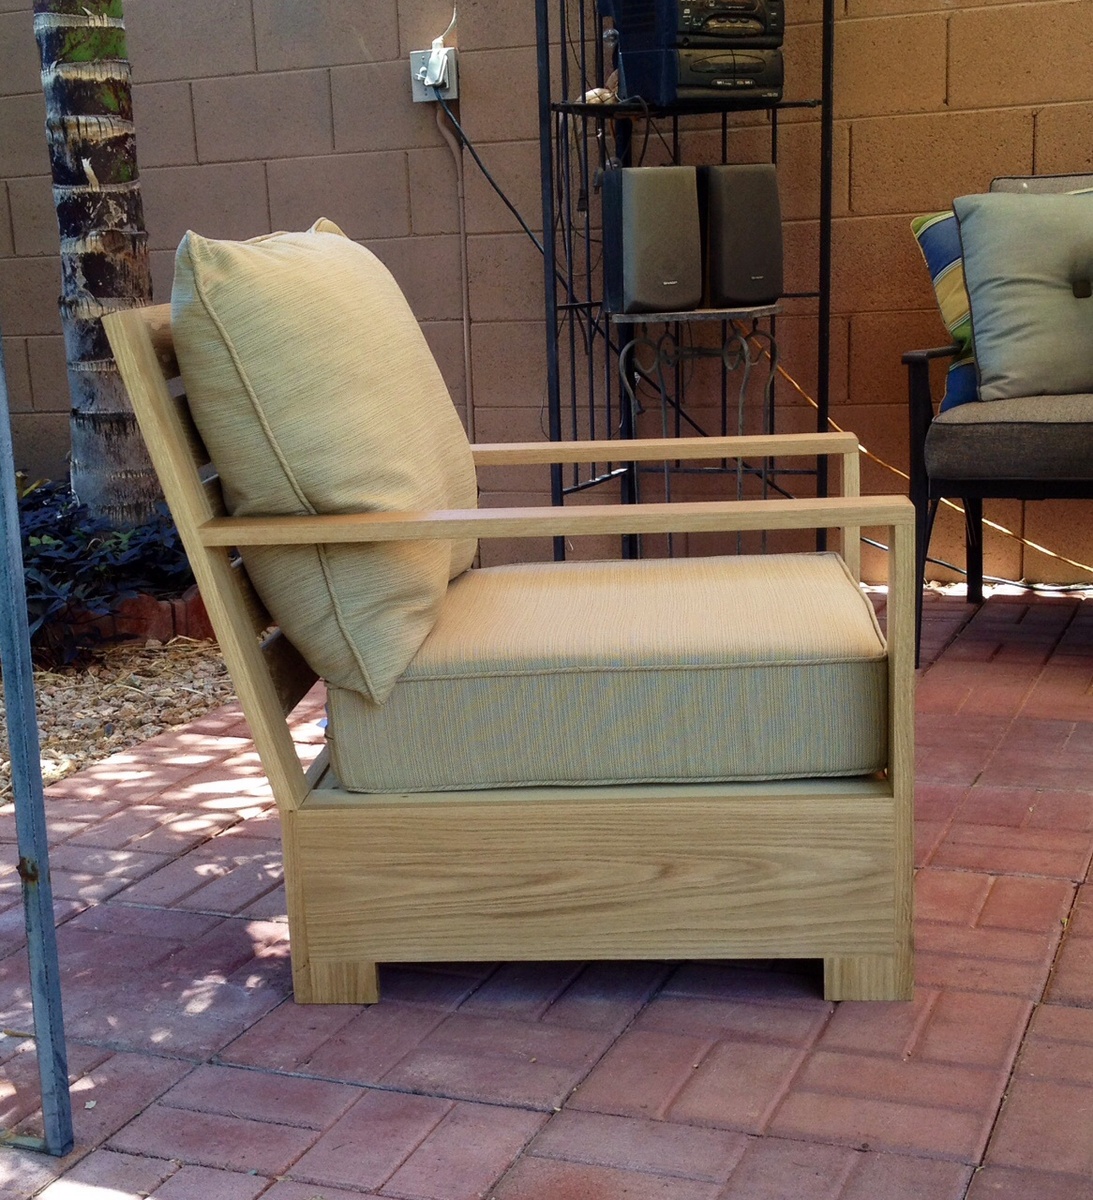
I followed Ana's plans to build the Bristol Outdoor Lounge Chair. I used White Oak for the chair. The plan was pretty easy to follow and i enjoyed the project. I am excited to build a second chair as well as other items that i will find of interest on her website.
James

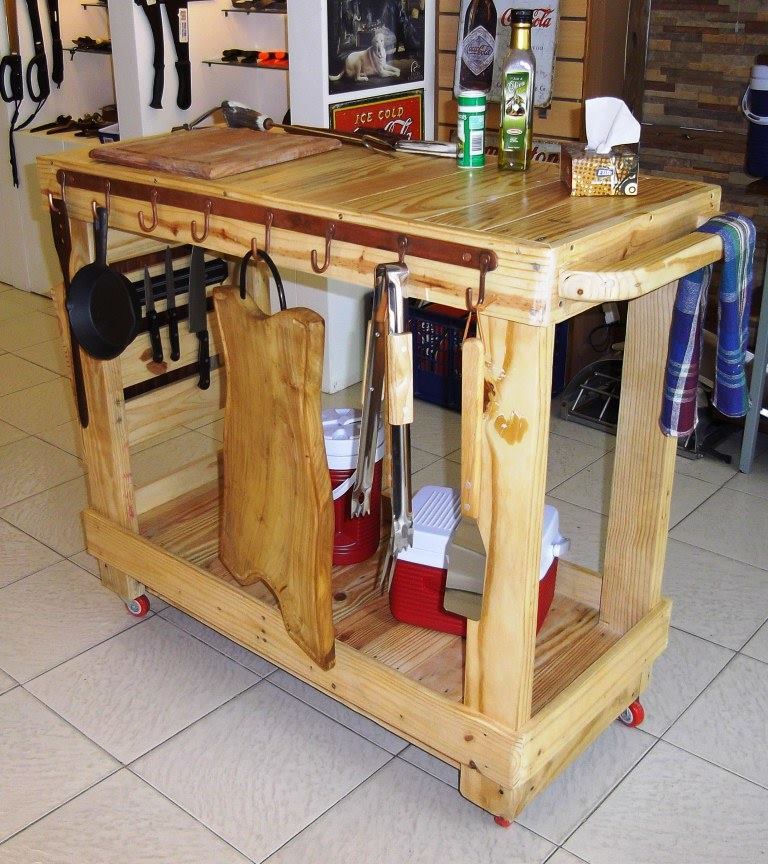
Rolling bar cart made entirely from recovered pallet wood.
Based on original Ana White's plan, I've just added a side pocket and rails on the lower shelf to prevent sliding of items placed on it.
Later on I made another one for a friend who attached a hanger plate and a magnetic knife holder.
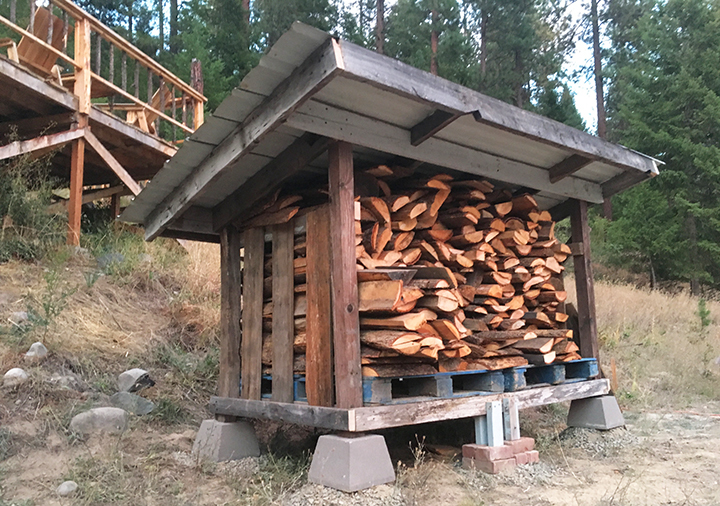
We built this firewood storage shed to hold wood for our wood-fired hot tub! We built this using reclaimed materials we already had sitting around our property so in the end, the only costs involved were the pier blocks plus some screws.
We decided to publish our plans for anyone that may find them useful! Take a look here if you feel so inclined: http://purelivingforlife.com/diy-firewood-storage-shed/
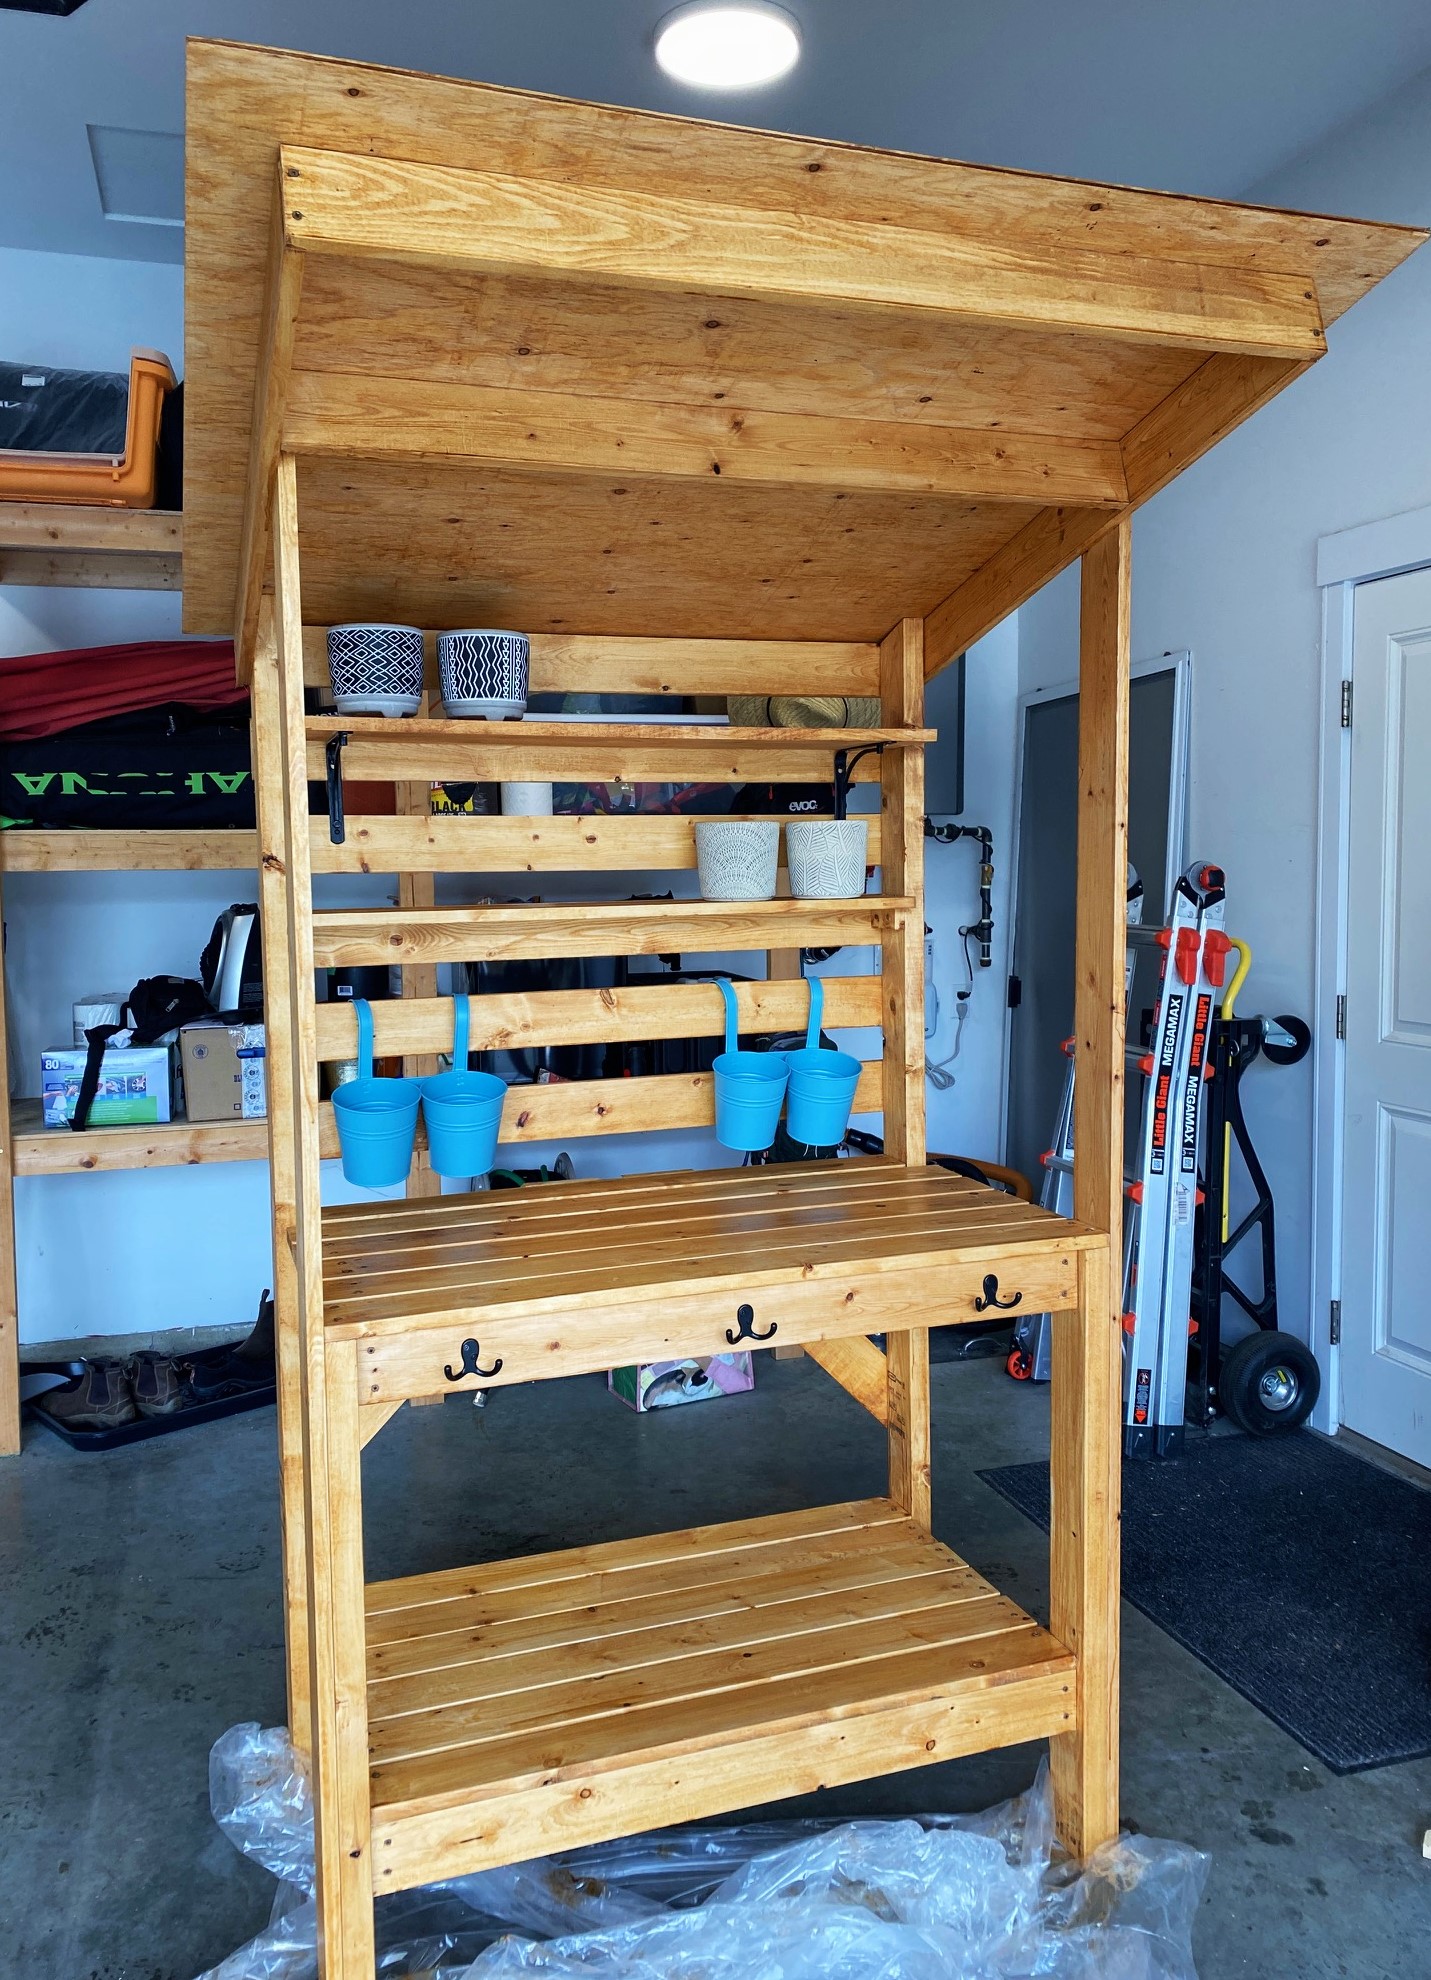
Based on the 2x4 Simple potting bench but added shelves and a roof!