Well, here's a first.
I'm going to show you how a carpenter makes a skirt.
And yes, it's a pretty skirt.
To be worn by the stairs.
So why do stairs need a skirt?
Well they don't really - you could run your baseboard down each riser, over each tread, mitering each corner, cursing any bullnoses.
You could.
But it would be a ton of extra work and look really busy.
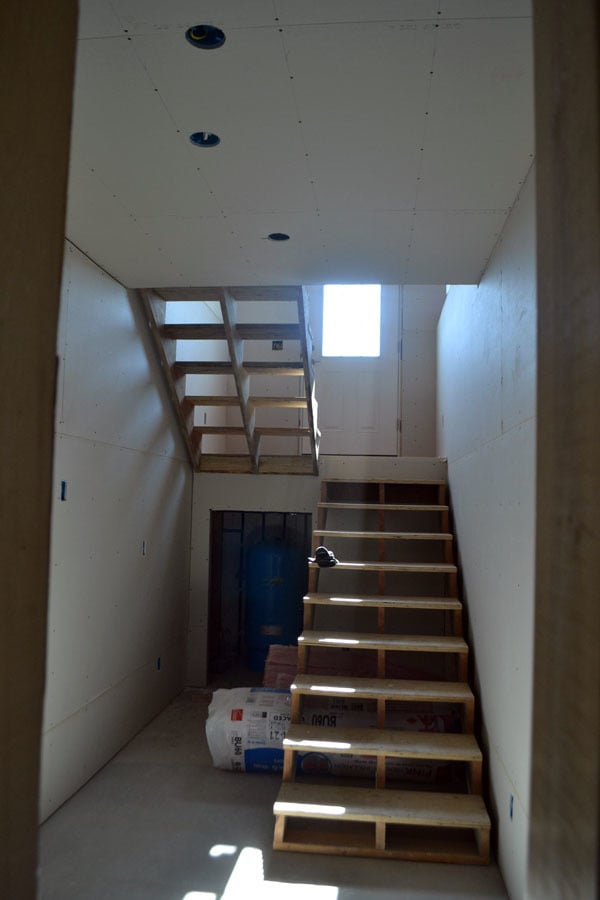
So our solution is to cut a skirt that will slide between the wall and the stairs, that has a straight edge on top. That way our baseboard can just continue from the upstairs, right down the top of the skirt, around the landing, down the second flight of stairs, and on to the lower level.
Since the skirt is part of the trimming, we want to go from finished floor to finished floor heights. So we floored the landing area - the same as the upstairs.
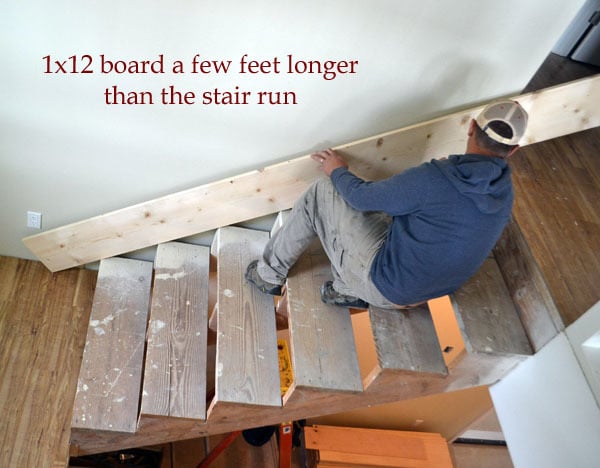
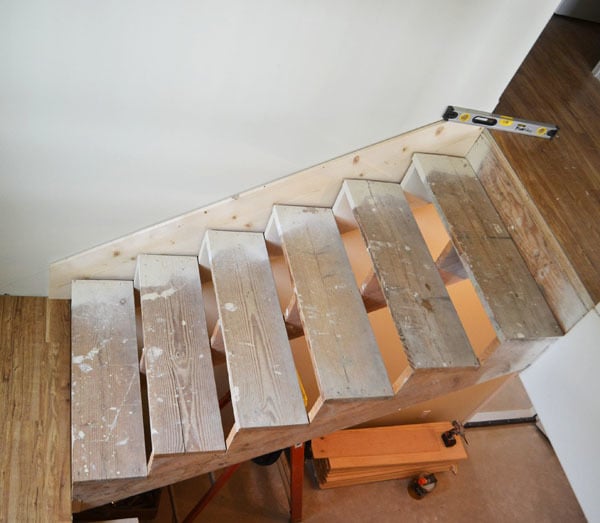
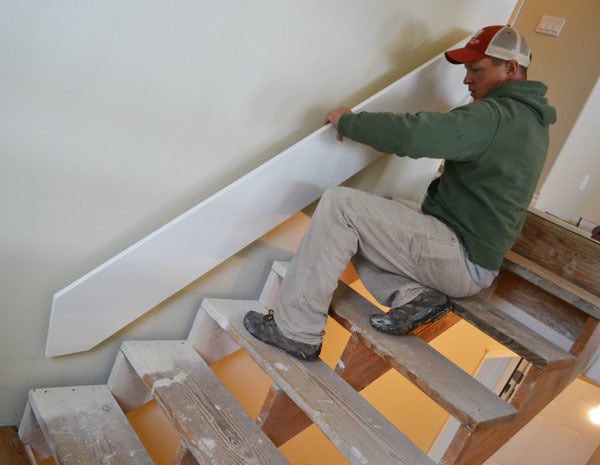
Then we took a 1x12 board, a few feet longer than the flight, and rested it on top of the stairs.
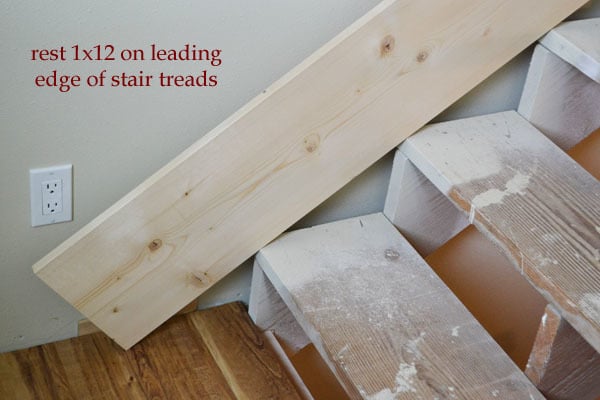
Notice the board is resting on top of the leading edge of each of the treads, and brought down to touch the landing floor.
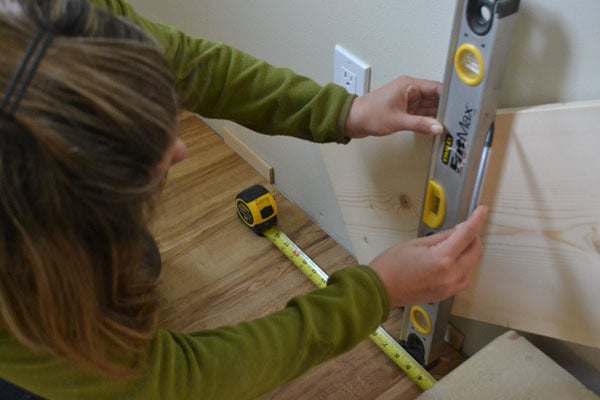
Then we determined how far we want the skirt to go past the stairs. I choose 4" for our stairs. Enough to give an even reveal of the skirt around the stairs, and still leave enough room for the baseboard to make the end corner.
So from this distance, use a level to mark a straight line vertically near the bottom end of the skirt board. This line gets cut with a circular saw.
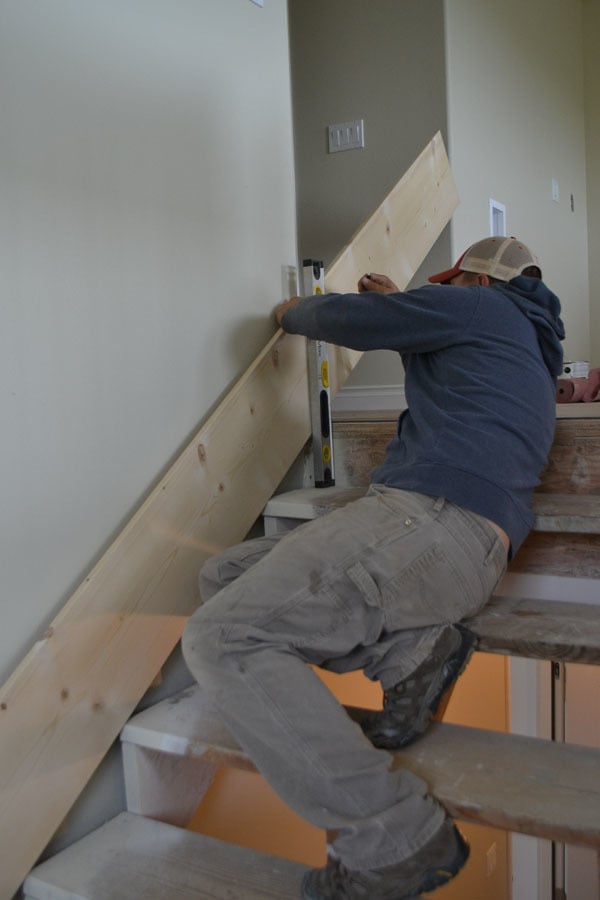
The top meets the top landing and for us, it worked out flush to the wall. Again, a level is used to mark the top and this mark is cut off with a circular saw.

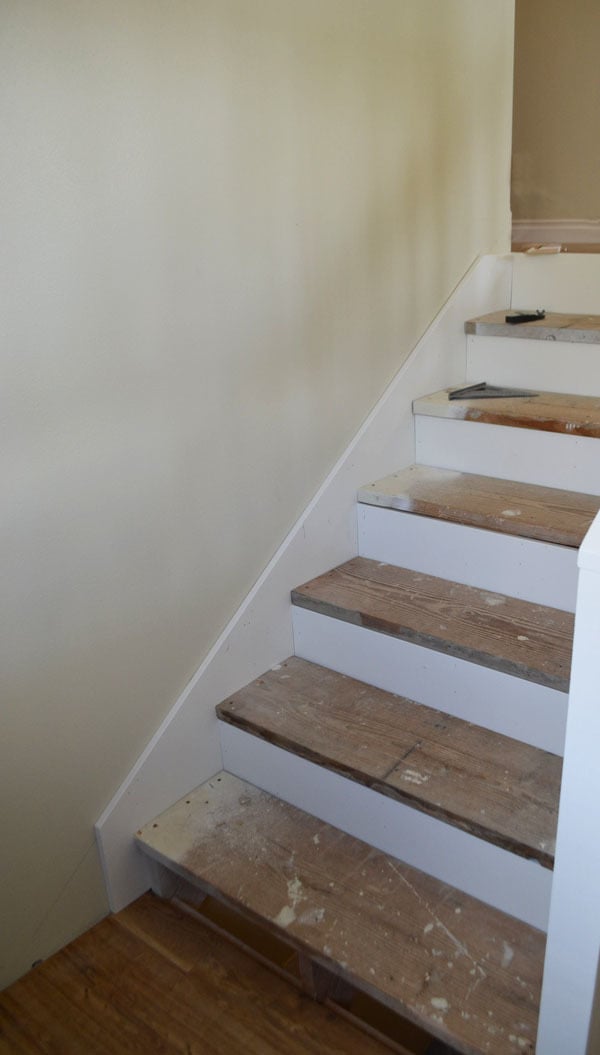
With the top and bottoms cut, this allows the skirt to drop down between the stairs and the wall.
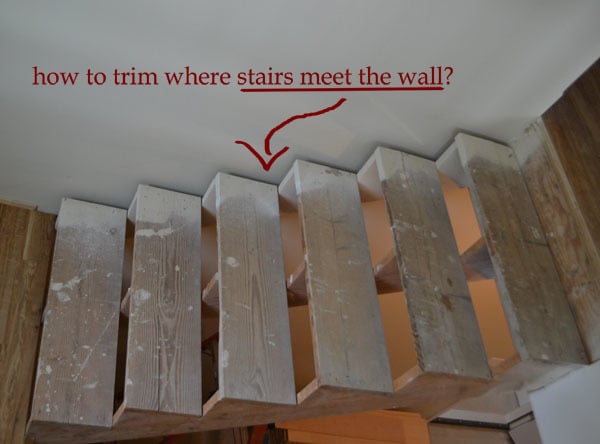
But for us, it doesn't drop down enough, and a tiny corner of wall shows at the inside corner of each stair. What to do?
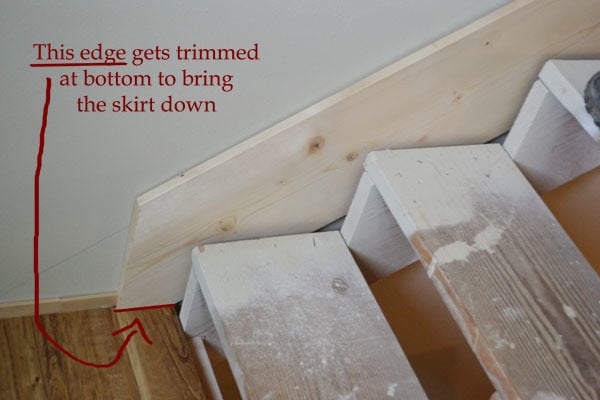
We trim the bottom edge of the skirt, square to the level end cut off, to bring the entire skirt down.
It looks like the skirt needs to be brought down more in this photo, but that's just the angle of this photo.
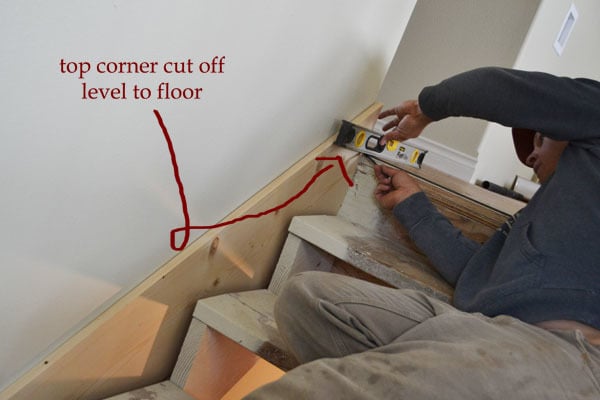
Once we were happy with the height of the skirt, we then need to go back and trim the top edge of the skirt off flush with the finished upstairs floor to allow the baseboard to make the corner from the hallway and down the skirt.
This gets marked with a level, and cut off with a circular saw.

That's one skirt done!
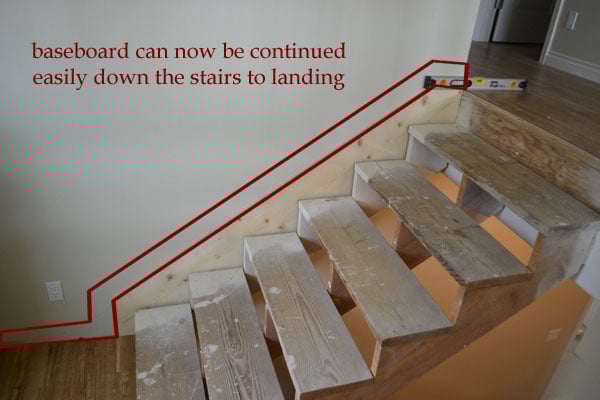
And you can see, our baseboard will now just run from the upstairs, around the corner, down the skirt, then around the landing and continue on. (I'll show you how we do that in a later post).
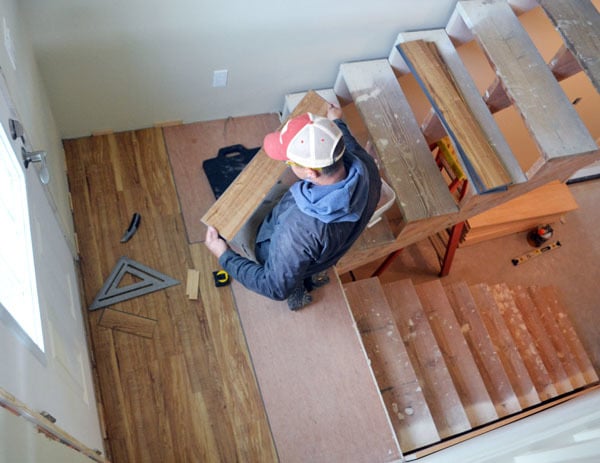
With the skirts cut just right, we then removed them and sanded and painted them on sawhorses. Much easier.
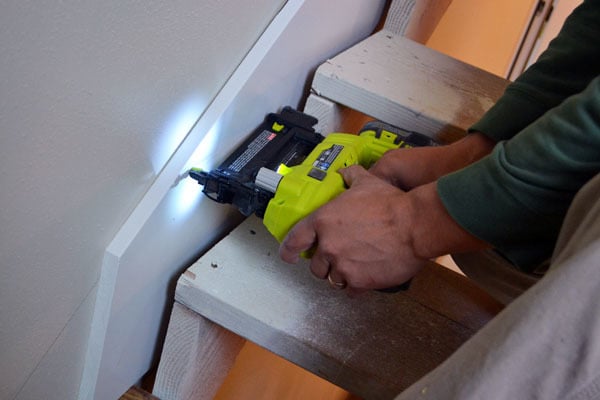
And then repositioned the skirt between the stairs and the wall and nailed it in place to studs in the wall.
And that's how carpenters make skirts!
Comments
momofour09
Mon, 09/23/2013 - 15:56
*Sigh* So jealous right now.
spiceylg
Tue, 09/24/2013 - 04:55
Easy peasy
purejuice
Tue, 09/24/2013 - 08:12
i love these how to posts.
treegranny
Fri, 10/04/2013 - 06:21
Super simple idea!!
jb5150vh
Mon, 08/26/2019 - 11:42
So, how did the gap between…
So, how did the gap between the skirt and the stair tread in diagram 14 get closed?
lahellm
Fri, 08/07/2020 - 09:35
Moved or replaced
I was wondering myself. If you look at the 2nd step at the bottom, the before had paint on the edge and the after picture did not. The stair treads were moved over or replaced to close the gap.
mamahodson
Tue, 05/05/2020 - 21:00
How would you do this on pre…
How would you do this on pre-existing stairs? We took old tile paneling, and now I’m putting up wainscoting. When I get to the stairs (only 4 of them) I’m stumpedz