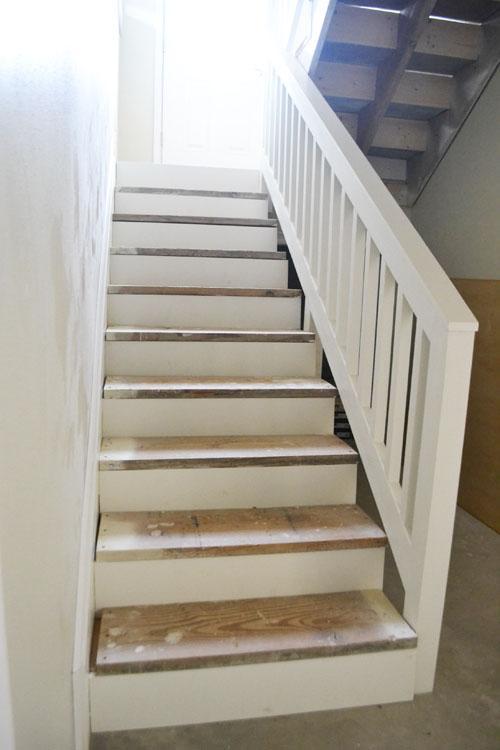
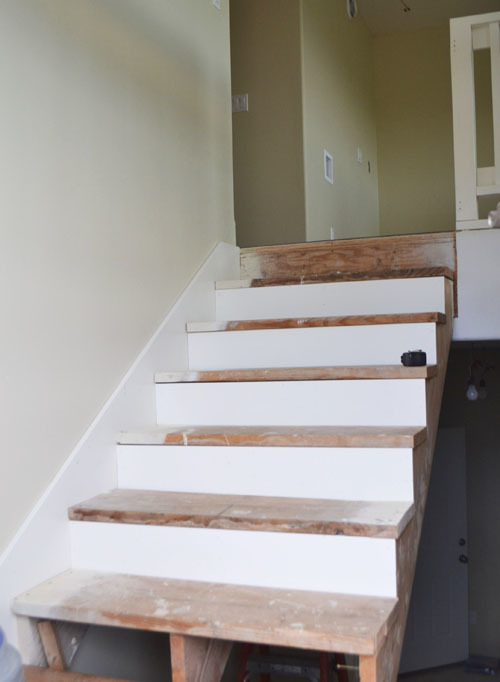
Can you believe that there was a time when the Momplex stairs looked like this?

And today, they look like this:
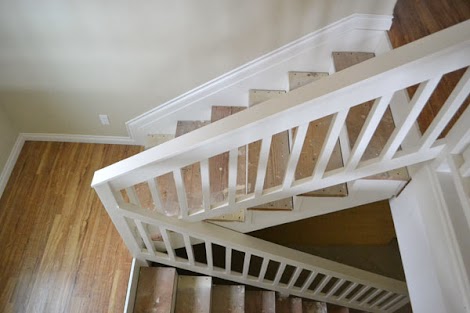
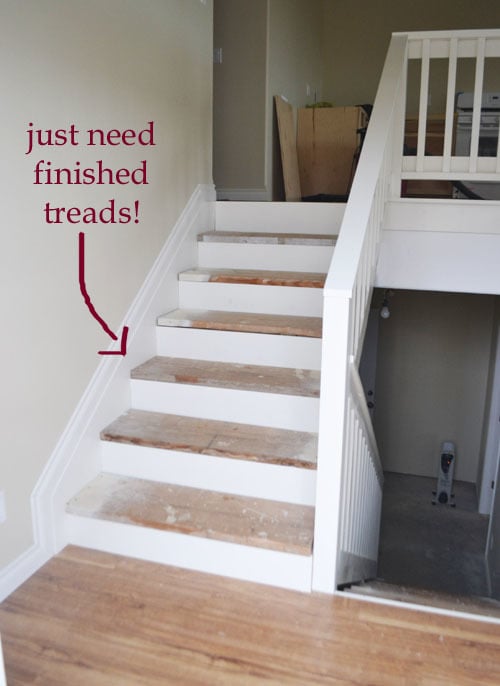
And hopefully soon ... they'll look something like this:

Man, there sure are a ton of steps (pun not intended here) to finishing out stairs, isn't there!
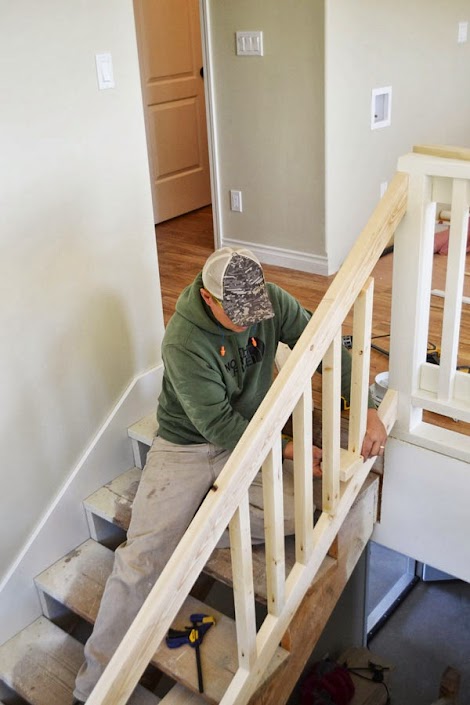
First, we built the upstairs railing -

And we painted the railing, and built the stair railing -
To finish out the stair to wall joint, we cut stair skirts and installed them -

And then added moulding down the top of the skirt, and around the landing, continuing on downstairs -
We are almost done with the stairs!
Today is the big trim out day for the stairs themselves - how we turn a rough cut set of stringers into a polished set of stairs.
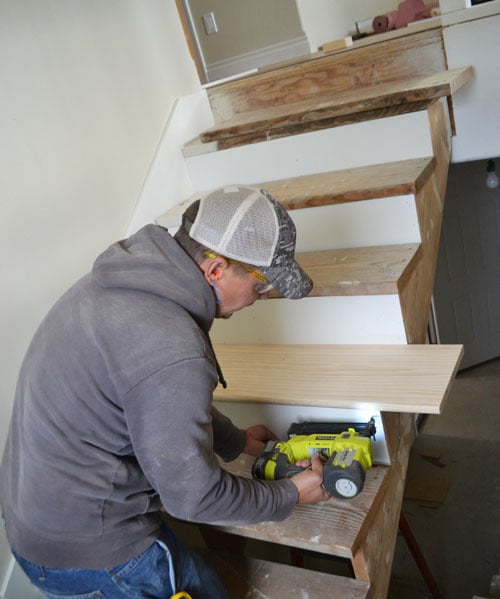
First up, we'll do the risers -
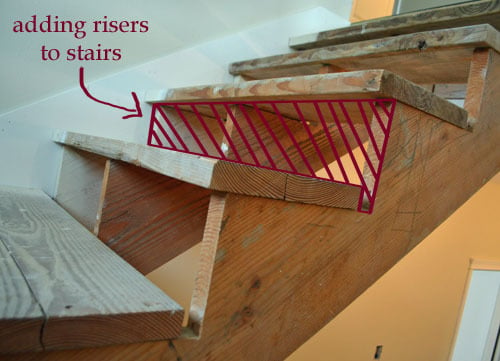
The risers are the part of the stairs your foot would kick as you go up the stairs.
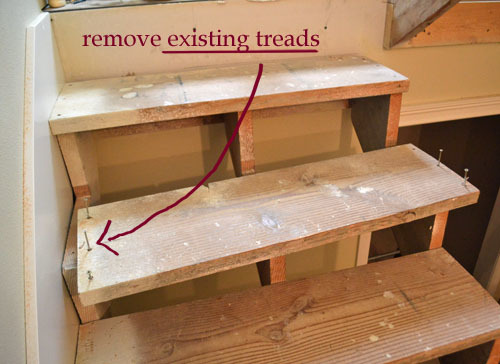
Since the risers go on before the treads (the treads being the part you step on), we unscrew the construction treads to make room for the risers, to be installed behind them.
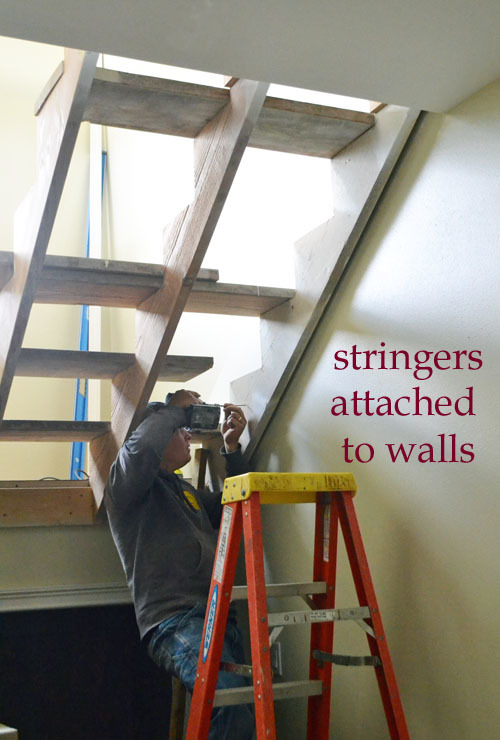
With the treads removed, we went ahead and moved the stringers flush to the wall and attached the stringers to studs in the walls with screws. This beefs up the stairs considerably.
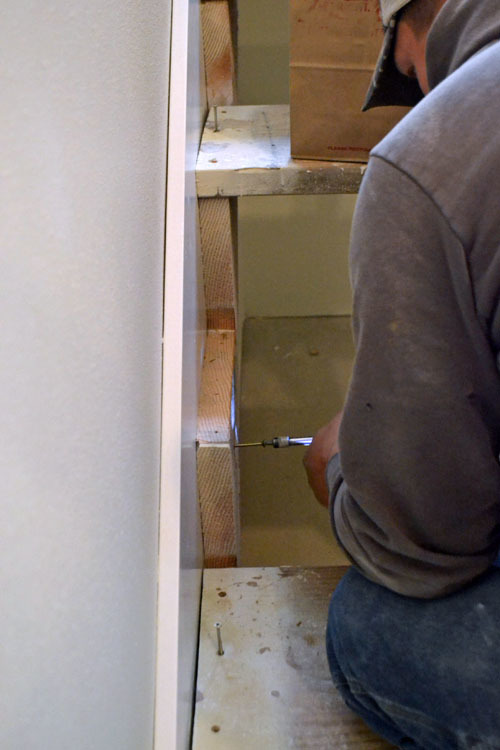
And also brings the stringers flush to the skirts, so no space between the stairs and the skirts.

We used 1x8 boards, ripped down to the the height of the stair rise, primed and painted on sawhorses first, as the risers.

To install, we rested a finished tread on top, and then held the risers flush to the underside of the finished riser and nailed (and glued) in place. We held the risers flush to underside of treads because that joint will show - the bottom edge of the riser will be hidden behind the finished treads.
Because we are still in construction phase, we replaced the construction treads on top of the risers. Once we are done with construction upstairs, we'll install the finished treads.

Although I kinda like the reclaimed wood treads!
Notice the dust on the wall???
That's because the Ram made a big mess belt sanding these construction stringers. I pulled the preggers card.
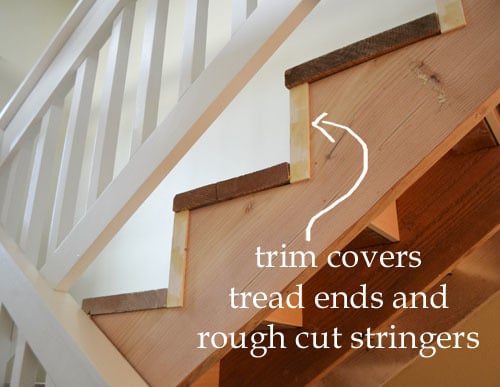
We went back and forth on how to finish out the open end of the stairs. We considered putting skirts on them, but we really like the open stringers, so decided to just clean them up and trim them out.
To cover up the riser ends and very rough cut stringers, we added trim over the riser ends.
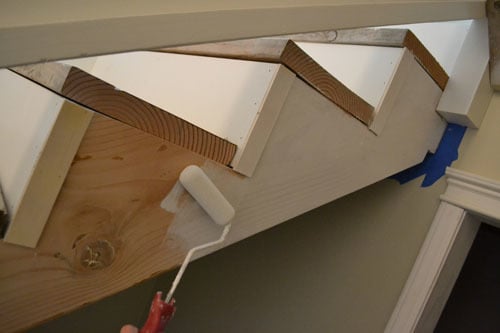
And then painted the stringers and trim to match the risers.

With everything white, those treads are really going to stand out!
For the stairs themselves, the only thing left to add to these stairs is the treads. But there's a few little things still left to finish out the stairwell.
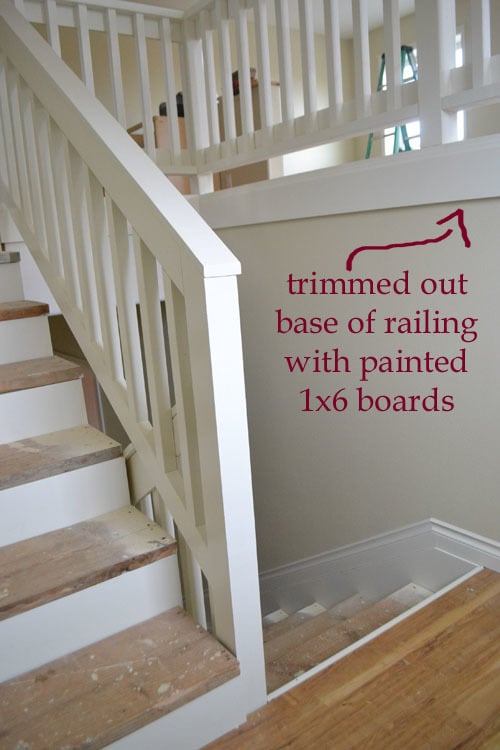
We primed and painted 1x6 boards on sawhorses, and then attached to the base of the stair railings to finish out the wall to floor joint. It looks so pretty!
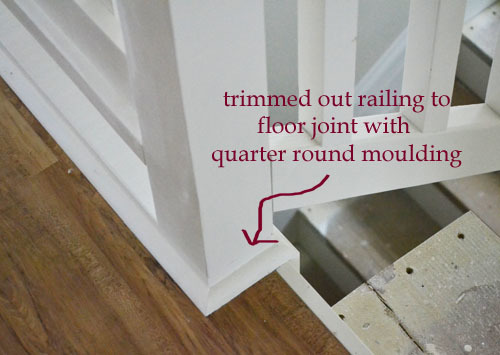
And then to hide the floor to railing joint, we added quarter round around the base of the upstairs railing. This also makes sweeping the upstairs floor much easier and cleaner.
We can hardly believe we are almost - ALMOST - done with these stairs!!!
Although .... I haven't mentioned yet to the Ram that a stair runner rug might be pretty. And wainscotting. And a gallery display. And what do you think about stained wood on top of the railings?
Talk sense into me please!
Comments
purejuice
Mon, 10/07/2013 - 13:05
thank you for the long-ago
khorsley3
Mon, 10/07/2013 - 15:48
What type of wood?
sgilly
Mon, 10/07/2013 - 16:02
Your dose of "sense"
Pam the Goatherd
Mon, 10/07/2013 - 19:11
I've never been a fan of
spiceylg
Tue, 10/08/2013 - 09:07
I agree
TheStylishNest
Tue, 10/08/2013 - 21:24
Awesome!
nicole23
Mon, 10/21/2013 - 10:32
Thanks! Keep the updates coming!
Winydpooh13
Sun, 11/10/2013 - 00:08
Picture of long ago steps