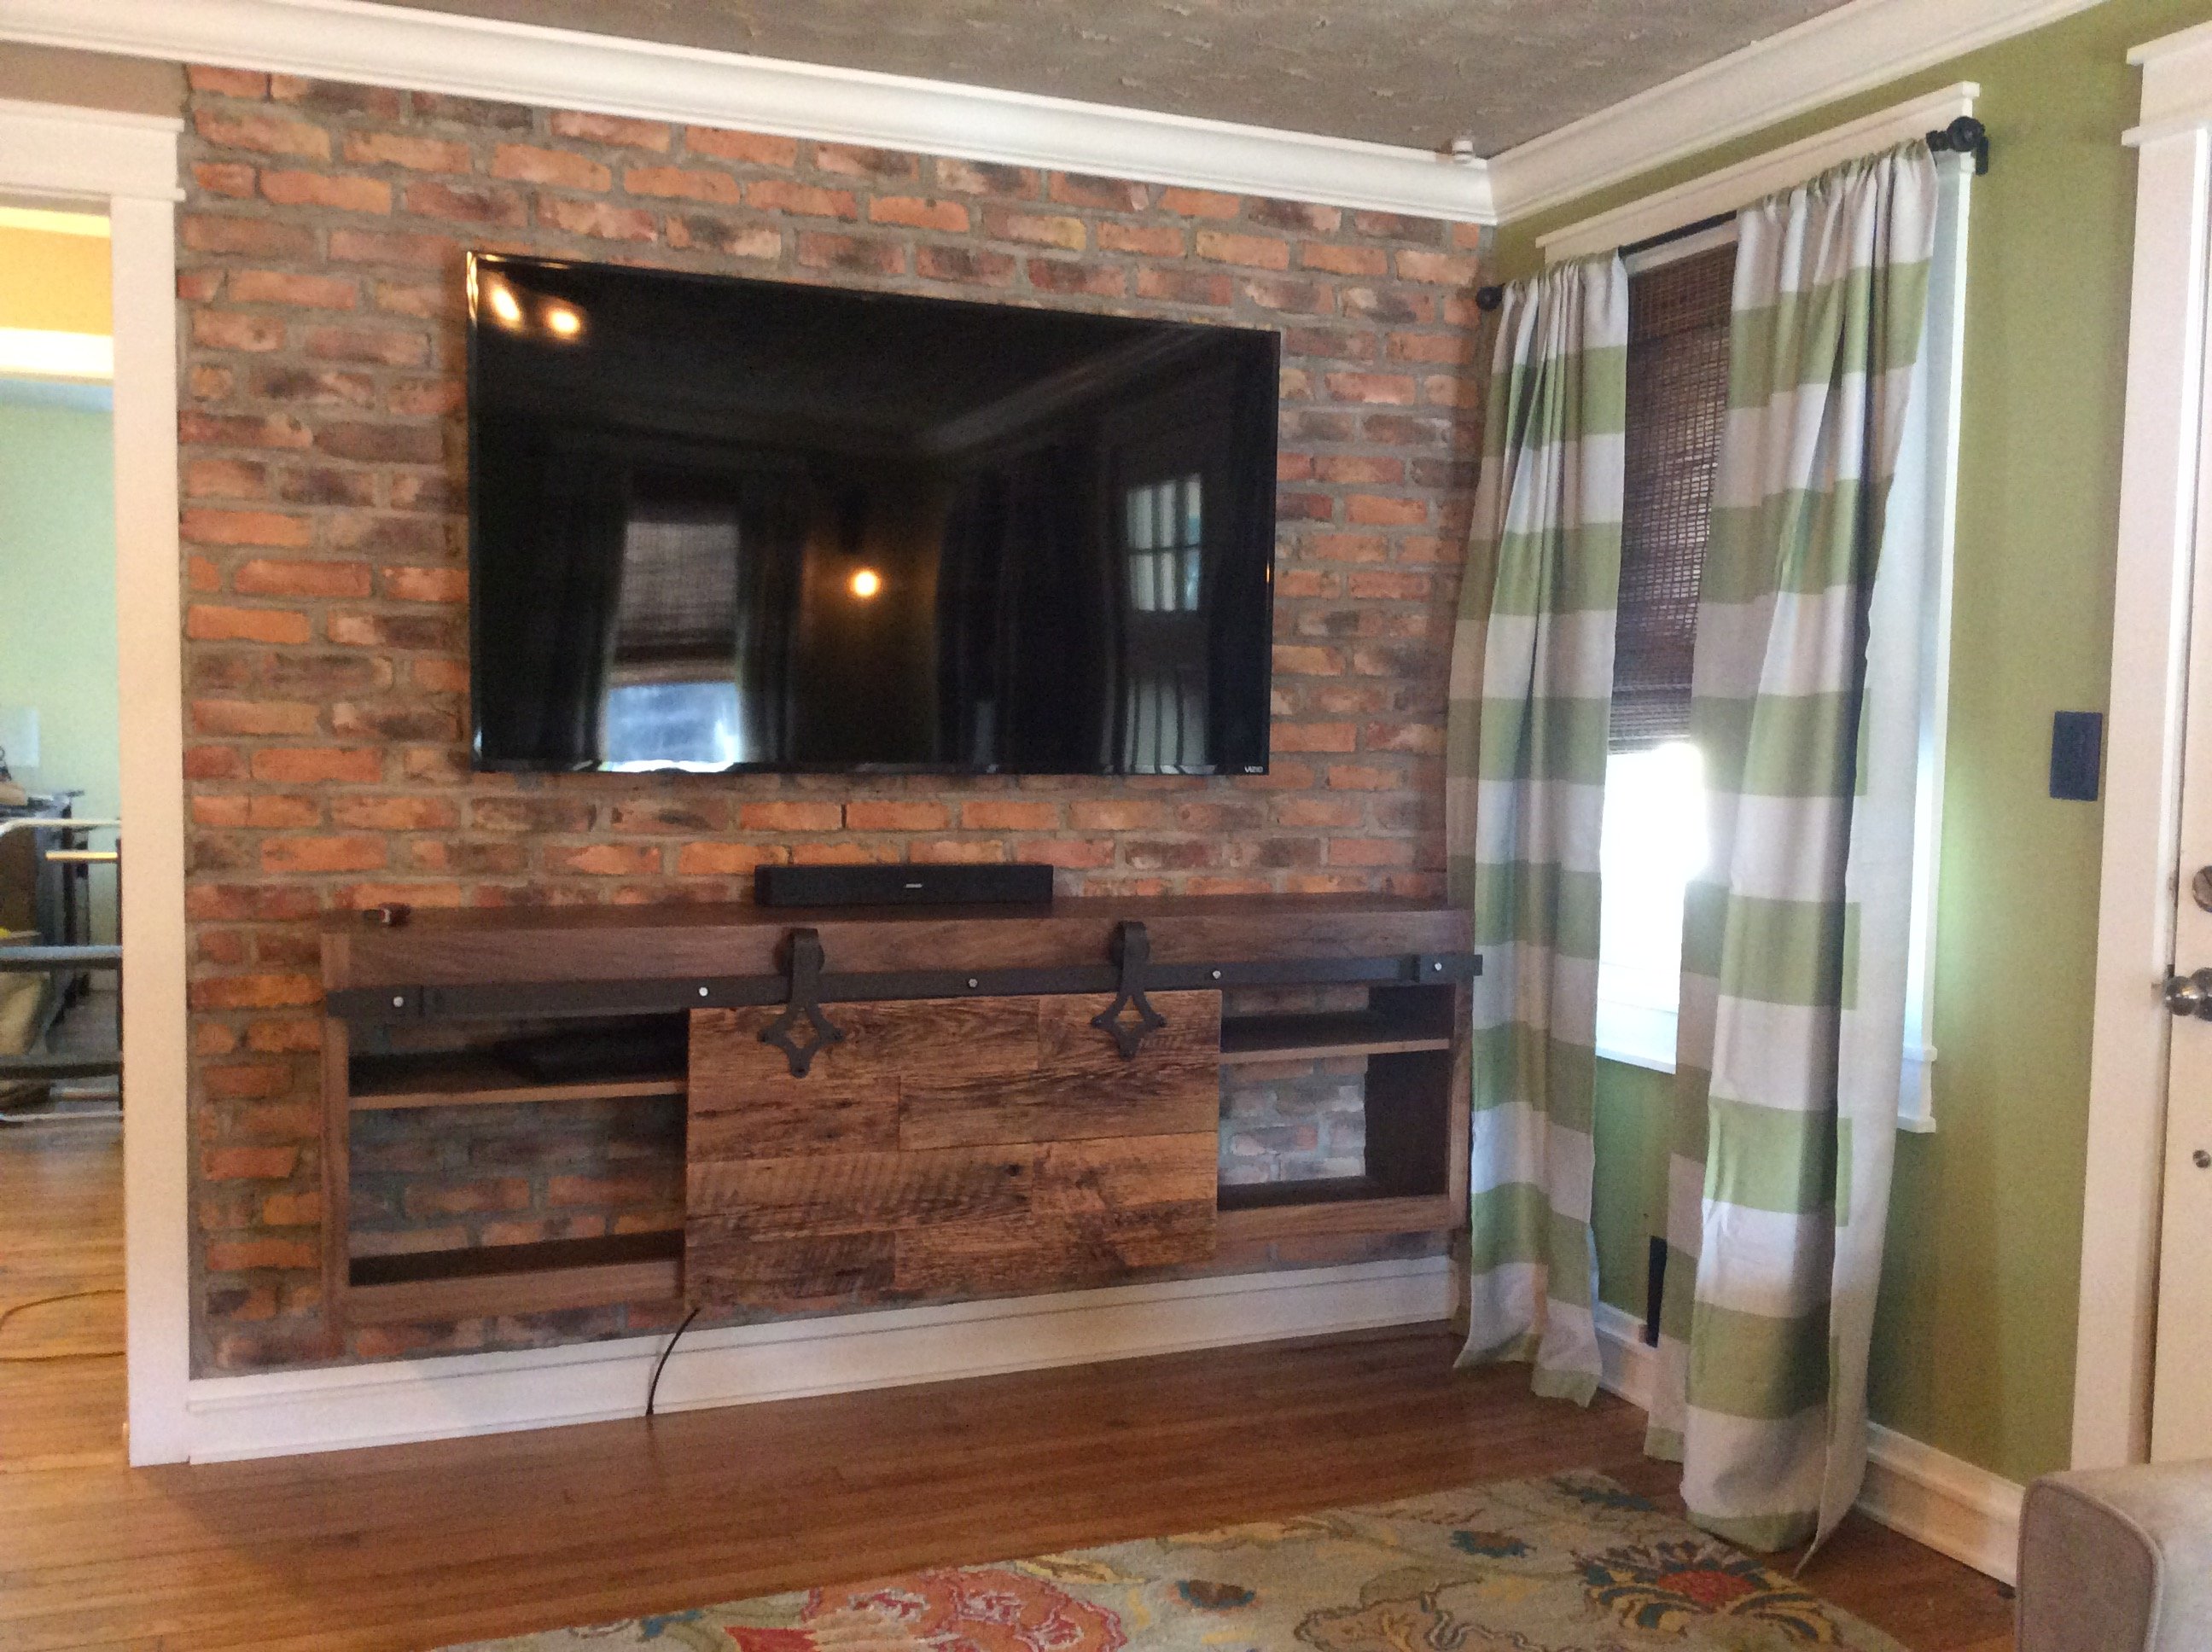
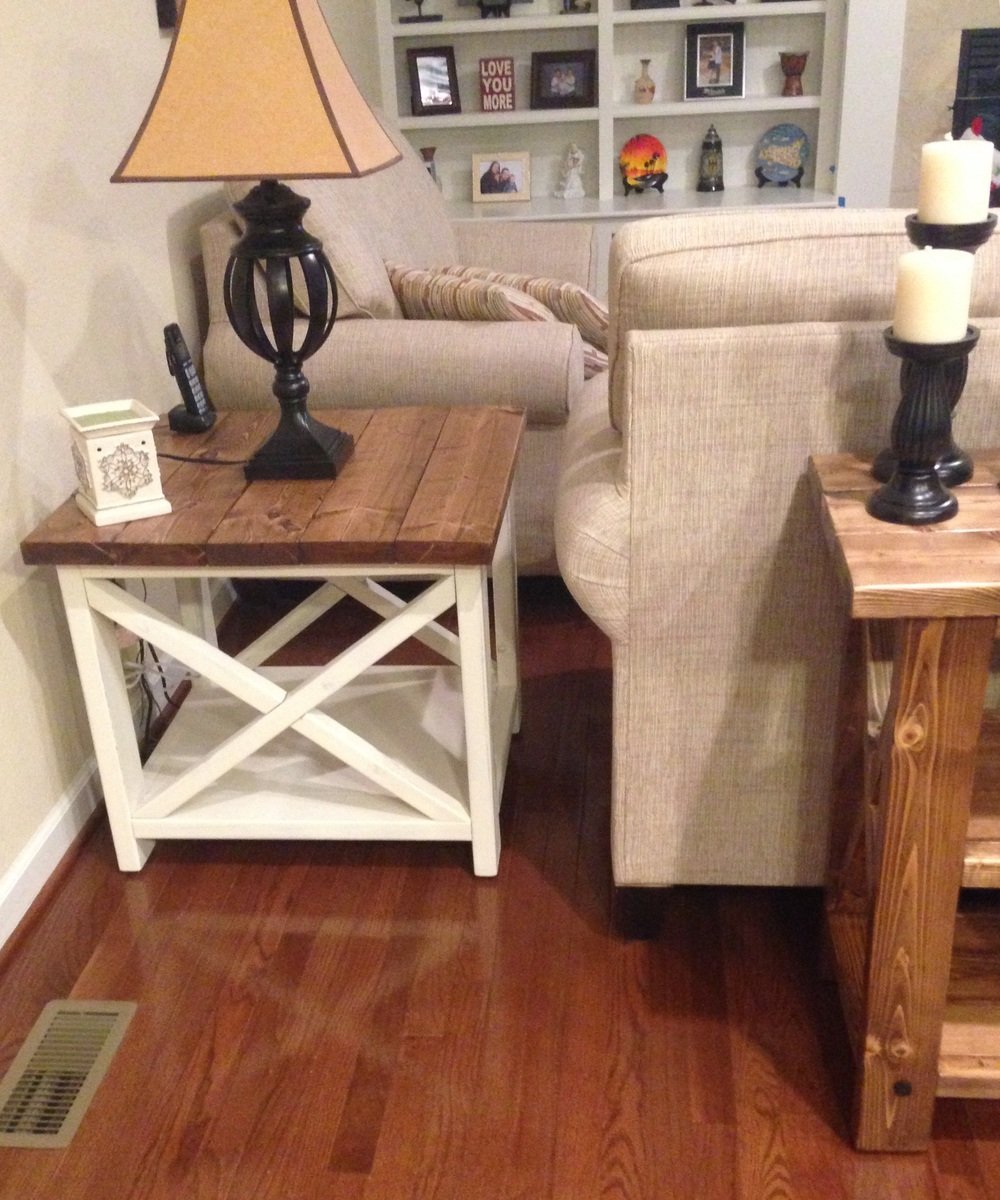
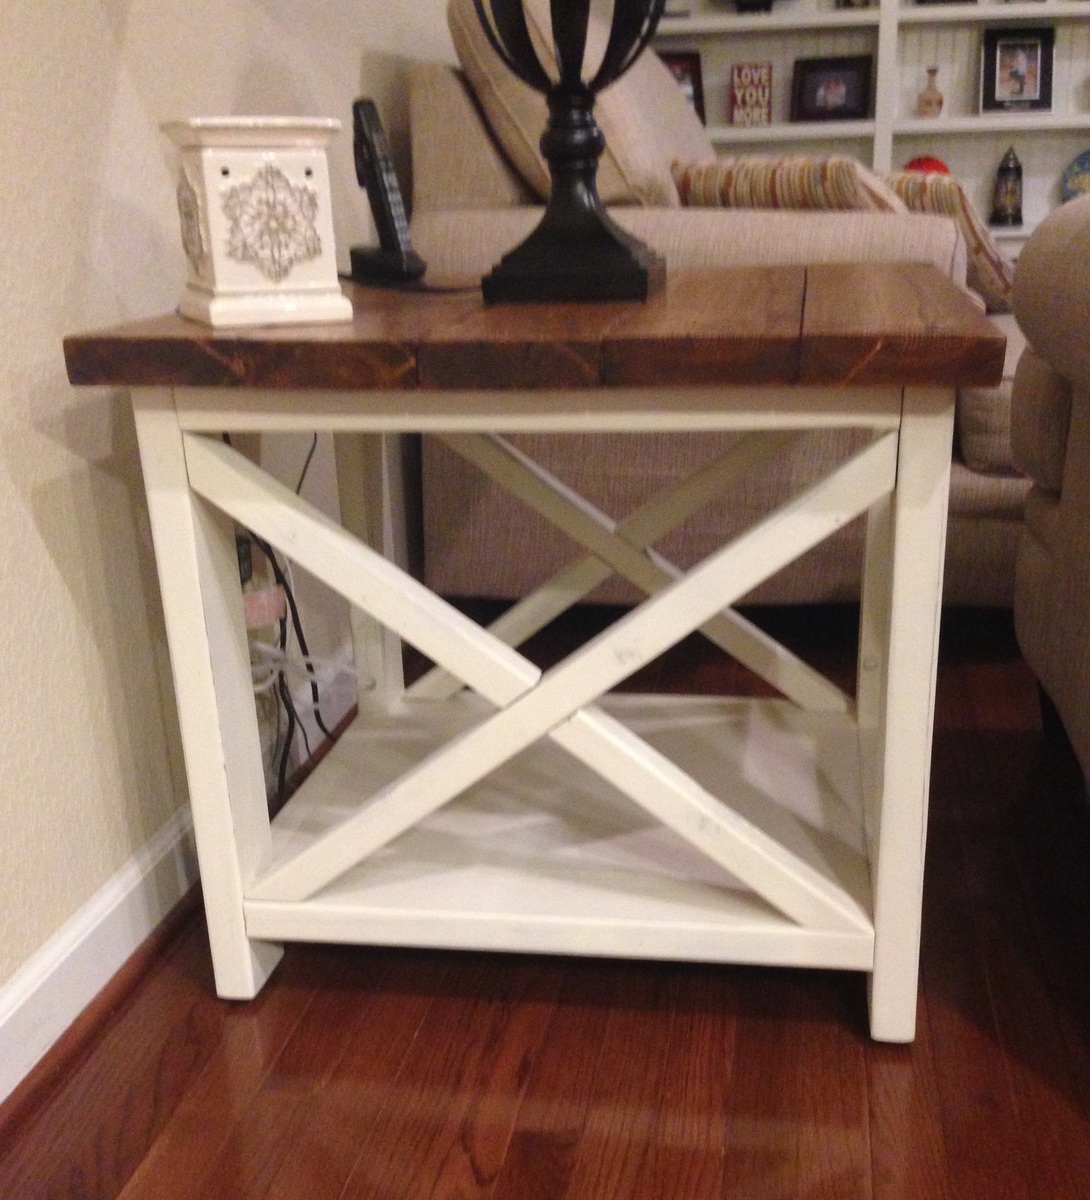
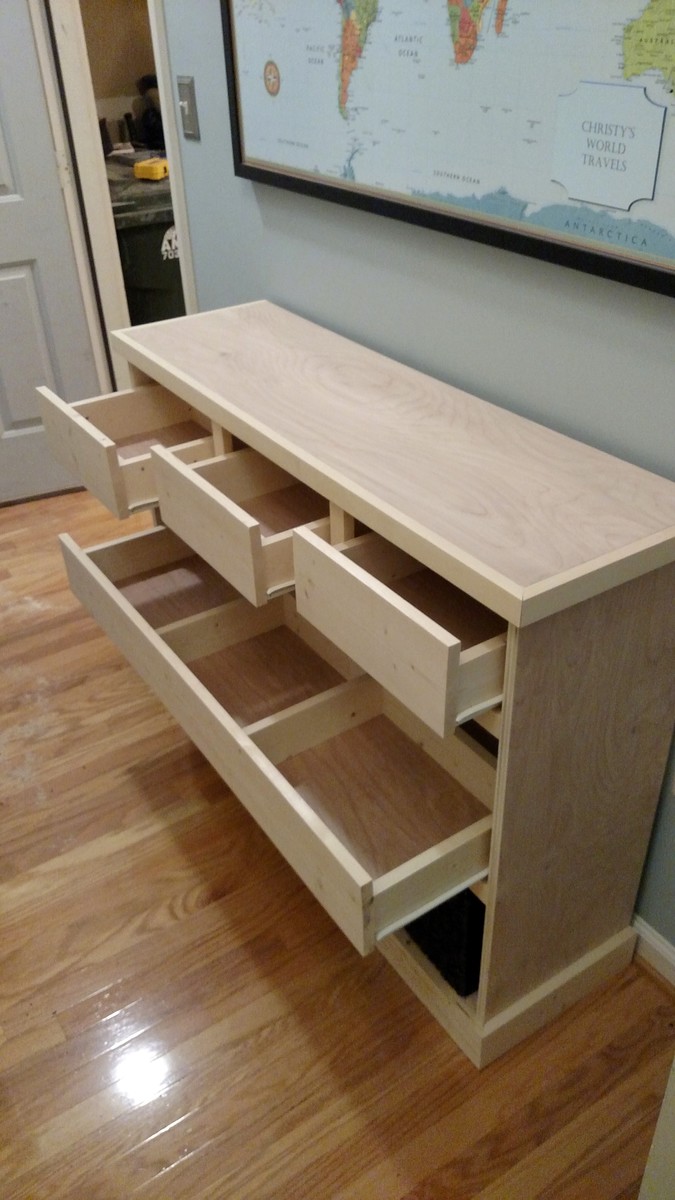
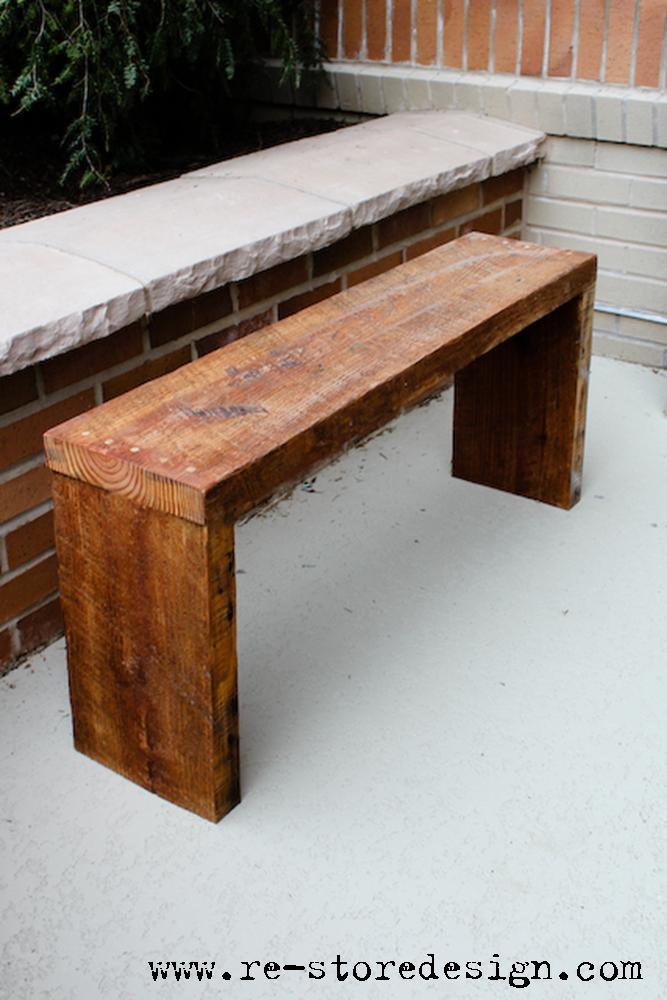
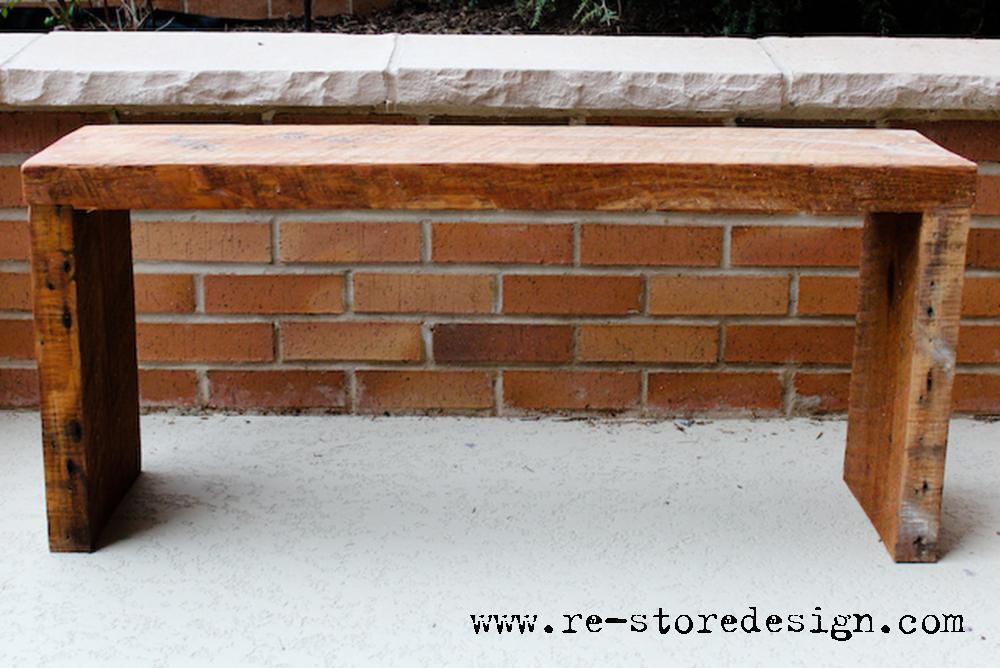
Floating media cabinet
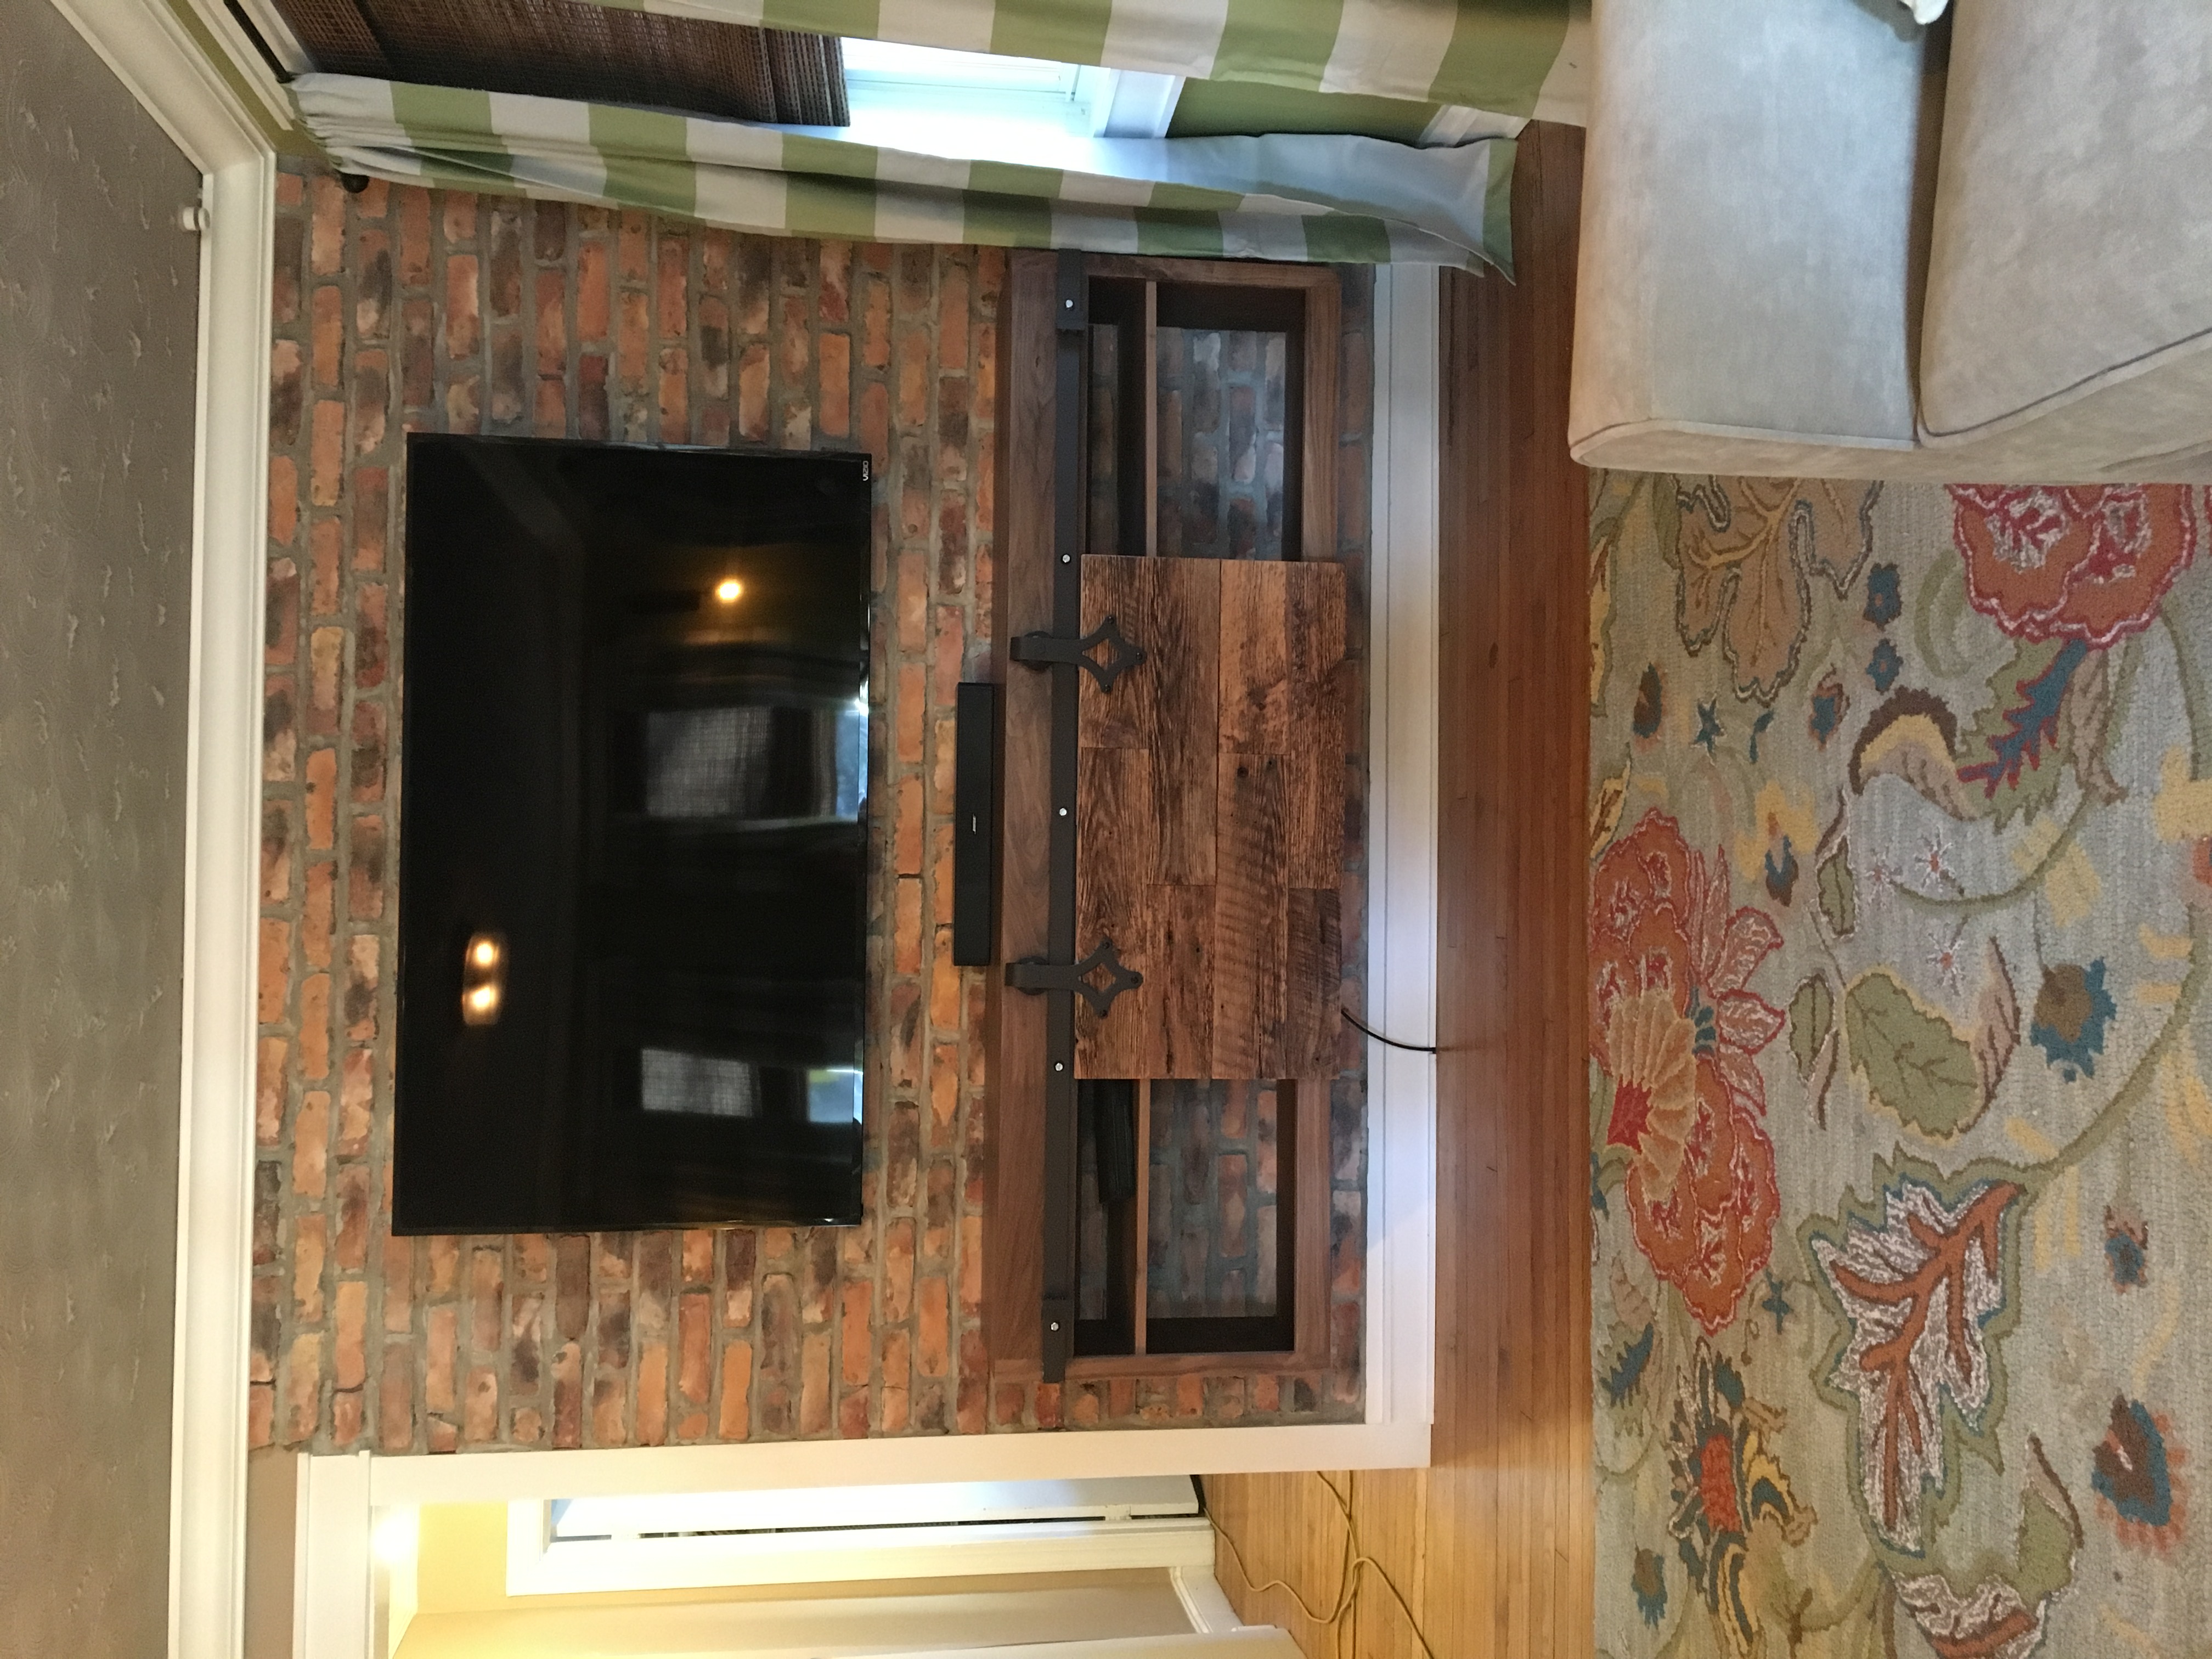
I felt a floating cabinet would make the room more spacious and wanted to showcase my brick wall so I designed and built this media cabinet.

Estimated Cost
300 dollars
Estimated Time Investment
Day Project (6-9 Hours)
Finish Used
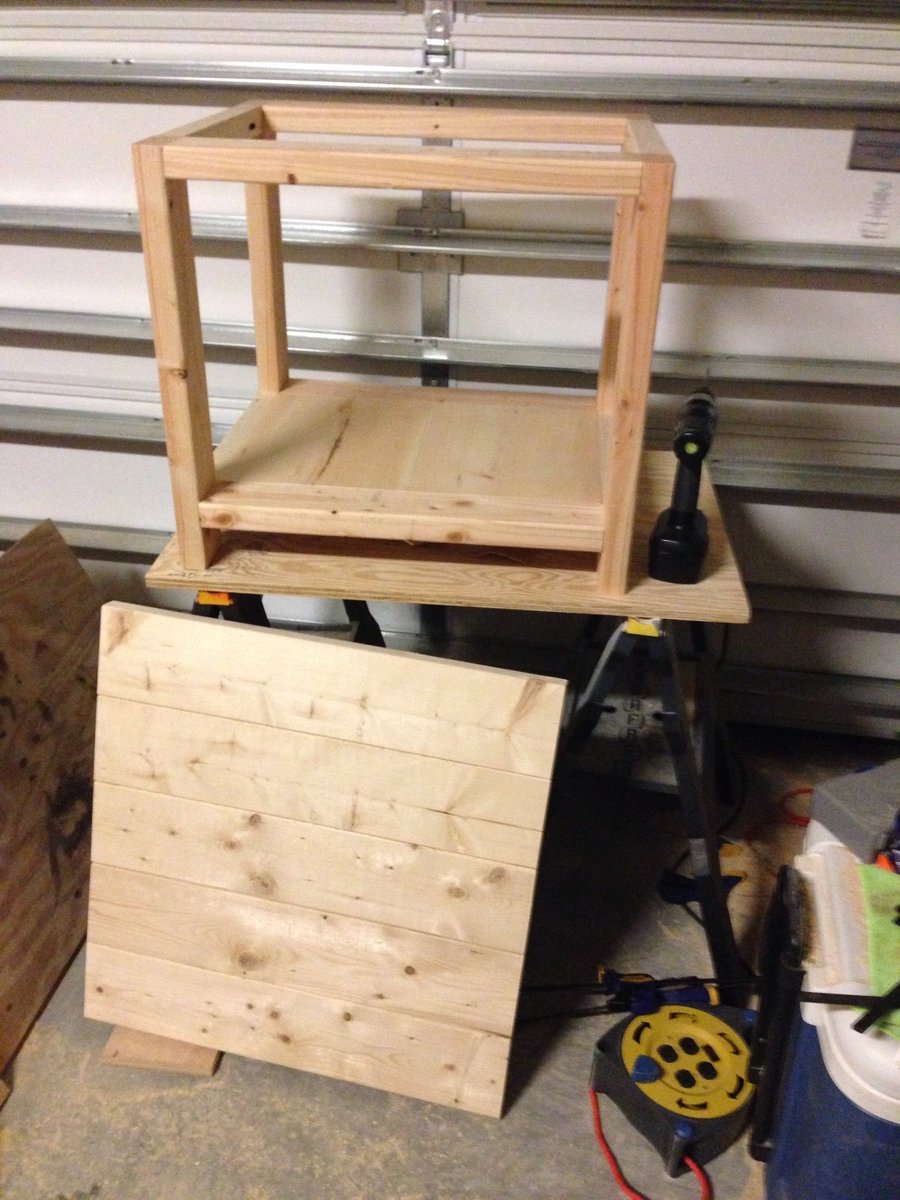
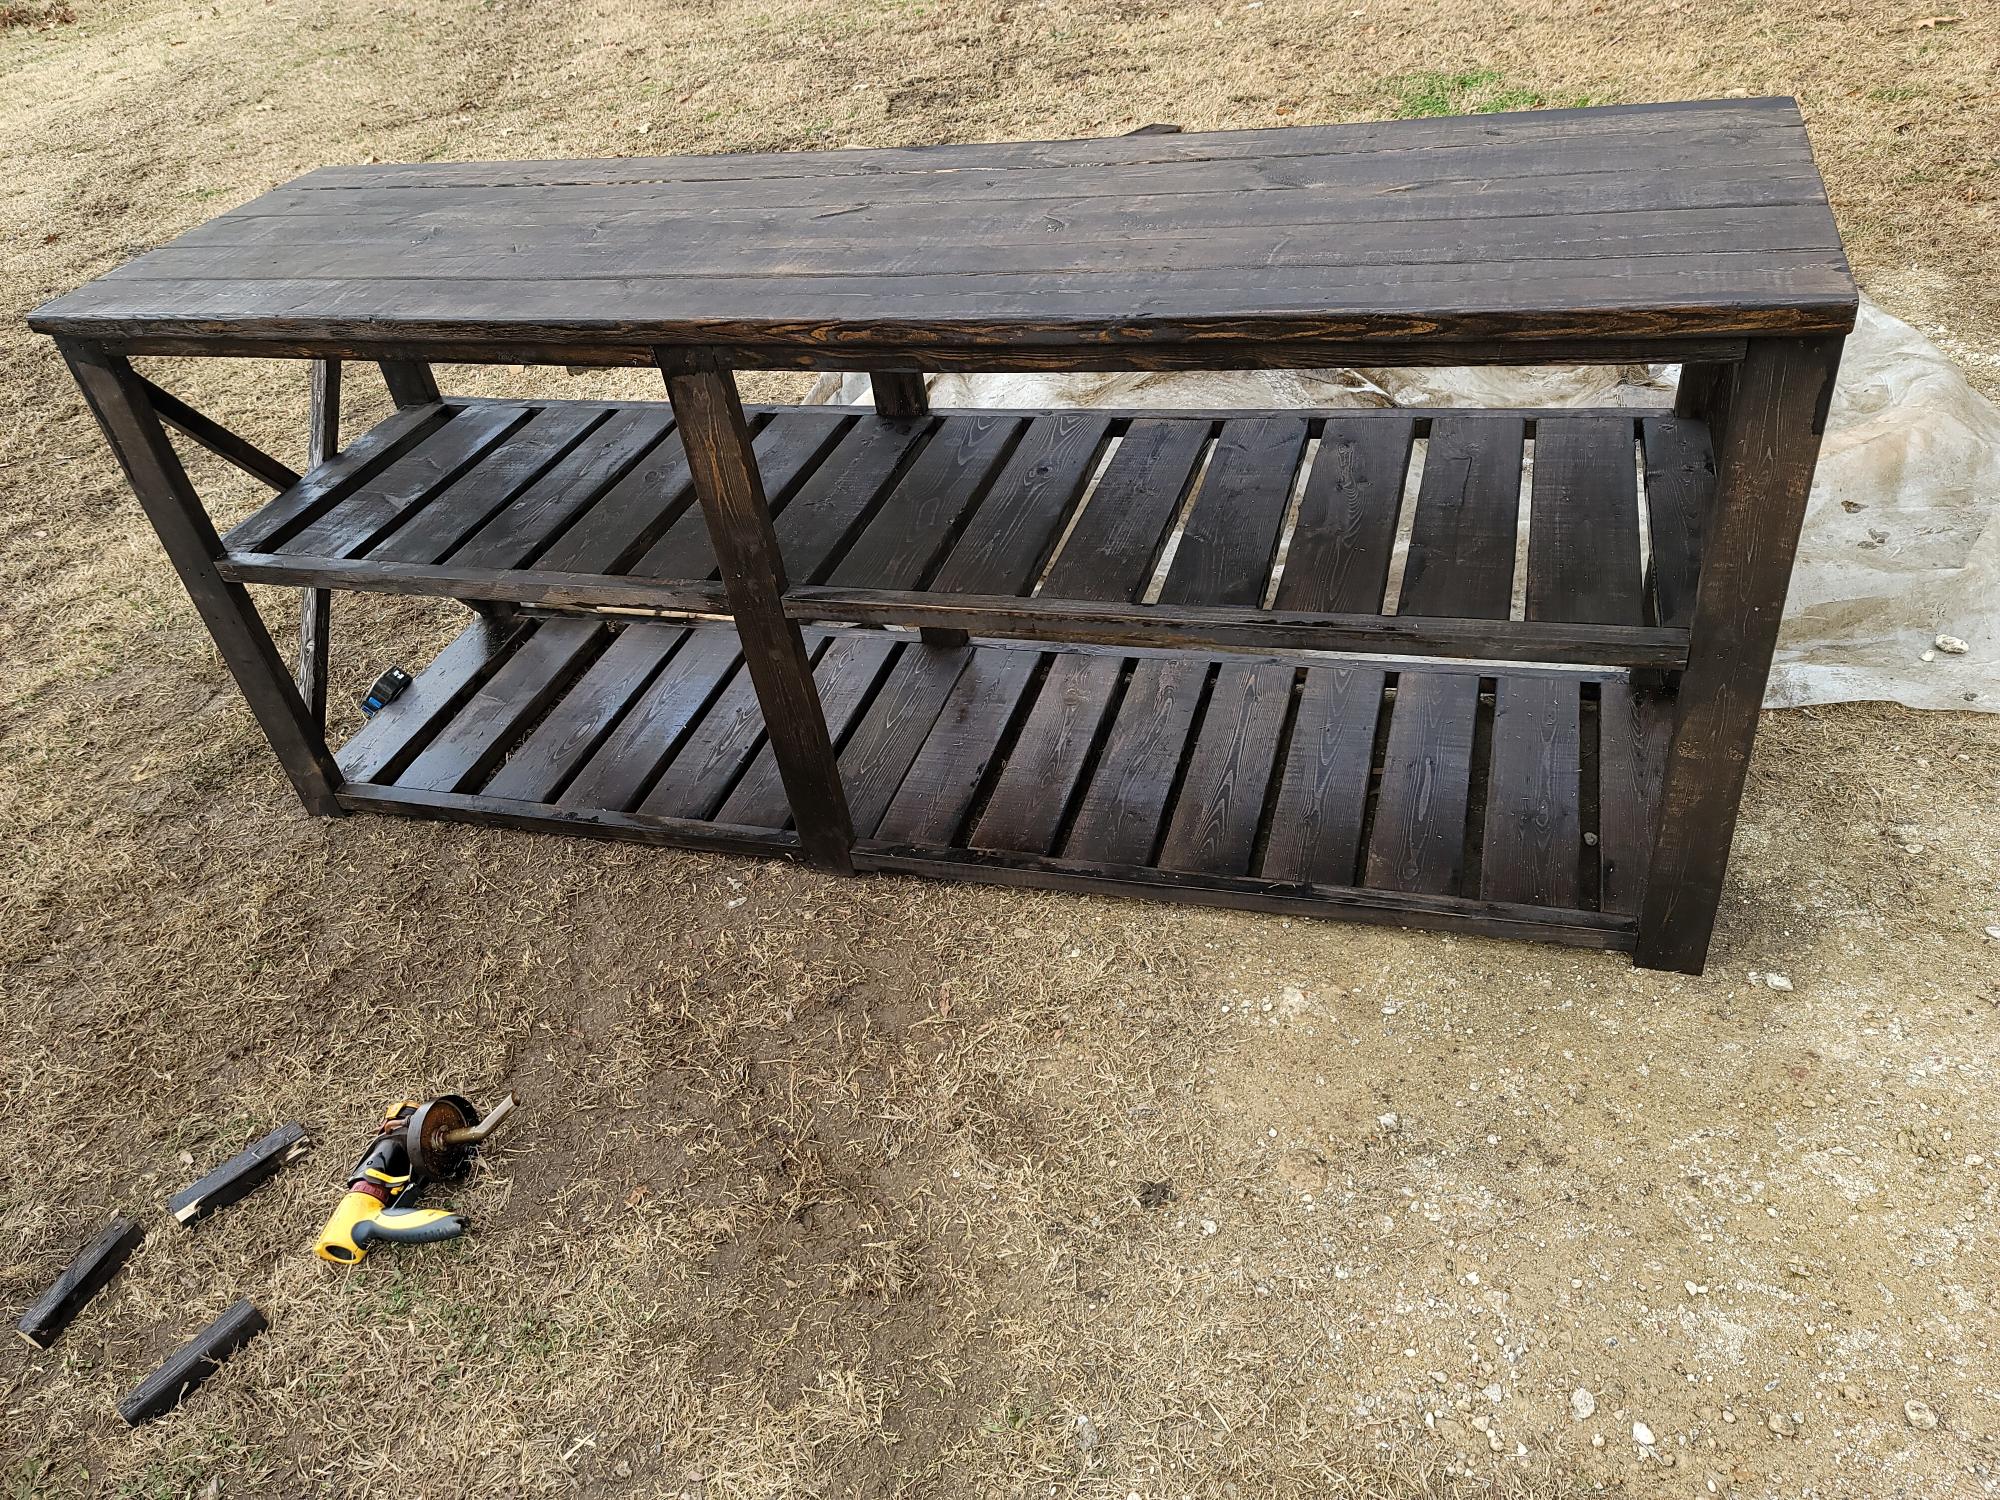
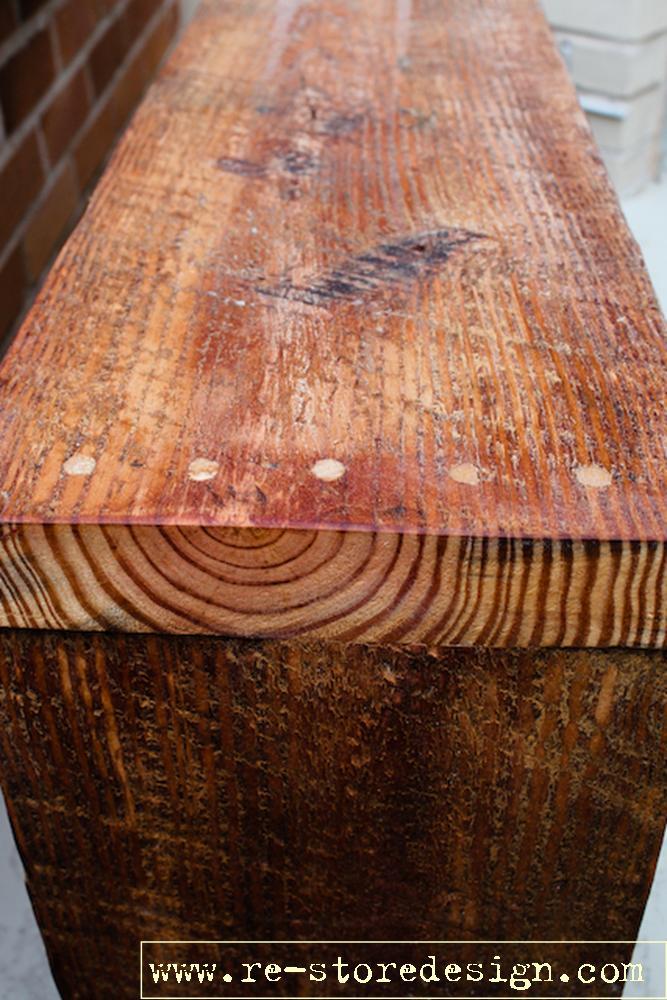
I stained the plywood with walnut then finished with a satin poly. I lightly sanded the reclaimed barn wood the applied satin poly. I purchased the barn door hardware off Amazon.
Recommended Skill Level
Intermediate


Comments
Ana White Admin
Thu, 03/02/2017 - 13:08
Love it!
Great choice, thanks for sharing your creation!