
Here's a great way to add fall decor to your space on a budget! This fun DIY project is easy to do and brings a wood stained element to your home. This is a free tutorial for making your own 4x4 wood pumpkins.
Why Choose This 4x4 Wood Pumpkin Tutorial
- You have scrap 4x4 pieces to use up
- You want a taller pumpkin shape - the 4x4 can be taller than a 2x4 pumpkin shape as it's got more footprint. Tall is good on a mantle or console to balance artwork, tv or mirror
- More of a 3D look, so the pumpkin looks just as plump from the side as it does from the front.
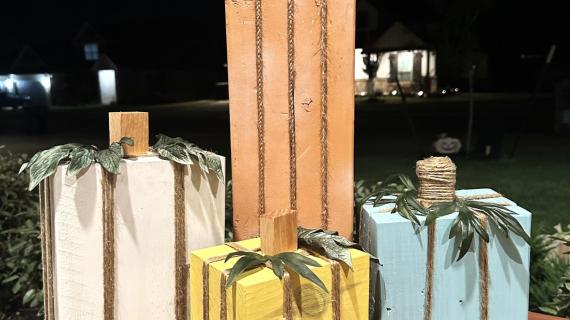
More Variations of Using 4x4 Wood Pumpkins
There's so much you can do with this simple tutorial! Here's just a few ideas -
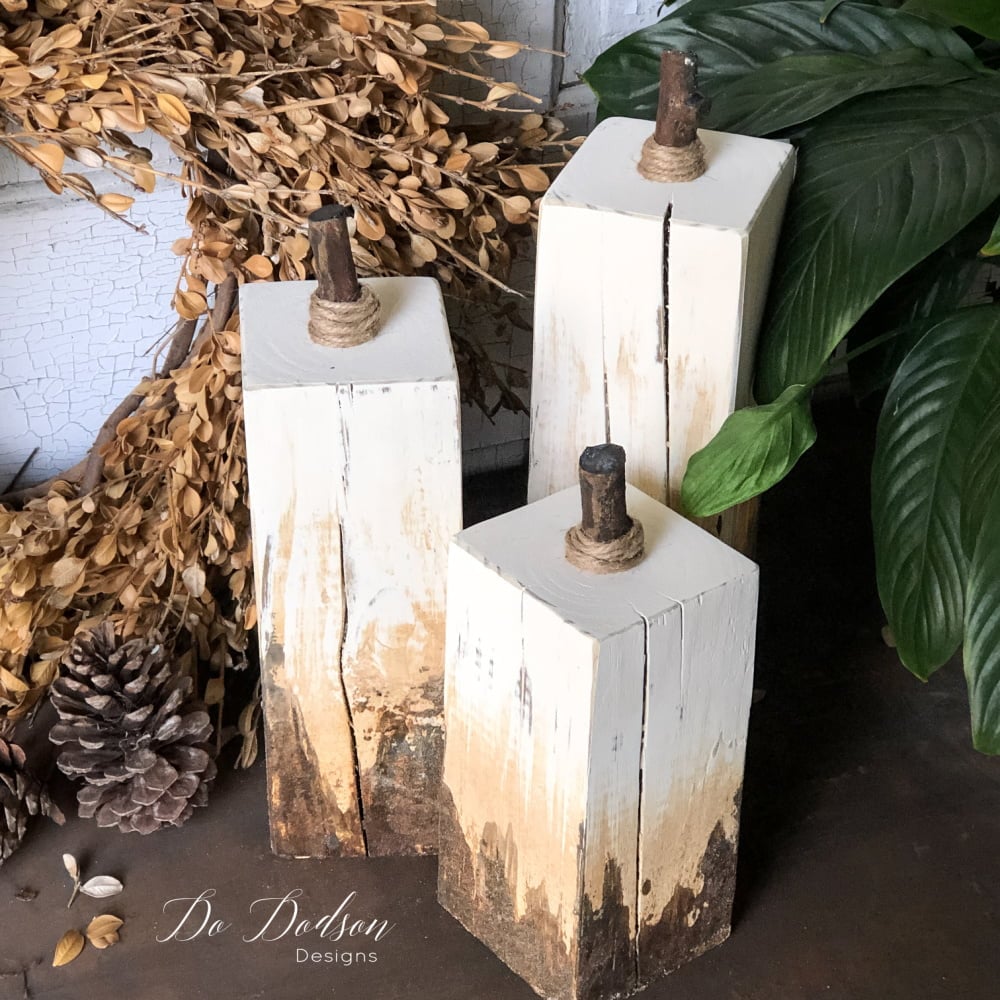
Farmhouse White distressed by Do Dodson Designs

Square Blocks by Modge Podge Designs

Colorful by Kippi at Home

Rustic by Funky Junk
More Wood Pumpkin Tutorials
If you don't have a 4x4 (or a saw that can cut a 4x4) - we've got TONS more pumpkin tutorials for you (and your scrap wood pile).

Pin For Later!

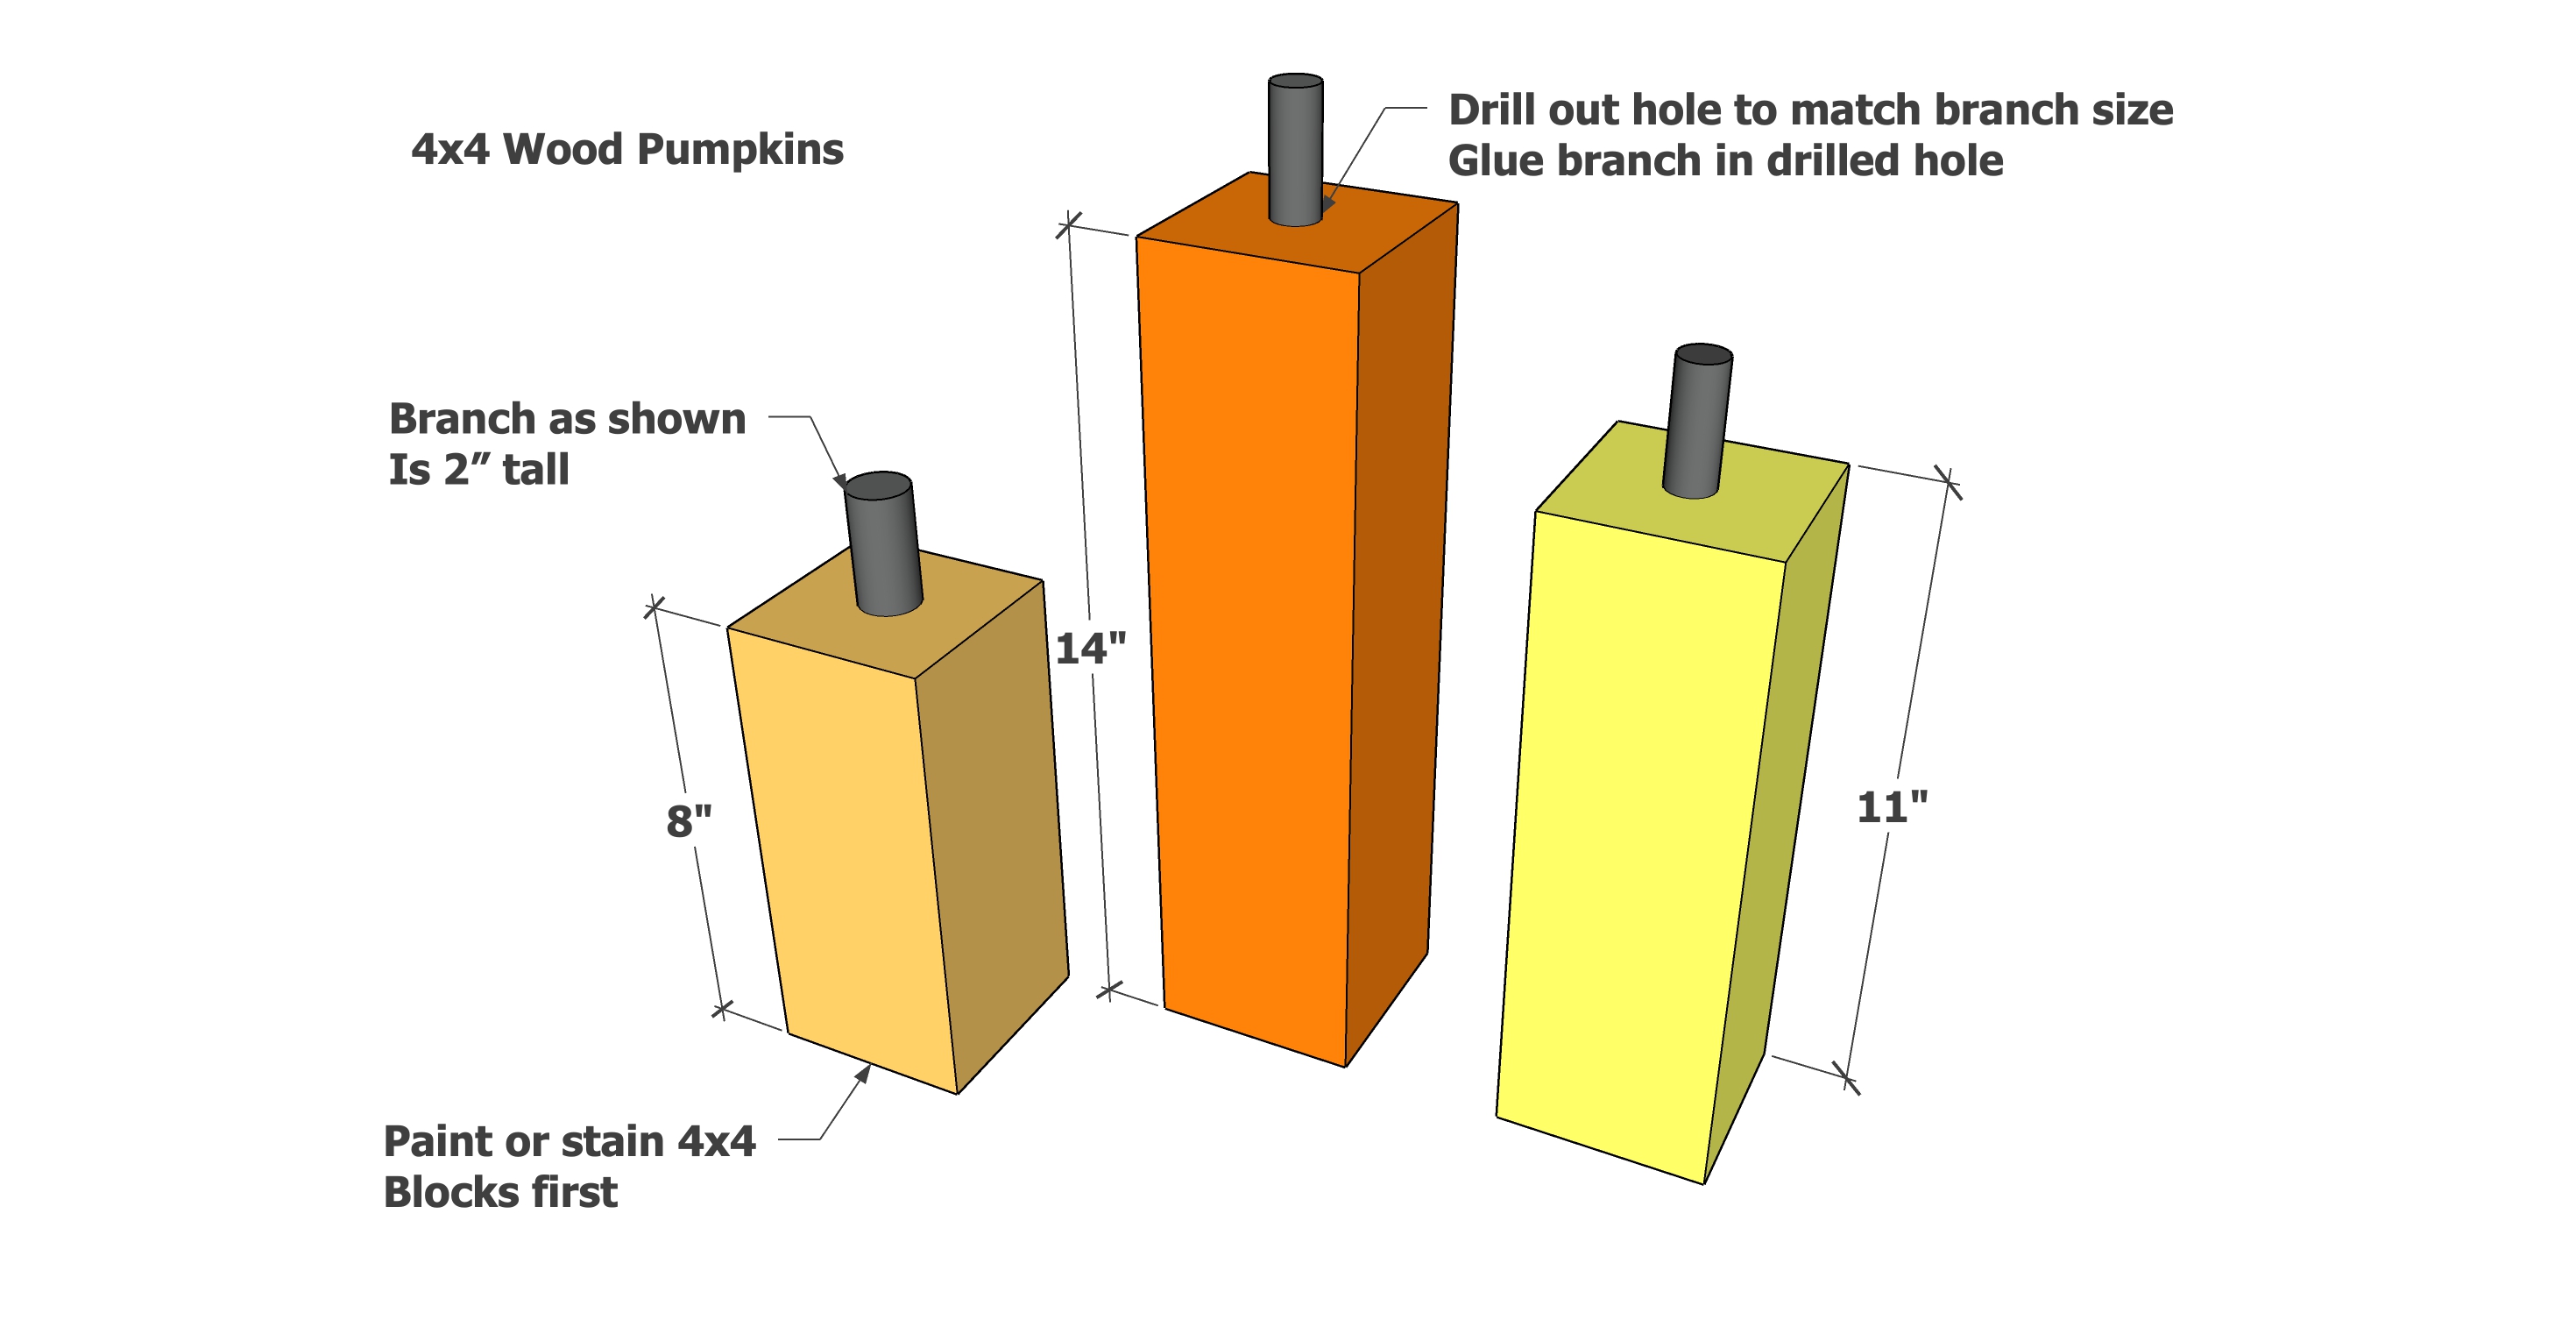
Preparation
- 4x4 wood pieces (to make all three pumpkins, you'll need 4 feet of 4x4)
- Wood branches (for stems)
- Circular saw or miter saw with 10" or larger blade
- Drill with drill bit to match branch diameter
- Wood Glue
- Paint or stain
Cut the 4x4 wood pieces with a circular saw or mitersaw with a 10" blade
Cut the branch pieces to 3" long


Paint or stain the 4x4 pieces before inserting the branches.
In the top of the 4x4 pieces, drill holes 1" deep for the branches.
Insert branches and attach with glue.