Art Storage Shelf with Caddies

Difficulty
Beginner Projects
| Print this plan

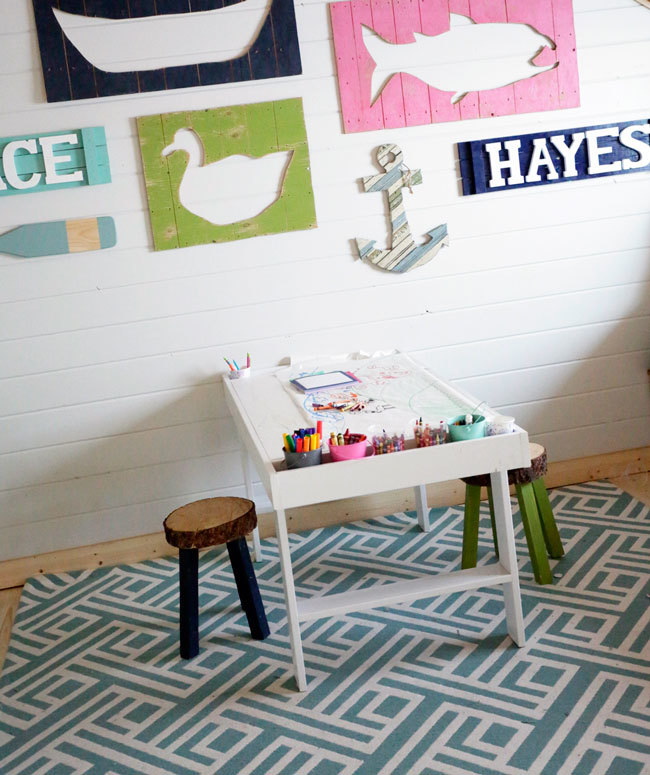
How to build an art or craft storage shelf for kids - matches the Art Play Table. Plans by Ana-White.com

Hi everyone!  Have you been missing the Handbuilt Holiday series that Jaime from That's My Letter and I put together in the weeks leading up to Christmas?

Well, you aren't alone.  Jaime and I have been missing it too!  So we thought we'd do a monthly gift project until the Holidays come around again this fall.

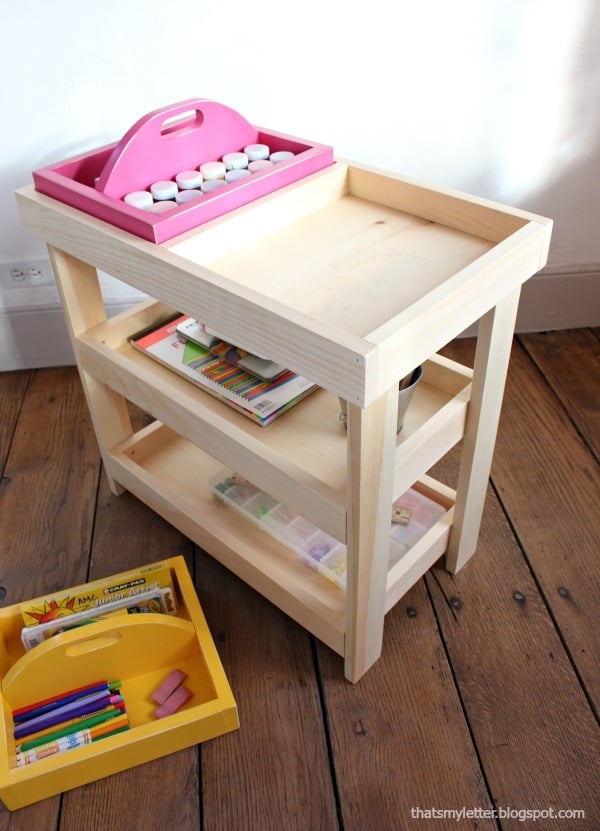
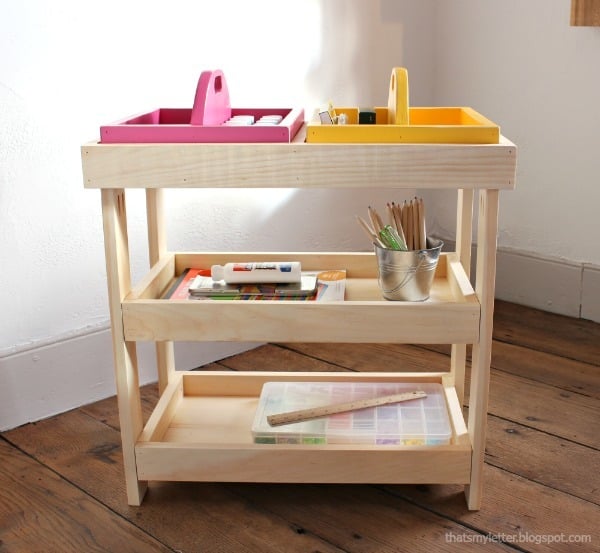
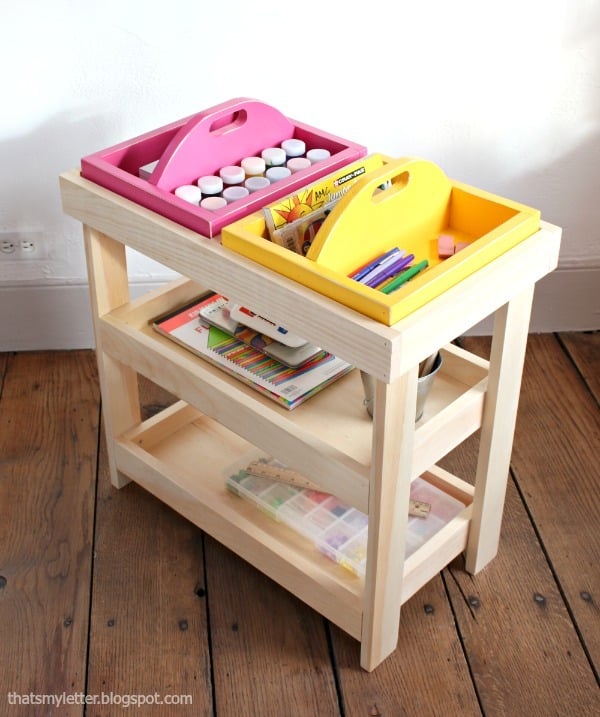
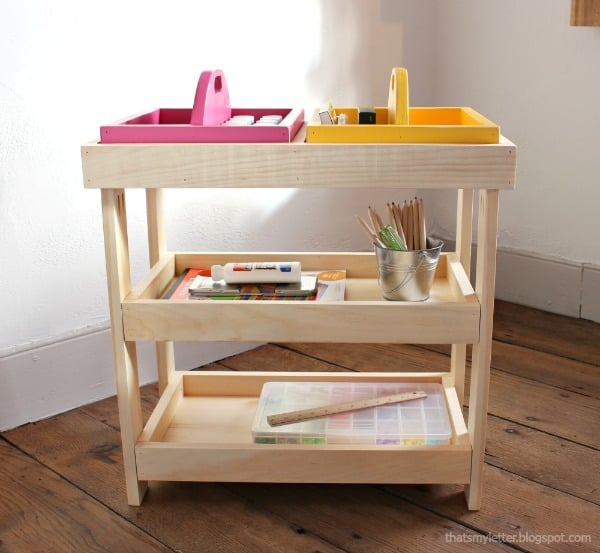
Since we've all got organizing on our minds, Jaime and I picked this little art supplie shelf as our first Handbuilt Holiday project of 2016.

We were inspired by this simple art shelf from Pottery Barn Kids - only our little DIY version is solid wood and cost less than a quarter of the price.

And comes with removeable art caddies that fit on all the shelves!

I've got you covered with the free plans for the shelf below, but right now, please take a second to check out Jaime's build post and get the plans for the art caddies here.

Enjoy!

Ana


CLICK HERE FOR JAIME'S BUILD POST AND ART CADDY PLANS


PS - Check out the matching art table plans here.


Dimensions
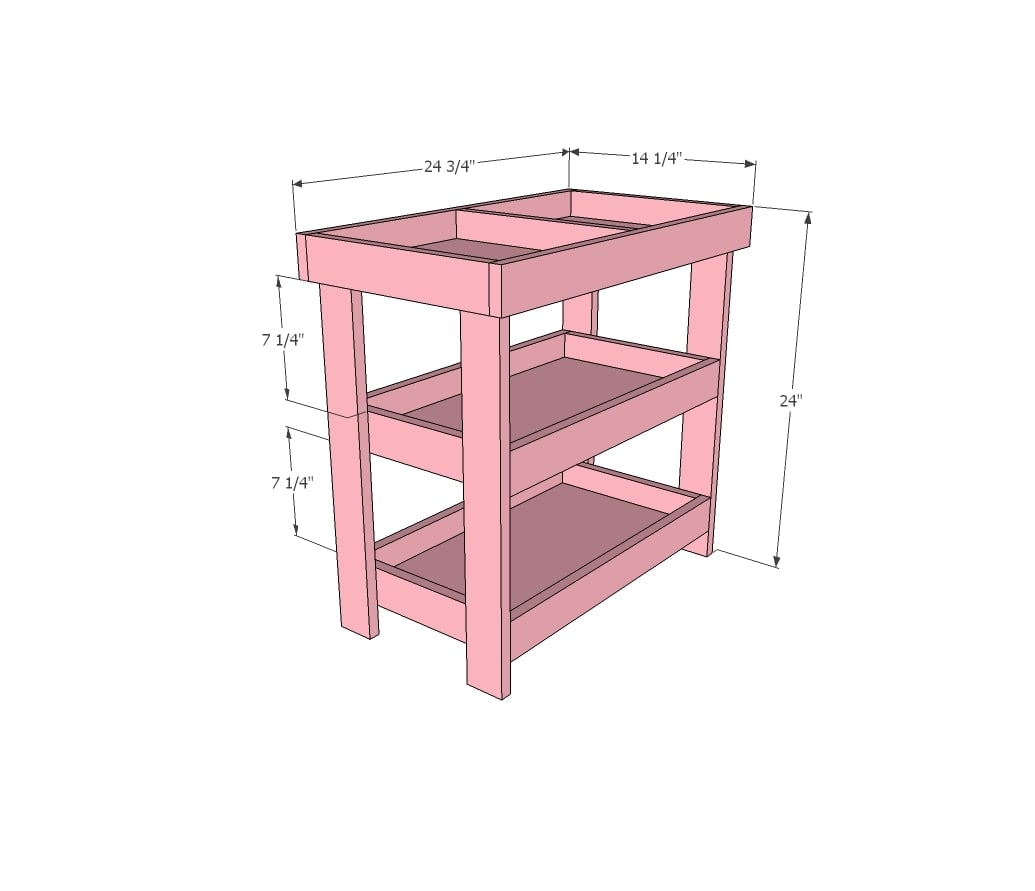
Dimensions shown above

Preparation

Shopping List

6 feet 1x12 board 4 - 1x3 @ 8 feet long

Common Materials
1 1/4 inch finish nails
Cut List

CUT LIST 2 - 1x12 @ 12-3/4" (top shelf bottom) 3 - 1x3 @ 12-3/4" (top shelf divider/ends) 2 - 1x3 @ 24-3/4" (top shelf sides) 2 - 1x12 @ 20-1/4" MUST BE 4-1/2" less than top shelf side boards (bottom shelf bottoms) 4 - 1x3 @ 11-1/4" (bottom shelf ends) 4 - 1x3 @ 21-3/4" MAYNEED TO ADJUST TO FIT (bottom shelf sides) 4 - 1x3 @ 21-1/2" (legs)

Cutting Instructions

Since 1x12s can vary in width, it is recommended to cut as you go on this project.

Tools
Tape Measure
Pencil
Safety Glasses
Hearing Protection
Kreg Jig
Drill
Miter Saw
Brad Nailer
Power Sander

Instructions

Step 1

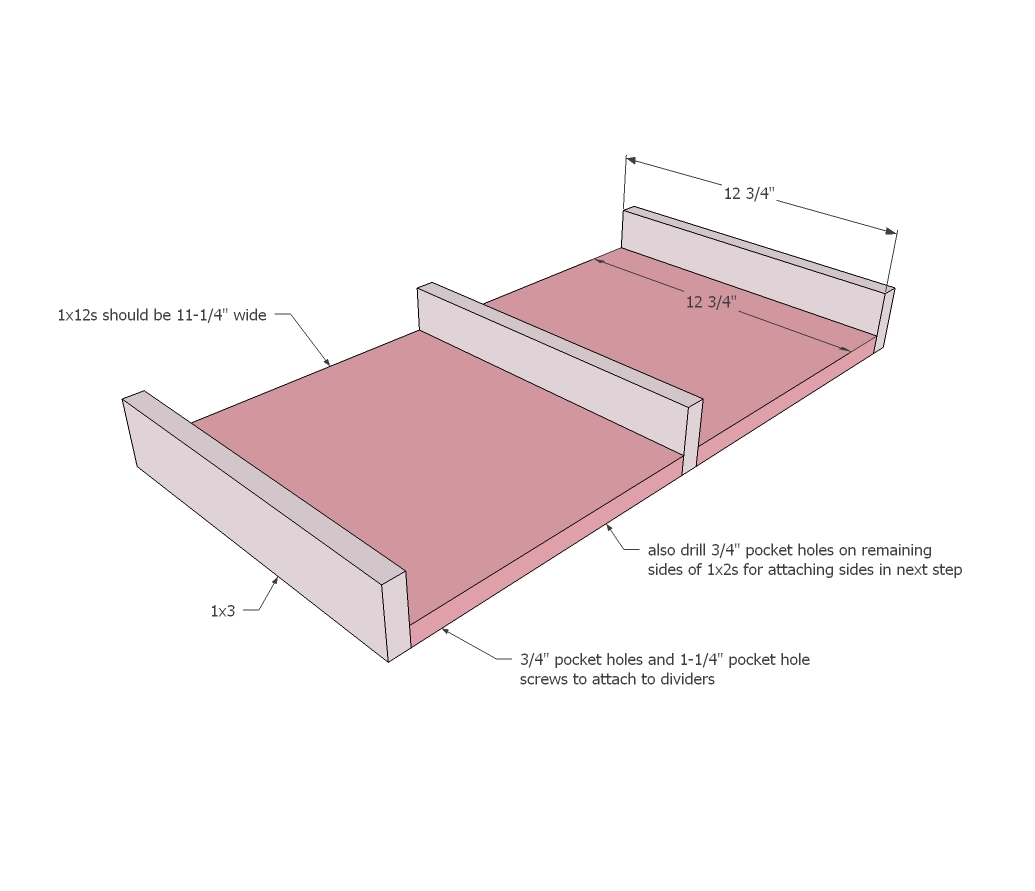
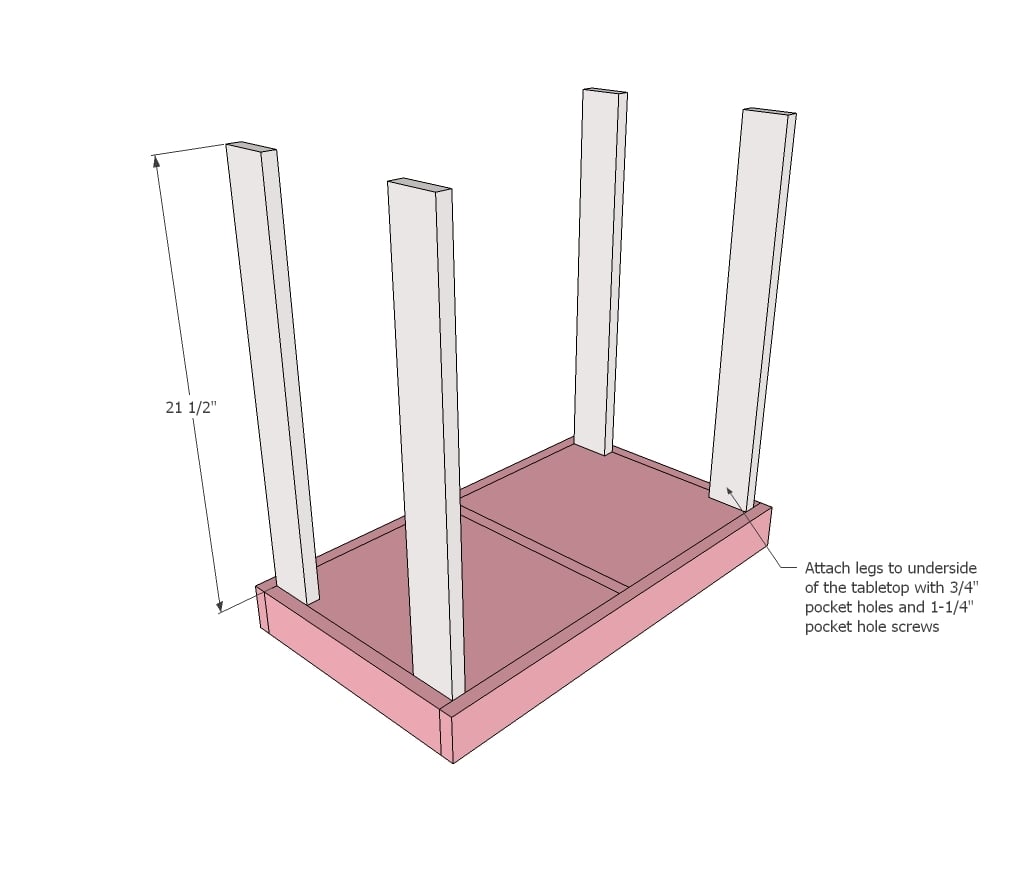
Drill 3/4" pocket holes on all four sides of the smaller 1x12 board pieces, 2 per side. Attach to the 1x3s as shown with 1-1/4" pocket hole screws.

Step 2

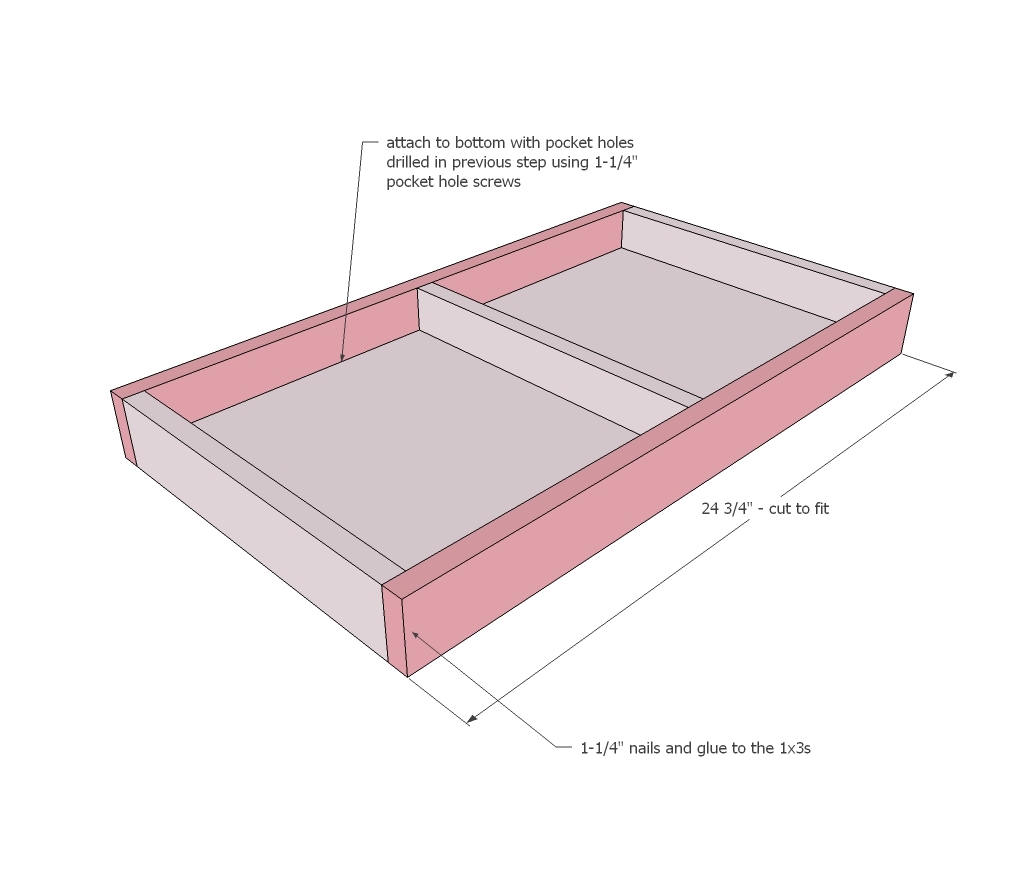
Measure and cut the side trim pieces to fit and attach with pocket holes on underside. Also attach with 1-1/4" brad nails to the 1x3 side trim. Set top aside.

Step 3

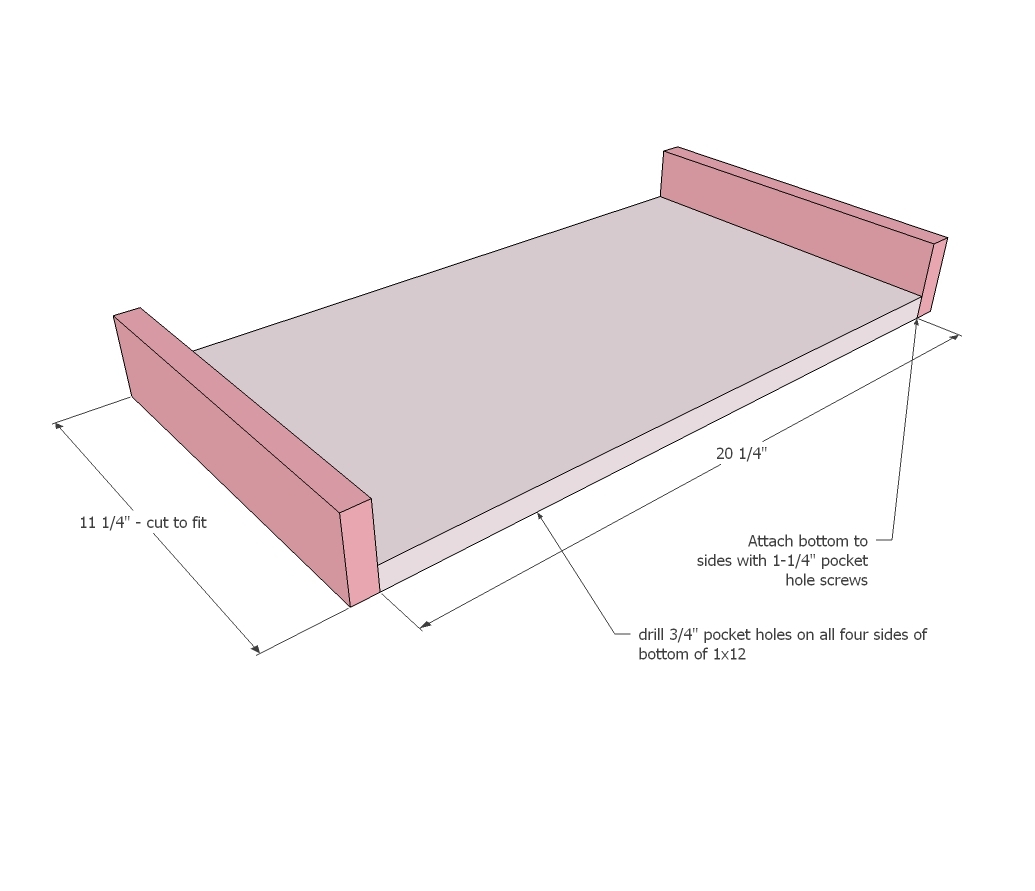
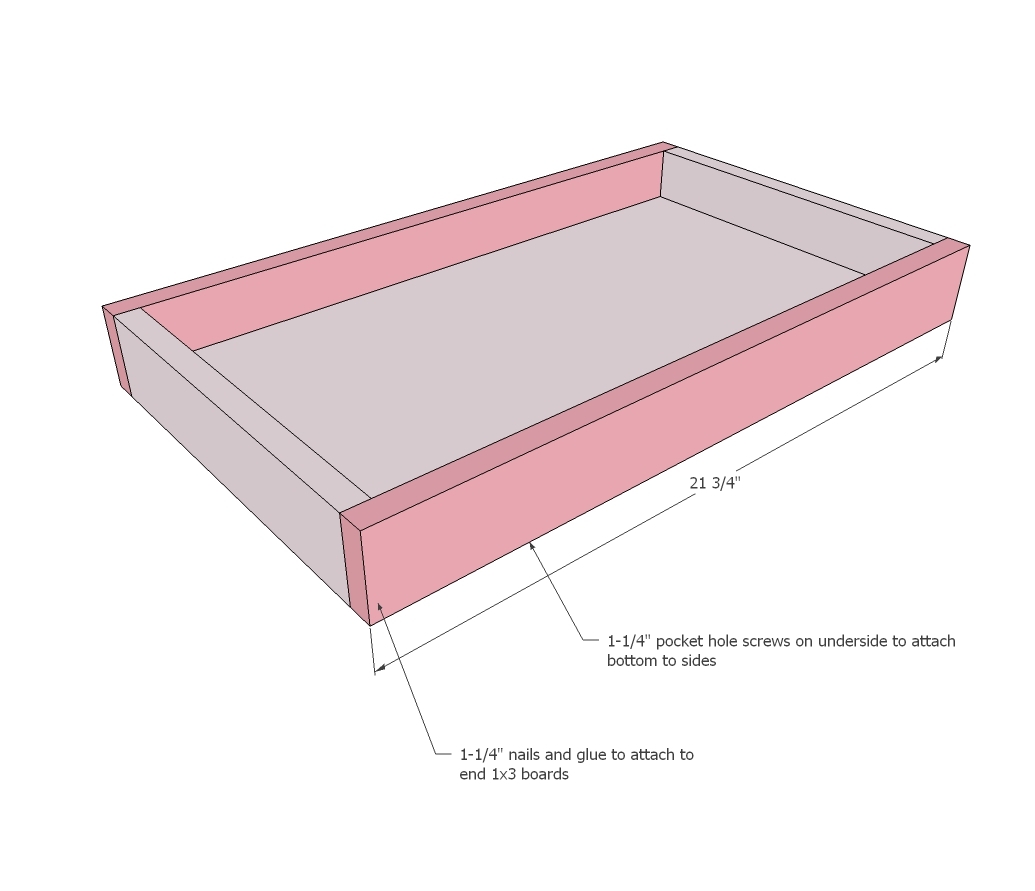
For the shelves, drill 3/4" pocket holes on all four sides of the remaining 1x12 boards. Attach 1x3 side trim pieces with 1-1/4" pocket hole screws, hiding on underside.

Step 4

Finish front and back with 1x3 trim, attaching on bottom through predrilled pocket holes. Also nail to side trim with 1-1/4" brad nails and glue.

Step 5

Step 6

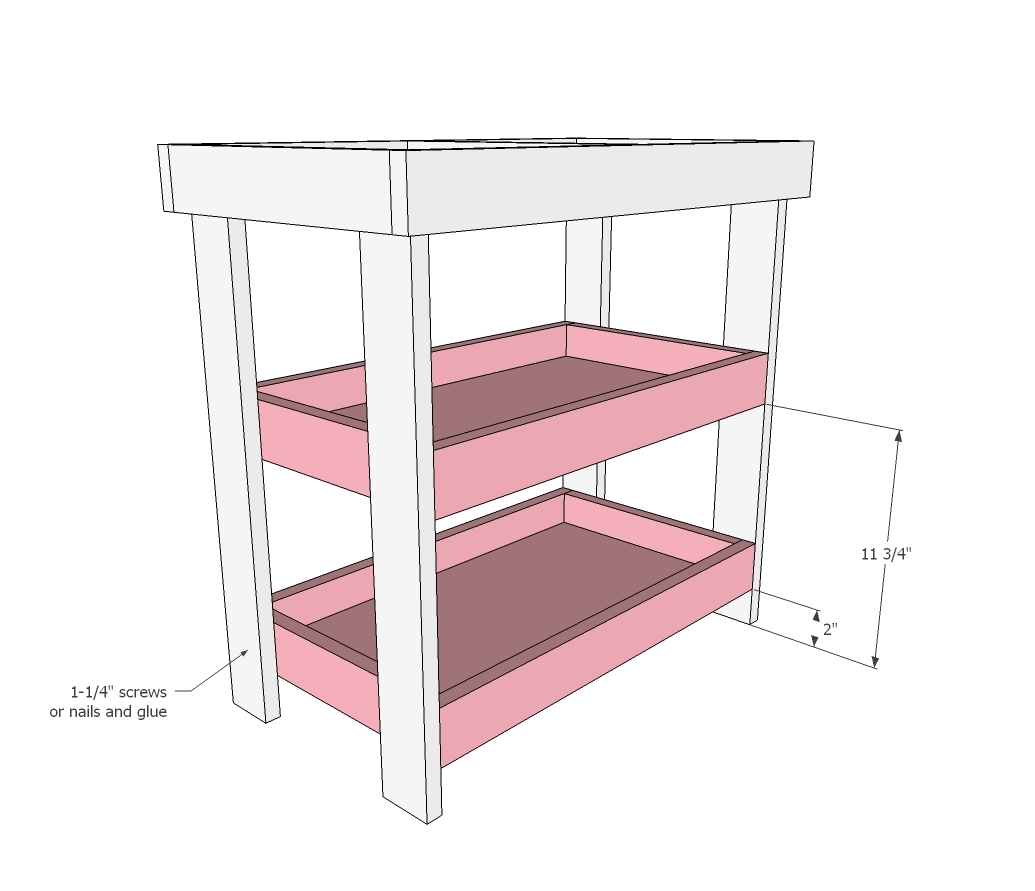
Now just attach the two shelves inside the legs with 1-1/4" screws or brad nails and glue.

Comments