


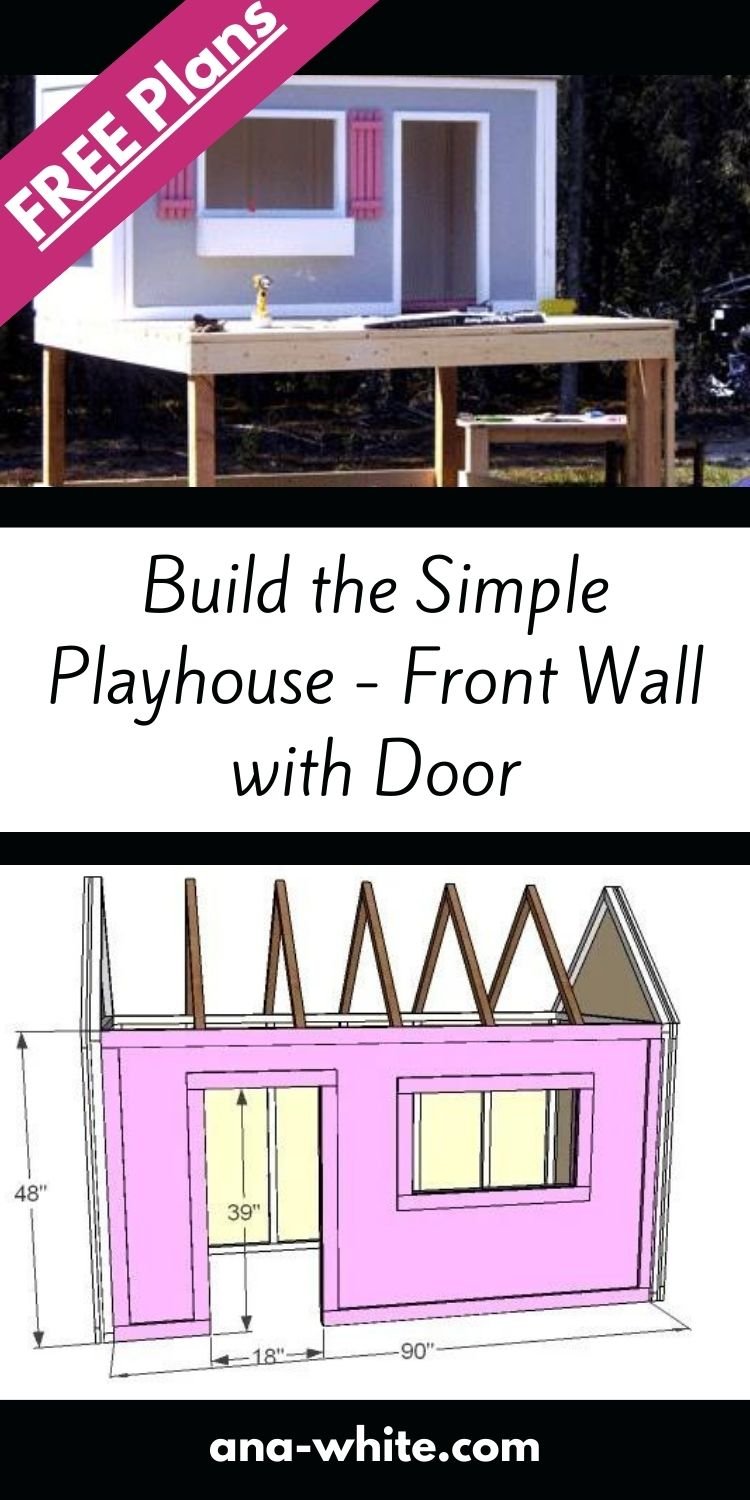
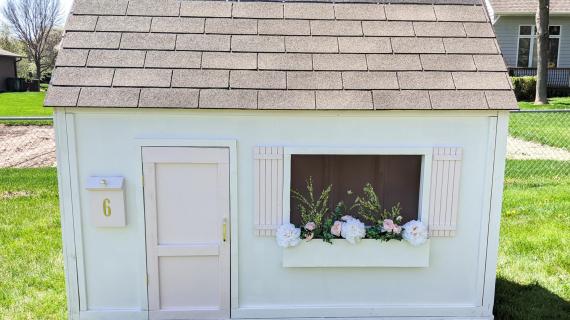
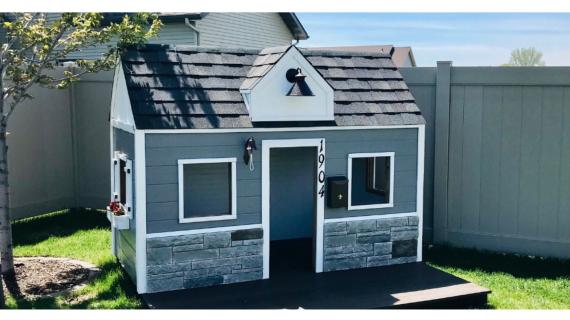
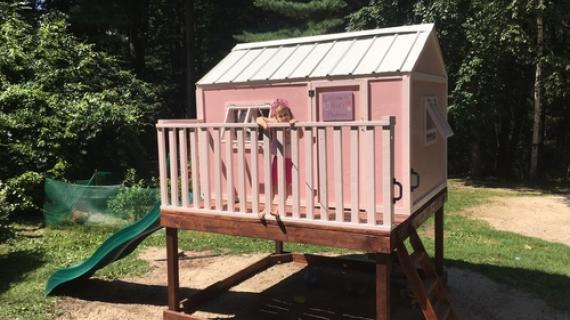
The goal: Make building a playhouse easy! We simplify the process by in this easy to build playhouse plans. You'll love the step by step diagrams and shopping list. This playhouse has been built thousands of times and is beloved by families all over the world!
Pin For Later!

Preparation
Shopping List for Front Wall Only
- 1 – Sheet of 1/4″ Exterior Plywood
- 6 – 2×2 Furring Strips, 8′ Long
- 3 – 1×2 Furring Strips, 8′ Long
- 3 – 1×3 Furring Strips, 8′ Long
- Hinges for the Doors
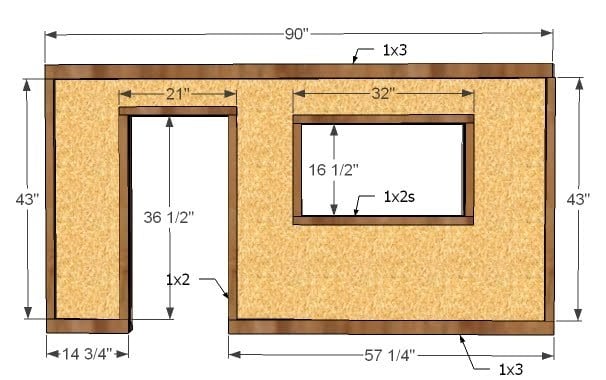
CUT LIST FOR THE WALL FRAMING
- 1 – 2×2 @ 90″ (Top Plate)
- 6 – 2×2 @ 45″ (Studs)
- 2 – 2×2 @ 29″ (Window Top and Bottom)
- 1 – 2×2 @ 57 1/4″ (Bottom Plate)
- 1 – 2×2 @ 14 3/4″ (Bottom Plate)
- 1 – 2×2 @ 18″ (Door Header)
- 1 – 2×2 @ 7 1/2″ (Window Header Stud)
- 90″ x 48″ 1/4″ Plywood with Windows and Doors cut out to fit the stud wall.
CUT LIST FOR THE TRIM
- 1 – 1×3 @ 90″ (Top Trim)
- 1 – 1×3 @ 14 3/4″ (Bottom Trim)
- 1- 1×3 @ 57 1/4″ (Bottom Trim)
- 2 – 1×2 @ 43″ (Side Trim)
- 2 – 1×2 @ 36 1/2″ (Door Trim)
- 1 – 1×2 @ 21″ (Top of Door Trim)
- 2 – 1×2 @ 16 1/2″ (Window Side Trim)
- 2 – 1×2 @ 32″ (Window Top and Bottom Trim)
CUT LIST FOR DOOR
- Scrap Door Piece of plywood
- 2 – 1×3 @ 33″ (Door Sides)
- 1 – 1×3 @ 13″ (Middle Trim)
- 1 – 1×3 @ 18″ (Door Bottom)
- 1 – 1×4 @ 18″ (If you don’t have a 1×4 scrap, you can use a 1×3 but the length of the door sides will need to be increased to 34″)


Instructions
Step 1

STUD FRAMING
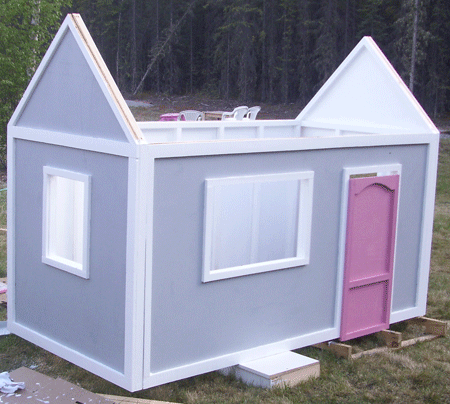
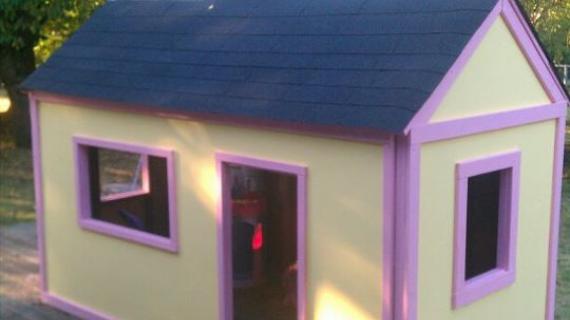
Frame your wall as shown above using 2″ screws and glue. Check for square. Trace out your windows and doors onto the plywood and cut out the openings. If you are careful about cutting out your door, you can use the door scrap to build your door with. Attach the plywood to the stud wall using 1 1/4″ nails and glue.
Step 2
TRIM
It is always a good idea to measure and cut your trim as you go to get the best fit. Use 1 1/4″ nails and glue to attach the trim to the face of the wall, keeping outside edges flush.
Step 3
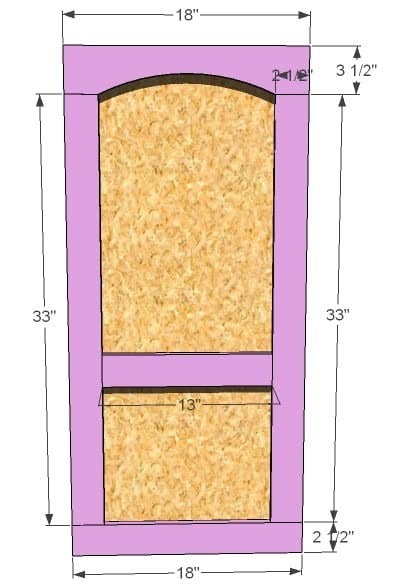
Cut your top door header piece in an arch as shown above. Then use a Kreg Jig™ to join the door pieces to create a door frame.
I used 1x2s and a 1×3 header because that is what I had for scraps. You can see the pocket holes in the above photo of the door. Then use 1″ nails and glue to attach the back plywood to the door frame. If your nailer doesn’t shoot 1″ nails, you can by brad nails and use a hammer to add the nails. Do not forget the glue.
Step 4
Here is the door completed, but not yet on it’s hinges.


Comments
ainhoa vega (not verified)
Thu, 05/27/2010 - 08:57
Hey Anna,just thought you
Hey Anna,
just thought you might want to know, the sponsor link doesn't seem to work - I get linked to the image itself.
Thanks for all the plans, I especially like the outdoor collection!
Jenny (not verified)
Thu, 05/27/2010 - 09:13
Ana,I just found your blog
Ana,
I just found your blog and the these playhouse plans - they are fantastic!!! I feel so lucky to have found your site in my search for a present for my daughter's third birthday. What I only just realized was that these plans aren't part of your archive, but you're working on this project right now! What excellent timing.
Good luck with the rest of the project and thank you so much for the plans.
Jenny
Angie (not verified)
Thu, 05/27/2010 - 10:31
I'm super stoked! I've been
I'm super stoked! I've been building this piece by piece and I have all the sides finished except this one. I'm excited to get started on it today!
Momma Rhyne (not verified)
Thu, 05/27/2010 - 11:13
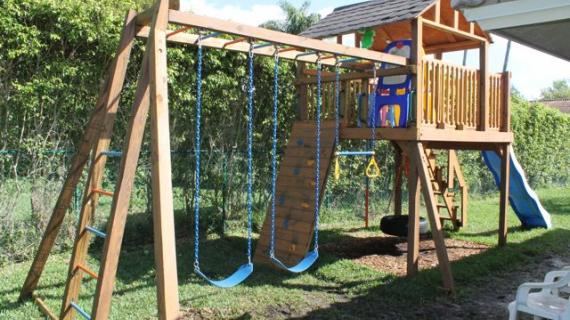
Super awesome. If you make
Super awesome. If you make the platform the right height, you can add a slide... that's what we are going to do, maybe two slides so the boys can race, hehe! Love this site!
Tina (not verified)
Fri, 07/30/2010 - 07:02
Ana I am getting ready to
Ana I am getting ready to make the door. There is a difference in the way you built the door and the plans. My question is did you make changes in the length of the sides or is that the way you planned it to be? I want to use the Kreg Jig like you did. In the plans it shows the header on top of the sides and your door shows the header between the sides.
Heidi (not verified)
Tue, 10/05/2010 - 14:44
Any idea what this playhouse
Any idea what this playhouse may cost to make minus the deck?
kaycee (not verified)
Sun, 01/23/2011 - 06:32
I can't seem to find the
I can't seem to find the plans for the playhouse. I have found the plans for the front wall/ door and the swing set but I can't find the rest of it. Am I missing something?
Thanks for all of your hard work. I love you plans and designs!!
Kaycee White
Guest (not verified)
Tue, 04/10/2012 - 13:26
Playhouse
Can you tell me what the total cost is for just the playhouse?
Lindsey Schuh (not verified)
Mon, 07/30/2012 - 16:08
Roof plans
I absolutely love these plans! It'll make the perfect Xmas present for my little one! I may add a work bench on one side and a sink inside too. I'll make sure to brag post it when I'm done :)
However, I see the finished picture at the top but I can't seem to find the details on the roof anywhere. I've tried multiple keywords but I just haven't been able to find it. Do you have plans or directions for that step?
I love your site so much and it's my new addiction :)
kongk
Tue, 05/21/2013 - 05:42
I like this post,And I guess
I like this post,And I guess that they having fun to read this post,they shall take a good site to make a information,thanks for sharing it to me.
Relationship with W3BZ
yecats71
Thu, 08/22/2013 - 18:42
how do you attach it?
How do you attach the house onto the deck? I am looking at making the platform slightly larger and the playhouse a little taller with a potential loft. I wasn't sure if the 4x4 posts went taller if I could build the walls with plywood inside or outside of the posts?
Do I need any additional bracing for the bottom if the platform size is the same height, but the house is about 7 feet tall by 9 feet wide and 8 1/2 feet deep?
I love your plans.
Tony K
Thu, 03/13/2014 - 11:07
Treated wood or not?
Hi Ana,
Thanks for this plan, and I really can't wait to get started on making one.
Should the wood be treated or is in treated ok?
Thanks!
Mrotter
Sat, 04/23/2016 - 17:37
footings
We live in MN I am sure would footings would be needed to hold the house on the deck?
acsimpson
Wed, 08/14/2019 - 11:33
Hinge Types
Hi Ana,
Thanks very much for these plans.
I'm not sure if you are replying to comments on this but if someone else who knows sees this could you please tell me what sort of hinges you would recommend using?
dianacvpope
Sun, 10/11/2020 - 06:16
Hi! We are just about…
Hi! We are just about finished with all the walls and have the same question as above. I don’t see specifics on how to assemble the walls and attach to the deck.
Love the plans and the creativity of all those who have shared their projects! This is my first build and so far so good 😊
Thanks!