
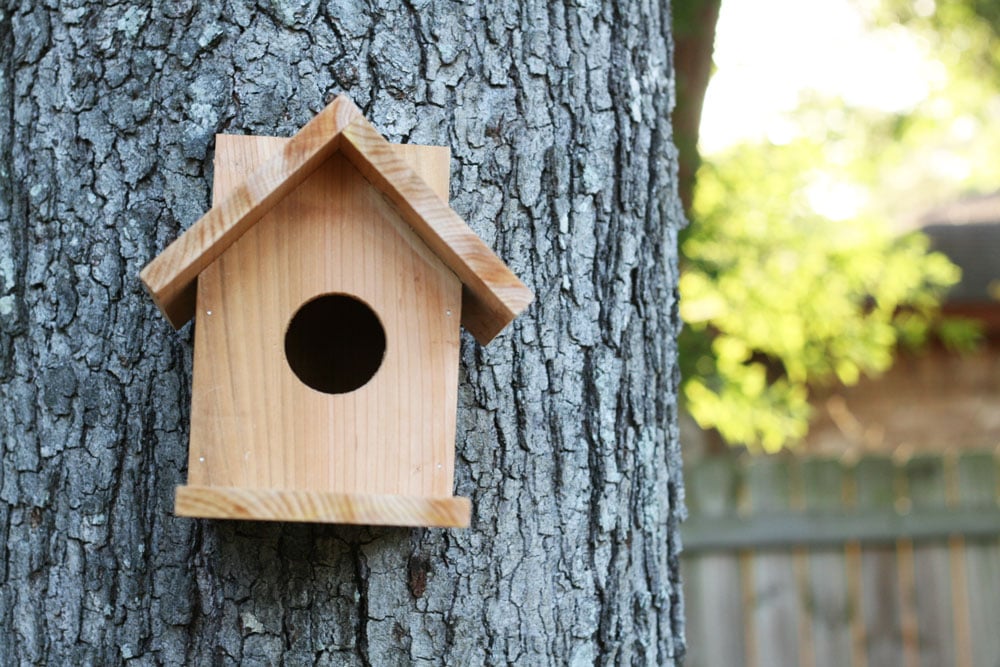

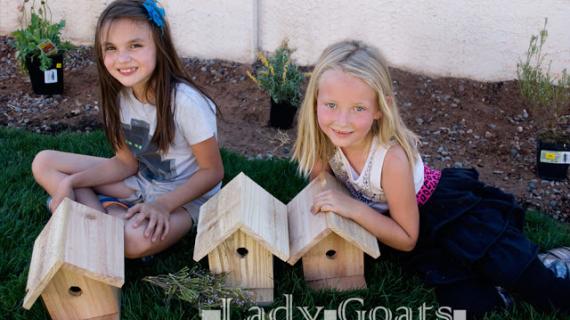
How do you make a simple birdhouse? Simple - use a cedar fence picket. Here is a very simple birdhouse plan that can be built for only $2! We've got the step by step tutorial with diagrams and lots of reader submitted photos.
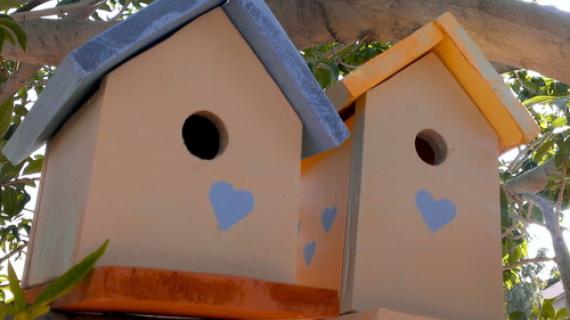
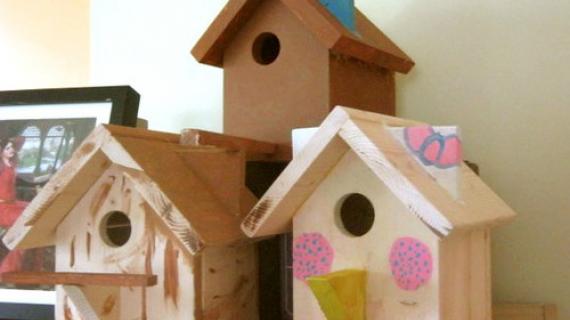
This DIY Birdhouse is a great project as a kids kit and also great for beginner woodworkers! A Bird feeder is the perfect gift or addition for any yard, balcony, porch, tree branch or garden.
RELATED: Check out our easy to build Modern Cedar DIY Birdhouse Plans.
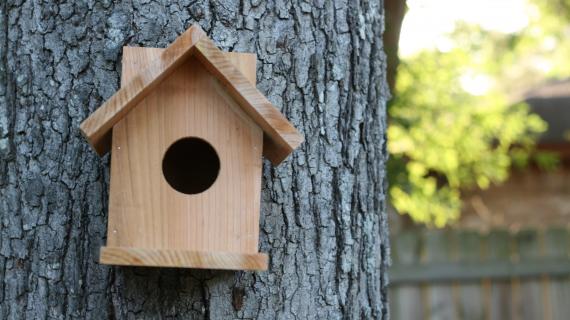
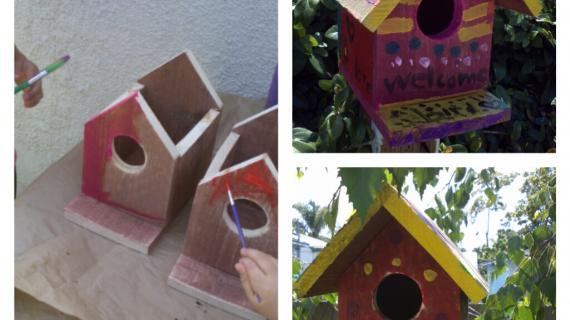
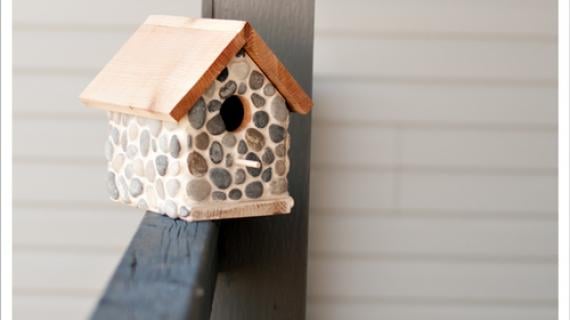
Reader submitted photo by MMTRUNCALE
Why Build a Birdhouse?
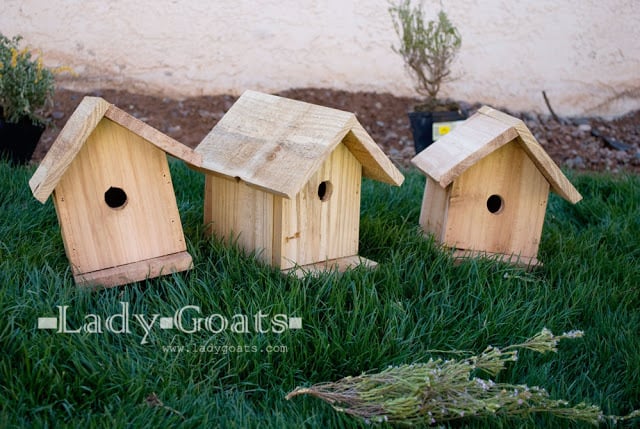
Birdhouses are a fun and easy project, and a great way to include kids in the building fun! This is a great way to get into woodworking. Birdhouses are also good for your bird friends.
What Wood Should be Used for a Birdhouse?
What kind of wood is best for a birdhouse? Cedar is the best material to build an outdoor bird house, making it durable and inexpensive, and does not need a finish that could potentially be toxic to the birds.
We made birdhouse building even better by using a cedar fence picket - costing less than $2 each, cedar fence pickets are the perfect building material for these homemade birdhouses. Some benefits of using cedar include, great resistance to rotting, it repels bugs and insects, and it's naturally weather resistant qualities can help it to last for years! This is why cedar is one of the best types of wood for building birdhouses, giving our feathered friends a break on the inside of a cozy little birdhouse.
Can you use plywood for a birdhouse? I say no, it will not be as durable as natural cedar, and plywood contains glues that baby birds may ingest.
Is pine good for birdhouses? Choose cedar over pine. Both are natural materials, but cedar is more rot resistant and mildew resistant, and won't need a finish and will last longer.
How do you Make a Birdhouse for a School Project?
This tutorial is designed to work as a kit for children to make a simple birdhouse.
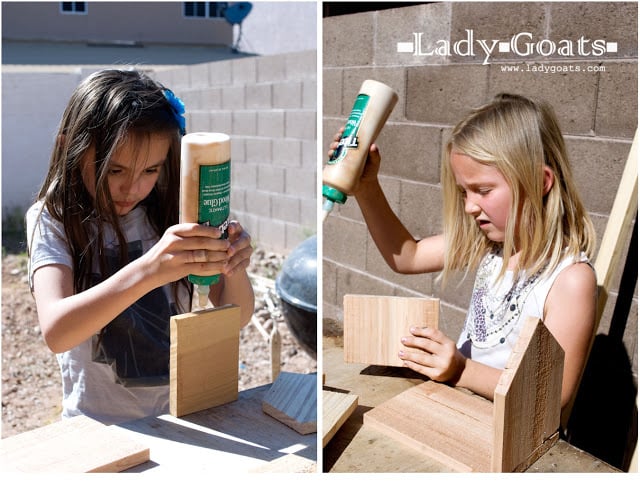
An adult should make all the cuts, or older children can use a jigsaw to cut.
I suggest children putting it together with glue (try a glue that works on oily wood like Gorilla Glue or a super glue for fast dry times) and then an adult adding some nails or screws after the glue dries to make sure the birdhouse sturdy.
Older children can use a brad nailer or self tapping trim screws to assemble.
See Also Our Free Modern DIY Birdhouse - Even Easier to Cut and Construct
Also, make sure to check out our easy to build $1 Modern Cedar Birdhouse Plans. We've made this diy birdhouse plan easy to follow with no complicated hardware or tools.
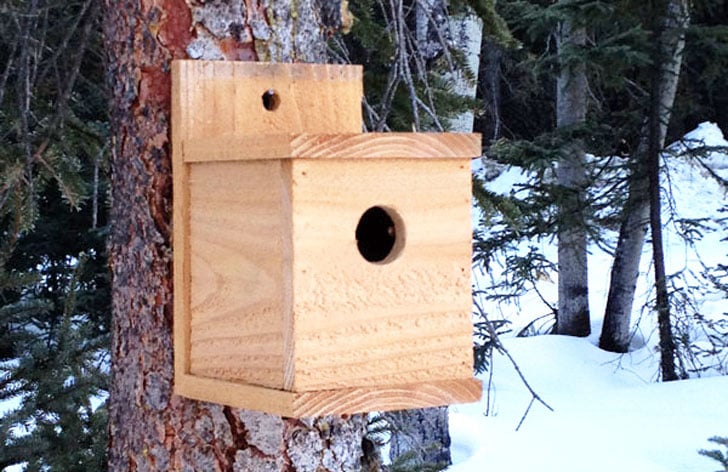
You can find the plans for the Modern Birdhouse here.
Where to hang or mount a birdhouse?
There are many different ways to hang or mount birdhouses. The goal is to create a place for birds to enjoy a new place to perch and nest. While this topic can get quite in depth from which height to mount a house for wrens vs. chickadees, we are going to keep it pretty simple. The idea is to attract the birds and also make it easy to keep it clean and fill it with bird seed. Make sure you are using the correct mounting mechanism if you are attaching it to a tree, building or pole to ensure that it is stable. Some designs can also be hung with hooks, wires, ropes, twine or chains. These are the basic mounting options to consider when you are looking for that perfect place to install your new birdhouse. You may also want to consider any drainage issues if it is a wet climate, for the most part the cedar roof of the birdhouse should keep it mostly weatherproof.
If you're looking for even more outdoor cedar projects, be sure to check out this Easy Build Box Planter and our Cedar Fence Picket Nesting Box, as well as hundreds more woodworking projects and free plans.
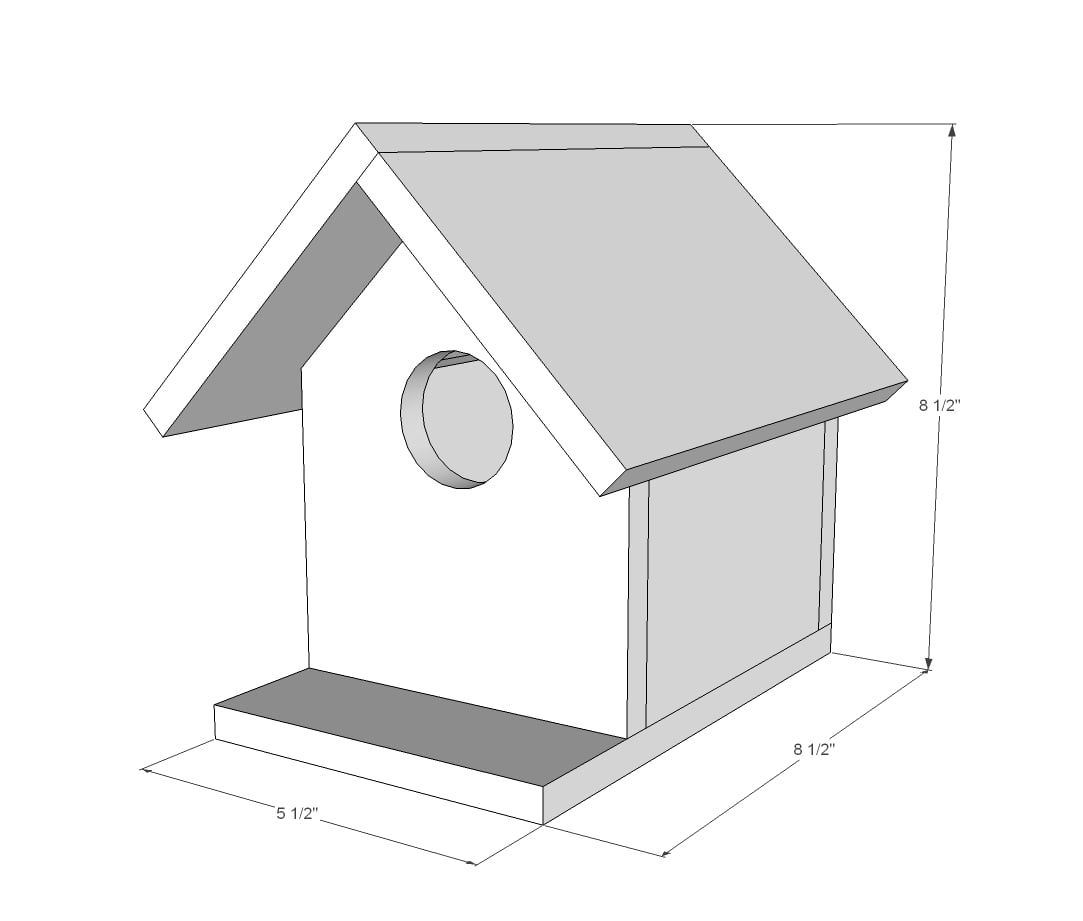
How to make a DIY Birdhouse
Pin For Later!

Preparation
- 1 - 5 1/2" x 1/2" thick cedar fence picket (I used the dogeared 72" long ones)
- 26 - 1 1/4" brad nails OR 1-5/8" star bit trim screws like these
- Glue suitable for cedar
Cut from the Cedar Fence Picket:
- 2 - 7 1/4" (front and back - longest point, cut the top corners off at a 45 degree angle to make a house shape)
- 2 - 4 1/4" (side walls - these are just a tiny bit short to allow venting inside birdhouse)
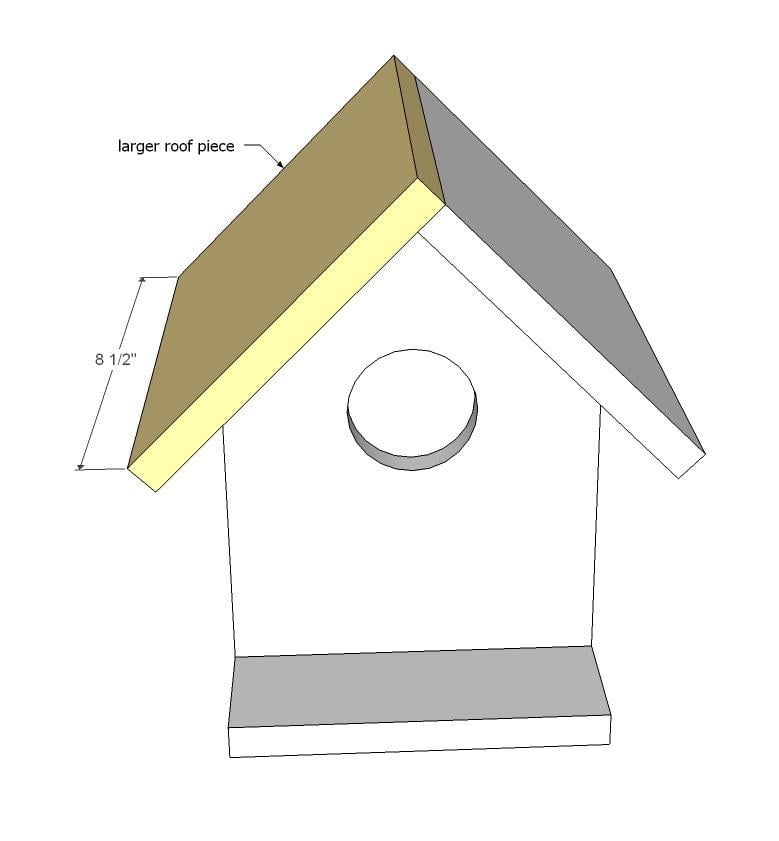
- 3 - 8 1/2" (floor and roof pieces. Also rip 1/2" off one edge (cutting with the grain the long way) of one board for the shorter roof piece - see step 4)


Please read through the entire plan and all comments before beginning this project. It is also advisable to review the Getting Started Section. Take all necessary precautions to build safely and smartly. Work on a clean level surface, free of imperfections or debris. Always use straight boards. Check for square after each step. Always predrill holes before attaching with screws. Use glue with finish nails for a stronger hold. Wipe excess glue off bare wood for stained projects, as dried glue will not take stain. Be safe, have fun, and ask for help if you need it. Good luck!
Instructions
Step 1
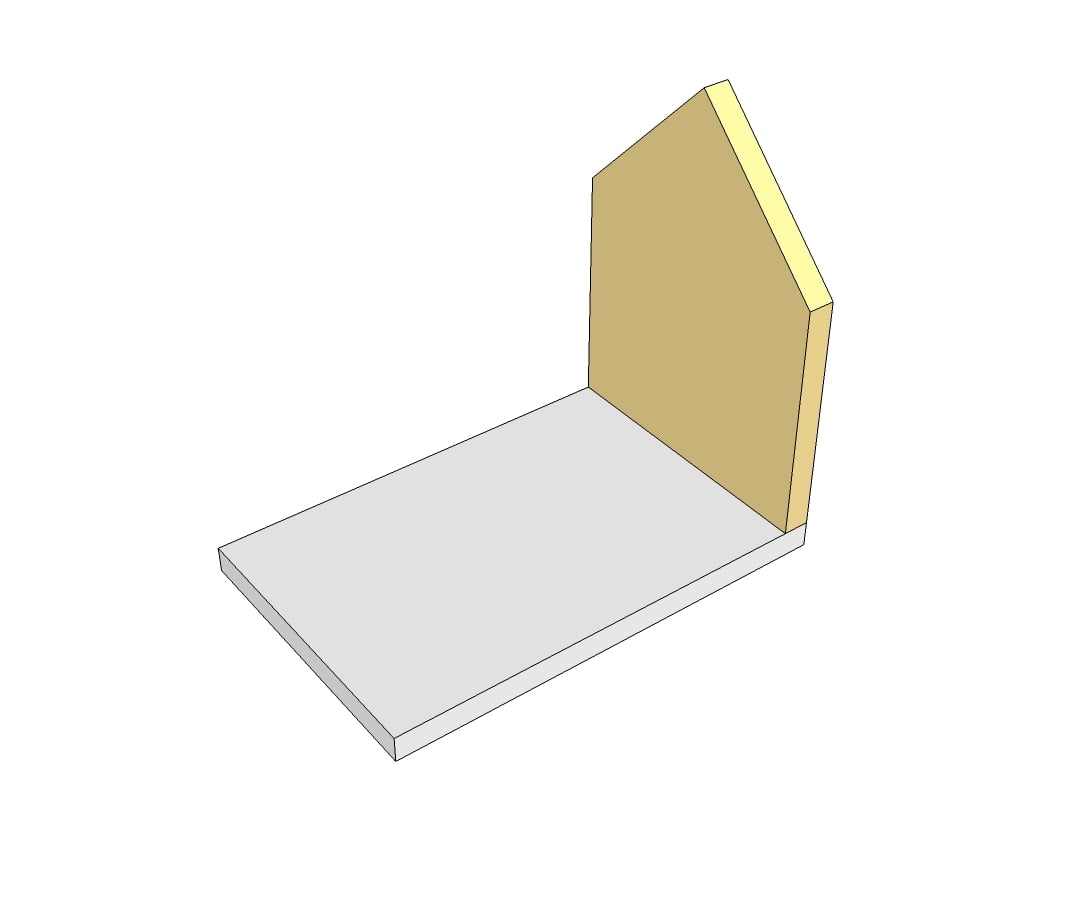
Attach the floor to the back wall, with back edges flush. Use two screws per joint or two nails and glue.
Step 2
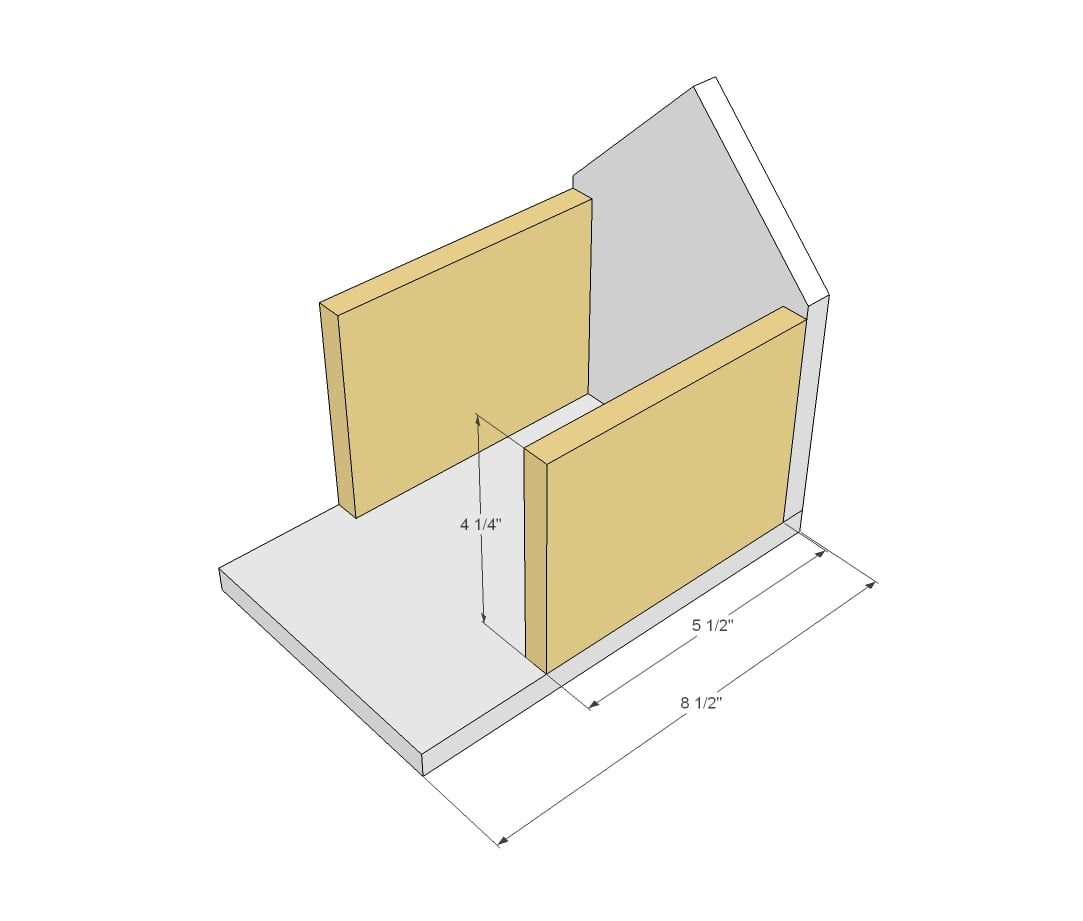
Attach side walls to back wall and floor. Use two fasteners per joint, for a total of 8 screws or nails used.
Step 3
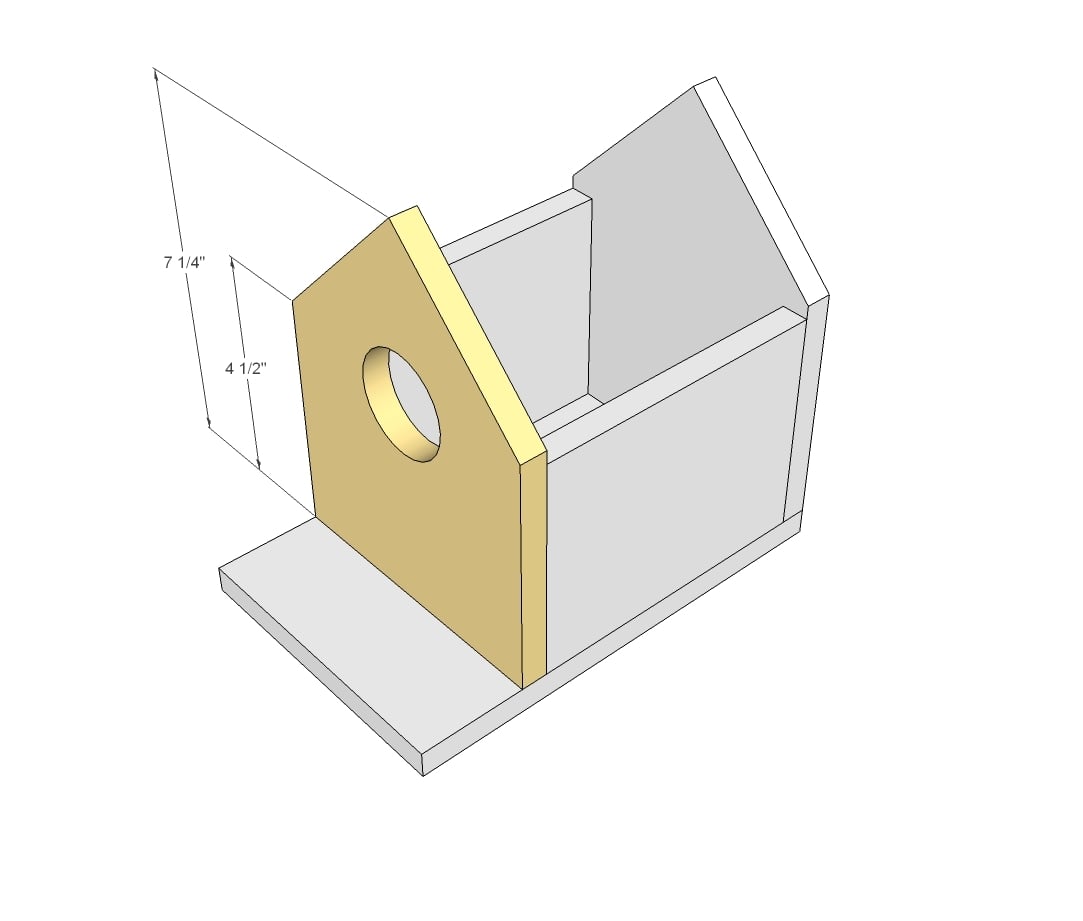
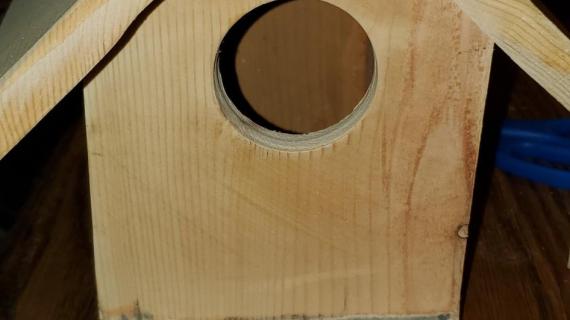
Attach front wall to sides and floor. Note that I drilled the whole afterwards with a 2" bit.
Step 4
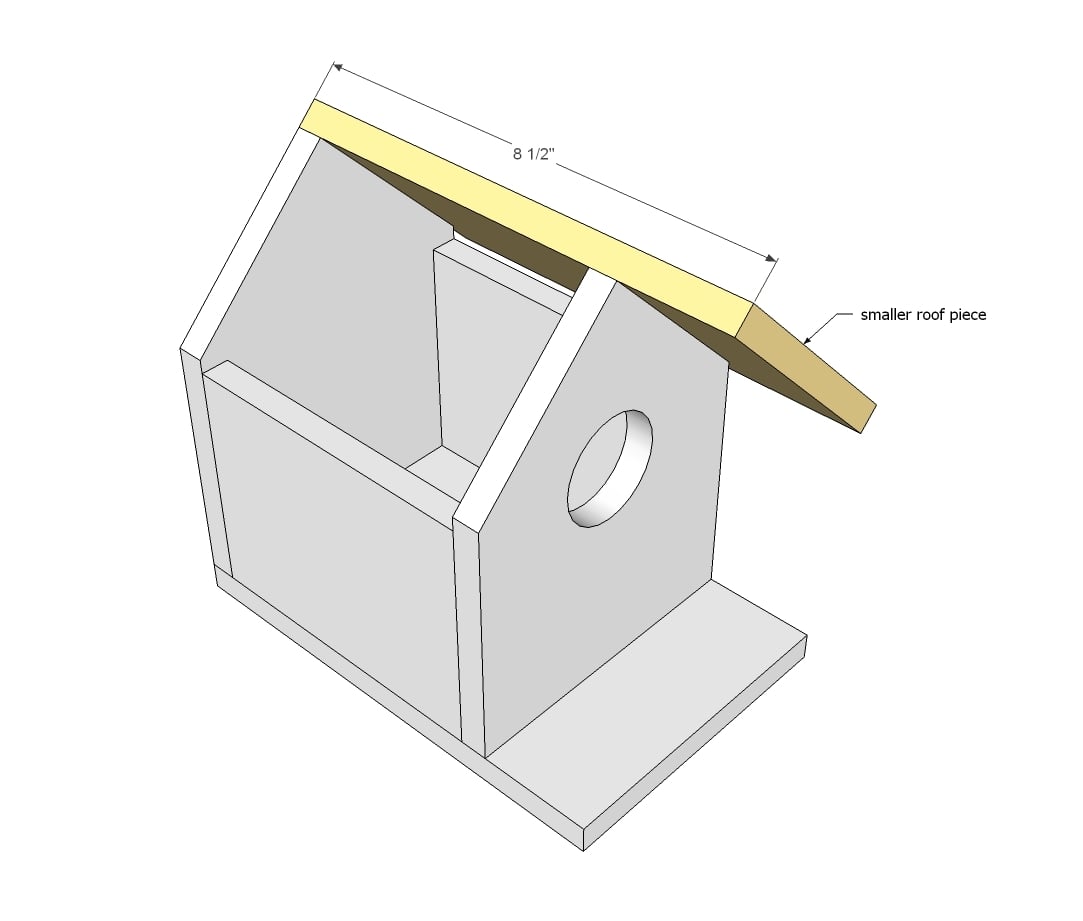
One of the roof pieces needs to be 1/2" (or thickness of the fence pickets) less in width than the other since the overlap. Rip 1/2" off one long side (cutting with the grain) on one of the roof pieces. Attach to front and back top edges.
Step 5
It is always recommended to apply a test coat on a hidden area or scrap piece to ensure color evenness and adhesion. Use primer or wood conditioner as needed.

Comments
Lady Goats
Mon, 04/01/2013 - 15:45
Brilliant!
The big kid has been asking for a bird house for over a week. Amazing! An option that I'd like to throw out there is to predrill small holes for finish nails in the outside boards (the ones that you would drill through) like the Lowe's Build and Grow kits. Then the kids just have to hammer the finish nails through the predrilled holes and into the inside pieces. I'm sure there will be a ton of brag posts really quickly on this one! Thanks, Ana!
UlrikeDG
Tue, 04/02/2013 - 12:39
Hole size matters
If you're hoping to attract Mountain Bluebirds (gorgeous, native birds who range up into Alaska) while excluding European Starlings (non-native invasive species), it's important that the hole size be no larger than 1 9/16-inch. Many Mountain Bluebirds are too large for a 1 1/2-inch hole, but if you live farther south or east, both Eastern and Western Bluebirds will use a 1 1/2-inch door without any trouble, and if you go up to 1 5/8-inch openings, you'll probably attract Starlings, instead.
Birds also have preferences as to the height of their nesting boxes. For Bluebirds, you want to mount it 5-10 feet off the ground.
Of course, if you have other birds in mind, you should do some Googling. Nuthatches can handle tiny, 1-inch holes, while Barn Owls need massive, 6-inch openings.
Tiffannie
Mon, 04/29/2013 - 13:15
cleaning?
Is there a way to make it easier to clean? Don't birds stop using it if it gets too full of old nesting materials inside?
In reply to cleaning? by Tiffannie
Lady Goats
Mon, 04/29/2013 - 15:16
Cleaning options
You could either attach the bottom with screws or hinge the top board on the roof.
Sidponcho
Sat, 08/03/2013 - 14:31
Great kid project
I cut out enough pieces for an upcoming camping trip. The kids will nail them together and paint them. Thanks for the plans. I'll be saving this site for sure!!
SaraD
Tue, 09/02/2014 - 11:37
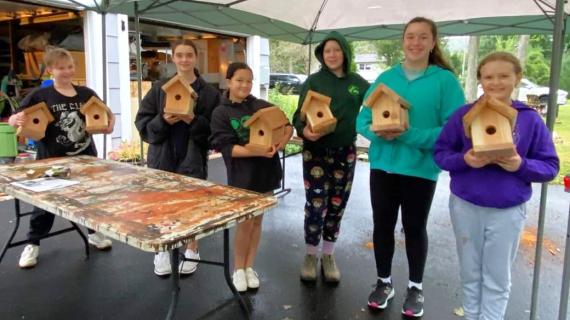
4H Cloverbuds Enjoyed Making Bird Houses
Our 4H Cloverbuds enjoyed making these birdhouses this past weekend! They nailed them together (with help). They are aged 7-11. Thanks for the great (and inexpensive) project!
Janie Casler
Sat, 04/25/2015 - 20:08
Good timing! Our young
Good timing! Our young grandson will enjoy a new project and the birds will welcome a new home. Thank you!
angela_marchio…
Sat, 04/04/2020 - 19:53
Attaching it to a tree?
What is the best way you guys have found to attach this house to a tree? I saw in a brag post someone added a board to the back, I assume they drilled through that then. Any other obvious ways I'm missing? Thanks!