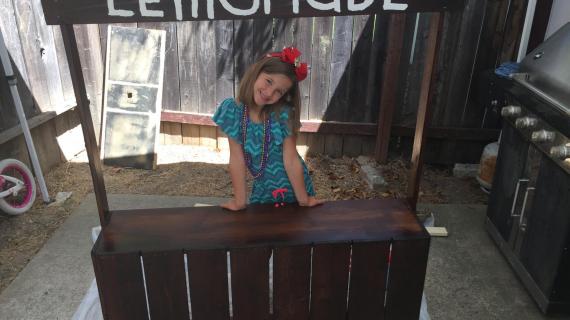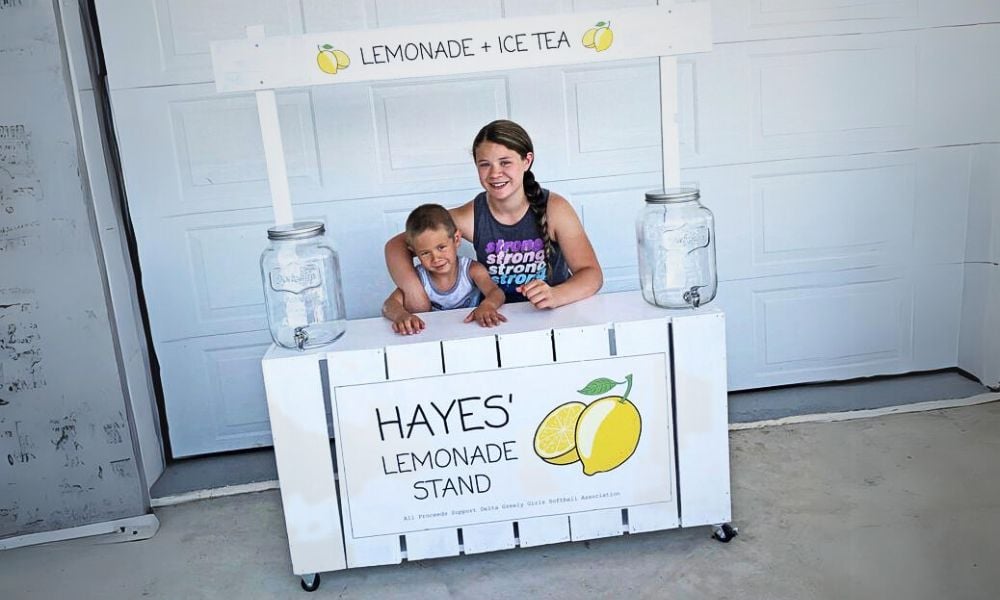

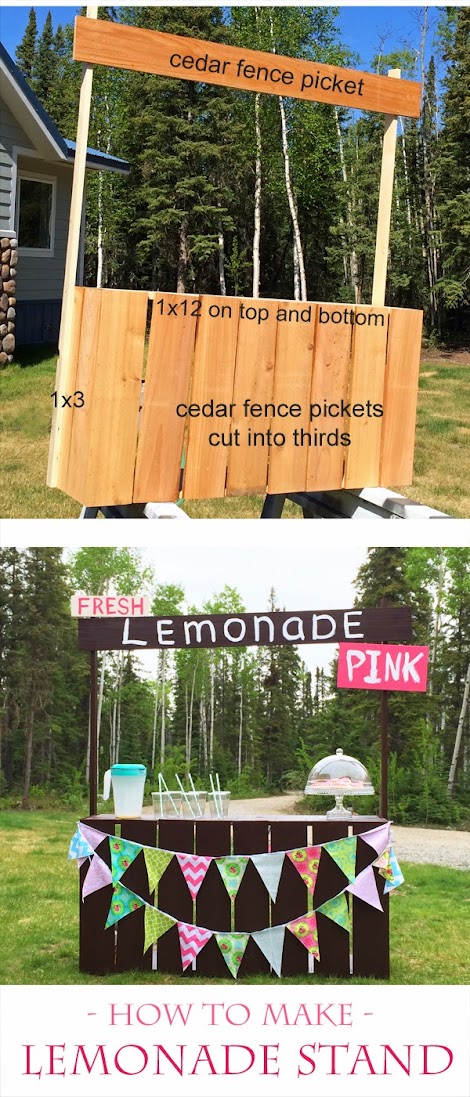
Super easy to build Lemonade Stand uses cedar fence pickets to keep the cost down - We spent about $30 on our lemonade stand.
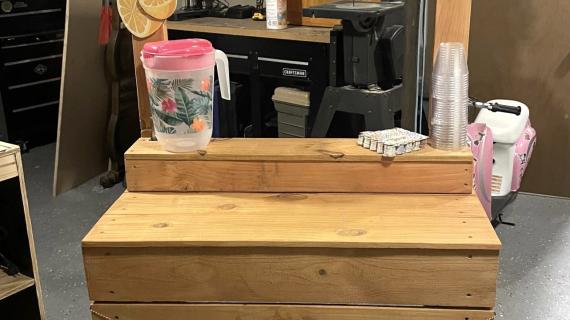
Remove the sign and this lemonade stand stores like a giant crate - so it's easy to transport and put away.
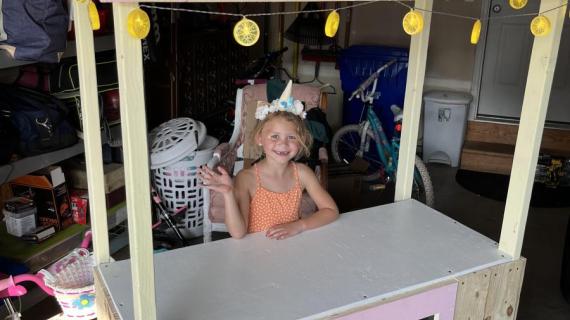
Add wheels to the bottom to make it mobile.
This is a free DIY project plan and includes step by step diagrams, shopping and cut list from Ana-White.com

How I Built This Lemonade Stand
Well, it doesn't get much quicker and cheaper and easier than this lemonade stand! I spent $25 on all new materials (if you have any scrap boards or pallet boards, you could make this for pretty much nothing), and it took me about 20 minutes to build. I choose to use fence pickets because they are so cheap and designed for exterior use, but pallet boards, reclaimed wood - just about any 1/2" to 3/4" thick material works just fine.
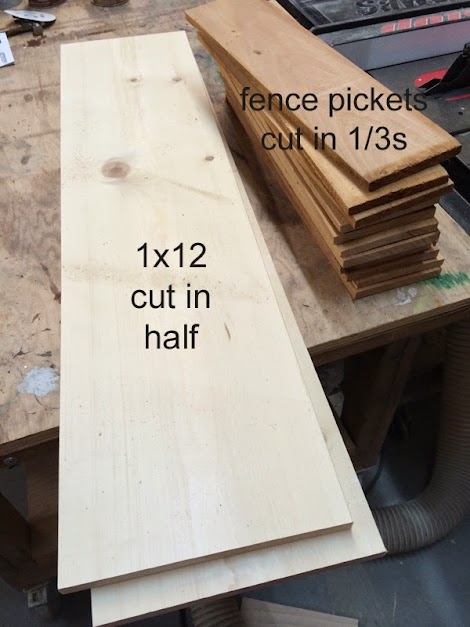
Cut the Boards
Cut the 1x12 in half. This will be the top and bottom of the stand part.
Cut each cedar fence picket into three pieces, each 23-1/2" long.
I recommend cutting with a miter saw, but you can also use a jigsaw or circular saw.
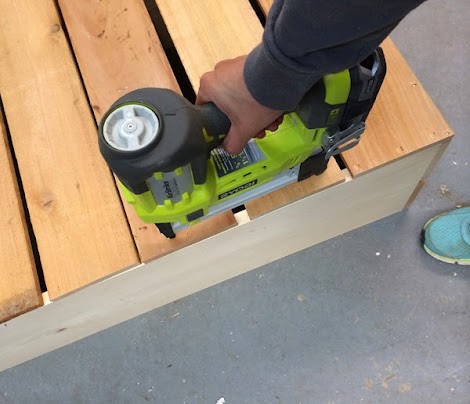
Attach Fence Pickets to 1x12s on ends
Use 1-3/4" screws or if you have a brad nailer, 1-1/2" brad nails, to attach the fence pickets to the 1x12s. The photo shown below is the lemonade stand on it's side.

Attach Fence Pickets to Front
Once the two ends are done, layout the remaining fence pickets and attach to the front of the lemonade stand with screws or brad nails.

This completes the base of the lemonade stand.
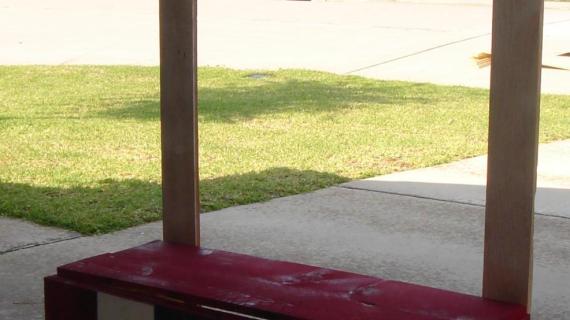
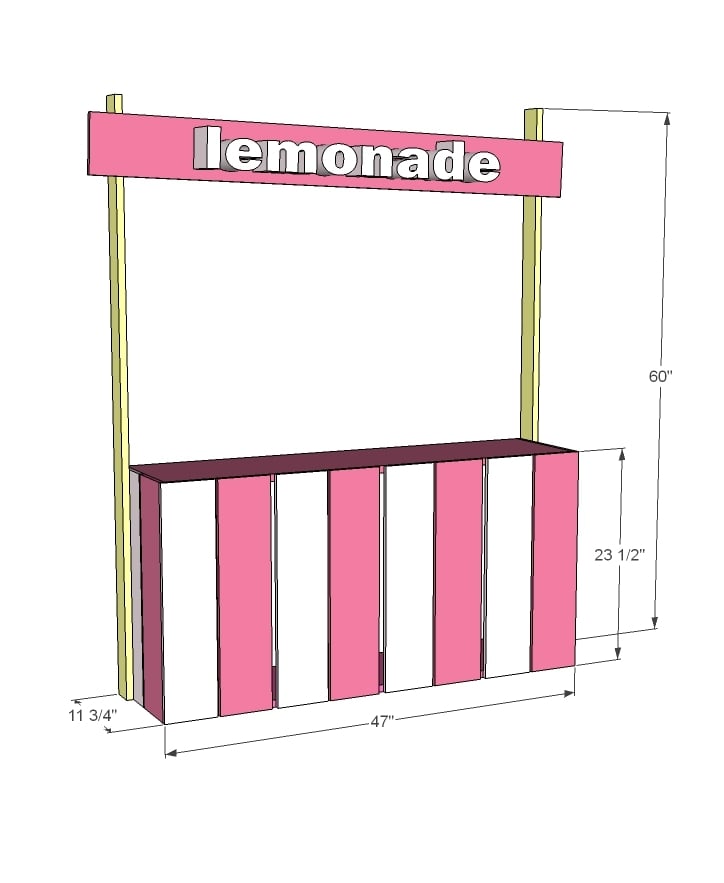
Building the Sign Above the Base
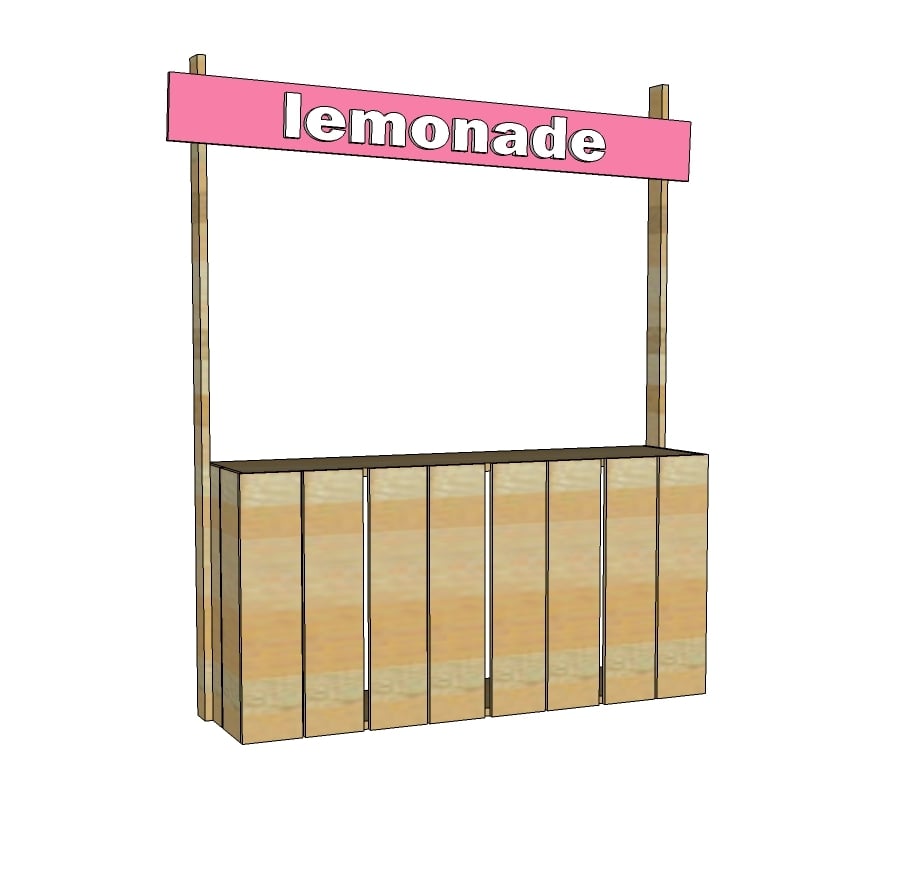
I attached 1x3s to the sides, and cut the remaining fence picket to the sign size, and screwed it to the 1x3s. Place the screws where the 1x12s are located, so the screw ends don't protrude out the back.
Free Printable Custom Lemonade Stand Signage
The signage I created using Google Drawings. Here's what it looks like - it's a 24" x 36" poster size banner that I cut to get the top and base signs on one print.
Just click here to access my Google drawing of this Lemonade Stand Banner, edit it to add your child's name (and your charity of choice if using), and download your file (I downloaded as a JPG) and send to a printer to have printed - I recommend printing on vinyl for longer lasting as opposed to a poster print.
Free Lemonade Stand Plans
Here's the free lemonade stand plans, with step by step diagrams, shopping list and cut list. Thank you for using my plans.
Preparation
- 1 - 1x12 @ 8 feet long
- 5 - 5-1/2" wide x 72" long fence pickets (dog eared are fine)
- 2 -1x3 @ 8' long (furring strips)
- 1-1/2" self tapping star bit screws (like these) or use 1-1/2" brad nails and wood glue
- 2 - 1x12 @ 46"
- 12 - 5-1/2" wide fence pickets @ 23-1/2"
- 2 - 1x3 @ 60"


Please read through the entire plan and all comments before beginning this project. It is also advisable to review the Getting Started Section. Take all necessary precautions to build safely and smartly. Work on a clean level surface, free of imperfections or debris. Always use straight boards. Check for square after each step. Always predrill holes before attaching with screws. Use glue with finish nails for a stronger hold. Wipe excess glue off bare wood for stained projects, as dried glue will not take stain. Be safe, have fun, and ask for help if you need it. Good luck!
Instructions
Step 1
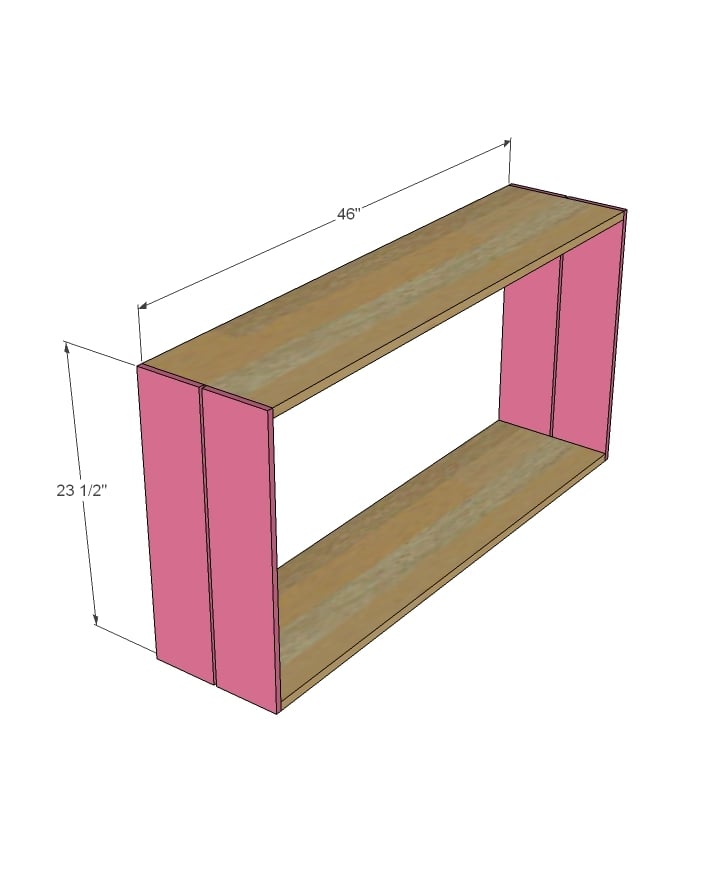
Nail or staple or screw 2 boards to each end of the 1x12s to create a box shape.
Step 2
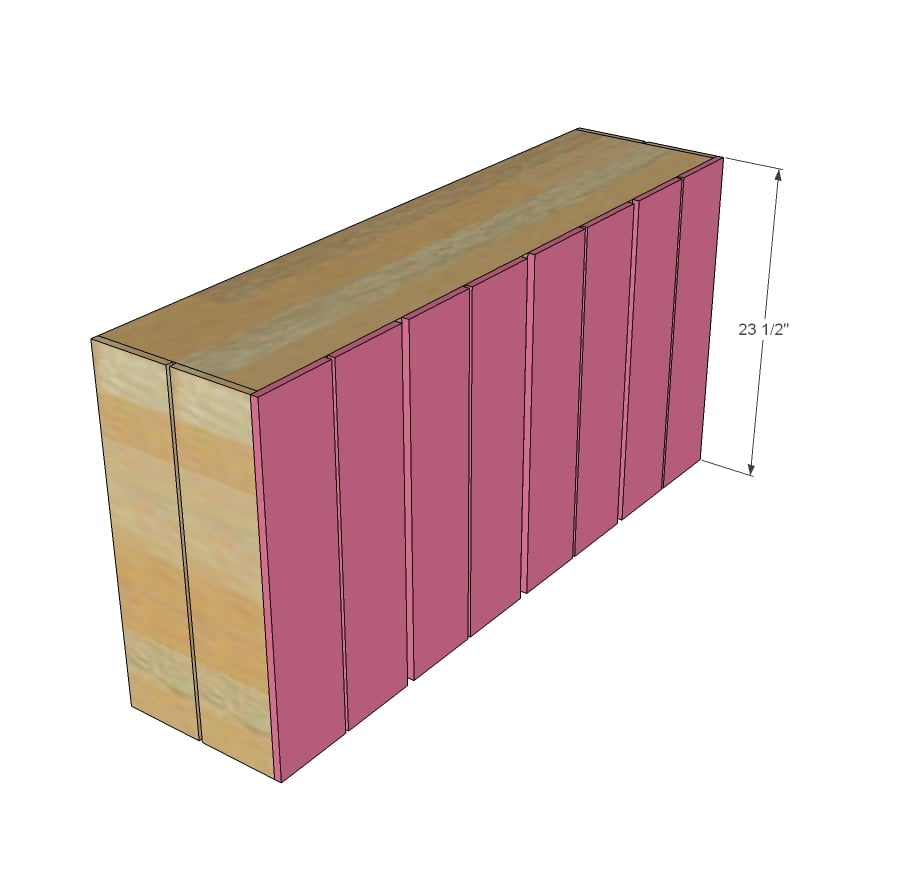
Attach remaining fence picket boards to front.
Step 3
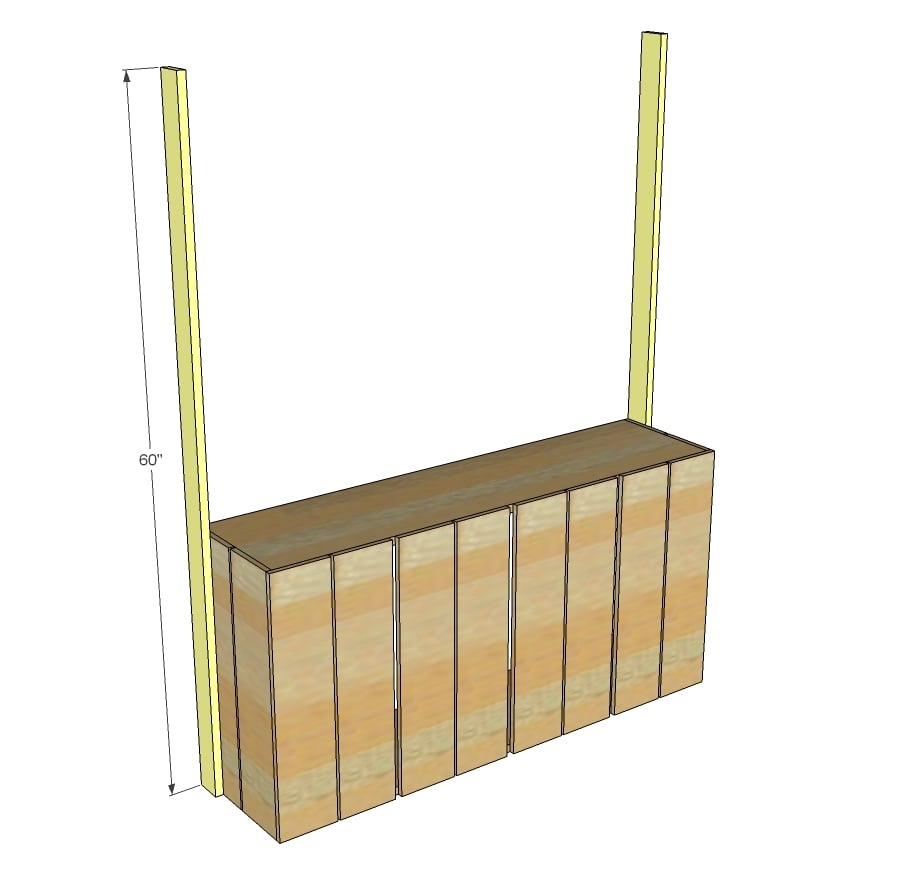
I used screws (removeable for storage) to attach the sign legs to the 1x12 ends.
Step 4
I screwed the top sign to the 1x3s - cutting to fit. I found the sign couldn't fit in my car without unscrewing.
I attached at an angle on purpose. I saved the scraps to make the smaller signs.