
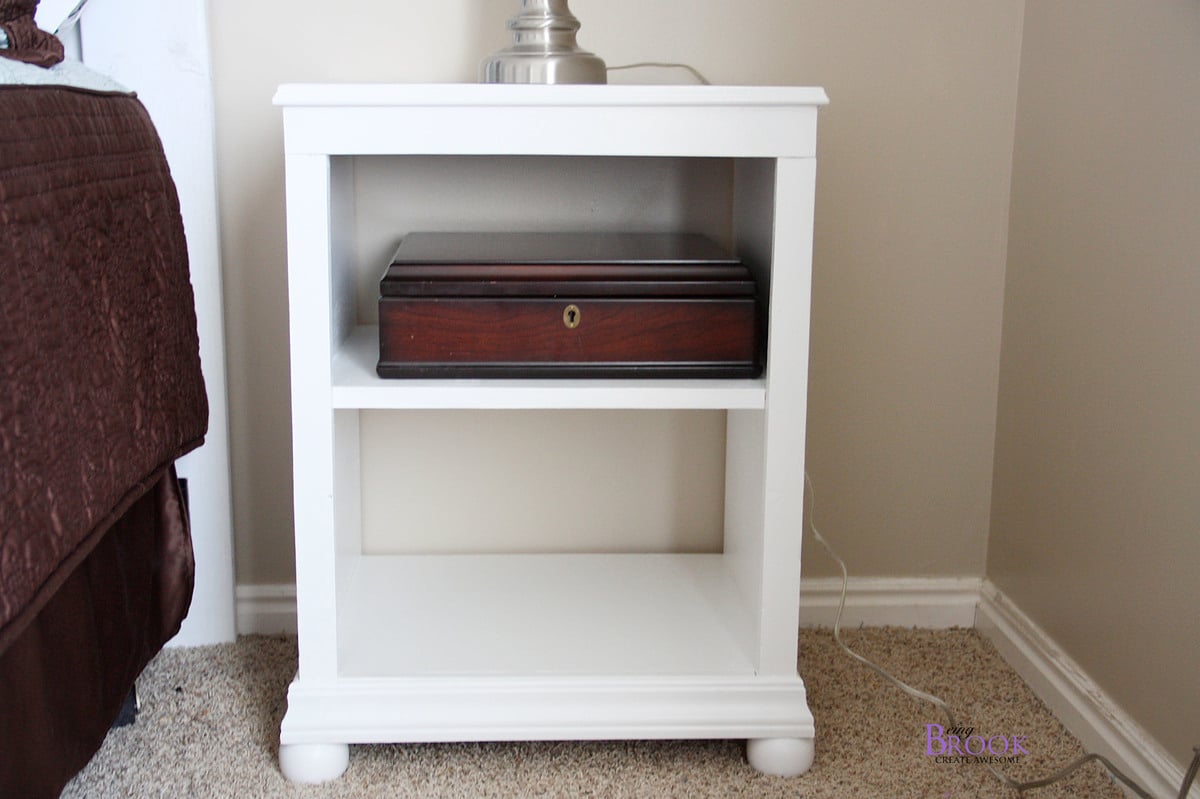

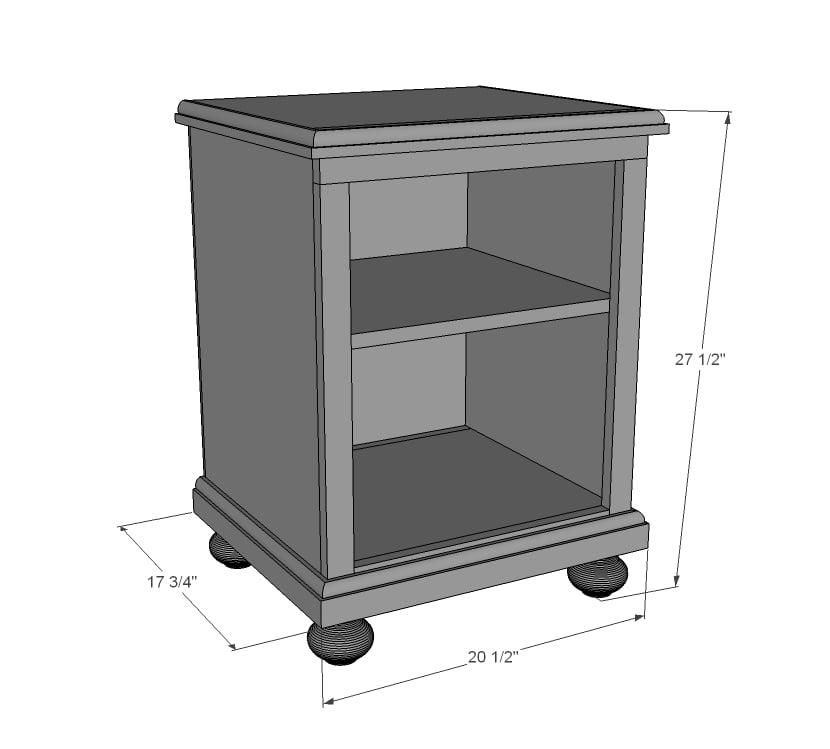
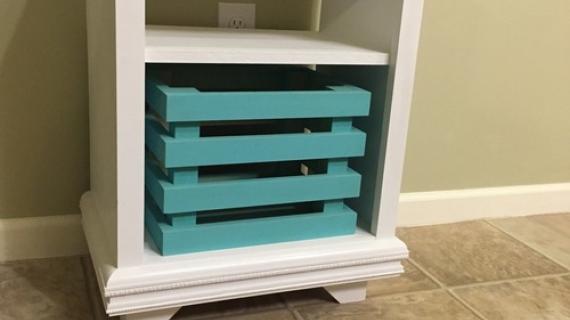
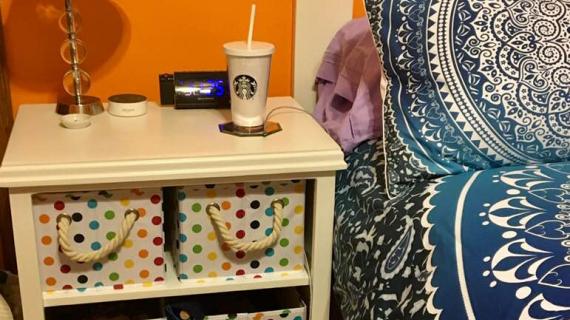
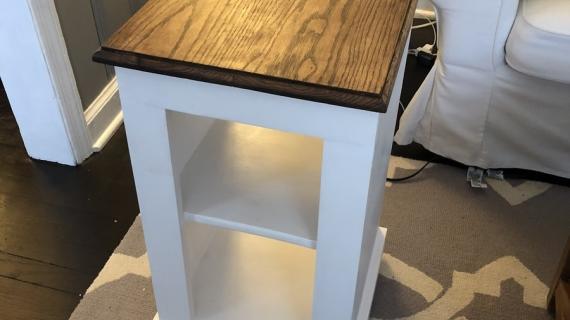
Free plans to build a Pottery Barn Kids Catalina inspired nightstand. Features two open shelves and bun feet.

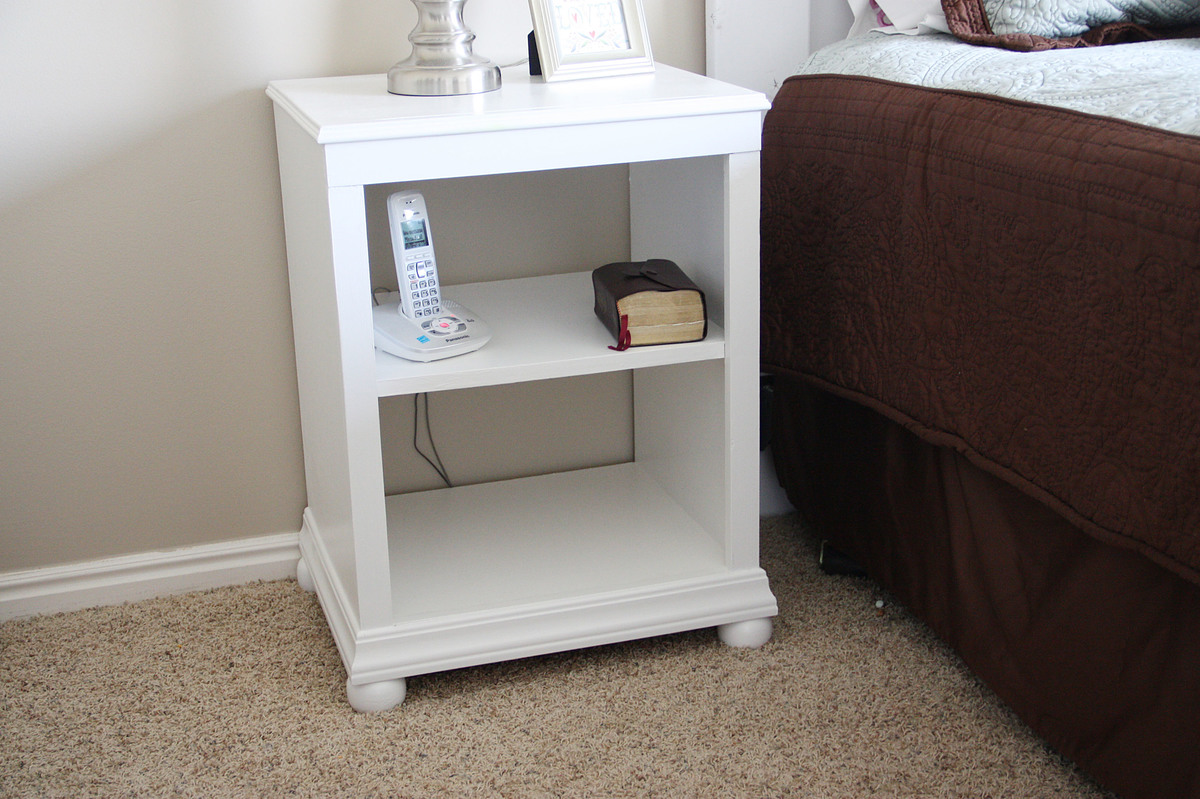
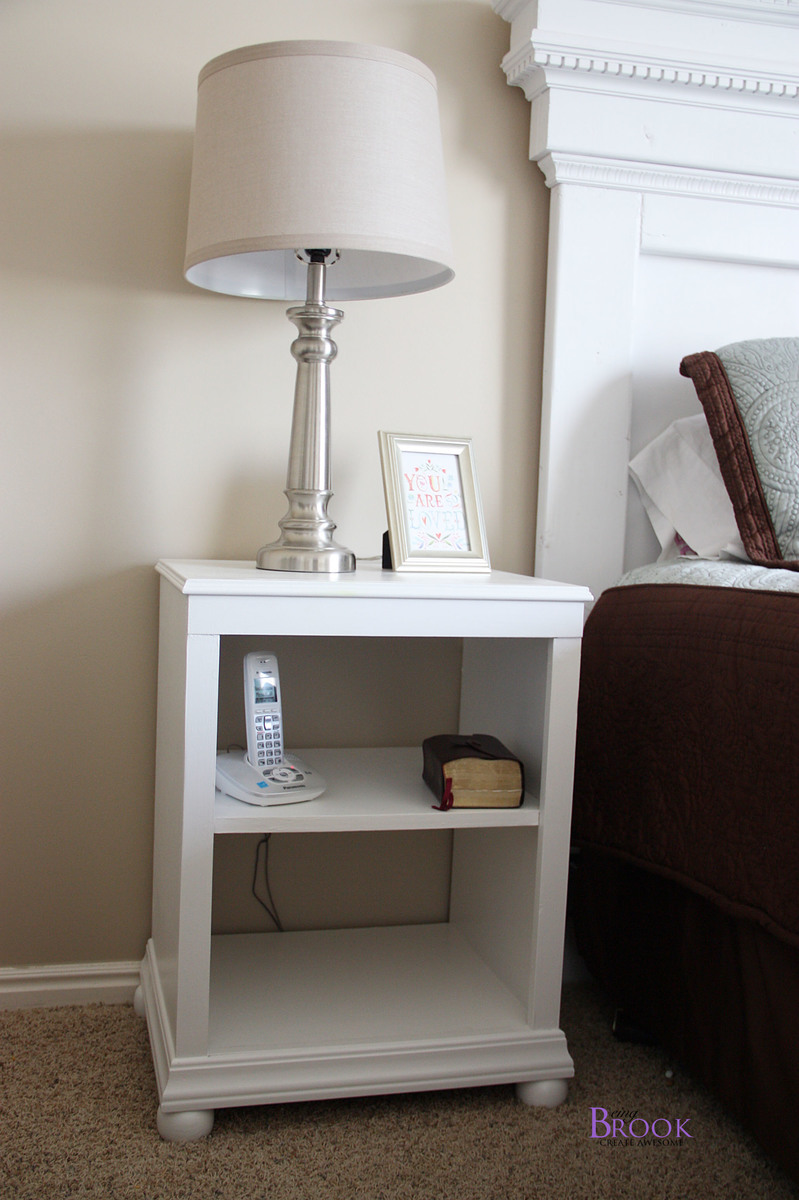
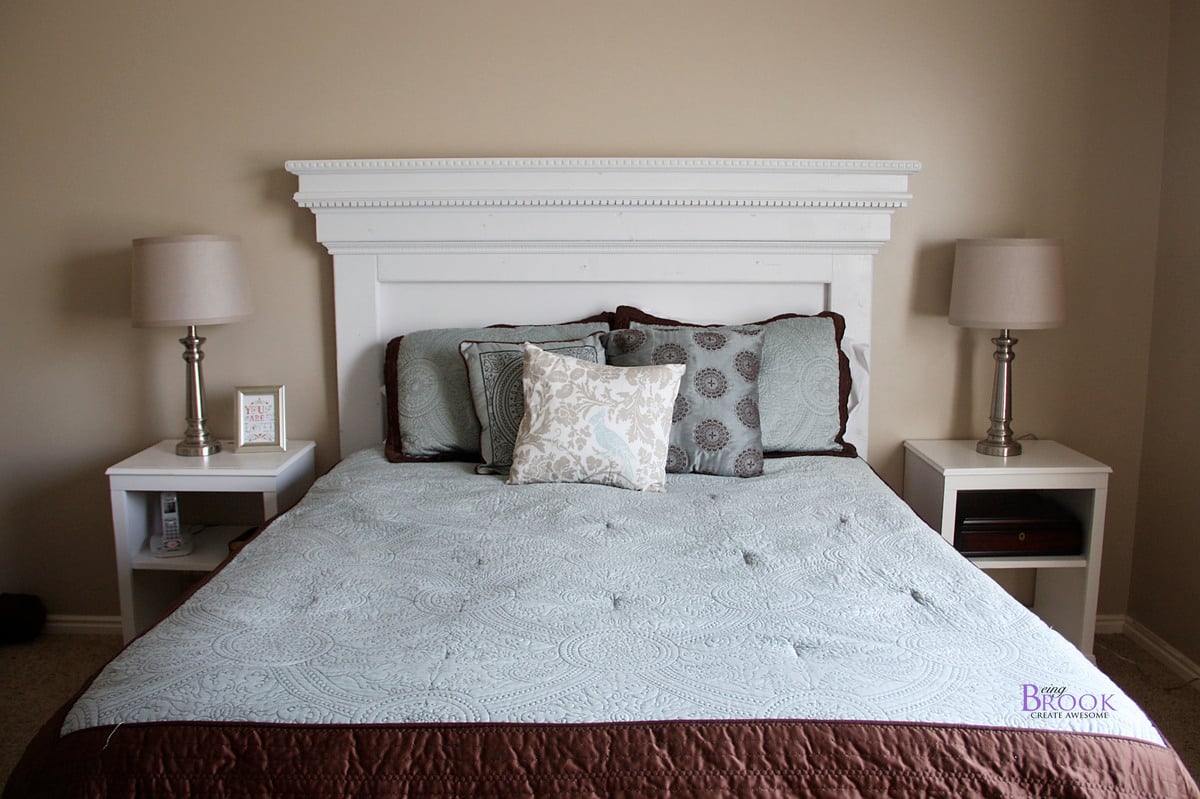
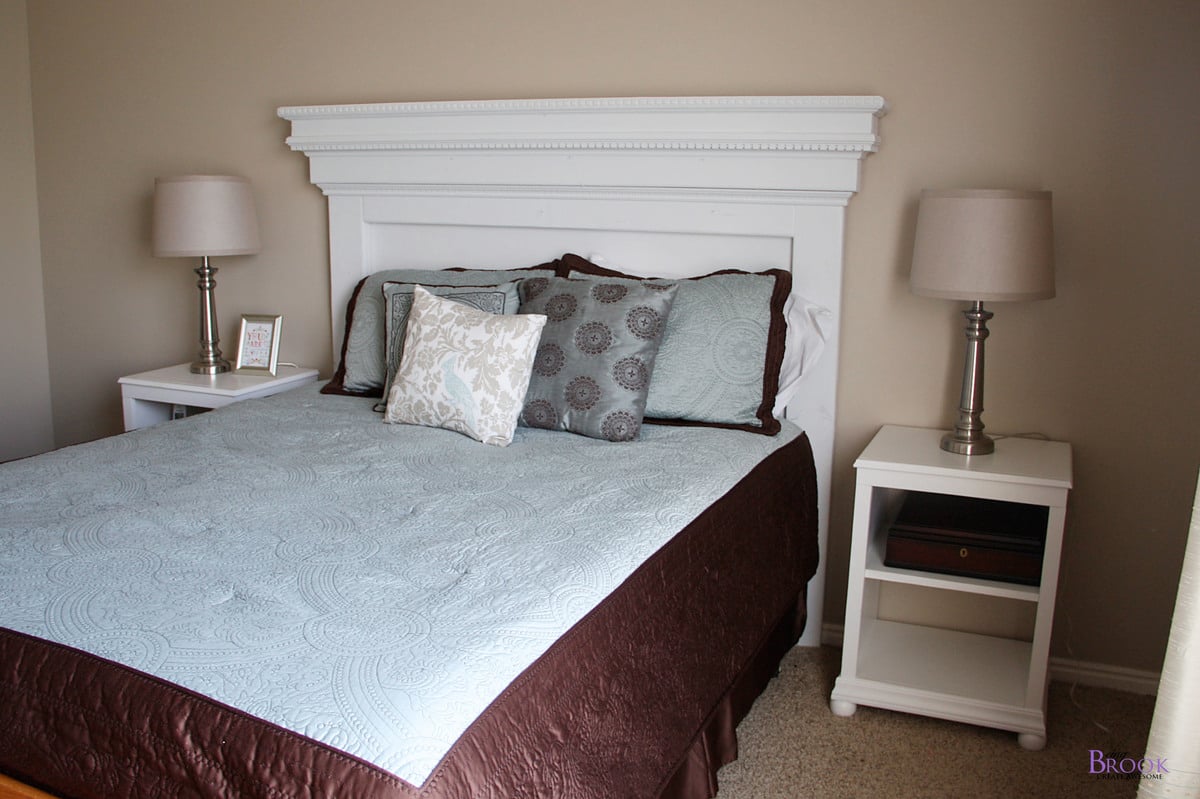
Did you notice the nightstands next to Brook's amazing Mantel Moulding Headboard?

Of course they are DIY and of course, we got you covered with free plans!

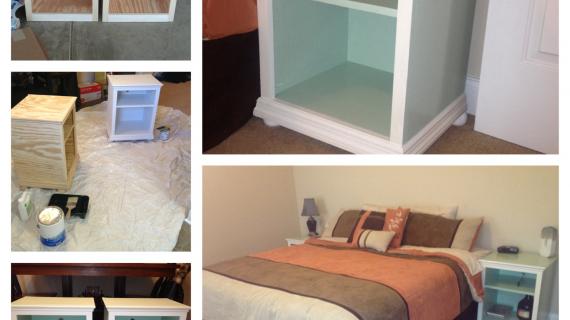
But before we get to the plans, please, take a second and stop over and read Brook's building post for this project and get all the details on that beautiful finish! Thanks Brook!
Preparation
½ sheet of ¾” hardwood plywood cut into strips 15 ½” wide x 4 feet long
Scrap ¼” plywood measuring 19” x 22”
1 – 1x2 @ 8 feet long
1 – 1x3 @ 3 feet long
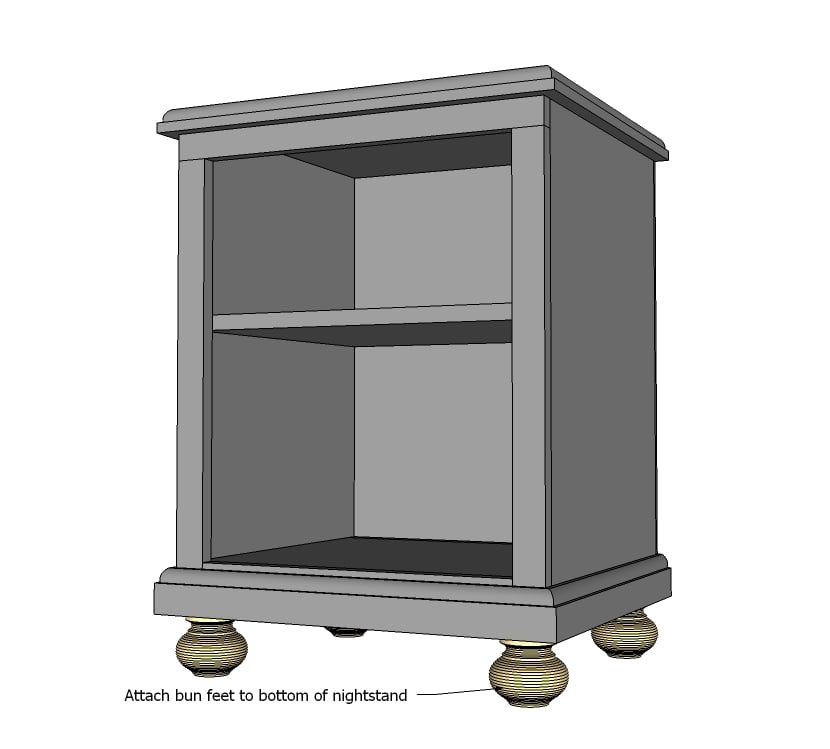
4 bun feet
1 – 6’ stick edge moulding
1 – 6’ stick 2 ½” base moulding
1 ¼” PH screws
1 ¼” finish nails
1 – ¾” plywood @ 15 ½” x 19”
2 – ¾” plywood @ 15 ½” 23 ¾”
2 – ¾” plywood @ 15 ½” x 17 ½”
2 – 1x2 @ 17 ½”
2 – 1x2 @ 22”
1 – 1x3 @ 19”
1 – 1x3 @ 16”
Edge moulding and base moulding mitered to fit
¼” plywood @ 19” x 22” (back)


Please read through the entire plan and all comments before beginning this project. It is also advisable to review the Getting Started Section. Take all necessary precautions to build safely and smartly. Work on a clean level surface, free of imperfections or debris. Always use straight boards. Check for square after each step. Always predrill holes before attaching with screws. Use glue with finish nails for a stronger hold. Wipe excess glue off bare wood for stained projects, as dried glue will not take stain. Be safe, have fun, and ask for help if you need it. Good luck!
Instructions
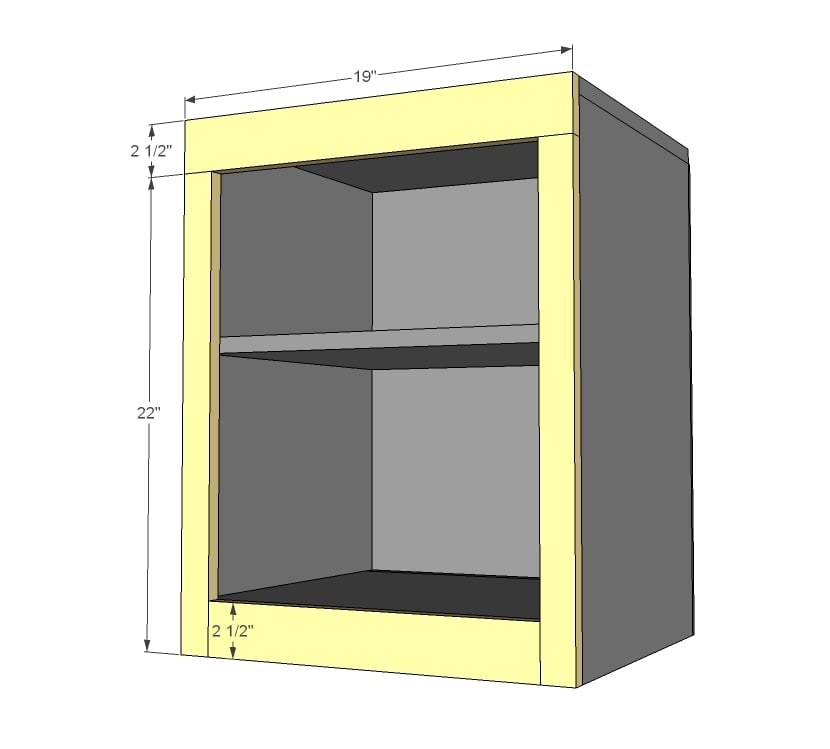
Step 1
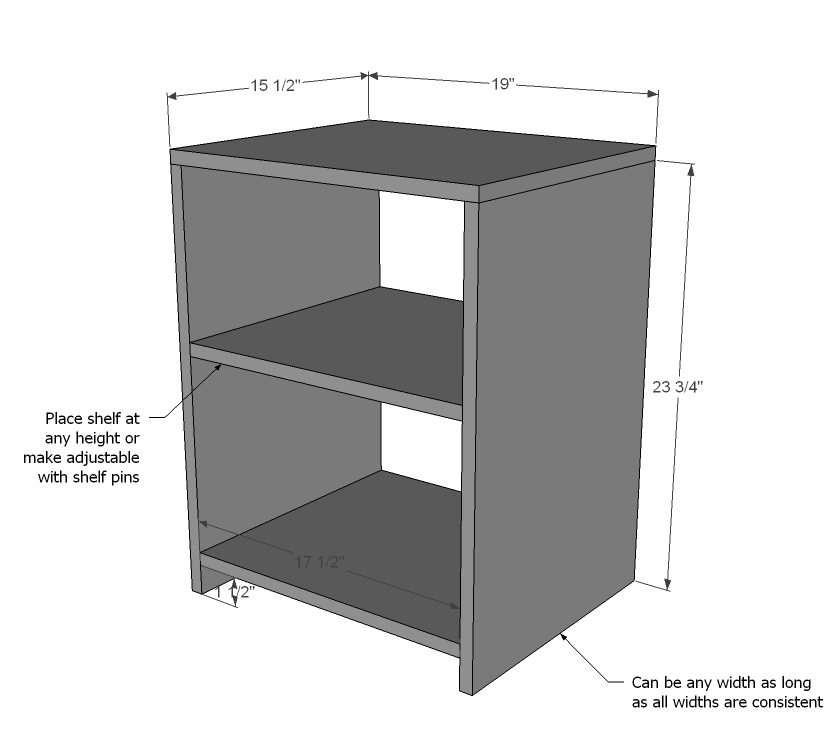
First build your box as shown here. I recommend using ¾” PHs and 1 ¼” PH screws and glue. The shelf can be made adjustable using shelf pins.
Step 2
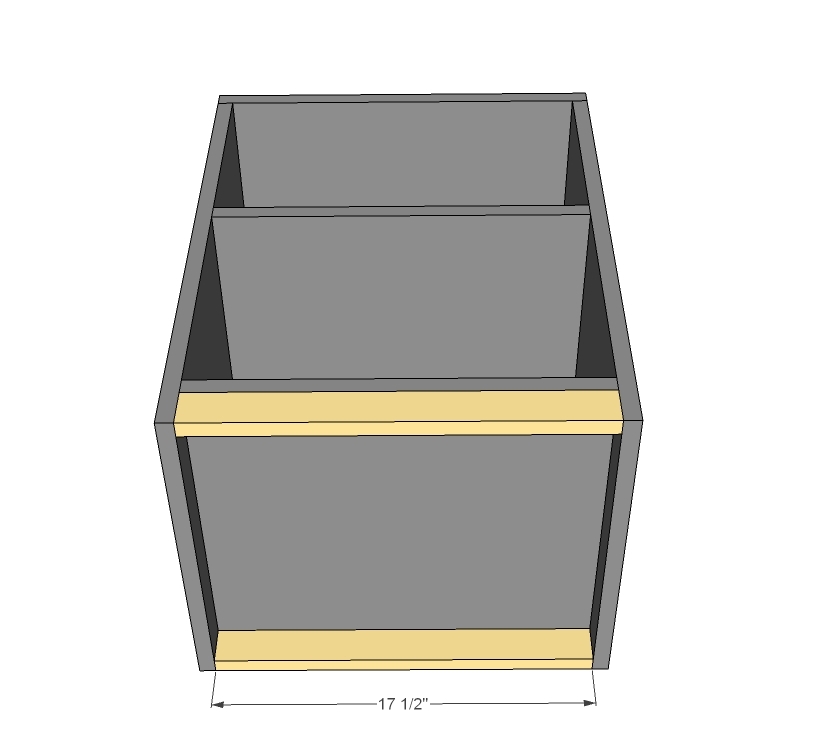
Add bottom supports. This also gives you a little extra something to screw the legs into.
Step 3
Build face frame first with ¾” PHs and 1 ¼” PH screws. Attach to face of storage box with 1 ¼” finish nails.
While you have your nailer loaded, attach back plywood as well.
Step 4
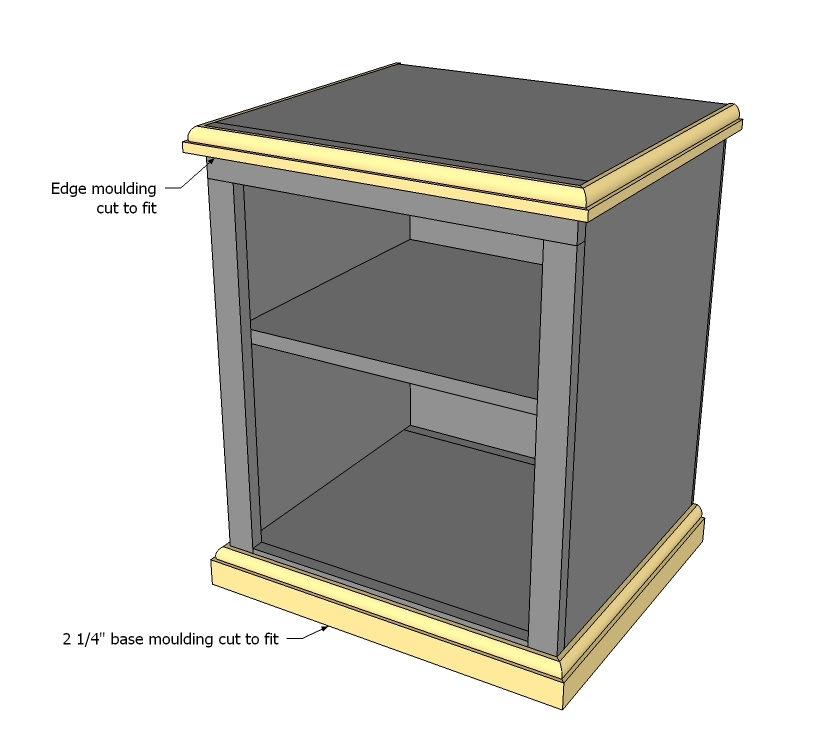
For the mouldings, it is best to cut to fit. Cut the first mouldings, with outsides mitered. Nail on with 1 ¼” finish nails. Then cut the side mouldings to fit and nail on.
Step 5
It is always recommended to apply a test coat on a hidden area or scrap piece to ensure color evenness and adhesion. Use primer or wood conditioner as needed.


Comments
bethhamstra
Mon, 10/22/2012 - 17:07
quantity
Can you tell me if the shopping list includes the material for one or two night stands? I'm assuming its just one but want to make sure before I get started. I am planning to build two and want to make sure I have enough supplies.
Super excited about this plan! Thanks for posting!
DaKIM (not verified)
Sun, 11/11/2012 - 08:58
Beth the list is for one
Beth the list is for one nightstand.
scaraher
Sun, 01/17/2021 - 11:30
Is there any reason this…
Is there any reason this nightstand could not be made with 1/2 in plywood? Would other adjustments need to be made?