
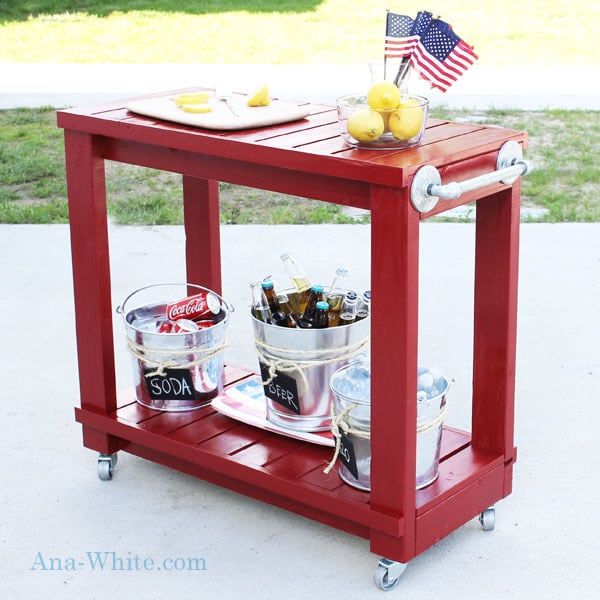

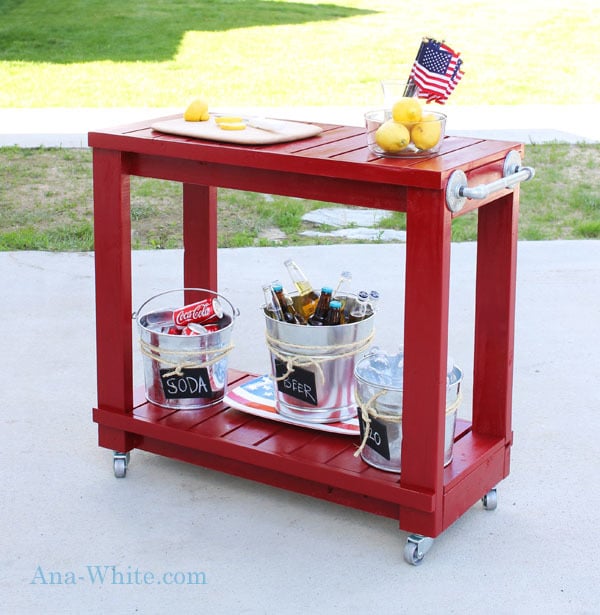
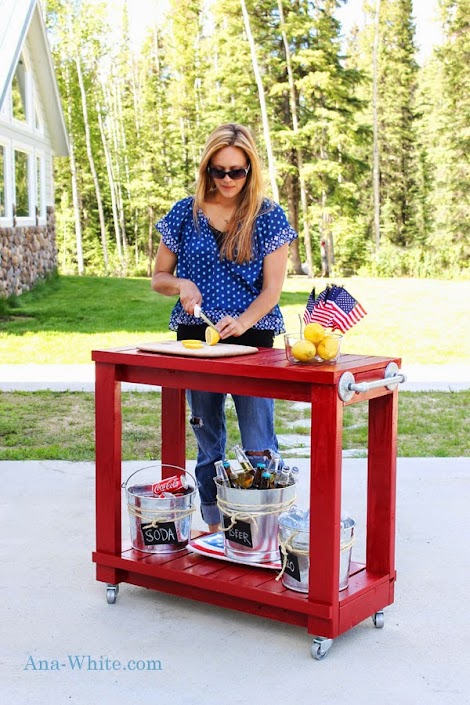
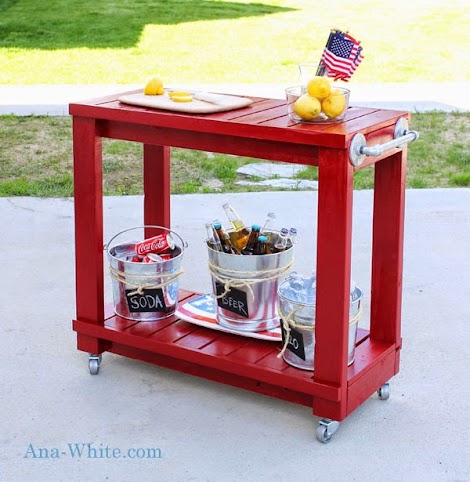
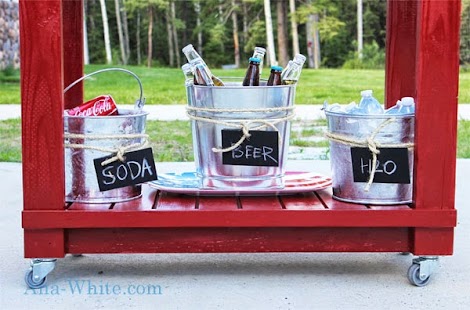
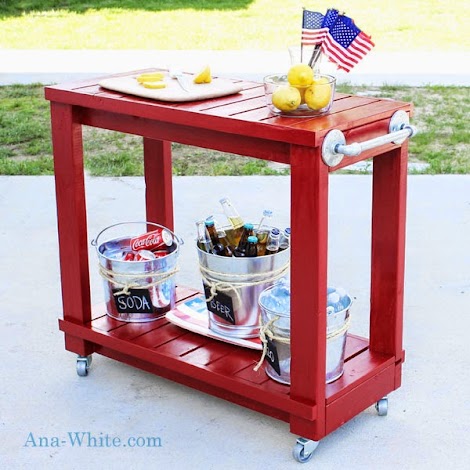
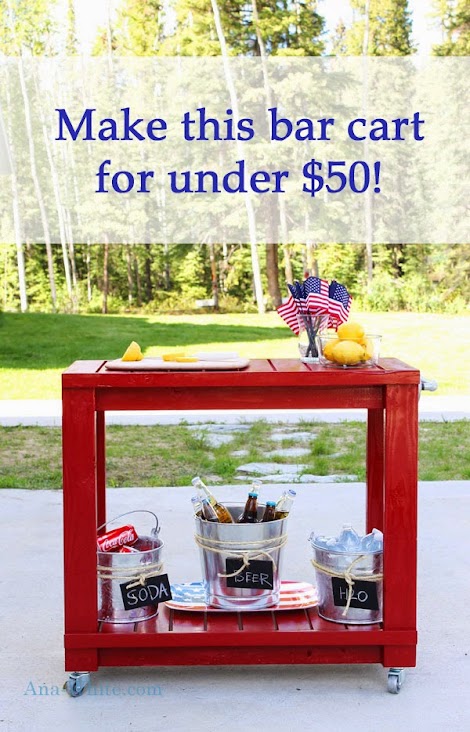
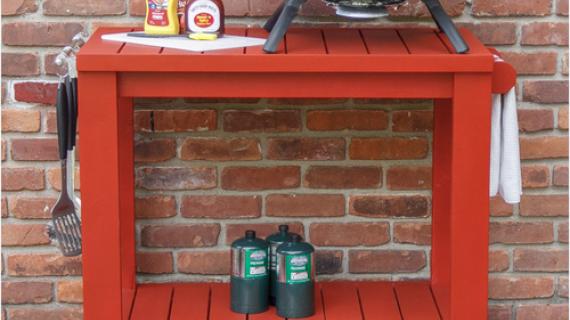
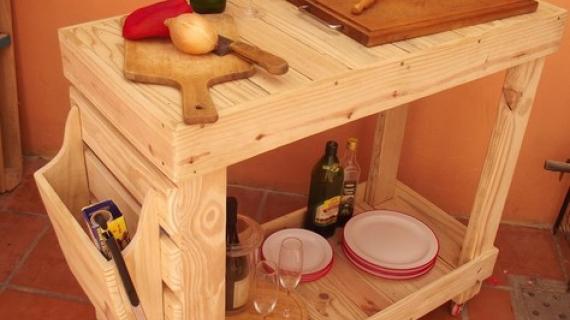
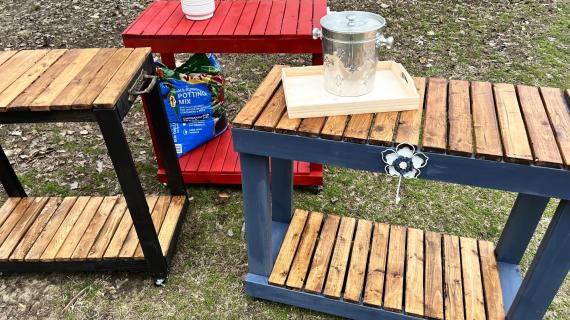
Create your own beautiful, customizeable and functional rolling bar cart. Free step by step plans with diagrams and shopping list and cut list by Ana-White.com

Why Build a Grill Cart?
- Cost-effective: Saves money compared to purchasing a pre-built grill cart.
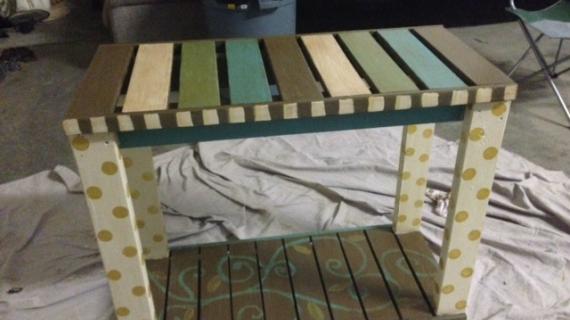
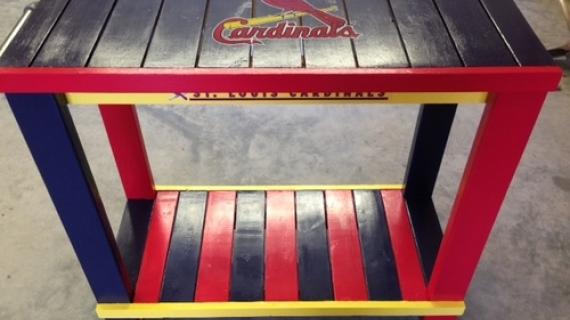
- Customization: Allows for personalization and customization according to specific needs and preferences.
- Flexibility: Can be easily modified or upgraded in the future.
- Convenience: Tailors the cart to fit the exact dimensions and features desired.
- Accessibility: Makes grilling more accessible to those who may not have the space or budget for a full outdoor kitchen.
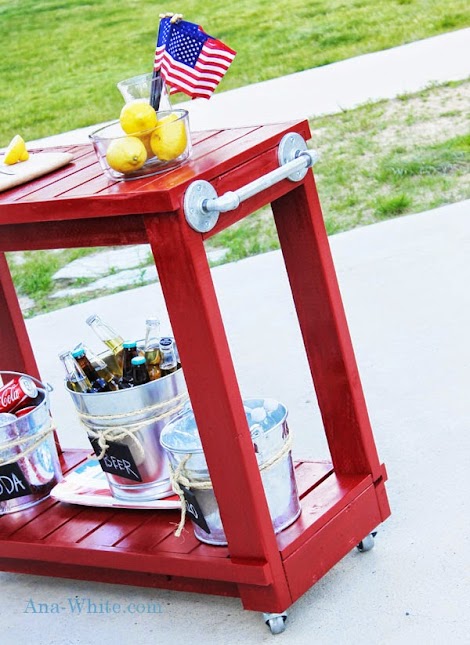
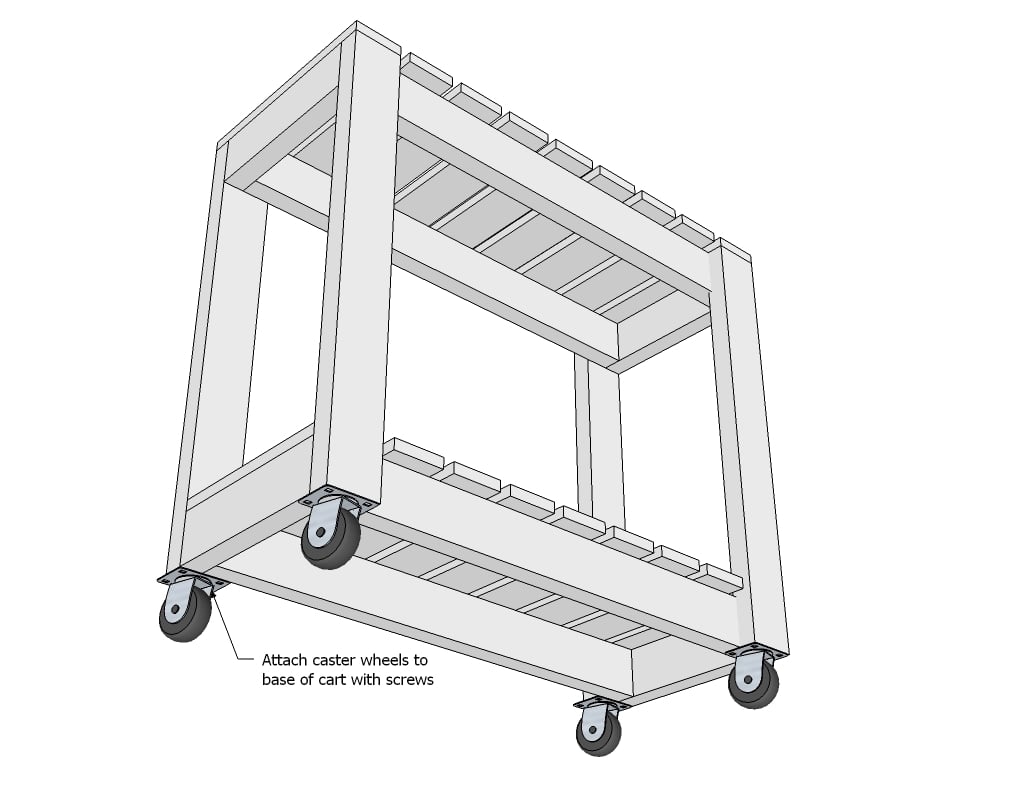
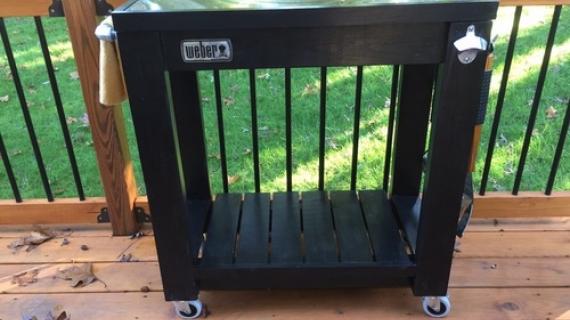
- Mobility: Just add casters! Enables easy relocation of the grill to different areas of the backyard or patio.
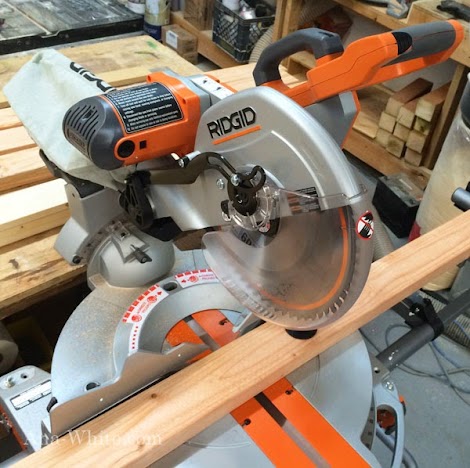
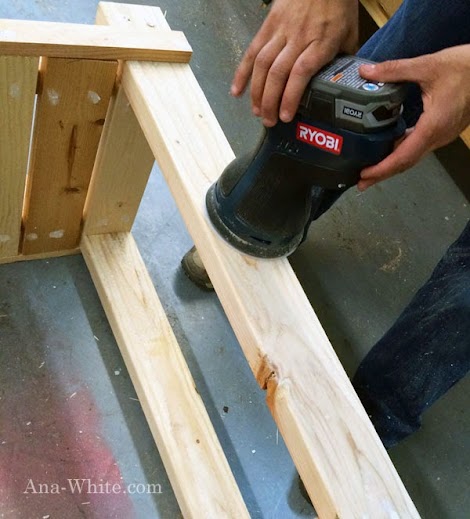
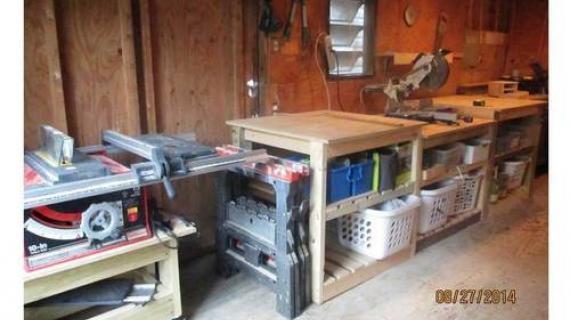
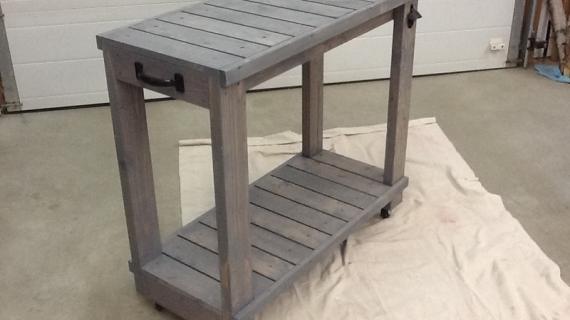
Cut and Assemble

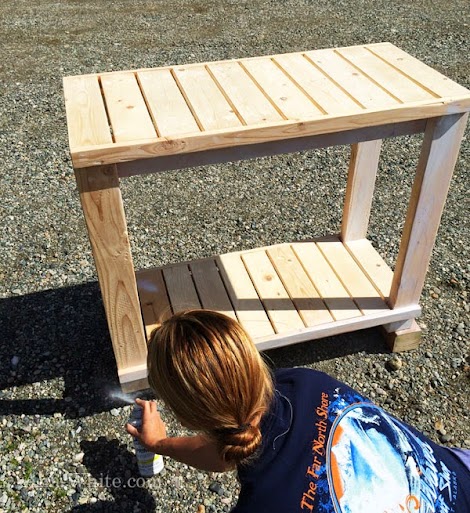
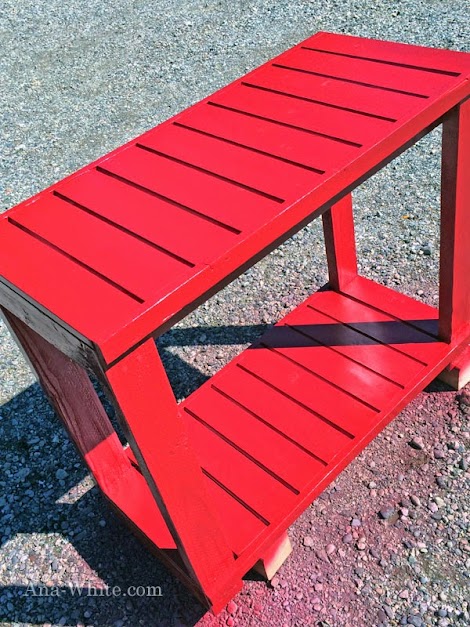
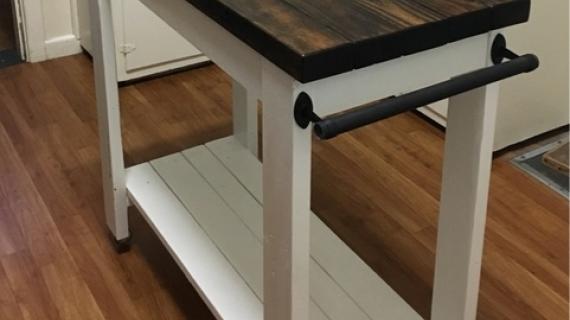
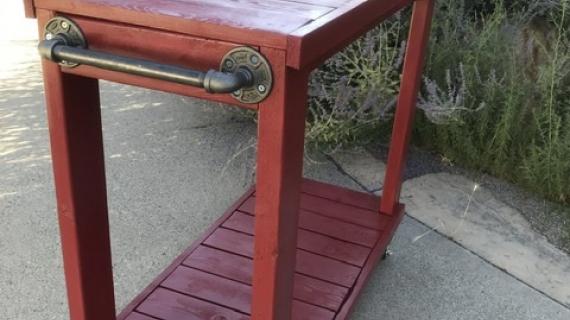
Apply an Outdoor Appropriate Finish
Add Accessories
Free Step-by-step Build Diagrams
Preparation
4 - 2 x 4 x 8'
3 - 1 x 4 x 10'
2 - 1 x 2 x 8'
2-1/2" self tapping exterior screws
1-1/4" galvanized staples or screws (for attaching slats)
glue
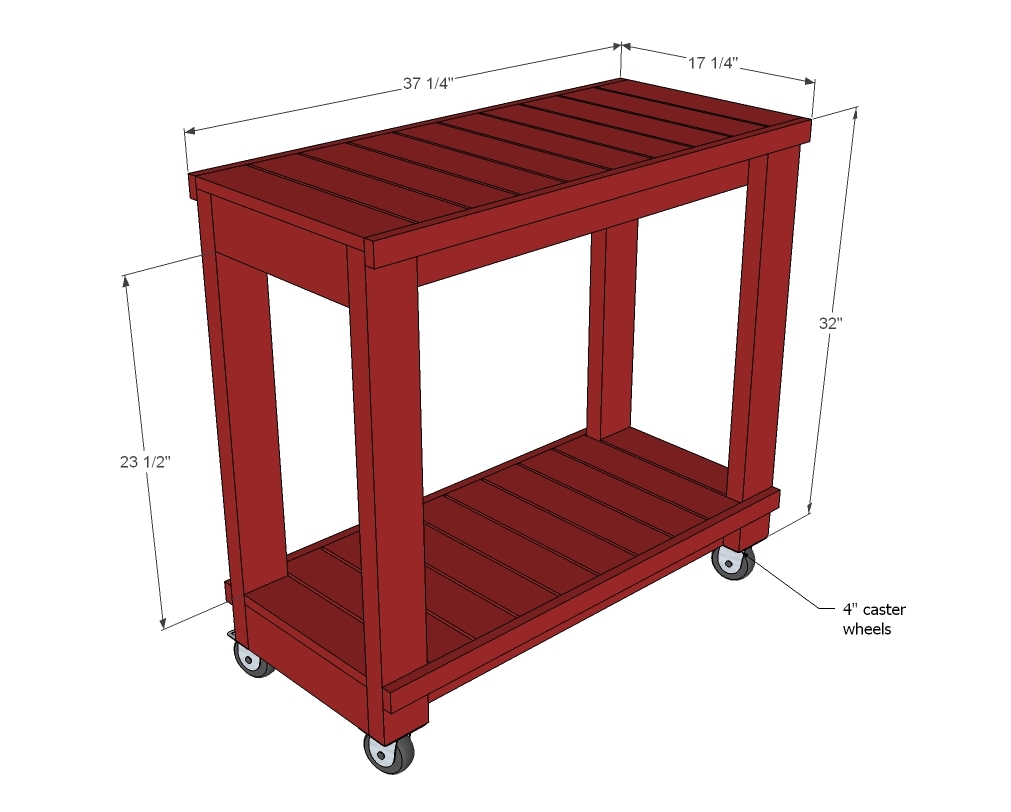
4 - 4" caster wheels
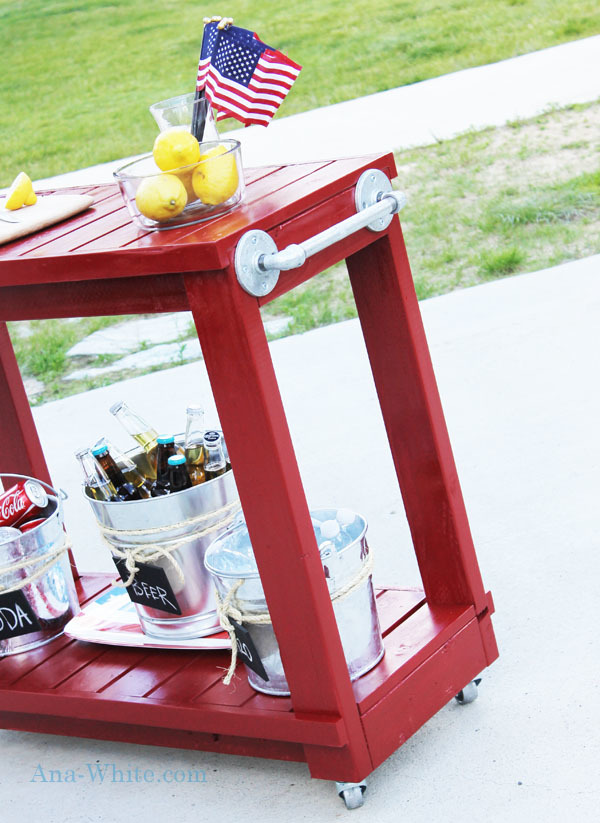
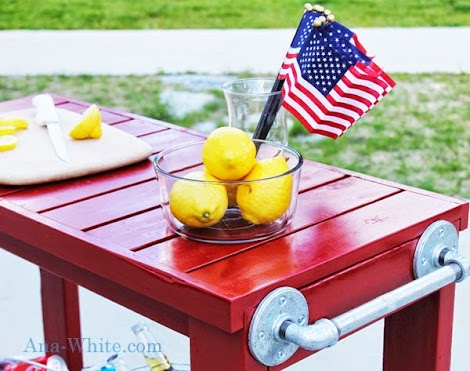
towel bar or pipe fitting for towel bar
glue, paint and primer
4 - 2 x 4 @ 12-3/4" - End Aprons
4 - 2 x 4 @ 34-1/4" - Side Aprons
4 - 2 x 4 @ 31-1/4" - Legs
2 - 1 x 4 @ 12-3/4" - Shorter bottom shelf slats
18 - 1 x 4 @ 15-3/4" - Top and bottom shelf slats
4 - 1x2 @ 37-1/4" - End Trim


Instructions
Step 1
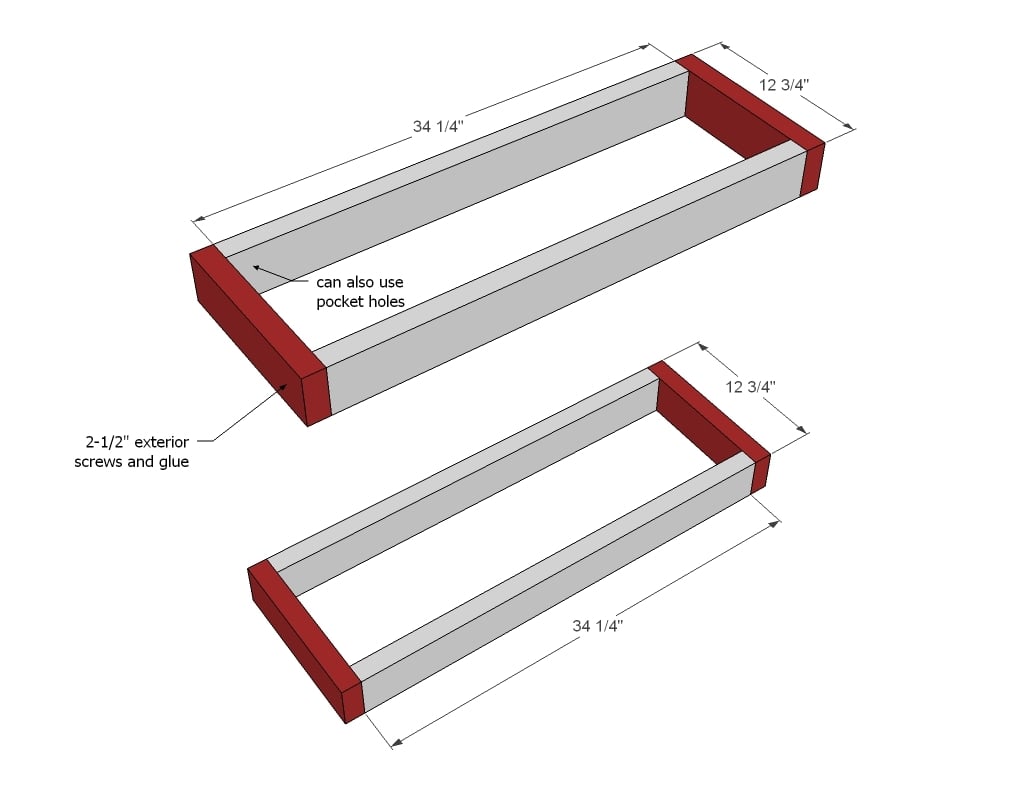
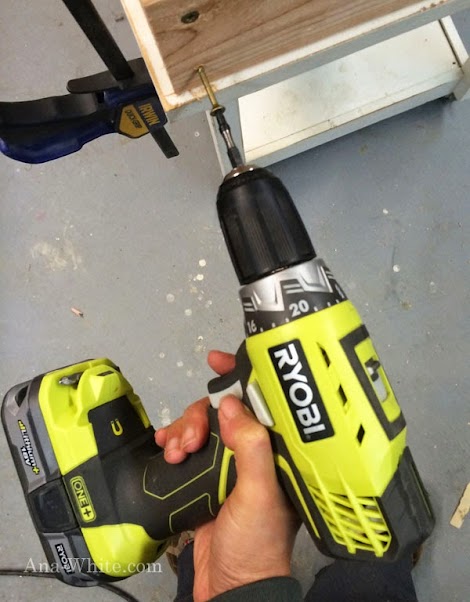
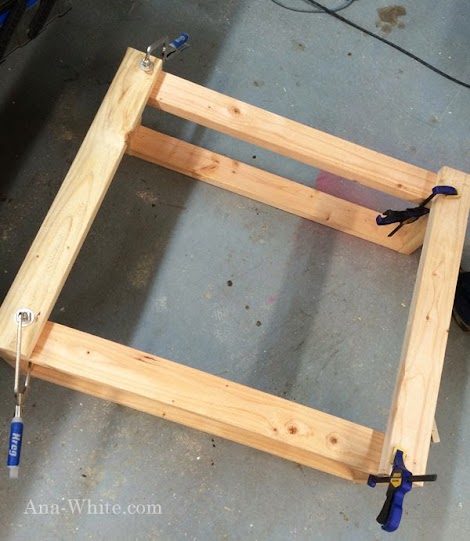
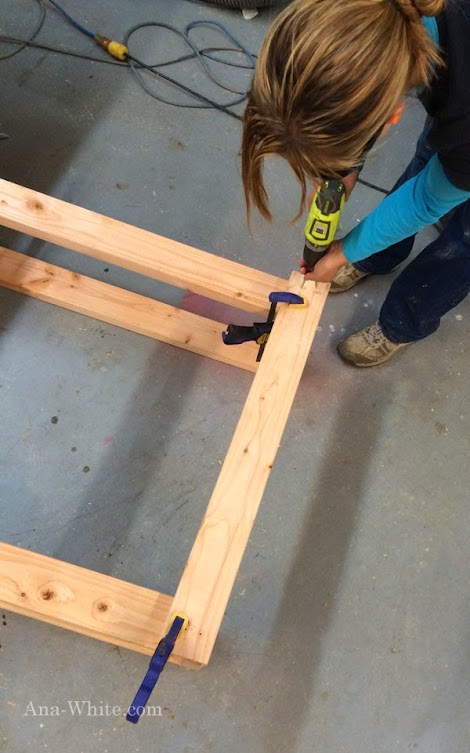
Assemble the two frames first with 2-1/2" exterior screws and wood glue.
Step 2
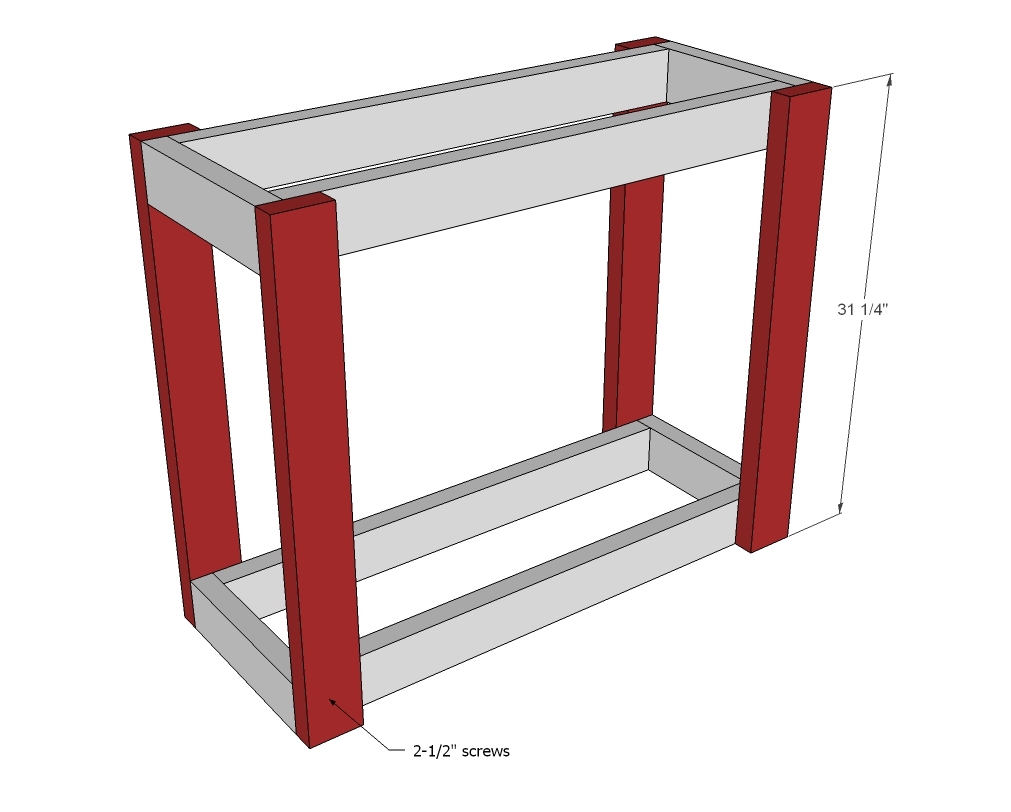
Attach the legs to the frames.
Step 3
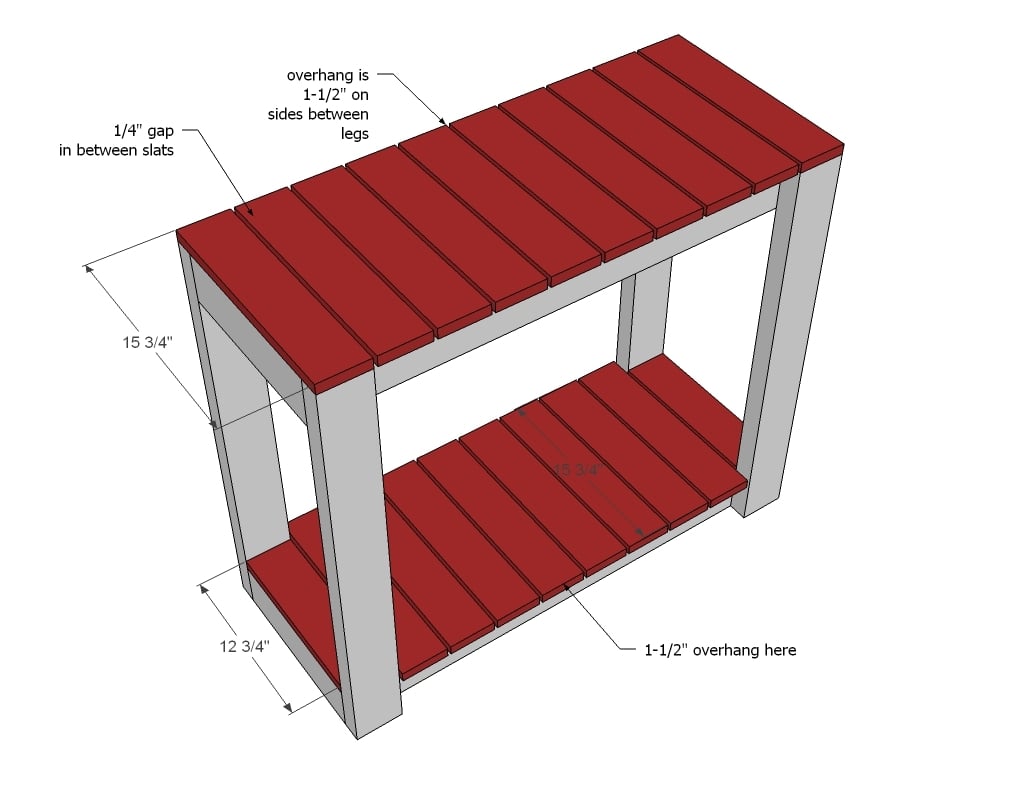
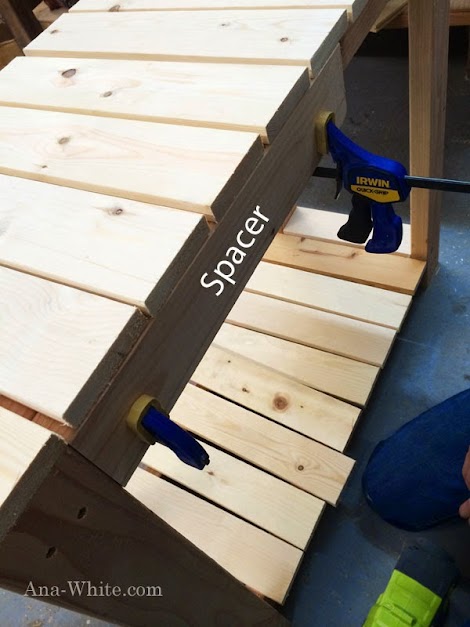
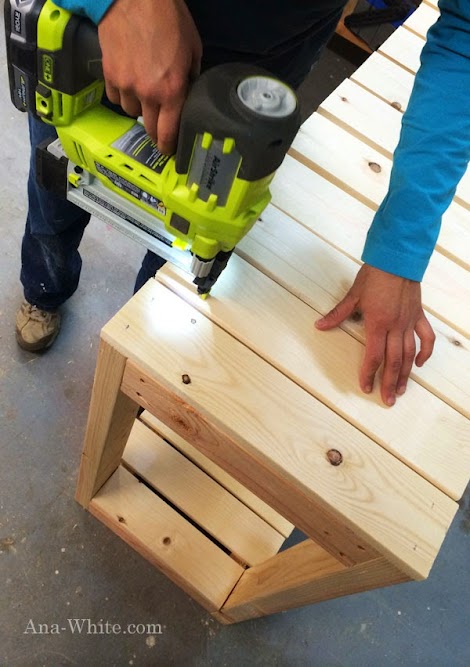
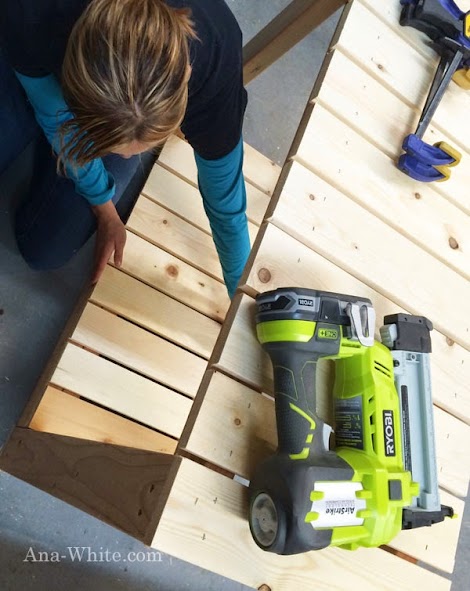
Attach slats to frame tops with either staples, nails or screws using glue.
Step 4
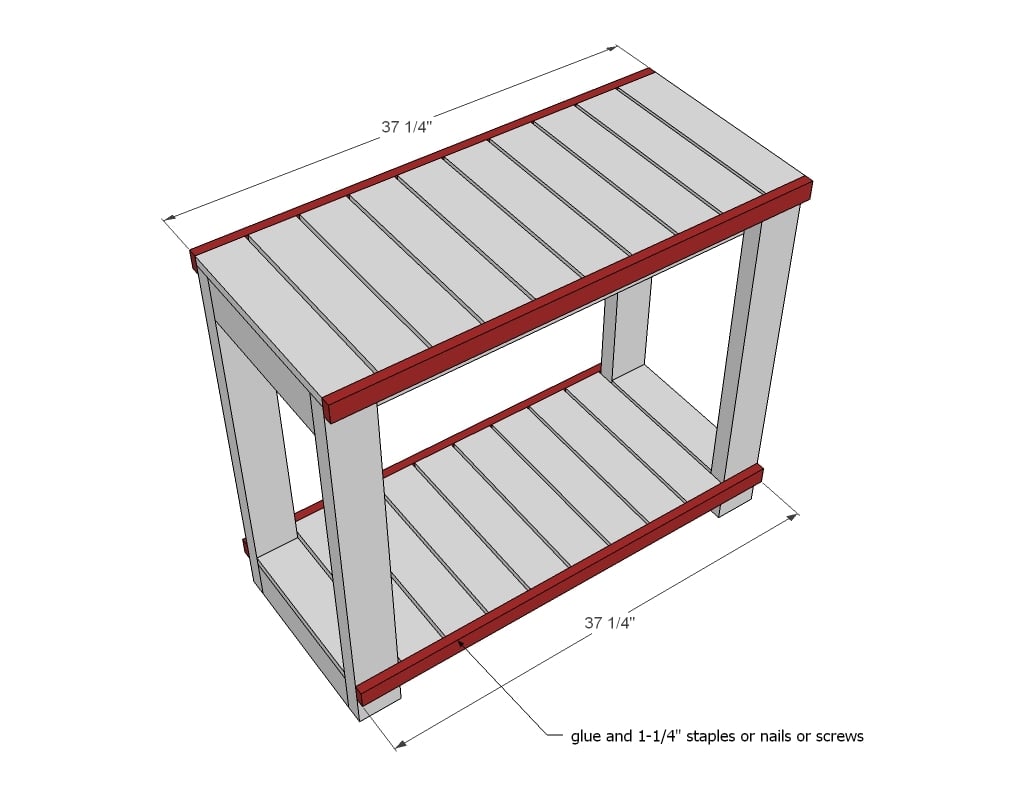
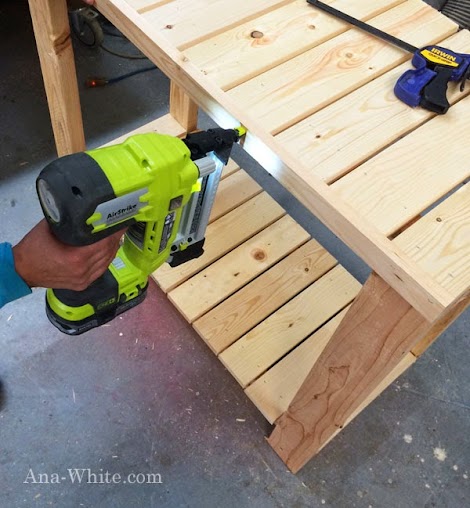
Trim edges out with 1x2s with glue and staples, nails or screws.
Step 5

Comments
kmatt55
Sun, 08/31/2014 - 20:13
Casters size
Your photos say those are 4 inch casters but I can clearly see they are not, especially measured against the 2x4's for the base. What size are they? Thanks!
rajasaab
Fri, 04/17/2020 - 05:20
Towel Bar - Pipe Length?
Awesome design! what was the Length of the Pipe piece that you used for the towel hanger
Angel
Sun, 06/28/2020 - 07:31
I use a 10 inch pipe. I…
I use a 10 inch pipe. I bought a 12 and it was to big.