
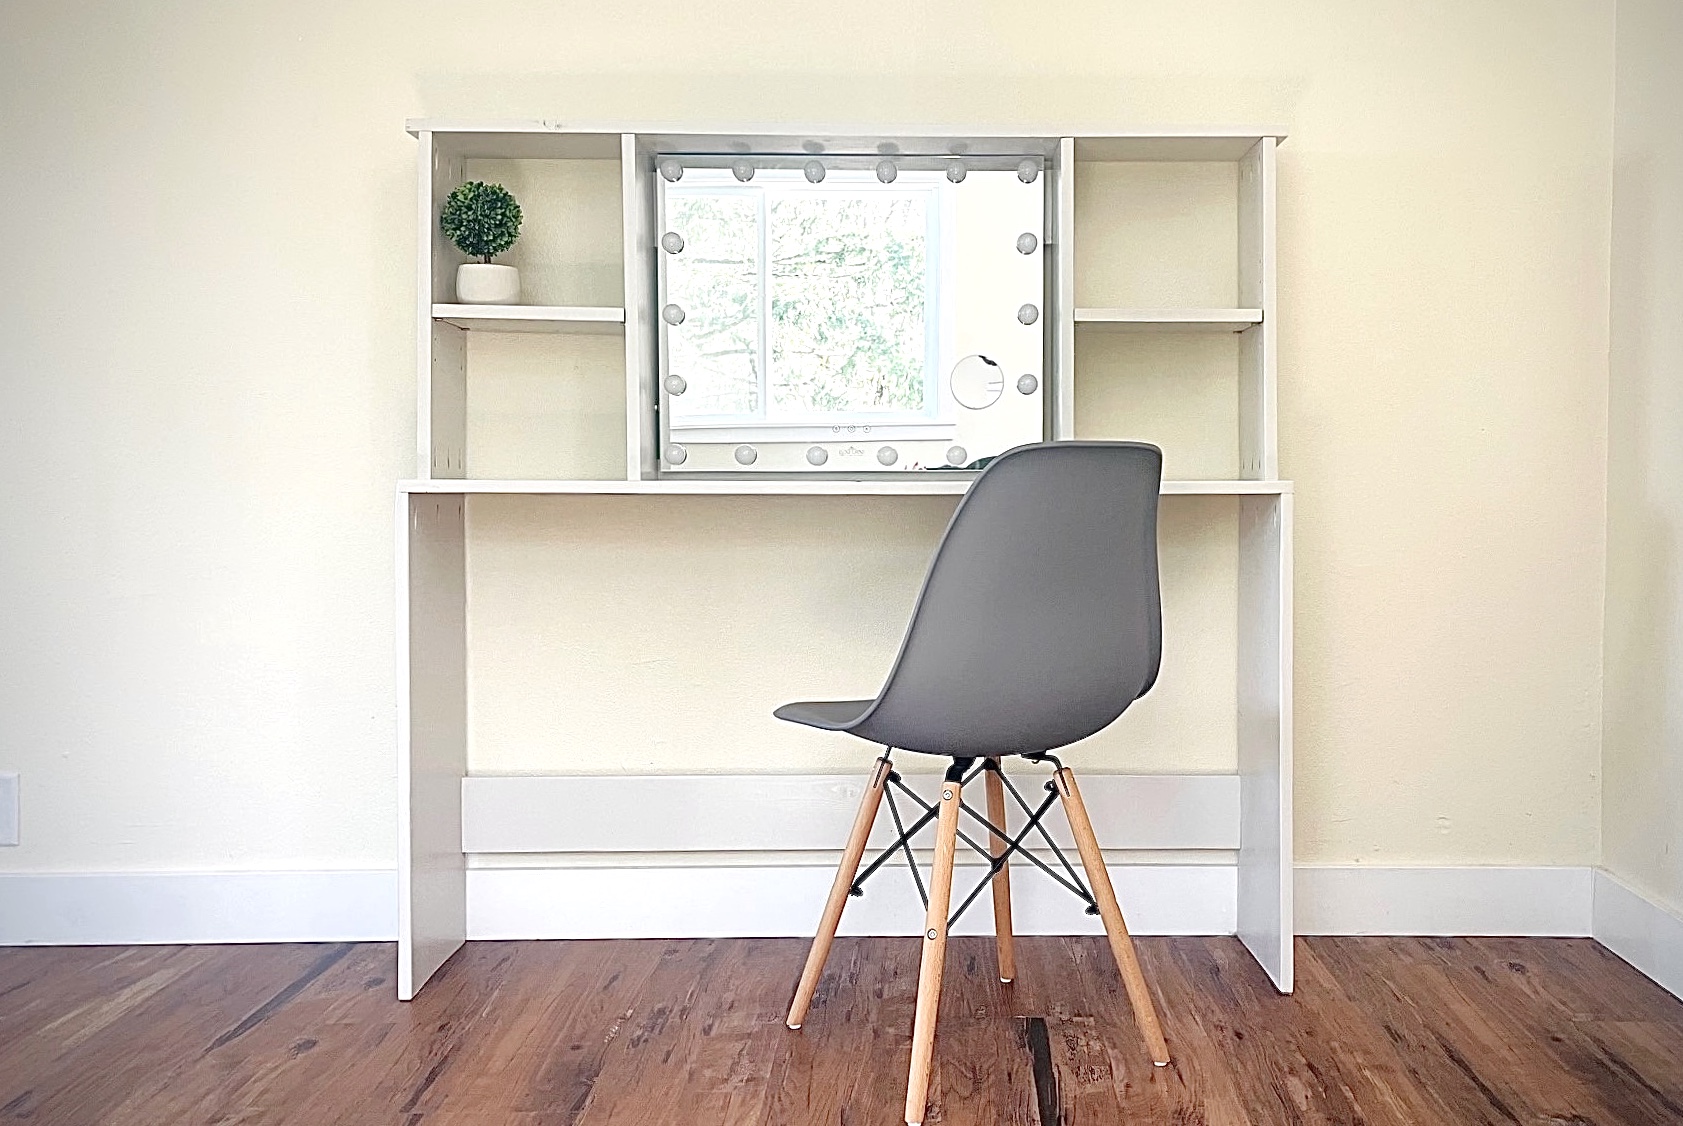

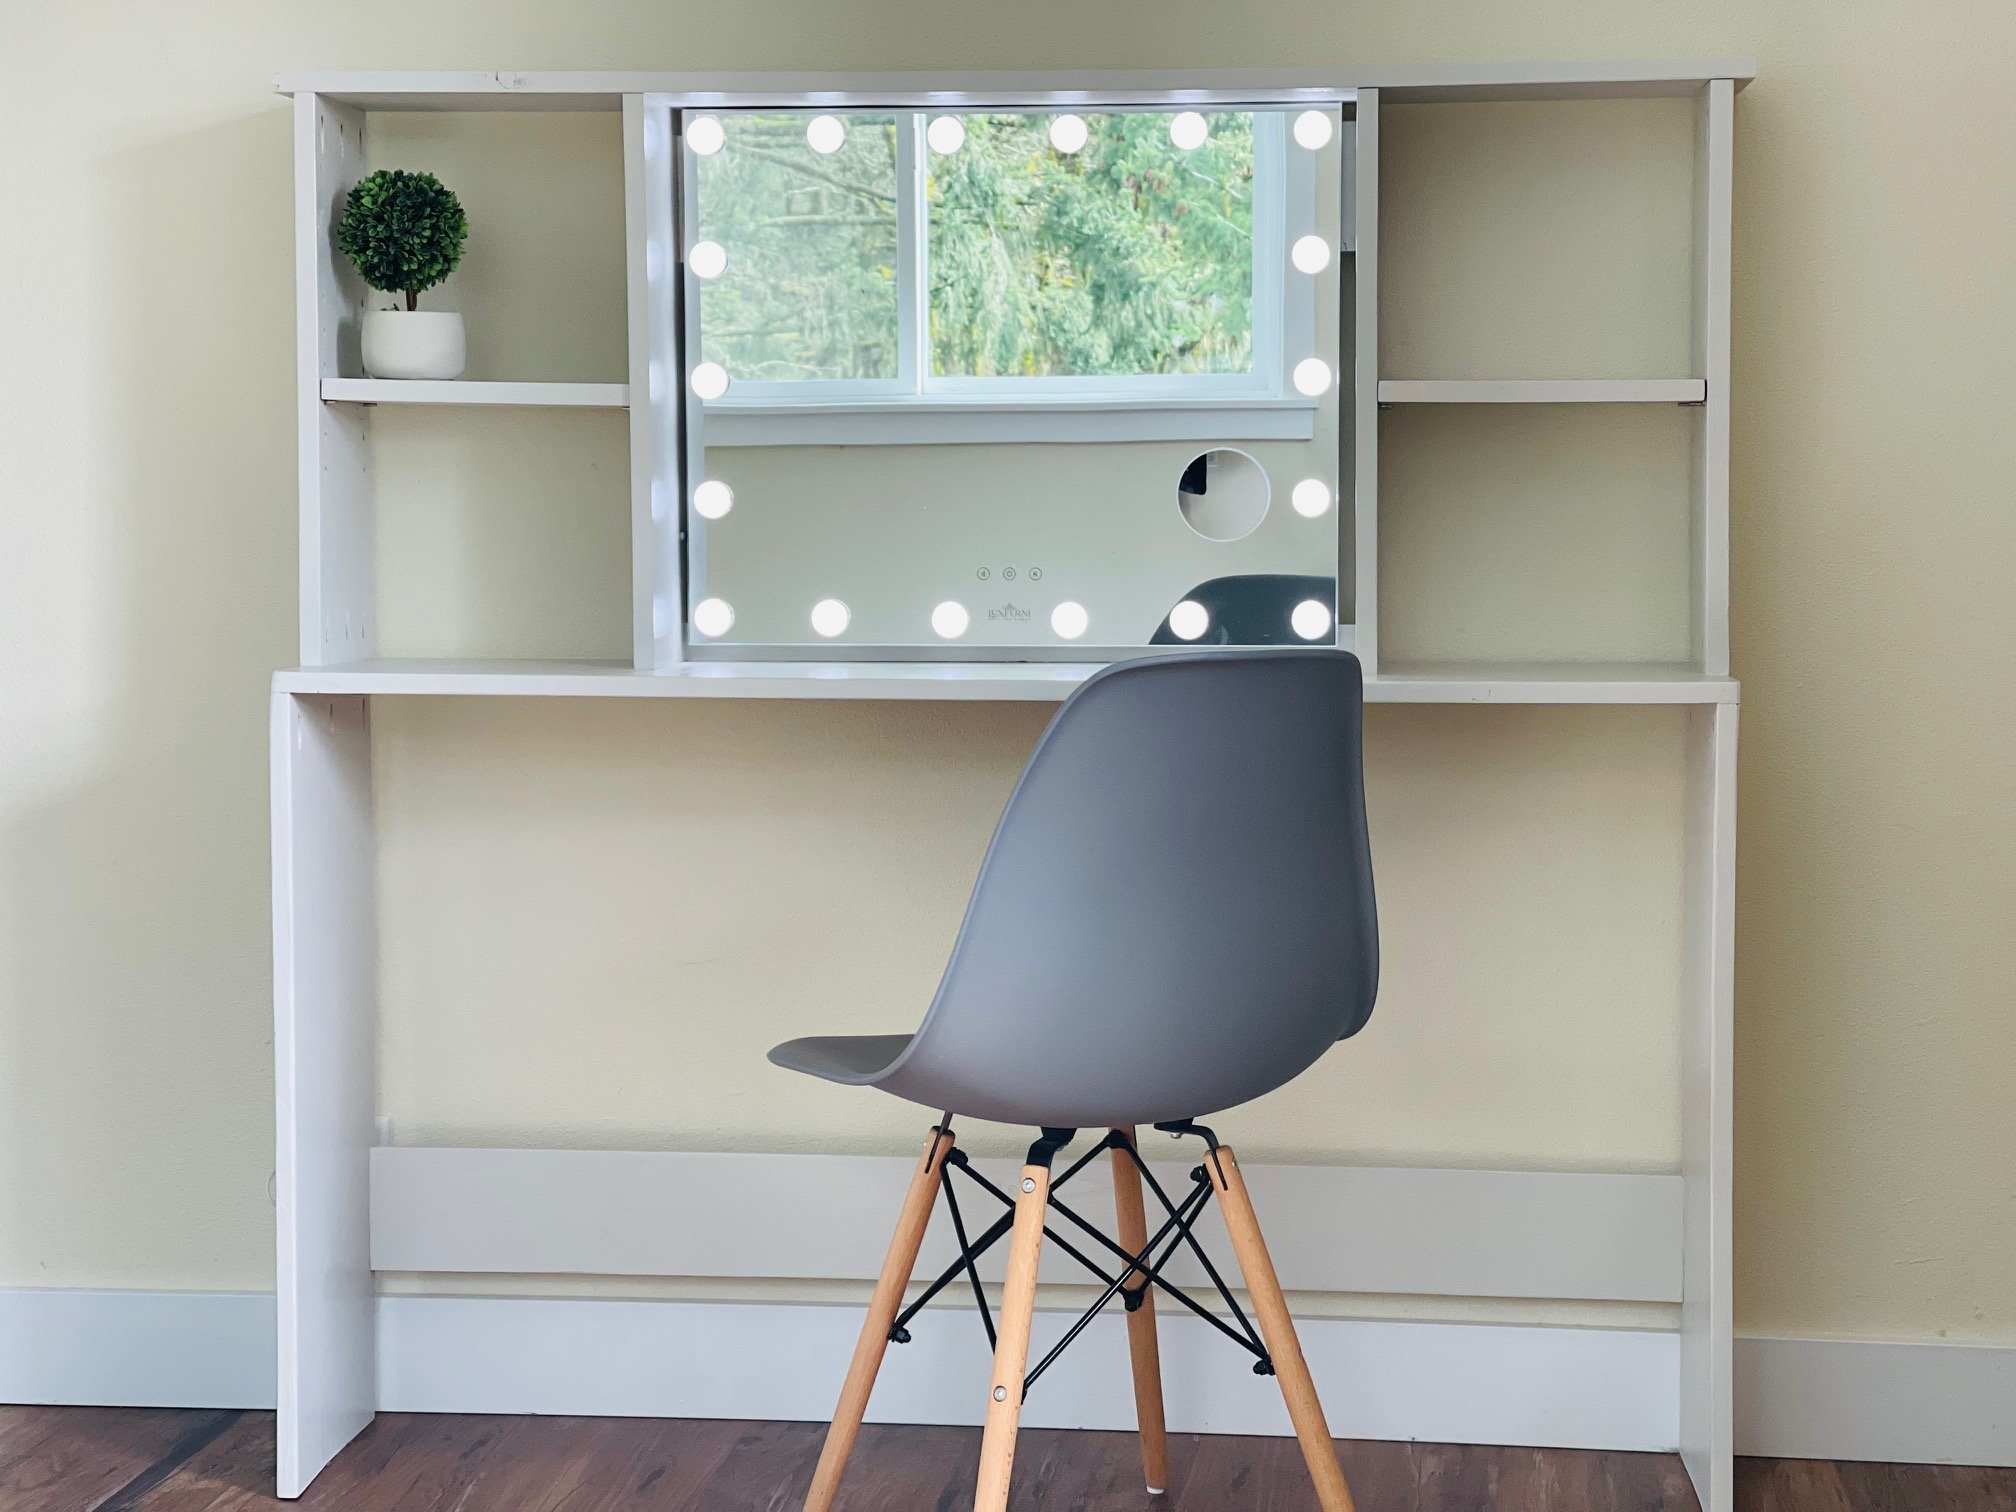
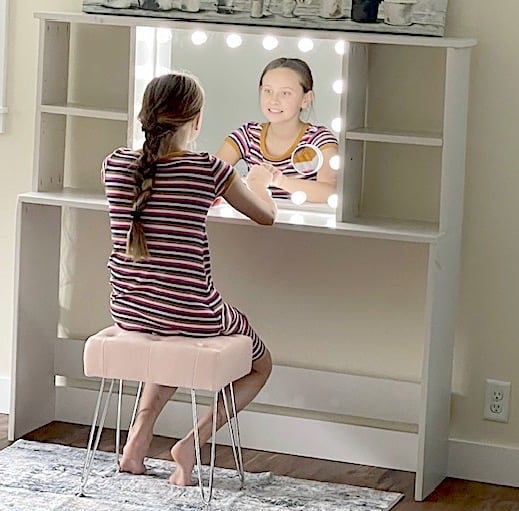
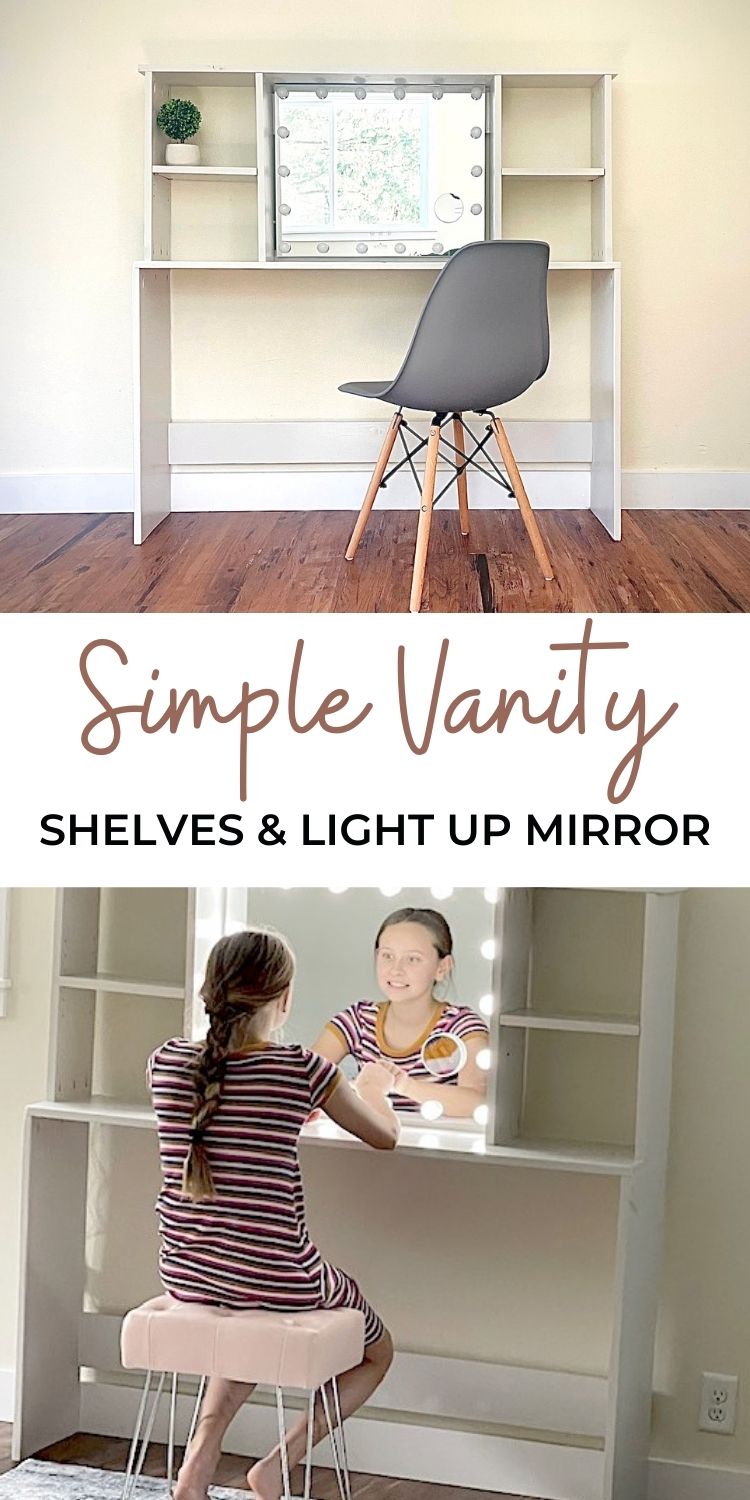
This is a free project plan to build a simple vanity with shelves and a light up mirror. This vanity is narrow in profile, so perfect for small spaces.
Why I Built This Vanity
With 3 children getting ready for school in the morning, 2 of them being teenage girls, I wanted to create a spot outside of the bathroom so they had another option for doing their hair and makeup. Since building the vanity, the girls have used it everyday and it's made a huge difference with their morning routine. My only regret is not building it sooner! I bought the mirror first and then built the hutch to fit. LINK TO MIRROR SHOWN HERE
Free Vanity Plans
The plans for this vanity follow. This is a super simple build, using 1x12 boards and simple joints.
Pin For Later!

Preparation
- 1 - 1x12 @ 10 feet long
- 1 - 1x4 @ 10 feet long
- 2 - 1x8 @ 8 feet long
- 1-1/4" pocket hole screws (about 20)
- 1-1/4" brad nails
Base
- 2 - 1x12 @ 29-1/4"
- 1 - 1x12 @ 53"
- 2 - 1x4 @ 50-1/2"
Hutch
- 1 - 1x8 @ 53"
- 4 - 1x8 @ 20-3/4"
- 2 - 1x8 @ 11-3/4"


Instructions
Step 1
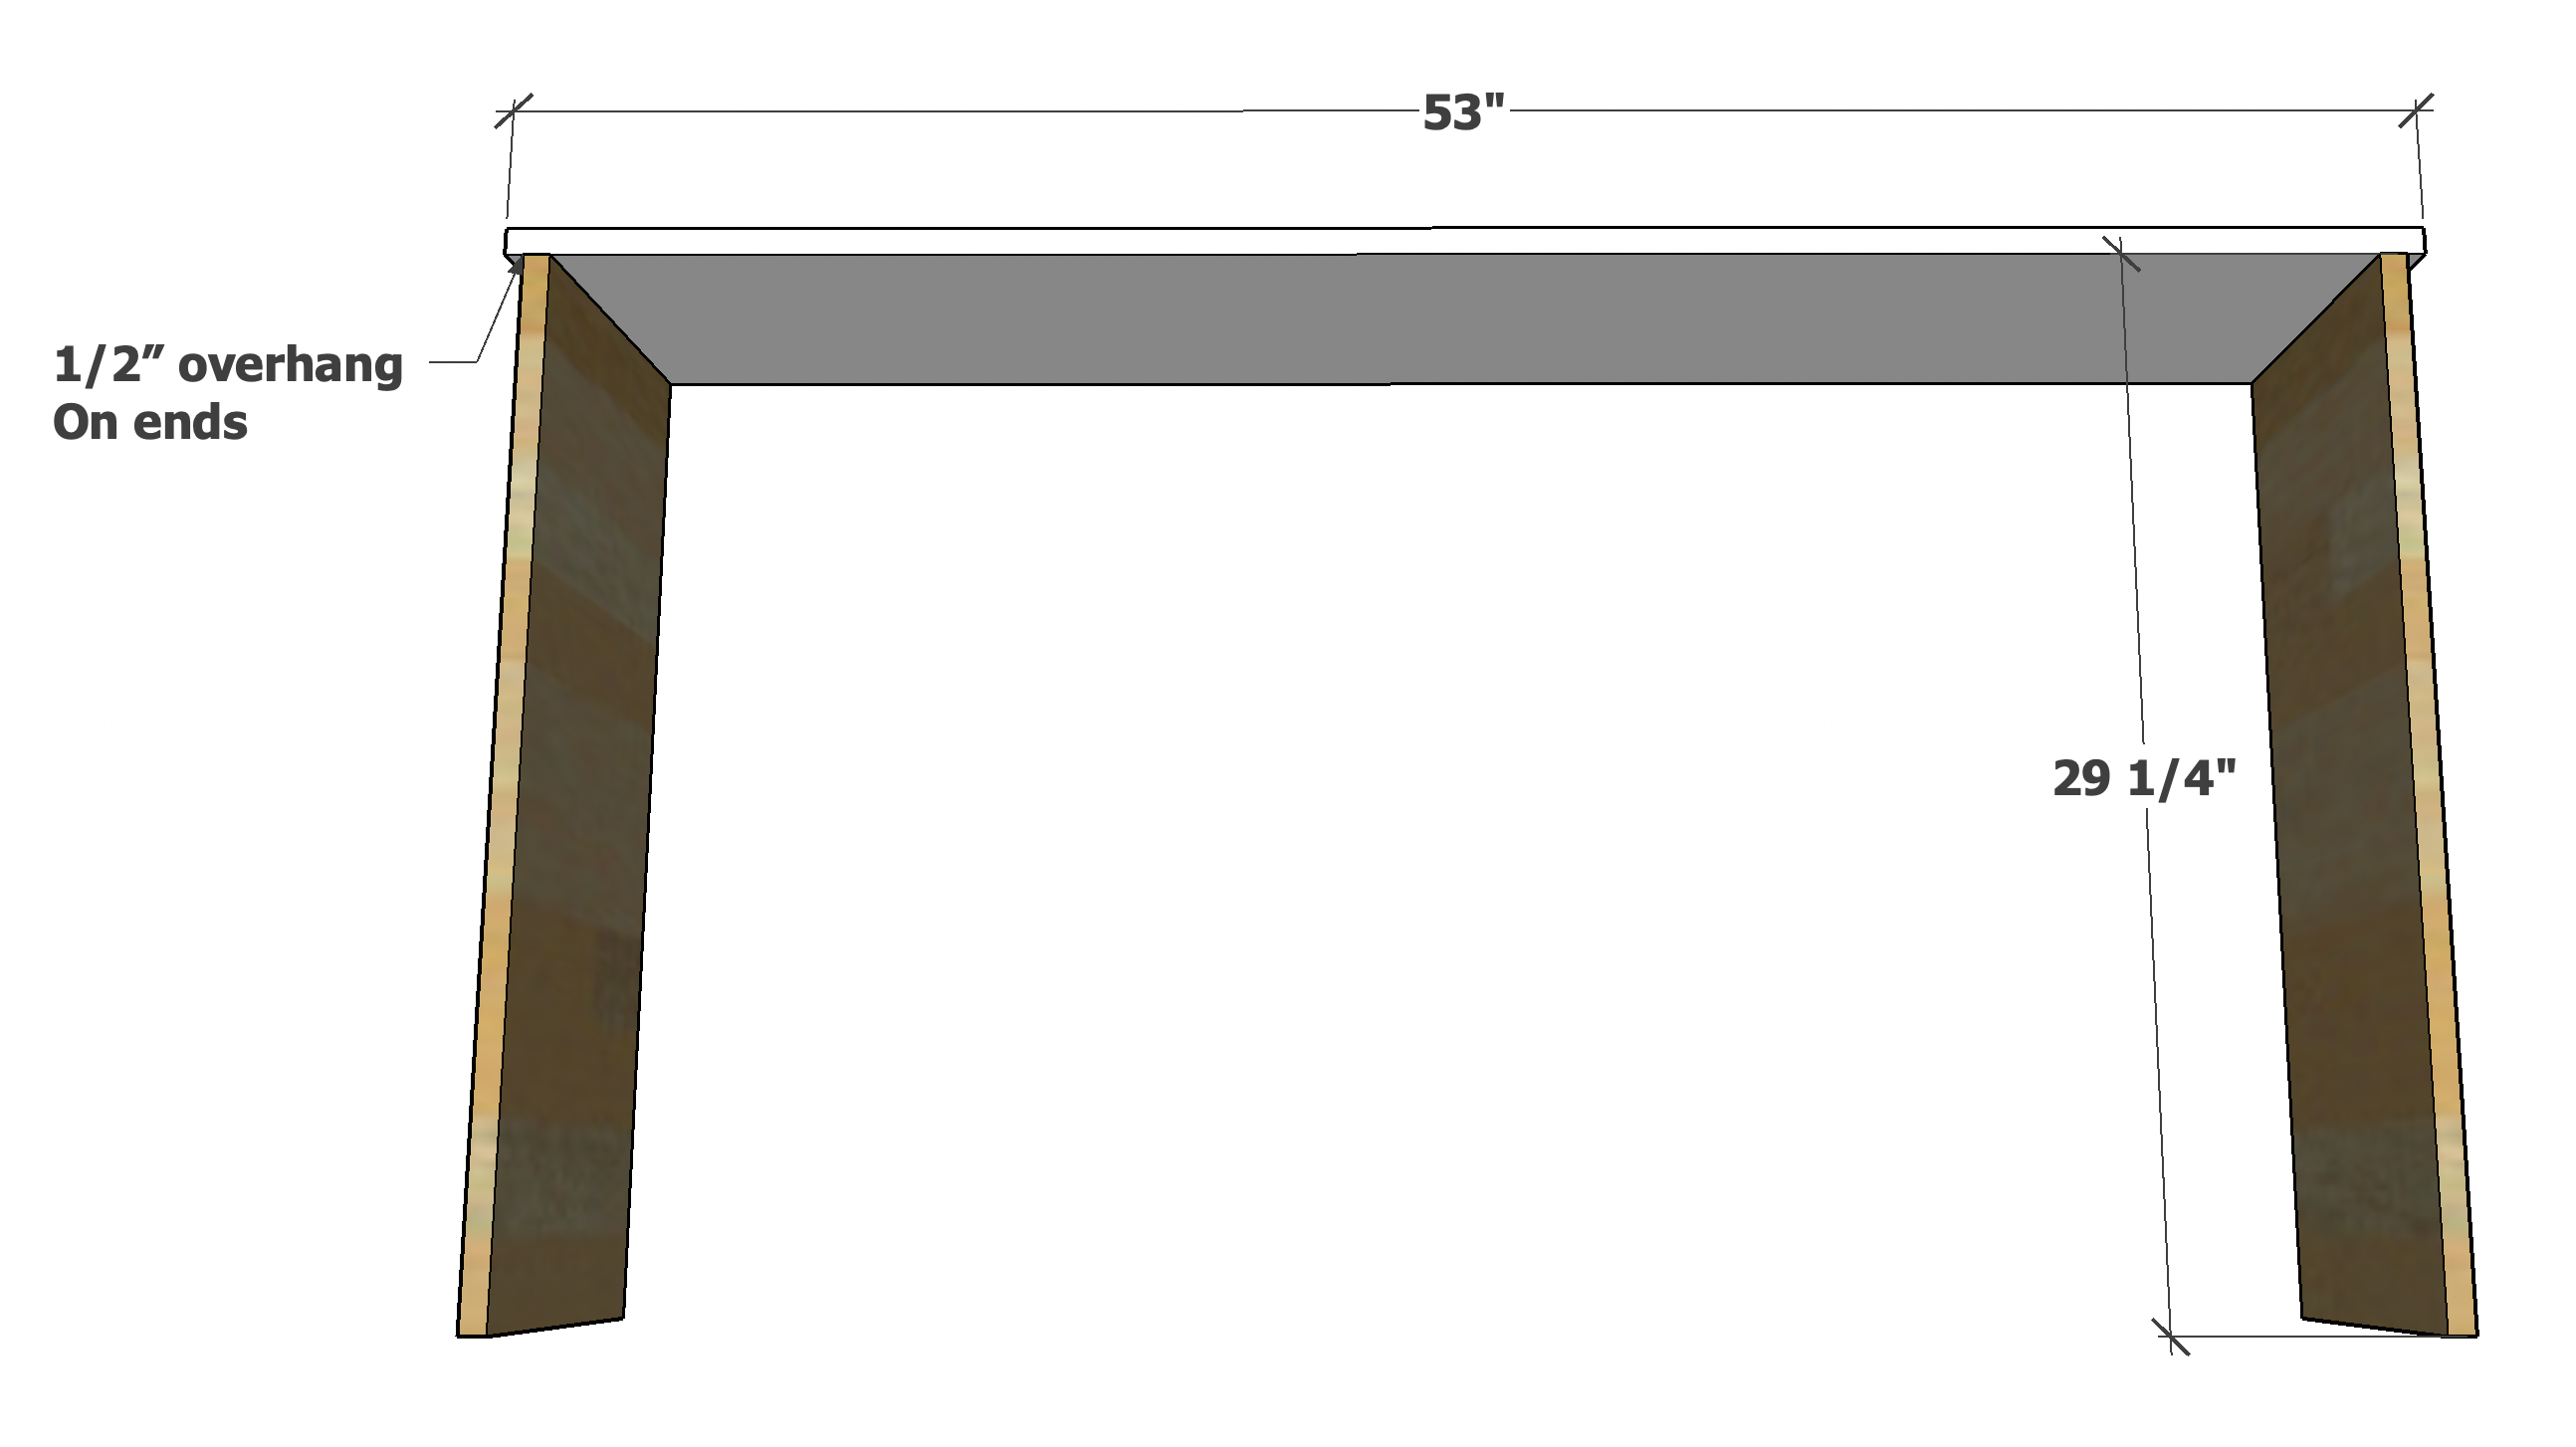
Drill three pocket holes on one end of each of the 1x12 leg boards.
Attach to the underside of the tabletop board with 1-1/4" pocket hole screws with a 1/2" overhang on each end.
Step 2

Measure the distance between the two 1x12 legs, measure at the tabletop for the most accurate measurement.
Cut two 1x4s to this measurement and drill two 3/4" pocket holes on each end.
Also drill 3/4" pocket holes facing upward along one edge of one board for attaching to the tabletop.
Attach with 1-1/4" pocket hole screws.
Step 3

The hutch can be put together with pocket holes but I recommend brad nails as they are easier to hide and the hutch is not structural, so no need for the strength of pocket holes. With nails, use glue.
Build the two shelf sections first, then attach the top.
The hutch can be connected to the base with screws.
