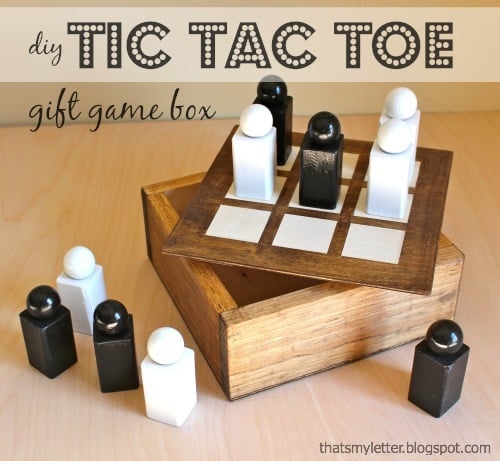
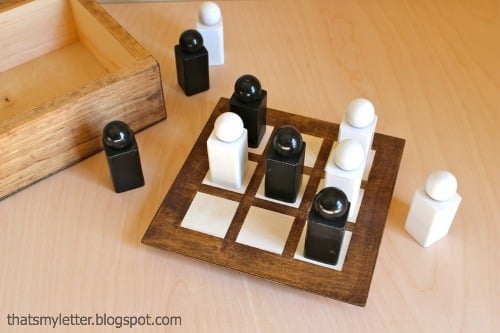
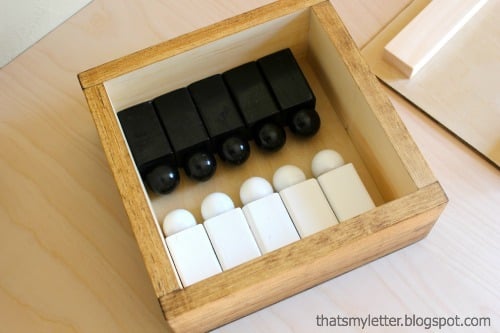
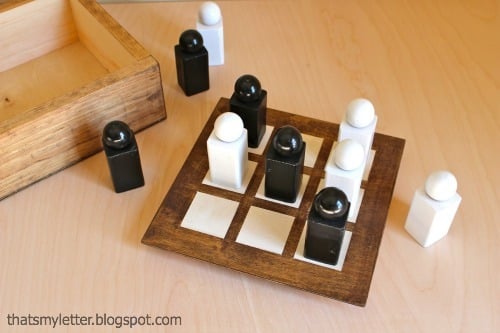
DIY Wood Tic-Tac-Toe gift set tutorial! Free plans from Ana-White.com
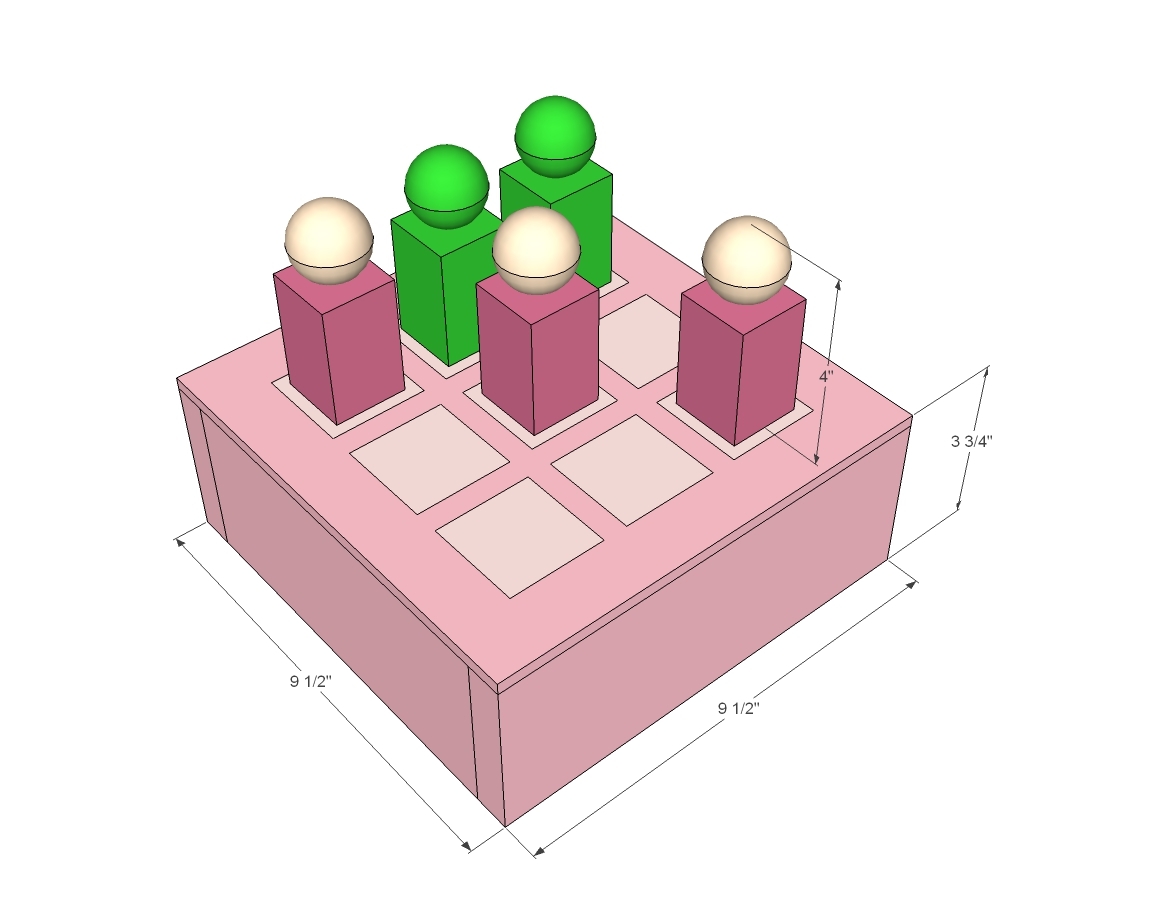
Preparation
3 feet of 1x4 boards (could also use 1x3s)
2 - 9-1/2" x 9-1/2" pieces of 1/4" plywood
30" of 2x2s
Unfinished 1-1/4" wood doll heads (try hobby store like Joanns in wood section)
Wood dowels for attaching doll heads in matching size
GAME BOX
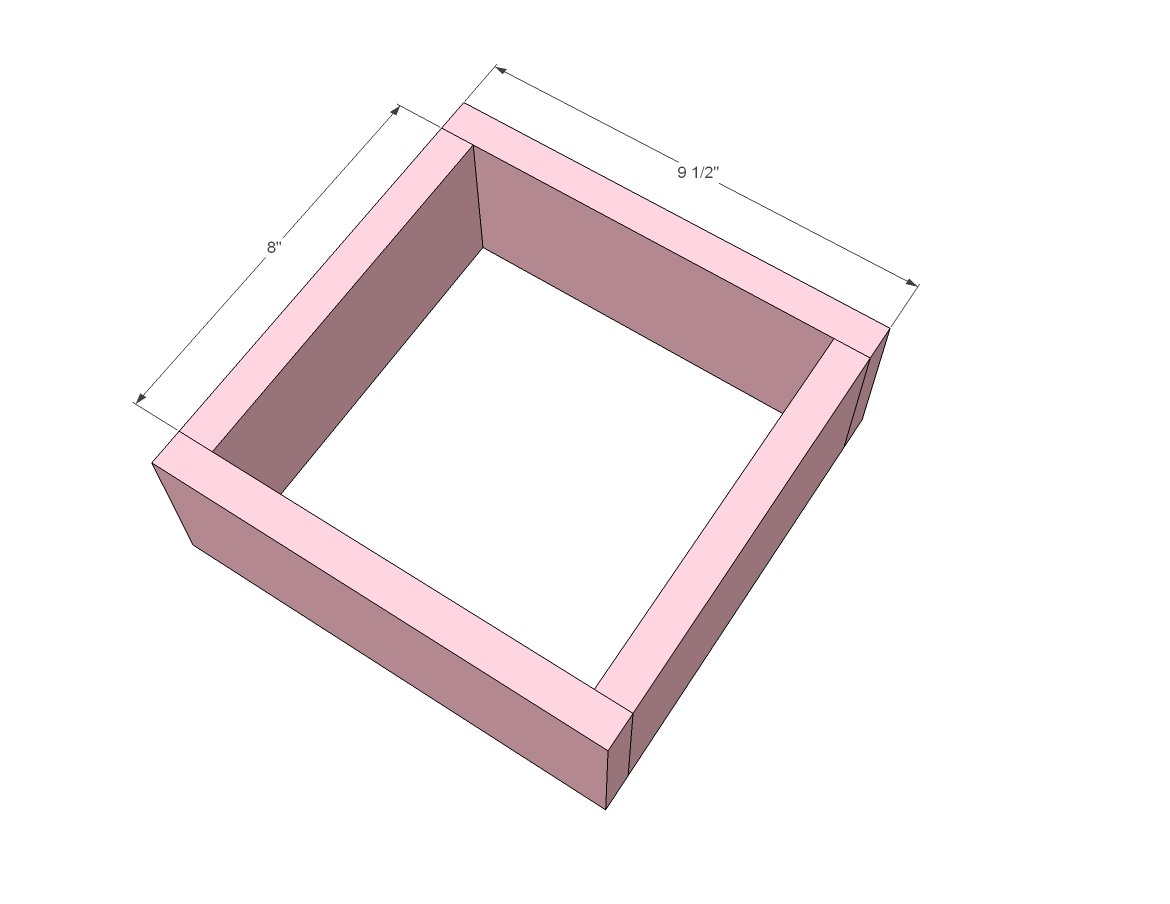
2 - 1x4s (1x3s work too) @ 8"
2 - 1x4s (1x3s work too) @ 9-1/2"
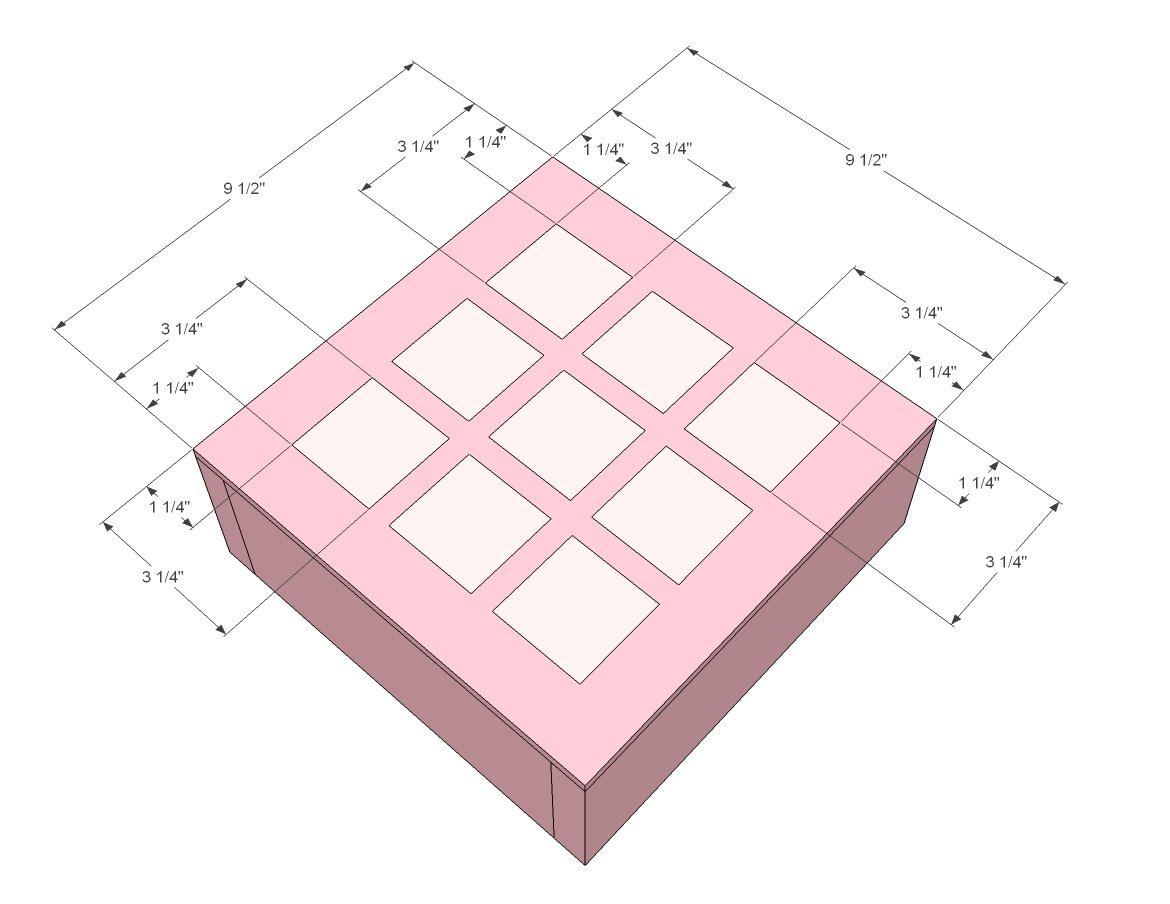
2 - 1/4" plywood @ 9-1/2" x 9-1/2" (for open top box, just cut one)
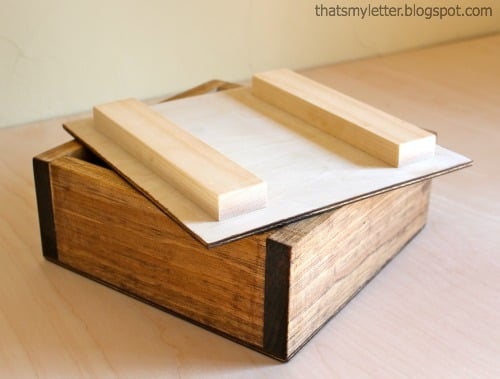
2 - 1x2 @ 8" (inside cleats for lid) - cut a tiny bit shy so it fits easily inside the wood box frame
PIECES
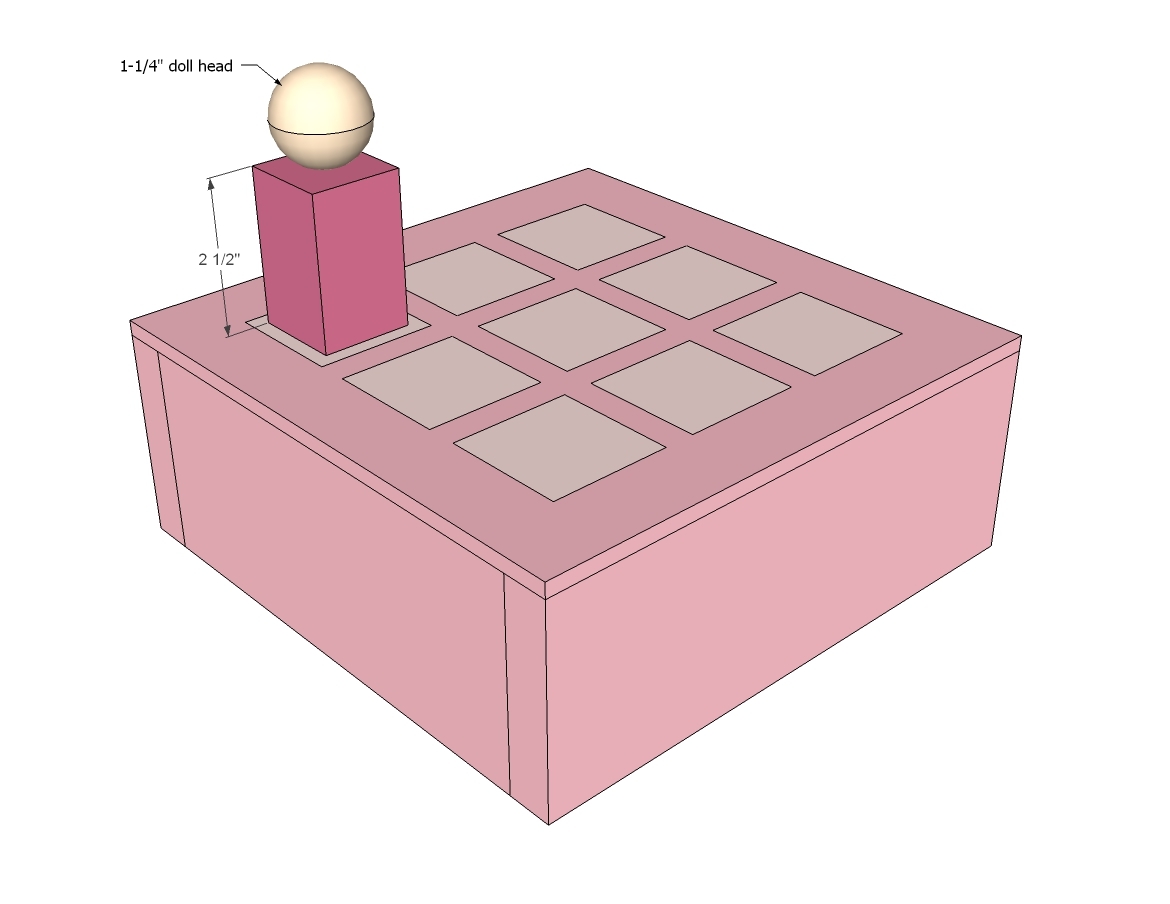
10 - 2x2 @ 2-1/2"
10 - 1-1/4" doll heads
small dowels to attach dowel heads to wood blocks
Please read through the entire plan and all comments before beginning this project. It is also advisable to review the Getting Started Section. Take all necessary precautions to build safely and smartly. Work on a clean level surface, free of imperfections or debris. Always use straight boards. Check for square after each step. Always predrill holes before attaching with screws. Use glue with finish nails for a stronger hold. Wipe excess glue off bare wood for stained projects, as dried glue will not take stain. Be safe, have fun, and ask for help if you need it. Good luck!
Instructions
Step 2
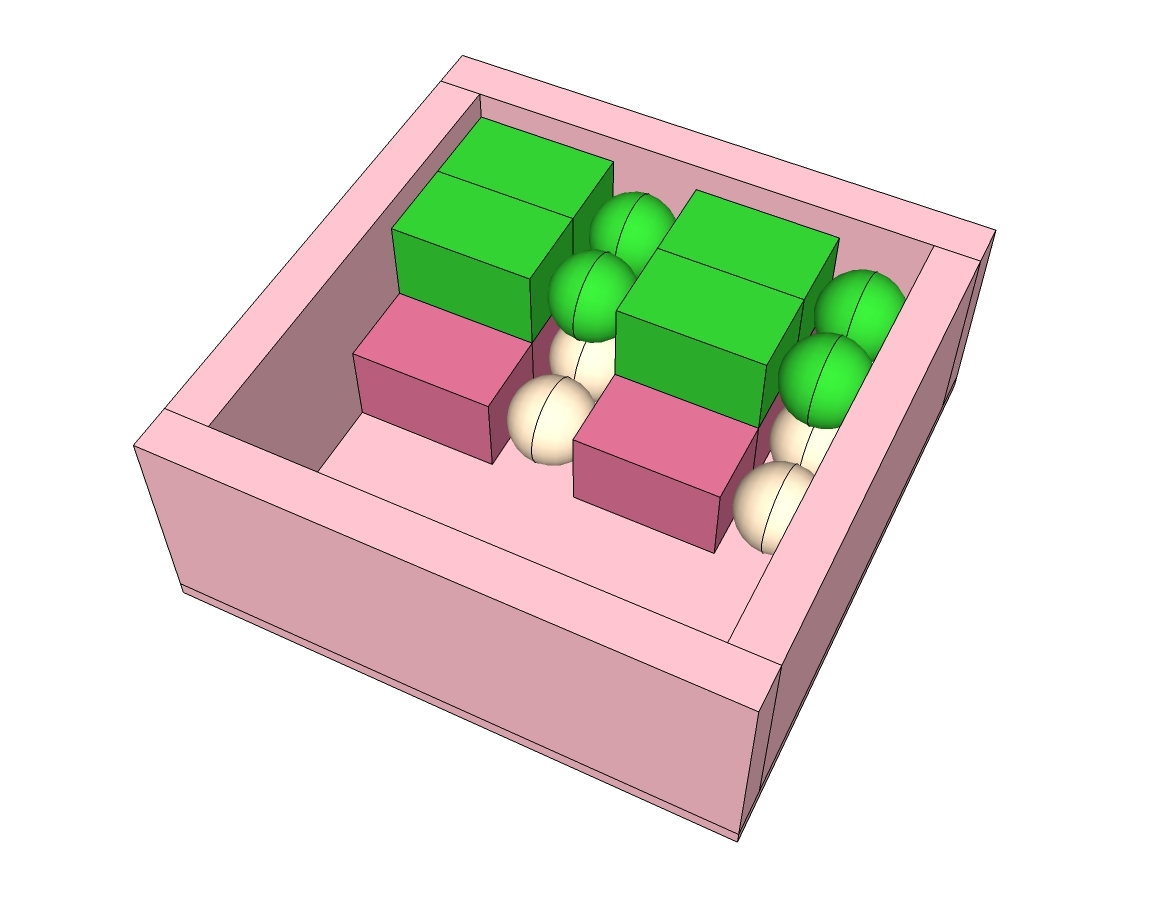
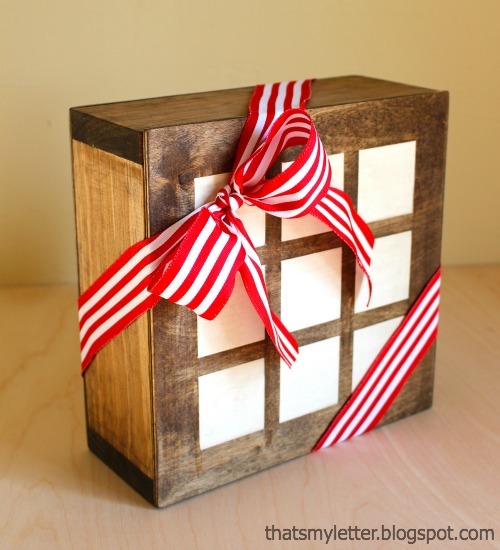
Attach bottom with glue and nails to the 1x4 frame. If you are making an open top game, paint the nine squares on the bottom. Jaime has a trick here.
Step 3
Step 4
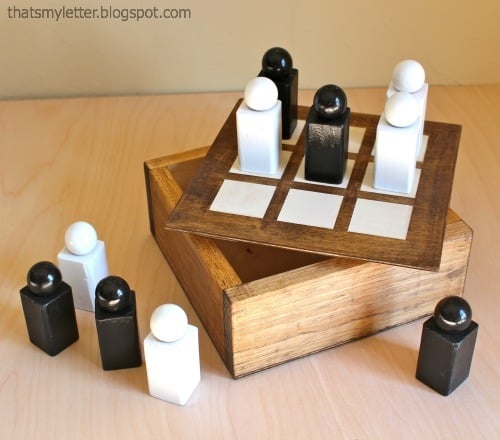
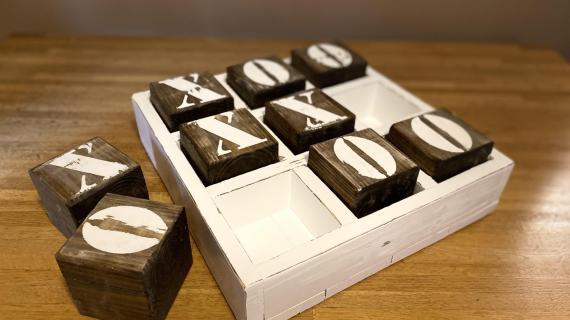
Cut game pieces and attach heads per Jaime's tutorial here. Paint or stain and finish.
It is always recommended to apply a test coat on a hidden area or scrap piece to ensure color evenness and adhesion. Use primer or wood conditioner as needed.





Comments
dmcarwin
Thu, 12/19/2013 - 07:54
So fun!
I have really loved all your handmade holiday plans this year, thanks so much for sharing them!
bhamton
Wed, 11/05/2014 - 15:33
Nail Setting - Filler - Staining
I'm looking at building some boxes like these. I can't help but notice that none of your nails show at all. I know that you say that you should set the nails and then fill it in with wood filler and then sand and stain. When I previously tried to do this, the wood filler stained a different color than the wood did. While this is still preferable to seeing nails, I would love it to look like yours...with no nail indication at all. How do you do this?