
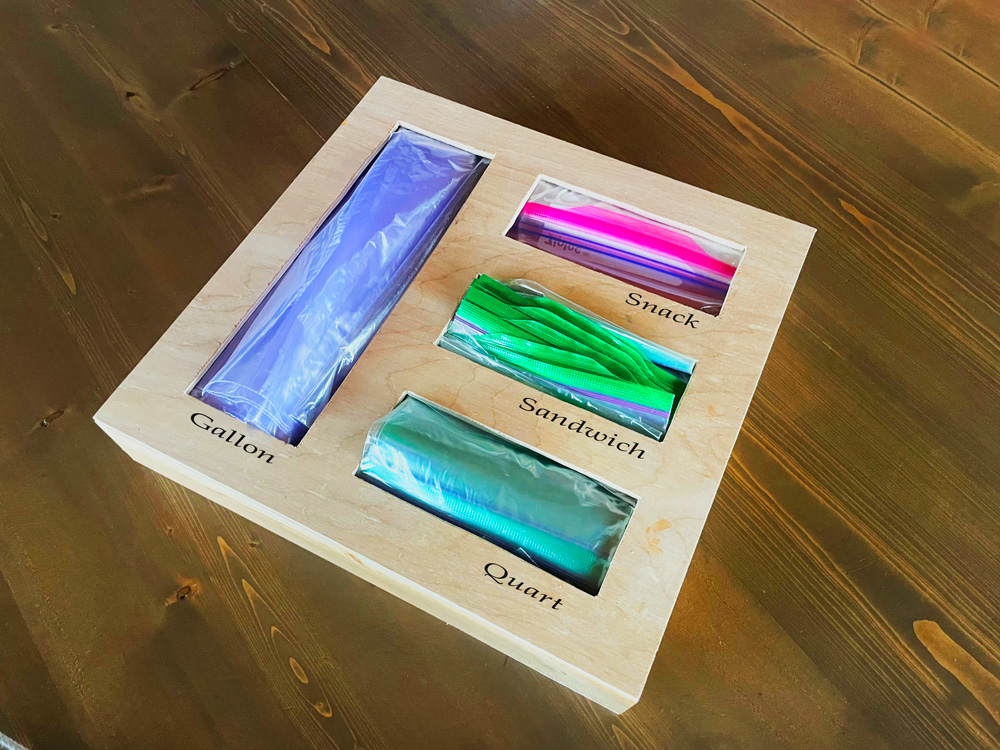

Simplify your life by building a ziploc bag organizer. This ziploc bag organizer is super easy and fast to build with basic materials. It is designed to fit gallon, snack, sandwich and quart sized bags. It's a solid piece that can be easily pulled from the drawer. Refilling is easy from the top.
Can be customized to fit your drawer size.
Free step by step plans with video tutorial from Ana-White.com.
Why You Need this Ziploc Bag Organizer
- No more searching for the right size ziploc bag
- You'll know when you need to buy more ziploc bags
- Cleans up your drawer and optimize the space in your drawer
- Standalone organizer can be removed from the drawer
- Wood design helps compartmentalize a drawer, acting as a divider in larger drawers
- Can be used for reused ziploc bags with easy to load top
Ana White's DIY Ziploc Bag Organizer Features
- Just one 1x3 and some scrap 1/4" plywood to build (if you have plywood scraps, could be about $3 to build!)
- Top load - no moving parts to break. Simply stuff bags in from the top.
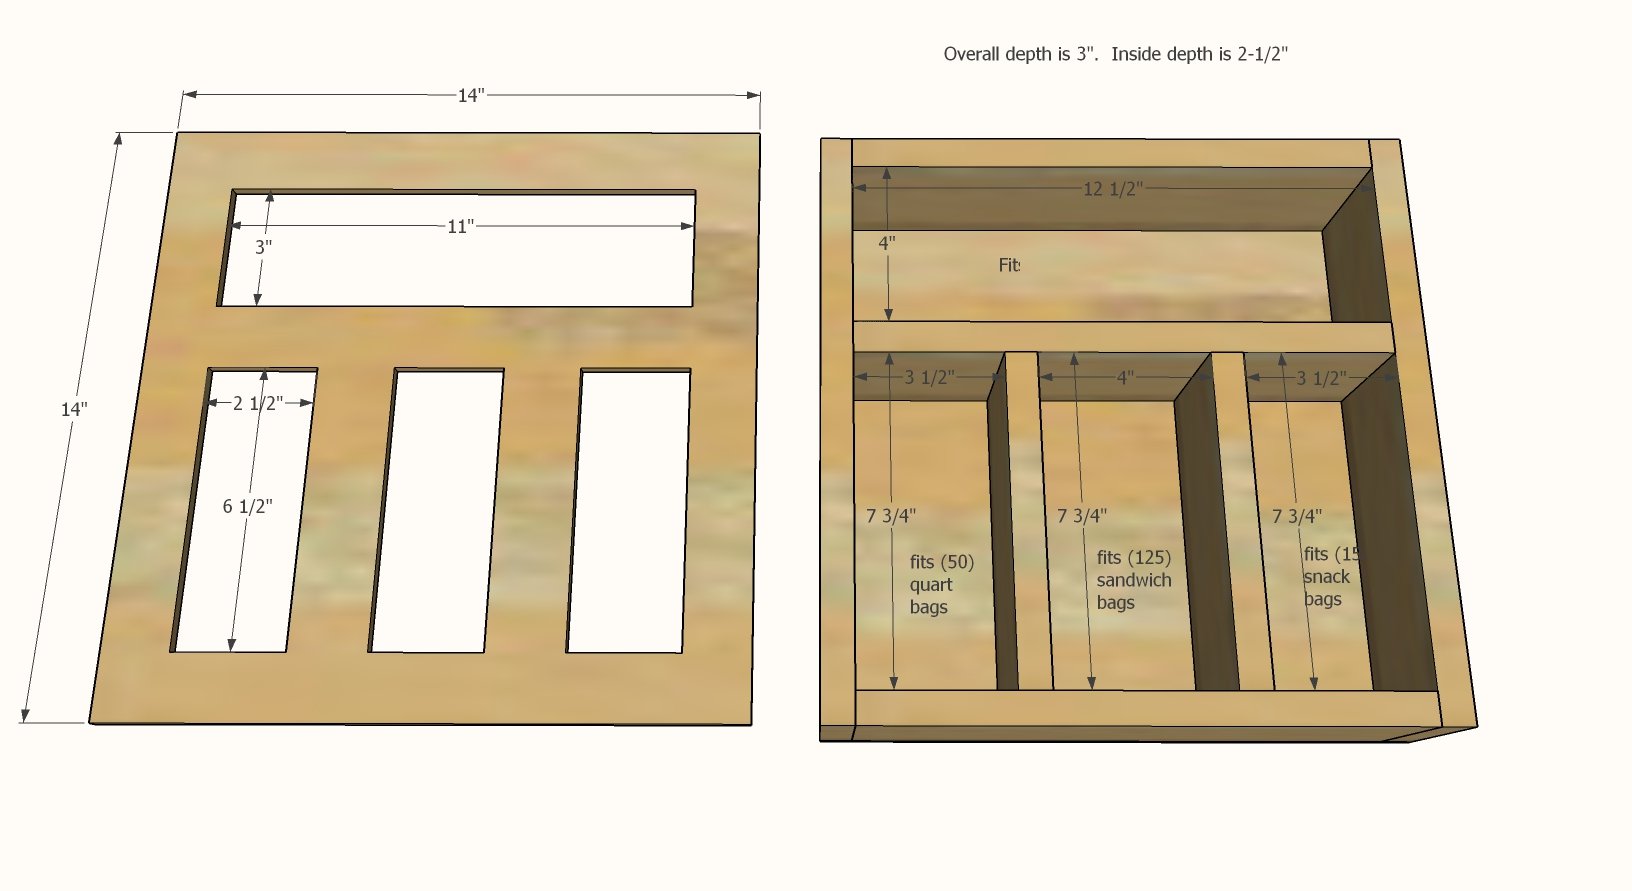
- Sized for standard ziploc bag packs: 50 Gallons, 50 Quarts, 125 Sandwich, 120 Snack
- Customizeable to fit your kitchen style and drawer size
- Makes a great gift that will be appreciated but not expensive!
How to Build this Ziploc Bag Organizer Video
Here is a VERY quick video of the basic build for this project.
The free plans follow. Thank you for using our plans.
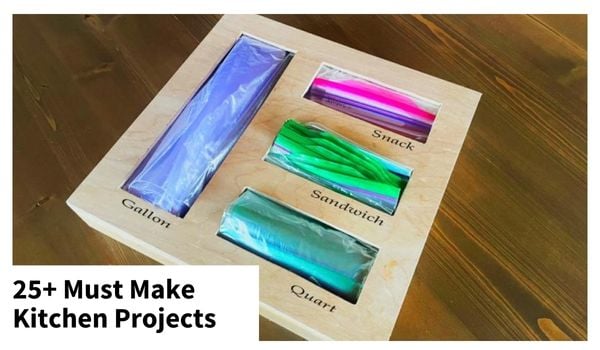
BEGINNNER FRIENDLY KITCHEN PROJECTS
Want even more DIY kitchen projects? Here's a round-up of some of our favorites!
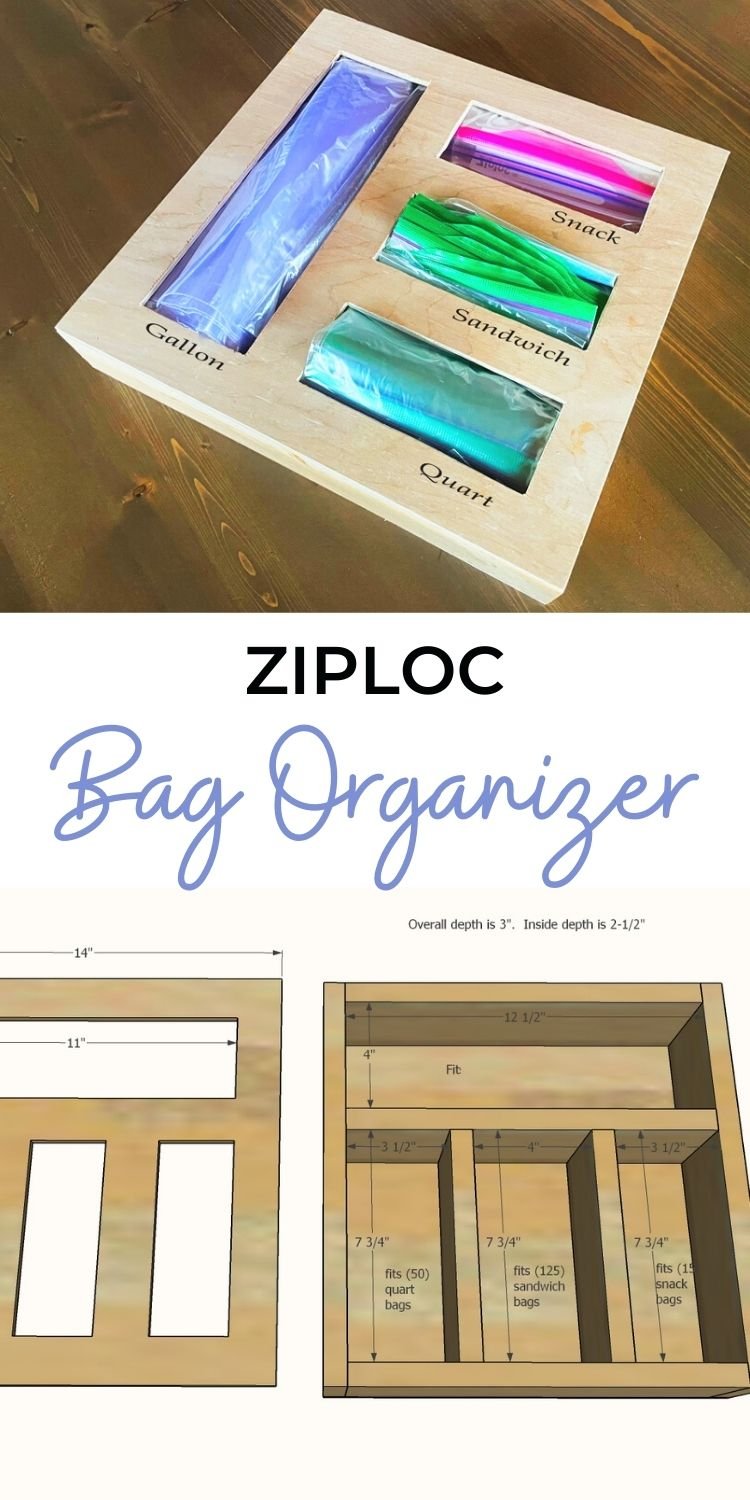
Pin for Later!
Preparation
- 1 - 1x3 @ 8 feet long
- 2 - 1/4" plywood pieces 14" x 14"
- 1-1/4" and 5/8" brad nails
- wood glue
- 3 - 1x3 @ 12-1/2"
- 2 - 1x3 @ 14"
- 2 - 1x3 @ 7-3/4"
- 2 - 1/4" plywood or MDF pieces, 14" x 14"
Cut the 1x3s with a miter saw/chop saw or alternatively with a jigsaw/circuclar saw using a square a guide to make square cuts.
Cut the 1/4" plywood pieces with a circular saw, elevating the plywood up on scrap wood or foam - or use a tablesaw to make the cuts.


Instructions
Step 1
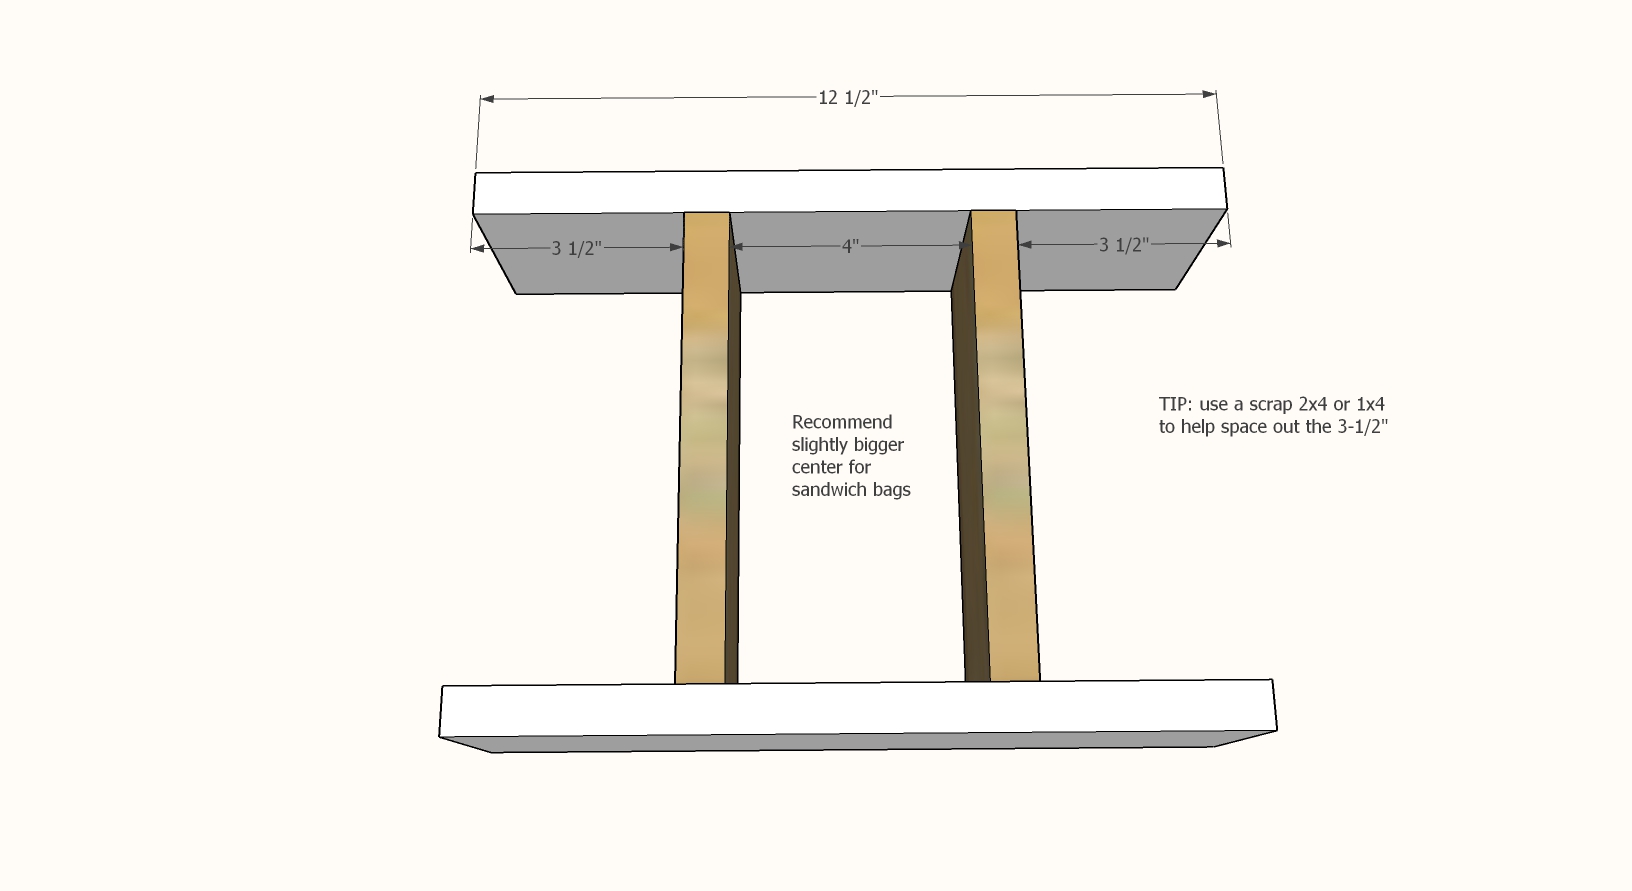
Attach the 7-3/4" long 1x3s to two of the 12-1/2" long 1x3s, set in 3-1/2" from each end.
Use 1-1/4" brad nails and wood glue.
Step 2
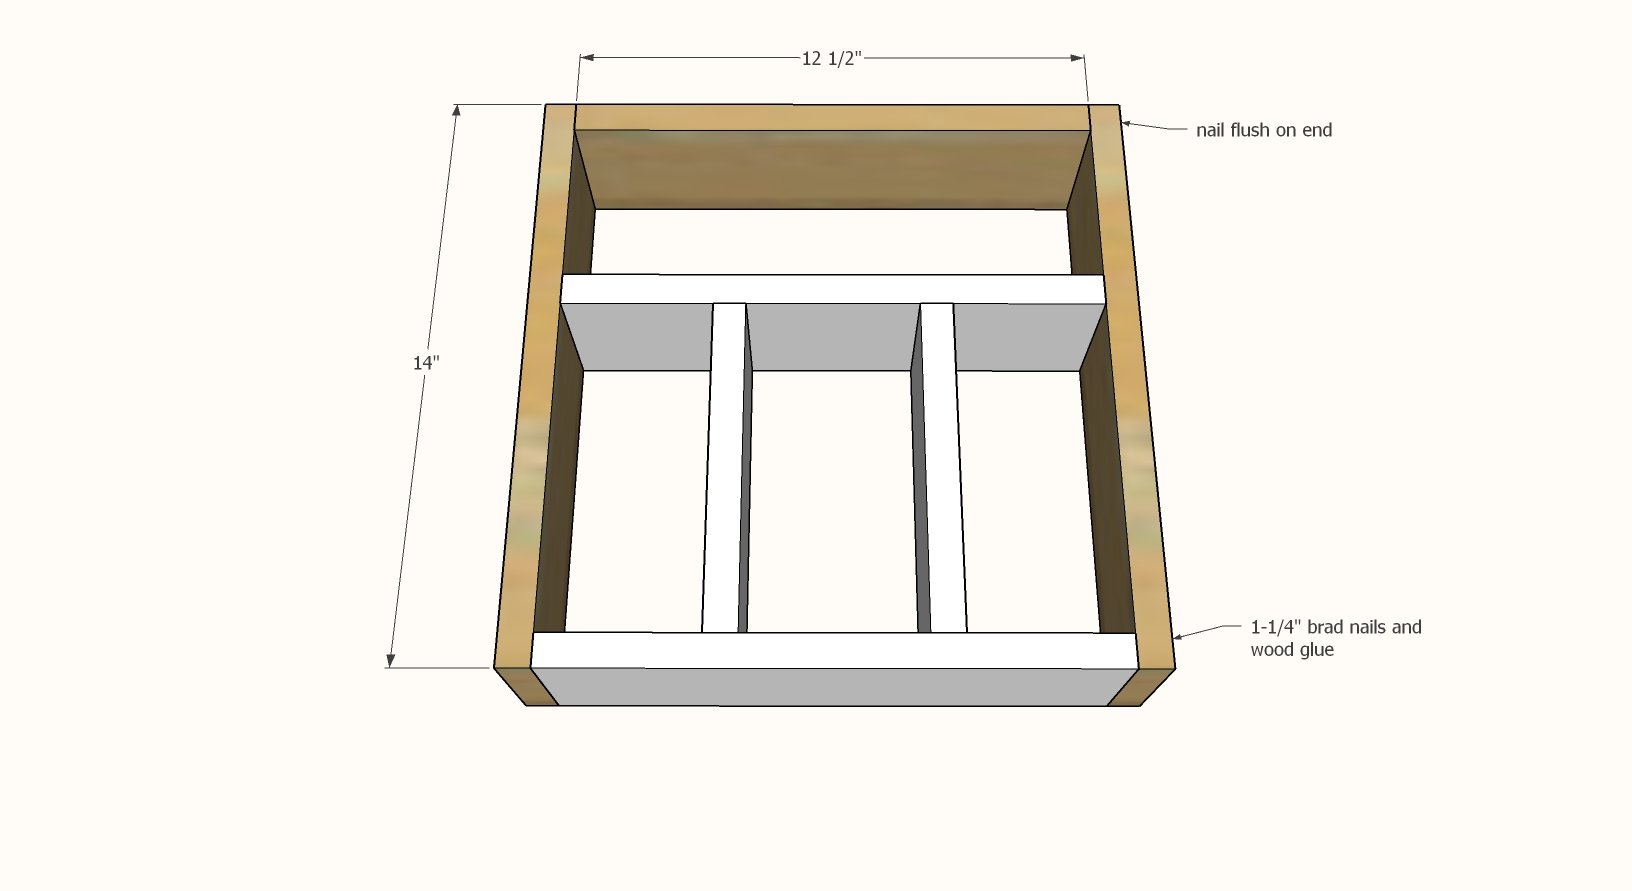
Attach the sides and top to the divider section with 1-1/4" brad nails and wood glue.
Step 3
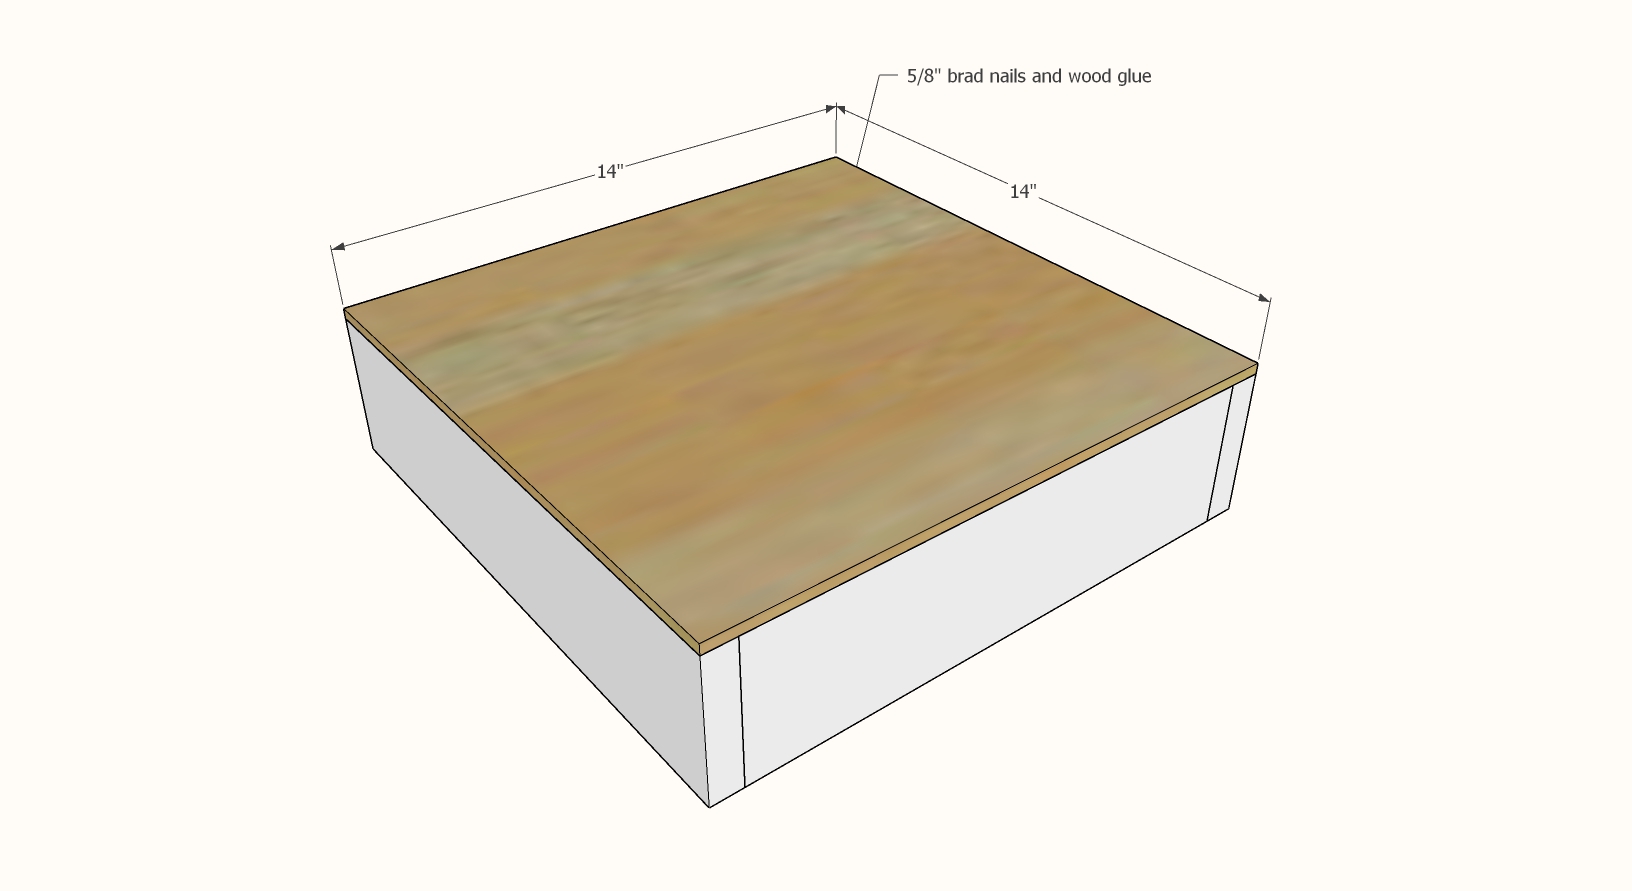
Attach 1/4" plywood to the bottom of the 1x3s with glue and 5/8" brad nails.
Step 4
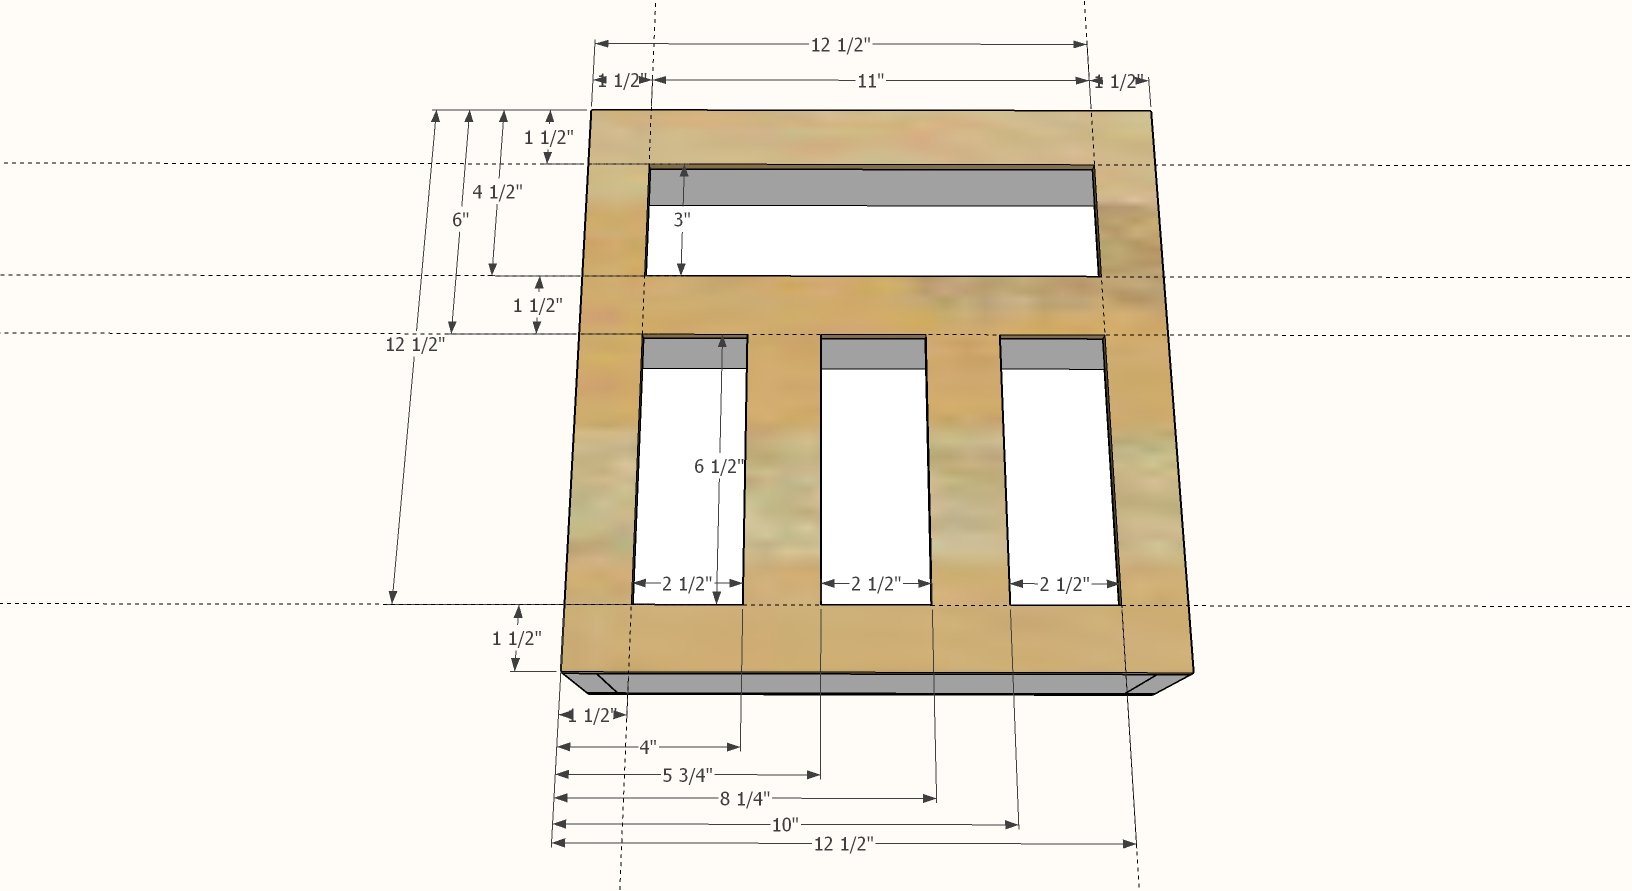
Mark out the cutouts in the remaining 1/4" plywood panel.
Clamp firmly to a worktable.
Drill holes in the centers of the cutouts (I used my Kreg Jig bit to do this)
Using a jigsaw with a finish blade for wood, carefully cutout the cutouts on the insides of your lines.
Sand the cut edges smooth so the wood won't damage your ziploc bags.
Alternative: Use a scroll saw or router/dremmel to cut out.
Once the top is cutout, attach to the top of the 1x3s with glue and 5/8" brad nails.

Comments
crafty-diy-wife
Thu, 01/13/2022 - 16:58
Making permanent in a drawer vs the design shown
Do you think it would be possible to make this as a permanent part in a drawer.. ie use 2 sides of the drawer as part of the box.