Cedar Planter - Mother's Day Gift
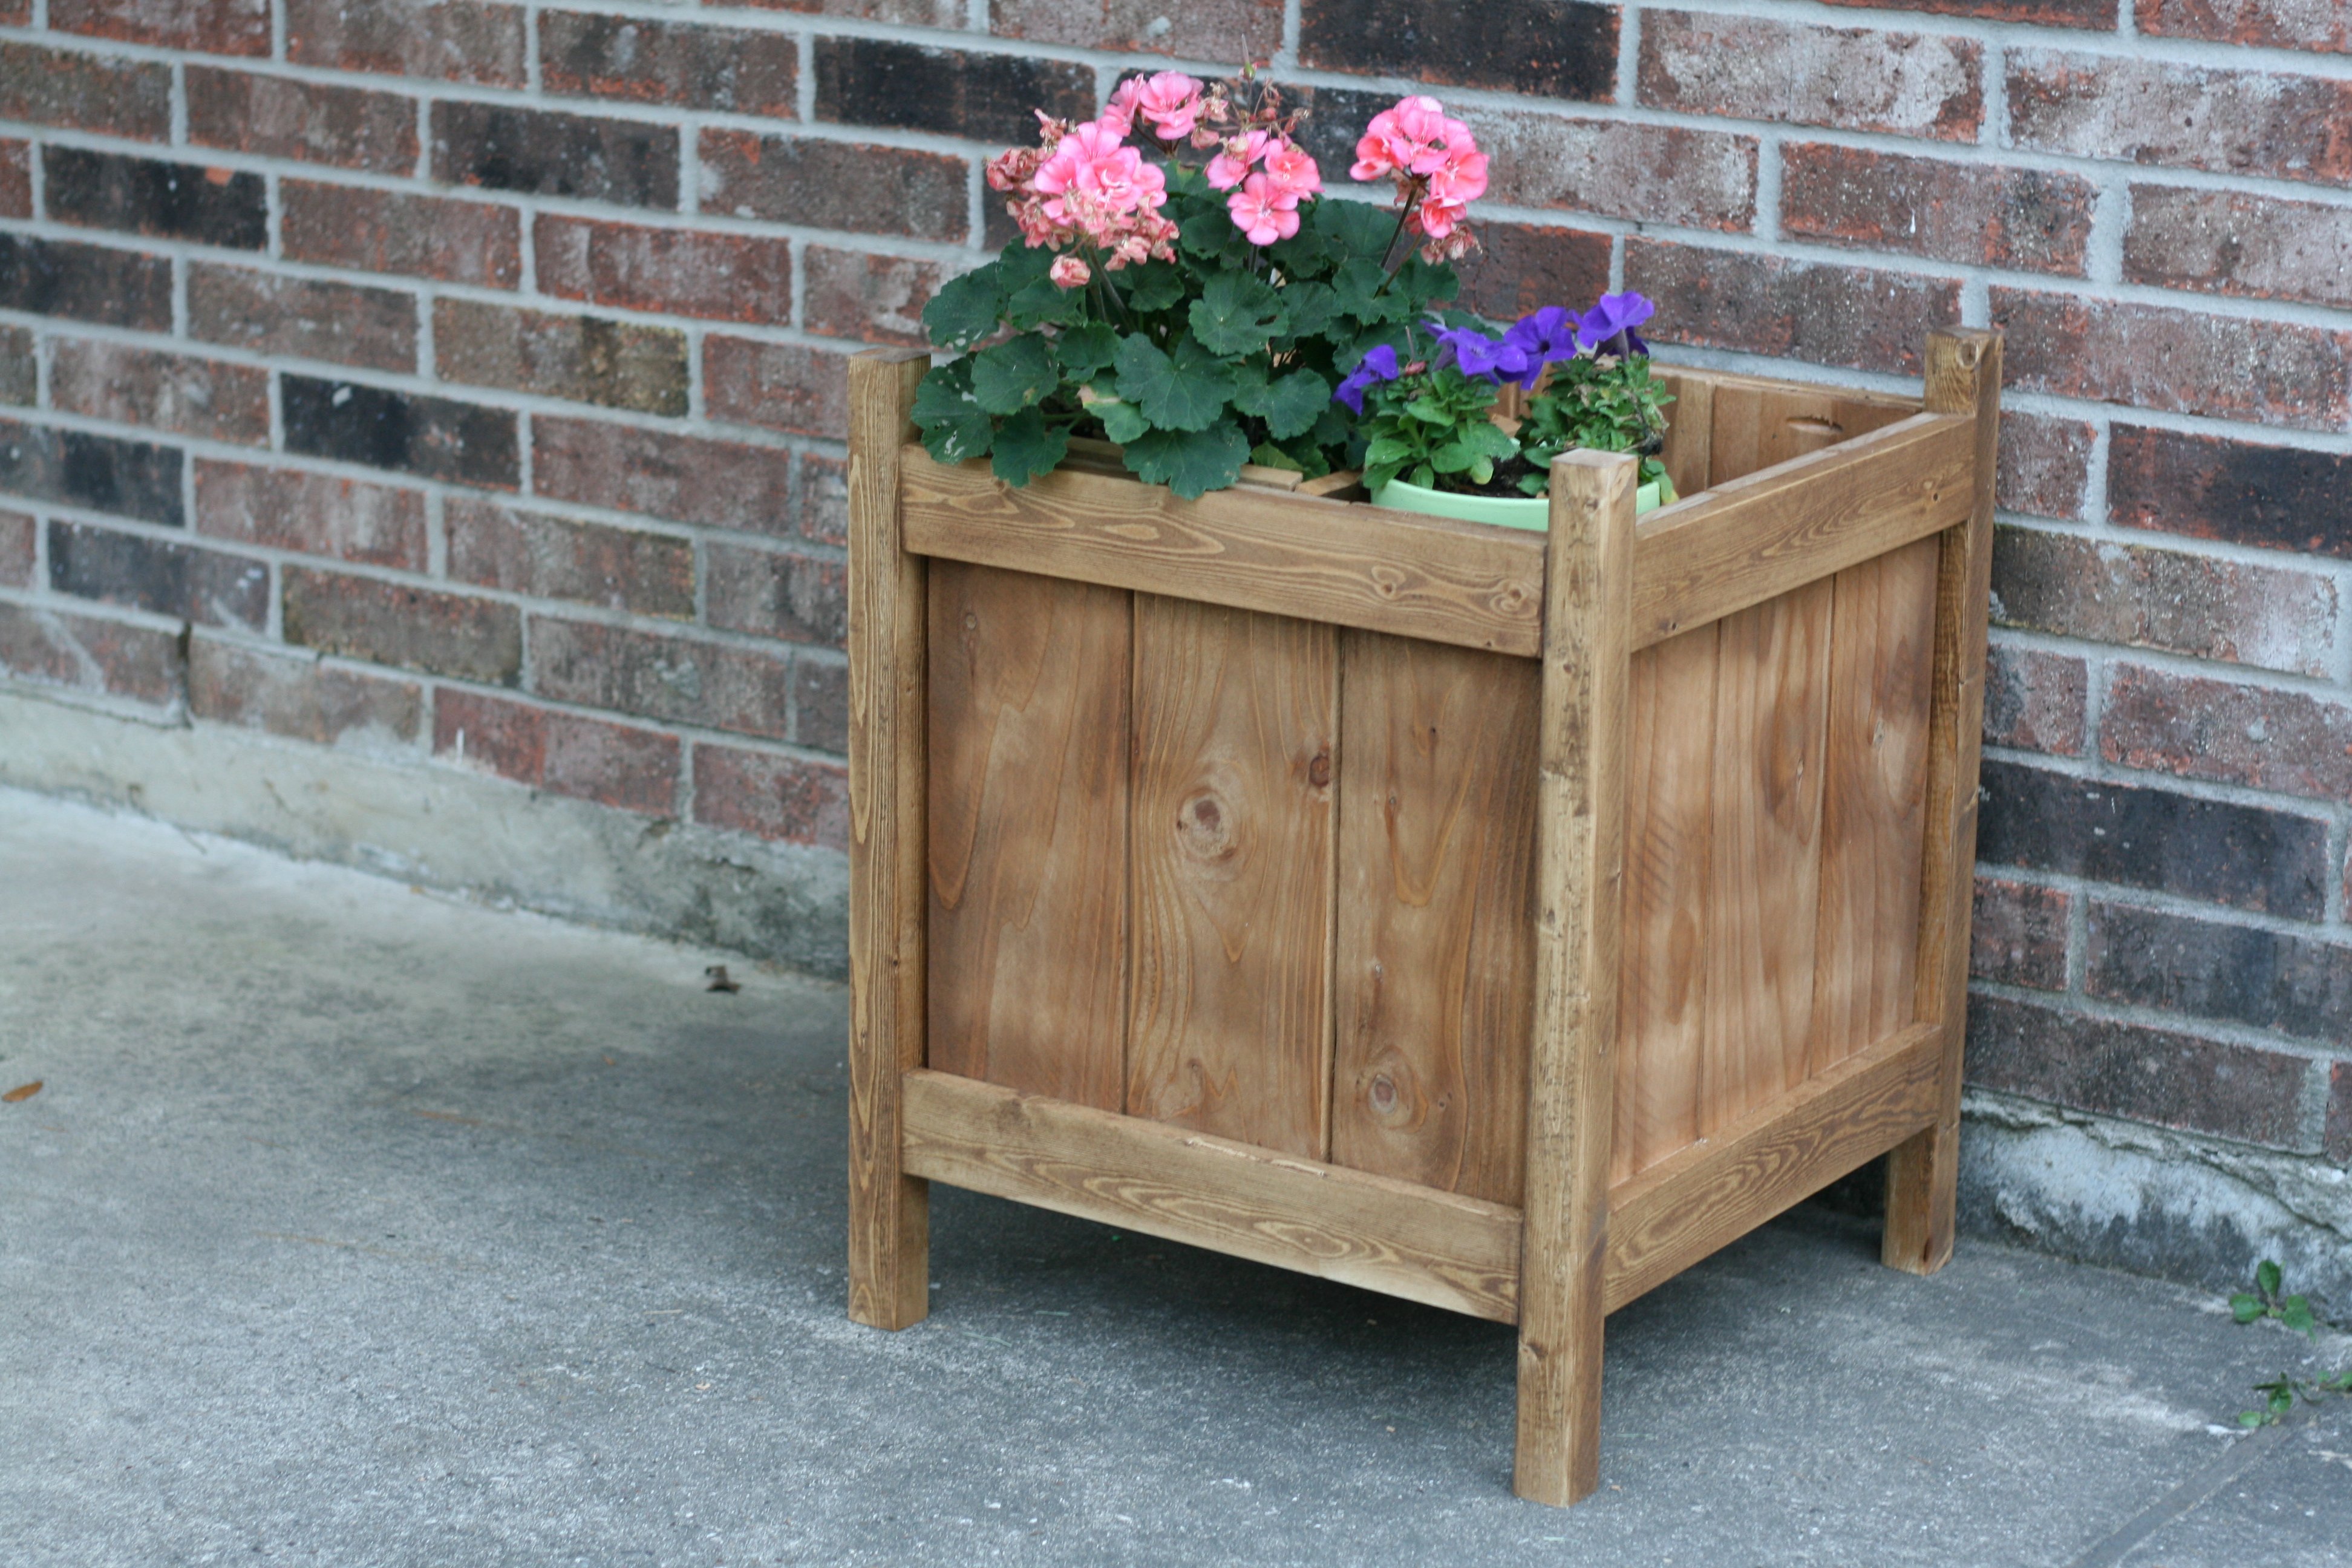
We made this for my husband's Granny who has a bright green thumb, campared to my slightly black one. It turned out great.
This is also the project I learned how to use a Kreg Jig. Amazing. My husband is hooked.
Built from Plan(s)
Estimated Cost
$25
Estimated Time Investment
Afternoon Project (3-6 Hours)
Finish Used
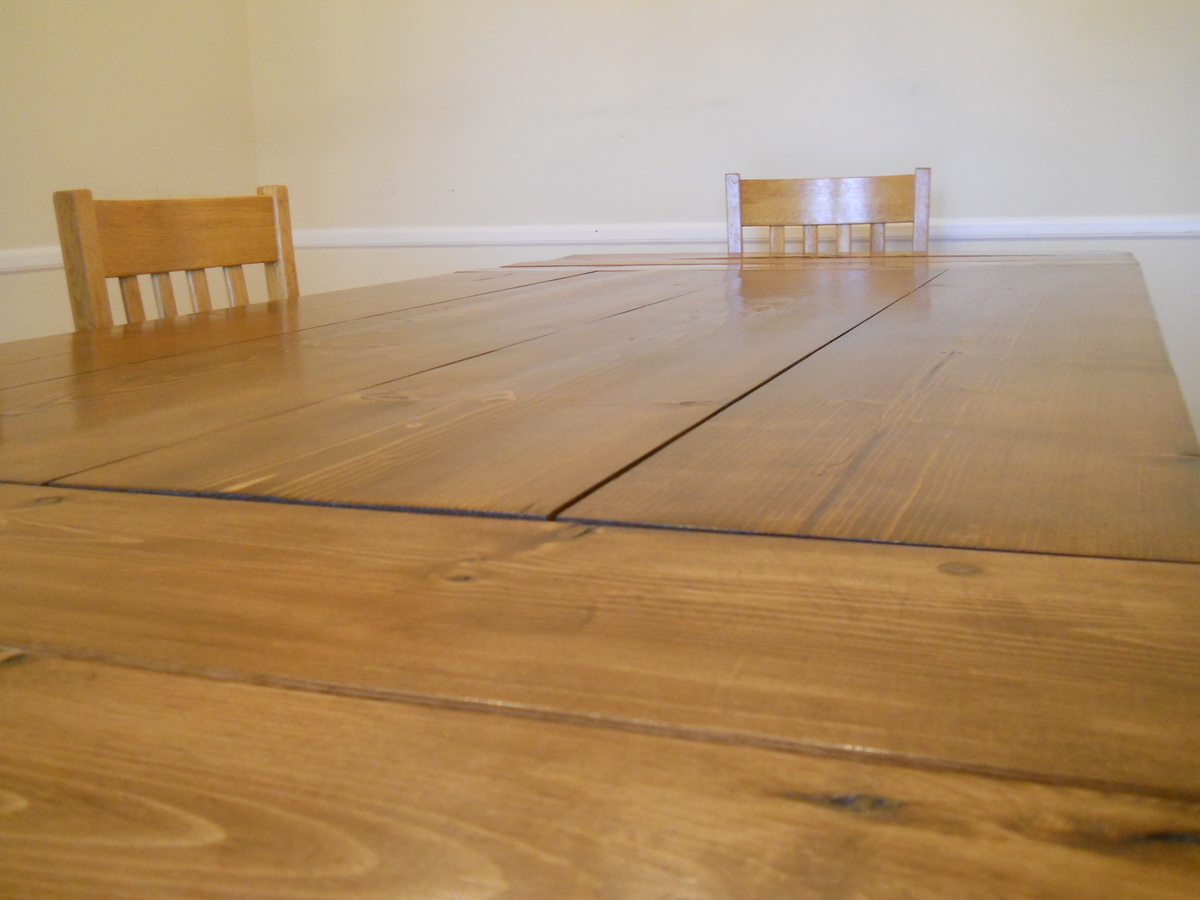
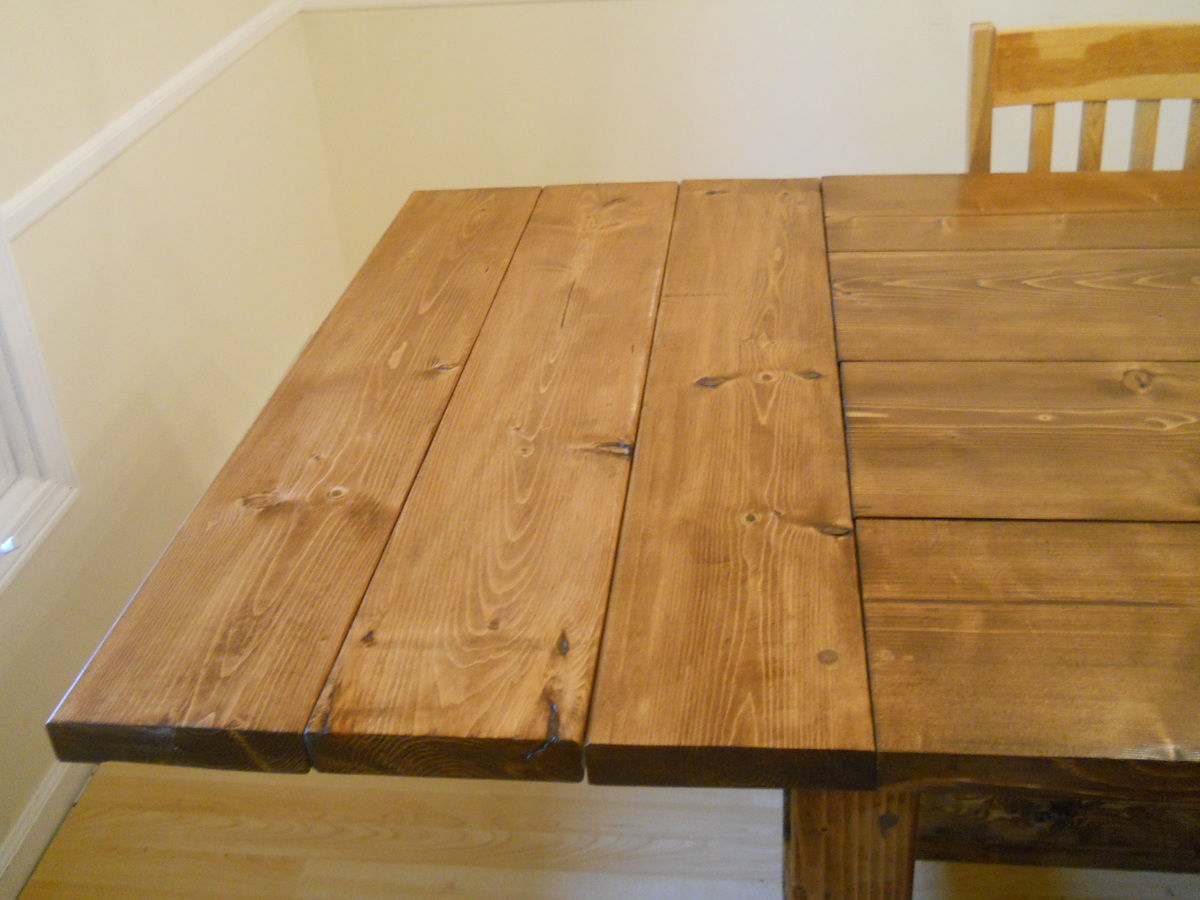
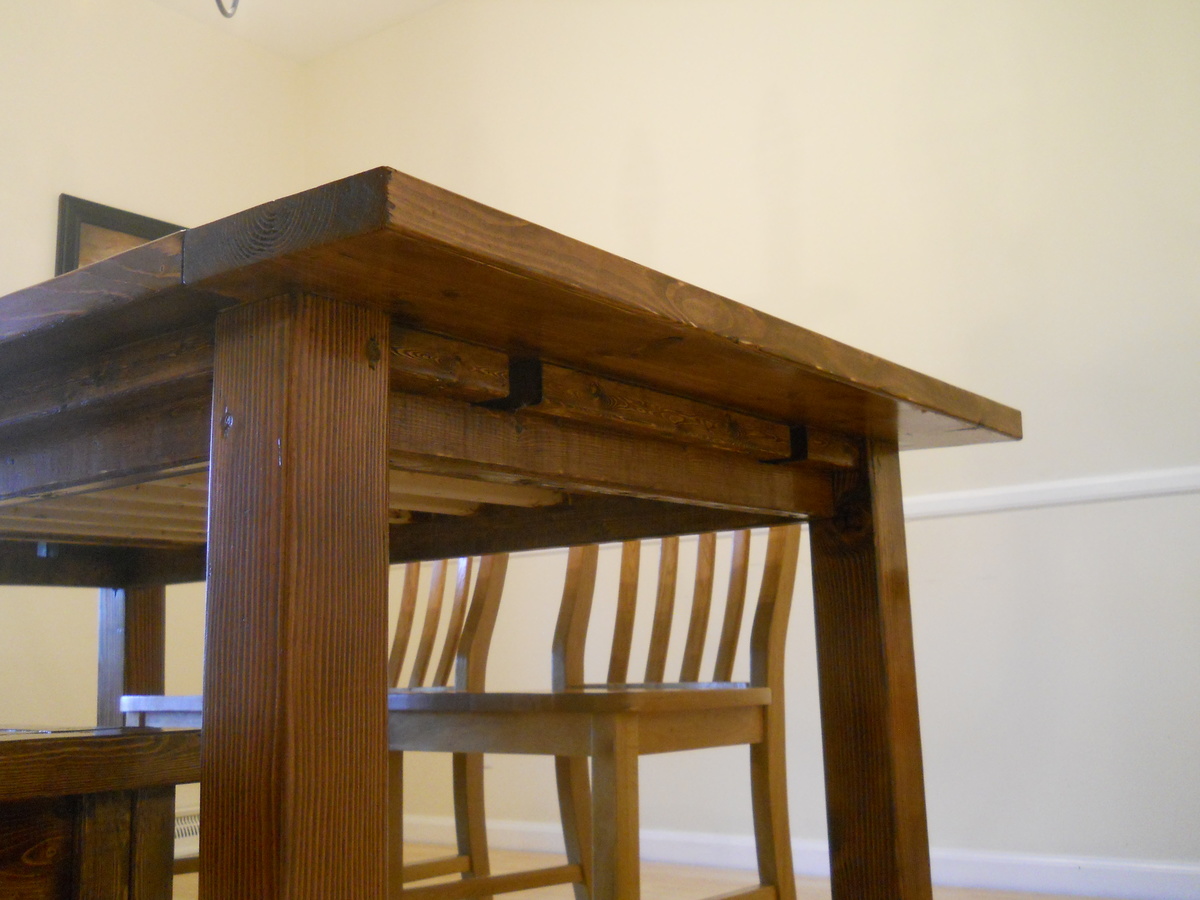
We used what was left of our SPRAY stain. I think it turned out well. Still has a bit of that cedar to it. We really did it so the Pine wouldn't stick out tremendously.
Recommended Skill Level
Beginner