Ottoman or Accent Table for Simple Modern Outdoor Sectional

modern wood outdoor furniture
Difficulty
Beginner Projects
| Print this plan

This simple woodworking plan is an ottoman for our modern outdoor sectional collection, and can also be used as a coffee table or accent table.  You'll just need a drill and a saw to build.  Step by step plans with diagrams, cut list and materials.  

Check out the matching sectional plans and learn how to finish wood for outdoor use.

Collections

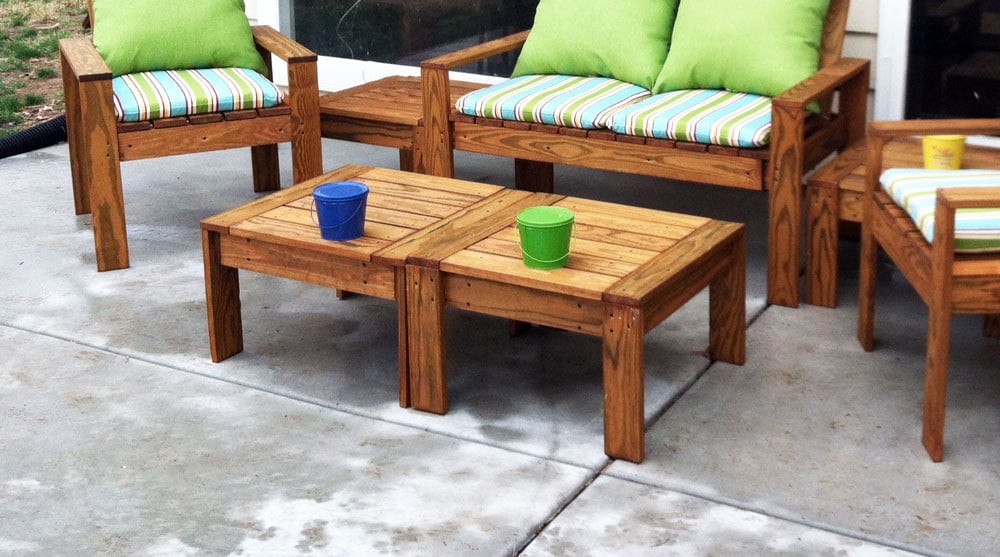
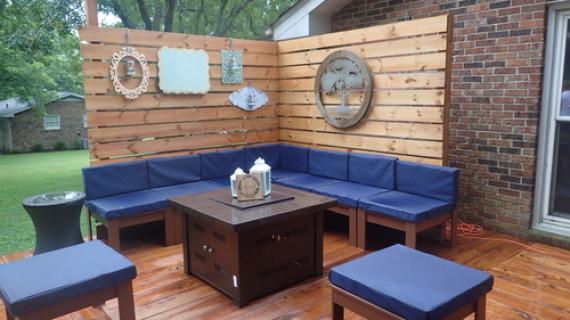
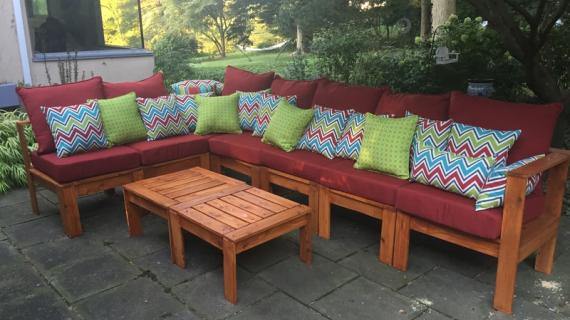
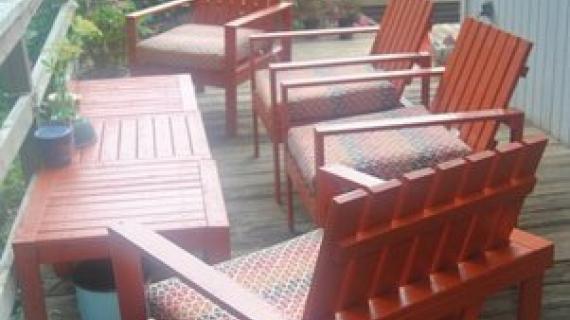
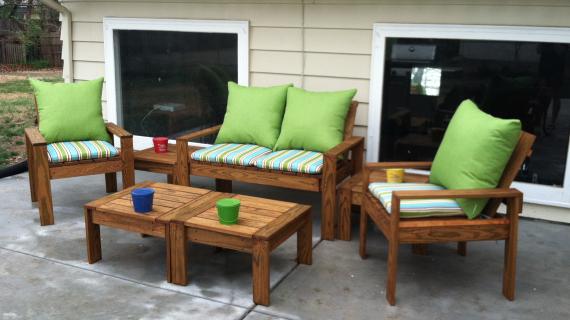
Reader submitted photo by CSPIRES64

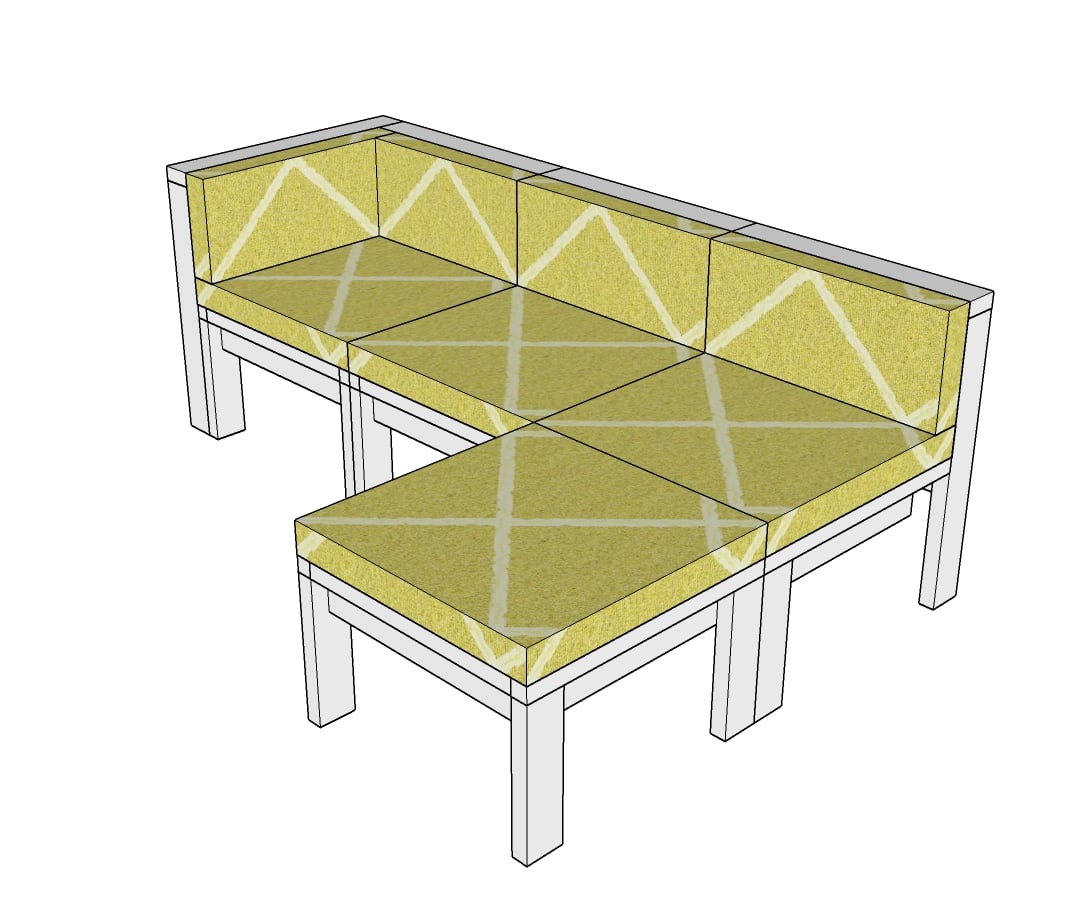
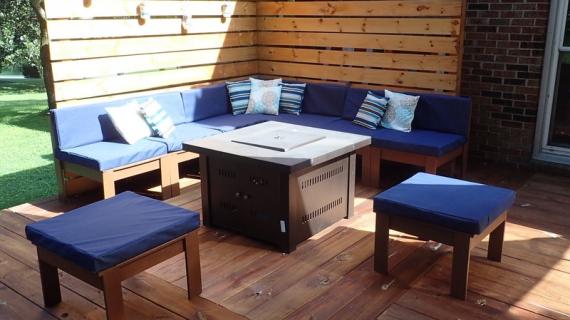
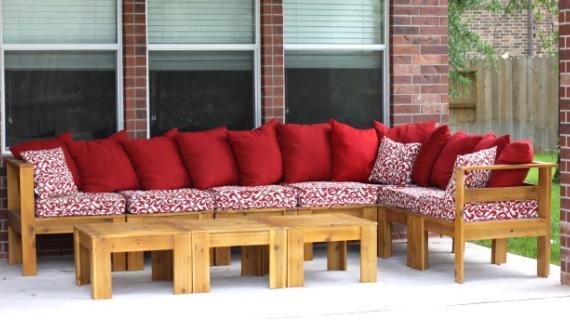
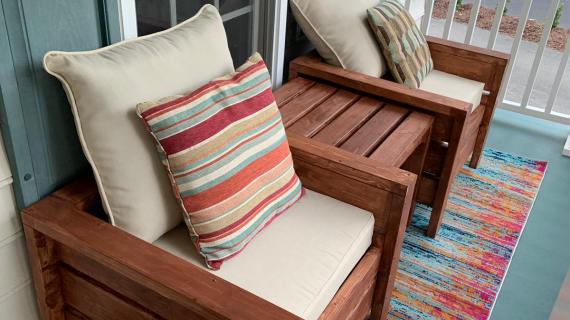
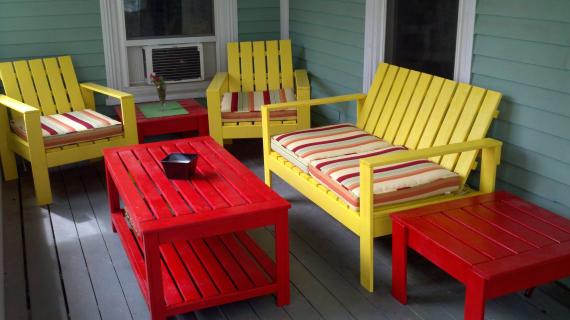
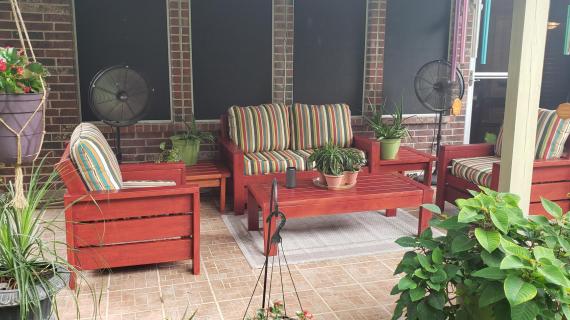
We love this solid wood outdoor ottoman with it's sturdy (and easy!) construction, and stylish modern good looks.  It's the perfect sidekick to our simple modern outdoor sectional plans

diagram showing simple modern outdoor sectional with ottoman

NOTE: This plan has been updated to use less materials and be easier to construct.  The original plans are here if you need them.

Dimensions
dimensions diagram for outdoor ottoman plans
Dimensions shown above, matches dimensions of the Simple Modern Outdoor Sectional Plans

Preparation

Shopping List

1 - 2x2 @ 50"

3 - 2x4 @ 8 feet long (recommend cedar or outdoor appropriate)

60 - 2-1/2" long exterior self tapping wood screws (deck screws or similar)

Cut List

2 - 2x4 @ 22" - seat frame

2 - 2x4 @ 19" - seat frame

4 - 2x4 @ 13-1/2" - legs

6 - 2x4 @ 22" - tabletop boards

2 - 2x2 @ 25" - end trim


Tools
Tape Measure
Speed Square
Safety Glasses
Hearing Protection
Drill
Circular Saw

Instructions

Step 1

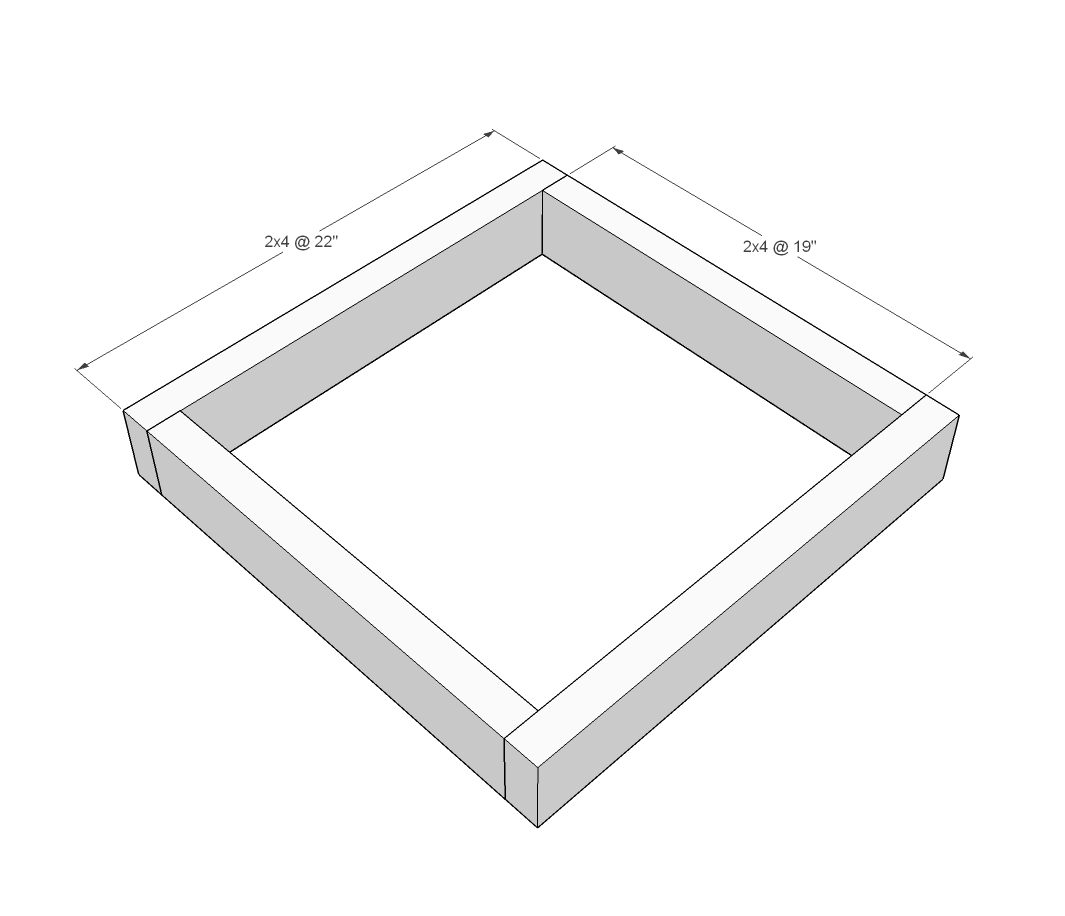
Build the seat frame by attaching the seat boards together with 2-1/2" self tapping wood screws, two per joint.

Step 2

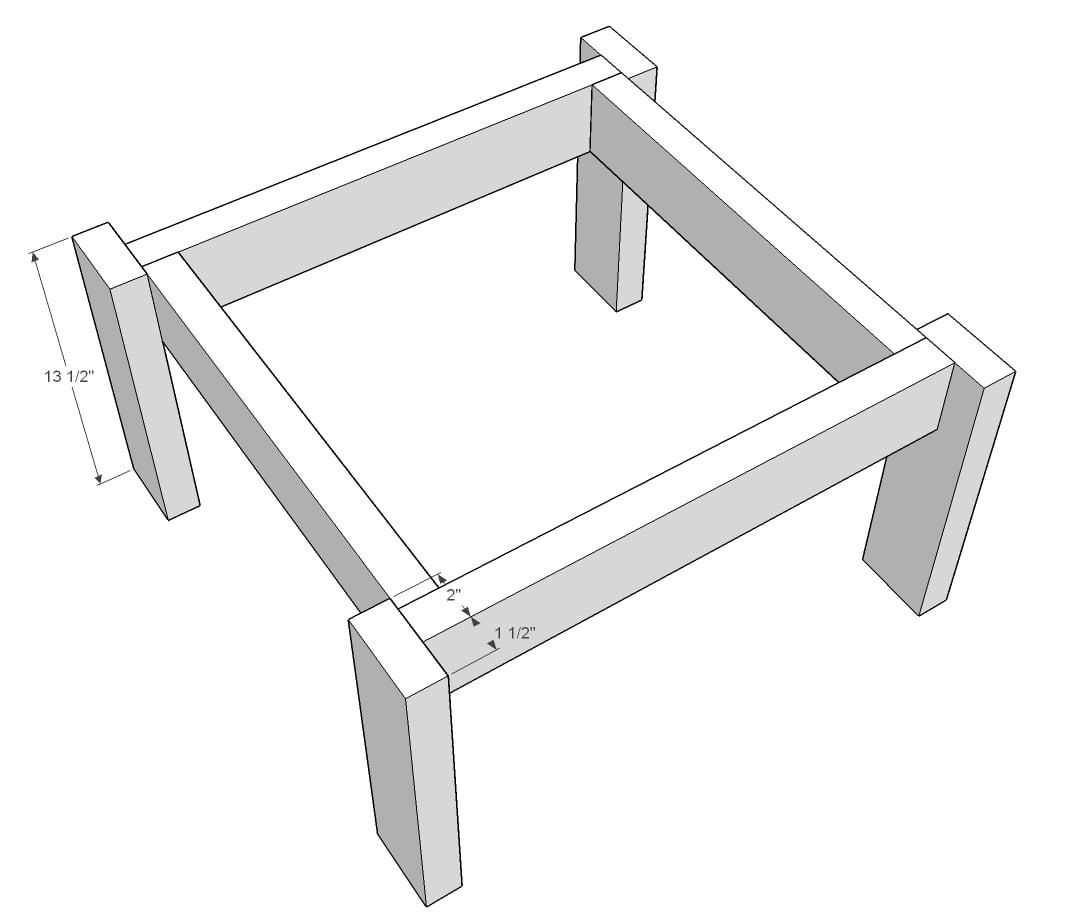
Attach legs with 2-1/2" self tapping wood screws, two per joint,from the inside of the seat frame into the back side of the legs (it's good to screw at a slight angle - this will help prevent any wobbles

Step 3

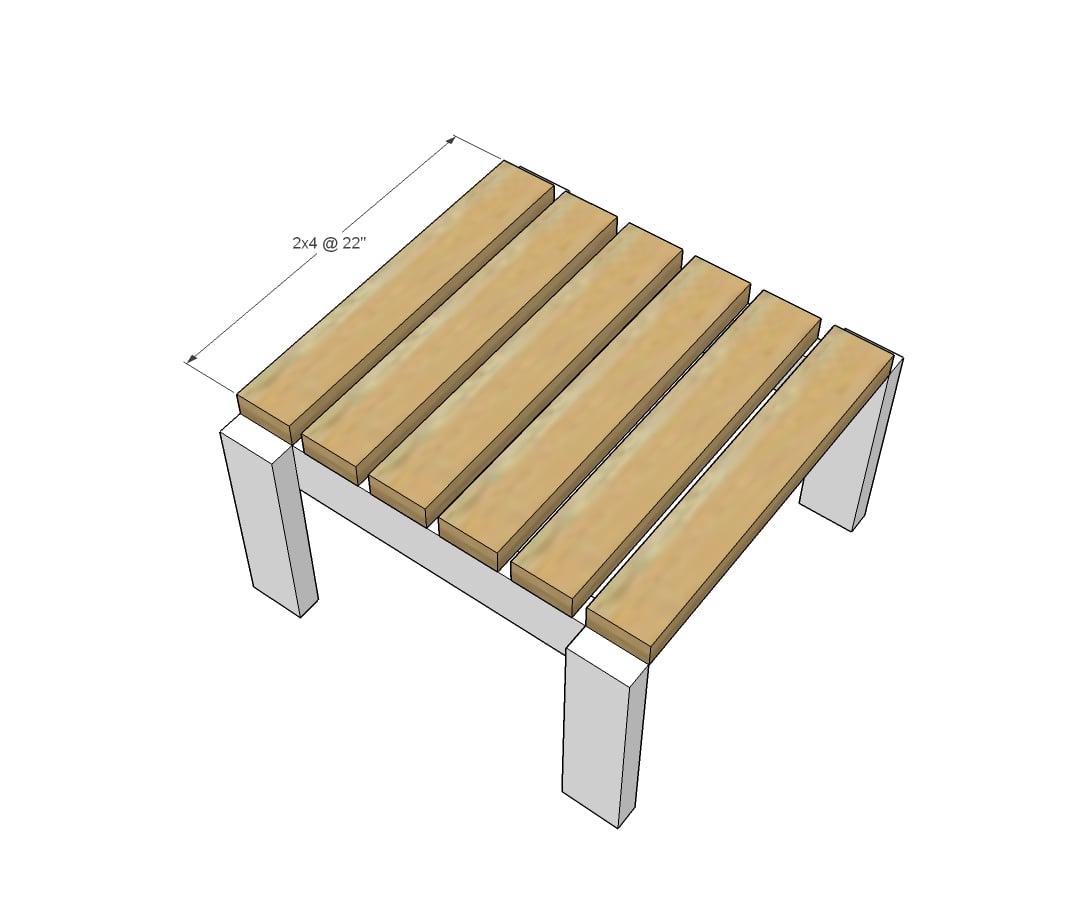
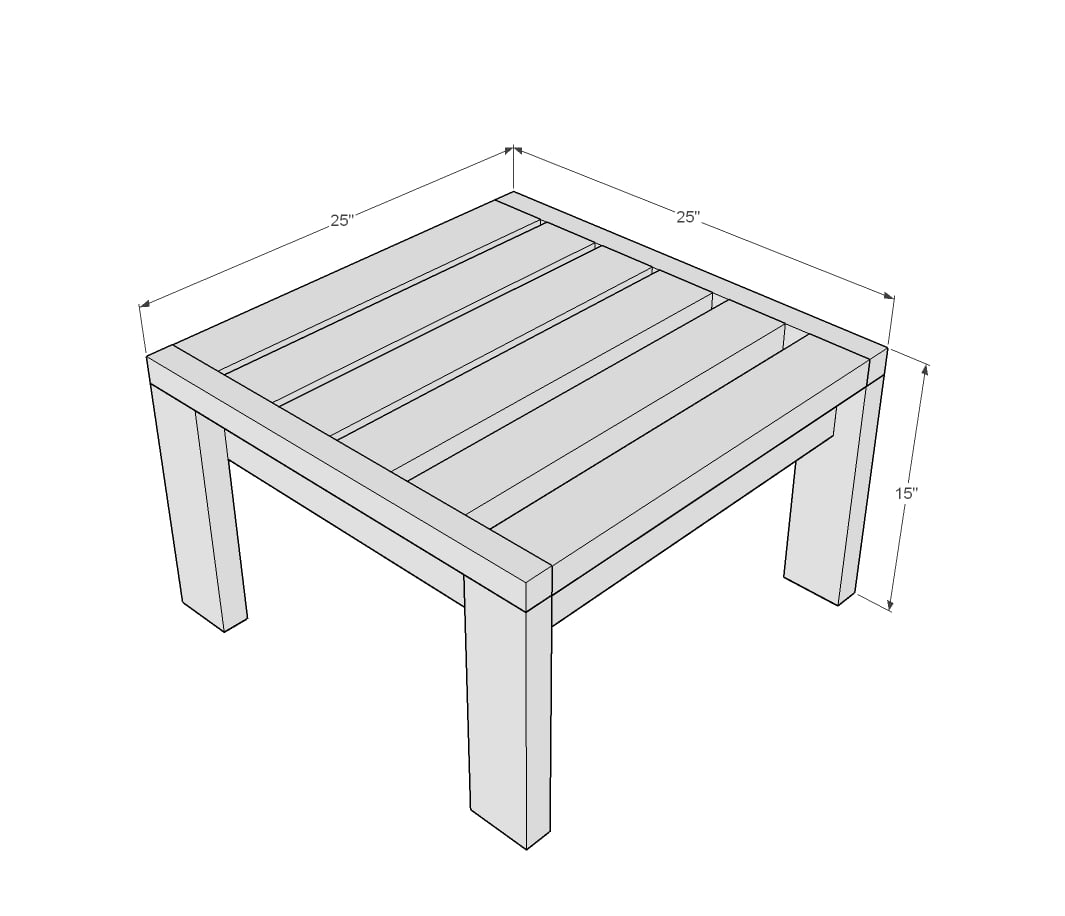
Layout tabletop slat boards, evenly spacing.  Screw down.

TIP: You can measure and mark out the screw holes for a neater final finish.

Step 4

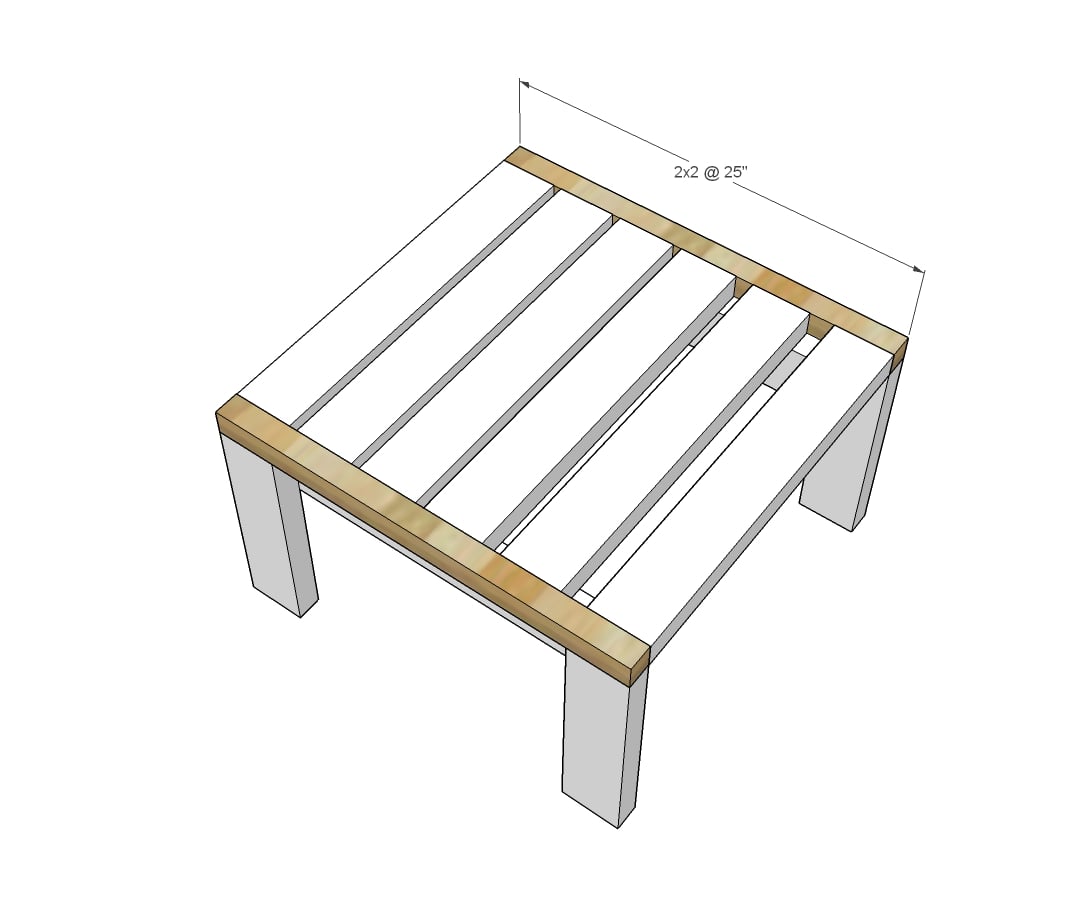
Attach 2x2 trim to the ends of the tabletop slats and also to the tops of the legs.

Finishing Instructions
Preparation Instructions
Since your ottoman is already prefinished, go ahead and do a touchup coat over any exposed screws. You can fill screw holes with a wood filler or paintable silicone. Sand lightly and paint. Add your outdoor sealant.

Comments

Kandace (not verified)

Tue, 05/25/2010 - 09:57

ok. I've been wanting something like this for my living room. Similar to the LACK Ikea tables but I wanted REAL wood. I think I may give this a go but push the slats together so my kids can use it for a coloring surface easier!!
THANKS AGAIN!! I have WAY to many TO DO projects! Stop posting such awesomeness!!

Christy (not verified)

Tue, 05/25/2010 - 10:18

My list of things to build is crazy long at this point - but at least we live in Florida, where we can use outdoor furniture almost year round. :)

Ana, can I add something to your list of plans? It'll be simple, I promise (says the girl who doesn't make furniture plans)!!! :)

I'm planning to redo my bedroom in much the way that John and Sherry did here: http://www.younghouselove.com/2008/02/over-our-heads/

Can you put together a plan for those closets? Pretty please?? I'll heart you forever (ok, I already heart you forever, but still) :).

Christy

Ana White (not verified)

Tue, 06/29/2010 - 12:06

Katrina, there is no reason Trex wouldn't work strucutrally, but you will have open exposed ends to consider with Trex.

MW Gillette

Wed, 09/16/2020 - 15:50
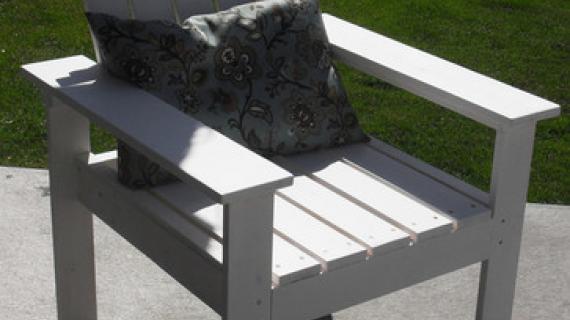
Hi Ana,

I brand new to your sight but what I see so far is great. In the photo for this post is a set of chairs. I see something similar in another post but but they have four slats and these have five.

Is there a set of plans for the chairs in this photo?

Frequently Asked Questions

Wood Questions

What kind of wood should I use?
Most of our plans use standard construction lumber like pine or fir. It's affordable, easy to work with, and easy to find. It's also rapidly renewing and biodegradable, so a great eco friendly choice!

Can I use hardwoods instead?
Yes—just keep in mind they're heavier, cost more, and can be tougher on tools and harder to join together and finish. I recommend not tackling a hardwood project until after you have built several softwood projects.

What if my boards are warped?
Choose the straightest boards at the store. You can often work around slight warps by cutting them into shorter pieces.

What wood should I use for outdoor furniture?
Use red-toned or pressure-treated 2x lumber for framing, and cedar or cedar fence pickets for the decking. Outdoor furniture should be built like a deck—your local home center can help recommend the right wood for your climate.

Will my wood move or warp after I build?
Potentially, especially in humid climates. Let your wood acclimate indoors before building. Once acclimated and kept in a stable environment, movement should be minimal. Remember, most houses are built using framing lumber - it's all about keeping moisture down indoors.

Cutting Questions

Do I need a miter saw?
A miter saw is great, creating fast, safe, and precise cuts, even for beginners. But most plans can be built with a circular saw and a straight edge. If using a circular saw to cut, take time to practice, and get good at making cuts, before cutting your project boards.

How do I get clean cuts with a circular saw?
Clamp your board, measure twice, cut slow, and use a sharp blade. This takes practice, so spend some time making cuts. I go through becoming proficient at freehand cutting in my course, it is worth taking if you want to master this skill.

Will the store cut my wood?
Yes—most stores will do rough cuts to help you transport your materials home. But from store to store, the quality of cuts could greatly vary.

Joinery Questions

What screws should I use?
We recommend star-head self tapping screws for framing, most common sizes are 2-1/2", 1-3/4". Pre-drill if close to the edge or you find your wood is splitting.

Do I have to use pocket holes?
Pocket holes are the cheapest, easiest and fastest way to do some joints - like edge to edge or a hidden fastener joint. There are other methods, but these can be time consuming and expensive. We recommend using pocket holes as indicated in plans for best results.

How do I keep things square?
Use a speed square and measure diagonals after each step. Always clamp joints before screwing to keep them tight and flush.

Finishing Questions

Stain or paint before or after building?
A quick sand before and a full finish after gives the best results. Pre-finish if you're doing two-tone or detailed finishes.

What type of finish?
Use oil-based or water-based stain. For paint, cabinet-grade latex or enamel works great. High use surfaces on indoor projects should get a coat of polyurethane, I recommend a Helsman or Spar or other flexible poly that won't crack or peel with wood movement. For exterior projects, use a finish suitable for exterior fences.

How to get a smooth finish?
Start with a well sanded project. Sand between coats (220 grit), wipe clean, and apply light coats with a foam brush or roller.

Plan Questions

Can I change the size?
Many people do, and that's the great thing about building your own furniture! But do keep in mind going bigger might mean more supports are required, and often plans are optimized for minimal material waste.

Are these beginner-friendly?
Yes—plans are written with simple tools and clear steps in mind, with every effort to make plans as simple as possible.

Can I sell what I build?
Absolutely! Just don’t resell or repost the plans themselves.

General Questions

What tools do I really need?
A drill, circular saw, tape measure, square, and a few clamps will get you through most projects.

Do I need a workshop?
Nope! A driveway or small patio is plenty to get started, just make sure you have a level place to work. If you find you are building several projects a year, creating a small workbench is a great way to store tools and have a dedicated workspace.

What if I mess up?
Wood filler, sanding, or flipping boards goes a long way. Mistakes are part of the process!

What can I do to make my projects look more professional?
Start with straight boards, make accurate cuts, clamp all joints, and line up everything neatly. Sand thoroughly, use a neutral finish, and apply it in light coats for a clean look.

I've never built anything before. Where should I start?
Start with a few smaller softwood projects to get hands-on experience. Or if you're tackling a big project, buy a little extra lumber and practice your cuts and joints first. If possible, work with someone who has a bit of experience.

Care & Maintenance

How long will my furniture last?
With good joinery and regular care, your DIY furniture can last for decades. I have pieces in my own home that are over 20 years old and still going strong! One of the best parts about DIY furniture is that it’s easy to repaint, refinish, or repair—so your projects can grow and adapt with you.

How should I care for outdoor furniture?
Lightly pressure wash or hose it down once or twice a year. Tighten screws and reapply finish as needed to protect it—just like a deck or fence. A little upkeep goes a long way in extending the life of your furniture.

How about indoor furniture?
Regularly dust or wipe with a damp cloth. If it starts to look worn, a light sanding and touch-up paint or stain can refresh it in no time. DIY pieces are meant to be durable and fixable—so don’t be afraid to give them some love now and then.

Want to Build with Confidence?

Check out my ebook: 12 Skills to Build Your Own Furniture
It walks you through the core skills every builder needs—measuring, cutting, joinery, and finishing—so you can build beautiful furniture that lasts.

Still Have Questions?

Email us anytime at [email protected] and we’ll be happy to help!