

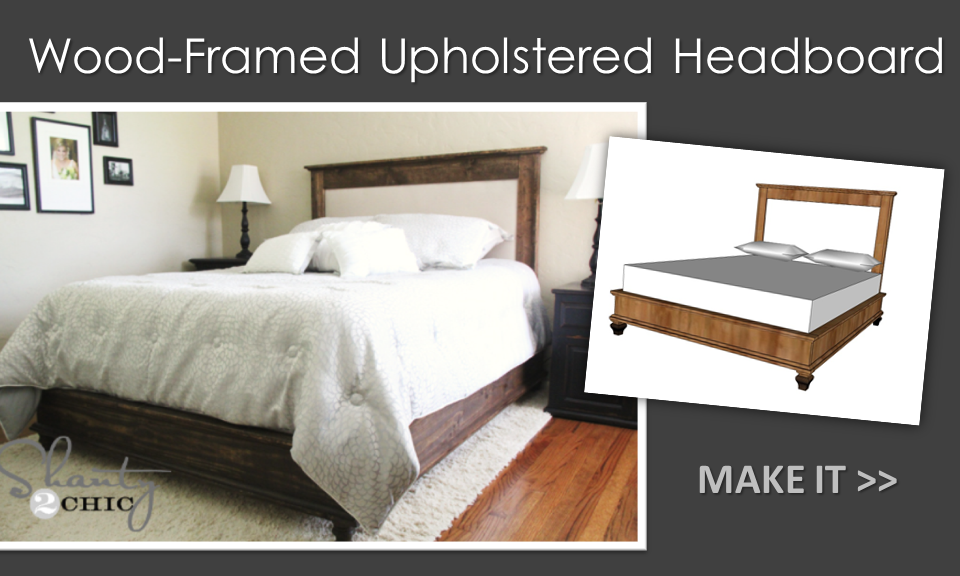
Make your own upholstered panel headboard in a wood frame - free plans by Ana-White.com

RELATED: Matching Platform Bed Plans
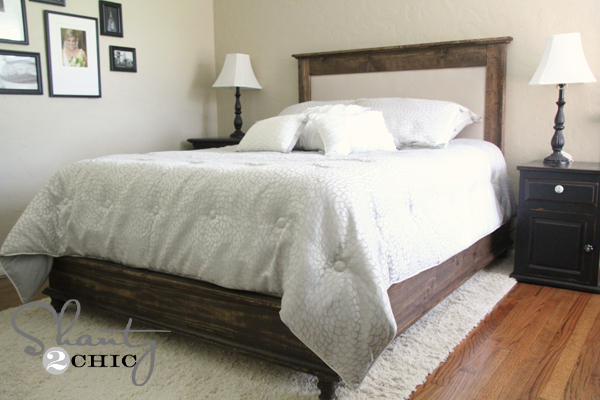
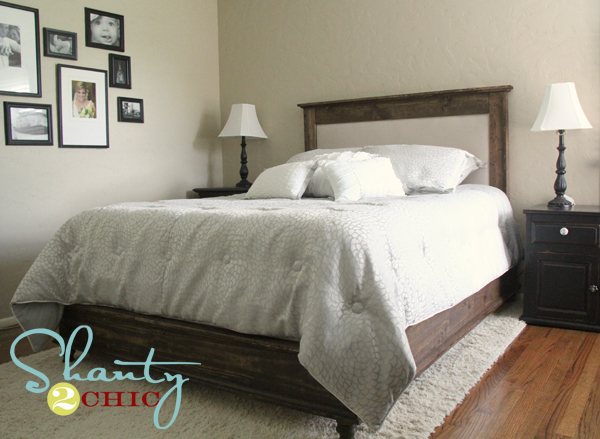
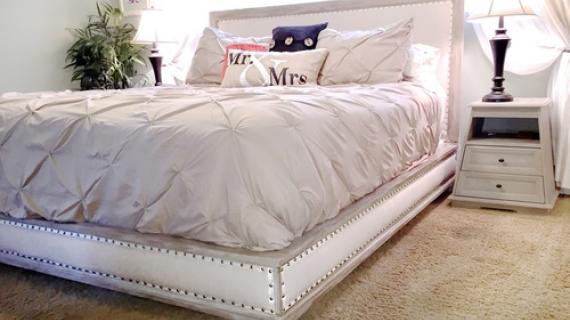
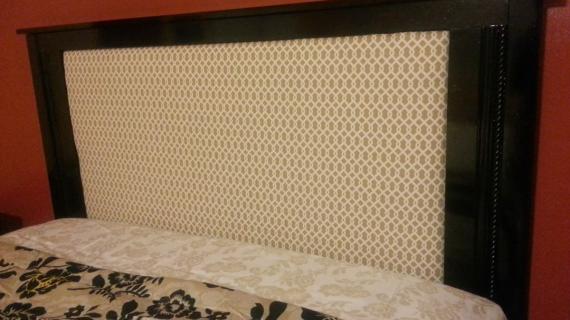
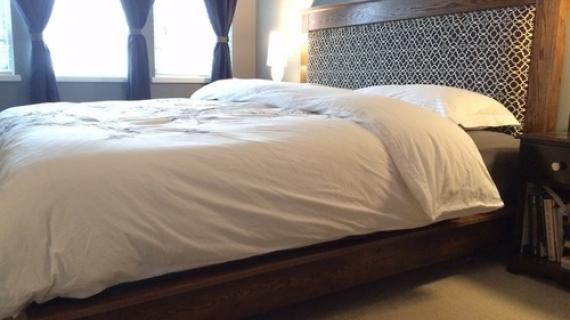
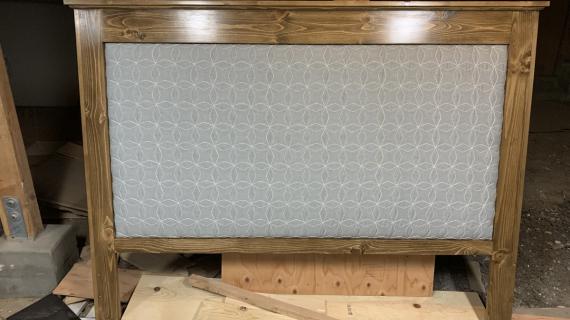
We considered quite a few options when putting together these plans, but ultimately, felt a wood framed headboard would be the best accent for this platform bed. And I am so thrilled how this bed turned out!
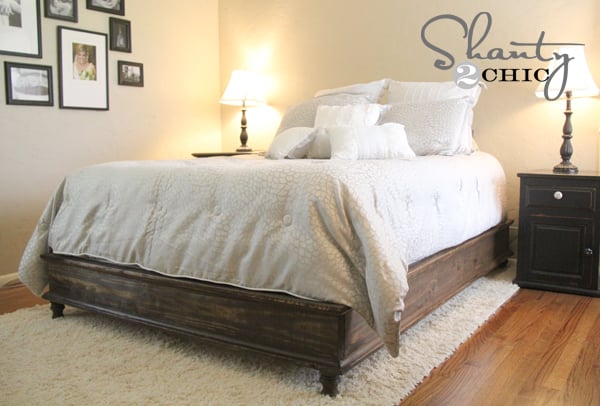
My friend Whitney from Shanty 2 Chic built this bed for her sister. Here's from Whitney:
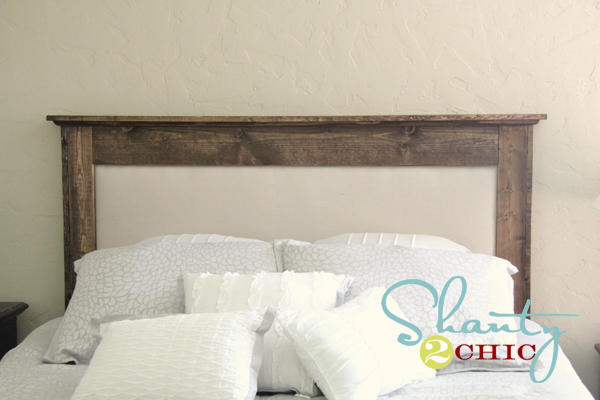
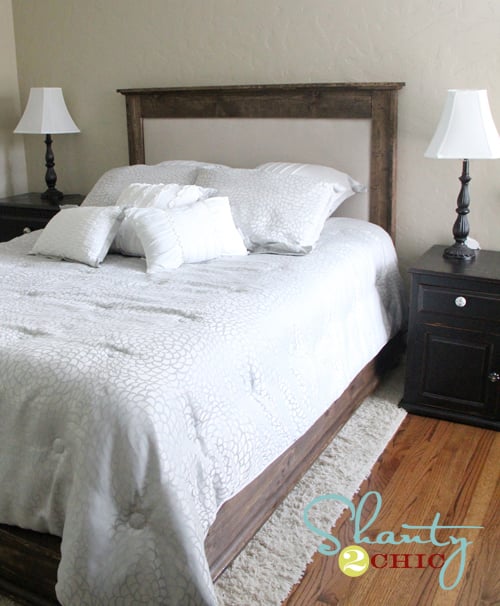
This was such a fun and easy headboard to build. I think it looks very adult and expensive, and it is a perfect partner to that great platform bed. You can easily build it for under $100 which makes it even prettier if you ask me! I built the entire thing while the babies were taking their nap. I love how you can personalize it so much with your fabric. My sister loves it too!
Make sure you stop over and check out more photos and building details from Whitney on this headboard. And of course, the plans follow.
Preparation
- 1 sheet 1/2” plywood or MDF
- 1 – 1x4 @ 12 feet long
- 2 – 1x3 @ 8 feet long
- 1 – 1x6 @ 6 feet long
- 1” thick foam for center panel
- Batting to cover foam
- 1 yard 54” wide decorator fabric
- ½” staples
- Spray adhesive
- 1 – stick moulding
- 1 ¼” and 2 ½” brad nails
- Wood glue
- Finishing supplies
- 2 heavy duty metal shelf brackets for attaching headboard to bed
- 1 – 1/2” plywood, particle board or MDF @ 40” x 58
- LEGS: 2 – 1x4 @ 40” OR 53" if legs extend all the way to the floor for a freestanding headboard
- 1 – 1x3 @ 51 ½”
- 1 – 1x6 @ 51 ½”
- 2 – 1x3 @ 40” OR 53" if legs extend all the way to the floor for a freestanding headboard
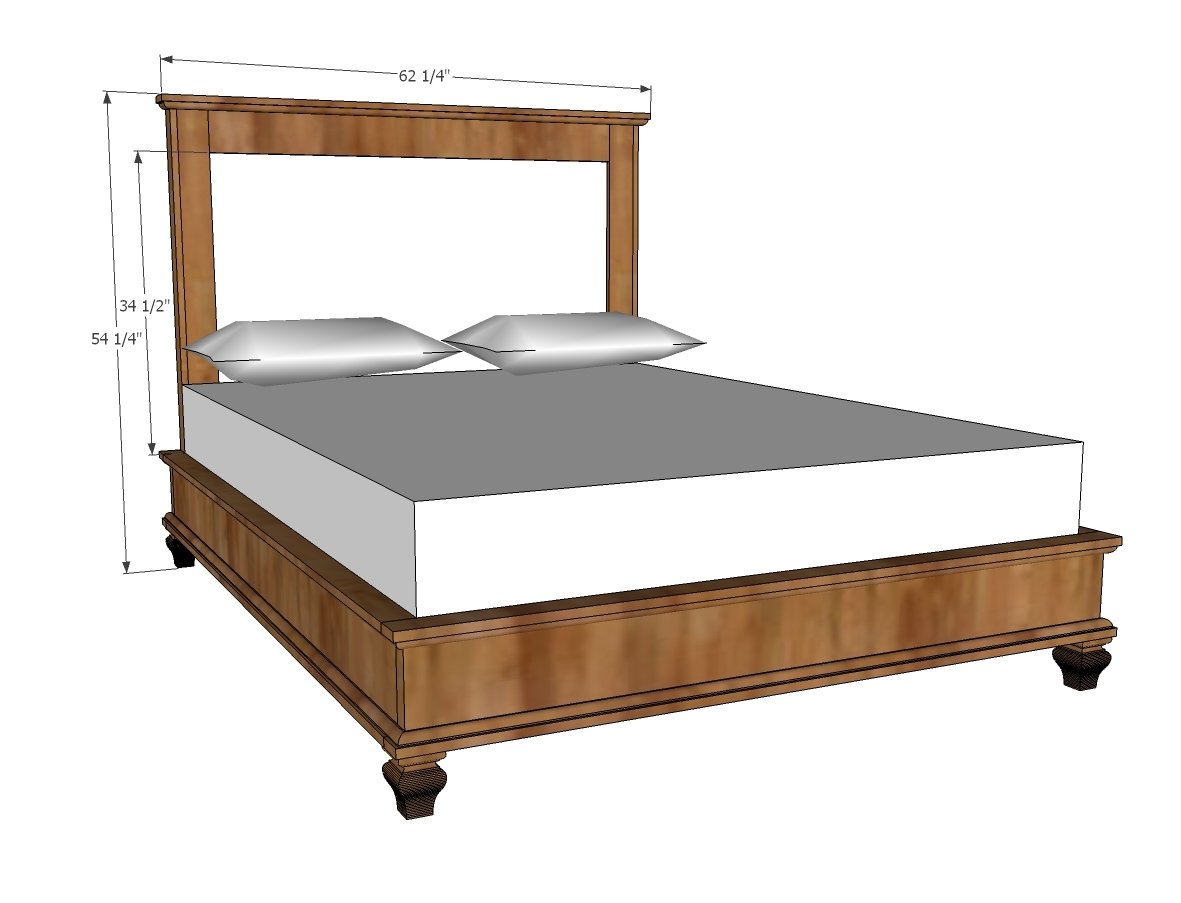
- 1 – 1x4 @ 62 ¼” (header) Moulding cut to fit


Please read through the entire plan and all comments before beginning this project. It is also advisable to review the Getting Started Section. Take all necessary precautions to build safely and smartly. Work on a clean level surface, free of imperfections or debris. Always use straight boards. Check for square after each step. Always predrill holes before attaching with screws. Use glue with finish nails for a stronger hold. Wipe excess glue off bare wood for stained projects, as dried glue will not take stain. Be safe, have fun, and ask for help if you need it. Good luck!
Instructions
Step 1
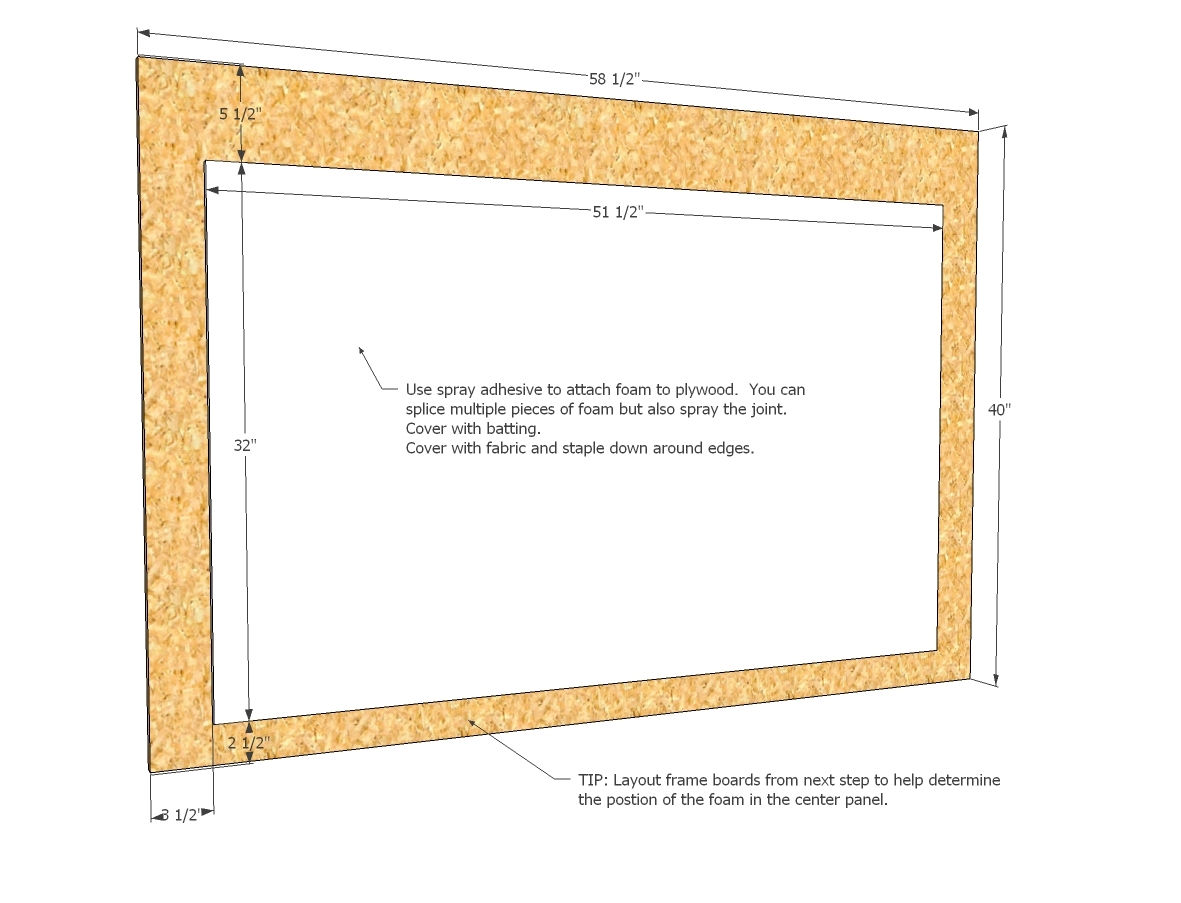
Glue the foam to the plywood carefully, positioned as shown in the diagram. This is very important to get just right. Cover with batting and fabric, stapled right to the plywood. This area is to be covered by wood frame boards. Make sure all staples are pounded into the plywood.
Step 2
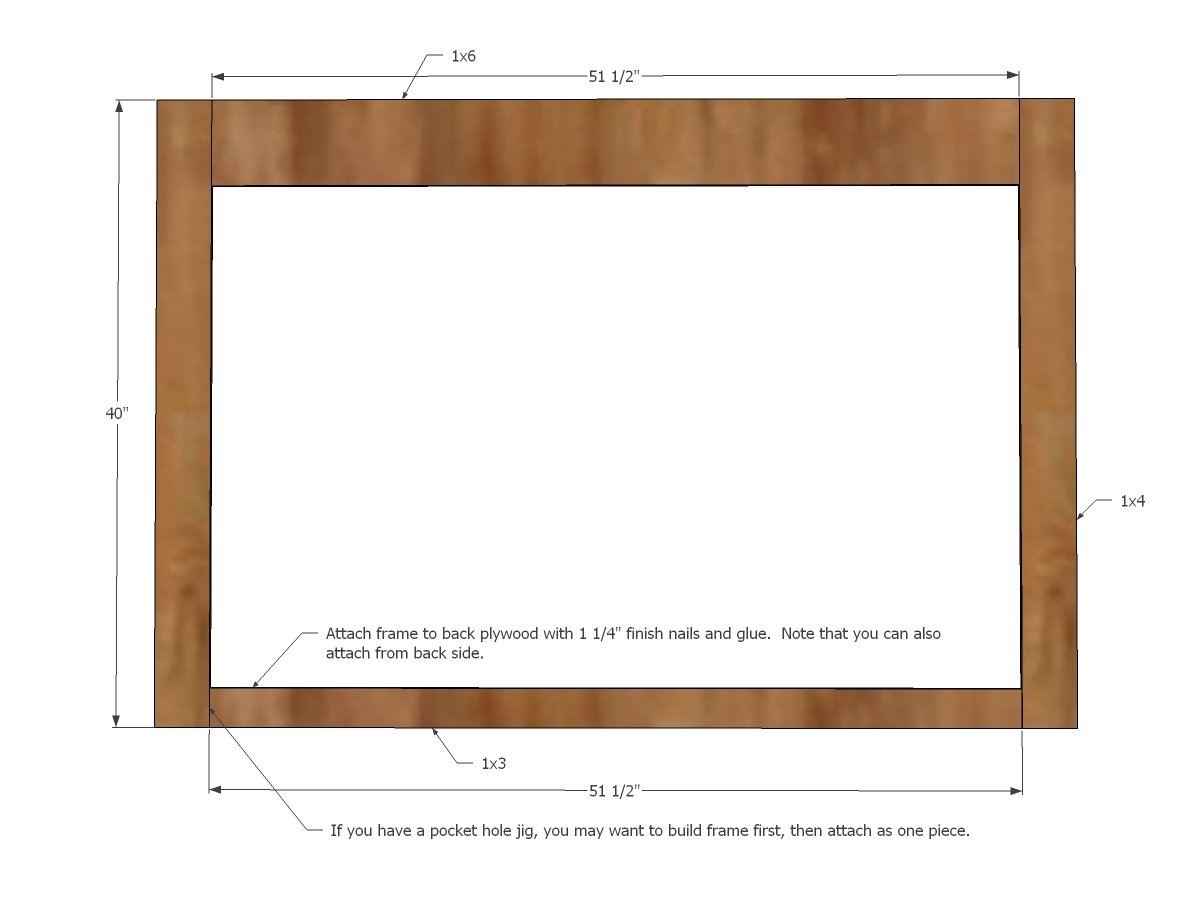
If legs extend all the way to the floor, cut to 53" instead of 40" and extend past.
Now you can either use the Kreg Jig to build the wood frame first, and then nail to your plywood or nail each board individually to the plywood, framing the foam piece in center. NOTE: I did change the center plywood to 1/2" thick to weigh less and be less expensive to build, so change nail lengths to fit your plywood. You may wish to use screws so the center panel is removeable for changing up the fabric.
Step 3
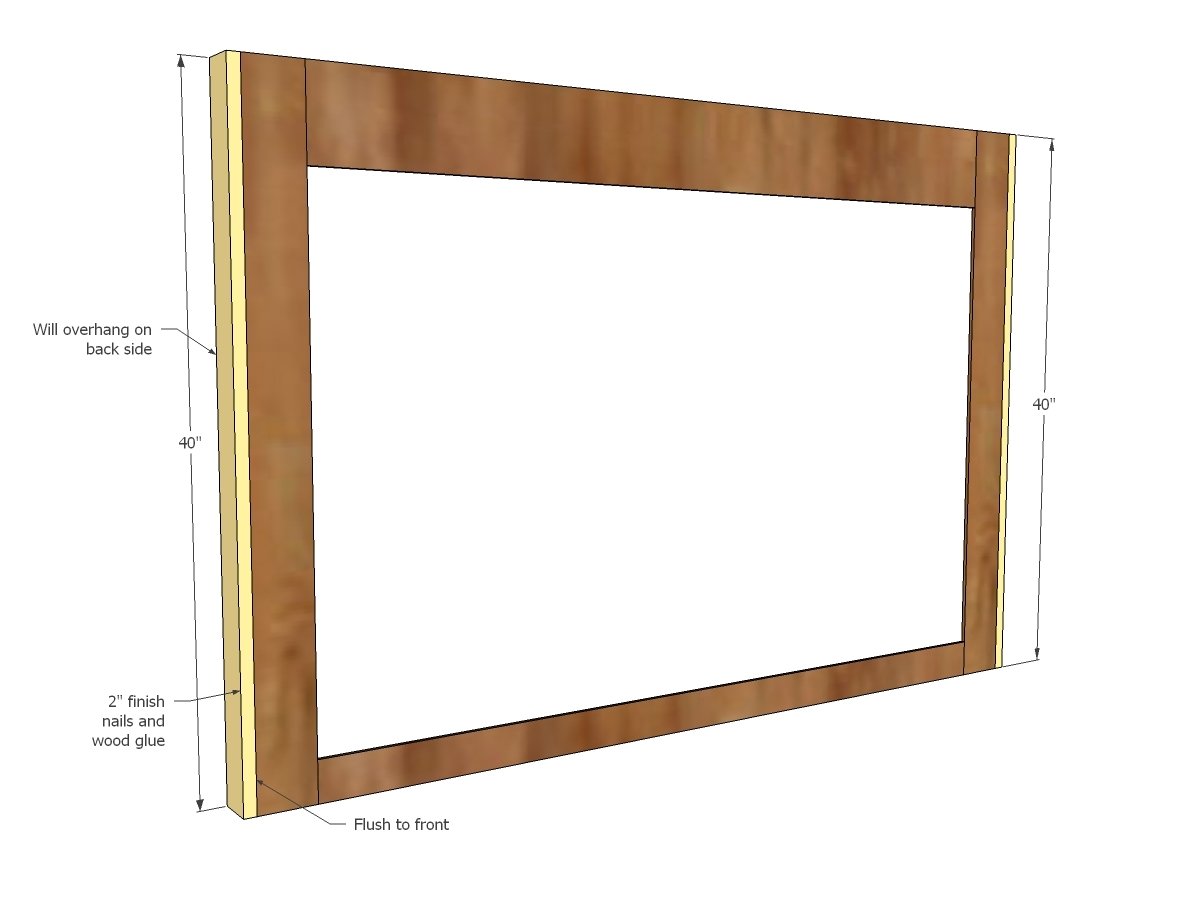
Now add the side trim.
If legs extend to the floor, cut the side trim to 53" and attach all the way to the floor.
Step 4
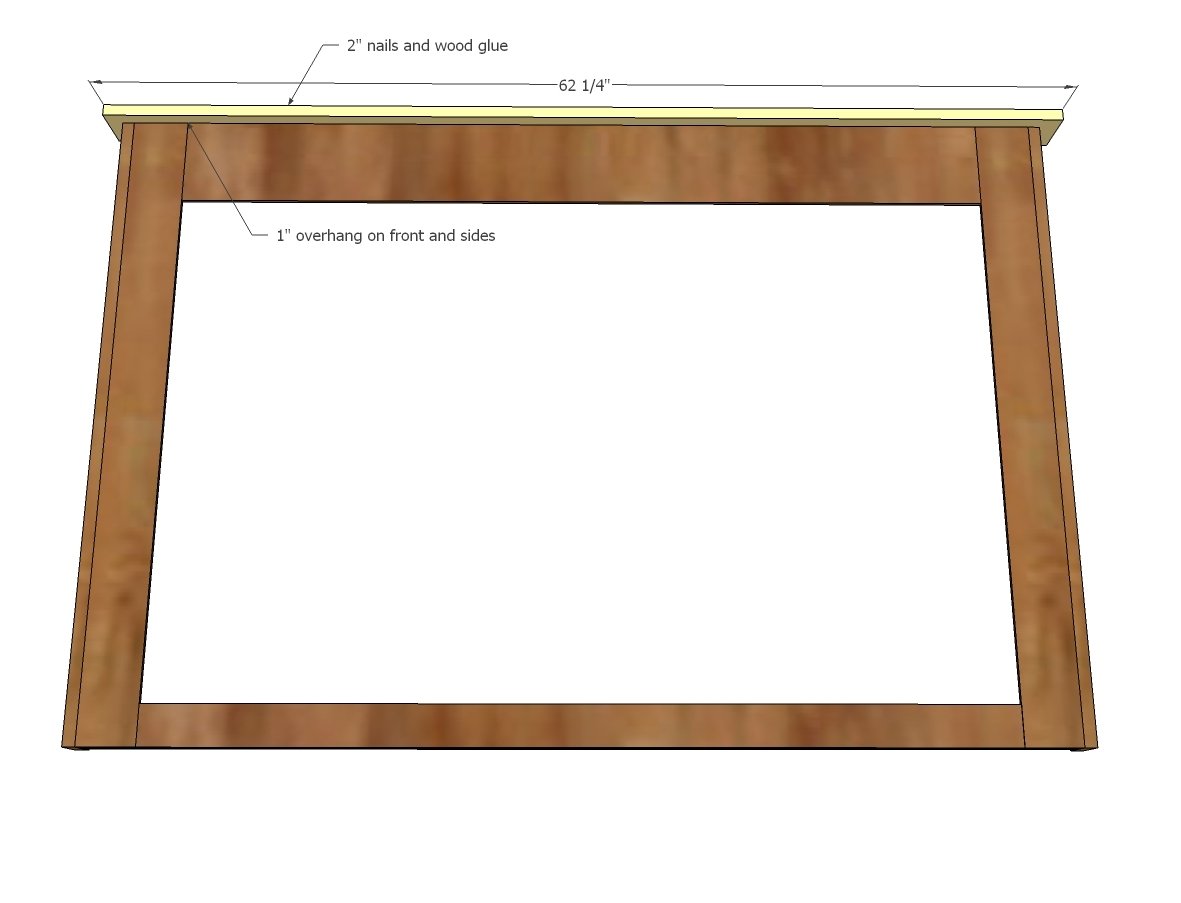
Followed by top trim.
Step 5
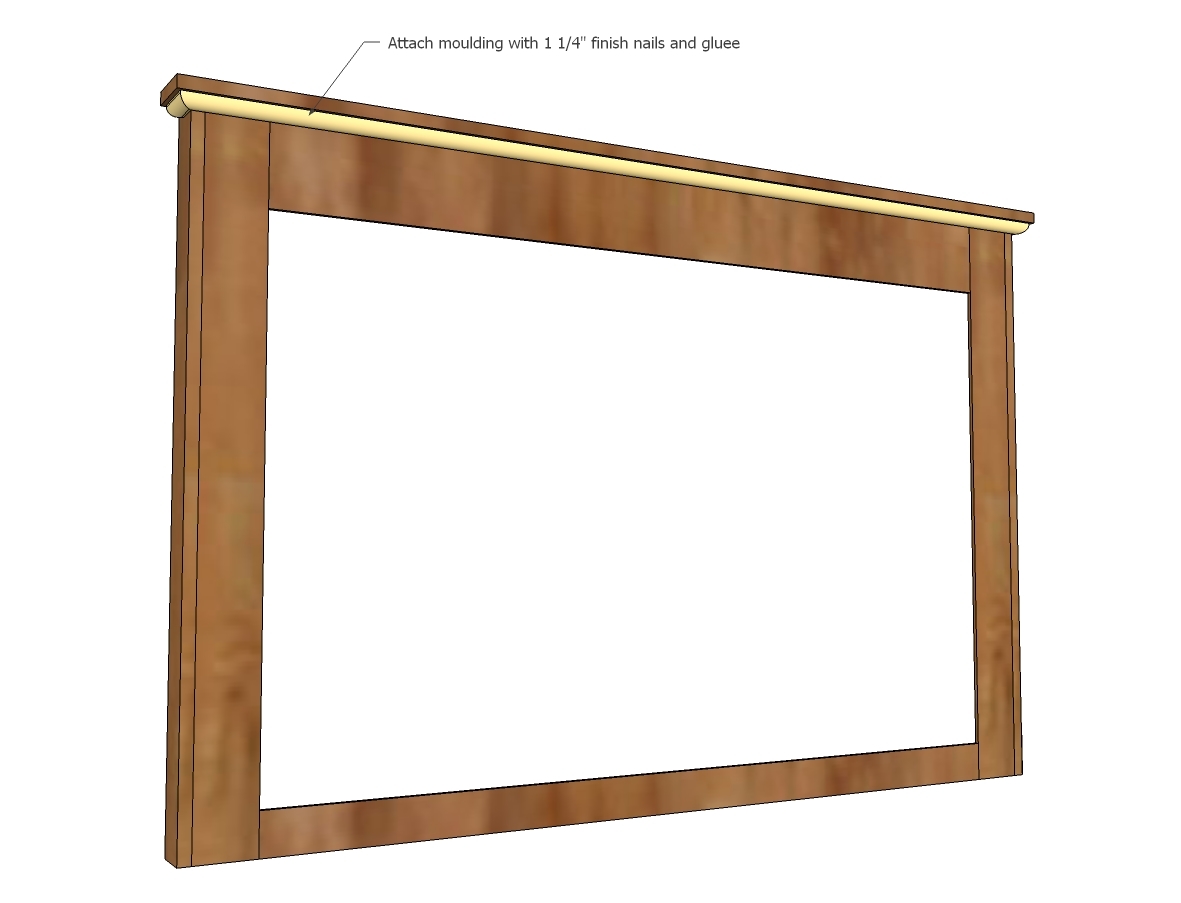
Step 6
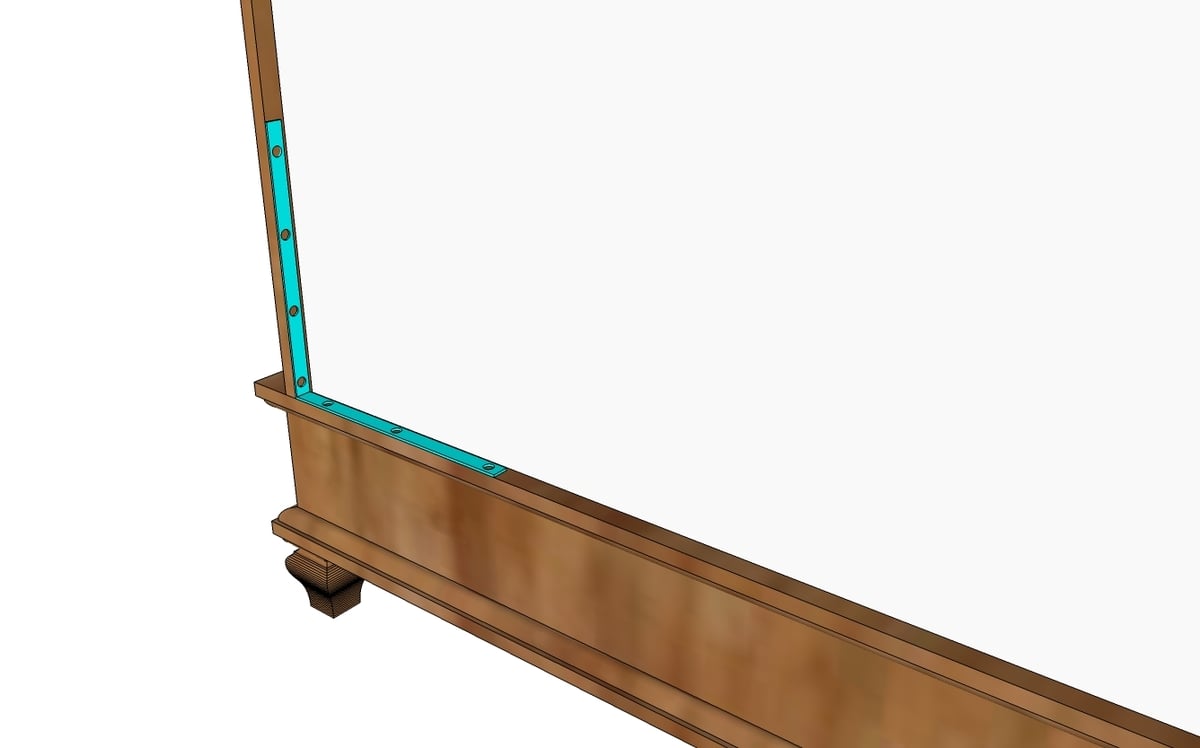
To attach headboard to bed, use the shelf support brackets as shown above. You may also need to attach to wall.
It is always recommended to apply a test coat on a hidden area or scrap piece to ensure color evenness and adhesion. Use primer or wood conditioner as needed.

Comments
birdsandsoap
Tue, 04/03/2012 - 12:20
I love this bed! I'm trying
I love this bed! I'm trying to convince my cousin we could make it in a king-size for her! The nice thing is, we can keep her metal frame and just build around it.
cherry wood (not verified)
Thu, 04/05/2012 - 06:02
i love this bed and i am also
i love this bed and i am also convincing my parents to buy this for me
Guest (not verified)
Sun, 04/15/2012 - 13:37
Can we get the dimensions for
Can we get the dimensions for a king size?? :)
Becky Piening (not verified)
Wed, 05/02/2012 - 09:37
King Size dimensions?
I made this headboard and the platform bed and my friends have fallen in love with it! They want me to help them build one for their room but they have a king size bed. Can you give me the dimensions I should use? I think I can figure it out but if you already have them...well, why reinvent the wheel, right? Thanks!
Wendy Jo (not verified)
Sun, 05/20/2012 - 02:08
Full Size Please
I would love the dimensions for a full size bed. Also how to adapt it to use it with my metal bed frame. I love the wooden frame but I don't think I can talk my brother into helping my make that. The headboard I know he'll help me with.
Thanks
Emily W. (not verified)
Mon, 06/18/2012 - 18:46
Just the headboard?
This is so cool! I want to make this, but I was wondering how I could just make the headboard and attach it to a metal bed frame.
Thanks!
Emily
Emily W. (not verified)
Mon, 06/18/2012 - 18:46
Just the headboard?
This is so cool! I want to make this, but I was wondering how I could just make the headboard and attach it to a metal bed frame.
Thanks!
Emily
Melanie Hoehn (not verified)
Tue, 12/11/2012 - 21:56
King size & using the bed frame?
I LOVE, LOVE, LOVE this bed but need dimensions for a king size bed. Do you have any or can you tell me how I would go about adjusting these plans? Also, I would like to use my bed frame and build the bed around it, is that possible? Thank you in advance. I love all your plans and have recently gotten back into wood working after being away from it for more than 20 years.
trinavera
Wed, 01/02/2013 - 23:22
King Sized bed using current metal frame
I would love to do this bed this weekend but need the measurements for a King bed using my existing frame. thanks
Abarrett801
Wed, 06/26/2013 - 23:25
Sizing & Attaching
First thank you for sharing your wonderful design! :) I am looking to build this for my little guy's big boy room. It will be a twin bed so I am wondering if you can post the project dimensions adjusting for the twin. Also I am looking to attach it to a metal bed frame. Would you also be willing to post how to attach the head board to a metal frame? :) Thanks!
-Alyssa
Arhall1010
Sun, 01/31/2016 - 14:10
King Size Dimensions
I have been looking through the comments and most seemed to be about dimensions for a king size bed. Would you have those dimensions for this headboard as well as the platform bed that it is attached to? I am IN. LOVE. with it!!! It will definitely be a fun spring time project for myself and my hubby to try and accomplish.
bhupesh
Sun, 12/31/2017 - 09:25
very good idea for headrest
I loved the headrest, it is so easy for a beginner like me to build. The only thing that I am not able to figure out is how do I use the Shelf support bracket to attach the headboard to the bed so that the shelf bracket remains inside and not visible outside?
abwright
Sun, 10/28/2018 - 13:00
California King Dimensions?
I like this bed a lot but my existing mattress is California King and in good shape. If nobody has the dimensions, can you tell me how I can measure my mattress for the California King? Thanks!