
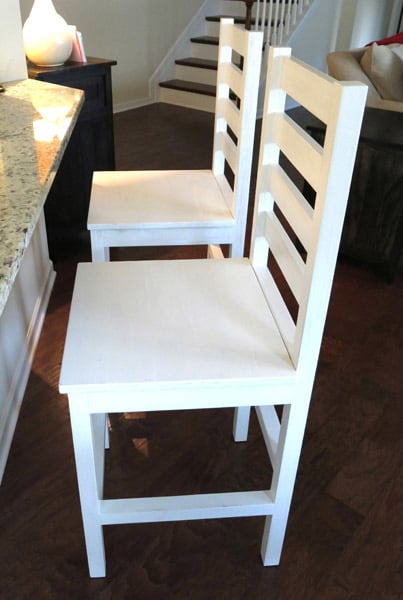

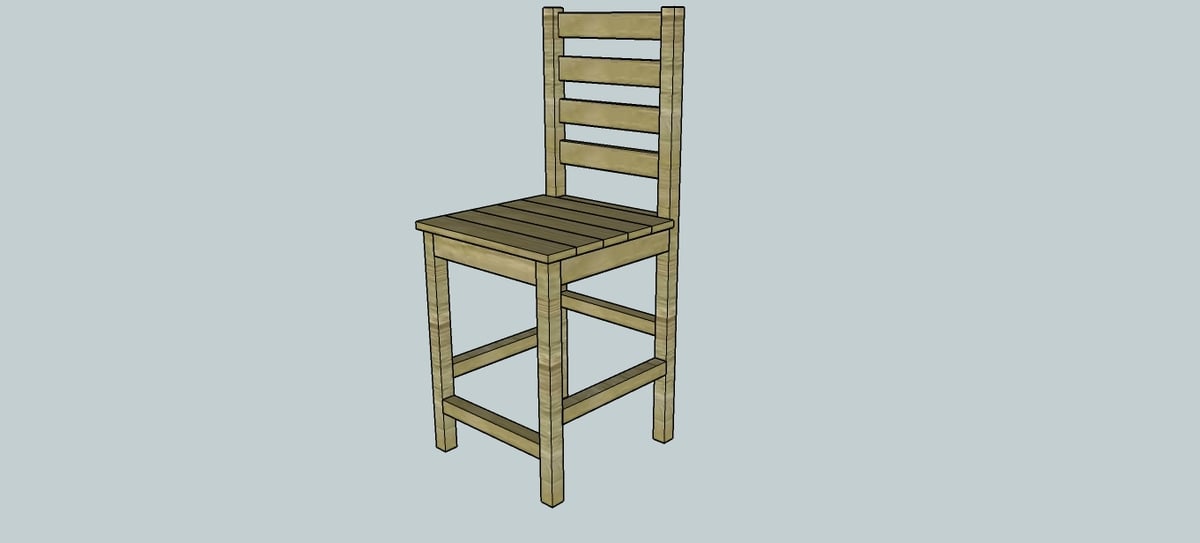
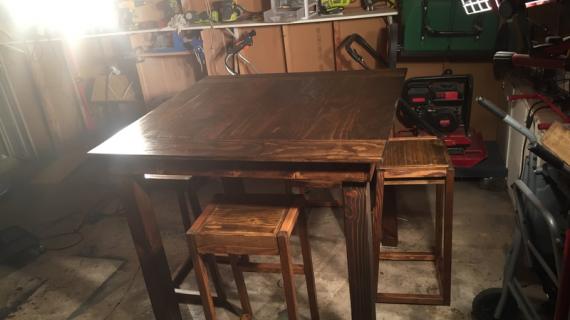
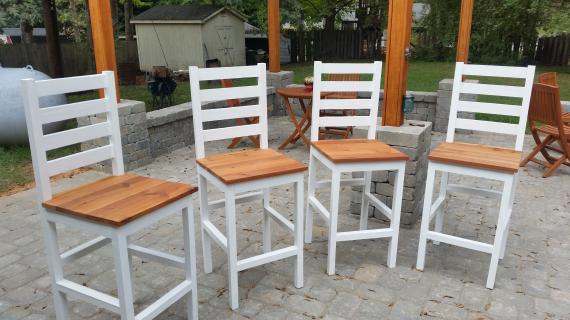
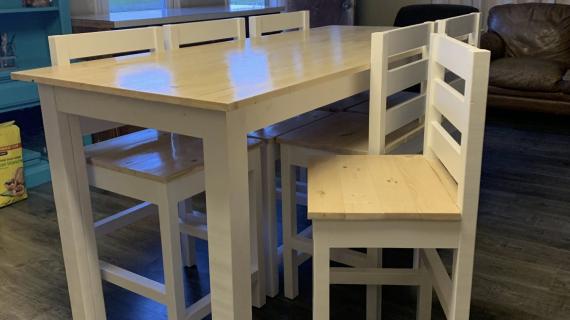
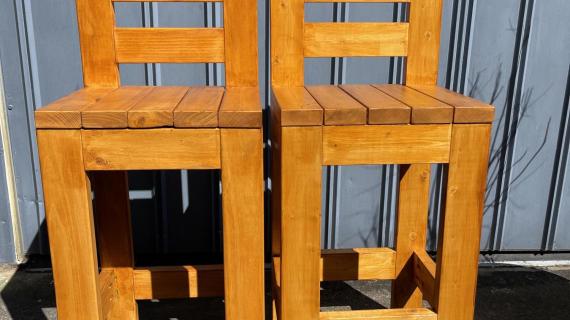
Counter Height Bar Stool
Preparation
2 by 2 - 8 ft lengths - Qty 3 1 by 2 - 6 ft length - Qty 1 1 by 3 - 6ft lengthh - Qty 2 1 by 4 - 8 ft length - Qty 1
2 by 2 24 2 Front Legs 2 by 2 45 2 Back Legs 2 by 2 14.5 2 Bottom rails for front and back 2 by 2 15.5 2 Bottom rails for sides 1 by 2 14.5 1 Seat trim for back frame 1 by 3 14.5 6 Rails for front and back 1 by 3 15.5 2 Top rails for sides 1 by 4 18.5 5 Seat


Please read through the entire plan and all comments before beginning this project. It is also advisable to review the Getting Started Section. Take all necessary precautions to build safely and smartly. Work on a clean level surface, free of imperfections or debris. Always use straight boards. Check for square after each step. Always predrill holes before attaching with screws. Use glue with finish nails for a stronger hold. Wipe excess glue off bare wood for stained projects, as dried glue will not take stain. Be safe, have fun, and ask for help if you need it. Good luck!
Instructions
Step 1
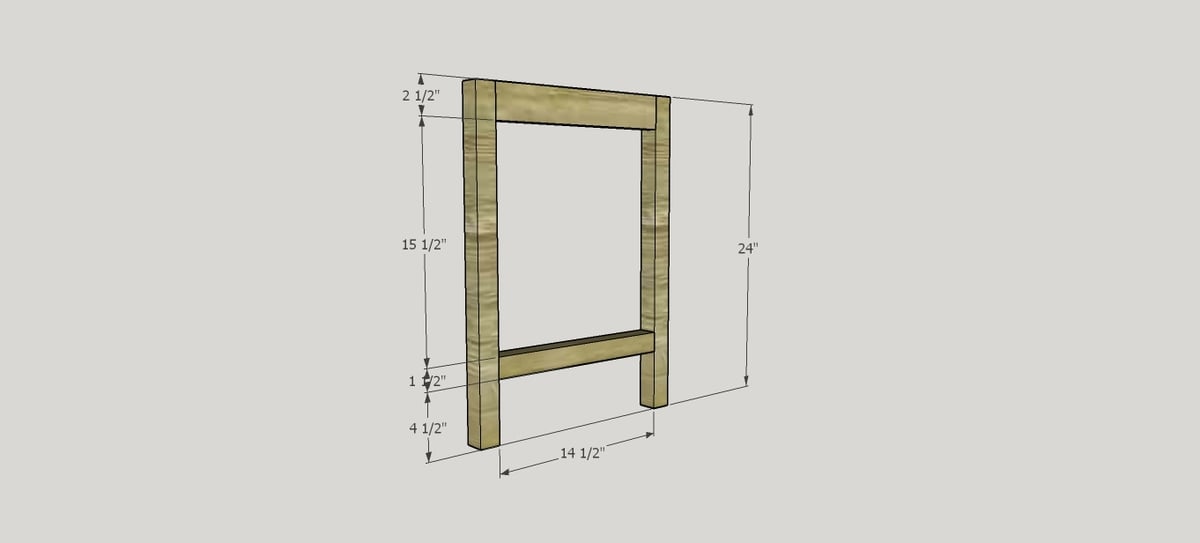
Join the two shorter legs measuring 24 inches together using one of the 14 ½ inch 1 by 3s and a 14 ½ 2 by 2. I placed the bottom edge of the 2 by 2 rail 4 ½ inches up from the bottom of the leg and drilled the pocket holes for the 2 by 2s on the bottom edge so they are hidden from sight. The 1 by 3s will be hidden by the seat so you won’t see the pocket holes on the inside once seat is fitted. I decided to make the outside of the top rail flush with the outside of the legs rather than inset.
Step 2
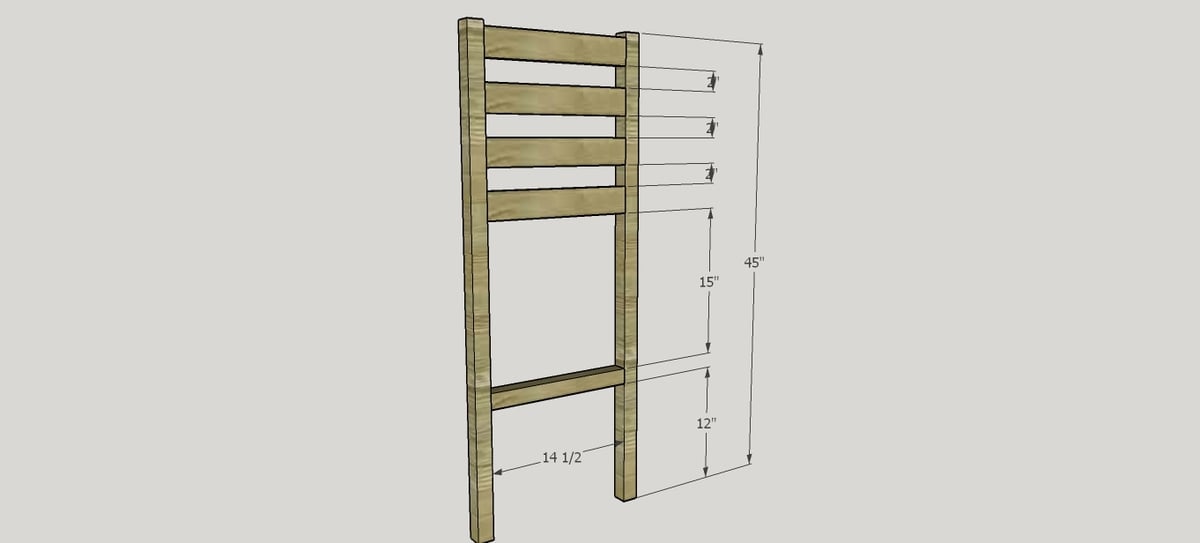
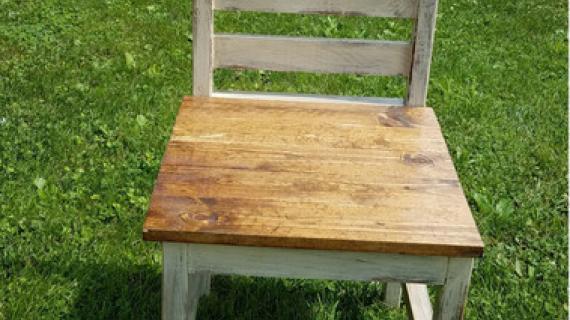
Join the two longer legs measuring 45 inches together using 4 of the 14 ½ inch 1 by 3s and a 14 ½ 2 by 2. I placed the bottom edge of the 2 by 2 rail 12 inches up from the bottom of the leg. I spaced the rails out by 2 inches which left a gap of half an inch from the top of the top rail to the top of the leg. Tip : Cut two scraps of wood two inches long and use them as spacers when fitting the back rails If you look at my finished photo, the diagram below actually shows the back of the chair. The part you lean against actually has the 1 by 3s inset by ¾ inch (so they are flush with the back). I put my pocket holes on the back side and made sure I filled, sanded, filled, sanded and repeated until happy the holes would not show. It is time consuming but worth the end result.
Step 3
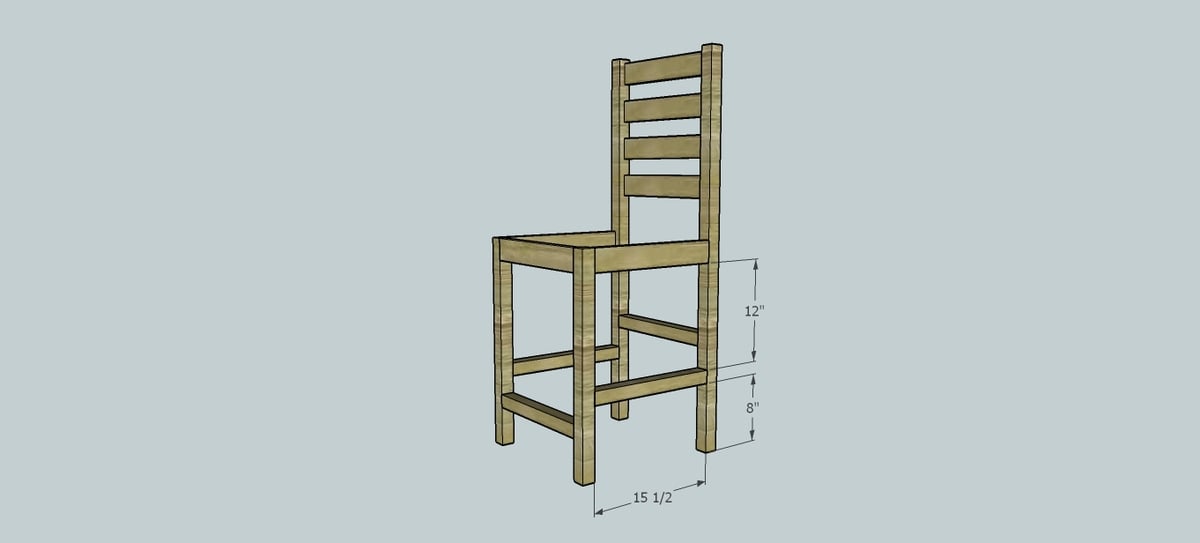
Join the front and back together as shown. On each side use one of the 15 ½ inch 1 by 3s and a 15 ½ inch 2 by 2. Make sure you are consistent with the top rails so that on all sides they are all either flush with the outside edge or inset by ¾ inch.
Step 4
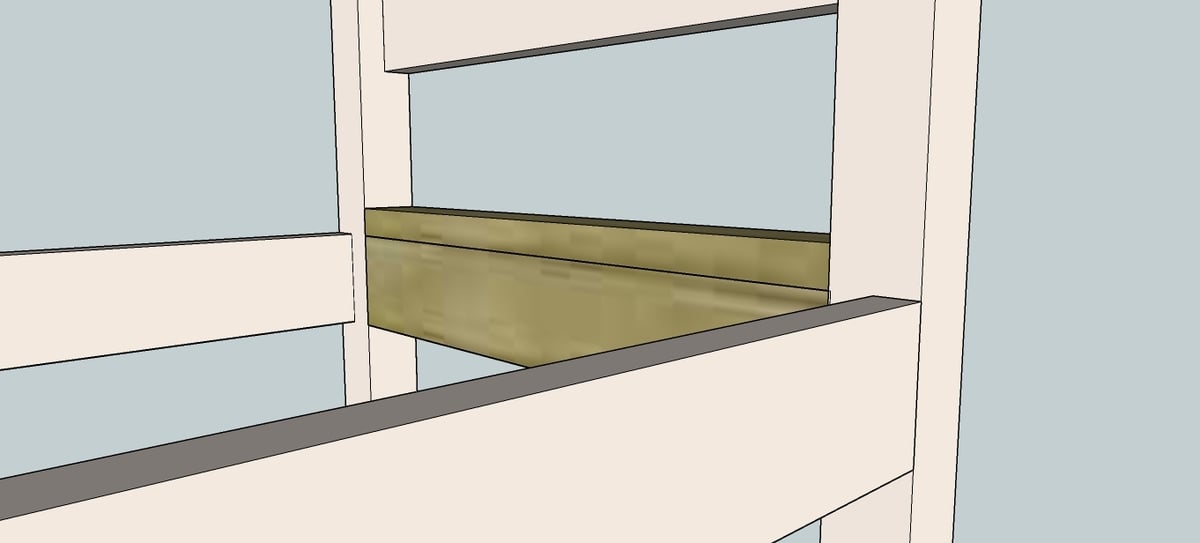
Add the back 1 by 3 rail so the top of it is flush with the top of the two side rails and it is flush with the front of the leg as shown. Drill pocket holes facing upwards on the inside and fix the 1 by 2 measuring 14 ½ inches to it.
Step 5

Step 6
Drill pocket holes on the inside of the frame facing towards the top to use to screw the seat on. Place the top good side down and place the upturned chair frame on top of it. Make sure you have an equal gap around the edge and fix with pocket hole screws.
Step 7
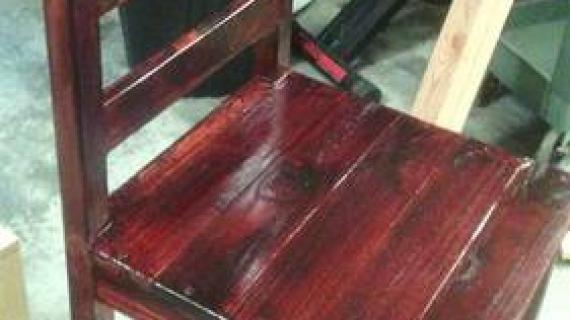
Sand well to smooth out the joints and remove any wood glue residue. If staining then apply Pre-stain and your choice of stain or paint as desired.
It is always recommended to apply a test coat on a hidden area or scrap piece to ensure color evenness and adhesion. Use primer or wood conditioner as needed.

Comments
RobA
Thu, 06/16/2016 - 12:05
standard height
What leg length for a standard table height? Thanks
nitared66
Fri, 08/26/2016 - 14:21
Not enough 2x2s?
Am I crazy, or are there not enough 2x2s in the shopping list to cover the legs and rails?
Dmsmth
Fri, 02/23/2018 - 07:48
Weight limit
What is the weight limit on a stool like this?
beefster
Fri, 12/11/2020 - 08:06
When making seat do you…
When making seat do you pocket hole them all together or fasten them individually?
sylvialh
Tue, 12/15/2020 - 06:20
seat step missing instructions
I did glue and pocket holes. I didn't want to risk people getting their thighs pinched if there was any movement (an issue I had with the simple backyard series bench)
sylvialh
Tue, 12/15/2020 - 06:20
cut / shopping list format
Seems like the cut list and the shopping list are not properly formatted and makes it really hard to read as it's all in a row instead of a list
thanks for another great build, I'm really excited to build these with a molded plywood back. I'm using a 1/8 veneer and gluing them together to form the back rest.
ClrH2OFL
Thu, 07/22/2021 - 12:51
Materials (3) 2x2x8 (1)…
Materials
(3) 2x2x8
(1) 1x2x6
(2) 1x3x6
(1) 1x4x8
Cut List
(2) 2x2x24” Front Legs
(2) 2x2x45” Back Legs
(2) 2x2x14.5” Bottom rails for front and back
(2) 2x2x15.5” Bottom rails for sides
(1) 1x2x14.5” Seat trim for back frame
(6) 1x3x14.5” Rails for front and back
(2) 1x3x15.5” Top rails for sides
(5) 1x4x18.5” Seat