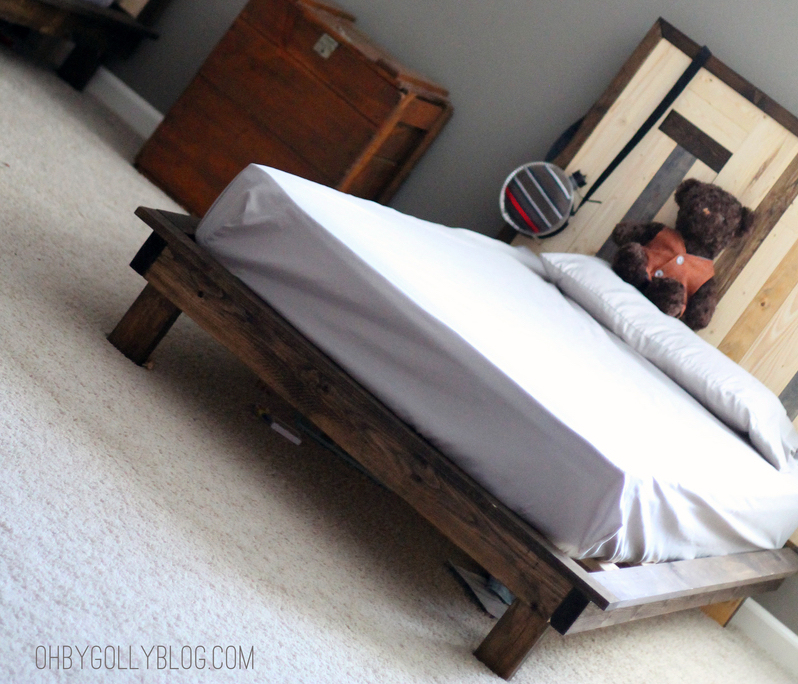
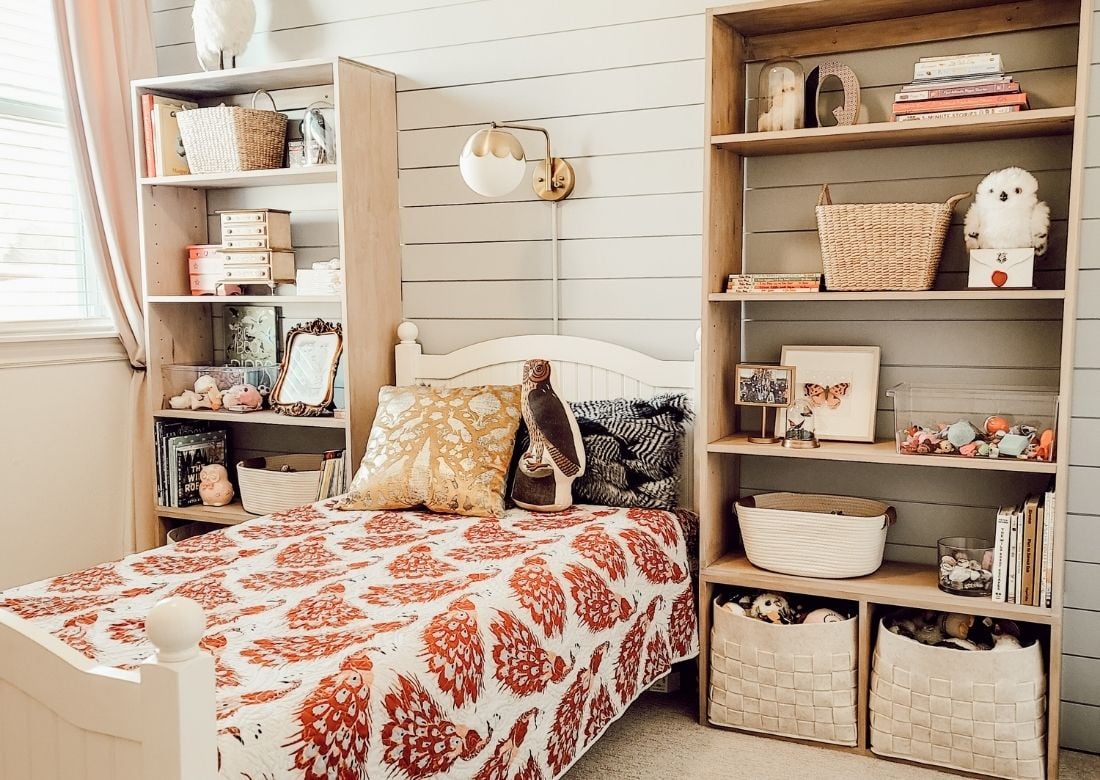
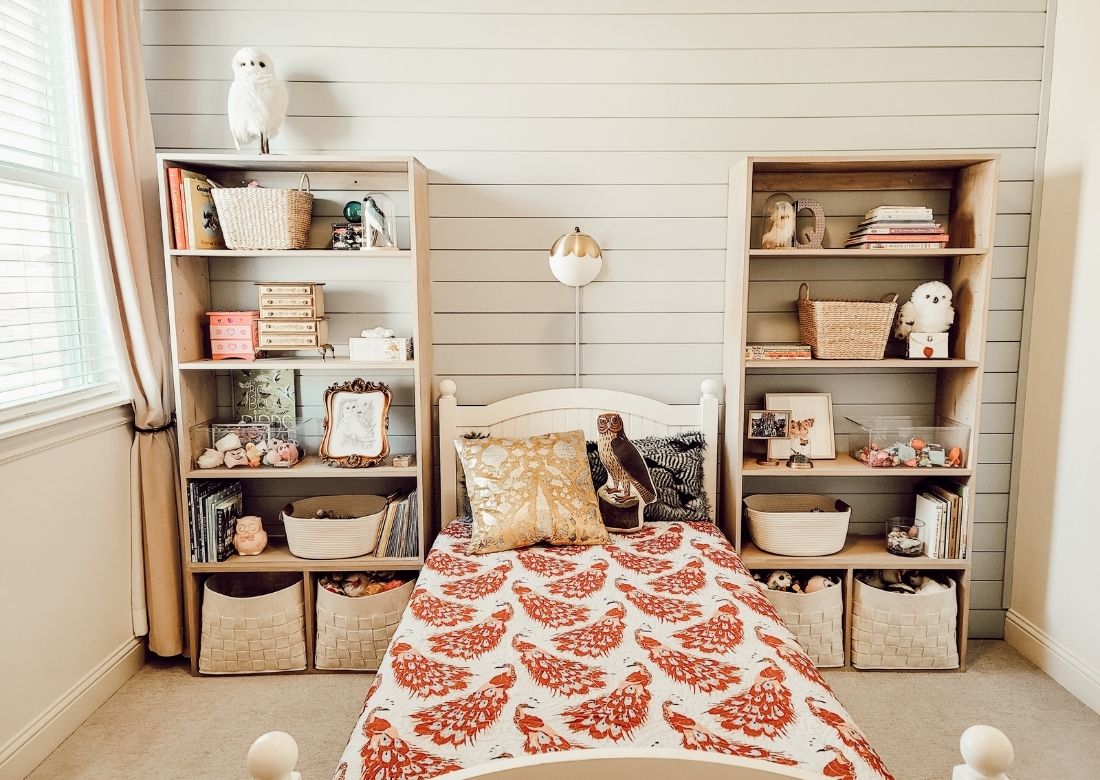
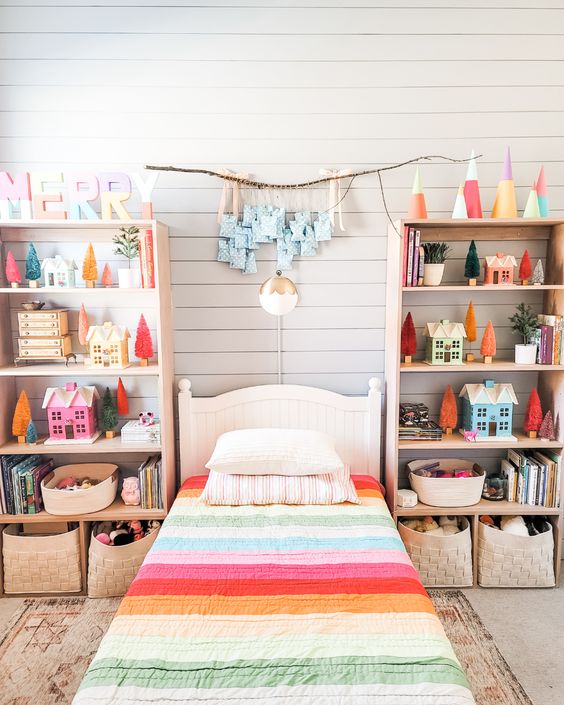
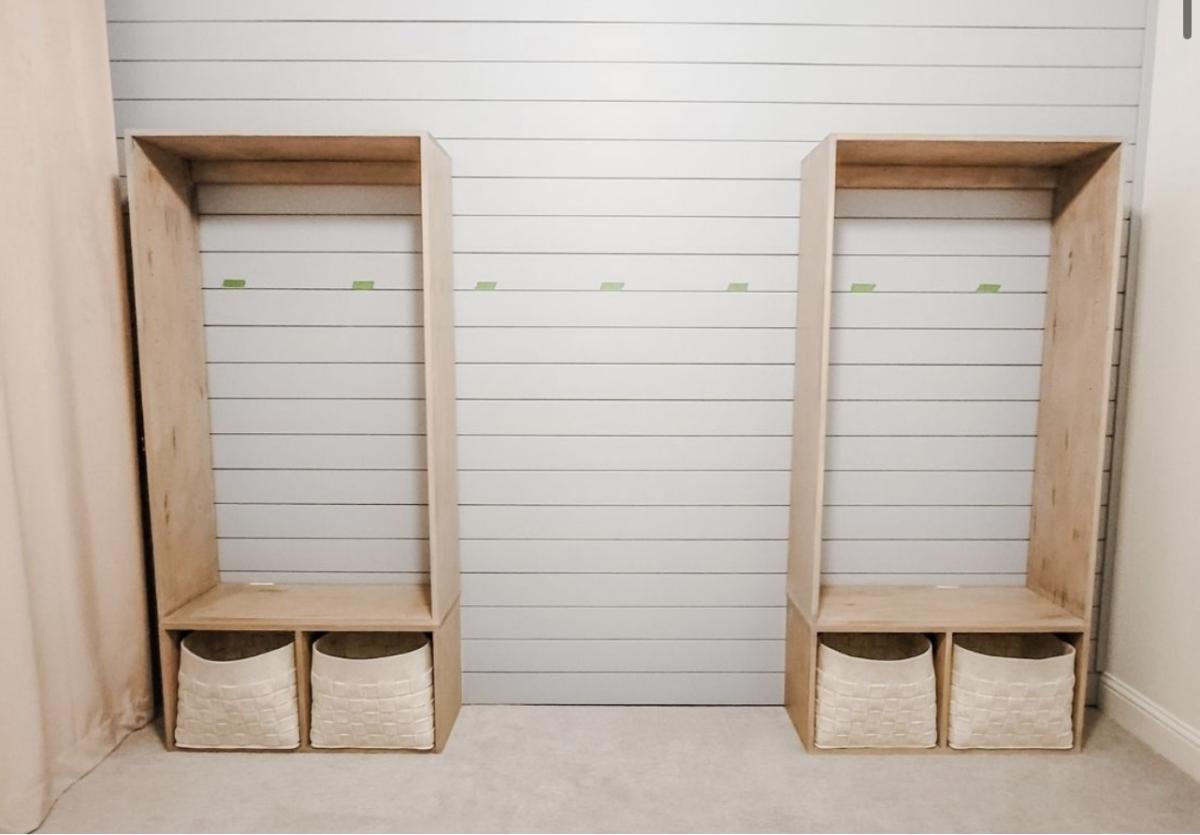
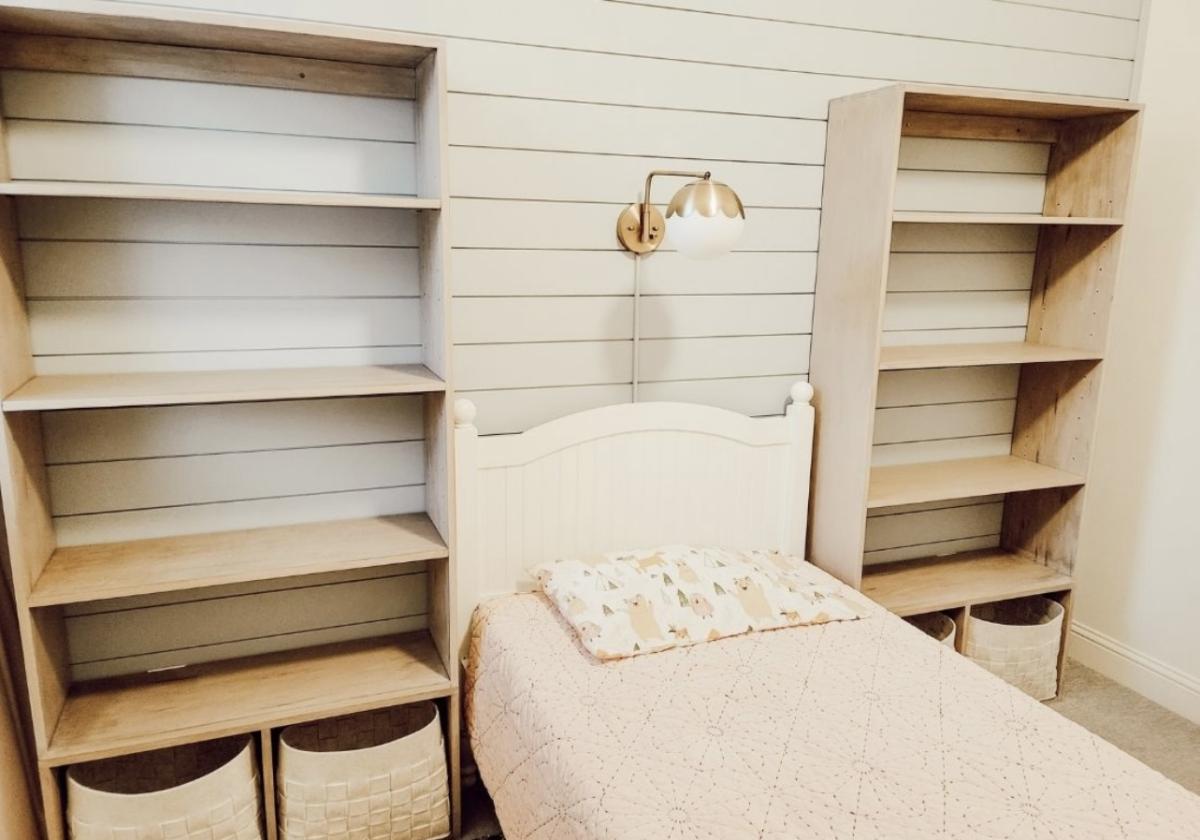
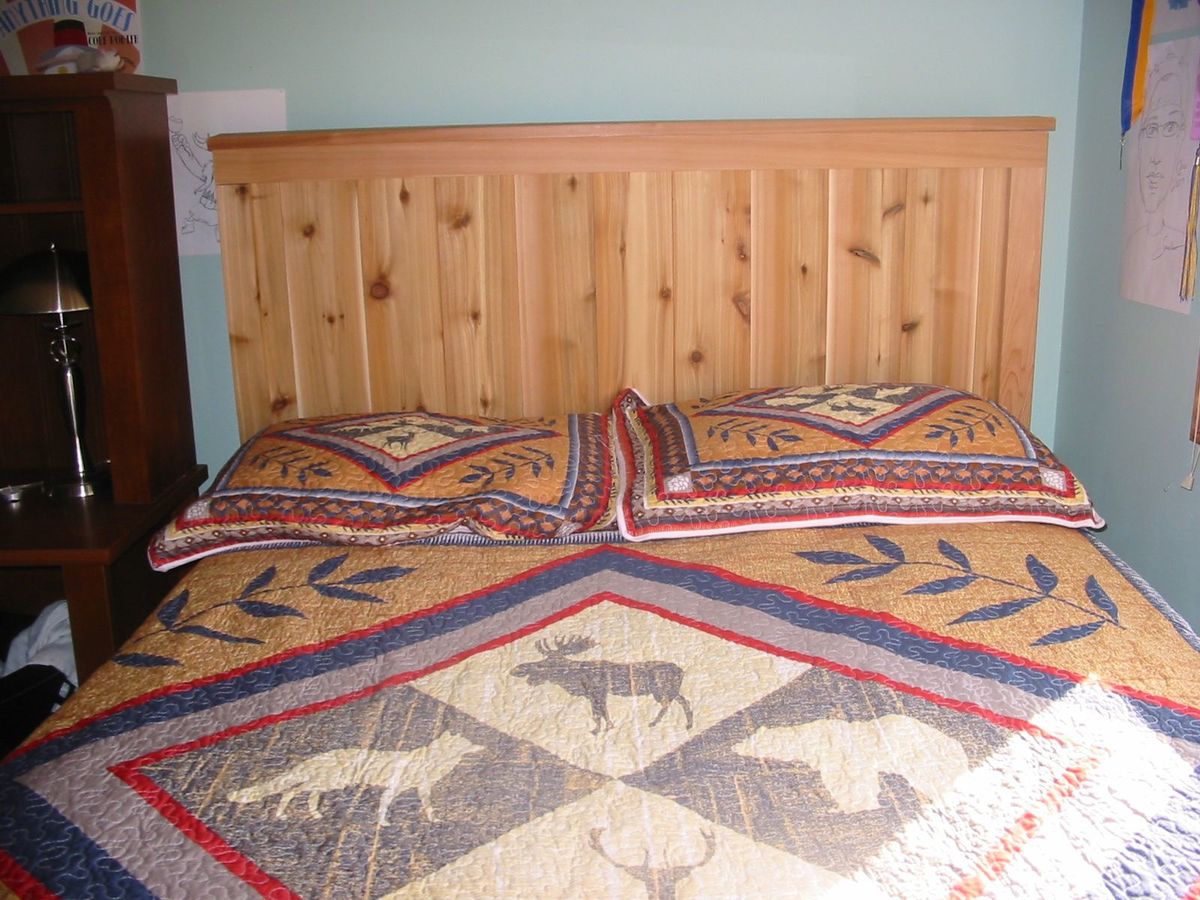
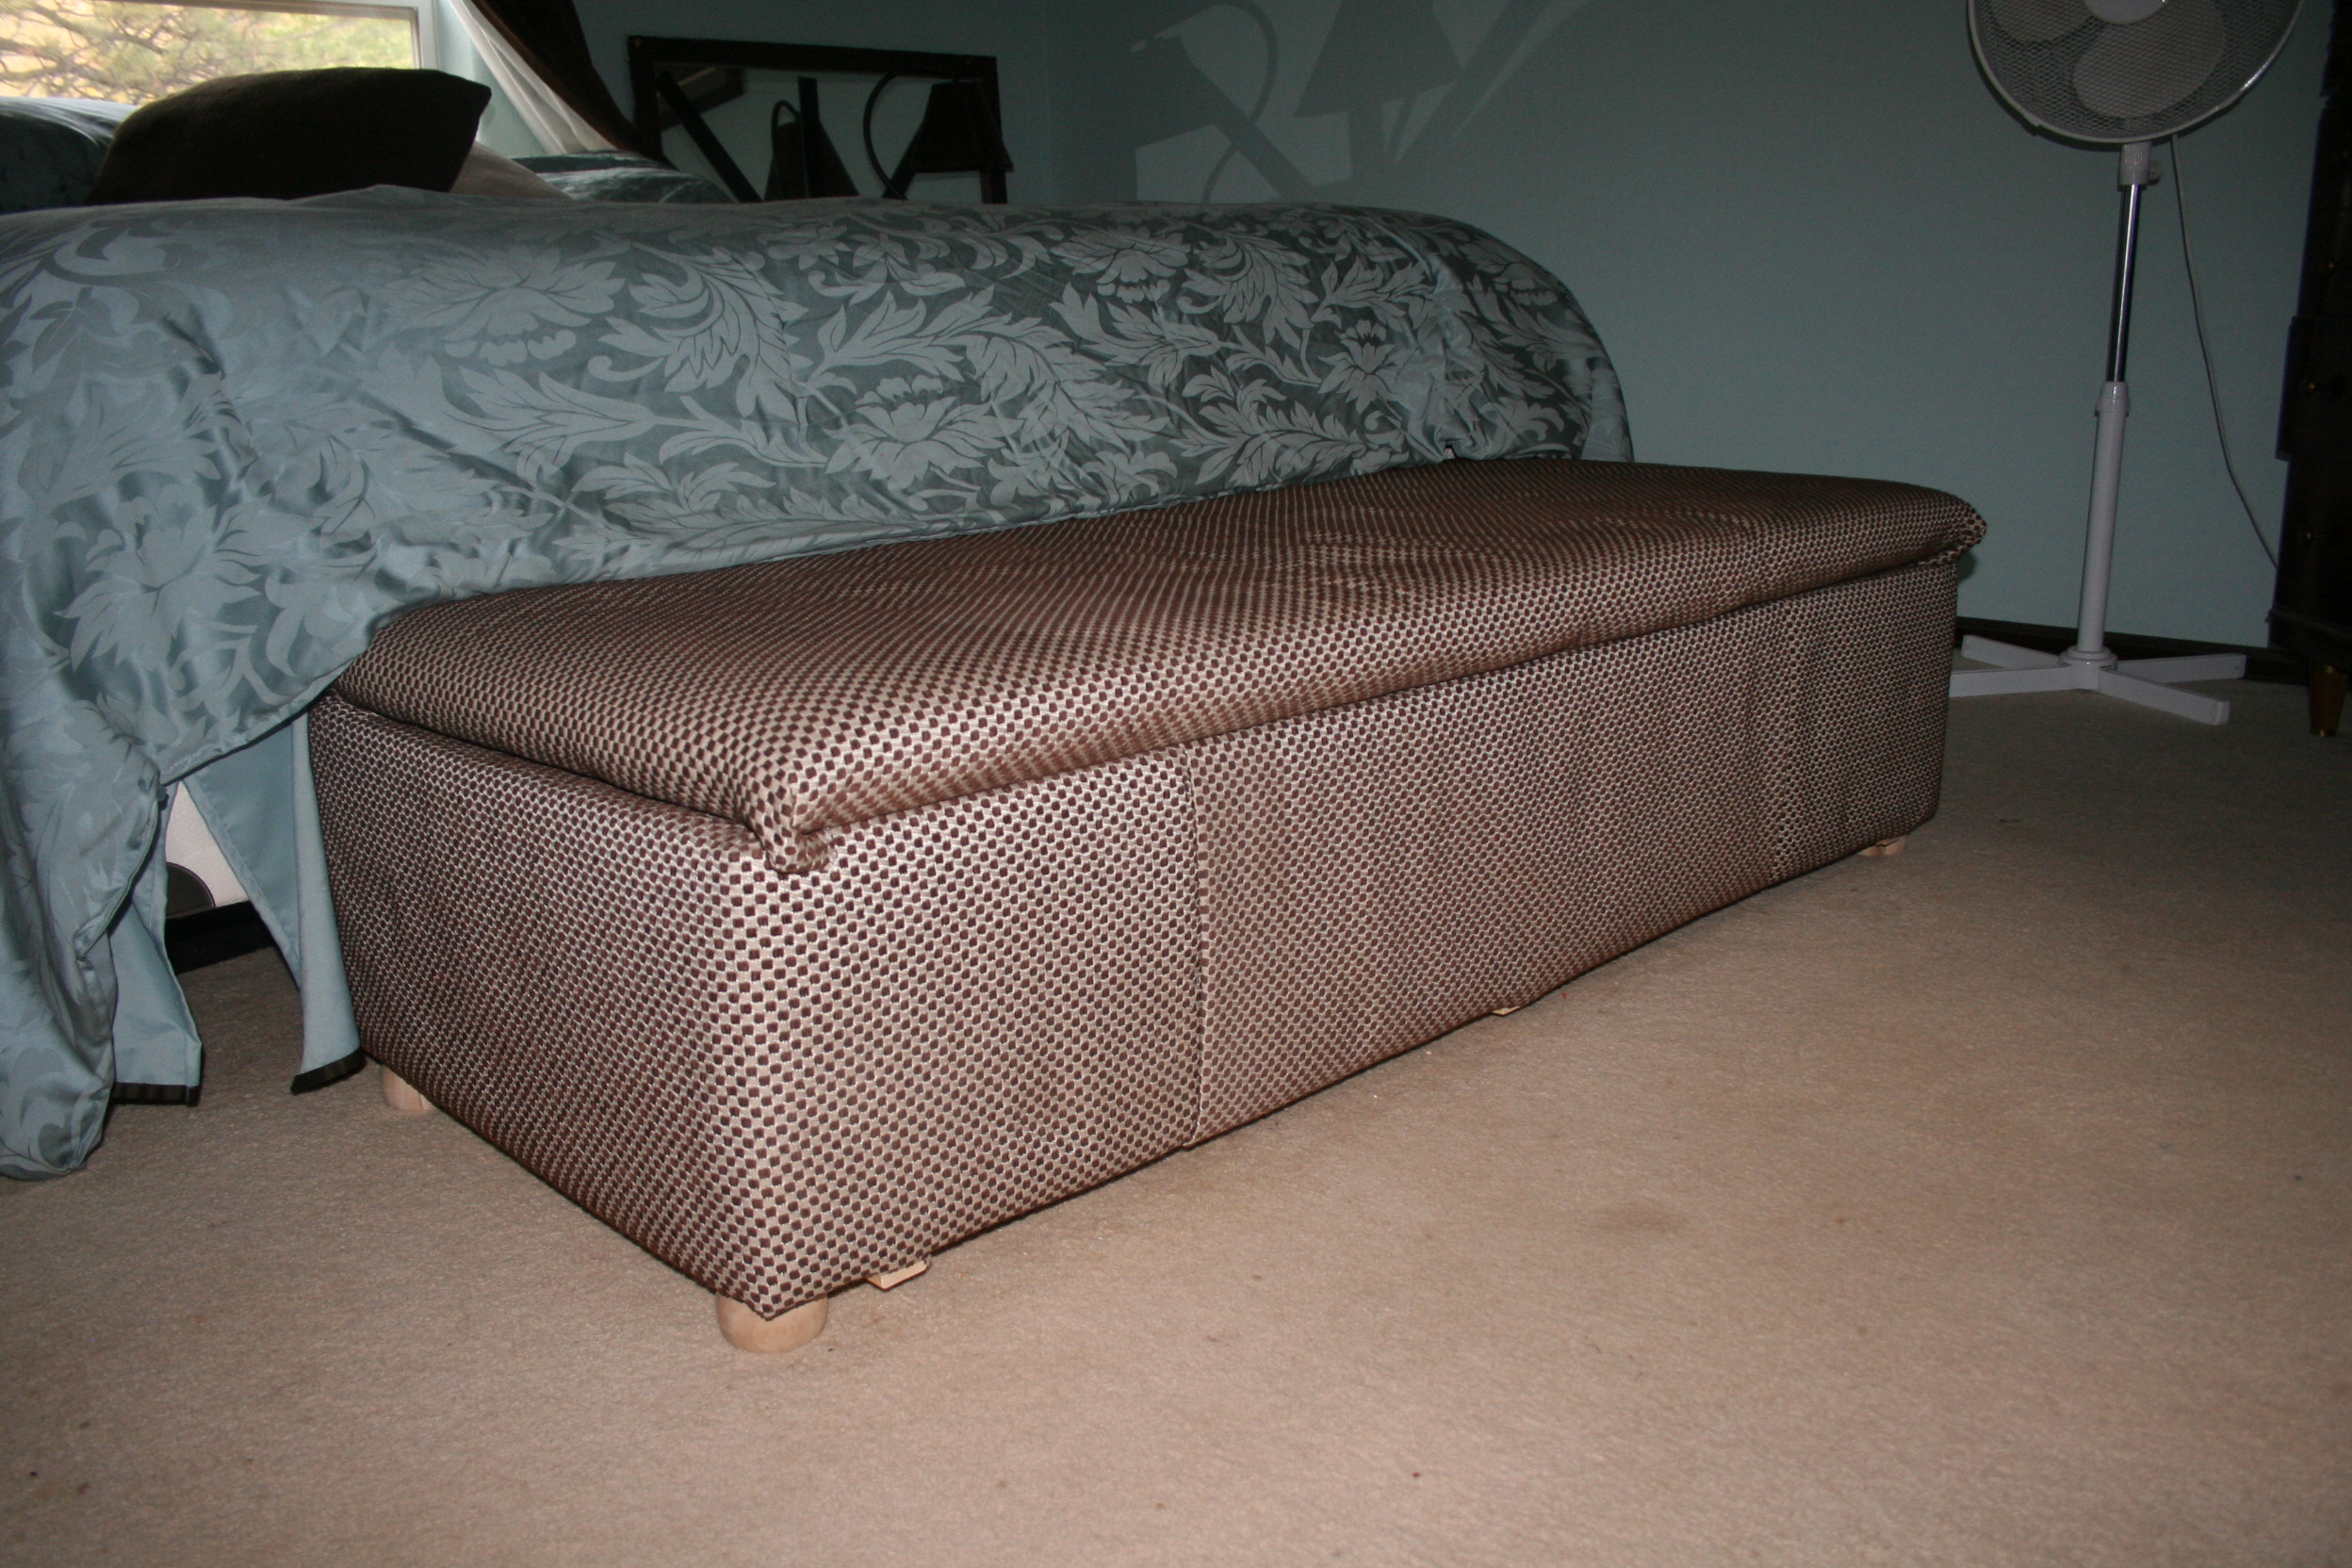
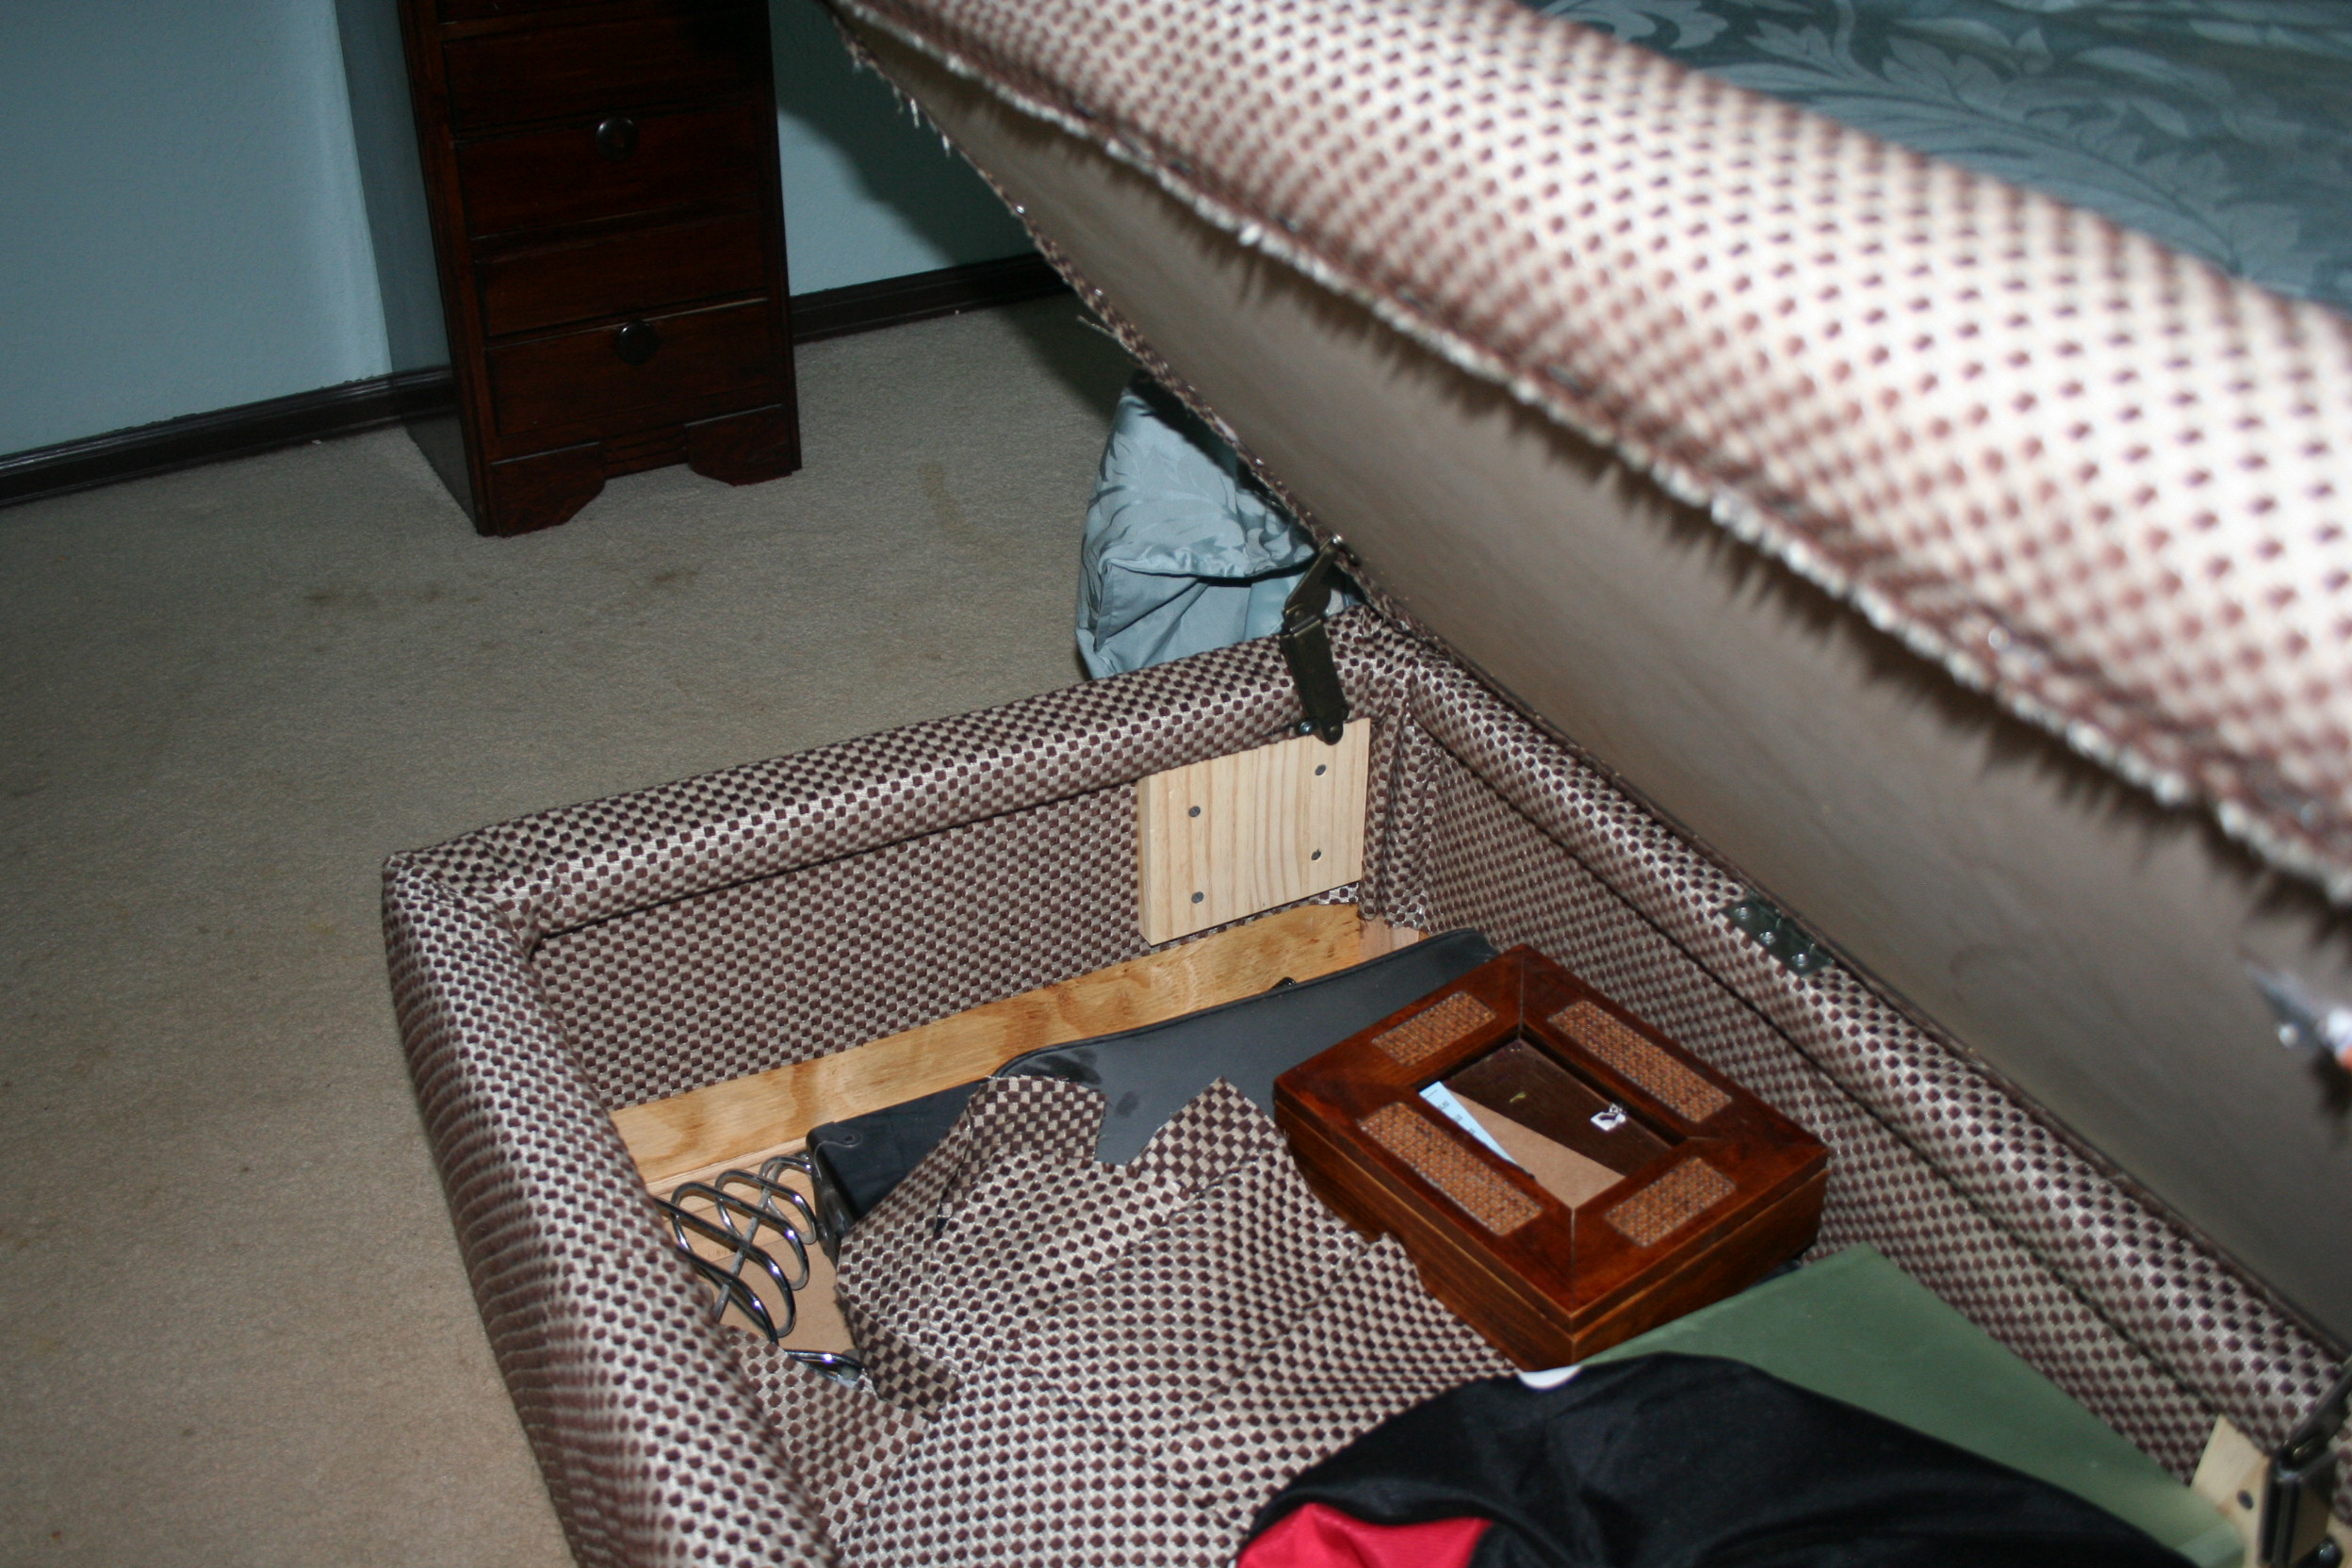
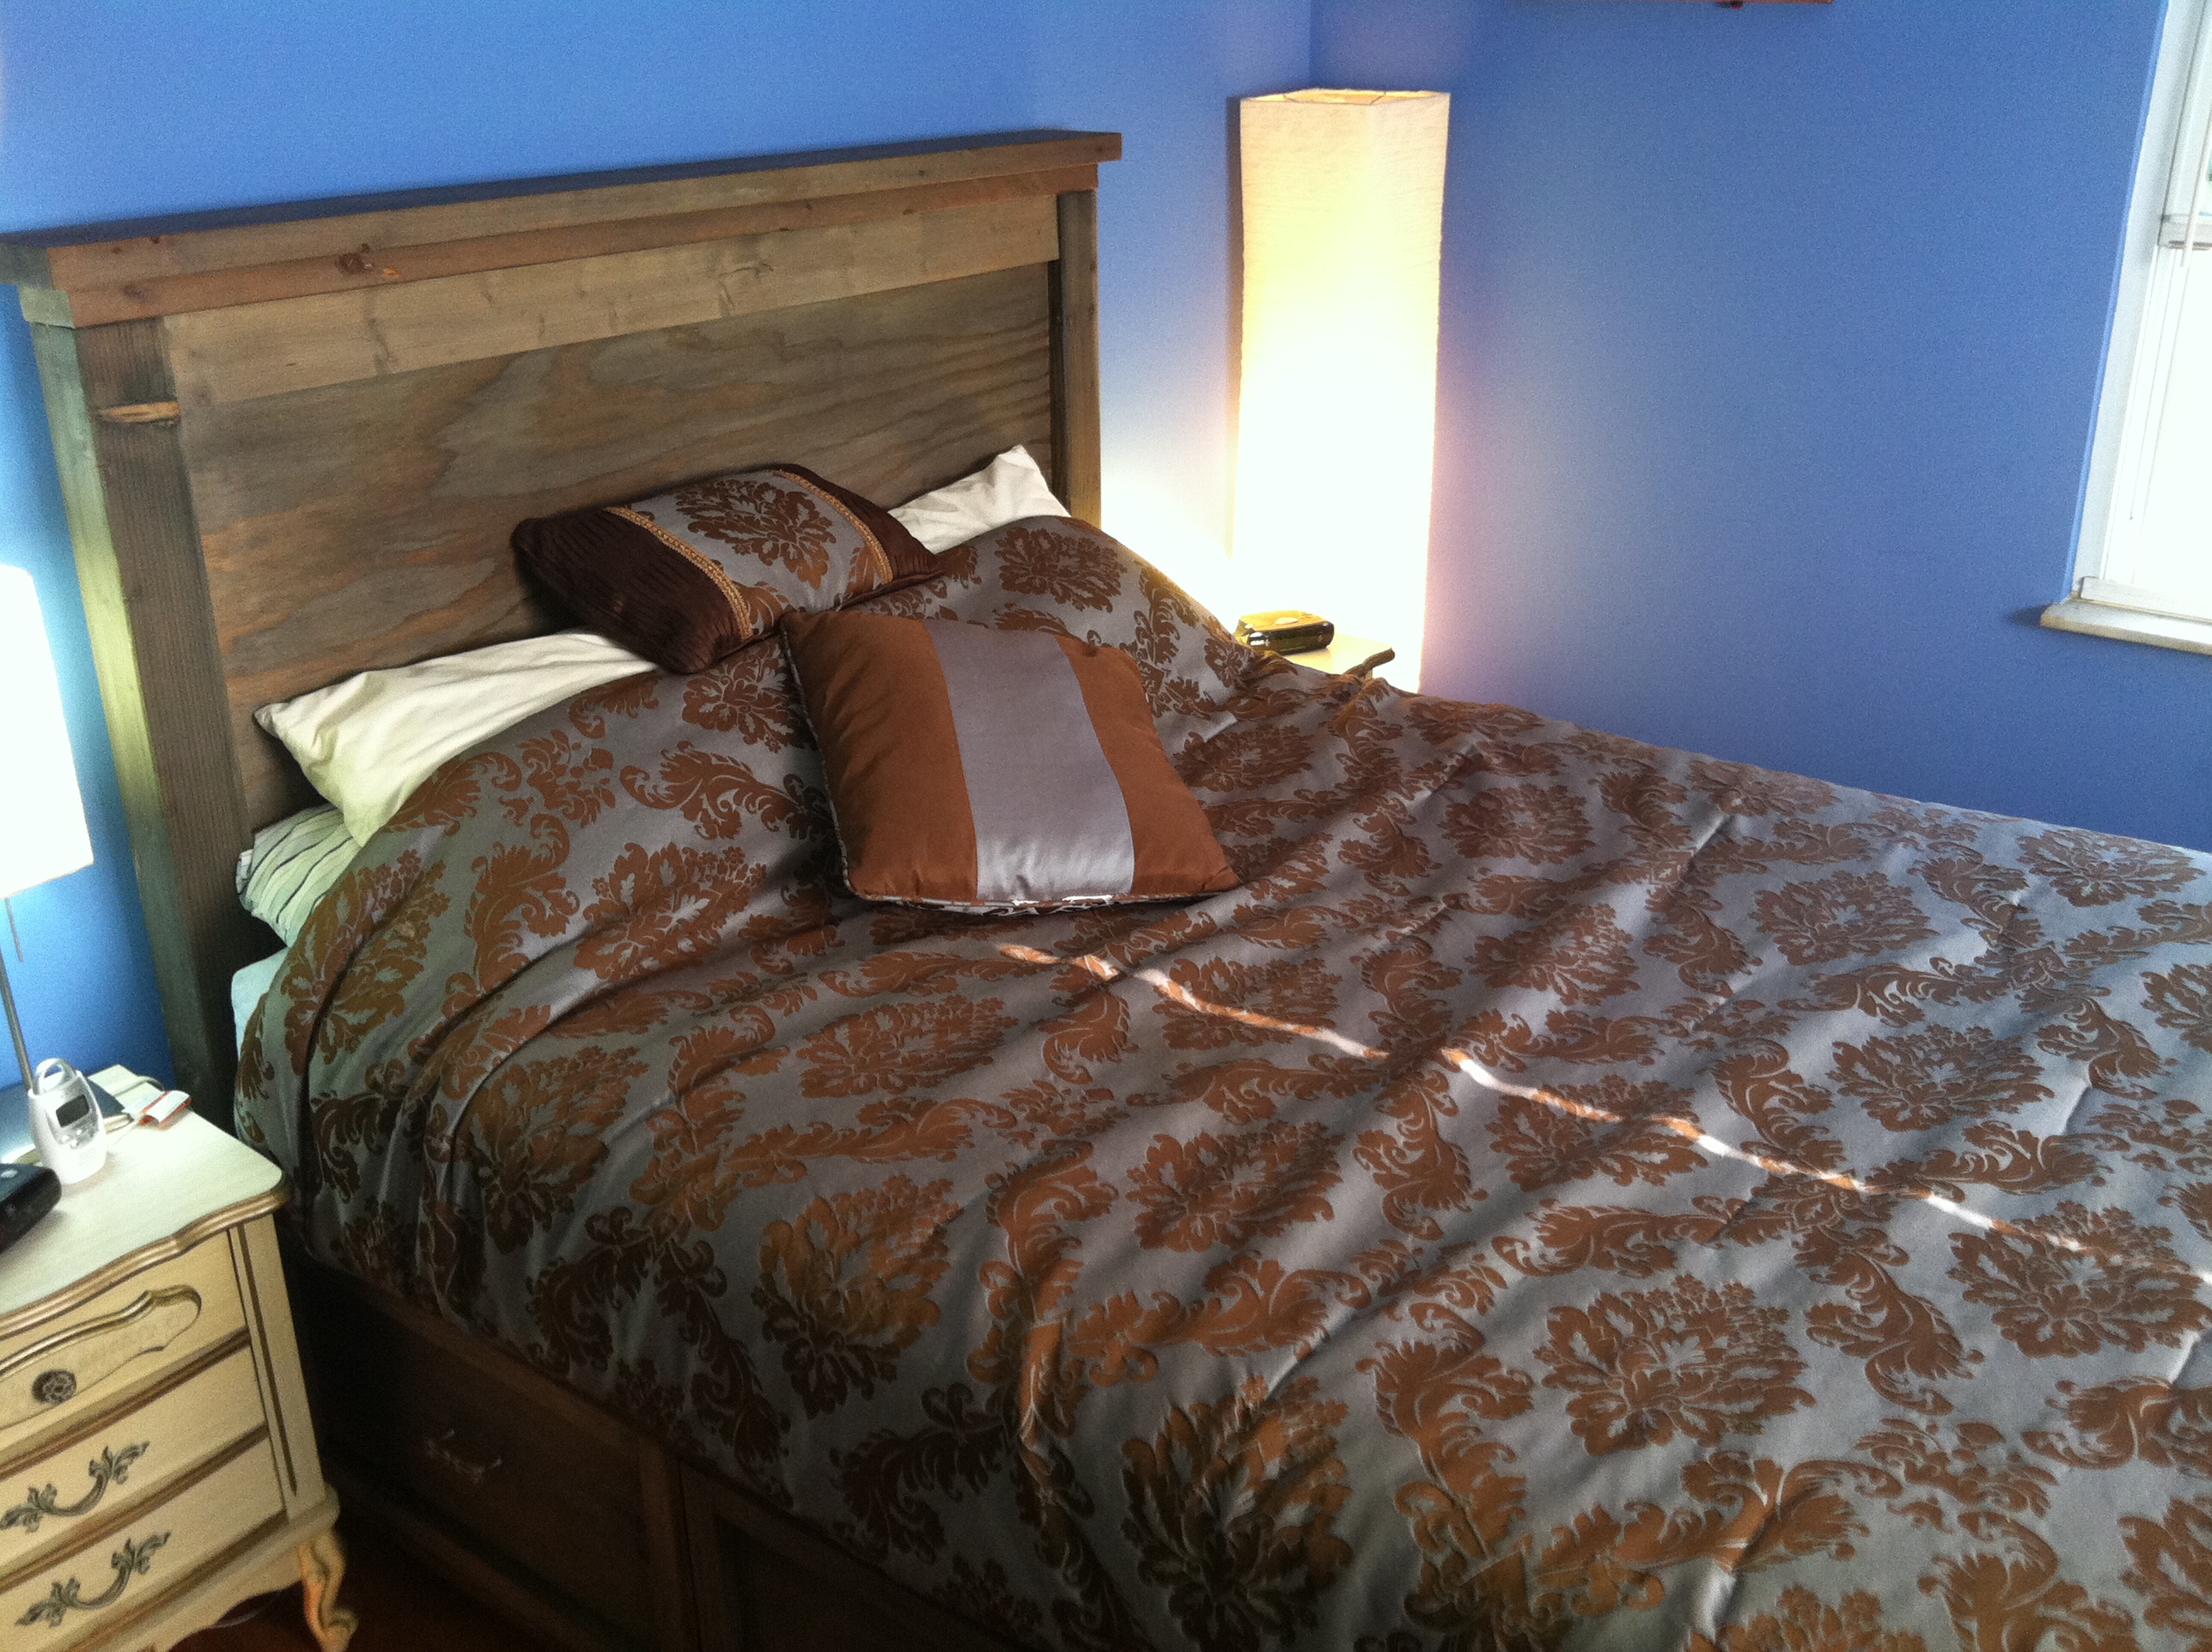
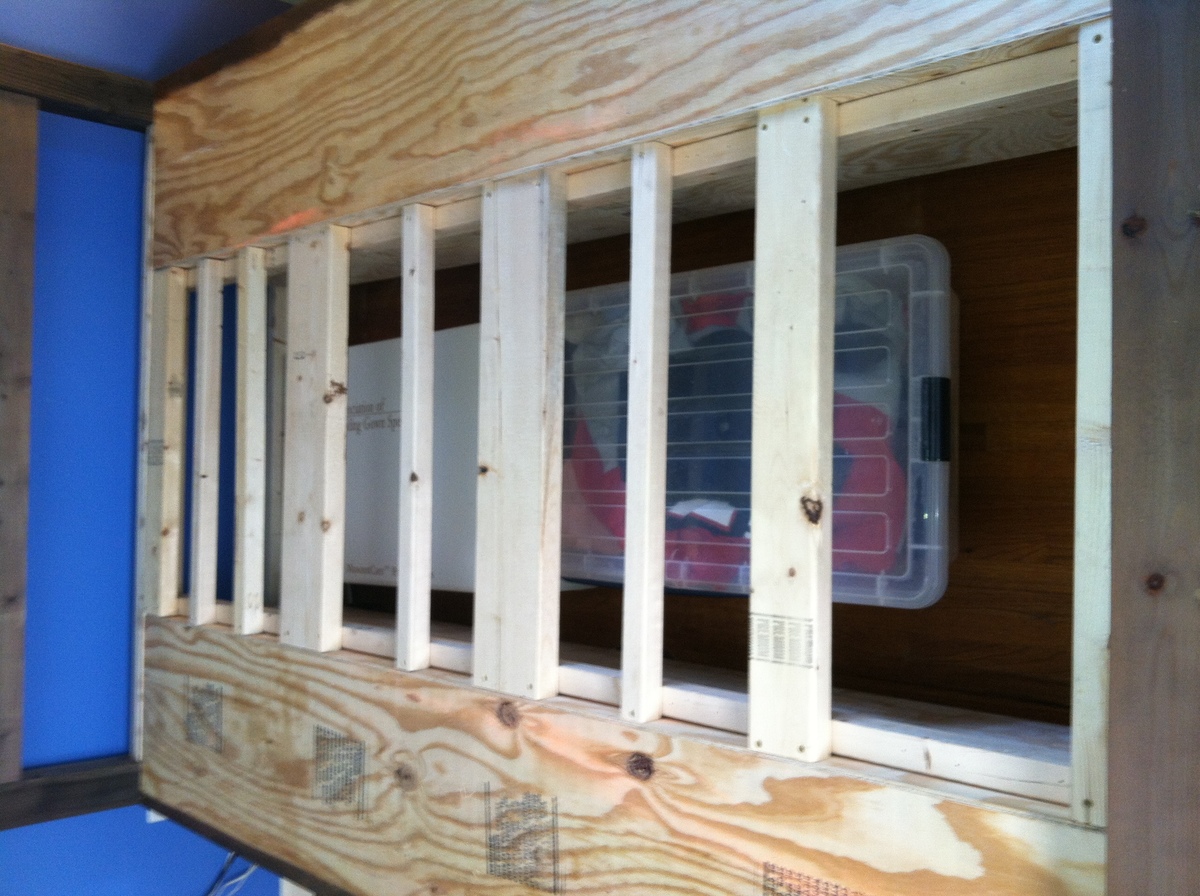
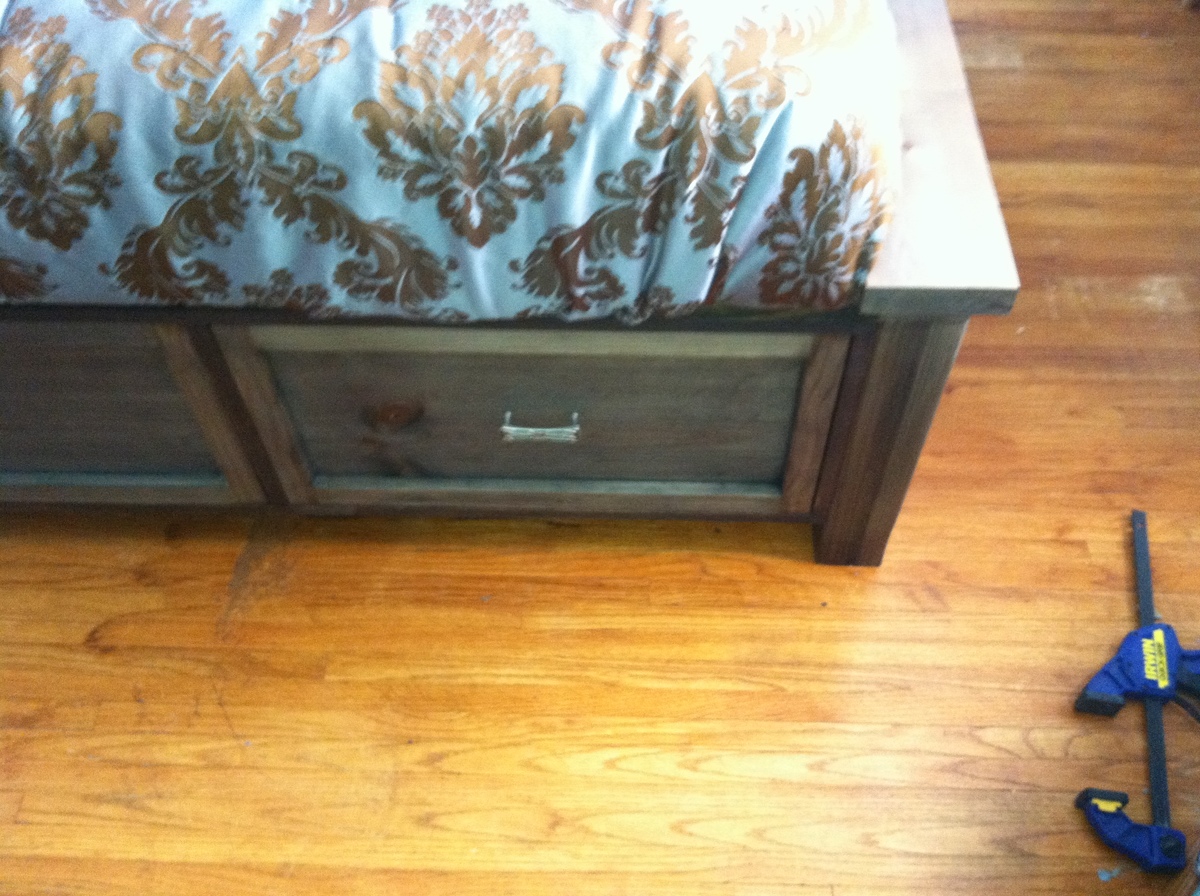
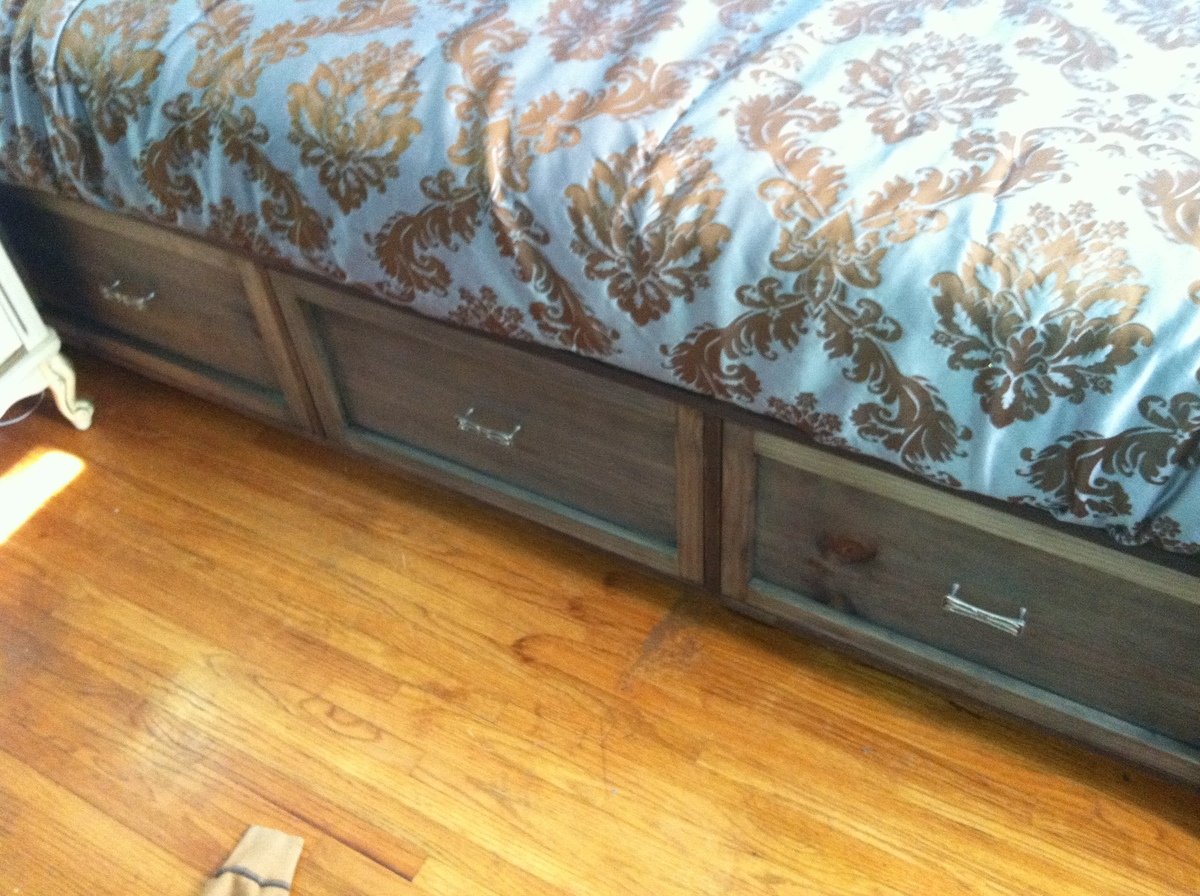
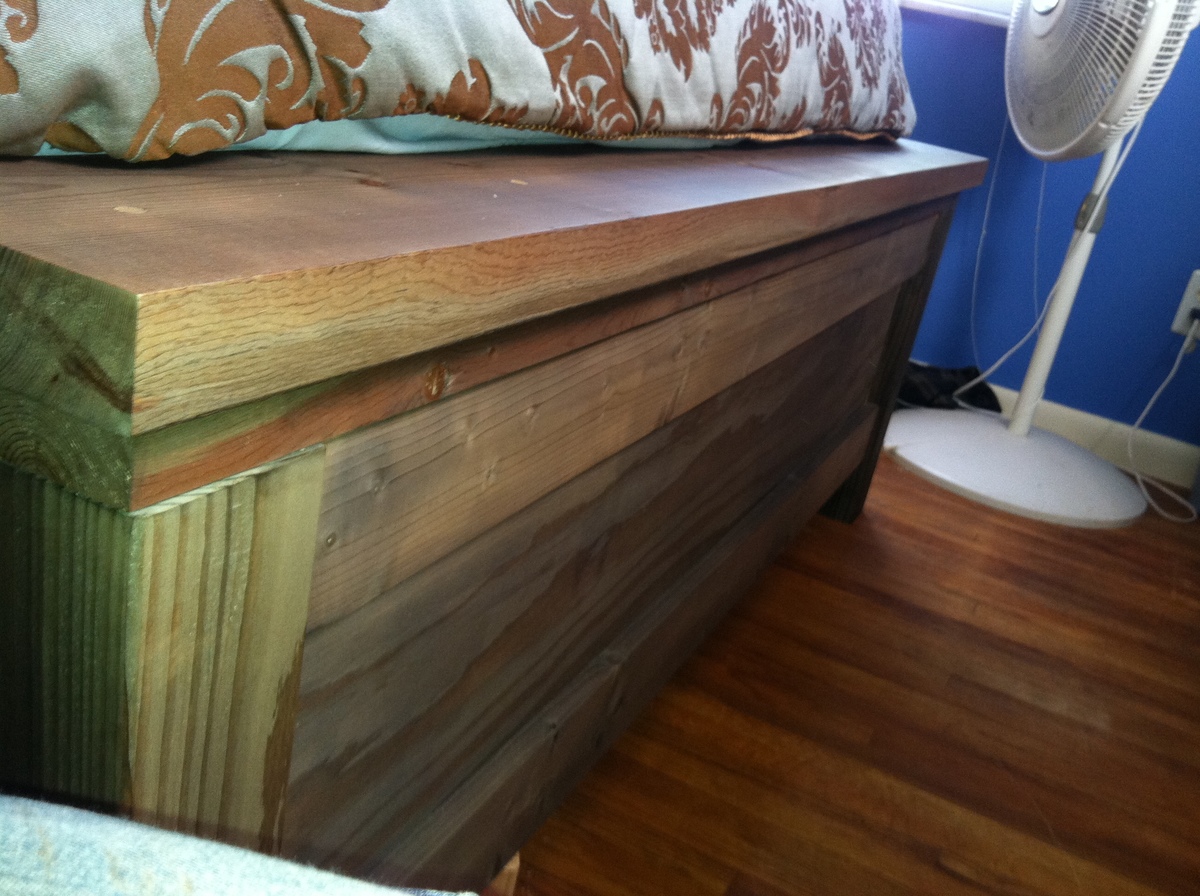
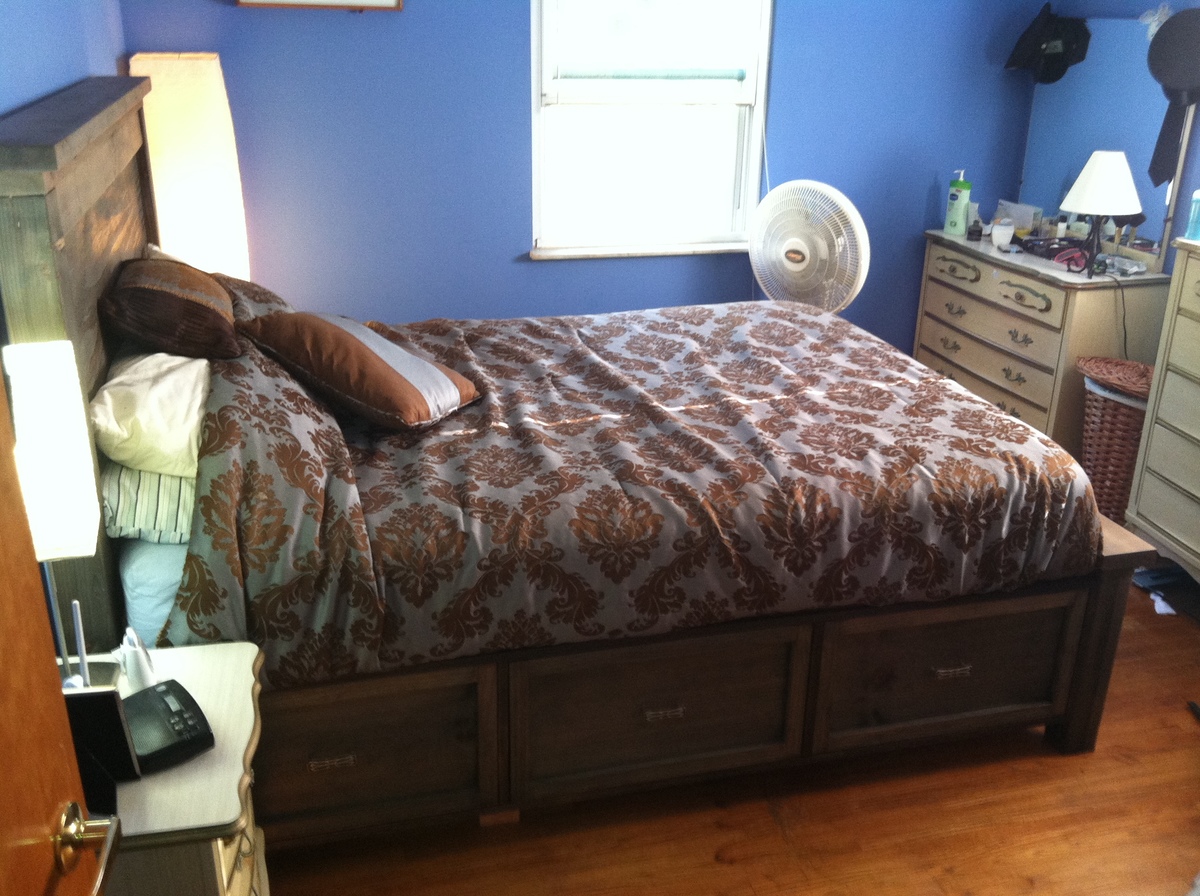
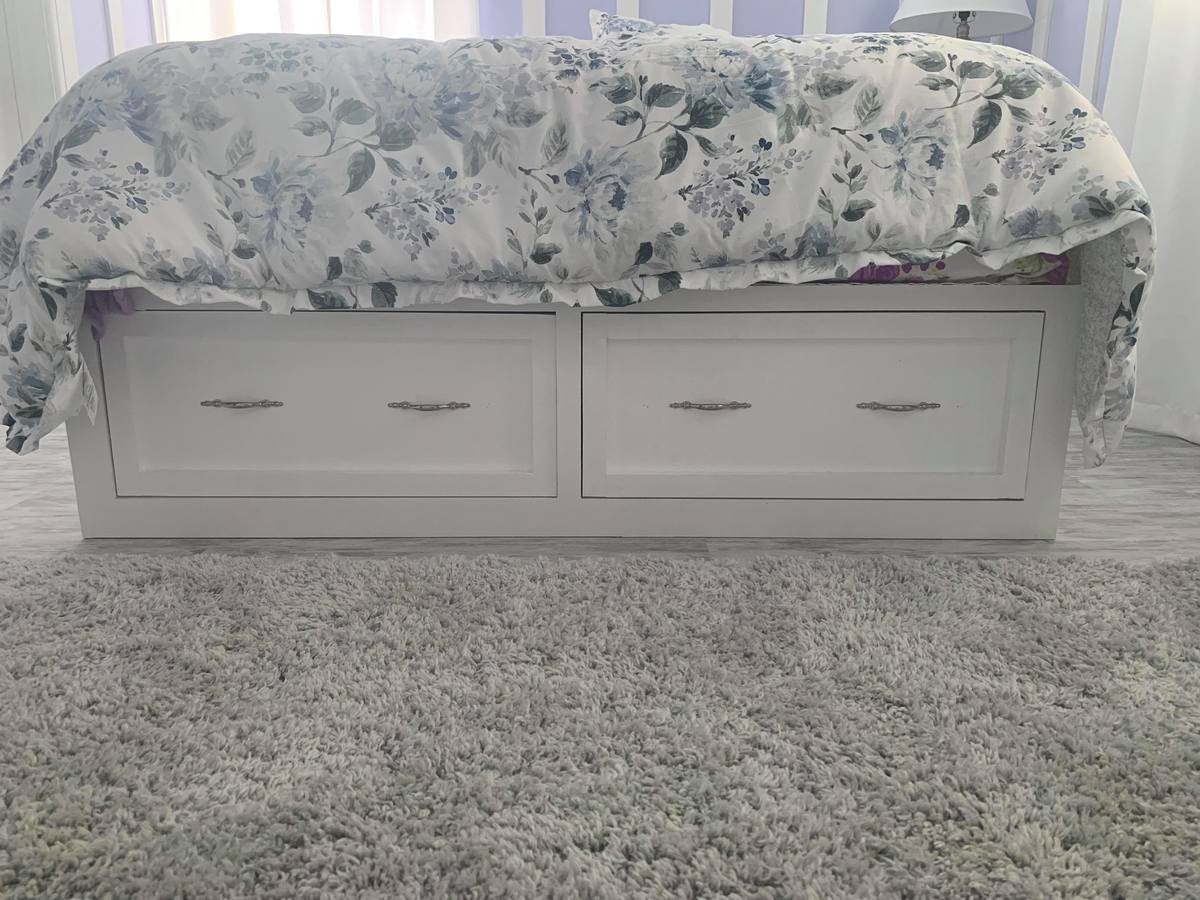
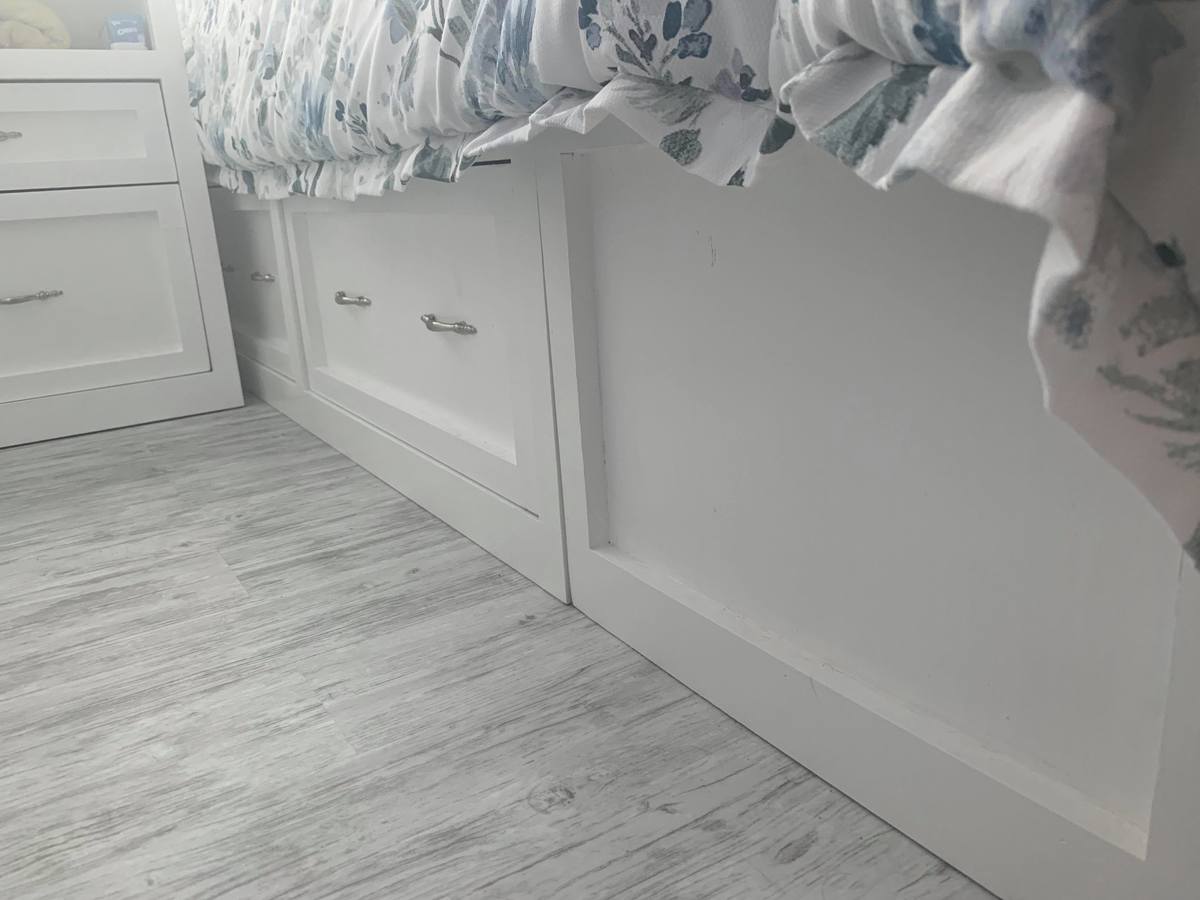
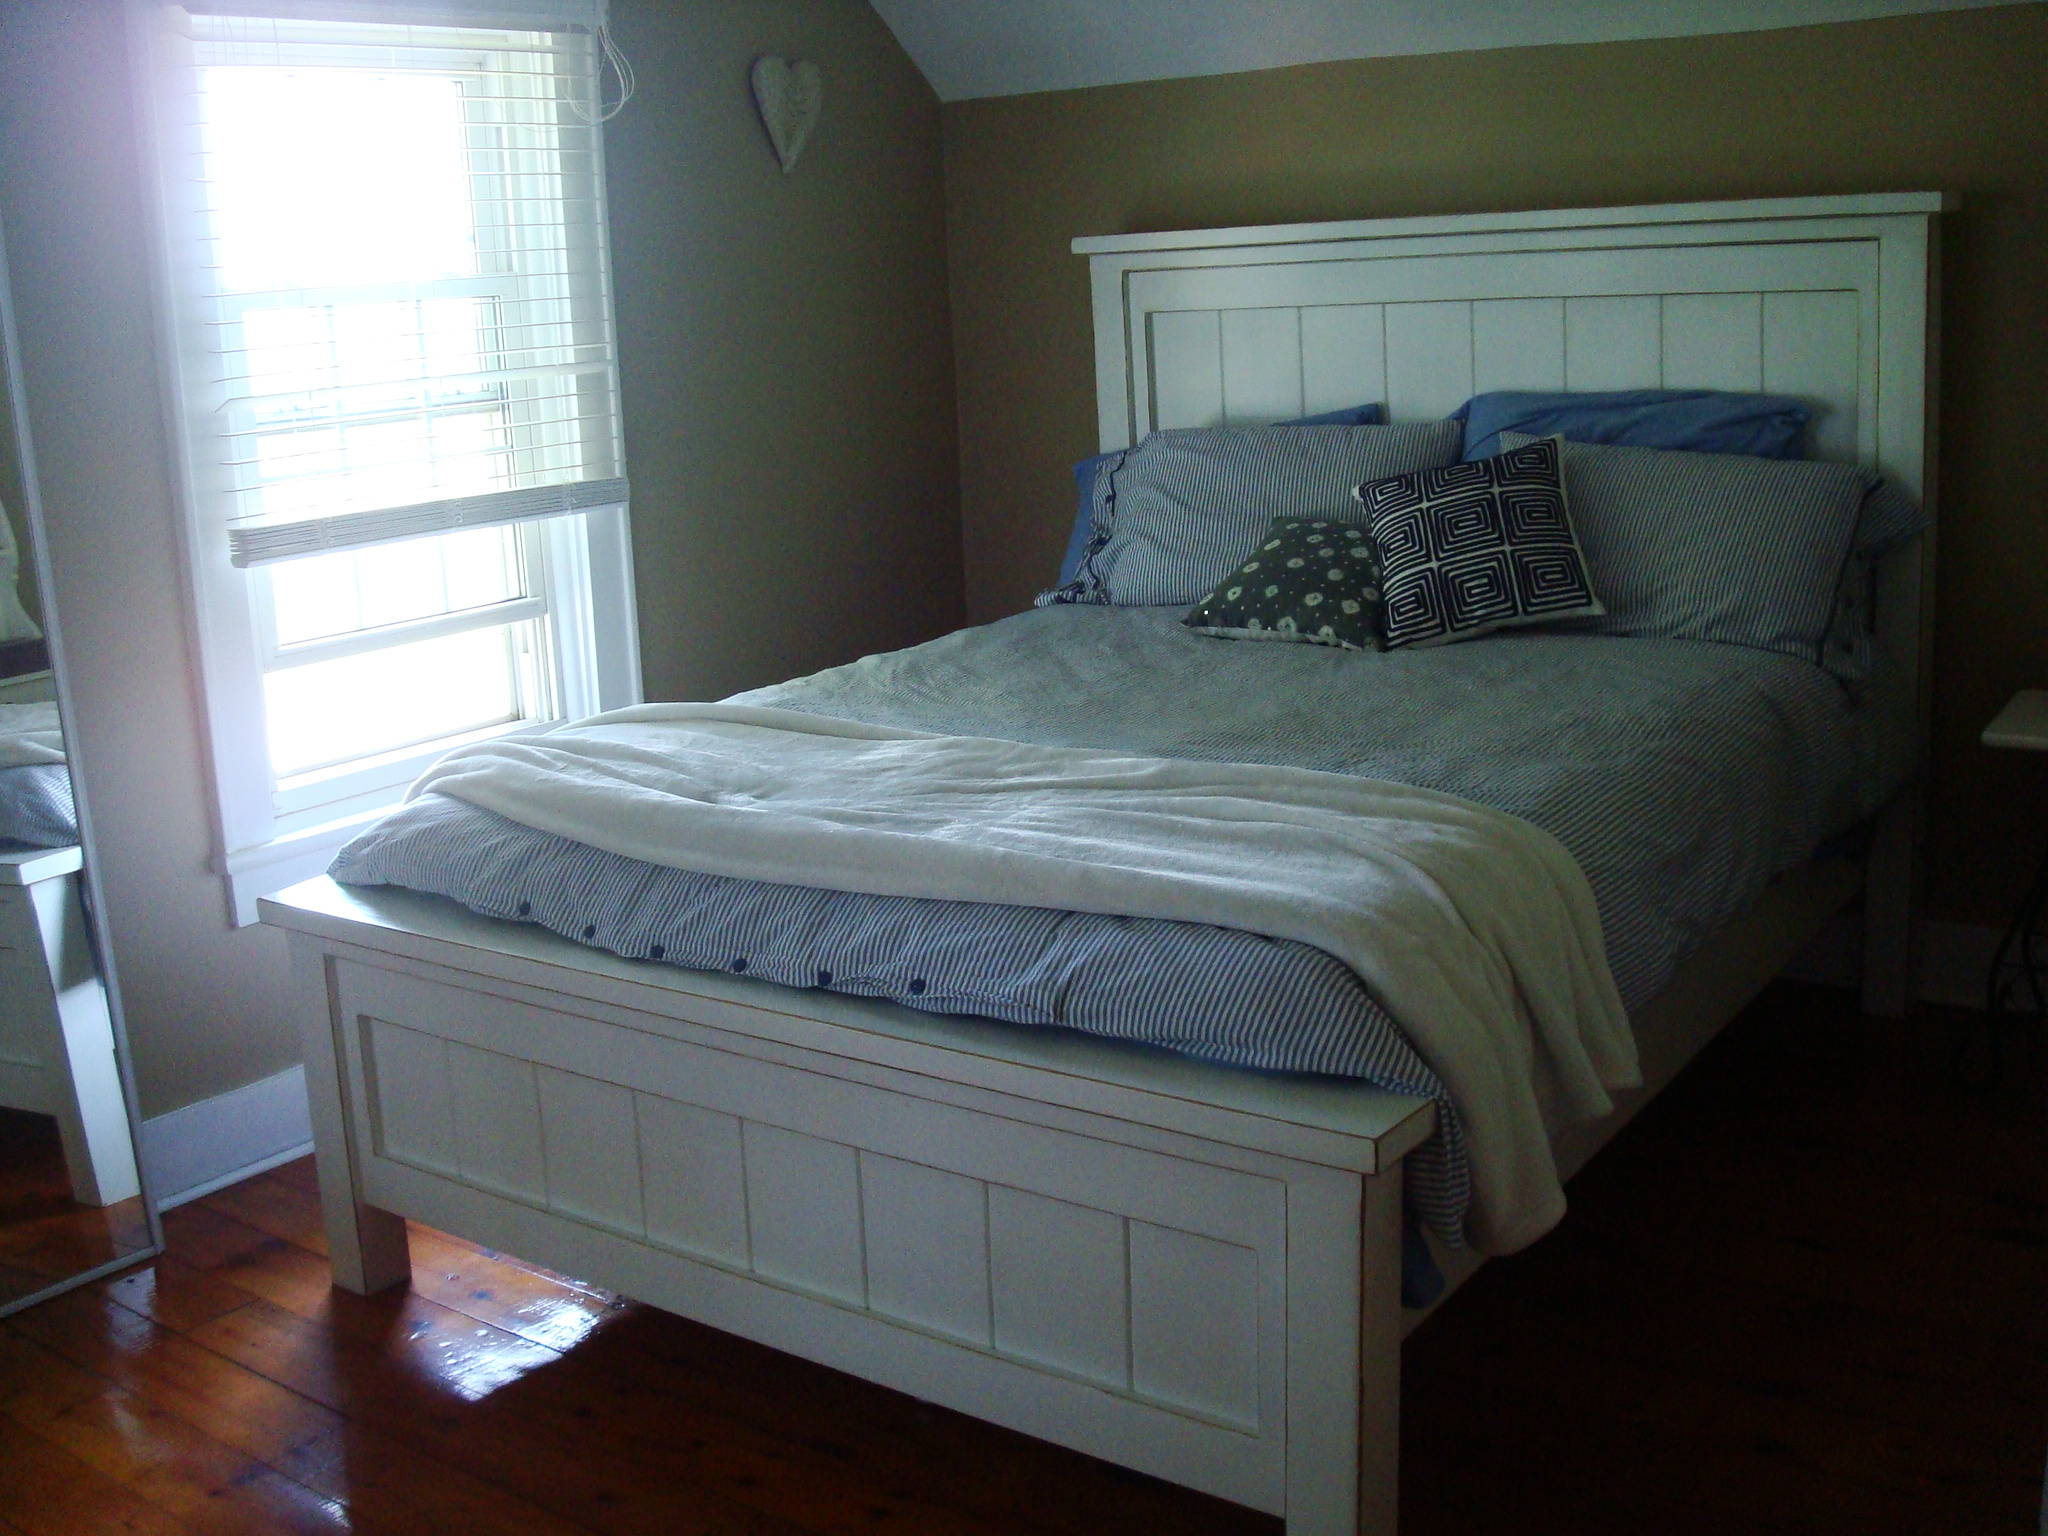
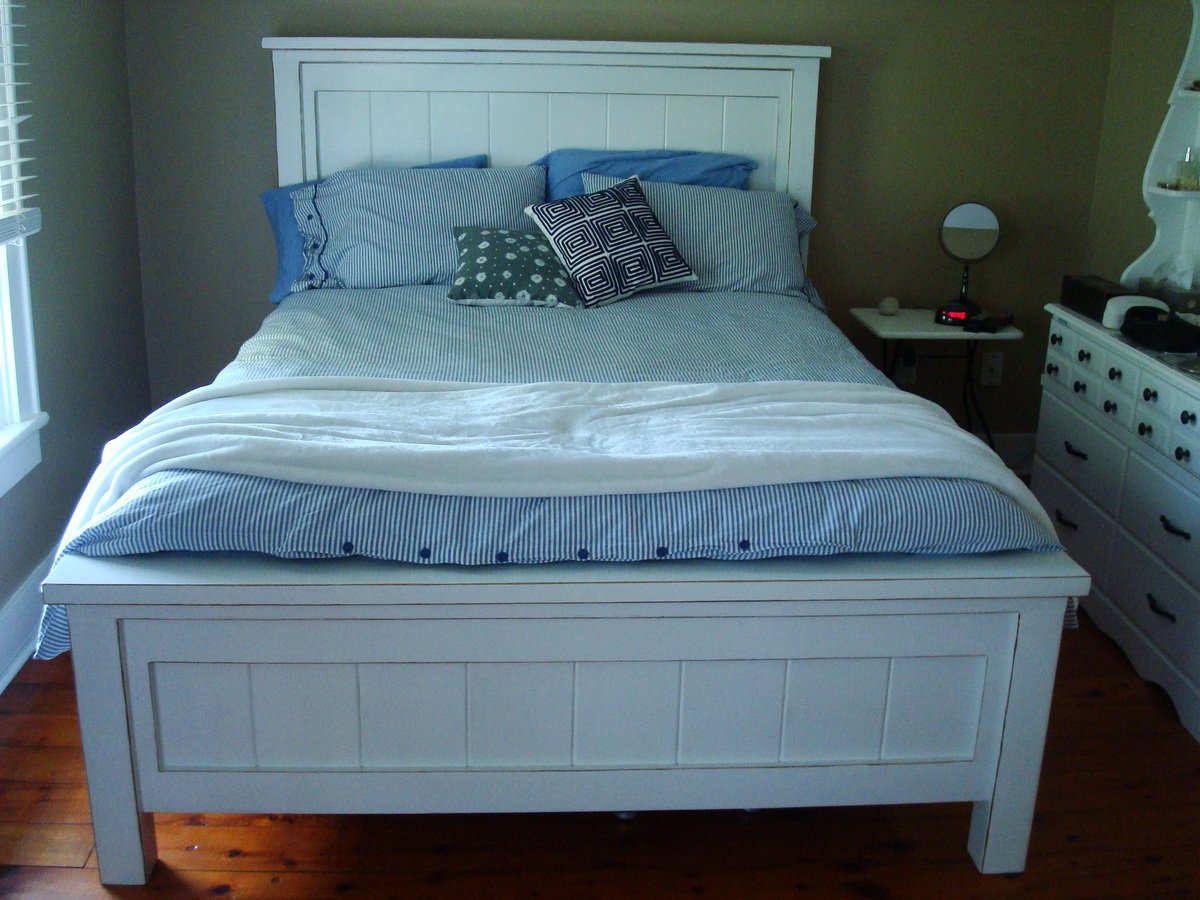
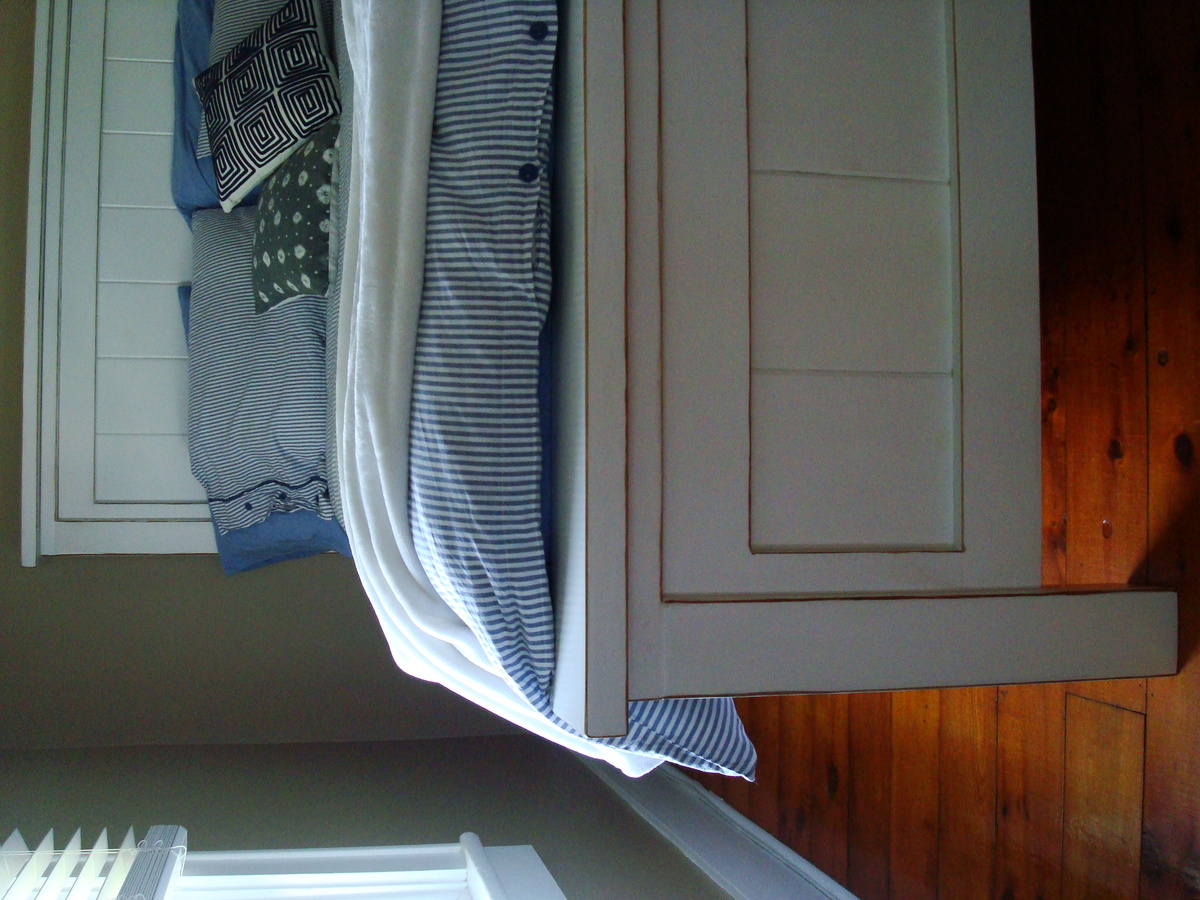
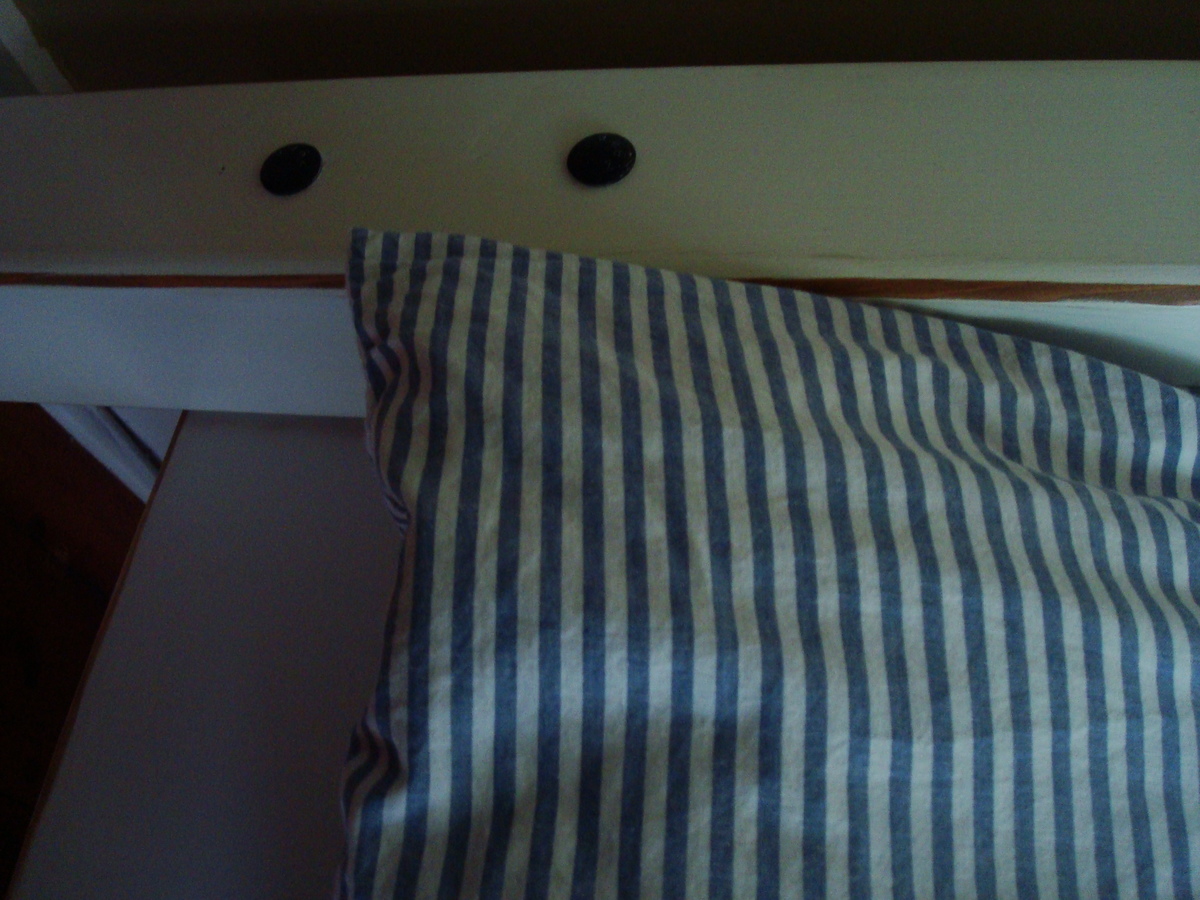
Custom Headboard and Filman Platform Bed
More images and details can be found at http://ohbygollyblog.com/?p=4029 Come visit me!
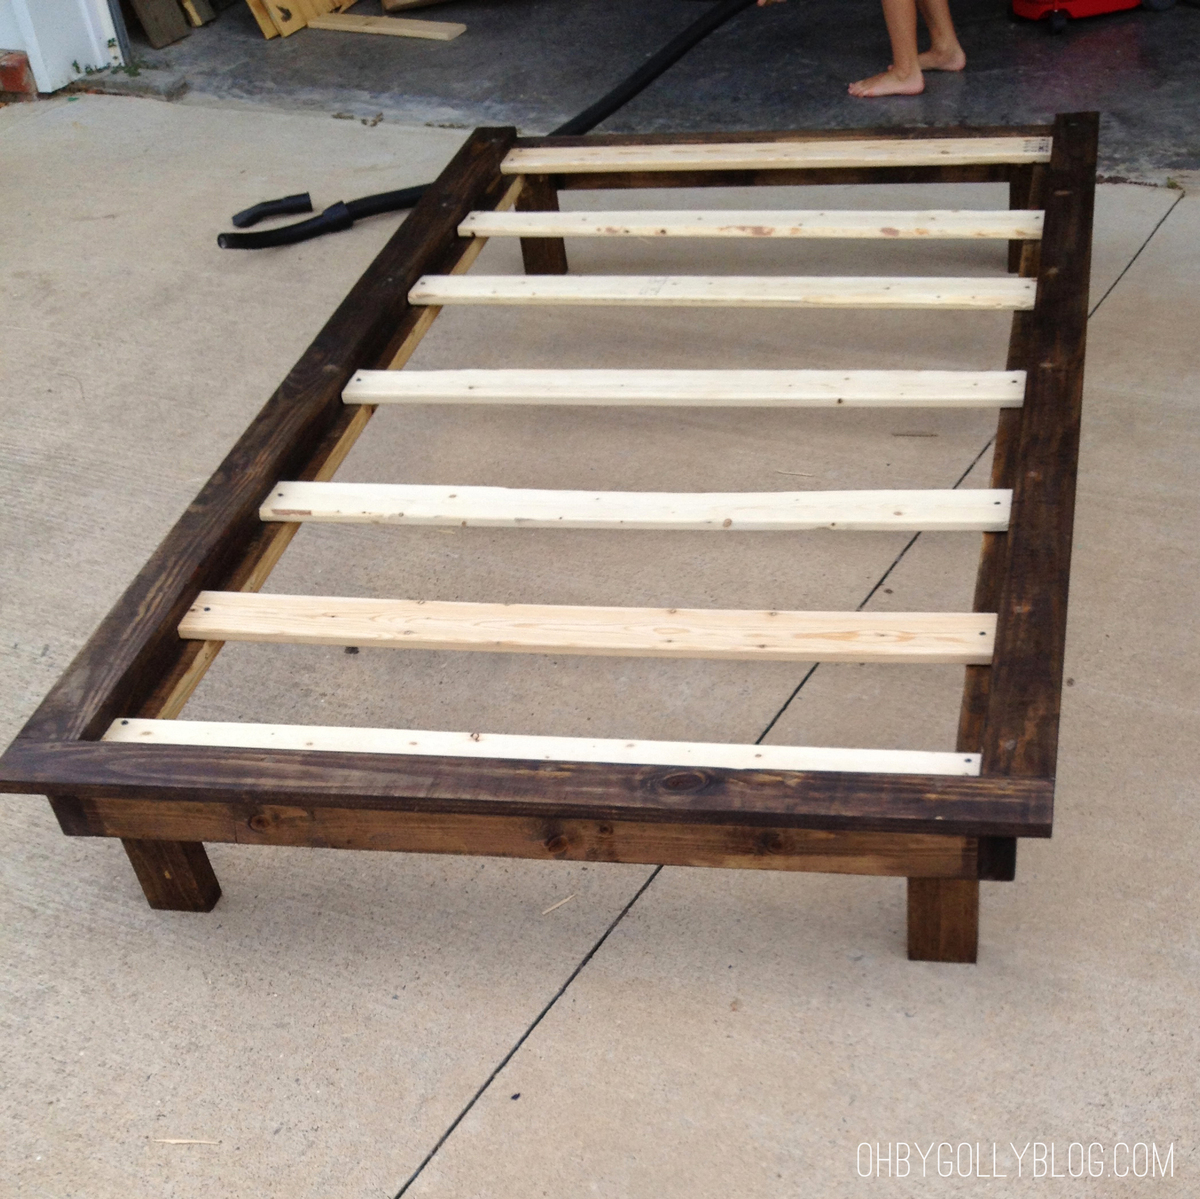
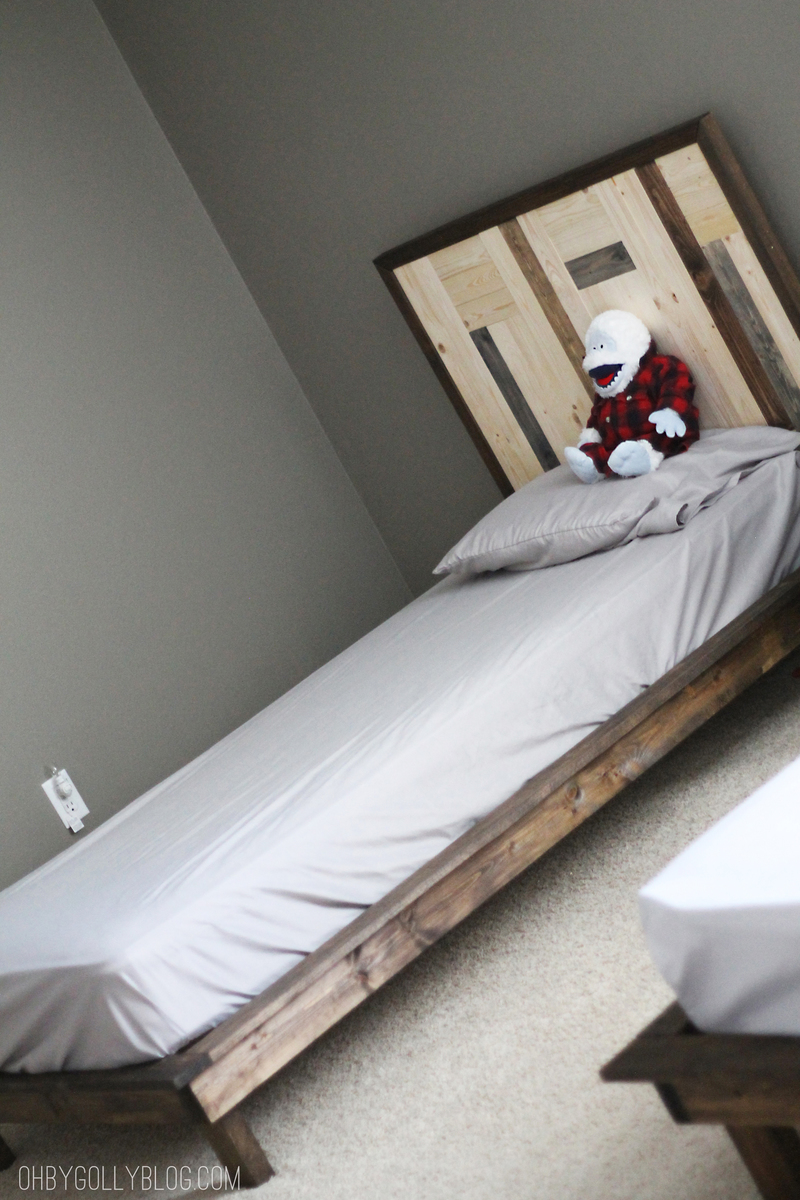
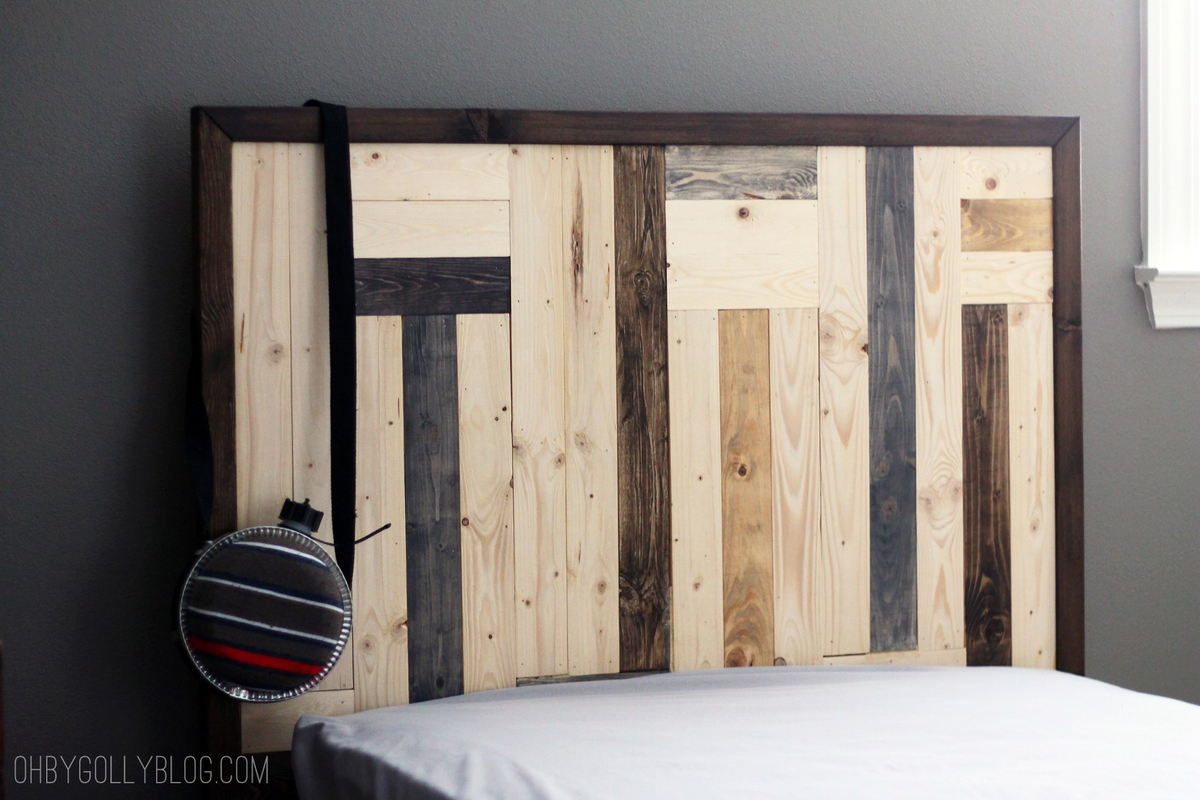
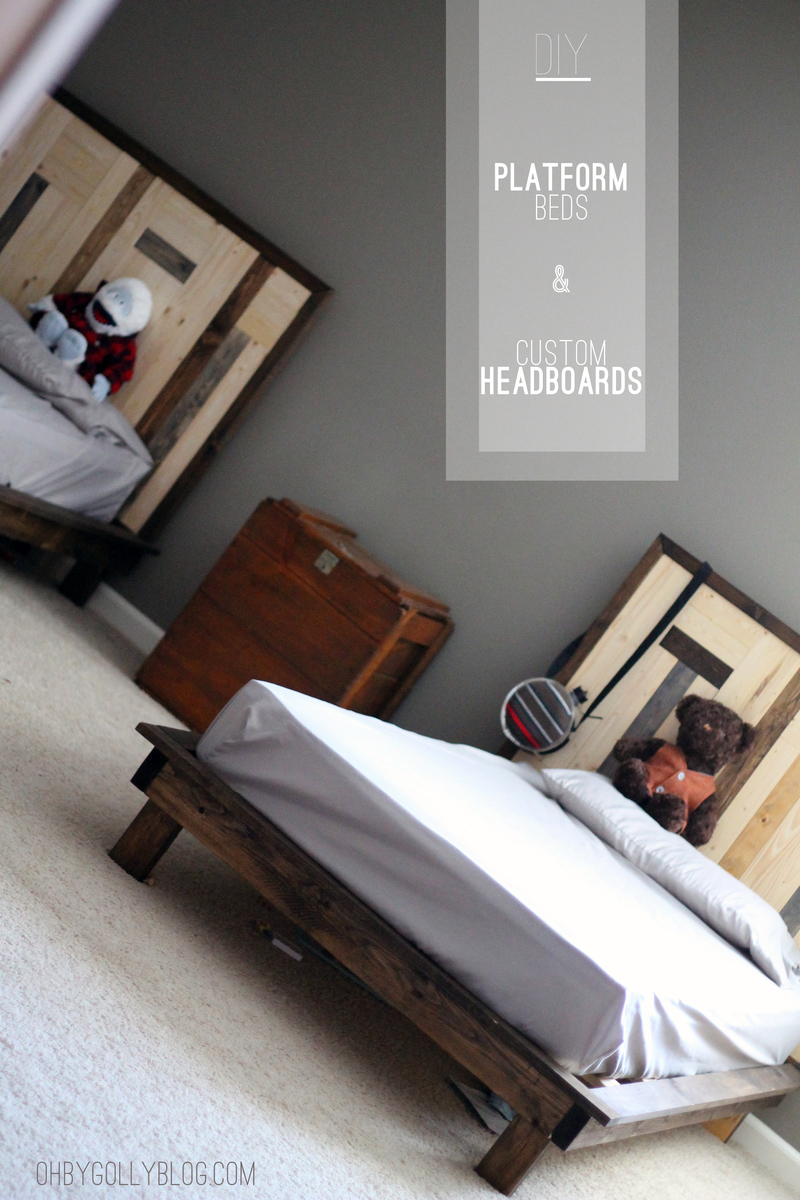
Only change to original plan was width of top. Used 2 2x6 boards with 2x8 for middle board instead of 3 2x6 boards. One note: deck or porch spindles are less than 2 inches and will not fit tightly against the shelf boards. .Cut the lengths form 8ft 2x2 and sand smooth.
Awesome night stand designs we needed. We increased the height to match our bed height. We finished with honey stain on top and Anne Sloan chalk paint that we distressed for the body
Mon, 09/14/2020 - 18:46
We are so excited to start some projects! Quarantine has us feeling crafty!
My first project with raw wood and power tools! All I have is a circular saw and electric sander, but it went really well. It took about 3 days because I couldn't work straight through (silly life and all it's appointments!). Thanks for laying out all the prep work with your instructions, Ana!! My next project is a cubby shelf for towels.
Tue, 10/11/2011 - 21:29
What a nice change! Great job. You should be proud of yourself!
I've got a full how-to and FREE PLANS at
http://www.iliketomakestuff.com/two-person-picnic-table/
The whole thing was built for under $60 and could be done with only a circular saw and a drill, in an afternoon.
(optionally, a router and sander can smooth out corners)
This was a pretty simple project that saved me hundreds and is more functional. I built it to fit our laundry baskets, unfortunately I didn't take a photo of the washer/dryer in place. I've used it for several years now without any issues. This was one of my first builds and it was a good one.
I slightly modified my build. I kept the same dimensions as the plans, but made the top shelf 7” from the top to allow for a bigger firebox. I added faux brick made from masking tape, joint compound and chalk paint. I changed the molding a bit and used 3” pine slats for the top. Inside I added 3 shelves, attached with pocket hole screws, to fit in as many DVD’s as possible. Overall this was an easy build. It took me almost as long to paint it, as to build it. Thank you Ana for the plans!
Potting Bench with an added shelf for more storage by Schoen
We love our new coffee table! Thanks for the idea!!
Hello,
I made the head board from the farm house bed project. I used western red cedar for this project and I bolted it to a standard metal bed frame. It came out really well and I'm very pleased with the plans and the results.
Thank you,
V. Woodcock
Minnesota
I used the Rustic x console table plans and modified them to make this corner media console. I closed the sides with plywood instead of leaving them open with the X detail. Then I closed it in further with doors to keep all our video game systems hidden and dust free. It's a good addition to the Man Cave.
Tue, 04/27/2021 - 21:42
Does it fit all the way into the corner is it squared up?
I made a simplified version without the arches, worked out great! Thanks for the plans! I used oak so cost was a little higher than necessary. :)
Made this wine rack for our basement rec room using live edge wood, 1x2s, and 3/4in wood dowels. Full dimensions and write up at the link below!
This was my first project. I already had a large ottoman, but it didn't hold anything. So I broke it apart for the box frame, added a bottom and hinged the lid. I was able to reuse the padding and upholster the pieces with sale fabric from Joann Fab ( love that store). Than I attached the fabric with a staple gun. Since it's in my bedroom, I like to keep wedding photos and such inside. Plus my 2 year old cannot open it!
The first piece of our replacement bedroom set. We have this hand me down set from the 70's that is just awful looking. I have dressers, bed side tables, a wardrobe, and closet doors to do still. I love the way this turned out. I tried the oxidized finish from Hillary and with some trial and error I found the right colors. I replaced the standard slats with a one-piece frame that can be lifted out for the storage space below. I can't wait to replace the rest of that awful blonde furniture and repaint the room. I made wood slides like those on my built in dresser although this time they are positioned beneath the drawers. The front of the drawer boxes make up the drawer faces with a face frame. I changed the front of the boxes to 1x12 to achieve this concept. The drawers work flawlessly and will be perfect for seasonal clothes accessed less often.
I made this nightstand and one other from the Kentwood plans. The handles are diamond willow from Wisconsin. I used 1x2's for the door.
My husband and I built this bed over the course of several weeks working on it a few hours at a time due to long work days. It came out beautiful and is exactly what I wanted and how I had it pictured for our new bedroom redo. We added the Queen Storage Bed Drawers from the Ana White plans but had to make a modification as the drawer plans did not account for the trim as shown in the picture for the bed. Then we took things a step further and built matching nightstands. I LOVE how everything turned out.
First building project ever! I wanted a new bed for our new mattress and got inspired when I came across this website. A compound mitre saw, orbital sander, nailer, and many more tools later, I am building furniture whenever I get a chance!
Modified the way I attached the frame to the head board and foot board a bit. I used joist hangers on the footboard, which the frame slid into perfectly, and secured it with a couple screws on each side. I attached the headboard with 2 large carriage bolts on each side through the posts and frame.
Overall, I loved the way it turned out. On to the next project!
Sat, 10/19/2013 - 08:14
Thanks for sharing this amazing build. It turned out beautifully, can't wait to see your next project!
In reply to First Build?!? by Ana White
Wed, 10/23/2013 - 19:38
Your website really guided me through everything, from buying the wood to the finish. I credit you and tell people to visit this website whenever anyone asks me about my projects :)
This is my first DIY build project and it turned out awesome. For some reason I was unable to find untreated 4x4's anywhere in Hawaii, so I took two 2x4's and attached them by countersinking wood screws. Beware, the dimensions of this project are massive. I scaled down the measurements drastically to fit in my living room with my sectional.
Built by request. They wanted a couple modifications, so I improvised on a few areas. The piece will be stained/painted by the owner.
Comments
Pam the Goatherd
Tue, 10/08/2013 - 09:58
Very creative! I went to your
Very creative! I went to your blog and looked at your own headboard, too. You do good work!