


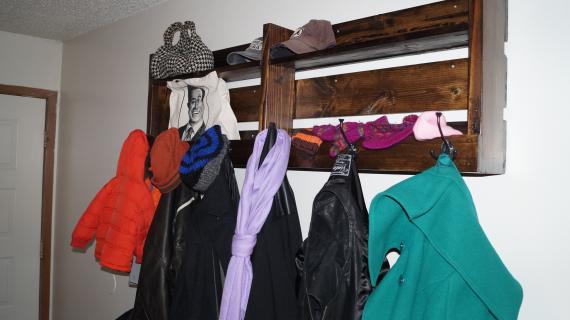
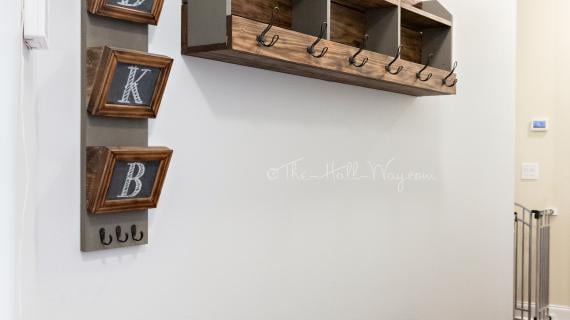
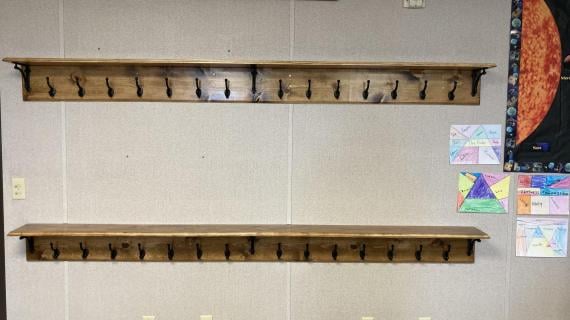
DIY coat rack plans by ANA-WHITE.com
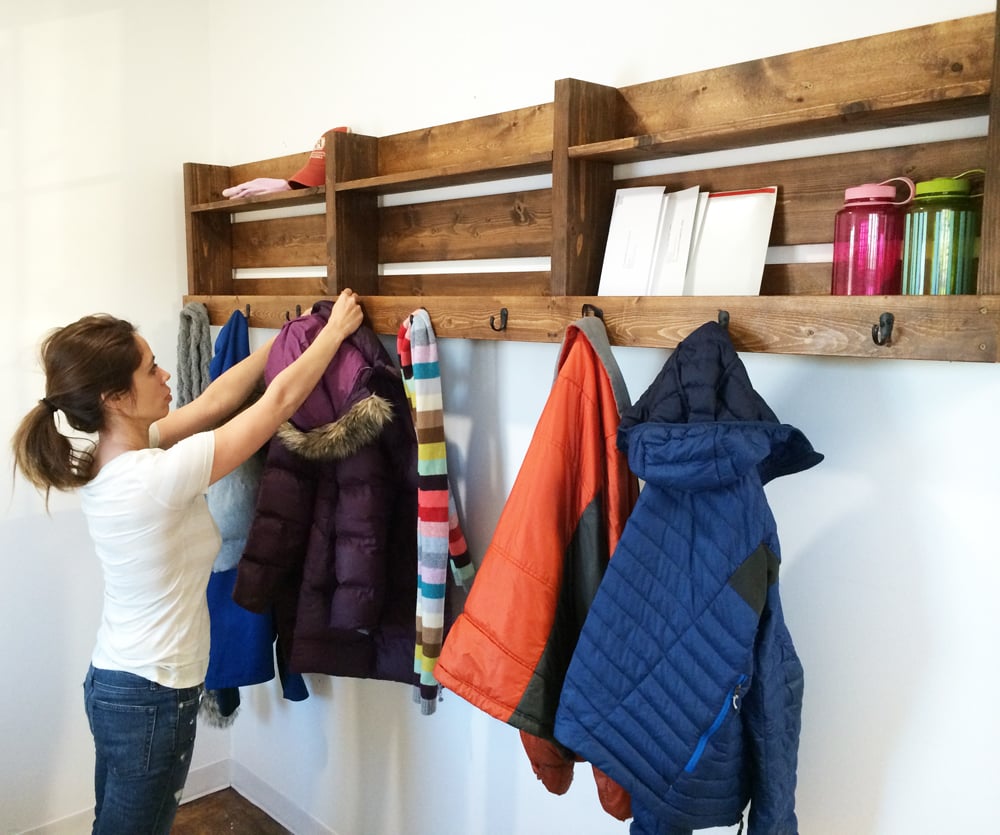
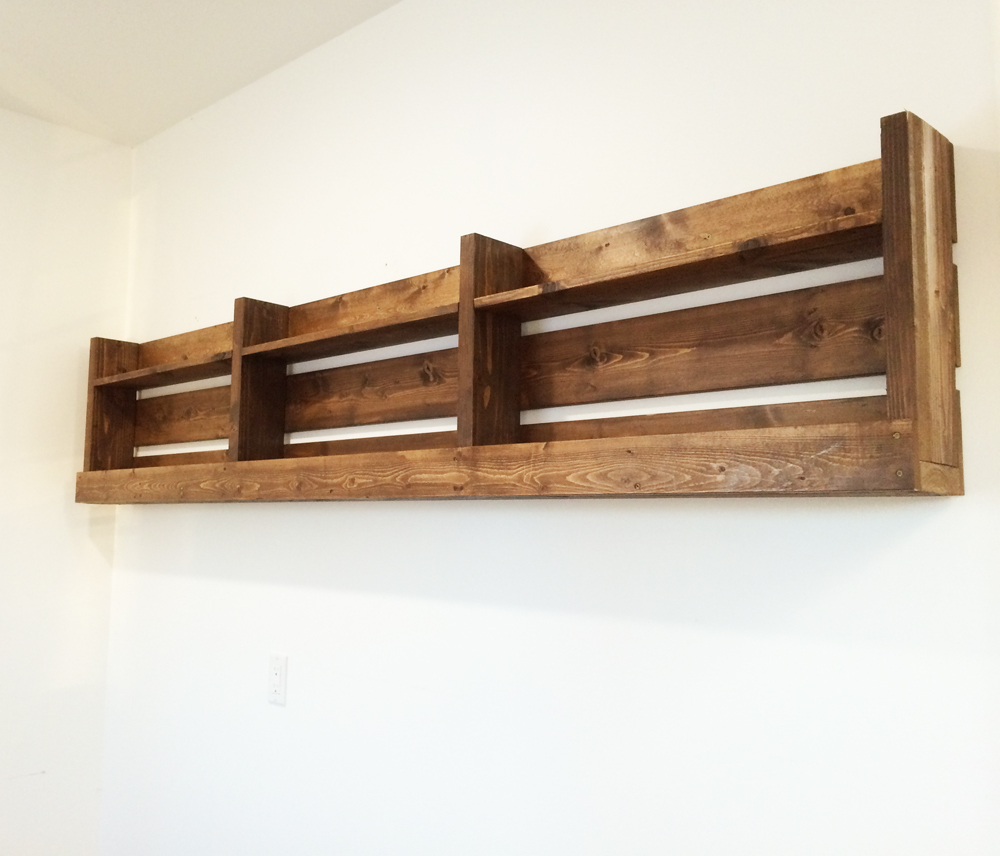
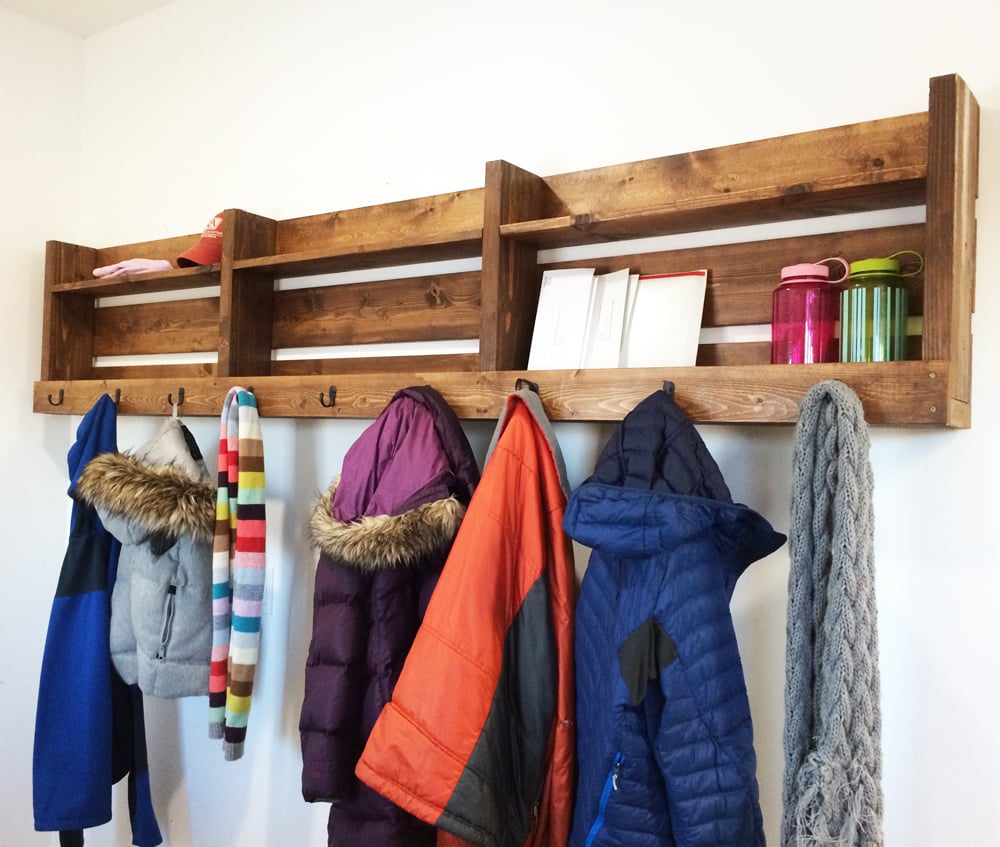
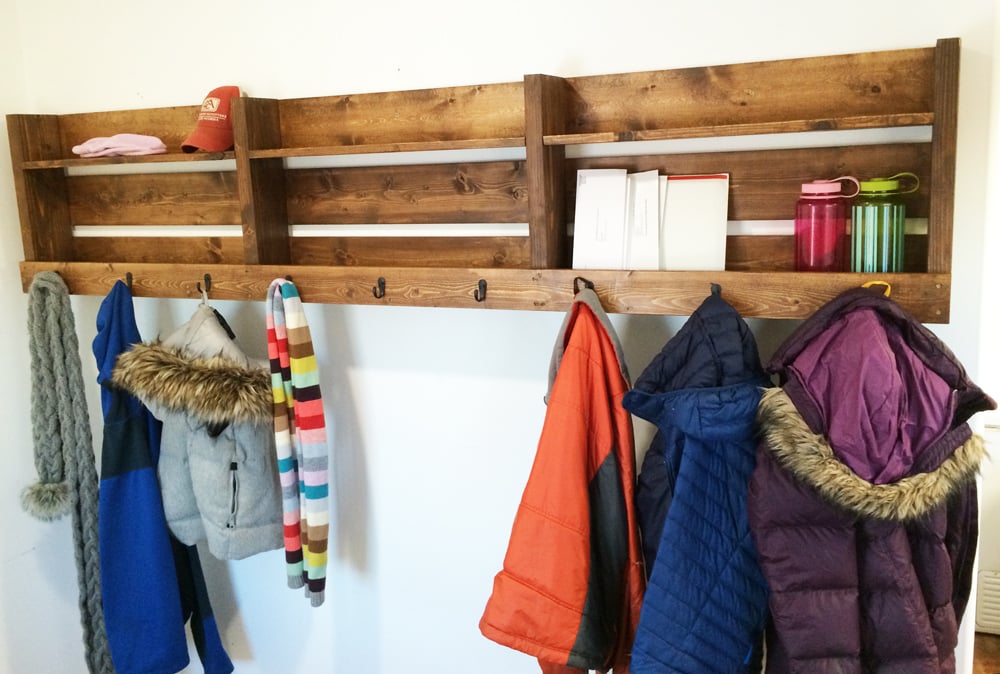
How We Built this Coat Rack:

Dividers
Attach remaining two 2x6 that are 17-1/2” long, with 30” of space in between. Use 2-1/2” self tapping screws and glue.

Small Shelves
Drill two 3/4" pocket holes on each end of each of the 1x6 boards that are 30” long. Secure to the 2x6 boards that are 17-1/2” long, leaving 12” of space underneath, with 1-1/4” pocket hole screws and wood glue.

Back
Attach with 2” wood screws and glue the 1x6 boards that are 8 feet long to the back. Attach top and bottom first, then center middle 1x6 and attach. Use glue.

Front
Apply glue to front edges of project 3-1/2” up from bottom and attach the 1x4 that is 8 feet long to the front of the project with 2” screws.

Stain and Finish
Fill any exposed holes with stainable wood filler and allow to dry. Lightly sand project and vacuum off sanding residue. We stained our project with Rustoleum Early American followed by a clear top coat.
Free Plans to Build Your Own Coat Rack
This plan is a free PDF download, click here to download the plans.
Preparation
-
4 – 1x6 @ 8 feet long
-
2 – 2x6 @ 8 feet long
-
1 - 1x4 @ 8 feet long
-
2-1/2” Self Tapping Wood Screws
-
2” Self Tapping Wood Screws
-
1-1/4” pocket hole screws (12)
-
9 - Hooks
-
Wood glue
-
Wood filler
-
Sandpaper
-
Safety glasses & hearing protection
-
Tape measure
3 – 1x6 @ 8 feet long
1 – 1x4 @ 8 feet long
1 – 2x6 @ 8 feet long
4 – 2x6 @ 17-1/2” long
3 – 1x6 @ 30” long
I recommend a miter saw for precision and ease of cutting, but a circular saw or jigsaw could be used.
This plan is a free PDF download, click here to download the plans.
It is always recommended to apply a test coat on a hidden area or scrap piece to ensure color evenness and adhesion. Use primer or wood conditioner as needed.

Comments
Lady Goats
Thu, 01/15/2015 - 14:13
This is just perfect!
I love that we don't have to search for a pallet that's in decent enough shape and risk sanding treated wood (and all of the potential hazards of using a pallet!). This is just... PERFECT!
In reply to This is just perfect! by Lady Goats
Ana White
Thu, 01/22/2015 - 21:25
Thanks Gina!!! Good to hear
Thanks Gina!!! Good to hear from you and loved your latest project!