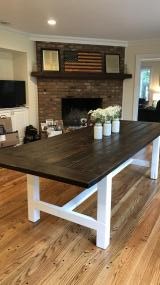
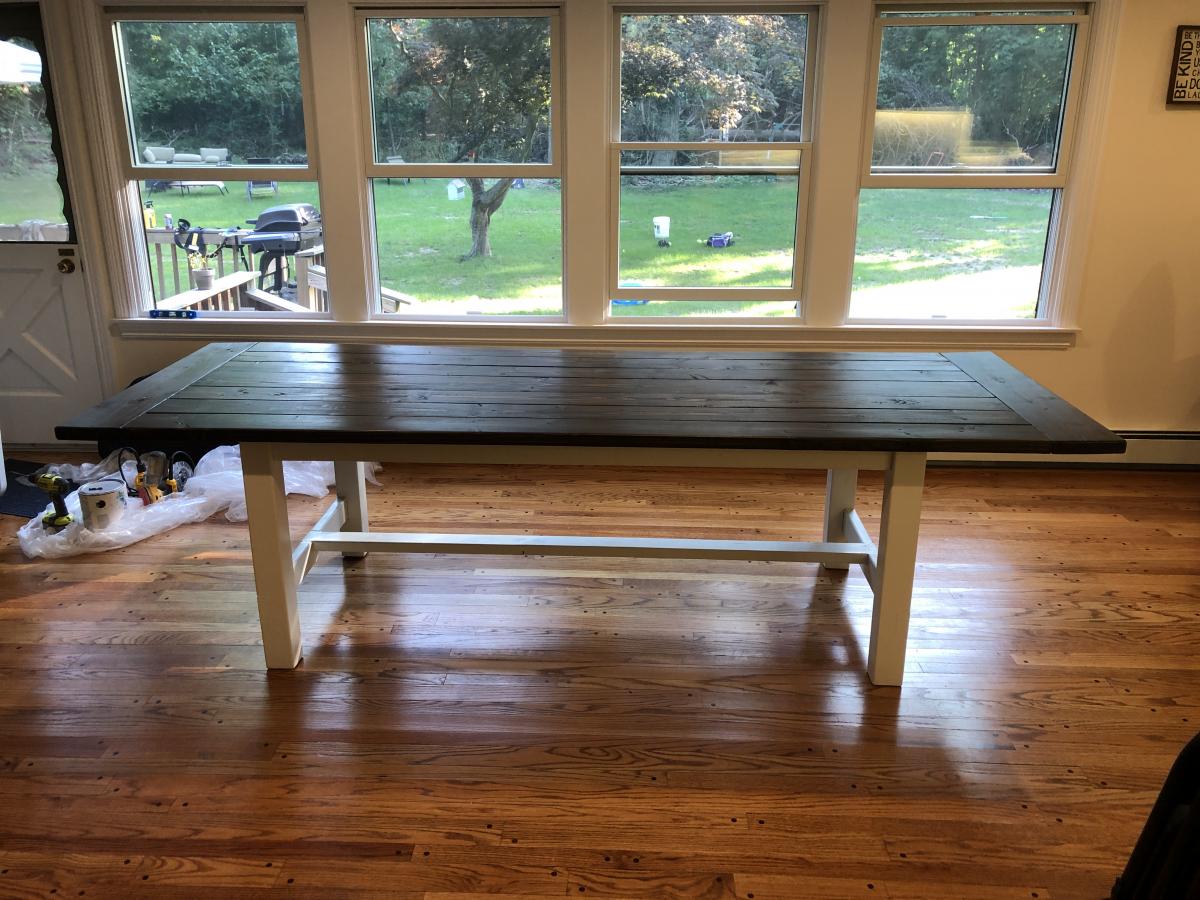
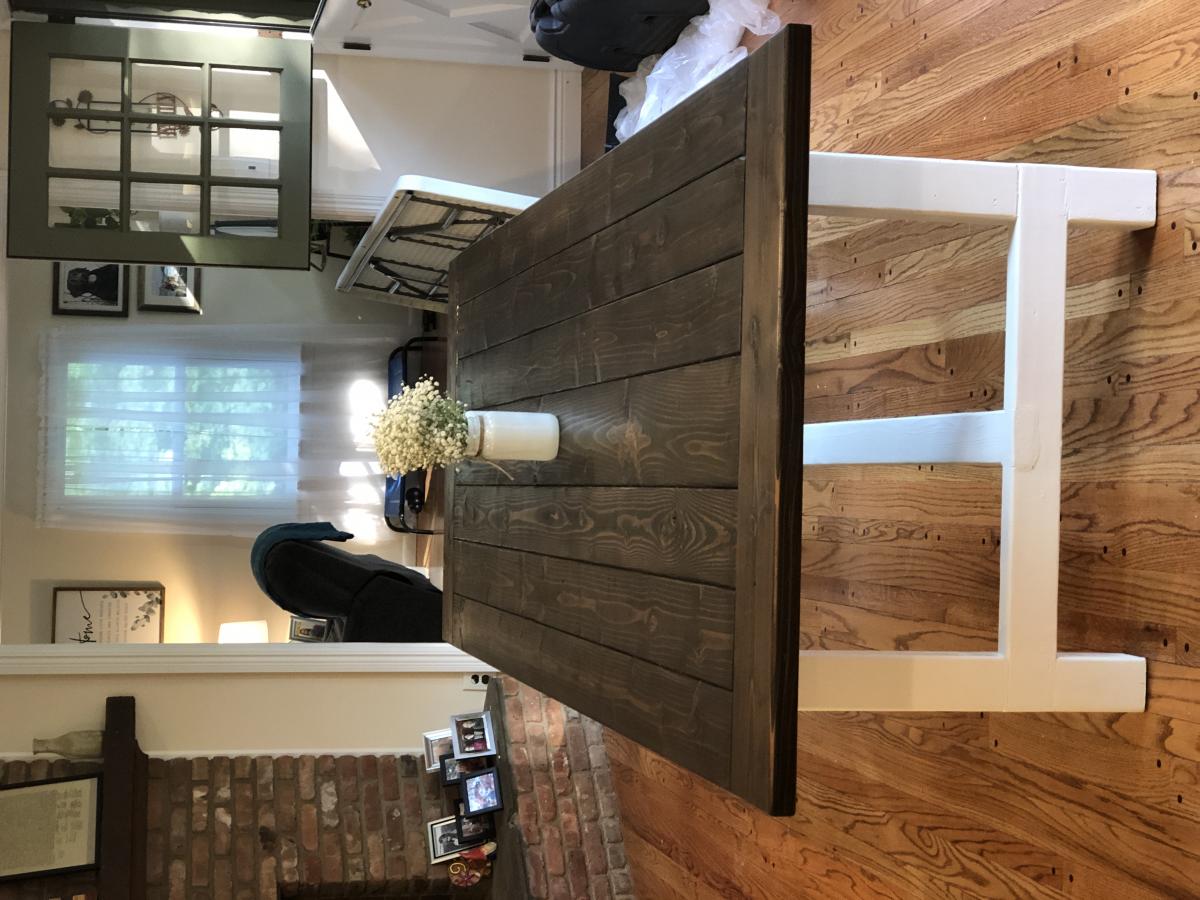
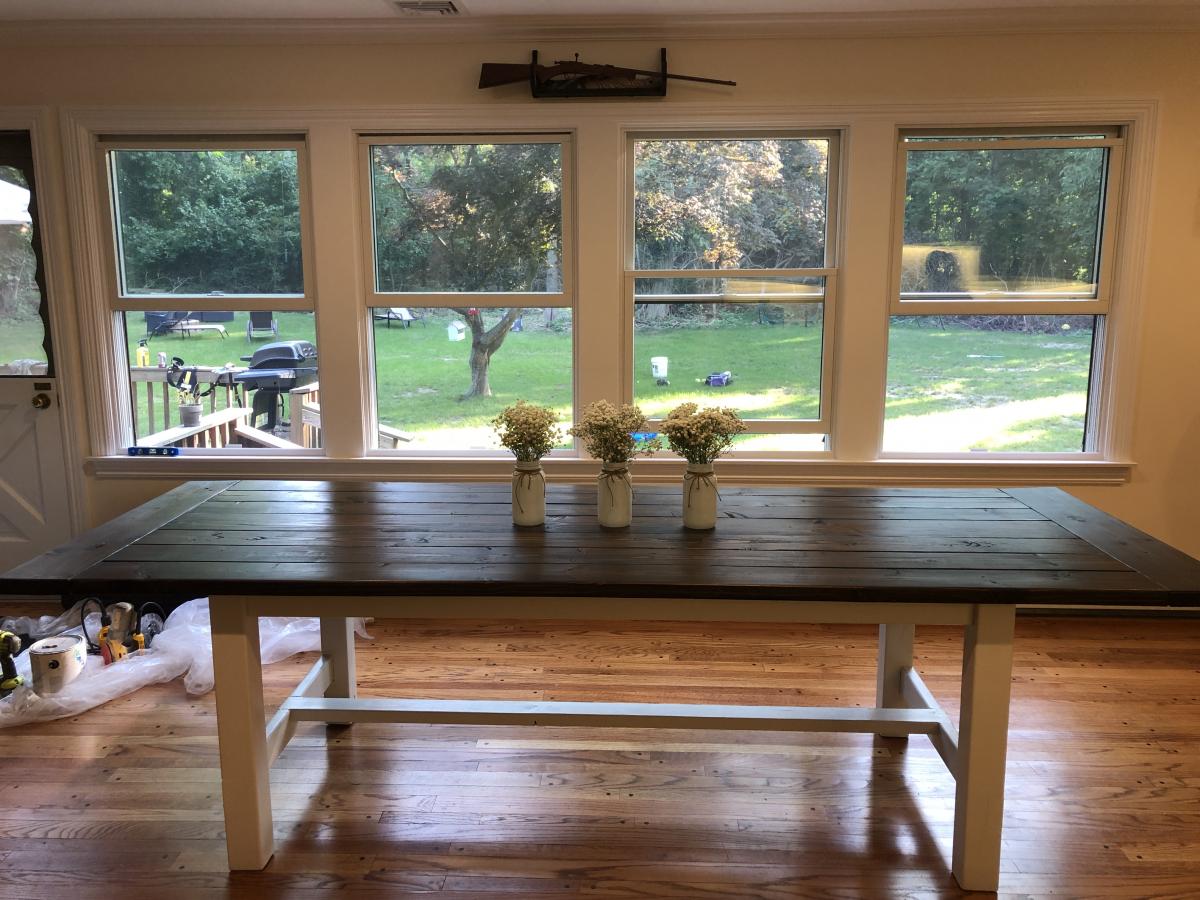
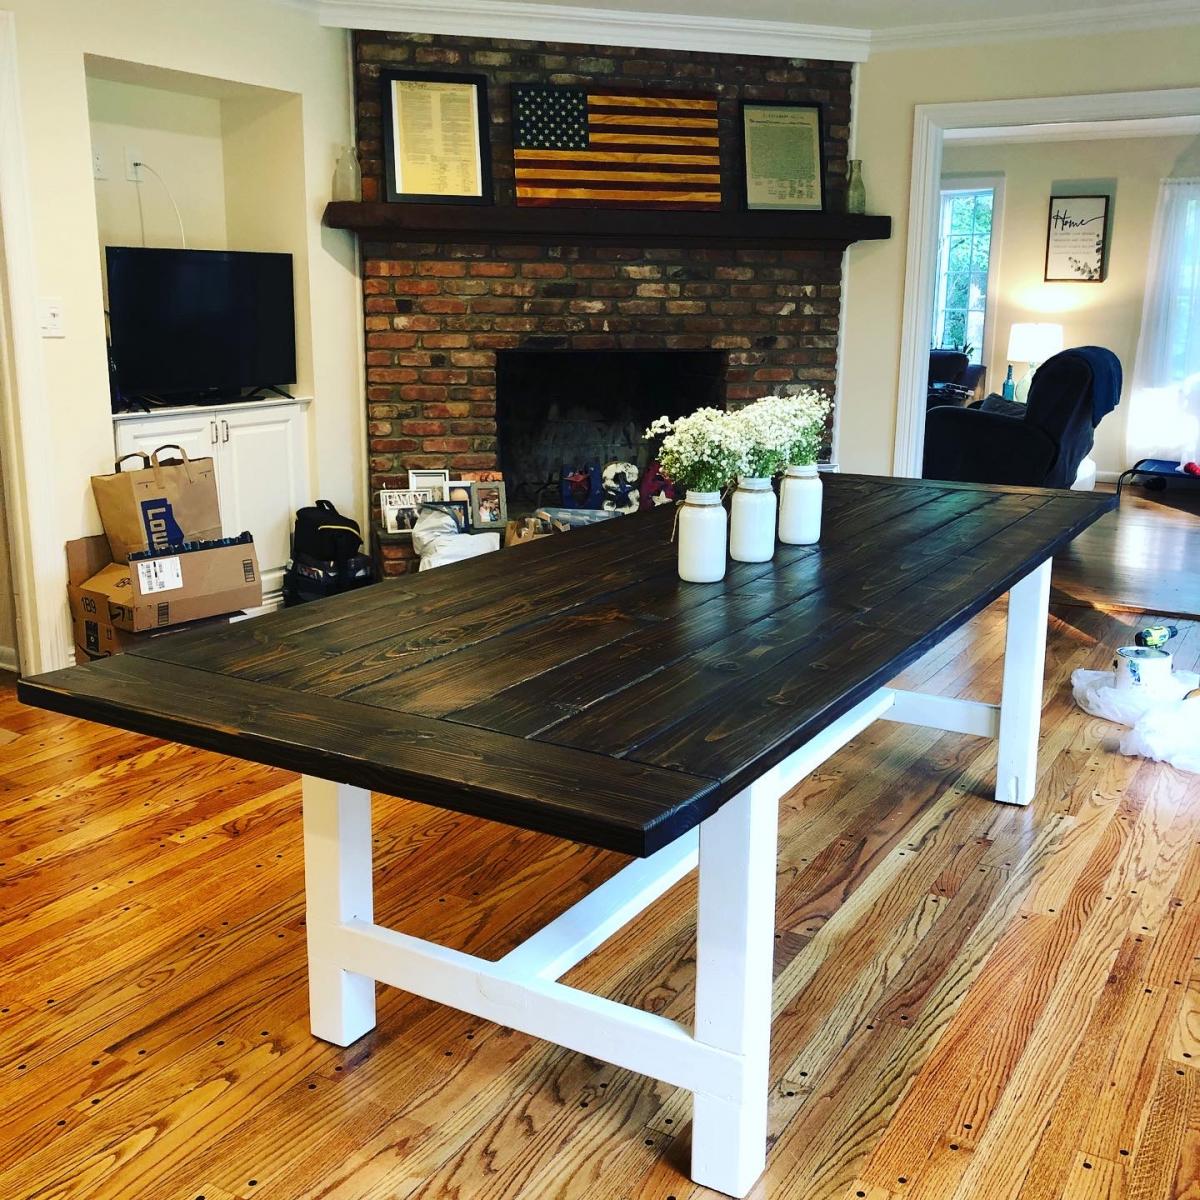
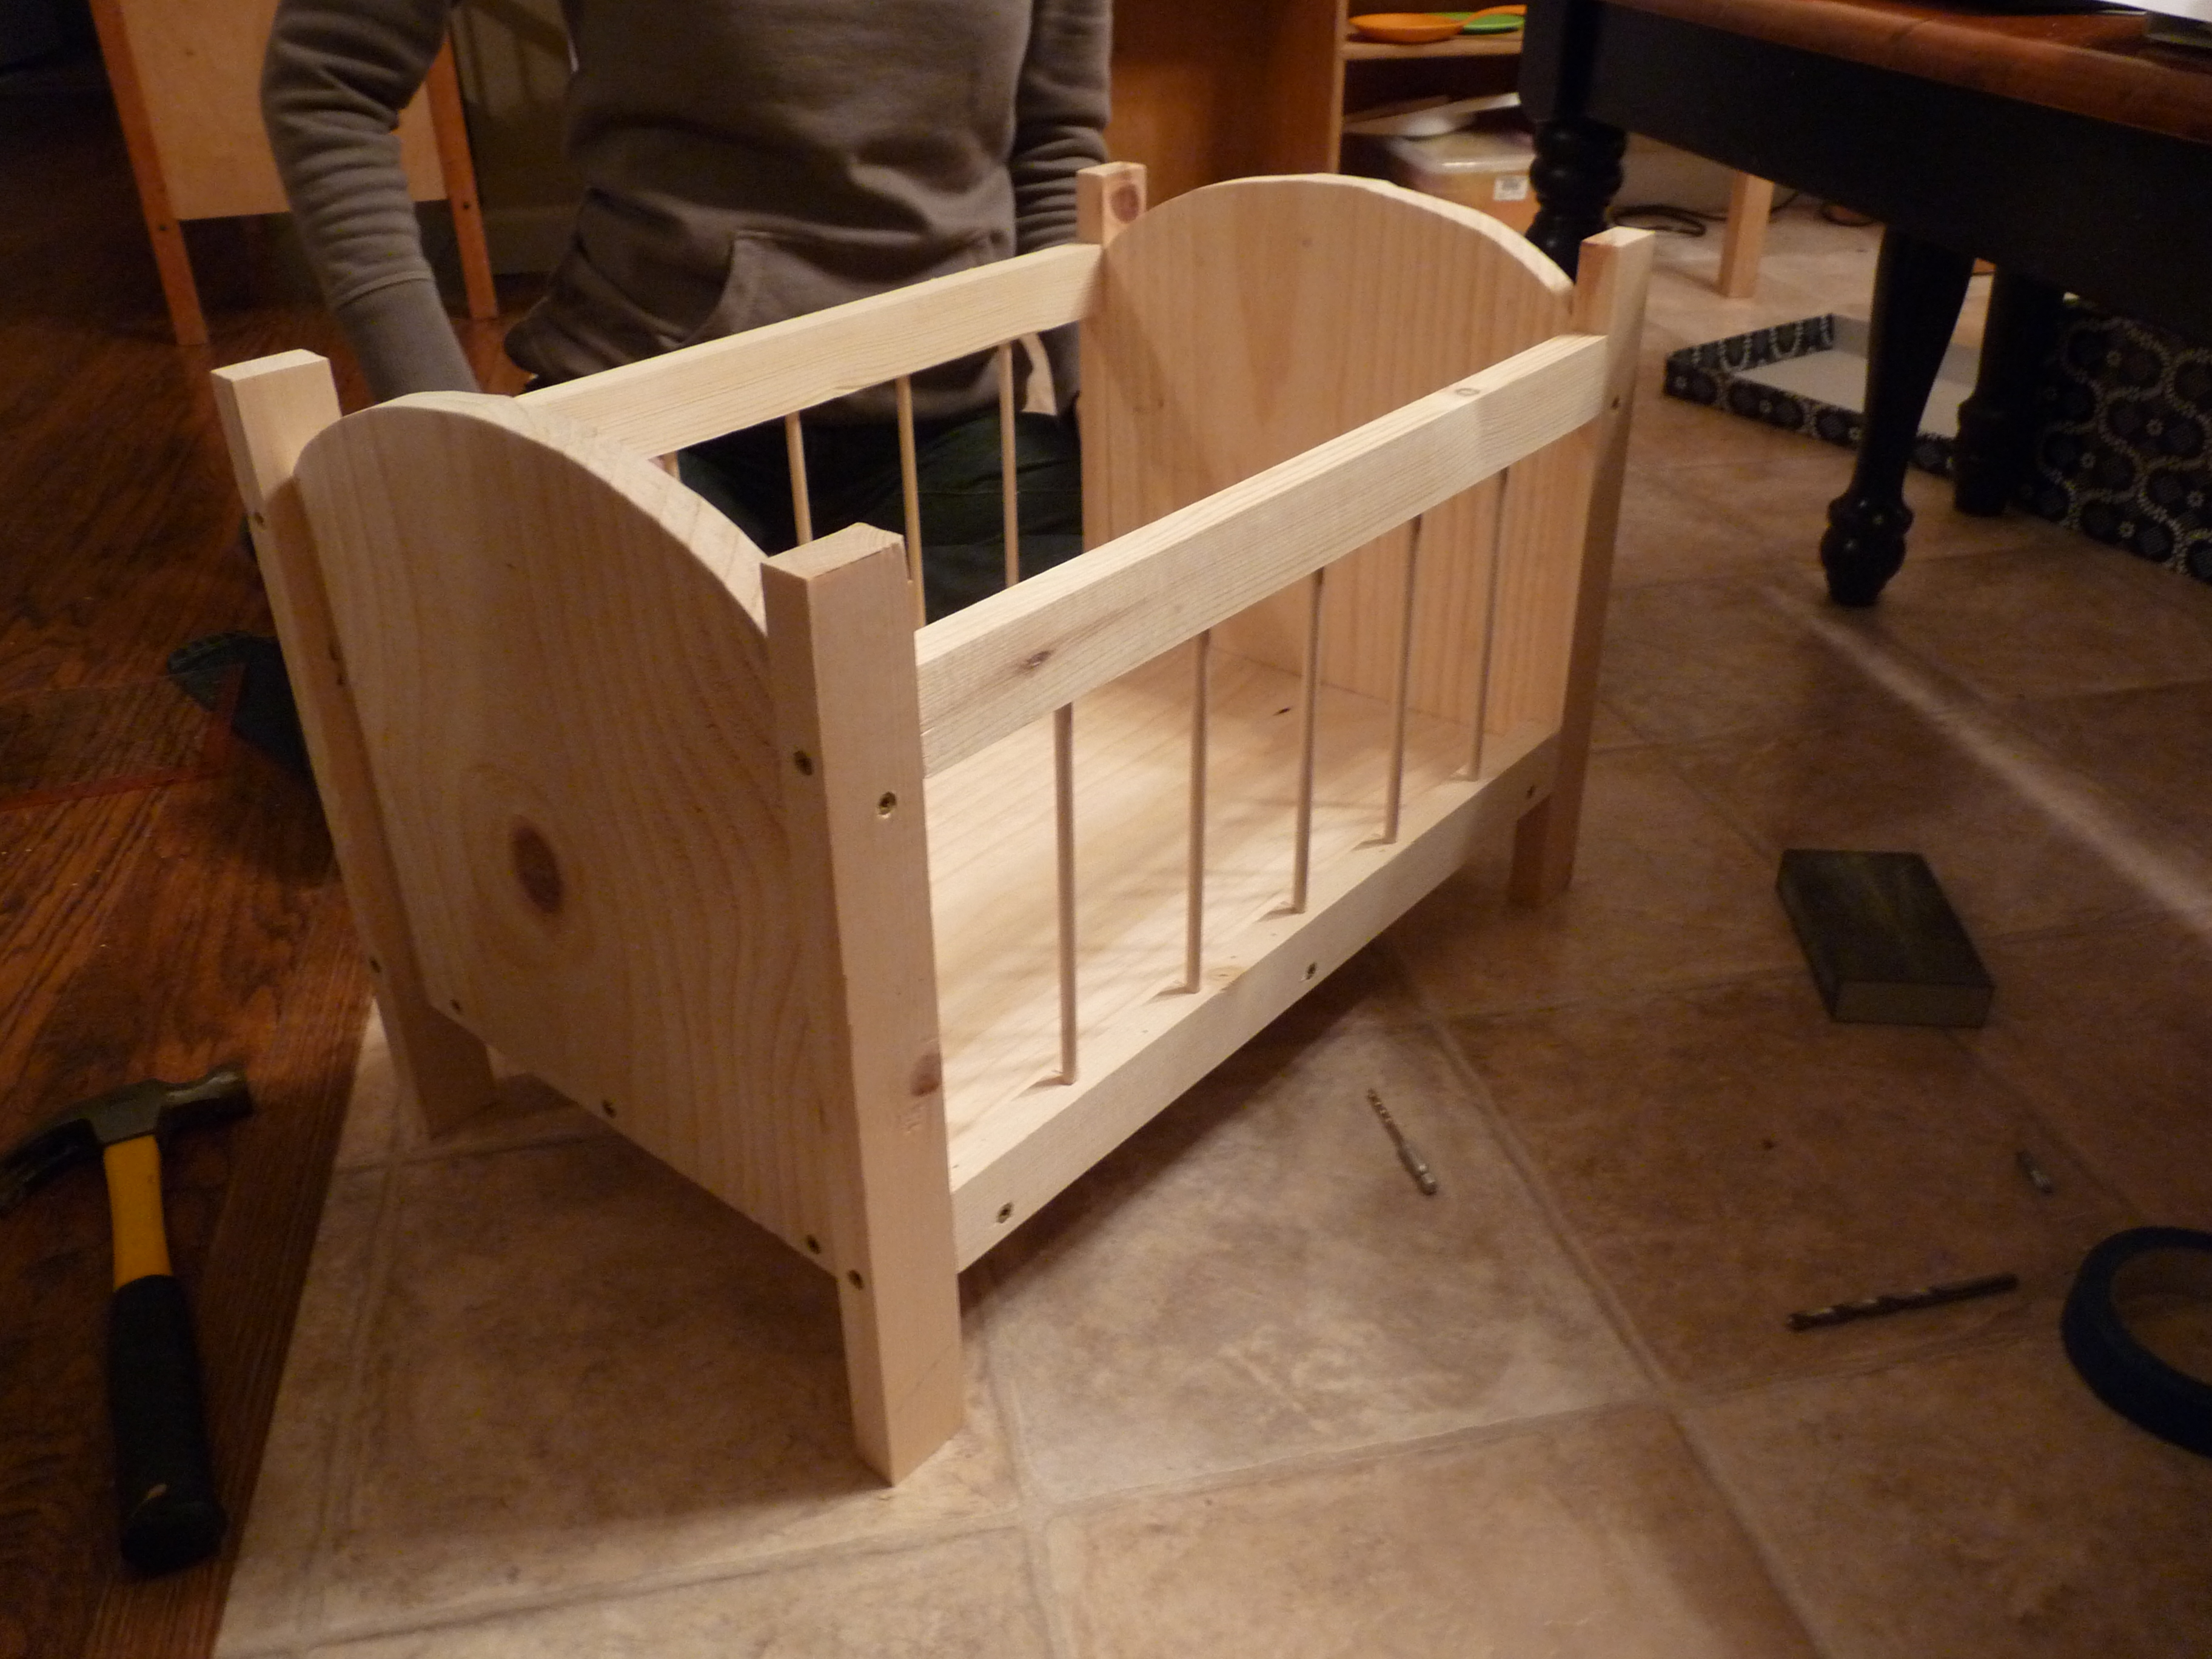
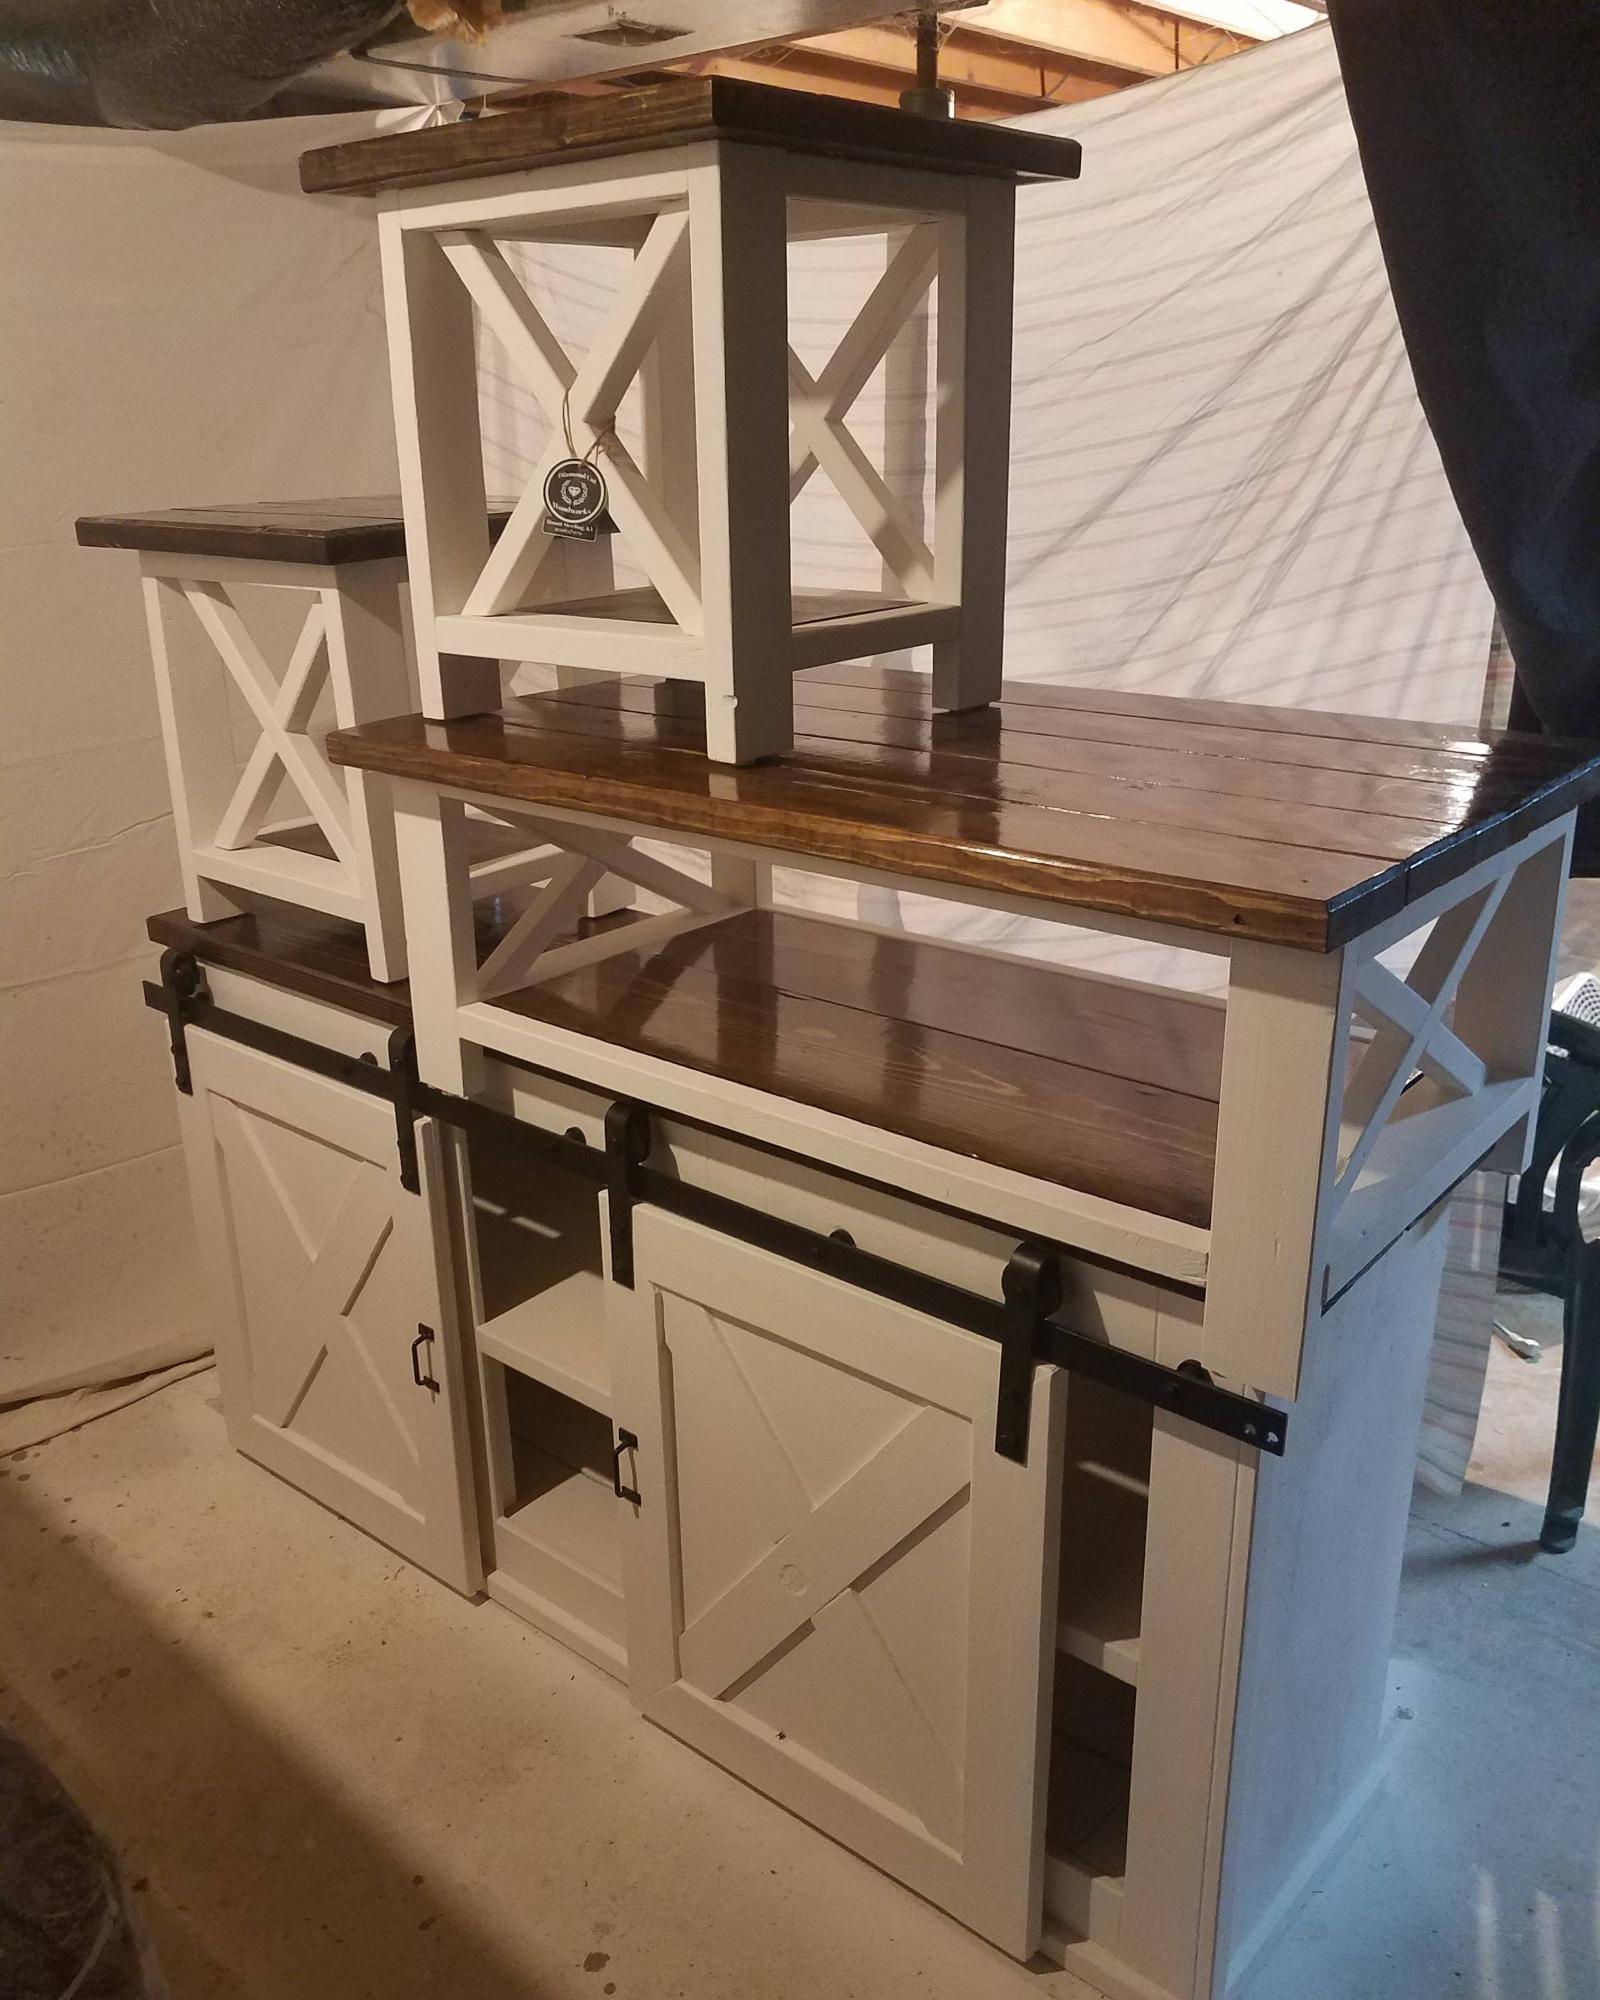
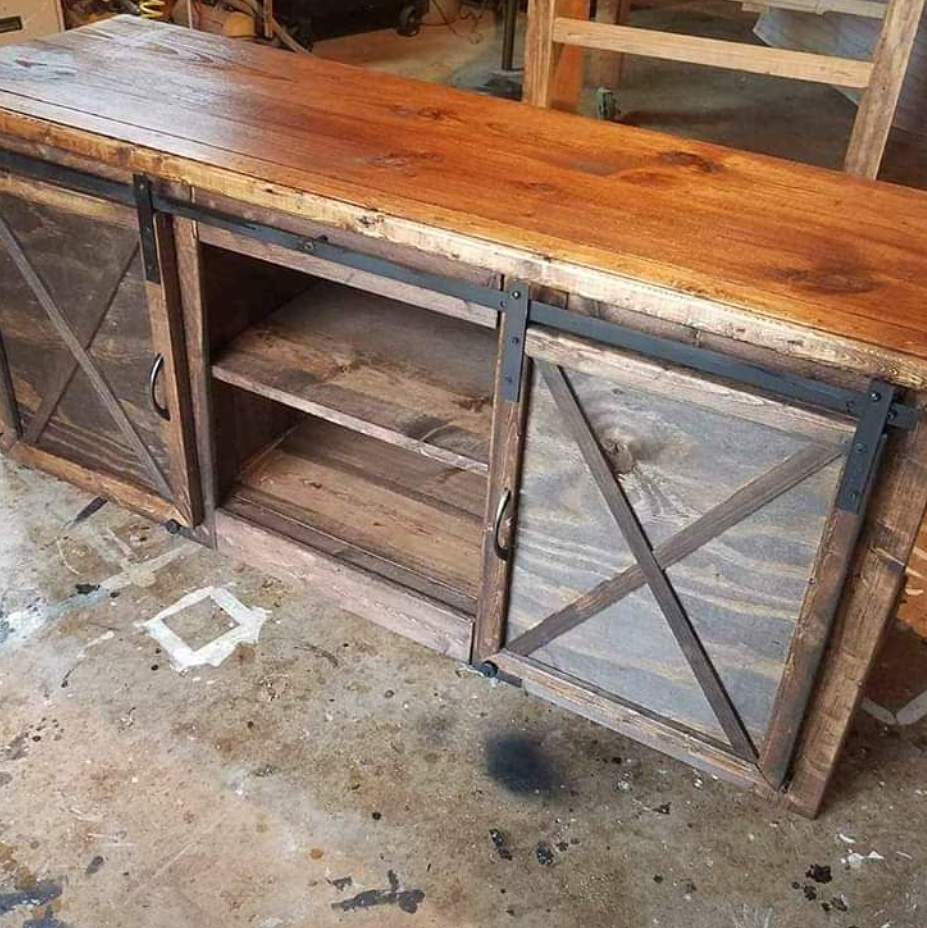
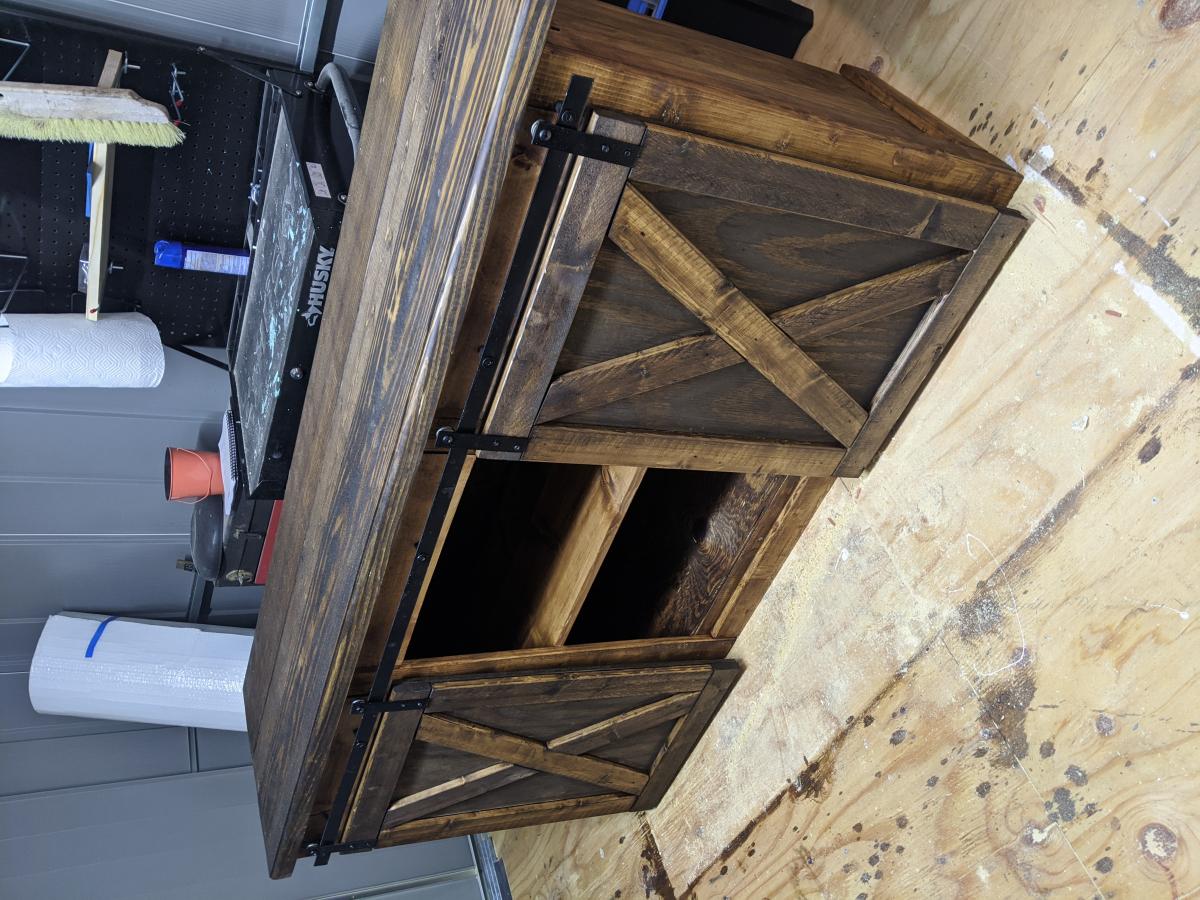
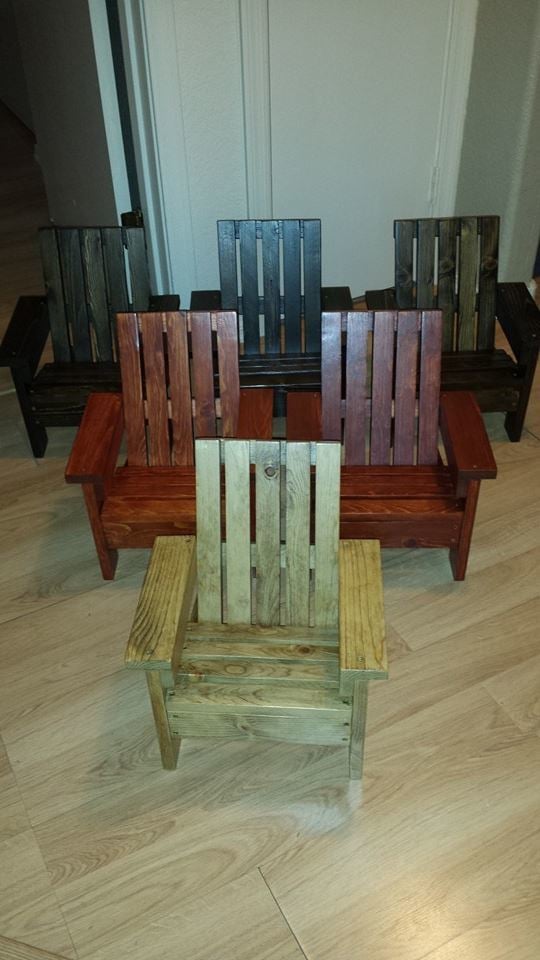
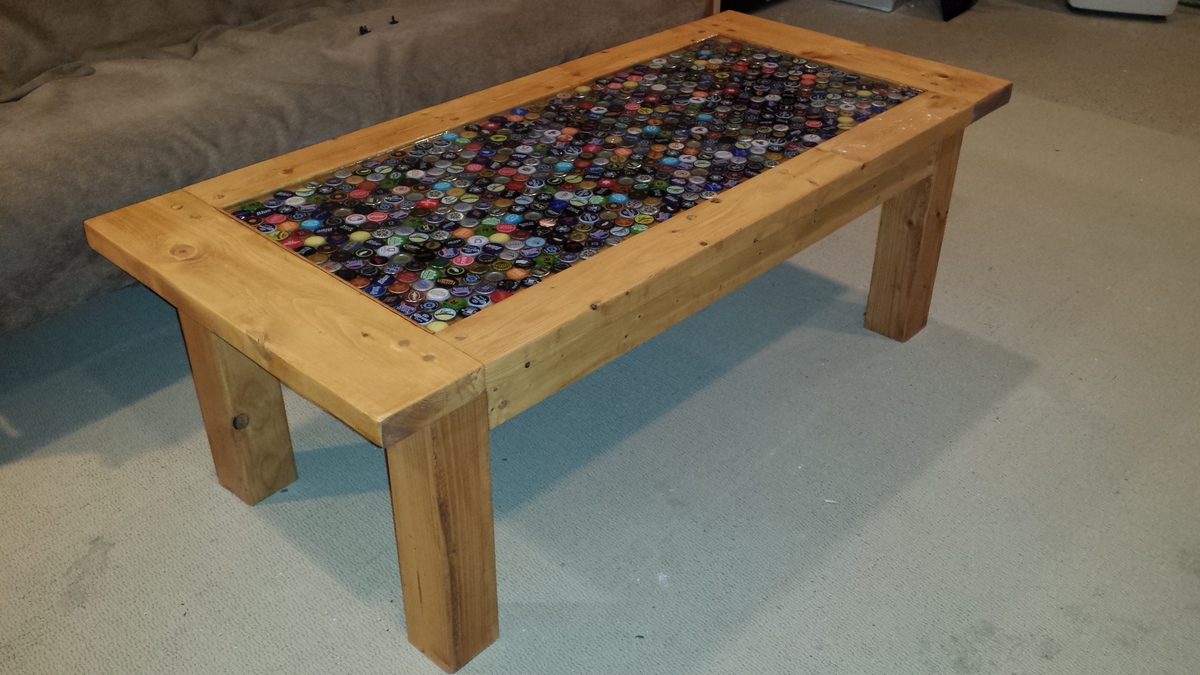
Farmhouse Table
I was eager to start this project and was super stoked with how it turned out. Can't wait for more inspiration to continue building beautiful furniture. Thanks
$75 in finish
I was eager to start this project and was super stoked with how it turned out. Can't wait for more inspiration to continue building beautiful furniture. Thanks
This was my first project I have every really made following plans and really the second project with wood. It was really fun and the only thing I would say was that I would have sanded all the parts before putting them together. I did that for the foot board and it made the process much easier in the end. This took me around 7 hours from start to finish.
Tue, 09/29/2020 - 17:07
Looks great, and all those little tips and tricks are very helpful!
Emerson with extra trim and fancy feet. Also added a closet dowel and overhang. Built at 36 weeks for our baby Collin.
I used the plans for the base but made the table 10 feet long. Came out GREAT!
This was a easy build and lots of fun to build! I pretty much followed the plans for this piece. The only thing I didn't add were the wheels on the bottom of the legs. Because I was using this mainly as a TV stand, I wanted it to not be moved. In the future if the TV goes up on the wall, I'll add the legs. Thanks for the plans!
This was my first project. It was fairly easy and has sparked a new interest in building my own furniture going forward. I decided to have my doors hinged instead of sliding, but overall had a lot of fun and love the results!! It turned out great!! Thanks Ana!!
A few months ago I noticed two 2 X 10 X 10s in the damaged wood pile at Home Depot so I snagged them. I am a veteran so I get 10% off on top of the 70% off. The rest of the wood and even the screws and paint were from other projects. Thanks for the awesome, free plans. They are comfy for me at 5'8". Whoop whoop!!
Sat, 10/10/2020 - 11:12
Thank you for your service, I am happy to hear you are enjoying them!
My husband did the cutting and we worked together. Everything was great. We used screws to attach the sides instead of finishing nails because we didn't have the right length.
This is a modified version of the Kentwood Bookcase to be shorter and wider to fit my space. I used my router for the first time on this project giving the legs and top a little bit of flair. I also wanted it super glossy, so I applied three coats of Minwax high gloss polyurethane.
One lesson I learned for my next project is that "stainable" wood filler isn't actually stainable. I'm quite disappointed with how visible my Kreg pocket holes are on the front - I'll be sure to make sure they're all hidden next time.
Mon, 10/13/2014 - 13:32
This is beautiful! You did a good job, and I love the finish. I can't see the pocket holes in your finished pictures even after you pointed it out.
I used wood filler that was tinted the same color as the stain last time, and it was great.
Mon, 03/30/2015 - 20:23
Wow!!! This is so beautiful, and the stain job on pine...just wow!! You did such a great job with the router and I can't even find the kreg jig holes even though you said it. The plugs made for those work out perfectly though and are pretty cheap for a huge bag to have around.
Loved making this toy bin with my mom-in-law. Simple and perfect for our needs.
I started a custom woodworking bussiness about 18 months ago. Since then we've build everything from consoles to dining room tables to baby cribs. And to this day, I still refer to Ana White plans. Thanks a bunch!!
This was a fun project. We couldn't find the exact table that we wanted in the stores. I took the standard farm table on Ana's website and added 1/4 corner trim which finished off the edges nicely. I finished it with minwax cedar stain and we have been enjoying it ever since.
We built 7 for our 7 granddaughters (one girl already got hers so 6 pictured)! I used different stain colors for the different familys! Have to figure out a project for the 7 grandsons!
This was one of my very first wood projects and I LOVE it. I used a smaller circular saw, drill and orbital sander. I love how it turned out and now I have a DIY problem. :-)
Modified the plans to incorporate 645 bottle tops instead of the center boards. Sealed the whole thing with a 2 part bar top epoxy.
Had to clean out my storage area to make room for my new woodworking shop, so a new shed was in order. Since my neighborhood does not allow large sheds i thought this would be the perfect fit for the small area right outside of the shop. I had to adjust the plan to make it narrow but longer. Used pressure treated fence pickets for the siding..
I loved the look of the Planked Wood Sideboard, but it was waaay too big for my small dining room. I scaled the piece down, so it was proportionate to my room. I finished it dark knobs and a dark "IKEA" like finish. No one believes I built this from 2x4s and 2x6s!
Fri, 01/04/2013 - 07:04
I absolutely love this. The finish is stunning. Thank you for listing the details because I'd like to copy it!
Fri, 01/04/2013 - 09:33
Very beautiful work. I will bookmark this for the finish instructions.
I hope I get around to producing something as lovely to furnish my own home.