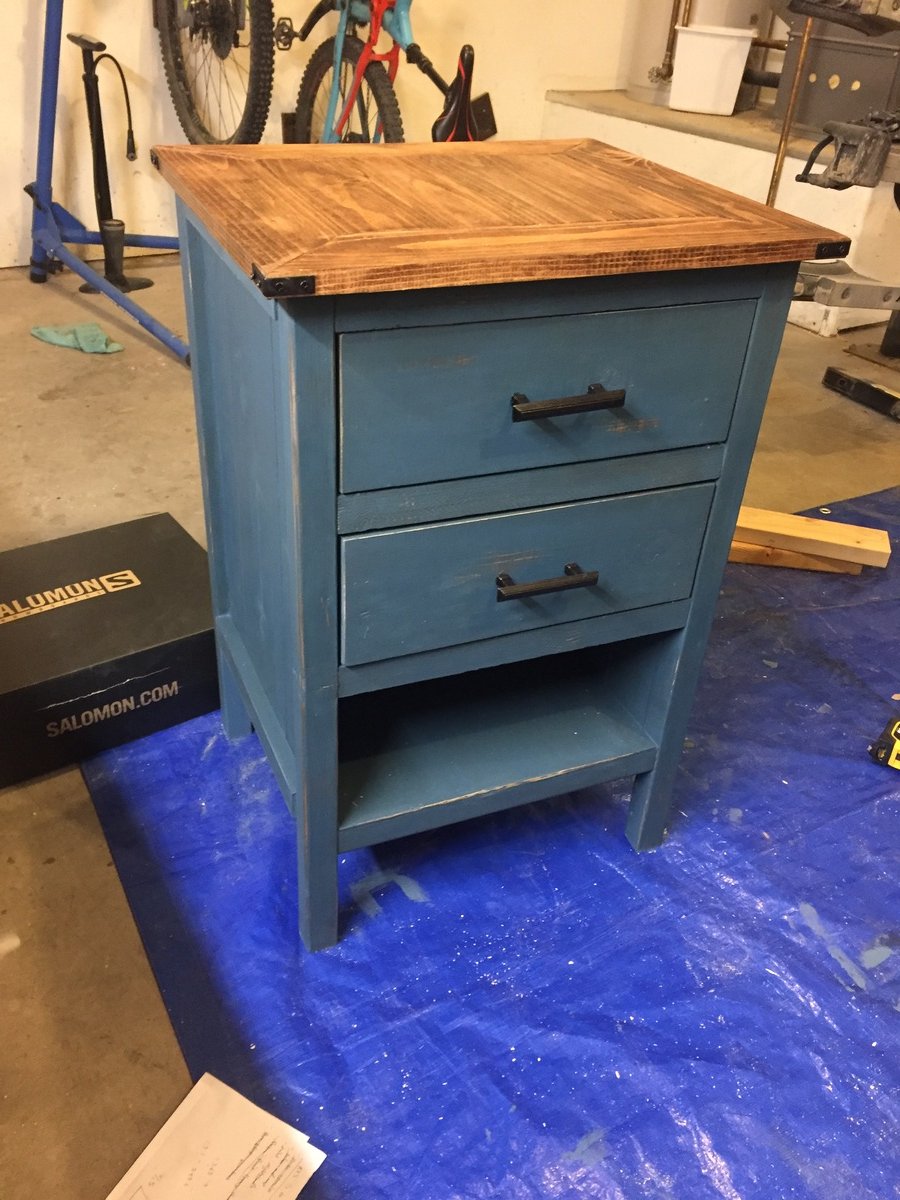
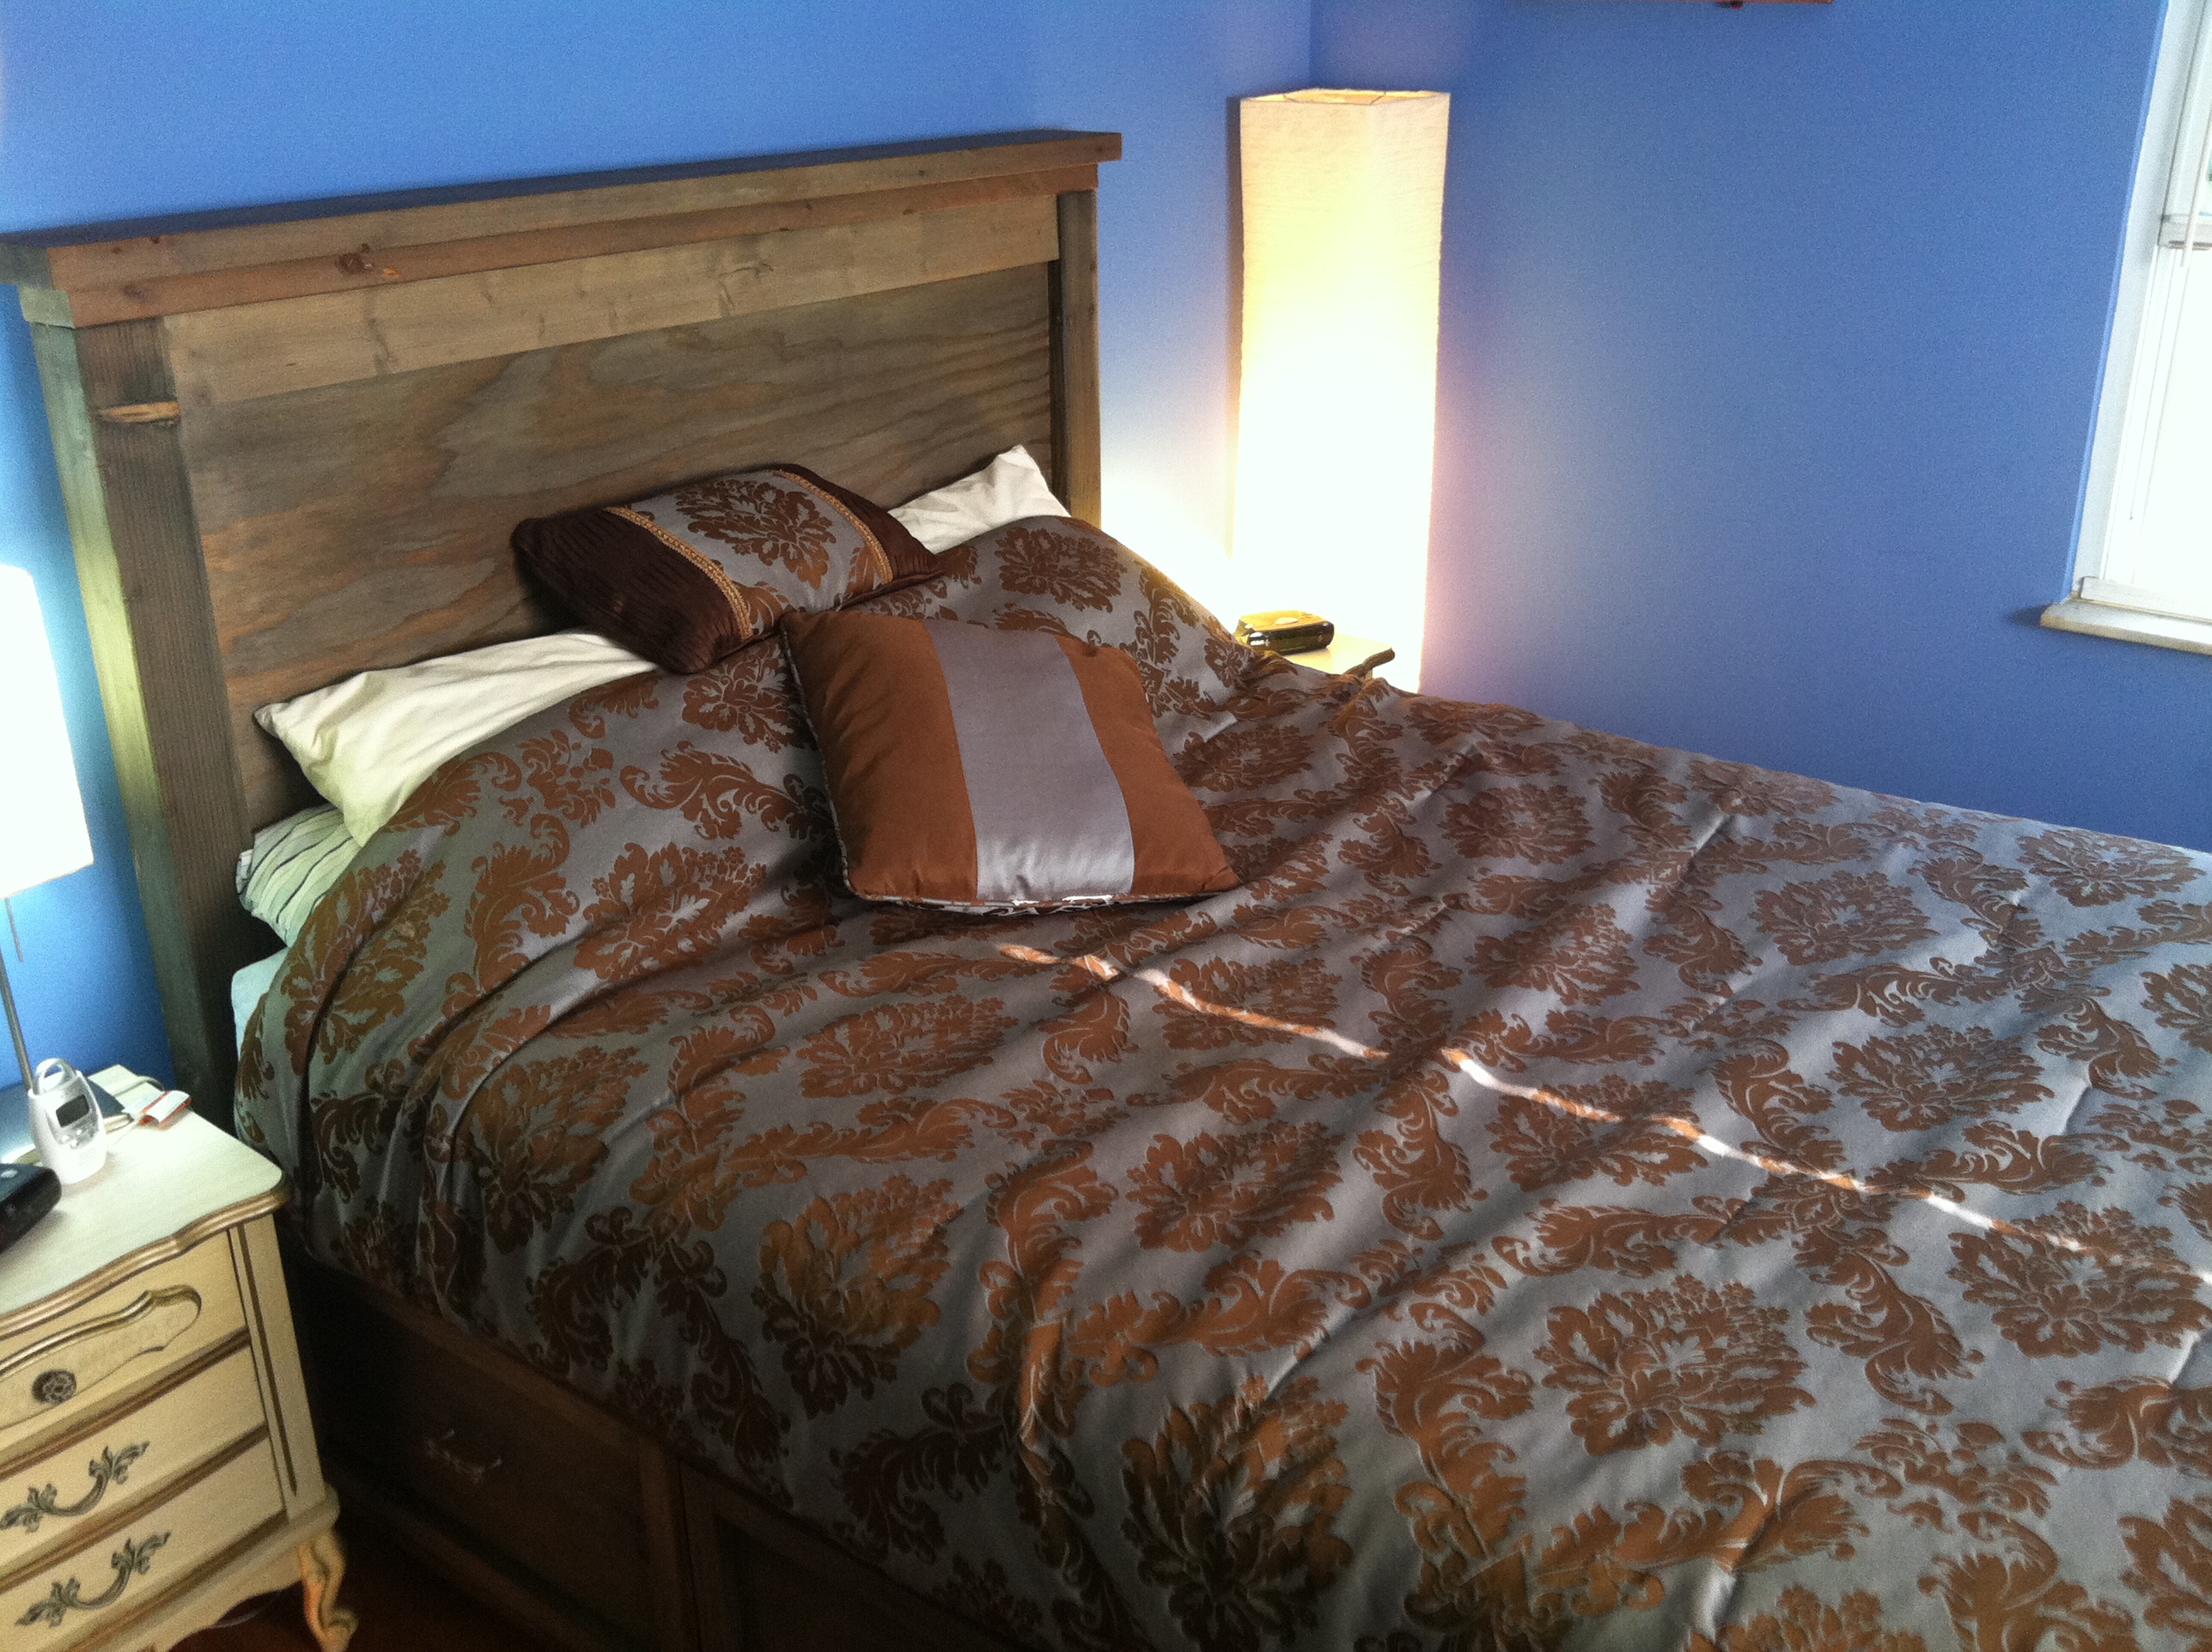
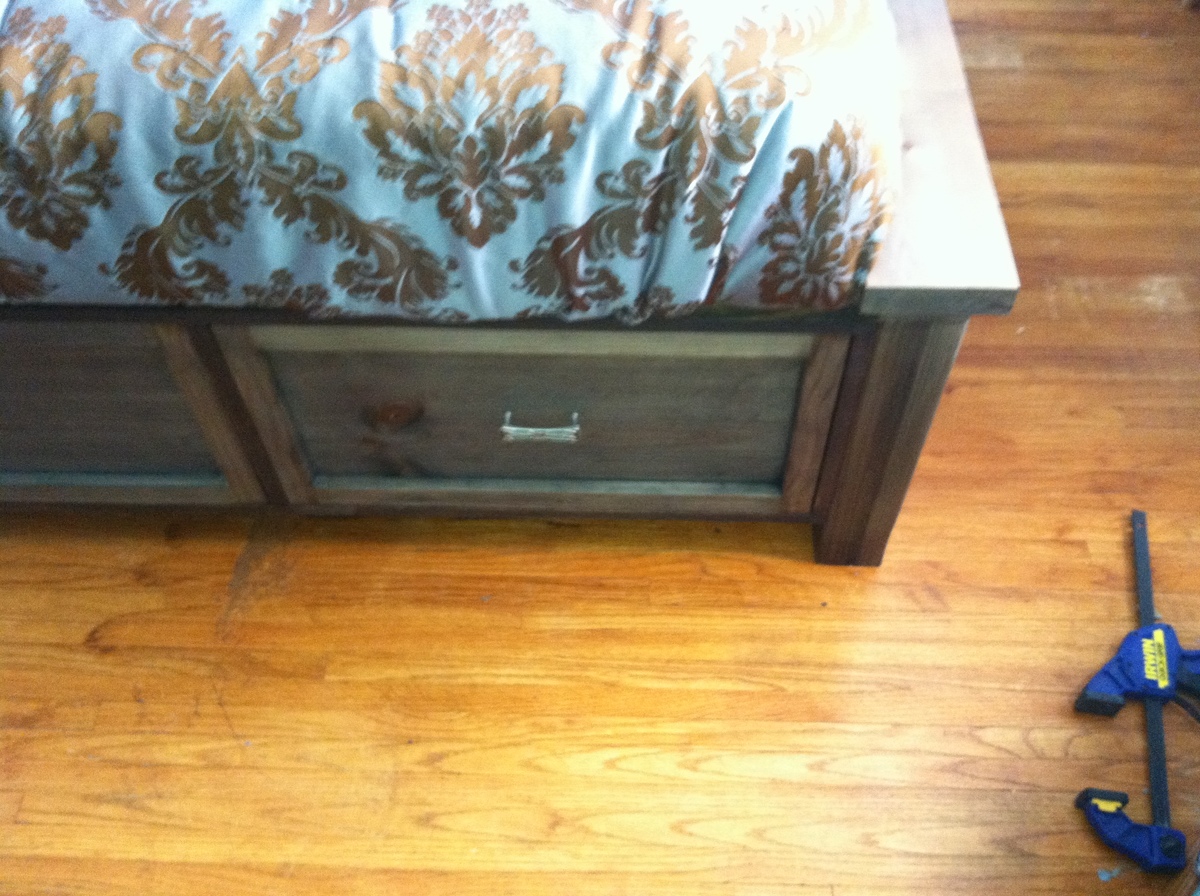
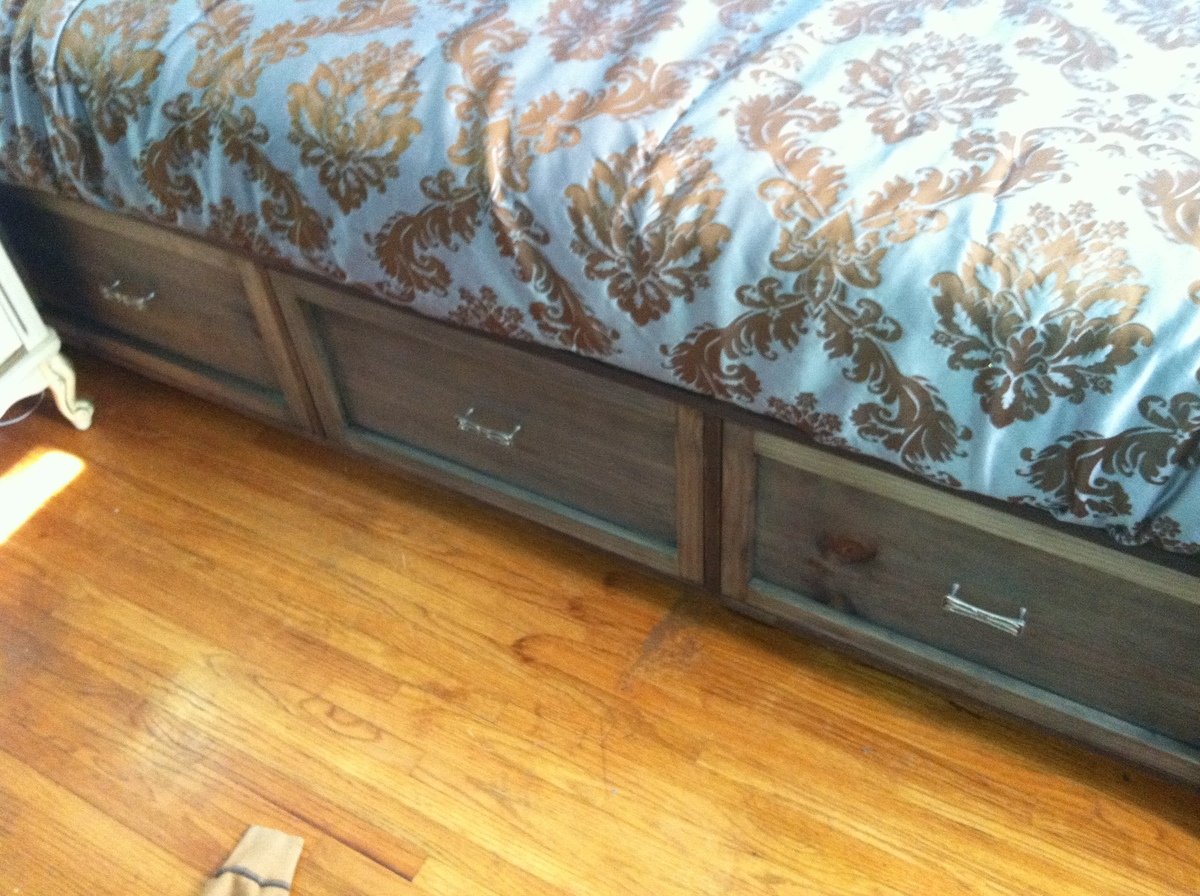
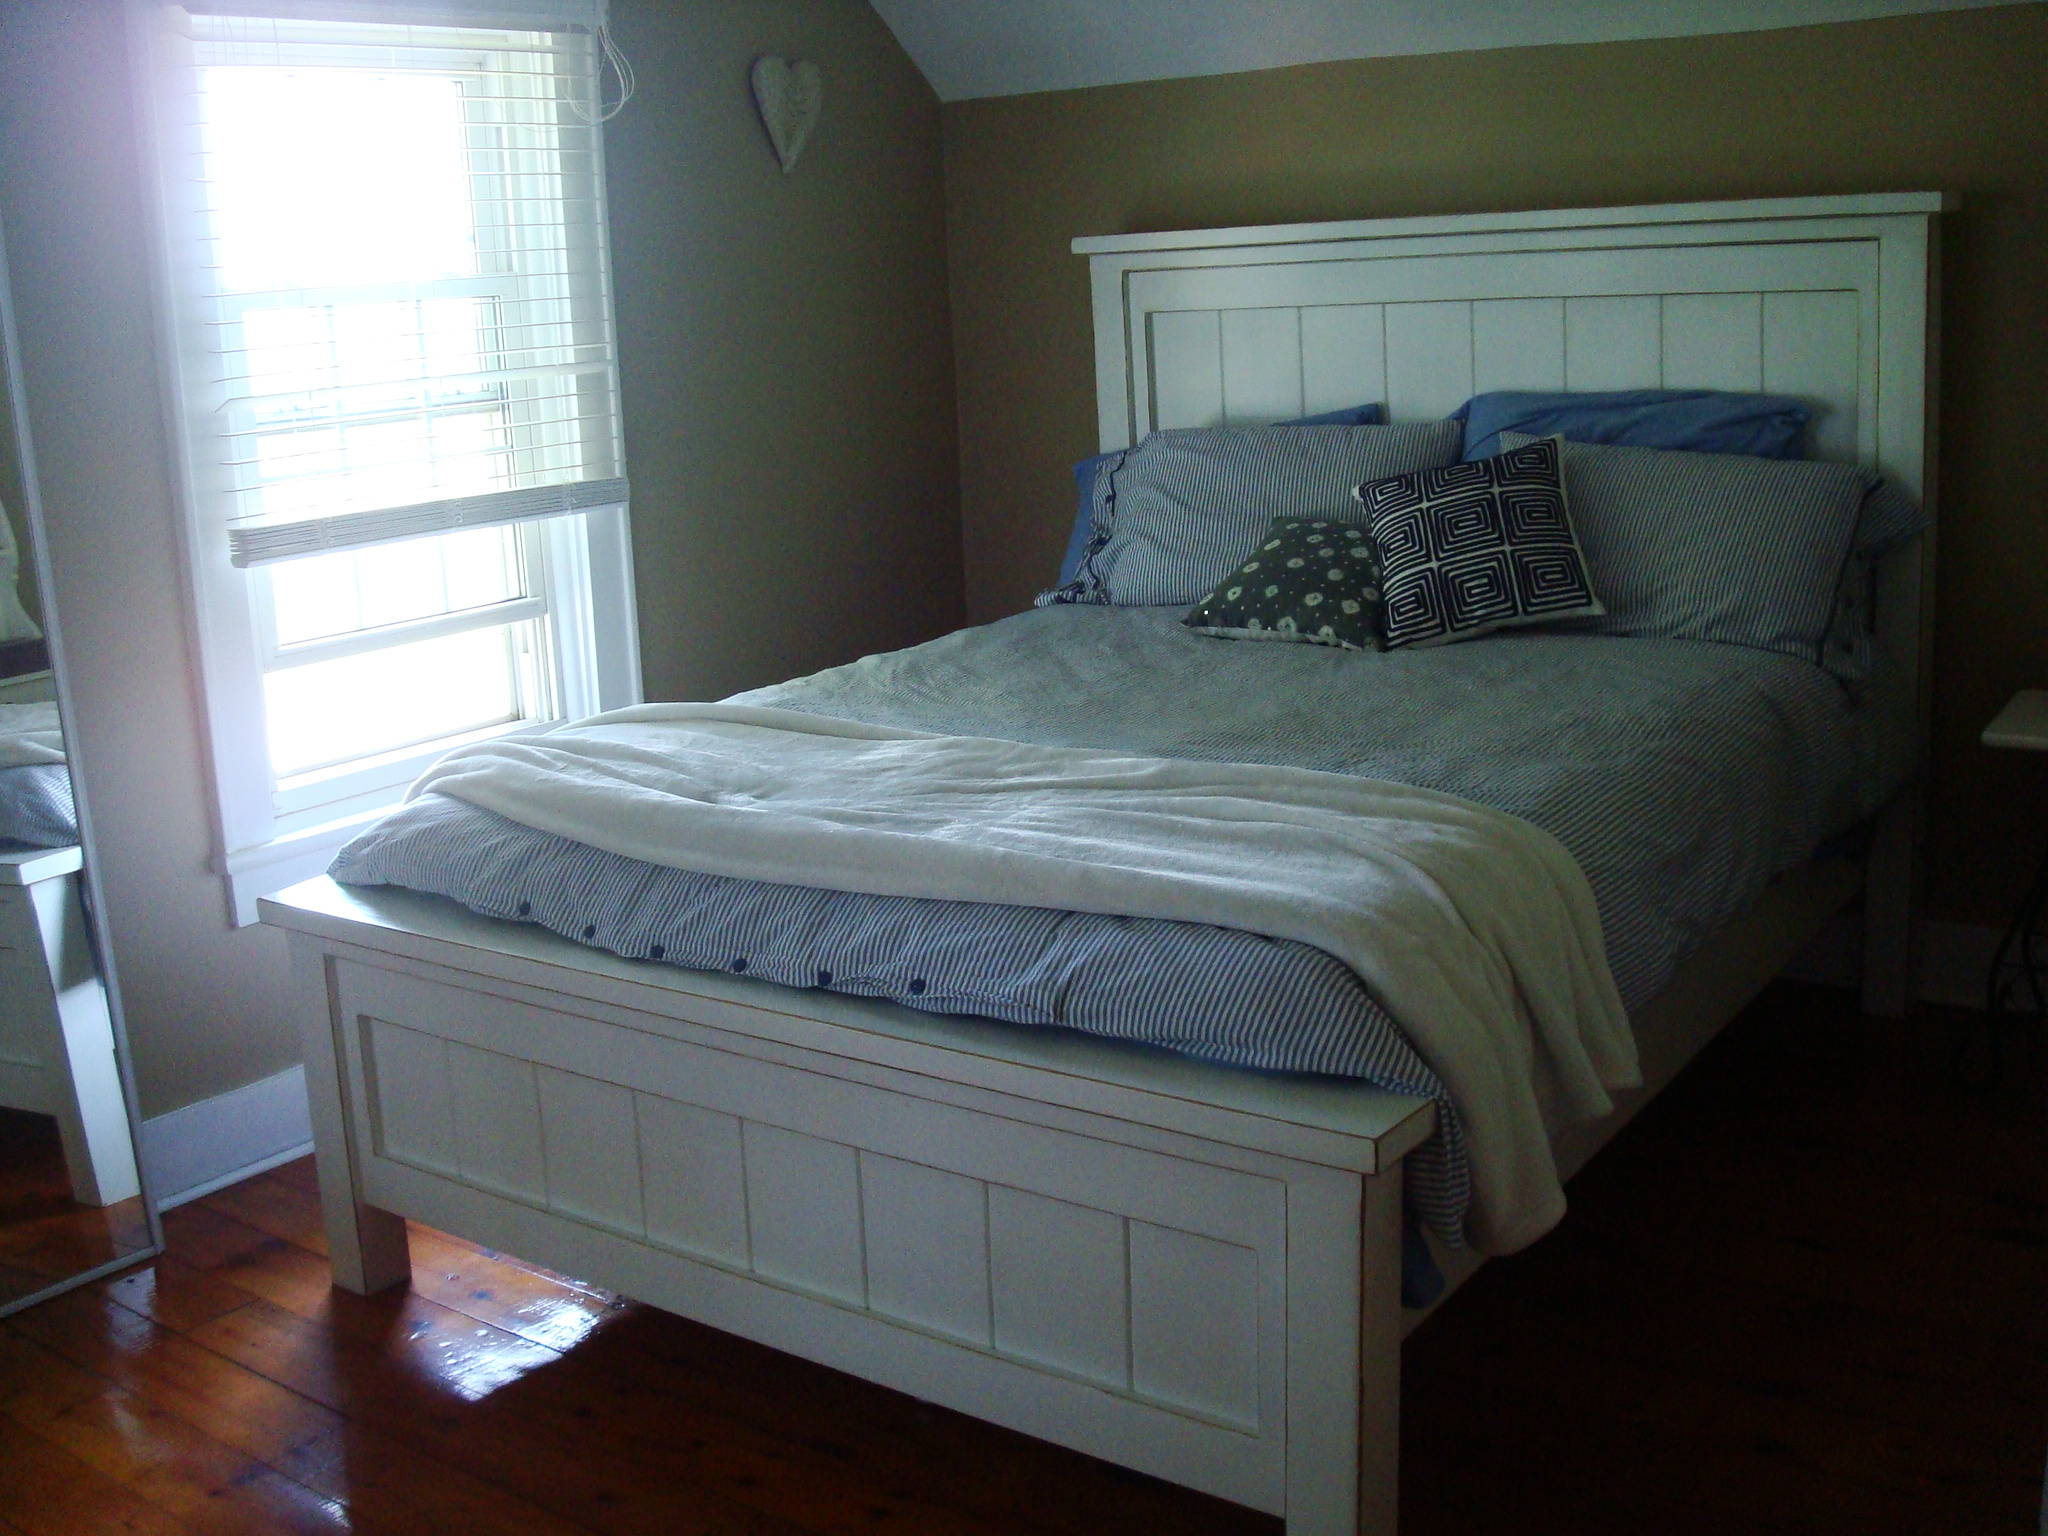
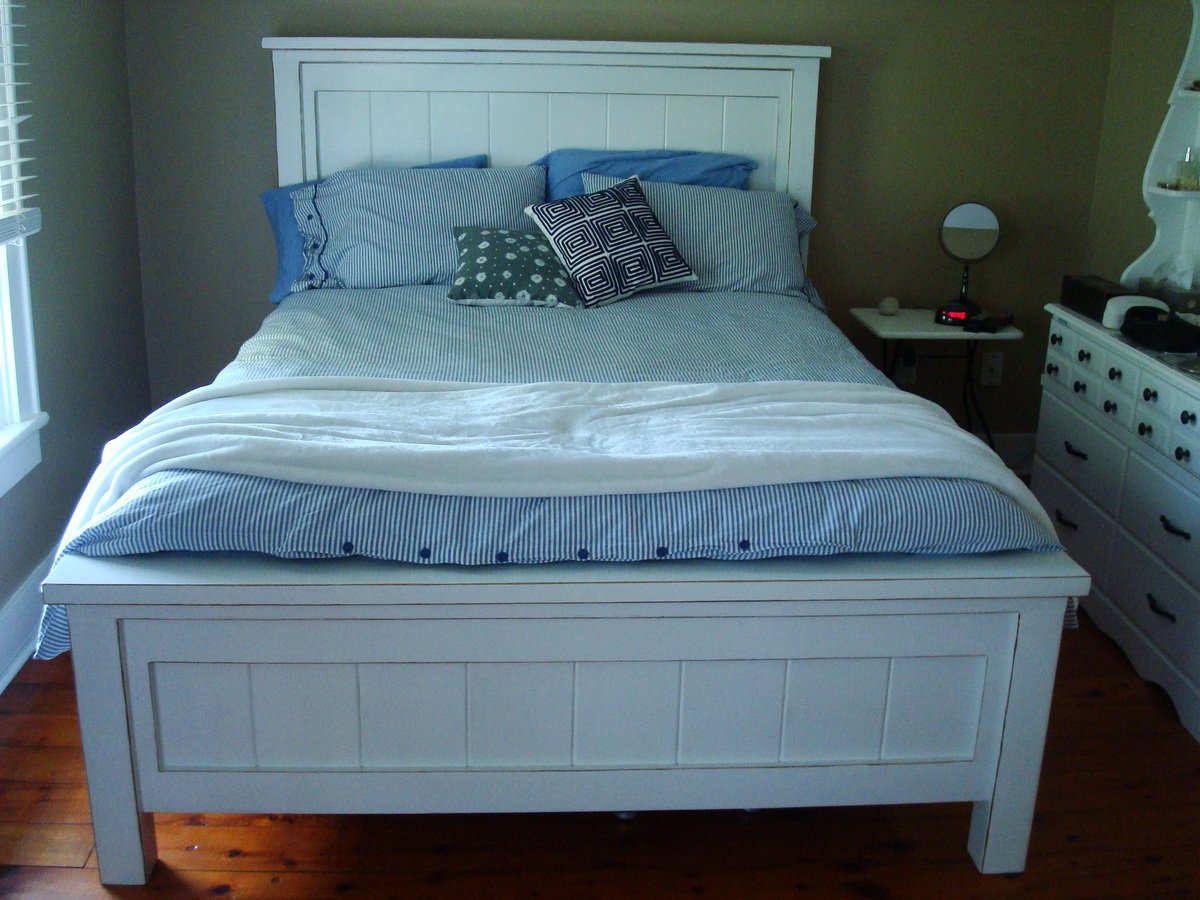
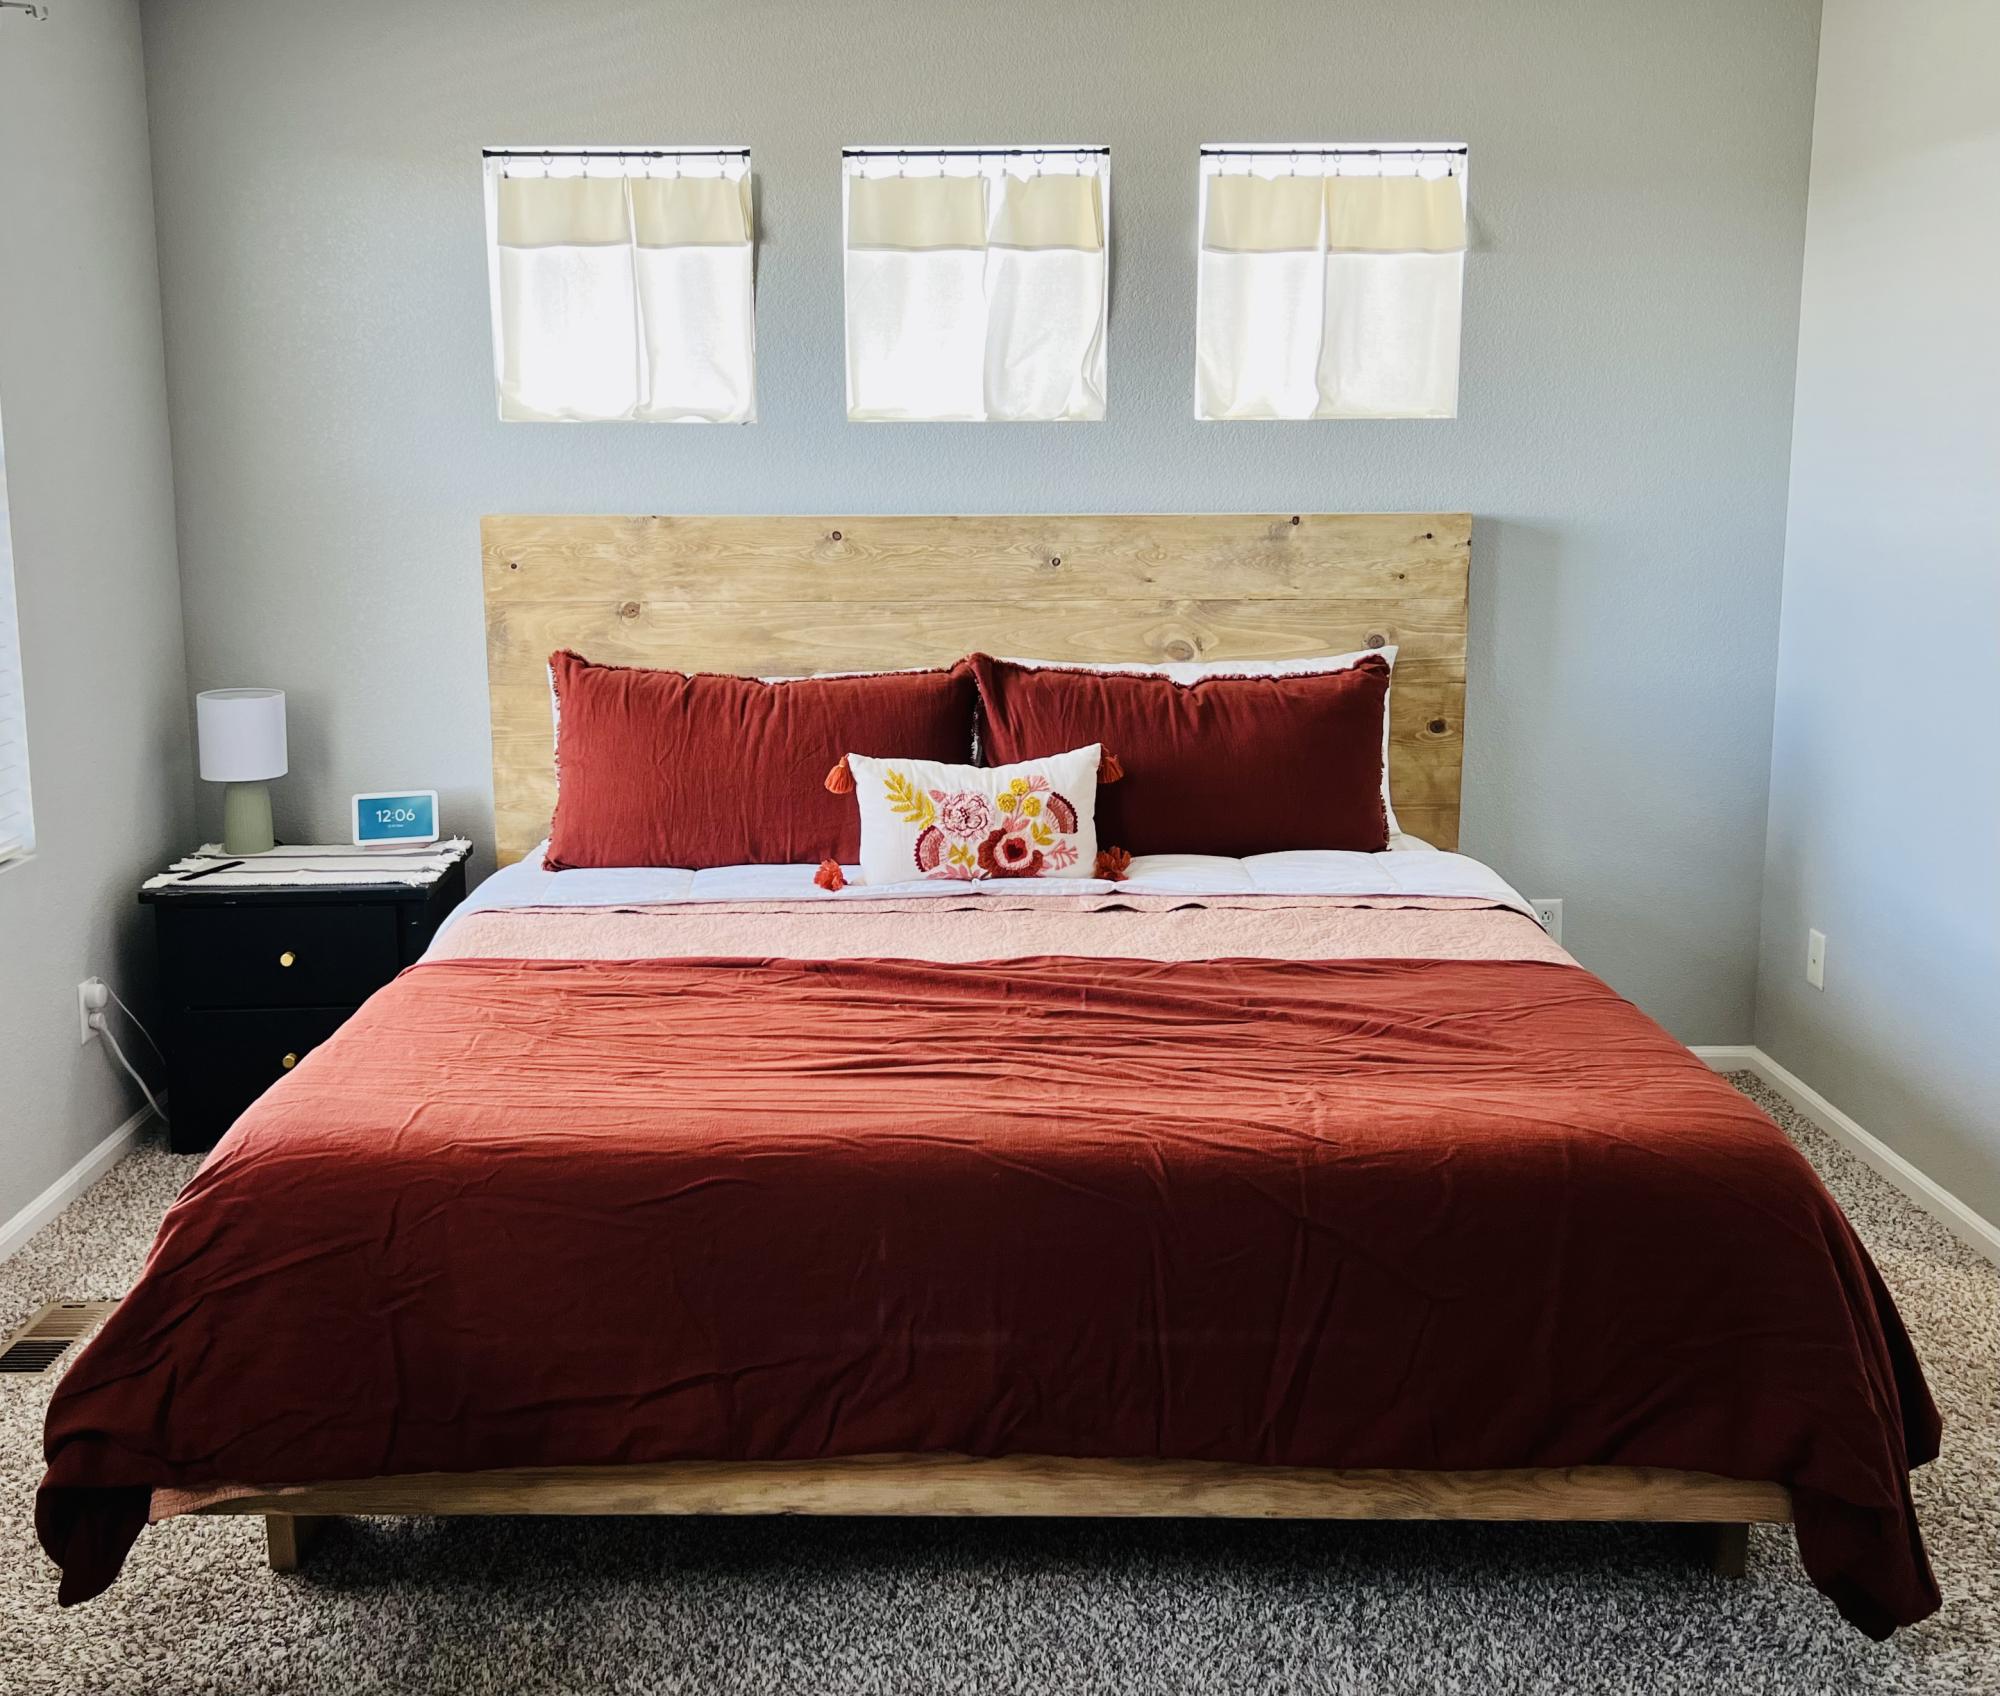
Blue Nightstand with Open Shelf
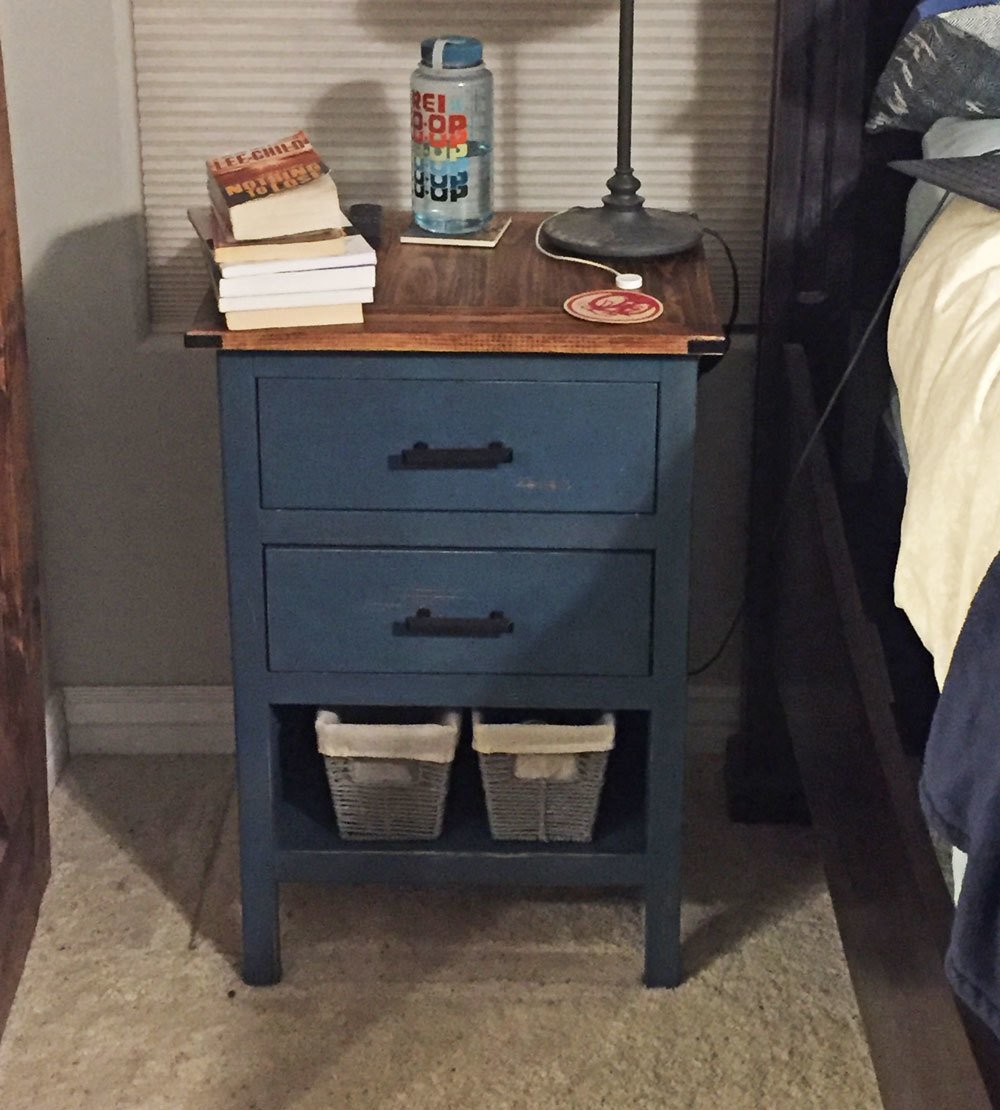
Awesome night stand designs we needed. We increased the height to match our bed height. We finished with honey stain on top and Anne Sloan chalk paint that we distressed for the body
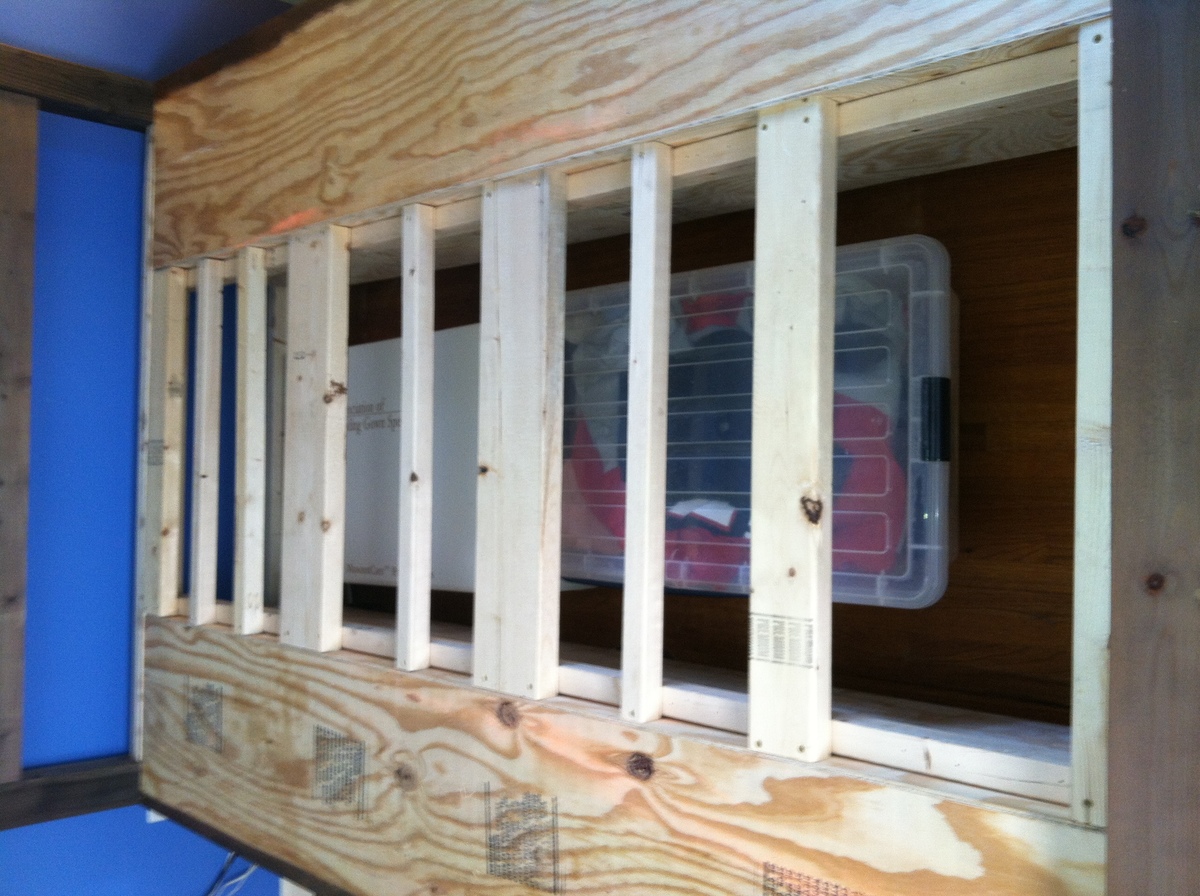
Estimated Time Investment
Weekend Project (10-20 Hours)
Recommended Skill Level
Beginner


Comments
aratbeads
Mon, 09/14/2020 - 18:46
We are so excited to start…
We are so excited to start some projects! Quarantine has us feeling crafty!