
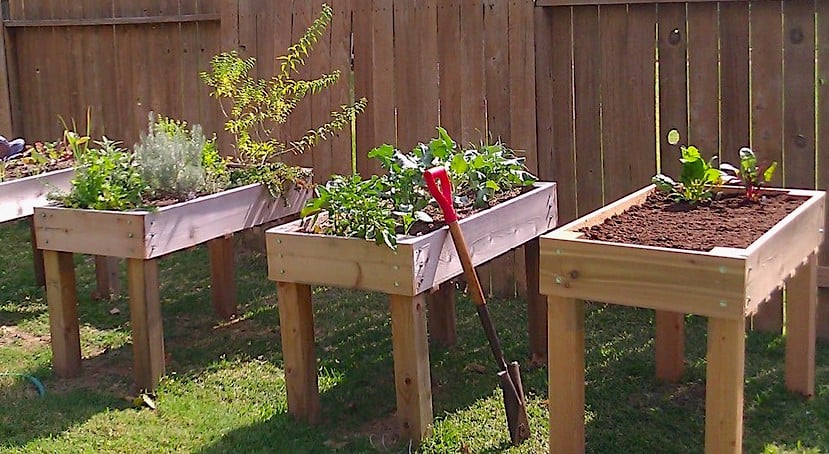

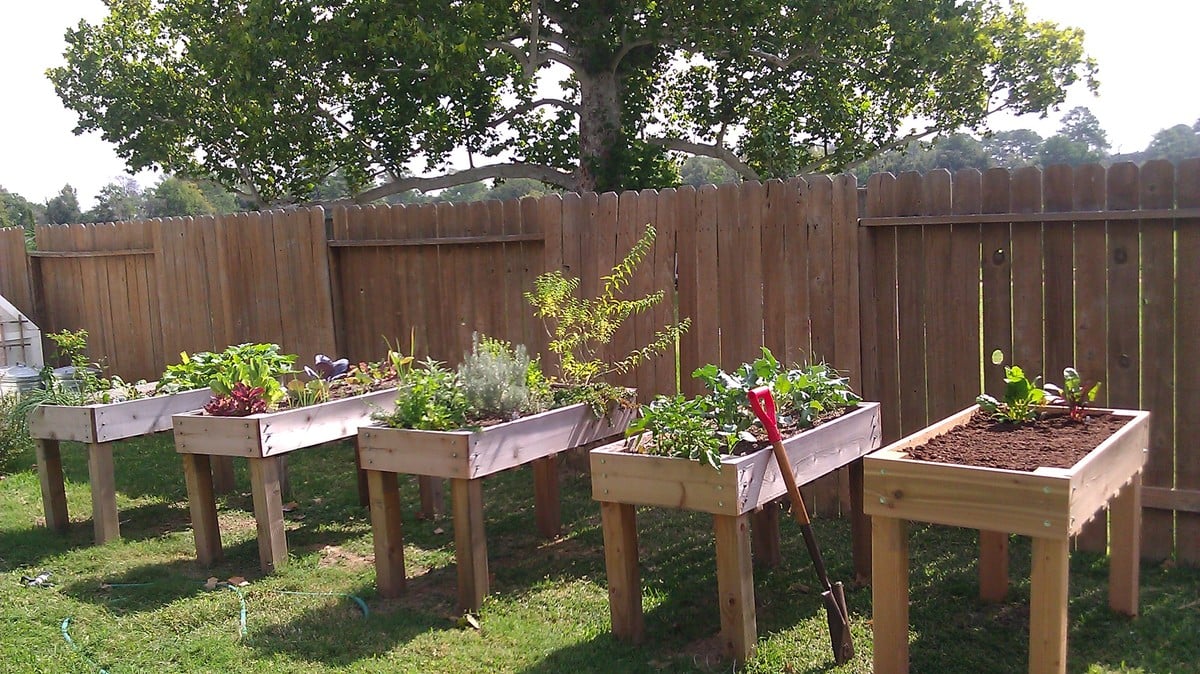
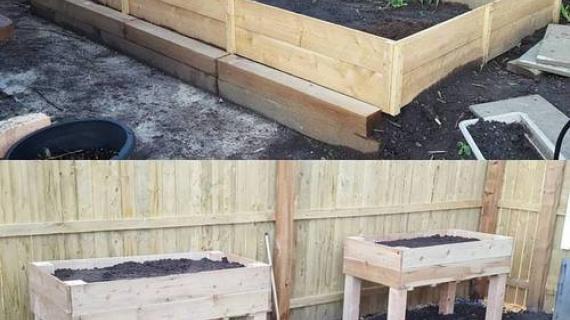
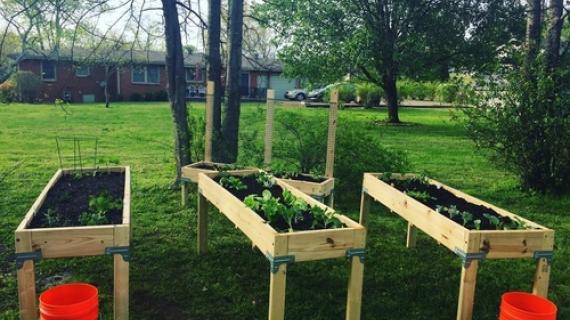
These raised Garden boxes are easy to build and great for those of us that just can't get down on the ground any longer. These would make a wonderful present for your mother or grandmother. You can build three for nearly the price of one, I have 6 for myself and absolutely love them.
Do not us Treated Lumber. This will defeat the purpose of having a healthy garden and healthy vegetable. So don't skimp here.
You can follow my adventures at www.handywomanshop.blogspot.com
Counter Height Garden Box by Janet Fox
I was inspired to make this project because I love to garden but have neuropathy in my extremities making it very difficult to get off the ground once there. I have made myself 6 of these and am so pleased that I thought I'd share the pattern. Perfect cuts are unnecessary as long as you are within 1/4 inch you will be okay.
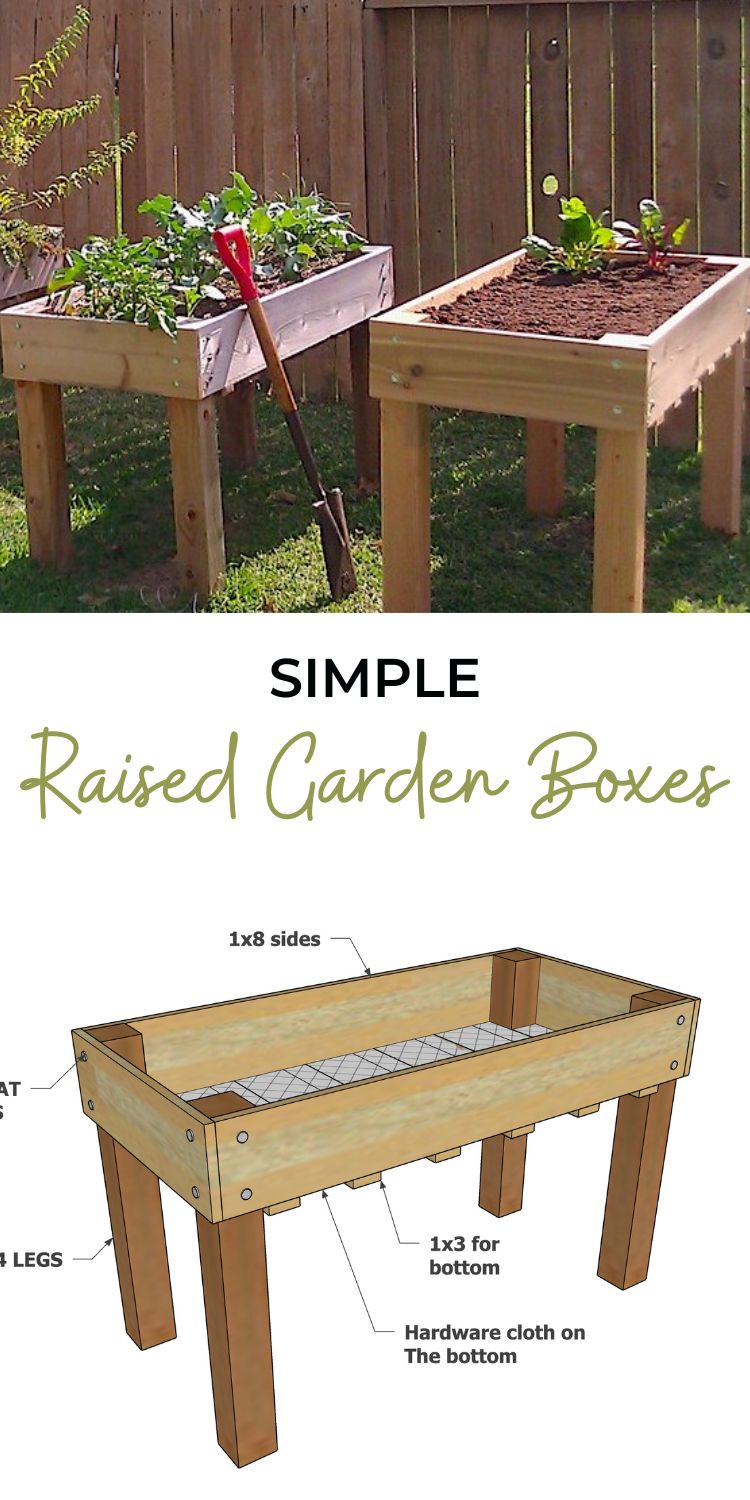
Pin For Later!
Preparation
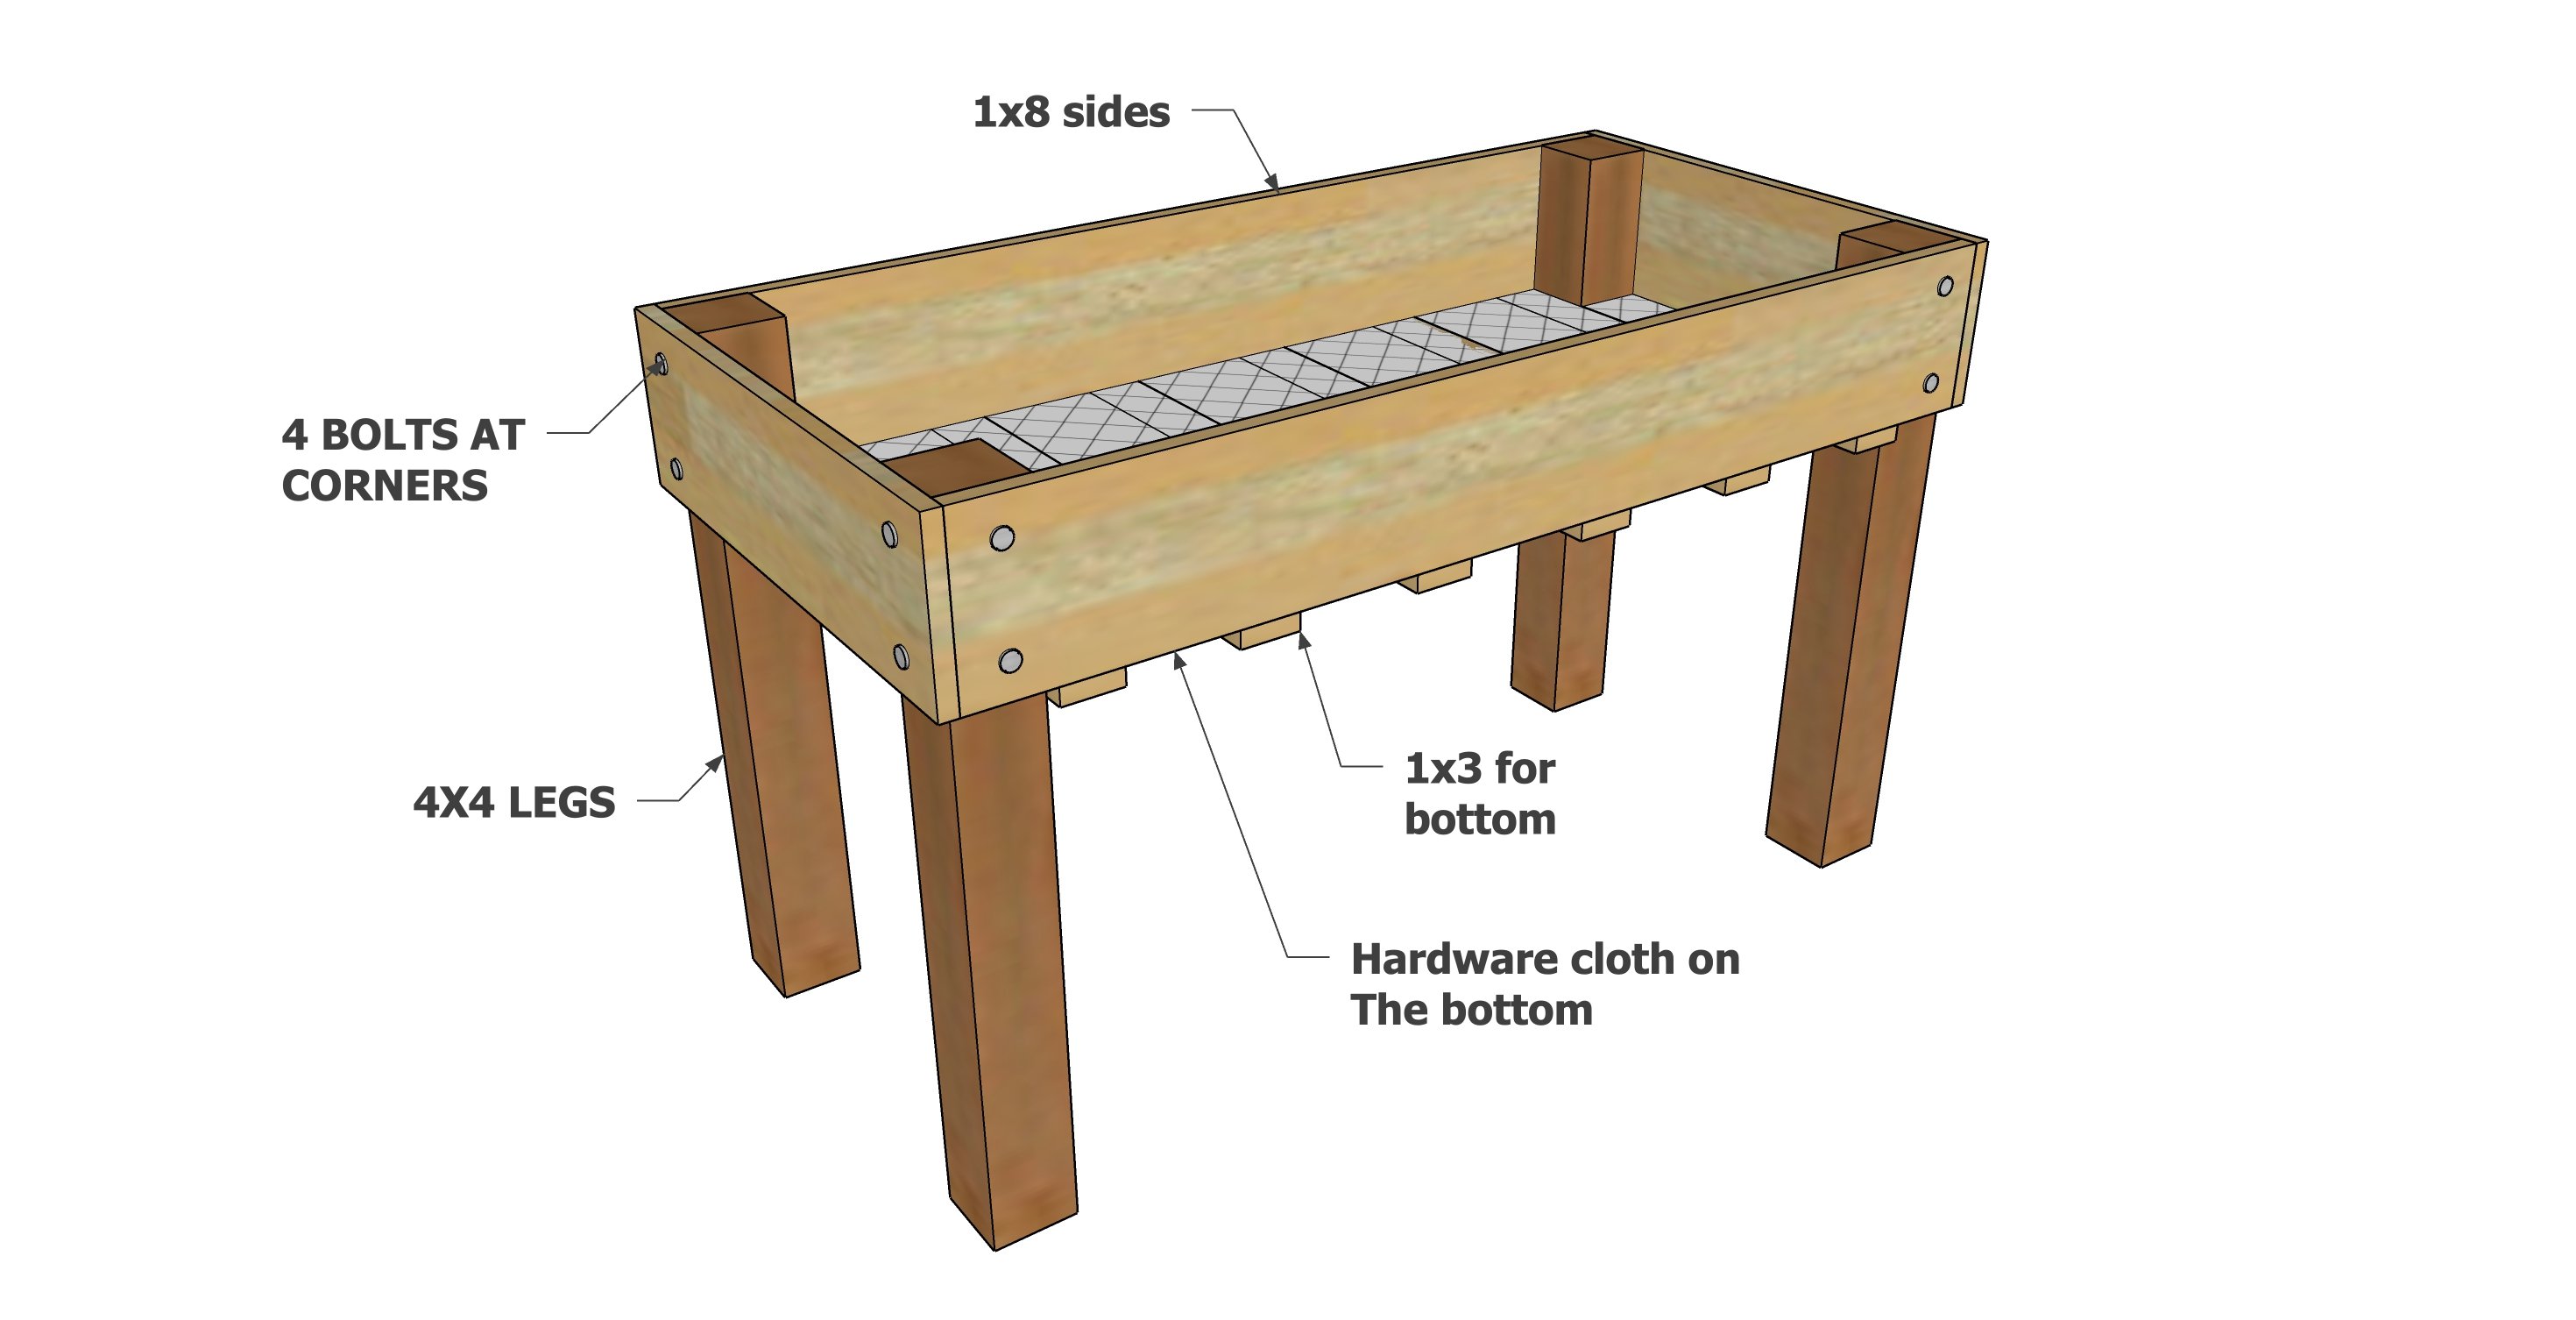
- 1 - 4x4 @ 10 feet long - fir or cedar post (fir is cheaper and lasts nearly as long)
- 1 - 1x8 @ 12 feet long - cedar boards
- 1 - 1x3 @ 12 feet long - cedar boards
- 1 - roll of 1/4" hardware cloth, 50x24" (make sure to get hardware cloth with 1/4" holes, 1/2 inch is too large and all your dirt will fall through)
- 16 - 2 inch 14-20 hex bolts
- 16 - washers
- 16 - Threaded inserts (http://www.grainger.com/Grainger/Hex-Drive-Threaded-Insert-4ZU78)
- 12 - 1 1/2 inch exterior self tapping star bit wood screws
- 4 - 4x4 @ 30" long (legs)
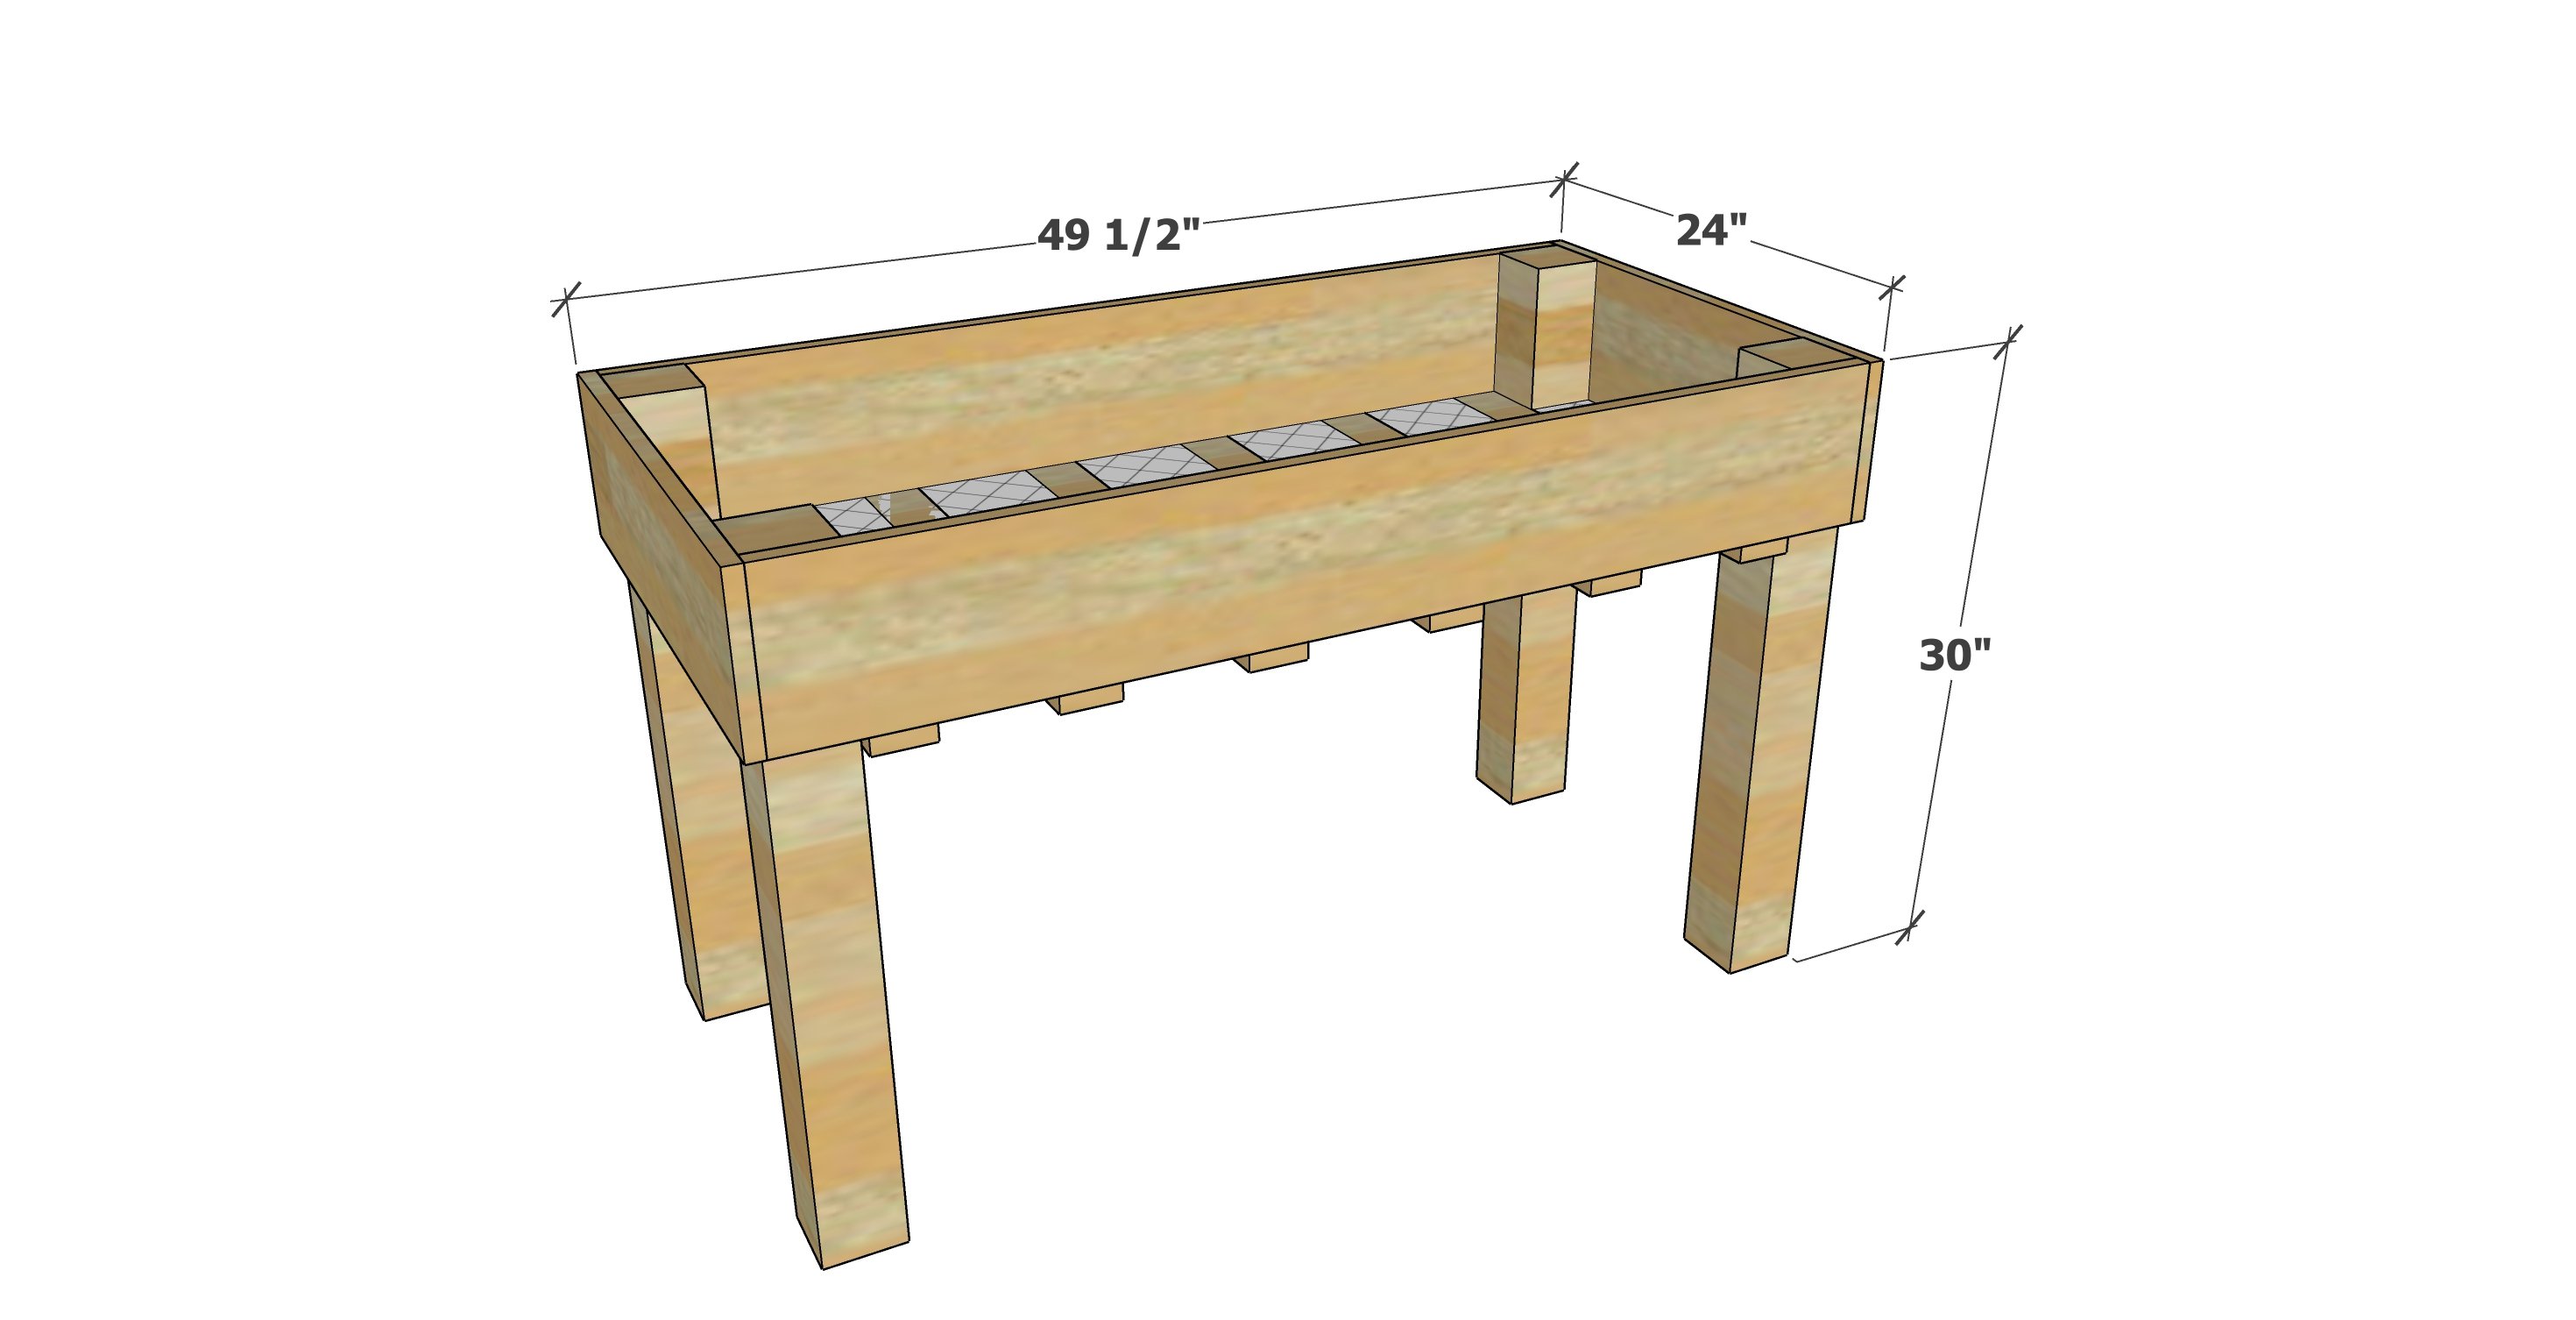
- 2 - 1x8 @ 48" long (sides
- 2 - 1x8 @ 24" long (ends)
- 6 - 1x3 @ 24" long (slats)
- Bottom hardware cloth: cut the hardware cloth into a 24x50 inch rectangle.
NOTE: The shopping list is exactly enough wood for the project. If you need to cut your boards 1/8" shorter to allow for the saw blade width (kerf) it will all work out, but the cuts do need to match - i.e. all side boards cut at 47-7/8"
Counter Height Garden Boxes by Janet Fox


Please read through the entire plan and all comments before beginning this project. It is also advisable to review the Getting Started Section. Take all necessary precautions to build safely and smartly. Work on a clean level surface, free of imperfections or debris. Always use straight boards. Check for square after each step. Always predrill holes before attaching with screws. Use glue with finish nails for a stronger hold. Wipe excess glue off bare wood for stained projects, as dried glue will not take stain. Be safe, have fun, and ask for help if you need it. Good luck!
Instructions
Step 1
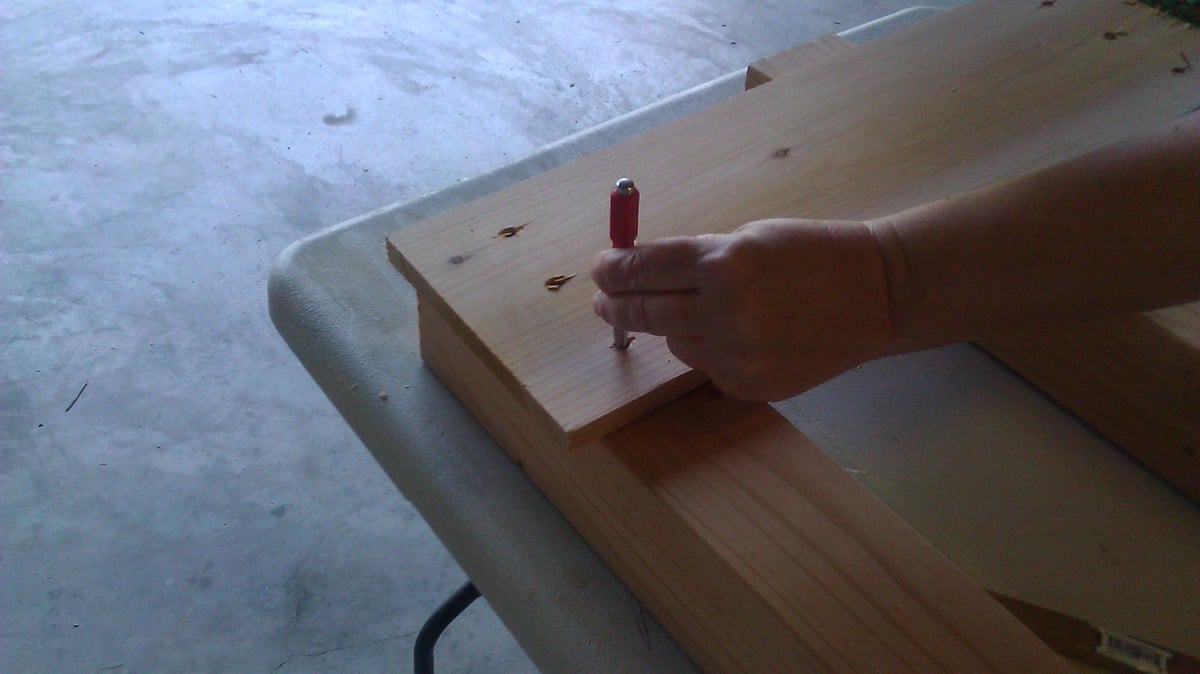
the picture above is just so you can see me marking the 4x4 legs. I actually mark them in the standing position. update: I cut all pieces out and assembled the bed using one or two pin nails on each side of the leg to hold together...I then used a hand drill to drill the three or two holes(which ever you decide on) onto each side piece only going through the the side piece and only marking the legs. The leg holes really need to be drilled as straight as possible and at the depth you need for your bolts. I used a drill press to make sure of the depth and that the holes are very straight to except the thread inserts. You can read the bit below for other info but I would definitely use the hand drill for marking the legs. Drill your three holes in the 1x8 pieces then place them against the 4x4 pieces in the location they need to be(I set up all the pieces and number the legs and the boards and draw arrow for the top on the boards for later reference then using one pin nail on each side to hold it all together I mark where the holes will go on the legs) and using a center punch hammer into each hole marking the 4x4 so you can drill the corresponding holes. I used all 1/4-20 screws and I used E-Z LOK threaded inserts instead of drilling all the way through the 4x4. I made sure that I drilled the hole deep enough in the 4x4 so that when I inserted the thread and bolted the sides on I would be able to screw them on tight.
Step 2
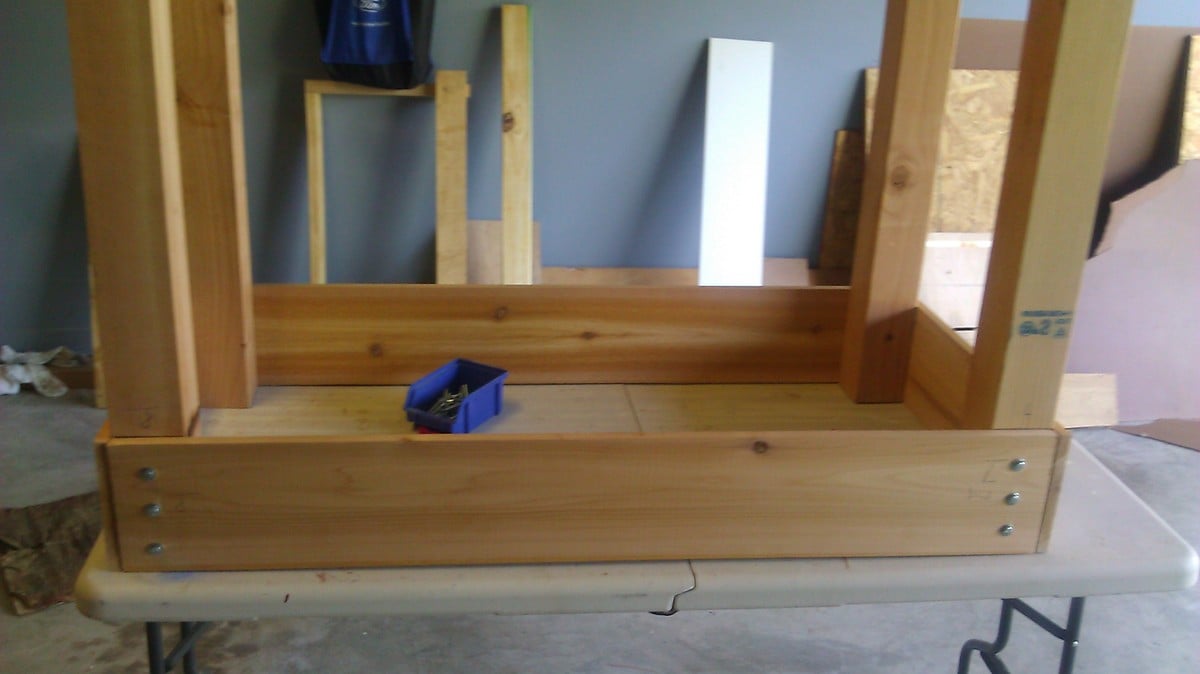
He is an image of the planter upside down with the 1x8 bolted into place
Step 3
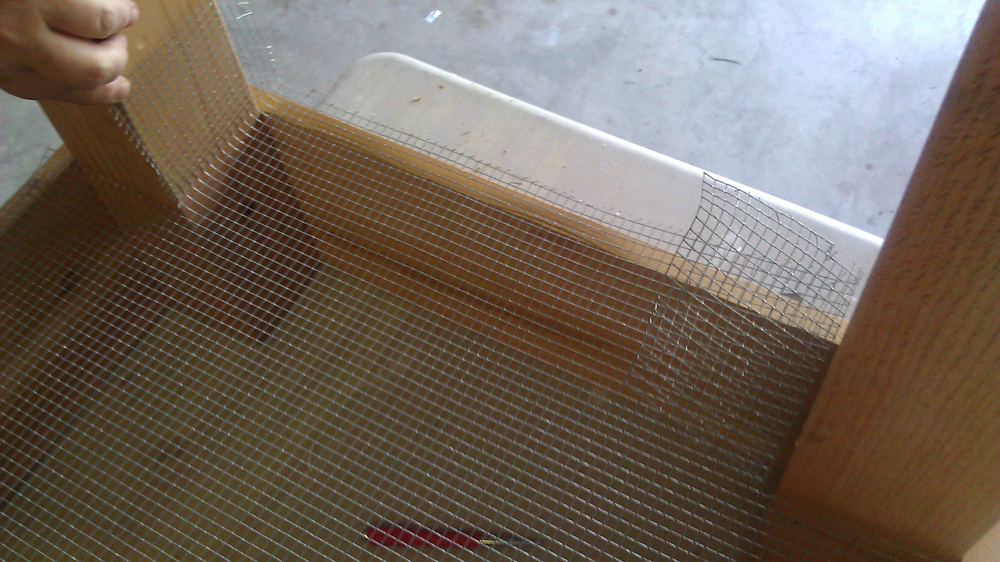
Attaching the hardware cloth. I made sure that when the planter was together that it was no more then 24 inch wide this way the hardware cloth would fit the width without me having to sew together or cutting down the width. I only had to cut the length because I purchase hardware wire that was 24 inches wide by 25 feet long. I can make 6 planters with this one roll of hardware wire.
Step 4
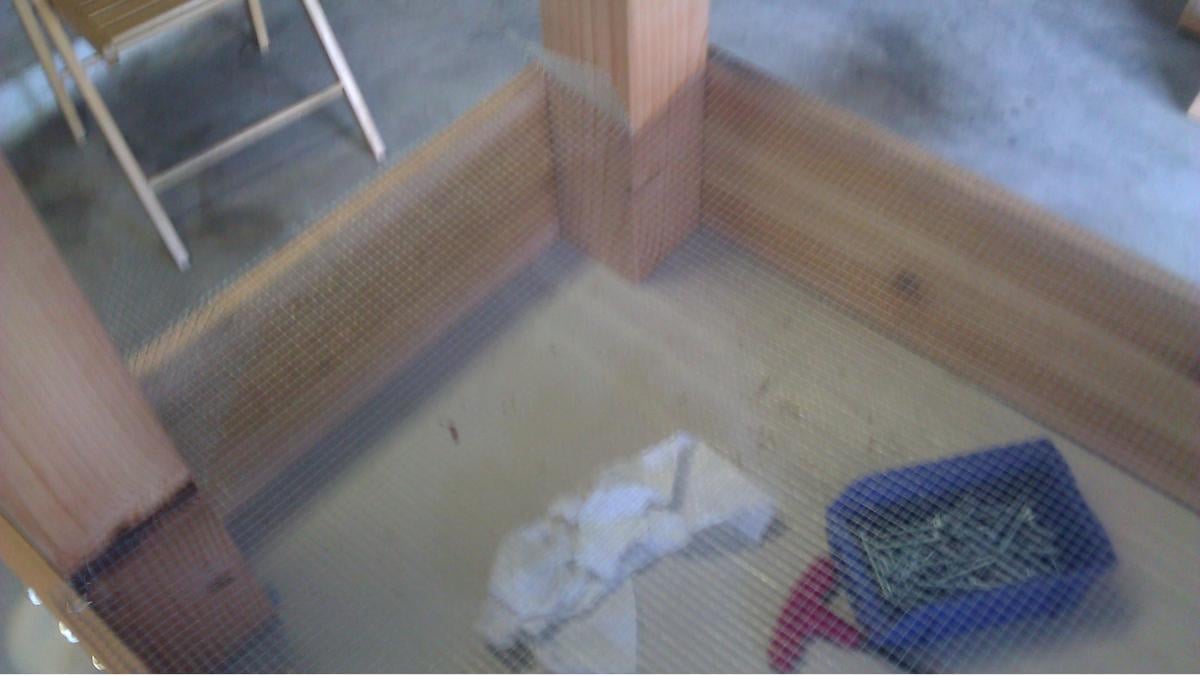
close up of how staple the hardware cloth around the legs.
Step 5
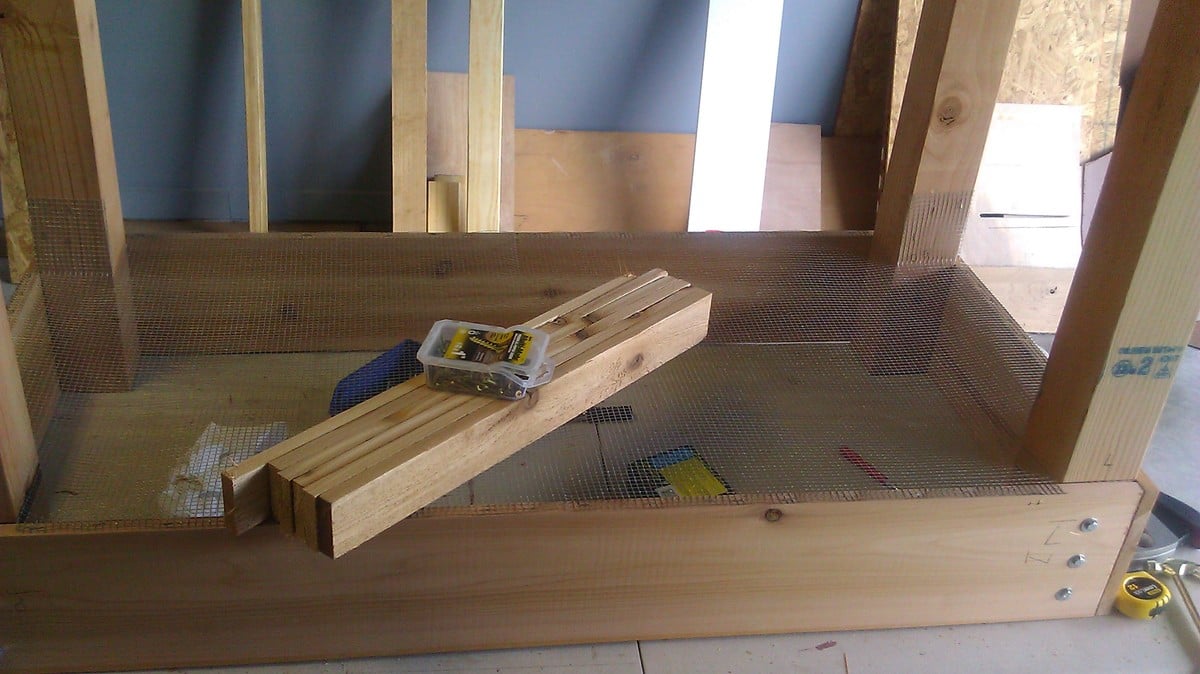
Step 6
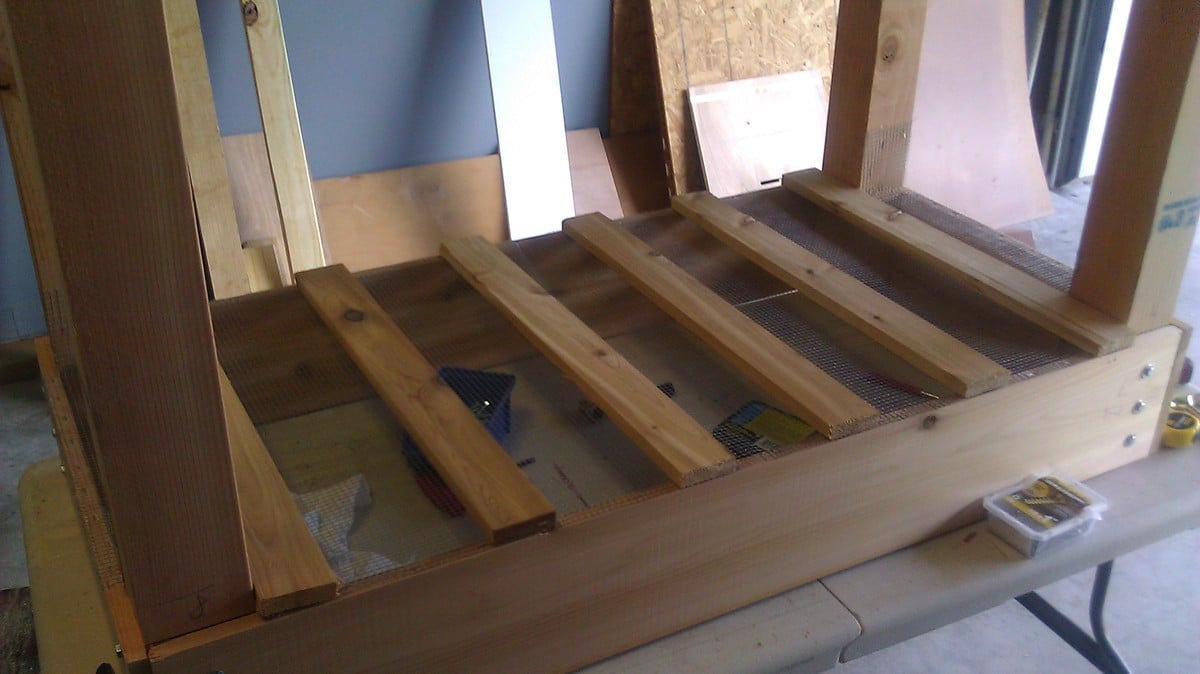
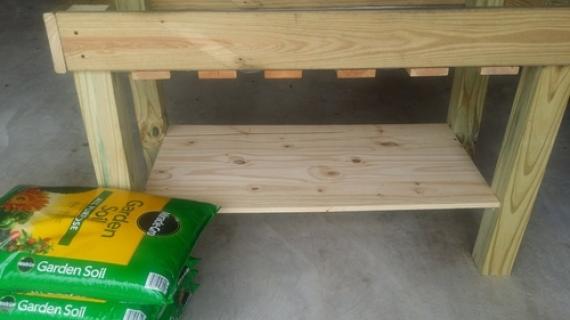
placing the slats equal distances apart and screwing into the bottom using two screws in each end of each slat.
Step 7
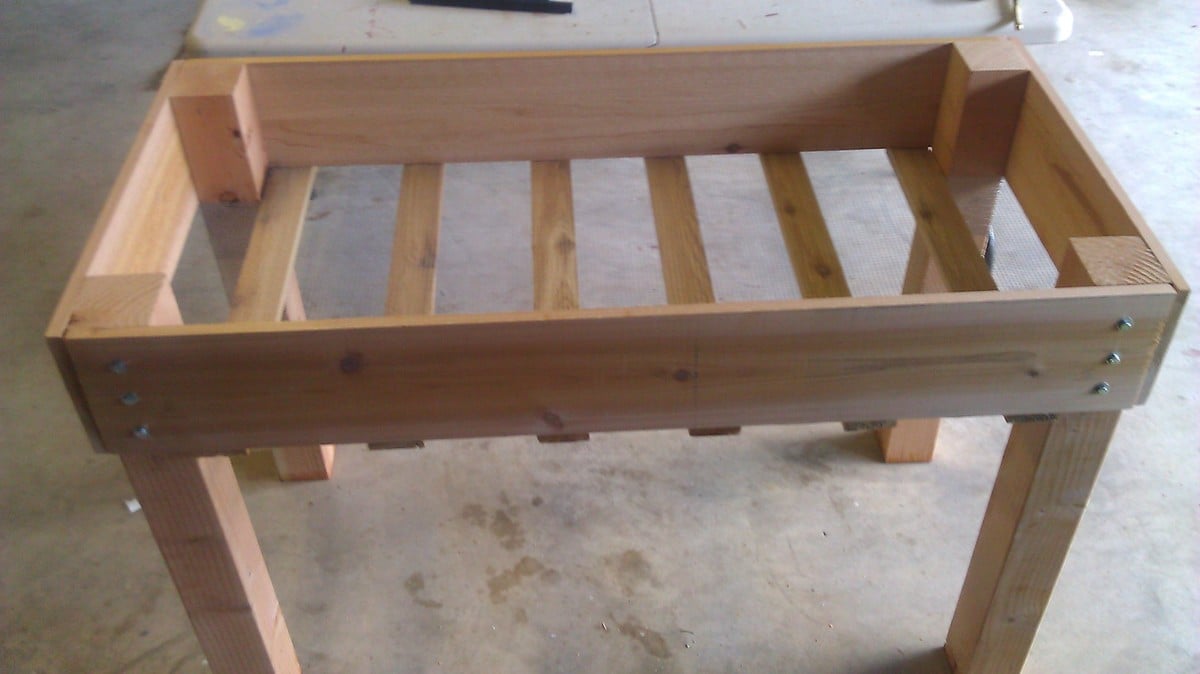
The planter turned right side up
Step 8

another close up
Step 9
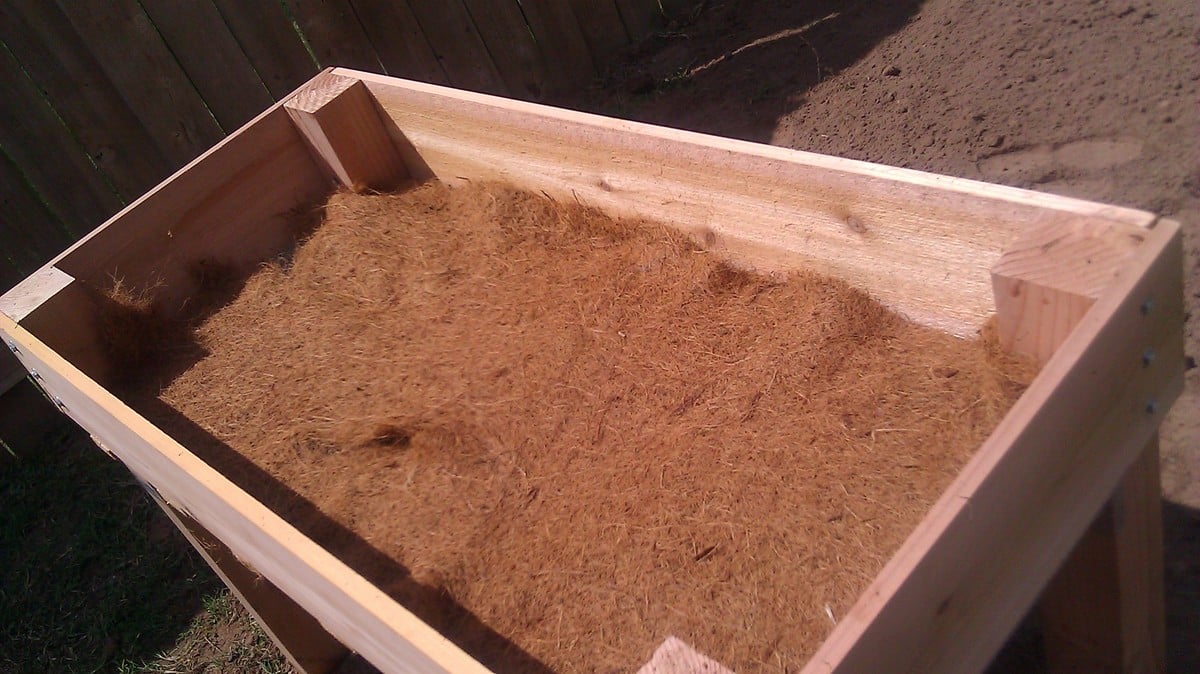
used coconut cloth in the bottom however you could use newspaper, compost or anything that isn't harmful to the soil and your plants to keep the dirt in.
Step 10

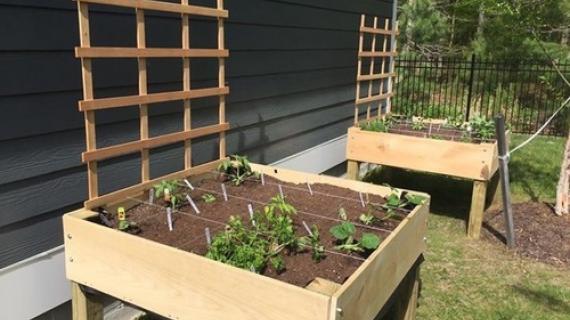
And this is how my garden grows.

Comments
In reply to Garden and dogs by plholsch
Janettx
Mon, 09/20/2021 - 13:39
Yeah, go with your gut....
Yeah, go with your gut....
KimWilson
Sun, 05/01/2016 - 14:17
Longer Hex screws
I had to use longer hex screws. The wood I used is actually 2" thick. I use rough sawn lumber which is not treated (hemlock) for my gardens and line the boxes (it's wider and longer than finished lumber), after using the coconut coir, with landscape fabric which helps the wood last longer. I bought 4 inch screws and put the inserts in the 4x4s (I drilled through the 2x12 lined up with the 4x4, then pushed the 2x12 aside and drilled into the 4x4 another two inches pulling out the wood shavings with each drilling to help the inserts go in better). I offset the opposing screws and inserts so they wouldn't chance hitting each other. It doesn't look so pretty, but I'm more for functionality than beauty!
Rachelle W
Mon, 06/13/2016 - 13:46
On boggy/wet ground
These look amazingly simple to make. I built a small garden enclosure (10' x 10') at the end of my yard this summer, and have plans to triple the area next year. I'd love to build some counter-height boxes, but that end of the yard is a low-point, and over an underground stream, so it can end up under several inches of water after a heavy or sustained rainfall. The current construction is cinder blocks (border, with flowering ornamentals to attract pollinators), a raised bed made from a pre-fabricated resin kit, and about 3" of pea gravel, surrounded by chicken wire to keep the bunnies out.
I'm thinking that, if I build the boxes on legs, I can do away with the chicken wire. But....that wet ground has me concerned about the integrity of the wooden legs. I can get free used tires from the city - has anyone ever tried omitting the legs and using tires as "pedestals"? I'm thinking 2-3 under the length of the middle would provide enough support for the dirt - but don't know if the tires themselves would be able to handle the load. Maybe if they're filled with river rock or broken concrete first?
Alternatively, I suppose we could install some makeshift PVC "risers", using a couple of diameters of pipe sunk into the ground.
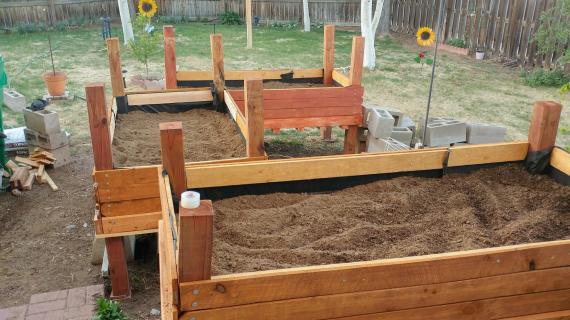
Also, if another layer of 8" boards is attached to the legs to deepen the soil, how would you suggest sealing the cracks between them to keep soil from sifting out? would a strip of landscape cloth stapled to the boards on either side do the trick? I'd like to grow some root vegetables next year, but think they probably need at least 12-16" of soil to grow in.
Any thoughts would be appreciated.
ransjo2002
Tue, 06/21/2016 - 10:10
There are cement piramids in
There are cement piramids in the decking area of the stores.They hold 4 x 4s They are used for building a floating deck and would work for you. 8" boards are deep enough for 6" carrots and deep enough for potatoes.I have grown both with good results.
Rachelle W
Mon, 06/27/2016 - 09:32
I had no idea about the
I had no idea about the pyramids - will definitely check them out. Thanks!
In reply to On boggy/wet ground by Rachelle W
Janettx
Mon, 09/20/2021 - 13:42
I'd love to see your…
I'd love to see your finished gardens! I think all your ideas will work. As for gaps in the wood.... the soil compacts so well that I never lost hardly any, not even when I first put it in. You could put a layer of newsprint along the sides for the first fill but after you water and over time it will just compact and you'll never have to worry about loosing dirt.
taralaska
Wed, 08/24/2016 - 18:26
Fertilizing for second year
Ana, I built these beds for my porch in Anchorage and I love them.
Do you have any tips for fertilizing them the second year around?
In reply to Fertilizing for second year by taralaska
Janettx
Sat, 03/18/2017 - 05:37
Pictures
Hi I am glad you loved my plans and made them. I'd love to see a brag post.
Counter Height Garden Boxes by Janet Fox
Janettx
Sat, 03/18/2017 - 05:36
Not sure why my name is not
Not sure why my name is not included but these are my original plans not Ana White plans.
I hope you enjoy your new Counter Height Garden Boxes by Janet Fox
roxyloop24
Wed, 03/07/2018 - 09:20
slats
Do you have any issues with slats failing since you are screwing into the side of the 1X8? I am worried about being able to support the weight of all the soil and water. Would you suggest anything different if I were going to build a planter that was 3 ft wide?
Thank you
In reply to slats by roxyloop24
Janettx
Mon, 09/20/2021 - 13:49
The wire actually keeps the…
The wire actually keeps the dirt in but yes if you don't get them screwed in well then they can fall off. I had to get under one and redo the screws. Another idea would be to use 1x1 on the bottom of all four 1x6 and put the slats on top of those but I'd still do the hardware cloth over that for support.
danbutterworth
Sun, 05/10/2020 - 11:11
Modifications for more decorative and easier build
My daughter and I made one using the general ideas from plan, but made easier and more decorative by using heavy wood stair treads and deck posts. Almost no cutting required and looks nicer than the light weight kits costing hundreds of dollars.
In reply to Modifications for more decorative and easier build by danbutterworth
Janettx
Mon, 09/20/2021 - 13:49
That is awesome!
That is awesome!
Iacosta
Fri, 06/05/2020 - 12:55
size of bolts
Hi, I'm going to try to do this next week but I'm a little bit lost on the size of hex bolts, washers and staples used. Do you mind linking them?
Thank you very much for this plans!!
In reply to size of bolts by Iacosta
Janettx
Mon, 09/20/2021 - 13:51
The bolts I used were 1/4-20…
The bolts I used were 1/4-20 and I used 2 1/2" ones but the length depends on how deep you drill the holes for the inserts. I also just used a standard hand stapler and I used the staples my model called for.