


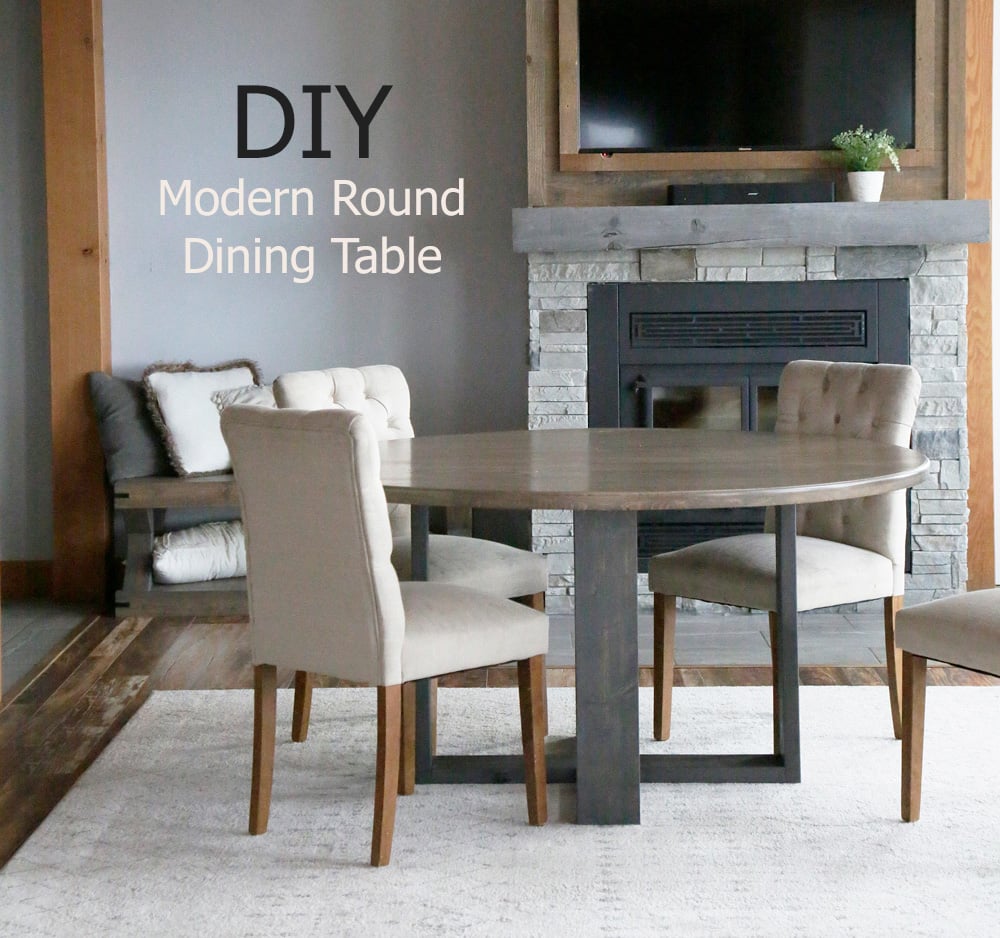
Build your own round modern dining table with free plans from Ana-White.com
A couple years ago, we built a round dining table for our main family table, and we LOVE it! It has served us so well, feeling cozy with just our family, but easily adapting to more guests - just pull up a chair.
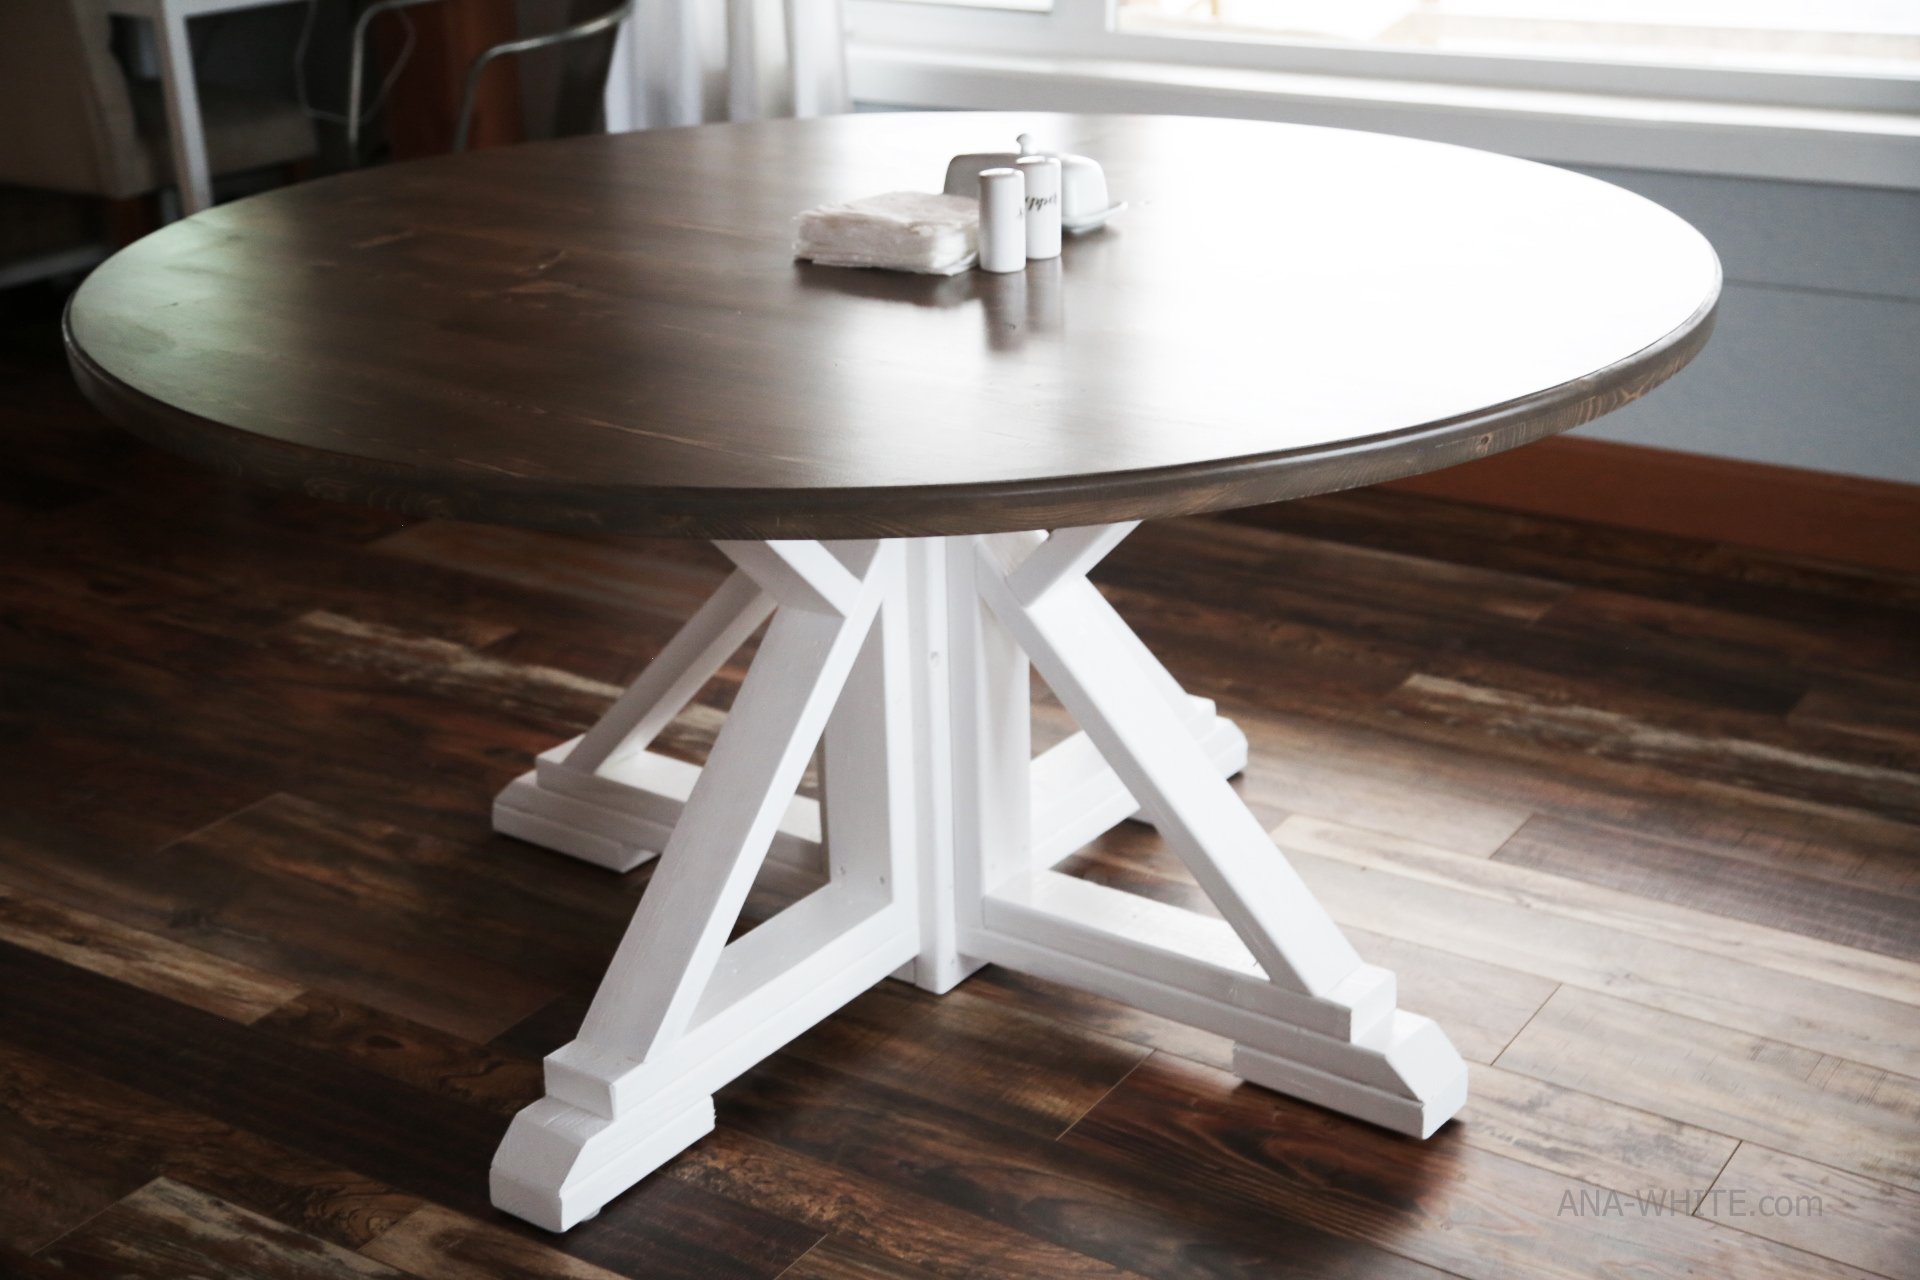
But the base wasn't quite right for our family. We have a 1 year old who feeds herself. Food falls everywhere. And it's hard to clean under the openings in the legs. And why on earth would I paint it white???
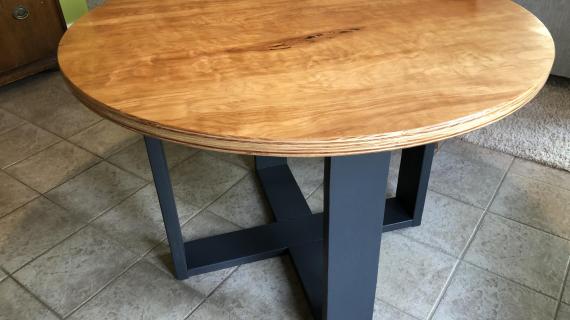
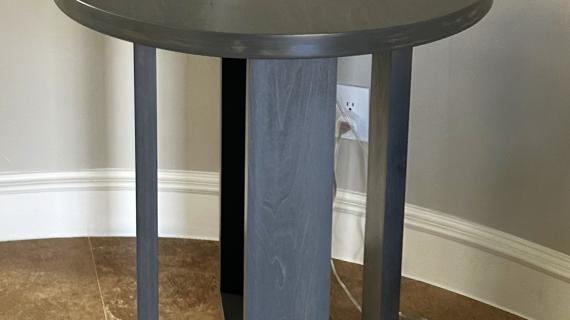
So I decided to keep the same tabletop, but change out the base to something simple and easy to clean around that is NOT white. Two 2x6 boards later ....
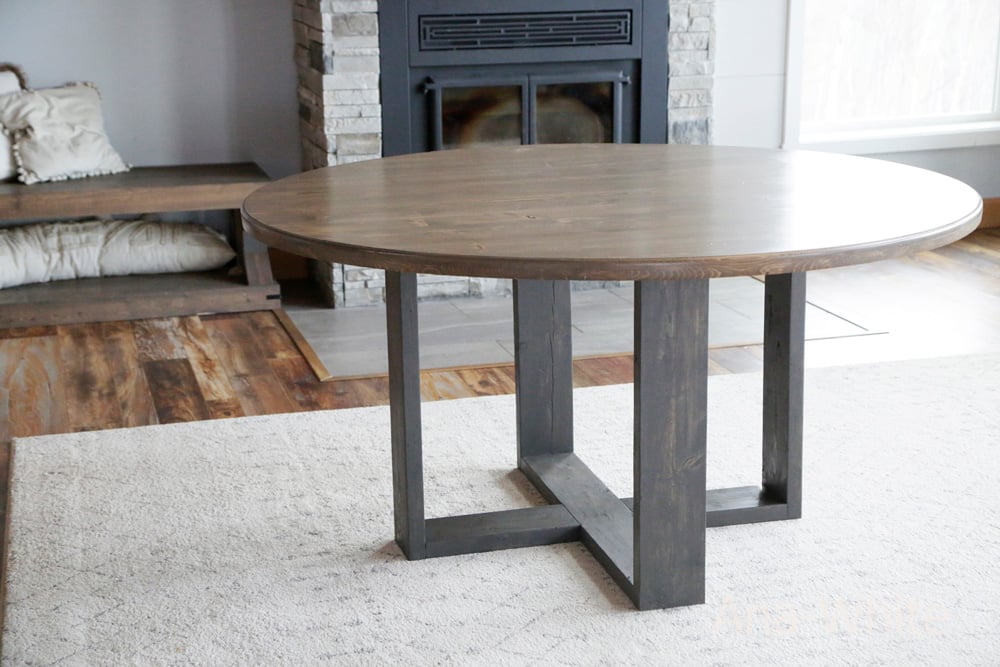
We couldn't be happier with how it turned out and love the simple design that will make our life easier.
Video Tutorial
You can watch this table being built in our video tutorial here:
What About the Tabletop?
We built our own round dining tabletop in this post (with video tutorial) and it has held up well and been nothing but awesome for us. It wasn't hard, but was definitely time consuming and made a big mess.
So if building a perfect round tabletop seems intimidating (or more mess than you want to sign up for), don't worry! You can buy an unfinished round tabletop on Etsy for marginally more than materials.
Pinnable Image
If you have a second to pin, we greatly appreciate pinning and it helps our website out. Here's an image you can use:
Preparation
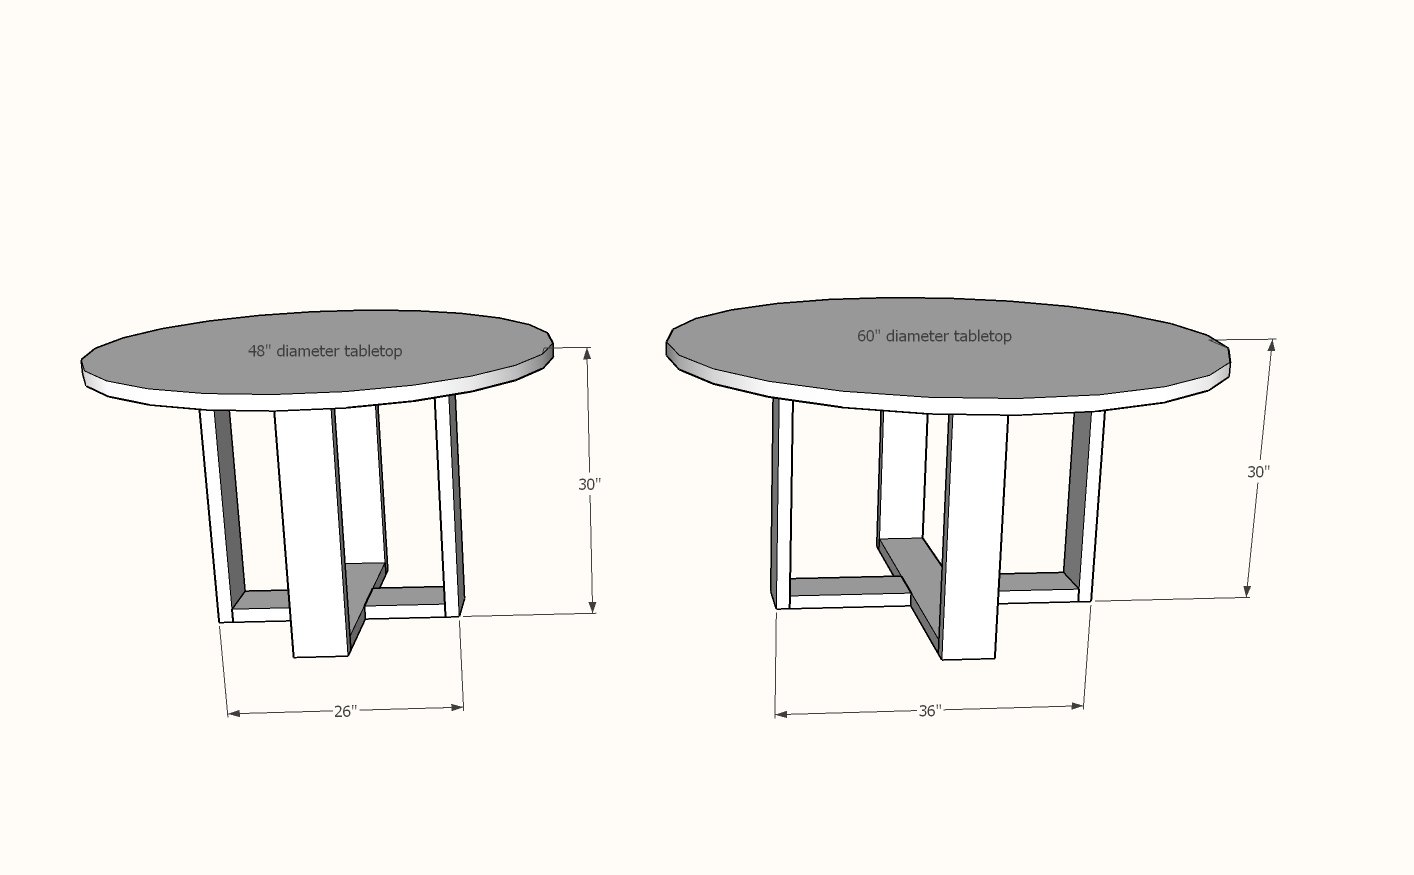
For 48" Base
- 2 - 2x6 @ 8 feet or stud length
- 24 - 2-1/2" pocket hole screws
For 60" Base
- 2 - 2x6 @ 10 feet or stud length
- 24 - 2-1/2" pocket hole screws
Divide the cuts evenly between the two boards.
You will also need screws for attaching the tabletop. If your tabletop is 1-1/2" thick you can use the 2-1/2" pocket hole screws.
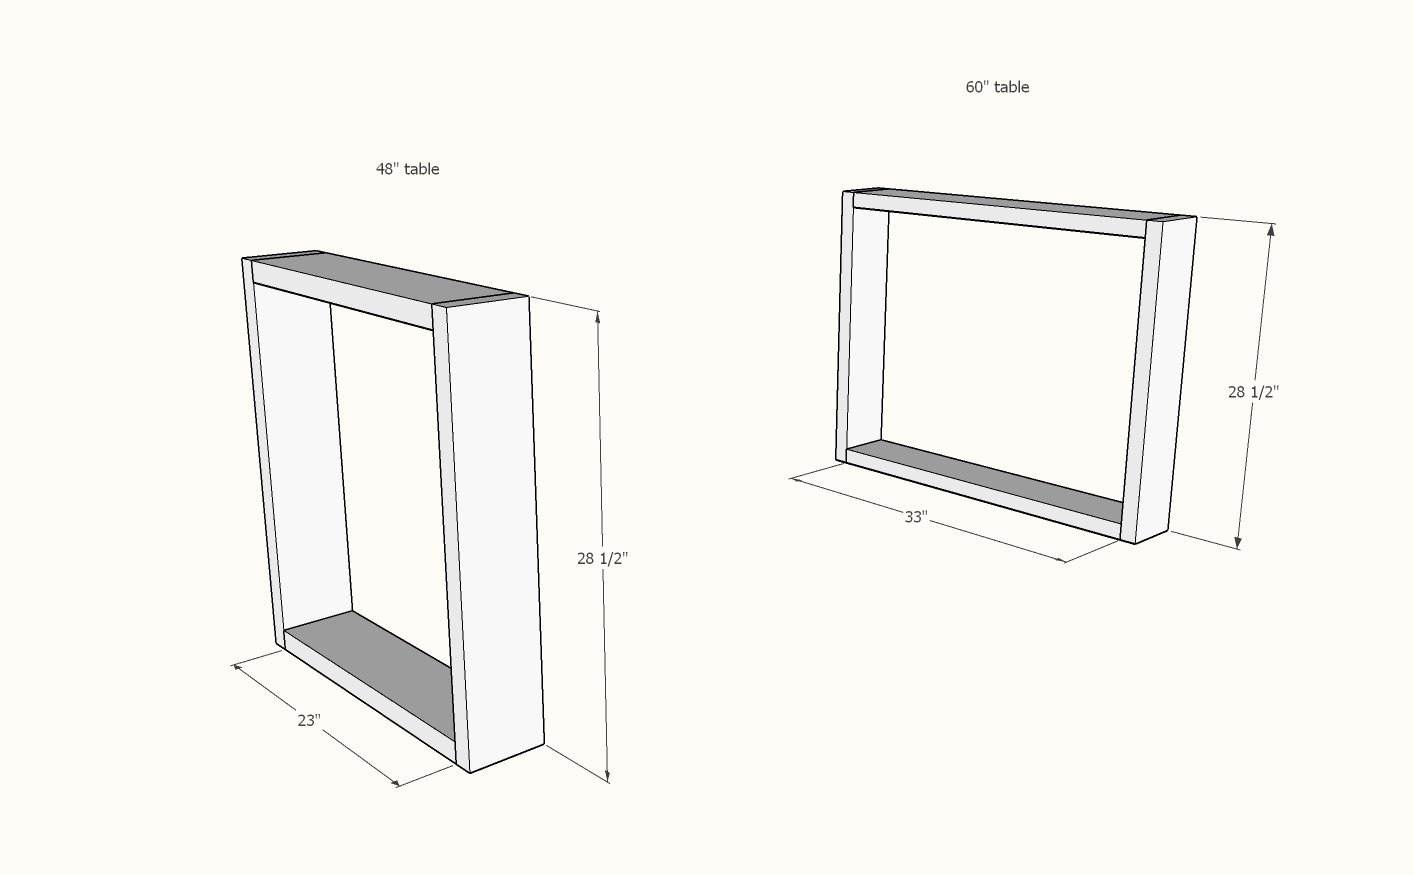
Cut List for 48" Table Base
- 4 - 2x6 @ 28-1/2"
- 2 - 2x6 @ 23"
- 4 - 2x6 @ 8-3/4"
Cut List for 60" Table Base
- 4 - 2x6 @ 28-1/2"
- 2 - 2x6 @ 34" *
- 4 - 2x6 @ 14-1/4" *
*I added one inches to the 60" table base from the diagrams, because I felt like it needed to be slightly larger to reduce potential tipping.


I recommend presanding all the boards first.
Carefully cut out the 2x6 boards on the compound miter saw.
Drill two 1-1/2" pocket holes on both ends of every board except for the four leg boards (28-1/2" length).
Instructions
Step 1
Attach the longer 2x6 boards to the legs to create a rectangle. Use 2-1/2" pocket hole screws and glue.
Step 2
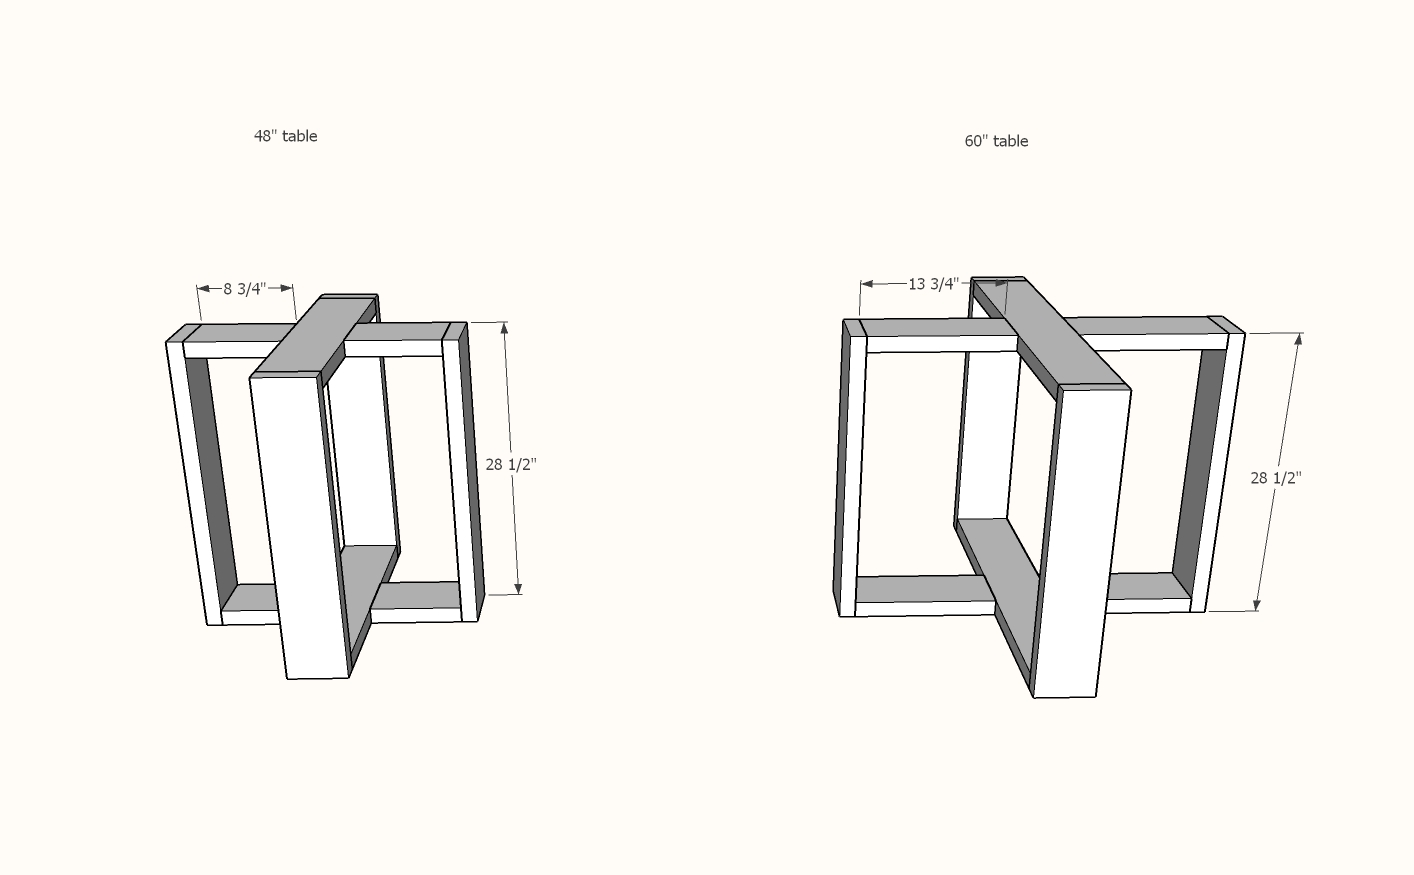
Attach the shorter remaining pieces to the remaining legs with 2-1/2" pocket hole screws.
Find the center of the rectangles from step 1 and attach the C pieces to it with 2-1/2" pocket holes and glue.
Step 3

Attach base to the tabetop underside.


Comments
mferrante
Tue, 03/24/2020 - 15:42
I love the modern simplicity…
I love the modern simplicity of this table base! Looking for an outdoor rectangular table with this base version that could accommodate 10-12 people 🙌🏻
Anzura
Mon, 10/05/2020 - 19:40
A few errors, but a really cool modern base
Went hunting table bases for my glass round at all the usual stores and online. Everything is crazy expensive! Made this for $50 and it turned out great! Will put clear rubber bumpers on top for the glass to sit on.
Cut list for the 48" base adds up to more than 16'. I took off 1/2" from all cuts except legs. Also, I suggest adding the smaller pieces to the first rectangle before you attach second set of legs or else you won't be able to get drill in to pocket holes. That will make sense when you see it in person.
ileneshopper
Mon, 02/01/2021 - 05:18
Hi, I finished this table…
Hi, I finished this table base yesterday and I absolutely love it. This is the first time I’ve ever made anything like it on my own. I have a traditional table now that I want to take apart and repaint so I can use the old top with the new base. Can you explain how to attach the old top to the new modern base. Please be basic :)... this is all new to me. Thanks!!