Community Brag Posts

Double farmhouse bed

Submitted by Anonymous (not verified) on Wed, 05/25/2016 - 20:05

My husband built the full size farmhouse bed for our 2 year old son. It turned out beautiful but very high off the ground. In hindsight he would've cut off about 4" from the end posts so it would be lower to the ground. Overall we are very happy with it!

Built from Plan(s)
Recommended Skill Level
Beginner

Bay Window Drawer Bench

Submitted by Anonymous (not verified) on Mon, 10/23/2023 - 09:22

This is inspired by mud room bench with drawer. Apparently I had to make quite some modifications as this is for a bay window bench with trapezoid shape instead of a rectangular. In the middle are 2 drawers, at both ends are corner cabinets. Ana's design worked beautifully as the foundation of my project.

Built from Plan(s)

Modified Kitchen Island from the Handbuilt Home Island Plans

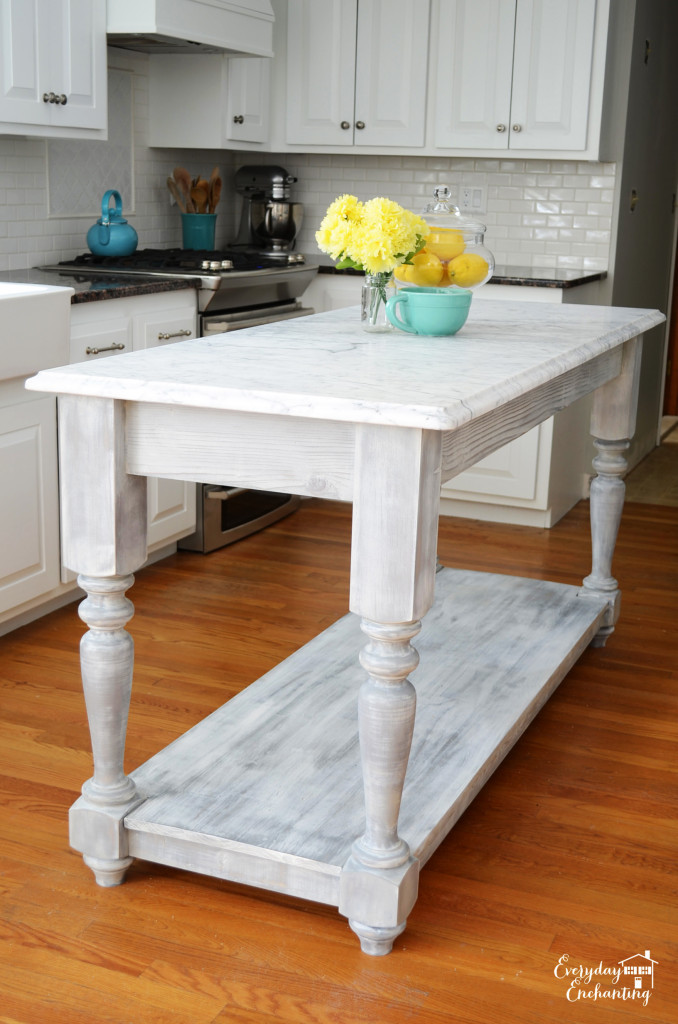
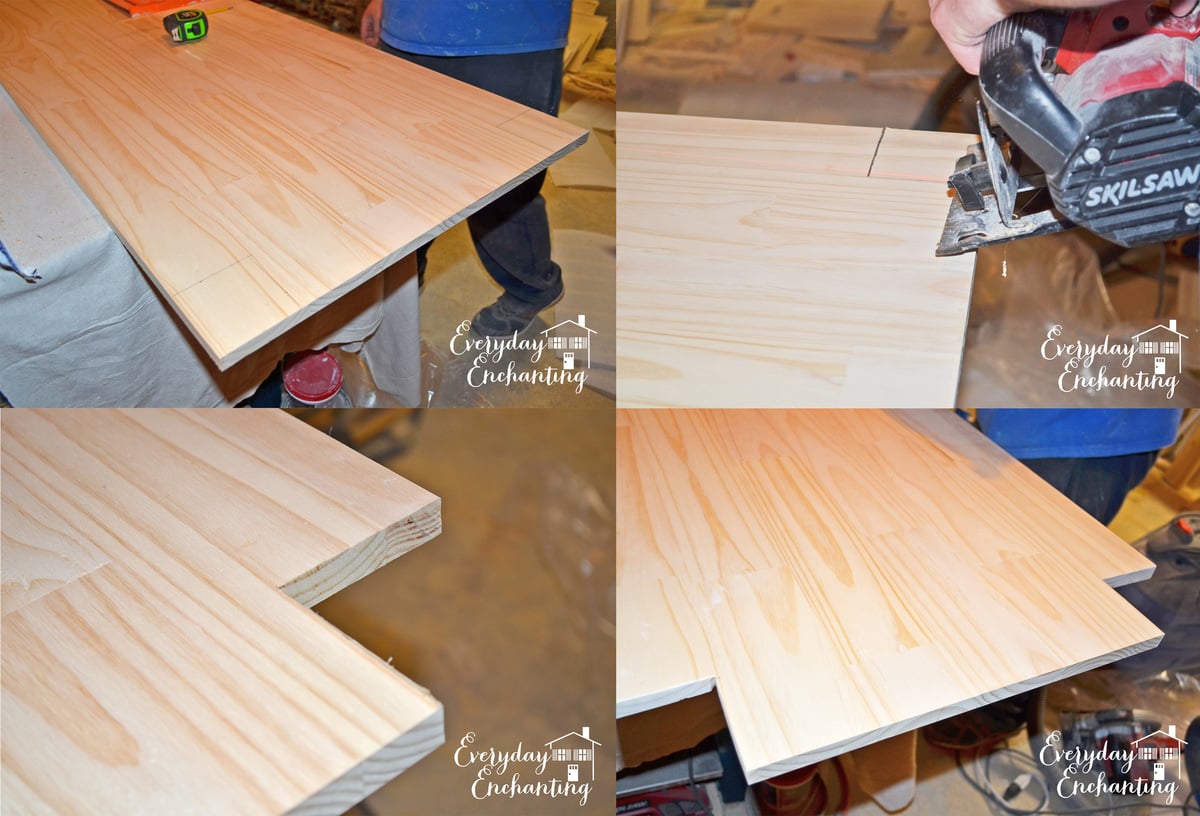
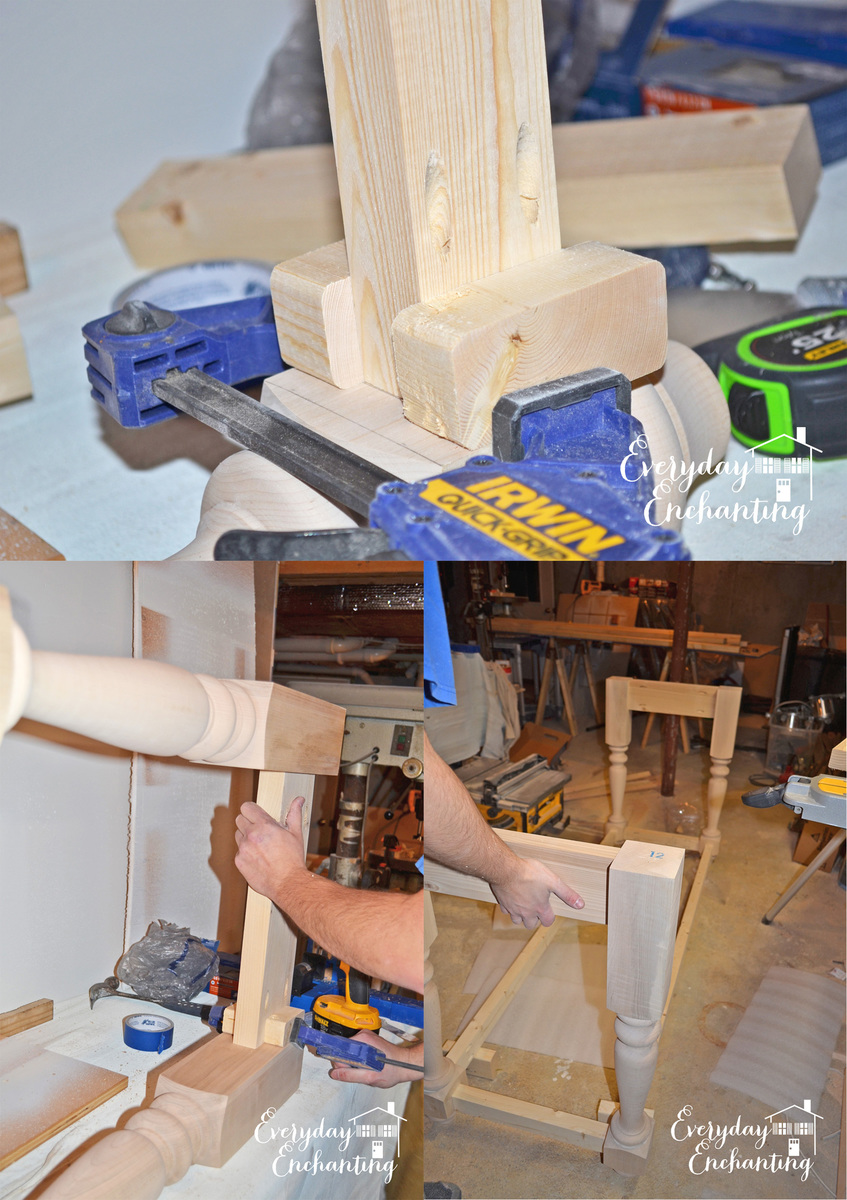
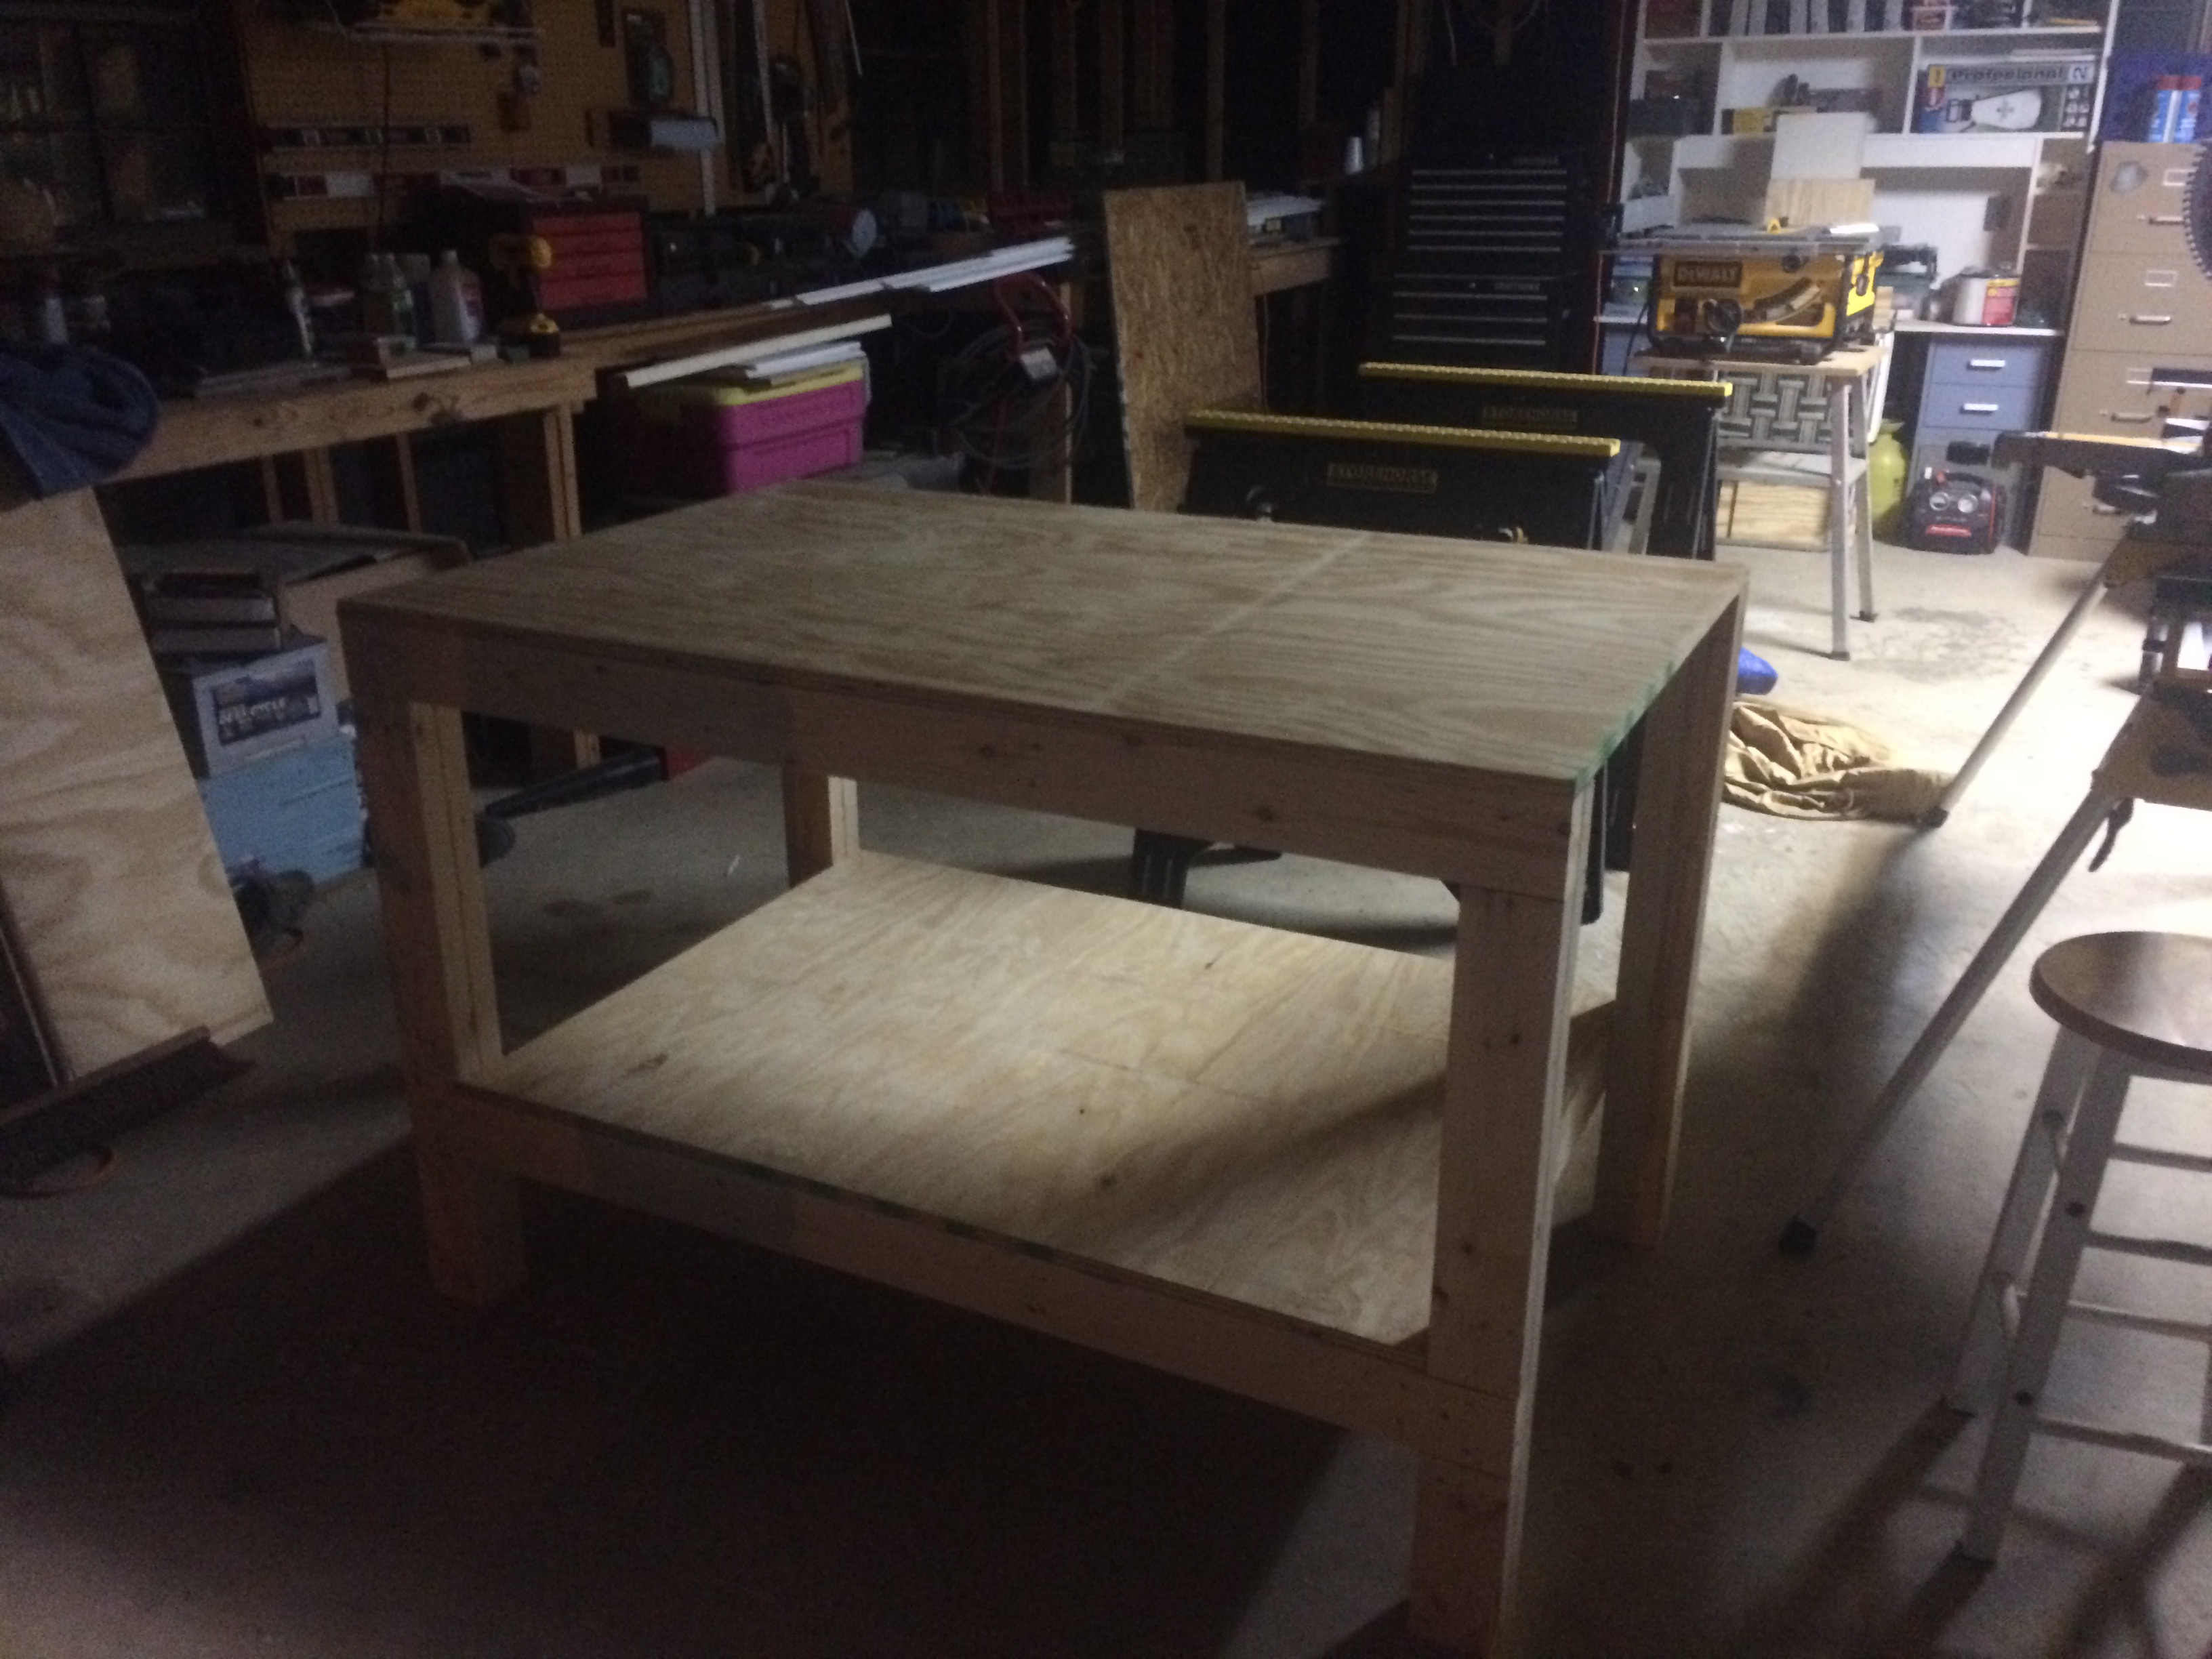
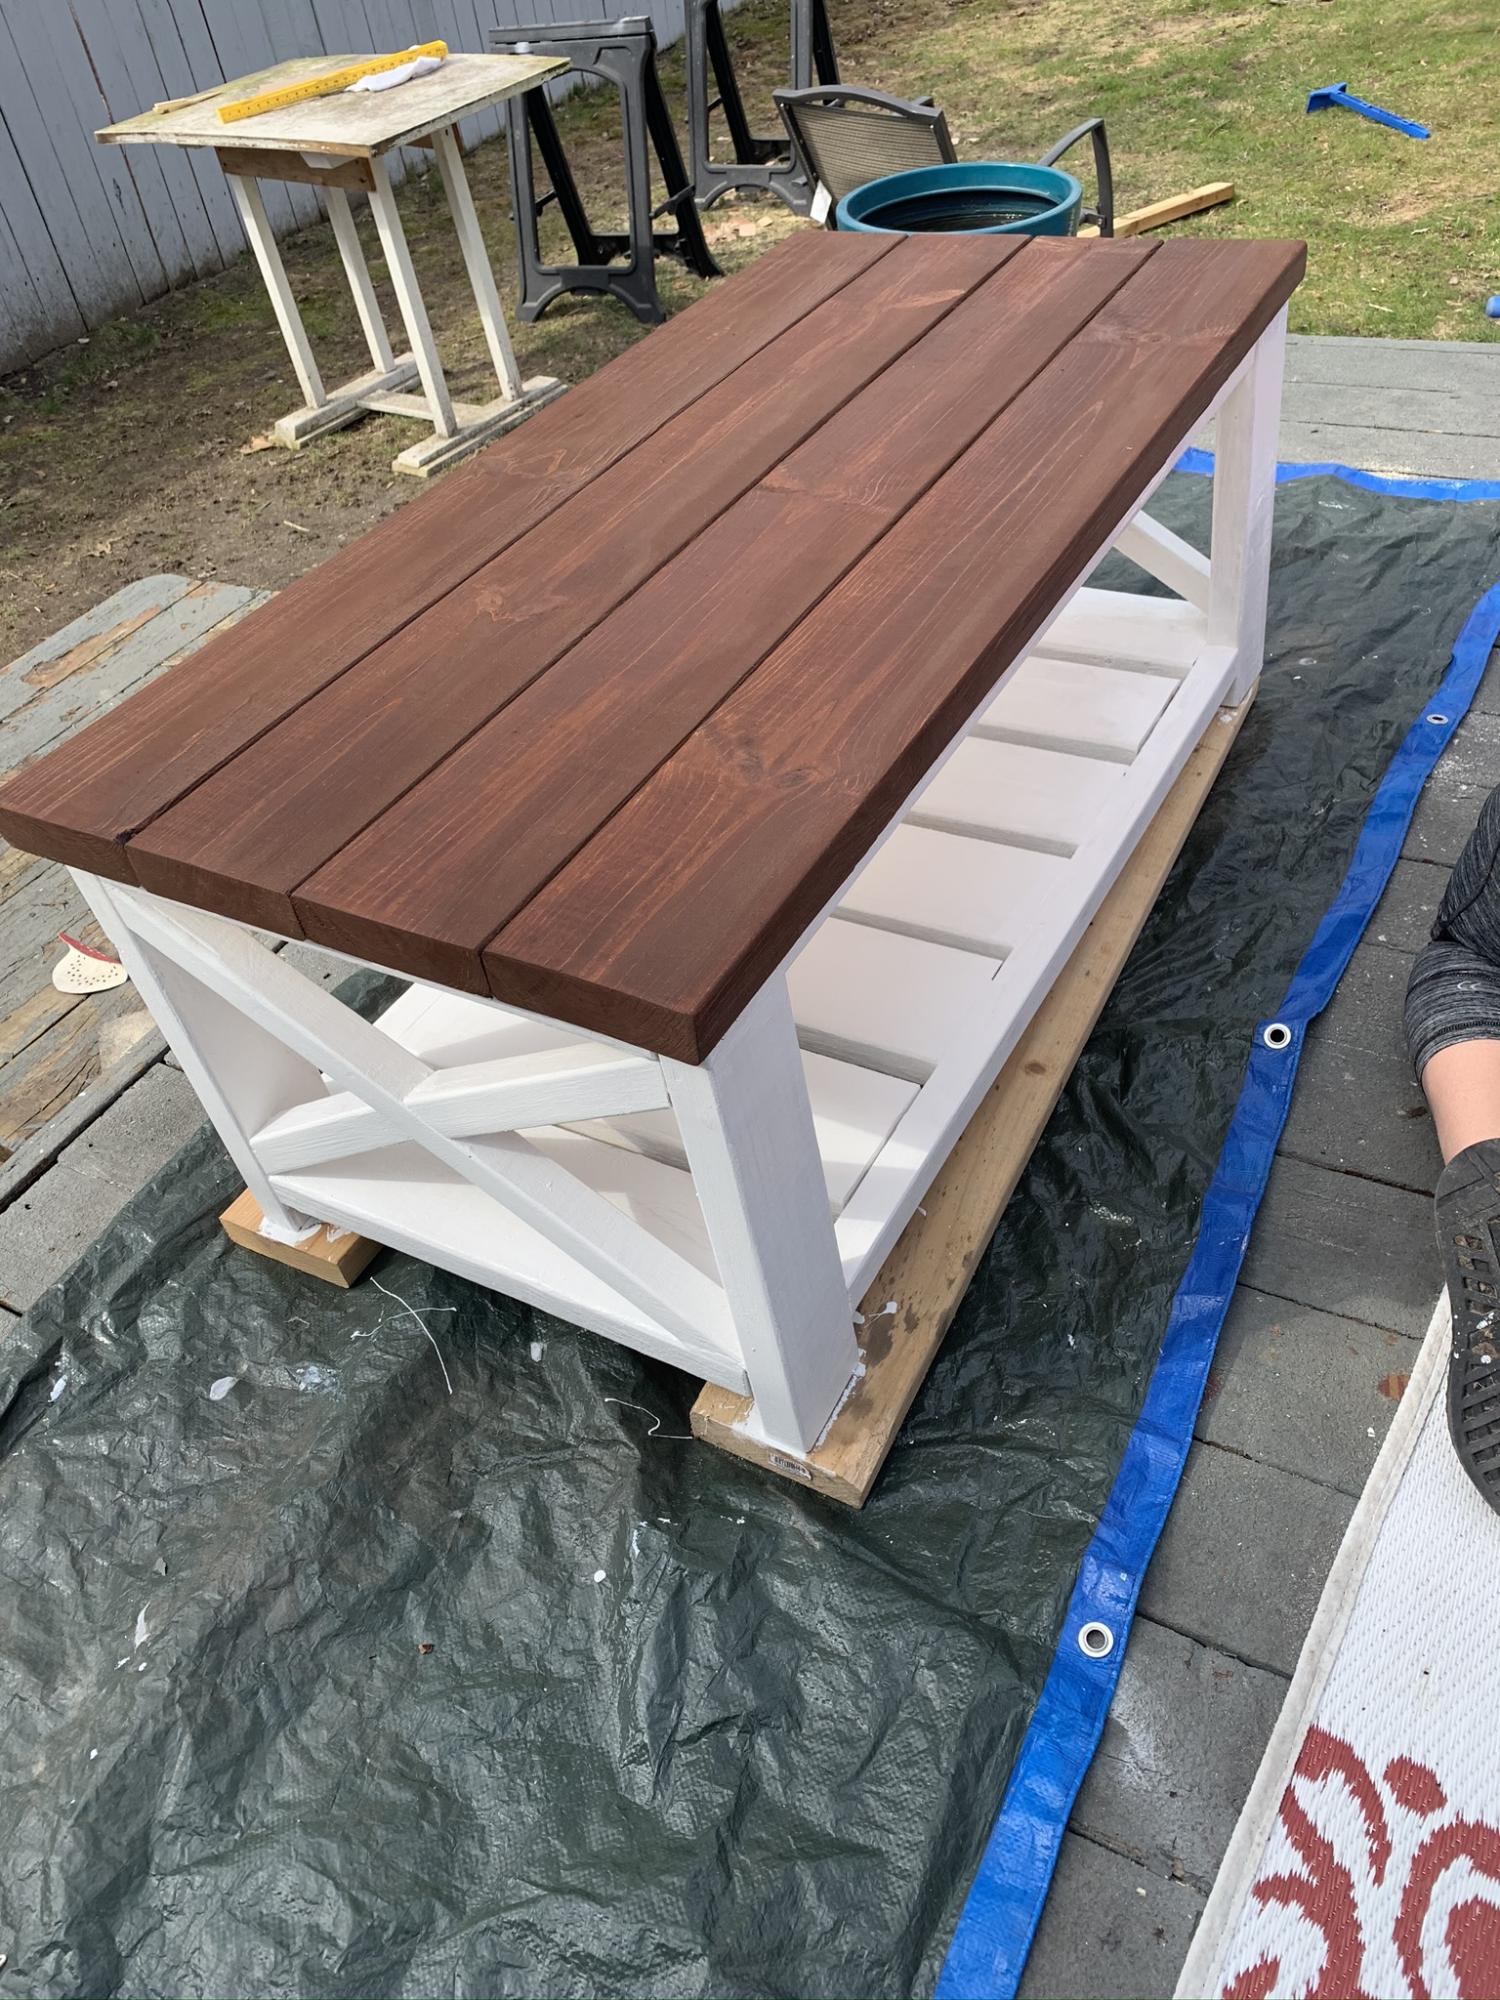
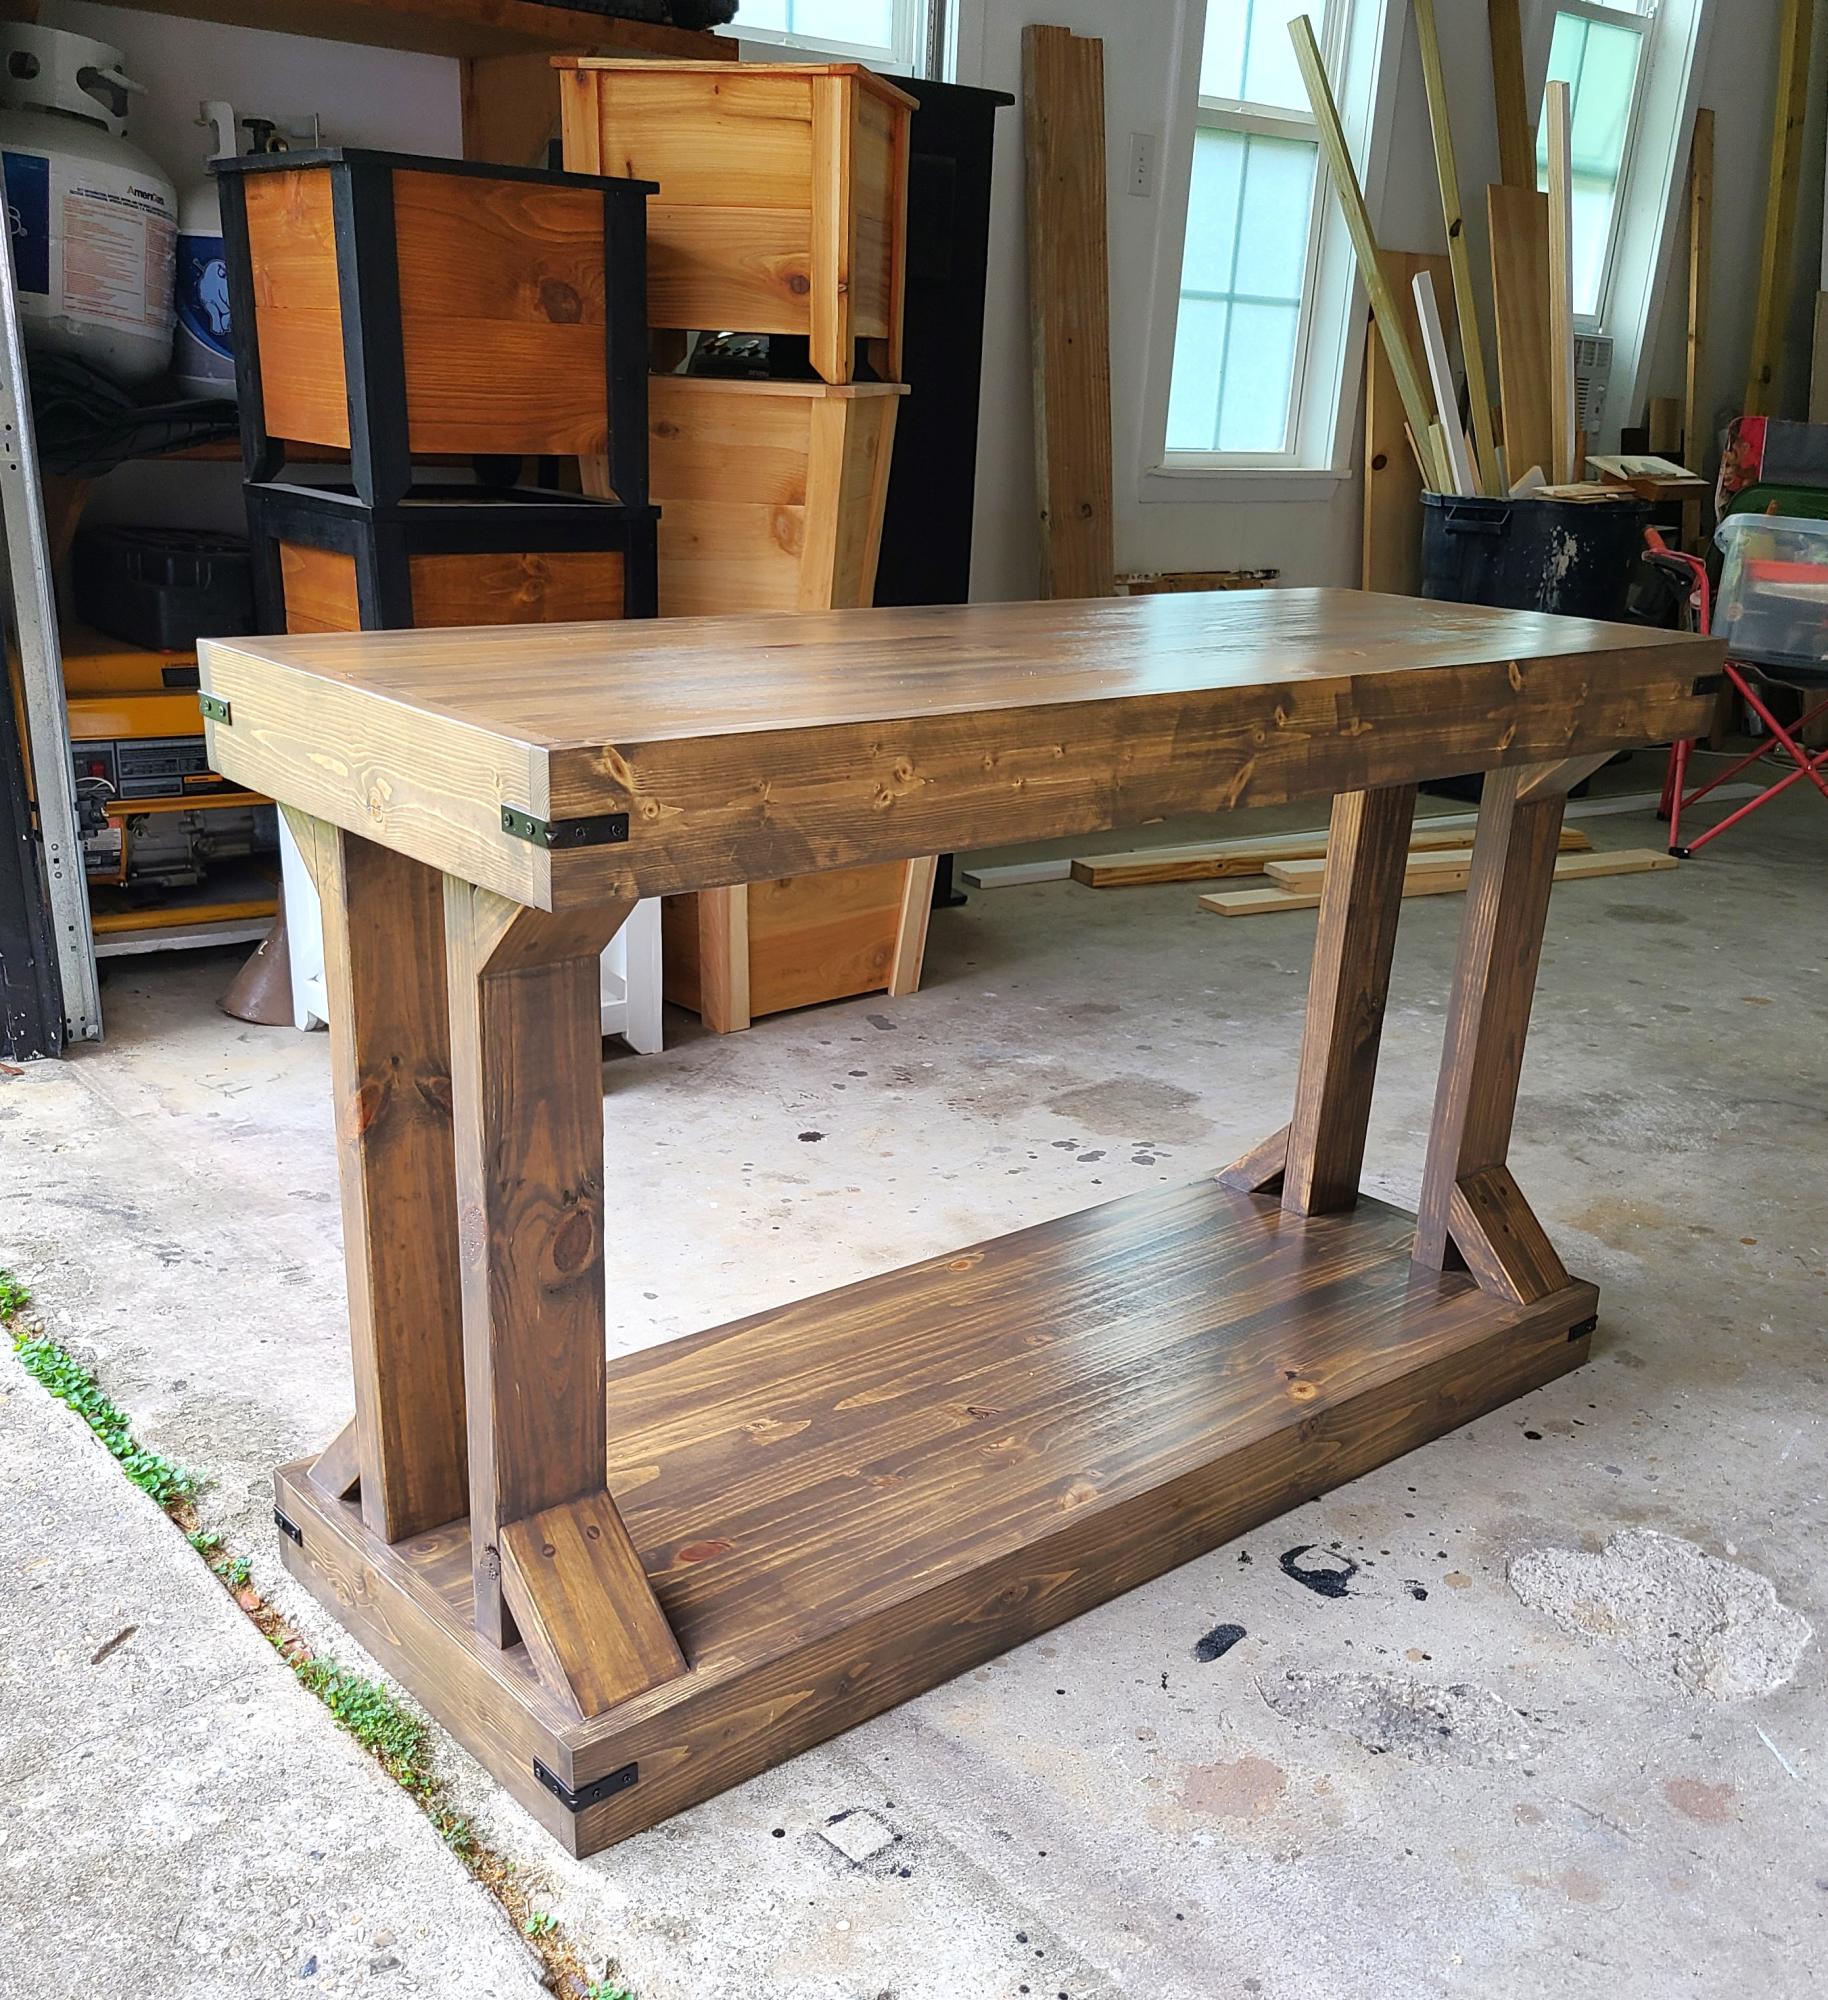
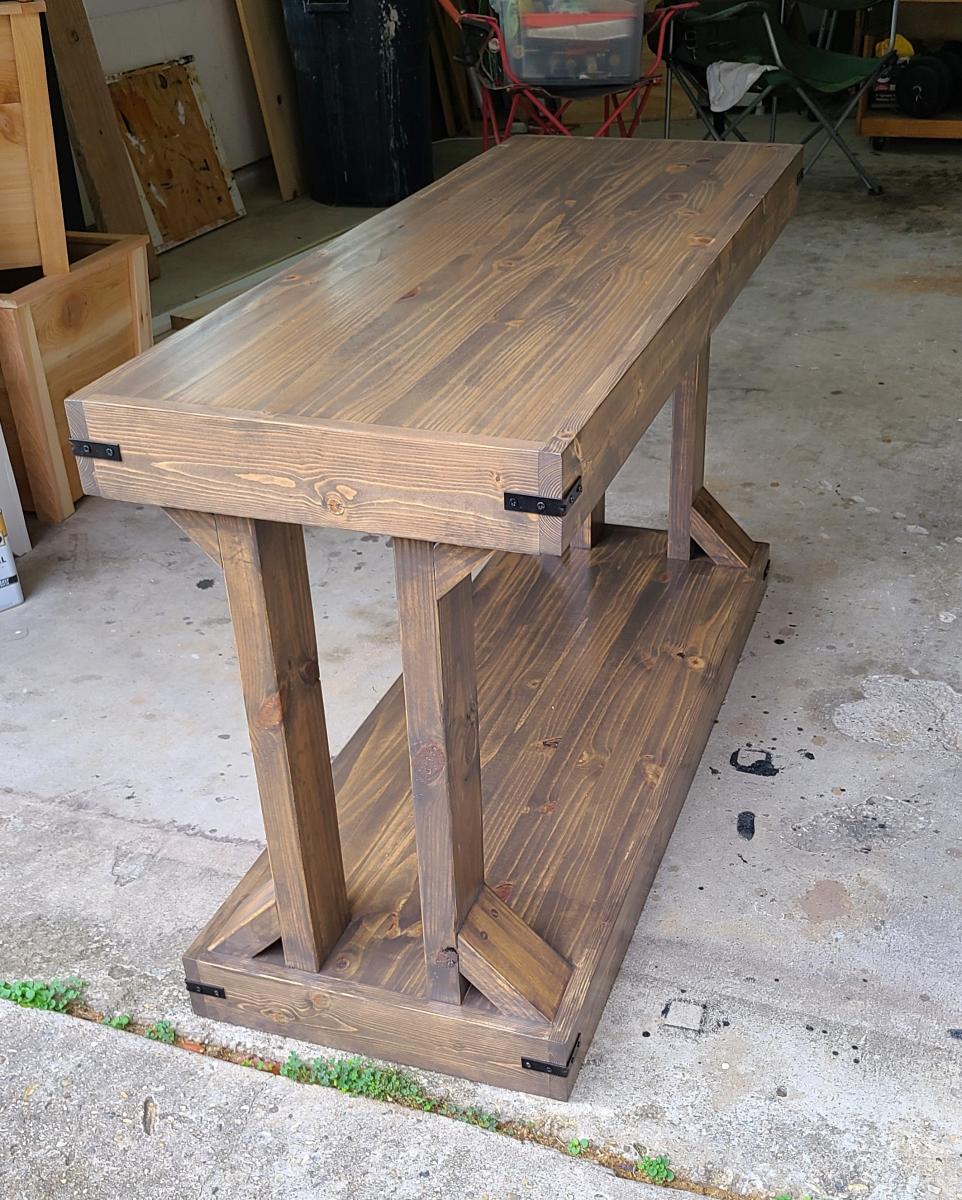
Today I’m sharing this unexpected addition to our kitchen! Everything about the construction of this furniture-style kitchen island seemed to be charmed. There is usually a lot of trial and error that goes on behind the scenes during our projects- but everything seemed to just kind of fall in to place. We enjoyed it while it lasted, since we know it won’t be that easy again! ;) Without a real plan for the island, we found the beautiful marble slab on Craigslist for a steal. While the slab was having it’s edges finished, I began comparing island legs. The ones I decided on came from Osbourne Wood, they are called The Grand Harvest Island Posts. I liked the chunky style in order to support the heavy marble. We are so so happy with the quality of the legs that we plan on using this company for all future furniture building projects. For the specifics on how to build the island, we were a bit stumped. We were just kind of going to wing it. Then, when I was daydreaming about a completely unrelated project, I stumbled across the kitchen island plans in Ana‘s book The Handbuilt Home. The dimensions were almost perfect for the slab! We modified the plans slightly- we didn’t need casters, and our island needed to be a bit narrower than the plan in the book, and we swapped out the 2×4′s for 2×6′s in some places- but the length was perfect, so we were still able to use most of the materials list (a huge time & money saver!) to maximize yields. We ordered a Kreg Jig, like Ana recommended, and I have to say- I love it! This island was so much fun to build and finish- and it makes a huge statement in our DIY renovated kitchen!

Built from Plan(s)
Estimated Time Investment
Day Project (6-9 Hours)
Finish Used
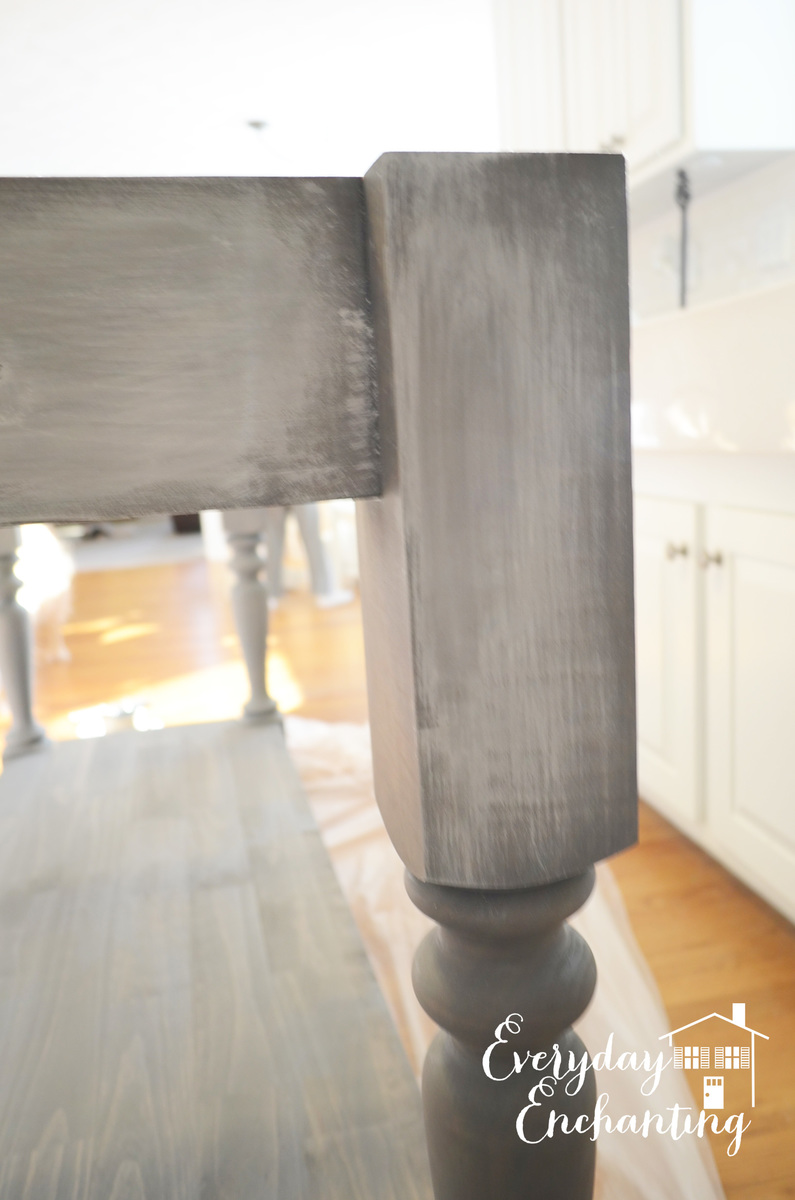
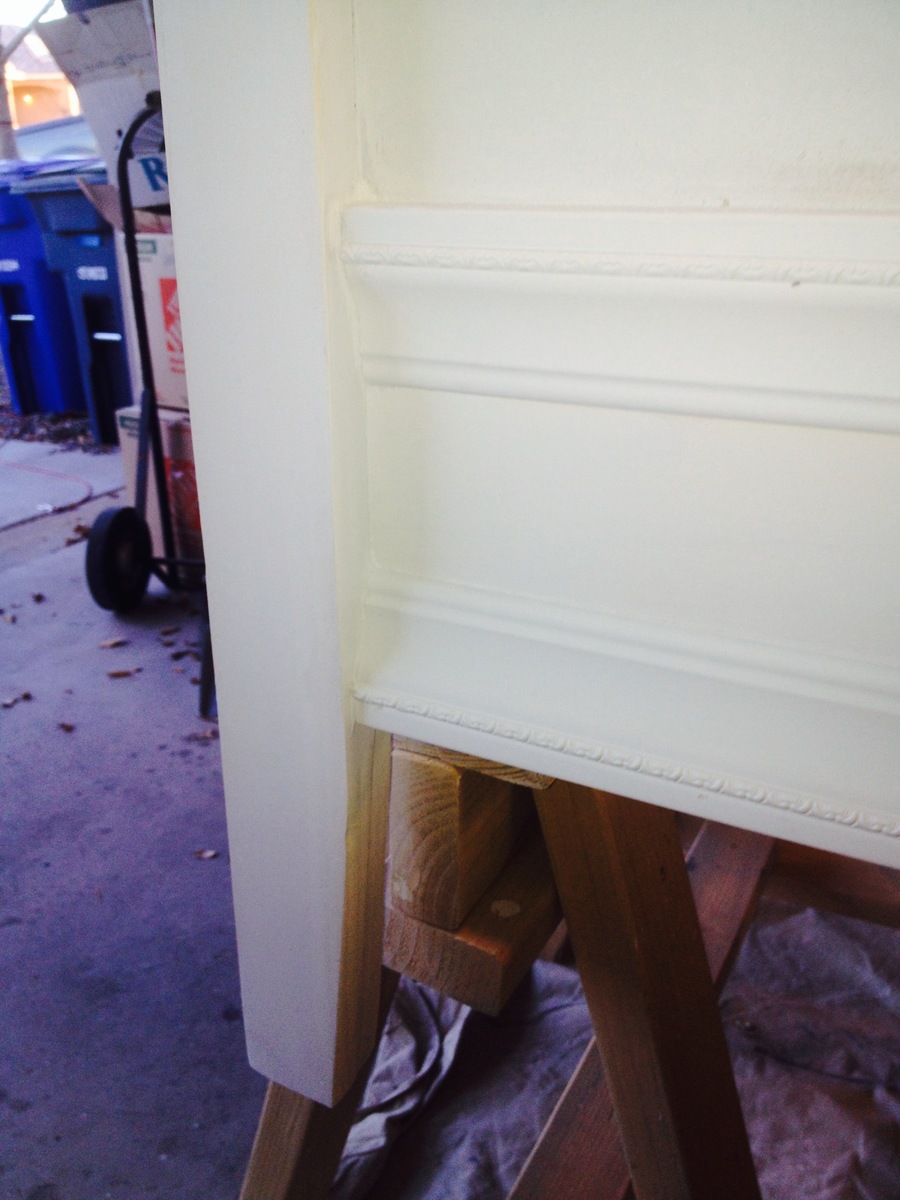
Aged Driftwood Finish: I started out by giving the island a coat of Minwax pre-stain conditioner, since I was planning to use a water-based stain. Next, I did a coat of Minwax Waterbased Wood Stain White Base tinted Slate at the paint counter at Lowes. My next step was the whitewashing. I very lightly dry brushed the entire island with white satin paint. After it dried, we sanded it all smooth, removing some of the white paint. Some stayed behind in the detail. Then, we stood back and looked at our results… and we decided that it was too white with the rest of the kitchen, so we went over the paint with Rustoleum Driftwood. Weird, I know- but it worked perfectly! It changed some of the white paint into a more natural looking gray color, and toned down some of the blonde wood peeking through. The overall effect made it appear aged, and we were so happy with it!
Recommended Skill Level
Intermediate

Comments

suschen

Fri, 02/28/2014 - 05:22

This looks amazing! I was wondering how you attached the marble slab to the posts?

gkubrynski

Mon, 03/03/2014 - 17:24

Unbelievable! Great accent to the kitchen. You mentioned you used both pine and maple... can you specify which parts were pine v. maple? Beginner here... Thanks

Vegetable Storage Bin

Submitted by Loaded918 on Sun, 03/15/2020 - 16:56

I had some scraps leftover from a previous project and decided to see what I could make. My wife wanted this vegetable bin, so I figured I’d give it a shot. I used my table saw to create my own 1x boards for this build. The back board is two 2x4’s with trimmed edges, glued together. The rest was a 2x10 I cut to size for the different pieces I needed. All in all, it turned out great!

Built from Plan(s)
Estimated Cost
~0
Estimated Time Investment
Afternoon Project (3-6 Hours)
Finish Used
None
Recommended Skill Level
Starter Project

Comments

"Thomas" Train Bunk Bed

We wanted a short bunk bed for our sons, age 4 and 1. Our 4-year-old insisted on a Thomas Train bed. We modified the fort bed plans slightly to add stronger barriers on the top bunk and add a barrier on the bottom for the little guy. We also used solid plywood rather than MDF. We used 2x4's and steel angle to hold up the top bunk. It should be sturdy enough for them to use into teenage years. Because we beefed up the strength, the cost increased as well.

We tried staining it and it didn't come out as nicely as we had hoped, but the boys added their own stickers to it and now they have a Thomas bed that they love. When the 1-year-old gets older, we will probably remove the barrier on the bottom bunk to make getting in and out easier.

Built from Plan(s)
Estimated Cost
$200
Estimated Time Investment
Weekend Project (10-20 Hours)
Recommended Skill Level
Beginner

Alexia Bench modified

Submitted by Anonymous (not verified) on Thu, 06/02/2016 - 08:21

This was a very quick and easy build that was completely finished in an afternoon. My Kreg jig was loaned out, so I have exposed fasteners, but I prefer to let them show instead of filling the holes. I built this with 20" legs to make it a little taller and more comfortable for my height. I also prefer straight lines and angles, so I changed the trim pieces a bit to suit my style. The hardest part was getting the drawer slides lined up. The finish is Rustoleum Heirloom White with a coffee colored glaze. The picture makes one drawer look darker, but it's really just a shadow. I'm in love with this project!

Built from Plan(s)
Estimated Cost
$65 for standard boards and a small can of paint
Estimated Time Investment
Afternoon Project (3-6 Hours)
Finish Used
Rustoleum Heirloom White with a coffee colored glaze
Recommended Skill Level
Beginner

Geo Dresser

Submitted by Anonymous (not verified) on Sat, 11/04/2023 - 14:44

Bedroom dresser made from Ana White’s plans! Absolutely love it and it was easy to build!

Kristen Kobeszko

Farmhouse Doll Bed

Submitted by risingeden on Wed, 03/05/2014 - 22:39

My daughter and I built the farmhouse style doll bed and had a great time! The plans were wonderfully easy to understand and follow. It was a great experience to work together and learn some new skills. She even chose the paint color herself - pretty good taste for a 9 year old! Thank you so much for a great, inspiring website!!

Estimated Time Investment
Weekend Project (10-20 Hours)
Finish Used
We used valspar "posh red" interior paint. Love it!
Recommended Skill Level
Beginner

From Portugal, with minor modifications

Submitted by Anonymous (not verified) on Sun, 06/05/2016 - 10:48

Followed the plans, with minor modifications to adapt the size to the available wood. Bigger modifications are the use of bolts and nuts instead of screws (to allow easier disassembling for storing), and the underneath reinforcements to avoid the table to bend over time.

Thanks for the plans, the kids loved it!

Gonzalo, from Portugal

Built from Plan(s)
Estimated Time Investment
Weekend Project (10-20 Hours)
Finish Used
Water-based pore filler, priming, exterior paint (mate)
Recommended Skill Level
Beginner

Helpful Helper

Submitted by JD_2030 on Thu, 03/26/2020 - 14:53

This was our first wood working project - boy, we were super excited to build this because our little one is Curious George and wants to see everything going on in the kitchen. 

The plans were modified very slightly to save some time and avoid major learning curves. We were very happy with the end result. We've since learnt that finishing a product is a whole new project - we ended up painting this helper. After the noticeable wear and tear, we realized we should have sealed it with poly.

PS: Pocket holes are everything.

Built from Plan(s)
Estimated Time Investment
Day Project (6-9 Hours)
Finish Used
Paint
Recommended Skill Level
Beginner

Jigsaw Puzzle Table!

I was super inspired by the "iTable" which I am also going to build... but combined the idea with an idea I saw in a fancy home decorating magazine (a jigsaw puzzle stool).... took a lot of fiddling to come up with a 'universal puzzle piece' but in the end it worked out!

Built from Plan(s)
Estimated Cost
$150
Estimated Time Investment
Week Long Project (20 Hours or More)
Finish Used
Polyurethane stain, spray satin varnish
Recommended Skill Level
Intermediate

Comments

spiceylg

Fri, 05/25/2012 - 05:49

That is so cool! Beautiful job. Looks like those curves too lotsa patience, something I seriously lack. Thanx for sharing.

Sue_McL

Fri, 05/25/2012 - 09:09

Would love to have the template for the universal piece... I have to make one of these!!!

FANTASTIC job....

Mariah Papaya

Sat, 05/26/2012 - 06:29

Yes, it took ALOT of fiddling to get a universal puzzle piece template made up -- I was sorta copying one I found (google "Vector Puzzle") but had no way to blow it up so huge. Even after I cut them out, I ended up doing a lot of sanding to make the joints work, but it was fun! If you want, Sue, you could mail me an envelope and I'll trace one for ya!

Elise's Daybed

Submitted by GQuick0330 on Sun, 03/09/2014 - 22:07

We needed to convert our exercise room to a bedroom for our granddaughter visiting from England.

I added additional support inside the legs as I wasn't keen on supporting the rails simply with glue/ screws. This allowed the weight to transfer to the floor directly from the rails. Of course, it was all glued and screwed or nailed. Otherwise I followed the plans found here.

The fenial‎ treatments are antique "looking" door knobs from a national hobby store. To secure them to the uprights, I drilled a whole that was just under the width of threaded rod couplers which were the thread size for bolt from the knob. I tapped with a hammer so the coupler would wedge into and down the whole. The couplers were purchase from a hardware store.

Built from Plan(s)
Estimated Cost
$250
Estimated Time Investment
Weekend Project (10-20 Hours)
Finish Used
Paint from Big Box store. Color names: Quart of White Primer, Quart of Bicycle Yellow, Quart of Bright White, and Sample size of Tutti Fruiti for the pink accent on the moulding feature.

The moulding I used was PVC composite, which I did not prime as I wanted it white anyway and any excess pink highlight would wipe easily. As I applied the pink accents, I had a damp cloth ready to wipe away any excess, drips or smudges on the moulding in areas I did not want. The paint comes off easily if wiped immediately.
Recommended Skill Level
Beginner

Easy DIY Work Bench

This was an after work project. (2.5 hours) Easy build. This bench is exactly to spec of the plans. This is a great little work bench already planning to build a couple more.

Estimated Cost
$65.00
Estimated Time Investment
Afternoon Project (3-6 Hours)
Finish Used
None
Recommended Skill Level
Beginner

Sofa Storage Tables

Submitted by advanlente on Sat, 03/28/2020 - 11:44

Our living room has no closets or storage. As a family we love to play board games and we love to cuddle on the couch with blankets. So, I was trying to come up with a sofa table for our large couch that also had a ton of storage. I looked all over the internet and could not come up with a solution. So, I decided to try here on Ana White and I found plans for a bookshelf. I adjusted the height to be just below the back cushions and went for it. I am not going to lie, it was not easy for me to adjust these plans and I DID make several small mistakes, but I am so glad I made this. We use it daily and it makes life so much easier. The only add I will do in the future is to add stoppers so when you raise the lid, it doesn't fall on your head. It makes life interesting though at the Van Lente household lol 

Comments

GadgetGrrl

Tue, 02/09/2021 - 22:53

I love this idea! Just curious - did you keep the bottom shelf of the bookshelves, or did you leave that off since it's not accessible behind your sectional?

Log Cabin Birdhouse

I enjoy making birdhouses and log cabin style is my favorite. I make the logs by setting my saw to rip 3/4 pine at 3/4 so I have 3/4 square strips. I then decide the size of my birdhouse and cut the logs accordingly. I also "wittle" on them a little to make it look more authentic. I simply then just stack, glue and nail one row at a time. You can use 1/4 poplar for the roof but I ripped pine at 1/16 and cut shakes with my utility knife and glue them on one at a time (there are 104 on this roof).

Estimated Cost
7.00
Estimated Time Investment
Afternoon Project (3-6 Hours)
Recommended Skill Level
Intermediate

Modern Farmhouse Entryway Console

Submitted by Anonymous (not verified) on Sat, 11/18/2023 - 12:28

Built 2. Stained one Briarsmoke the other to be determined. Thank you Ana for the inspiration and plans!

Tim Basoco

Comments

My New Couch

Submitted by PriscaW on Thu, 05/31/2012 - 02:30

This is my new couch ,that I built with my husbands help,I could not find a one piece cushion in my area but, I did manage to find individual cushion.I am no expert , but I am learning as I go.

Estimated Cost
about 100 dollars
Estimated Time Investment
Weekend Project (10-20 Hours)
Recommended Skill Level
Starter Project

Comments

Back