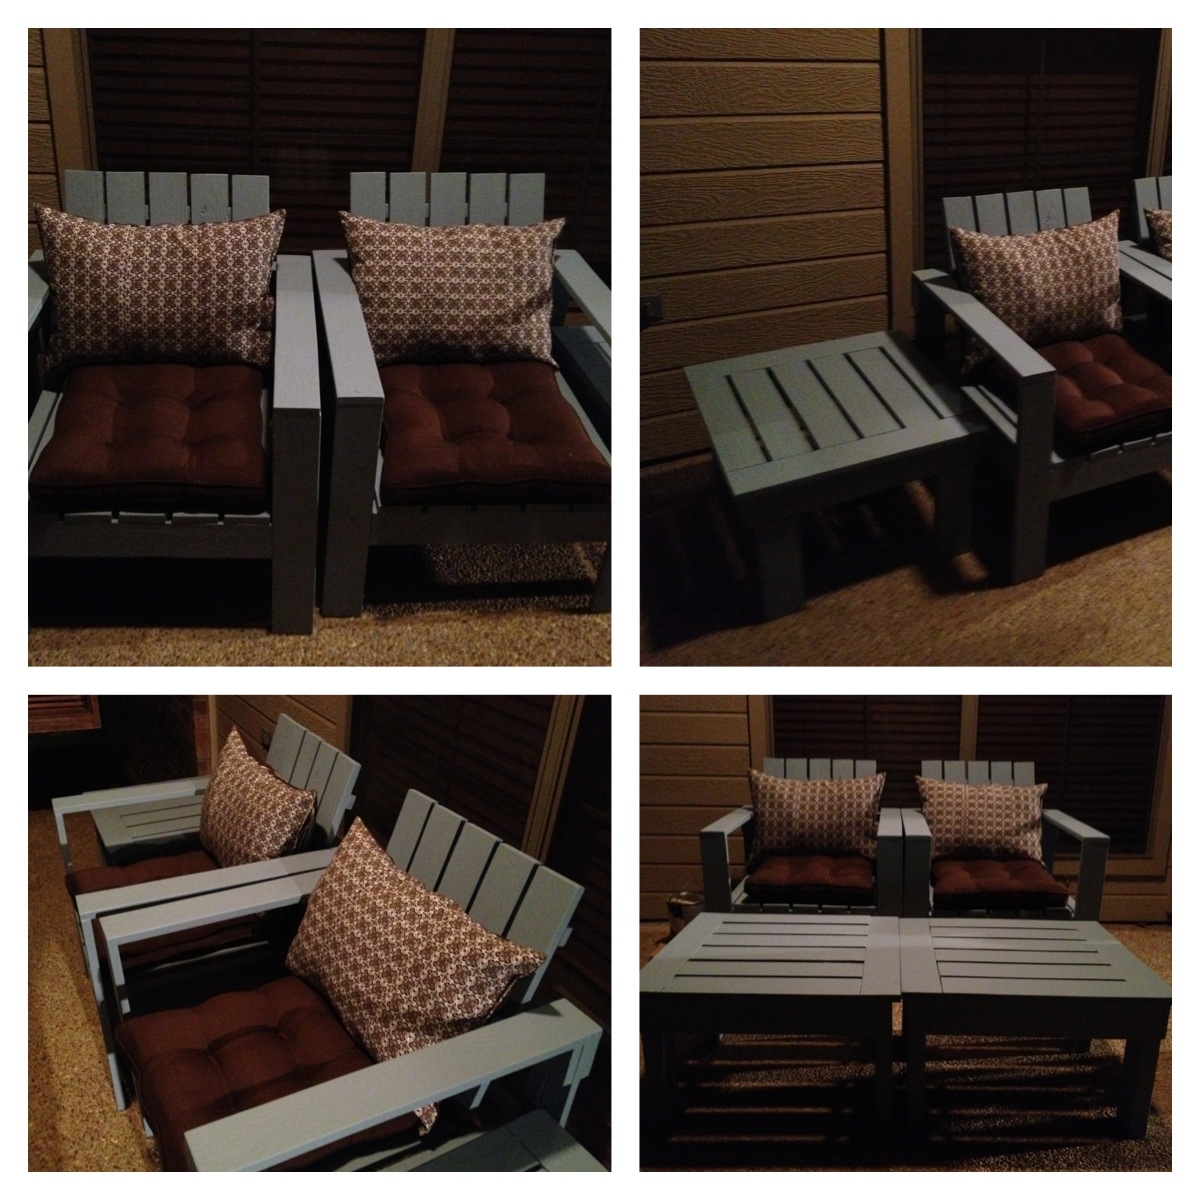
Modern Outdoor Chairs

Modern Outdoor chairs. Great plan that I’ve wanted to do for a while. Very easy to execute the cut list and plans as written.
Mike Sebazco
Built from Plan(s)
Modern Outdoor chairs. Great plan that I’ve wanted to do for a while. Very easy to execute the cut list and plans as written.
Mike Sebazco

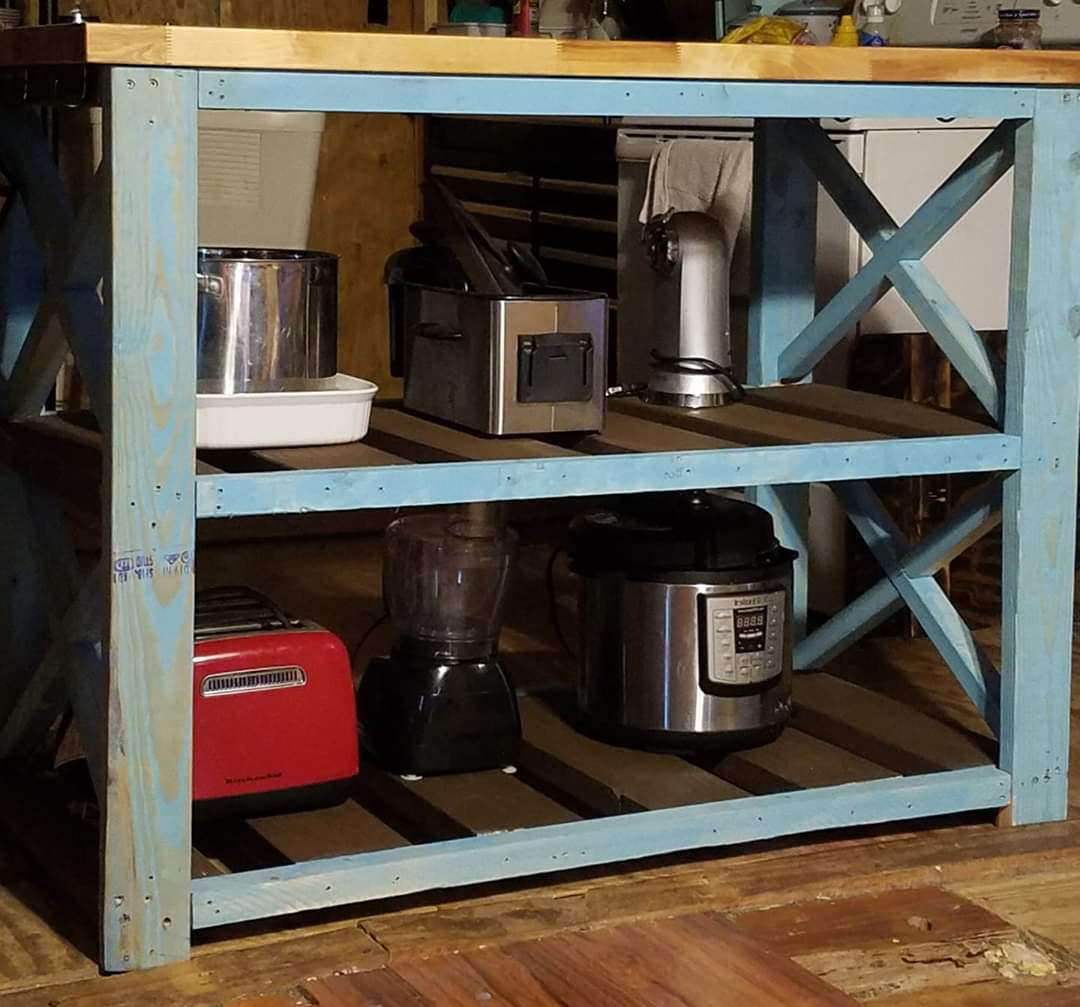
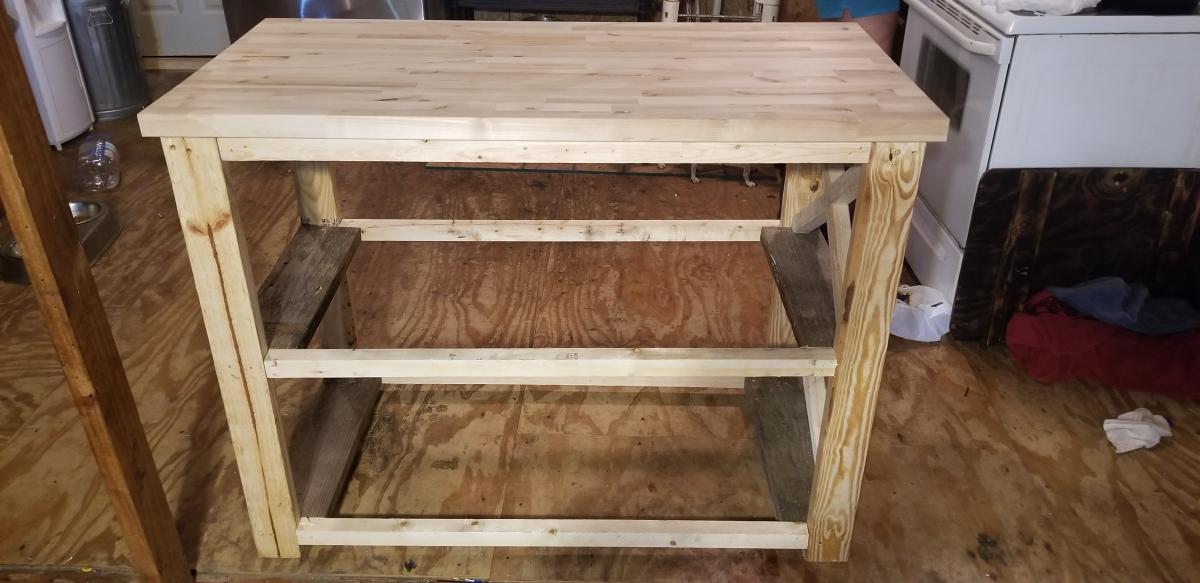
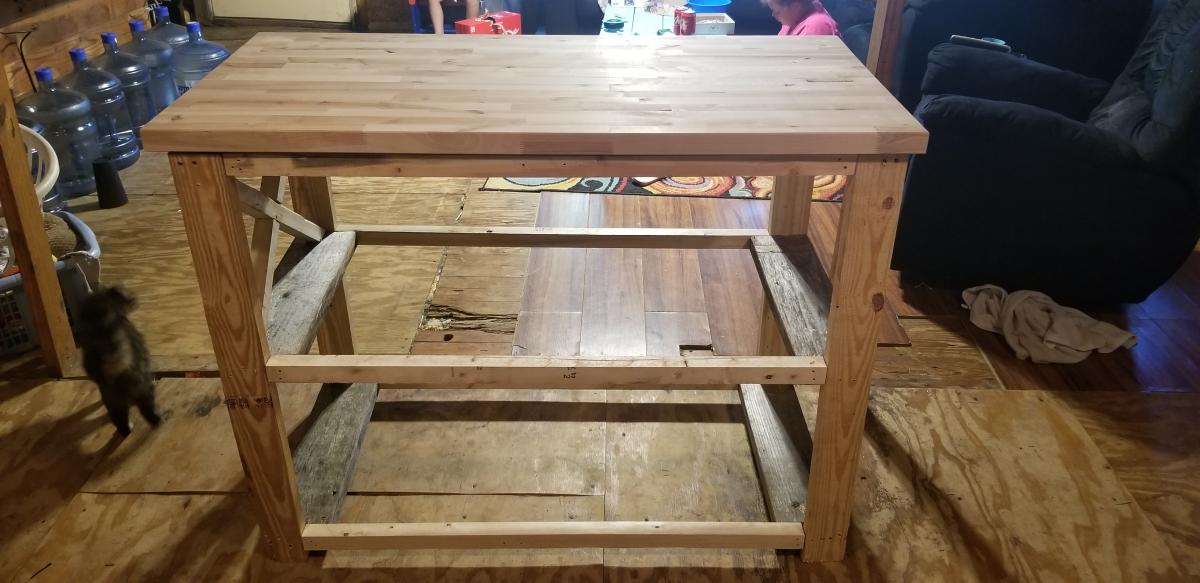
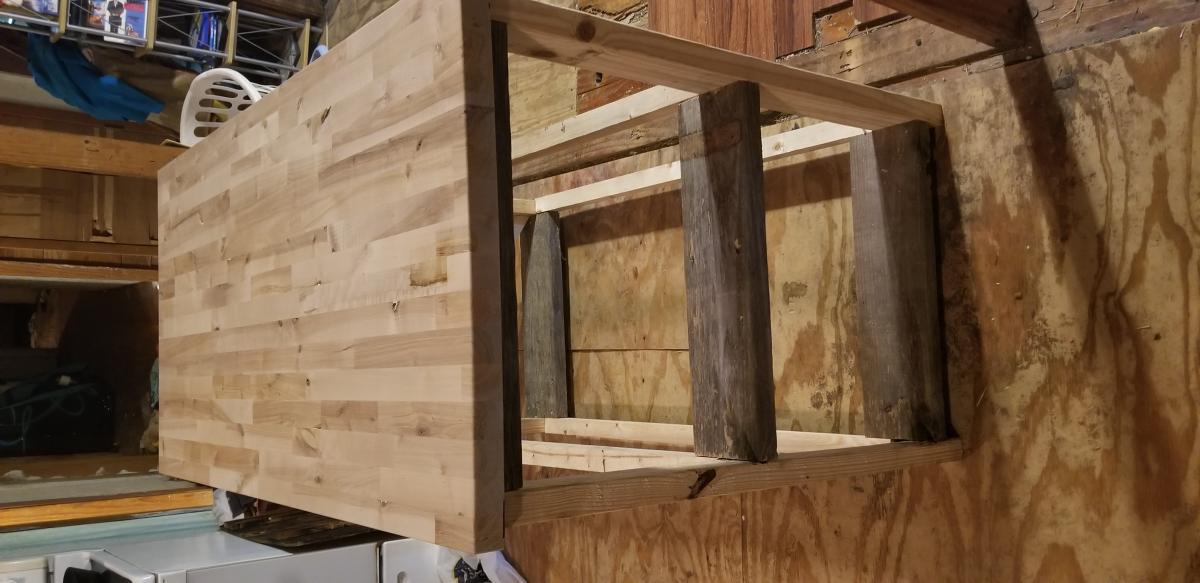
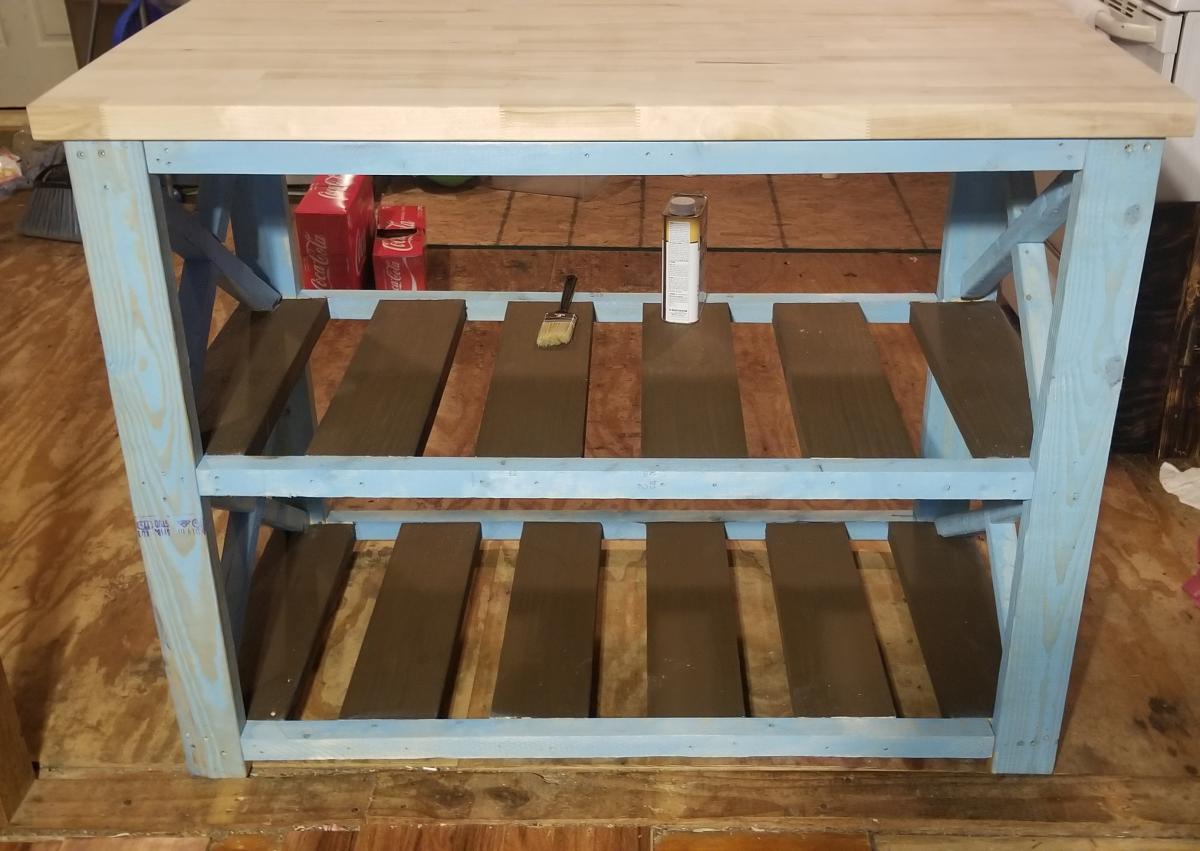
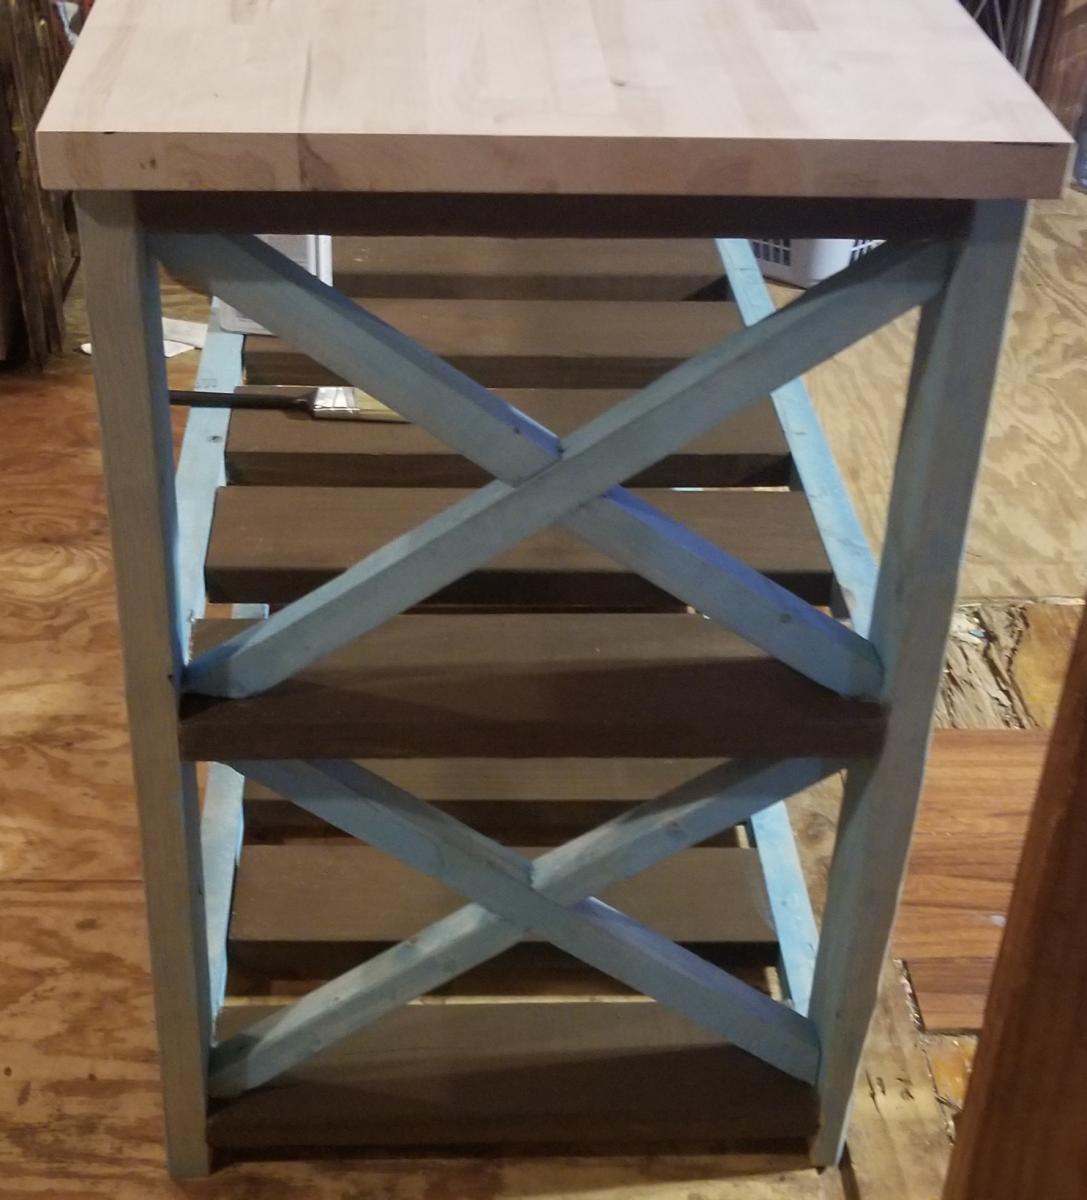
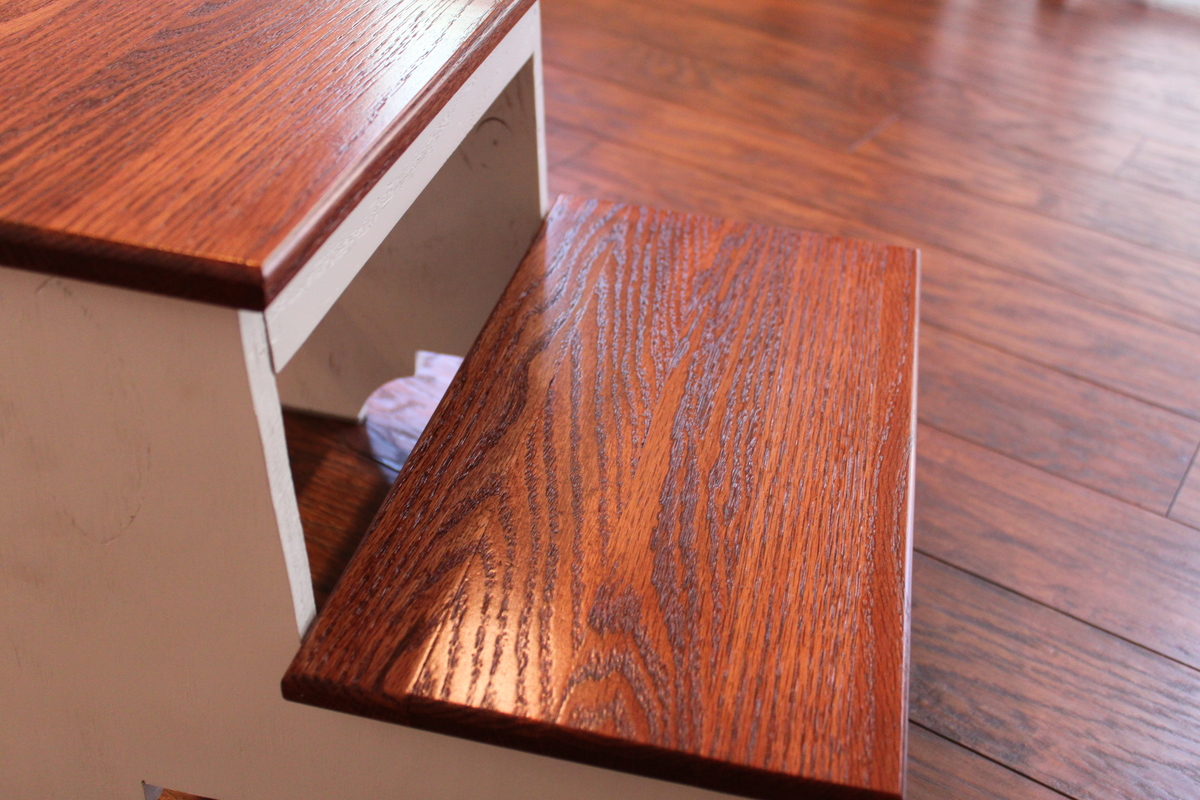
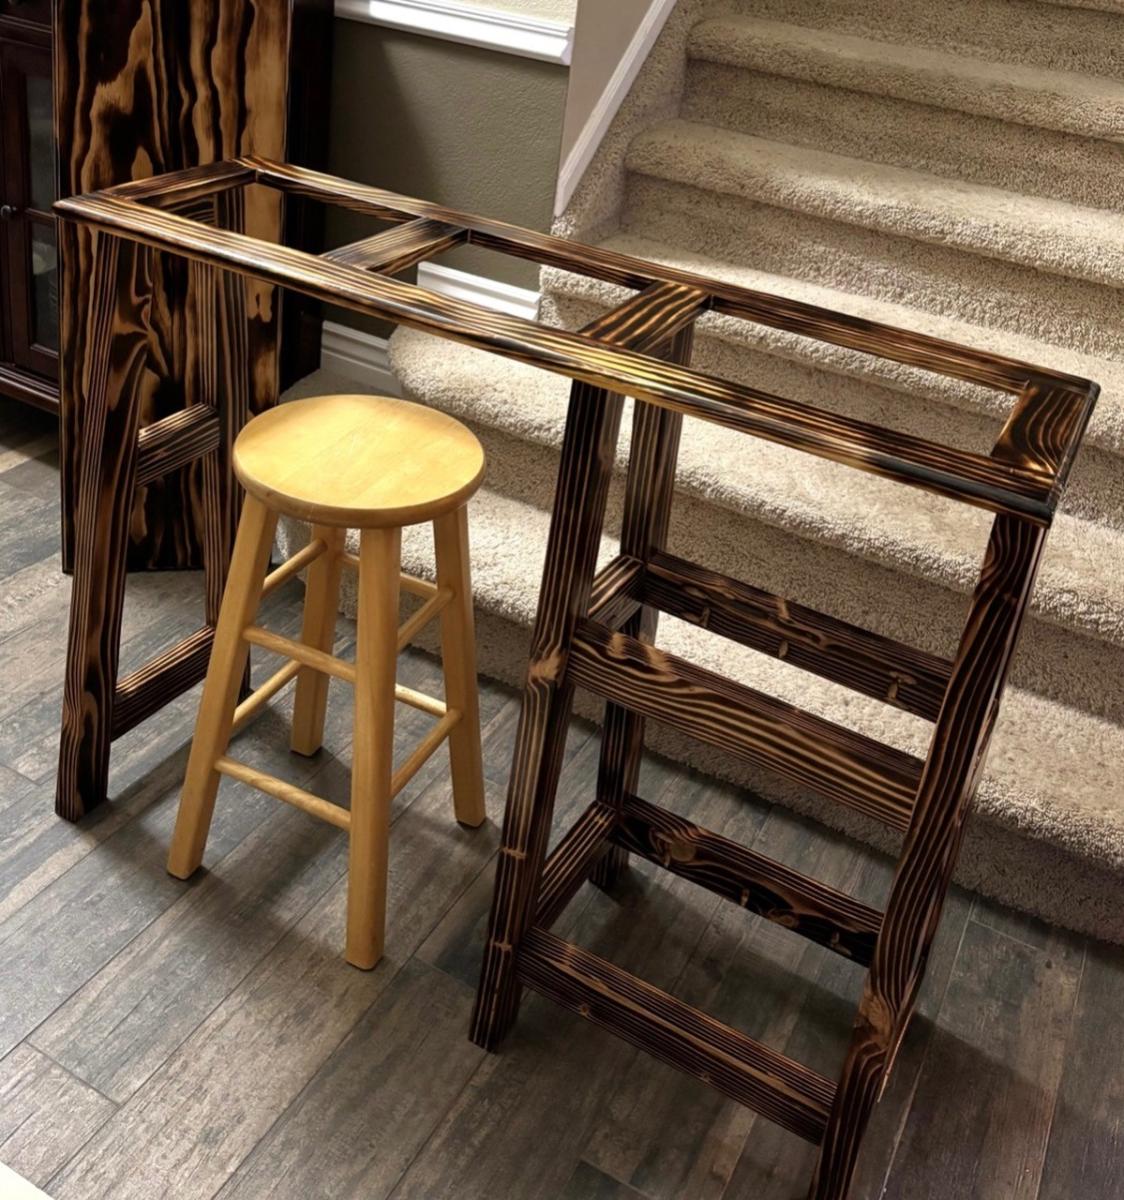
Very sturdy and stylish step stool built for my son in a style to match the kitchen and bathroom in our house.
This entire project was built using scrap plywood from a previous project and reclaimed oak boards that we demoed from our house while remodeling.
The sides were simply cut using a table saw to the rough dimension and then I added the details using a bandsaw. The stairs and rails were rough cut on the tablesaw and then milled using a jointer and planer to the specifications in the plan. Once cut I used a pocket screw jig to drill all the necessary holes before finishing assembly on the base. Each section was finished separately and then I used pocket screws to attach the steps last.
Very easy project that I made slightly more complicated by using reclaimed wood and a 2 tone design. Would recommend pocket screws to ensure strength and durability...I can stand on this and it doesn’t even budge!
Thanks for the plans!!

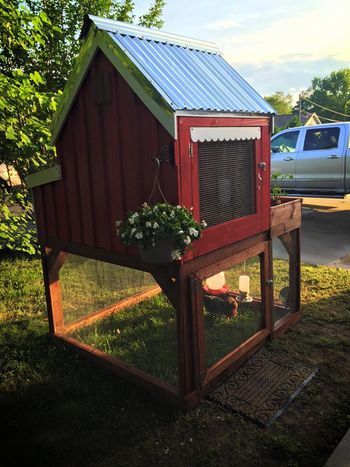
Great plans, Ana! I swapped out the wood for PVC trim, and used stainless steel screws to hopefully make this thing weatherproof.


http://www.backyardchickens.com/a/connies-coop
I built this and posted it on 6/8/15 on backyardchickens.com and it has been "pinned" a few thousand times since then...
Thank you Ana for a great design. I was looking for a gift idea for my Dad on Father's Day and your design was perfect for what I wanted to make. My Dad really loved it! My name is Nathan and kinda new at builders with wood. You see, I am a brain tumor survivor of 20 years and I lost most of my vision from it. For the longest time I was told that I couldn't do this or that. Note, I am very careful and take safety seriously. Your ideas and designs have helped me a great deal with developing confidence with my newly learned skills and I wanted to thank you for that. Also, your designs are reaching people out there and they're bringing joy to a lot of people. Keep up the great work and I look forward to your next inspiration.
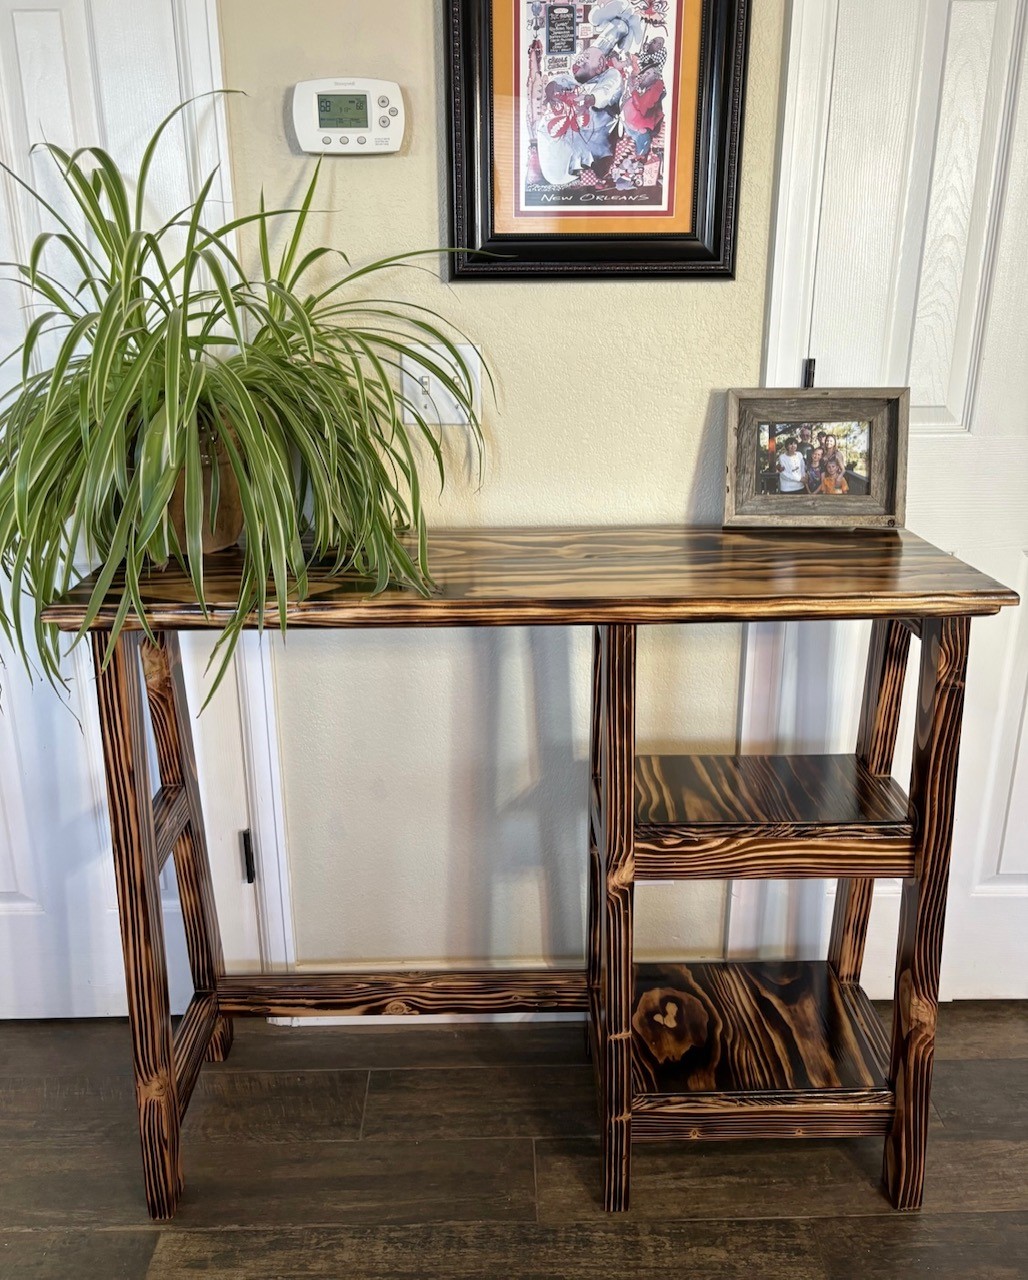
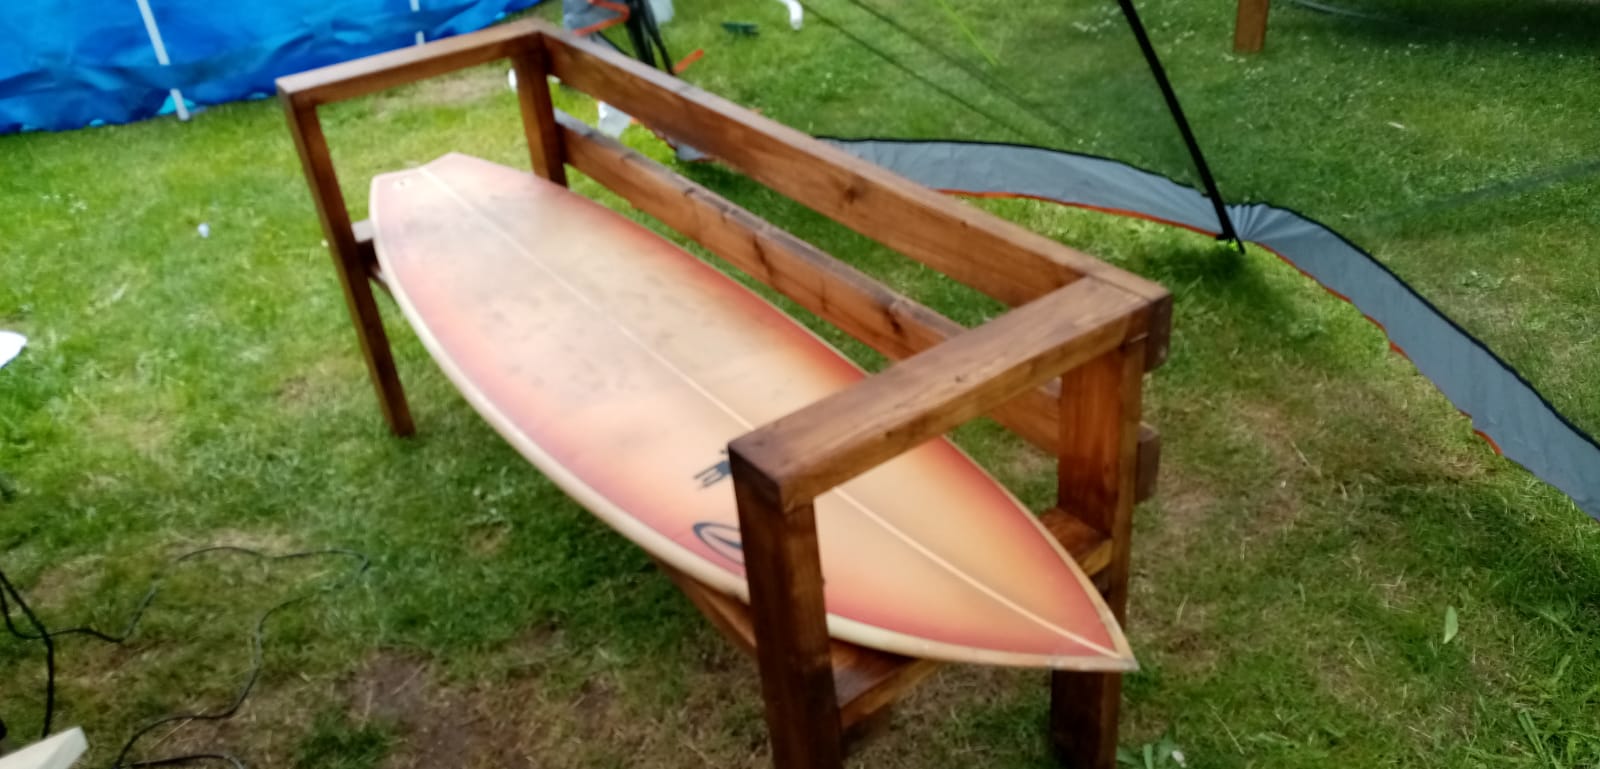
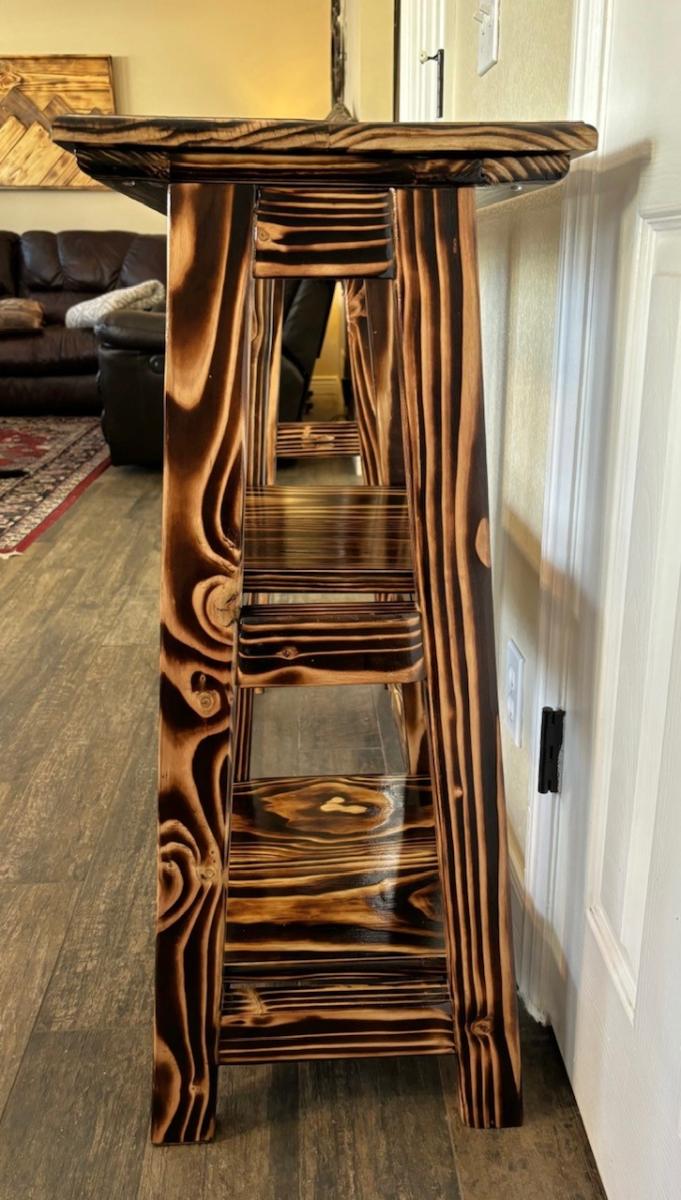
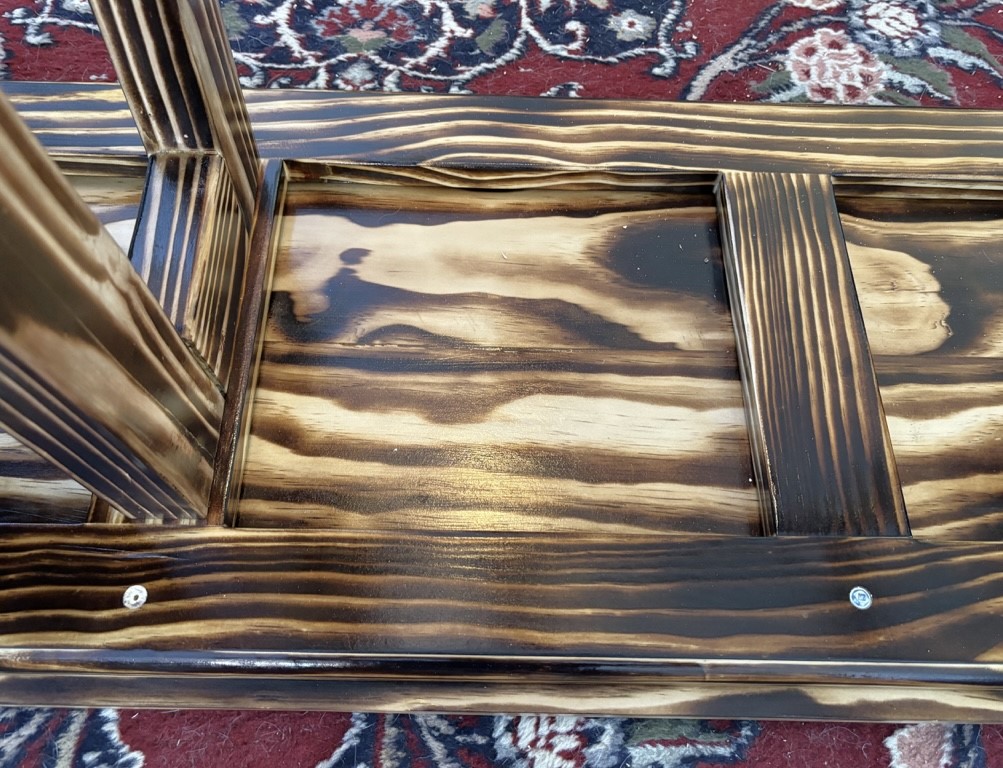
I am a teacher and constantly bending over lower desks and I did not have a table to teach off of in the front of the room. So, I built one with Ana’s ideas of a console table with two shelves. I found a link to Kreg from her site and here was this table. I changed the height and width to give proper support of my back (counter hight) and a width that would hold a teacher book. I liked the A-Frame loom and had not built anything like this before, so I learned. I burned the wood for a fun mix of light and dark wood tones. My dad gave me some router bits and I used one to curve the edges of the top, ropy under frame, and shelves. That way all edges are curved for myself and students. I finished it with a coat of poly and a light sanding in between. Thank you Ana for the skills, confidence, and now a love for creating something useful and fun! My students and parents were shocked !! Plus it adds so much warmth to the classroom. Blessings, Jennifer
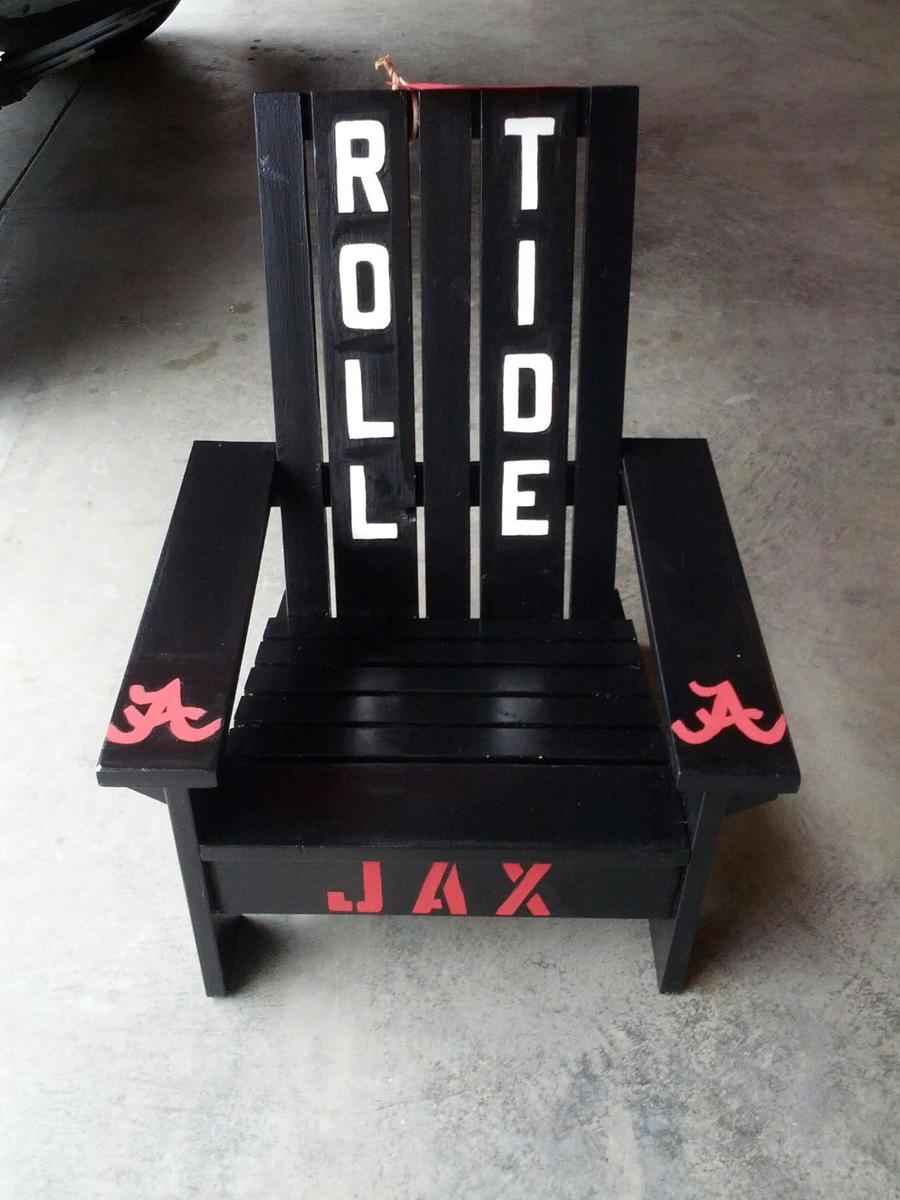
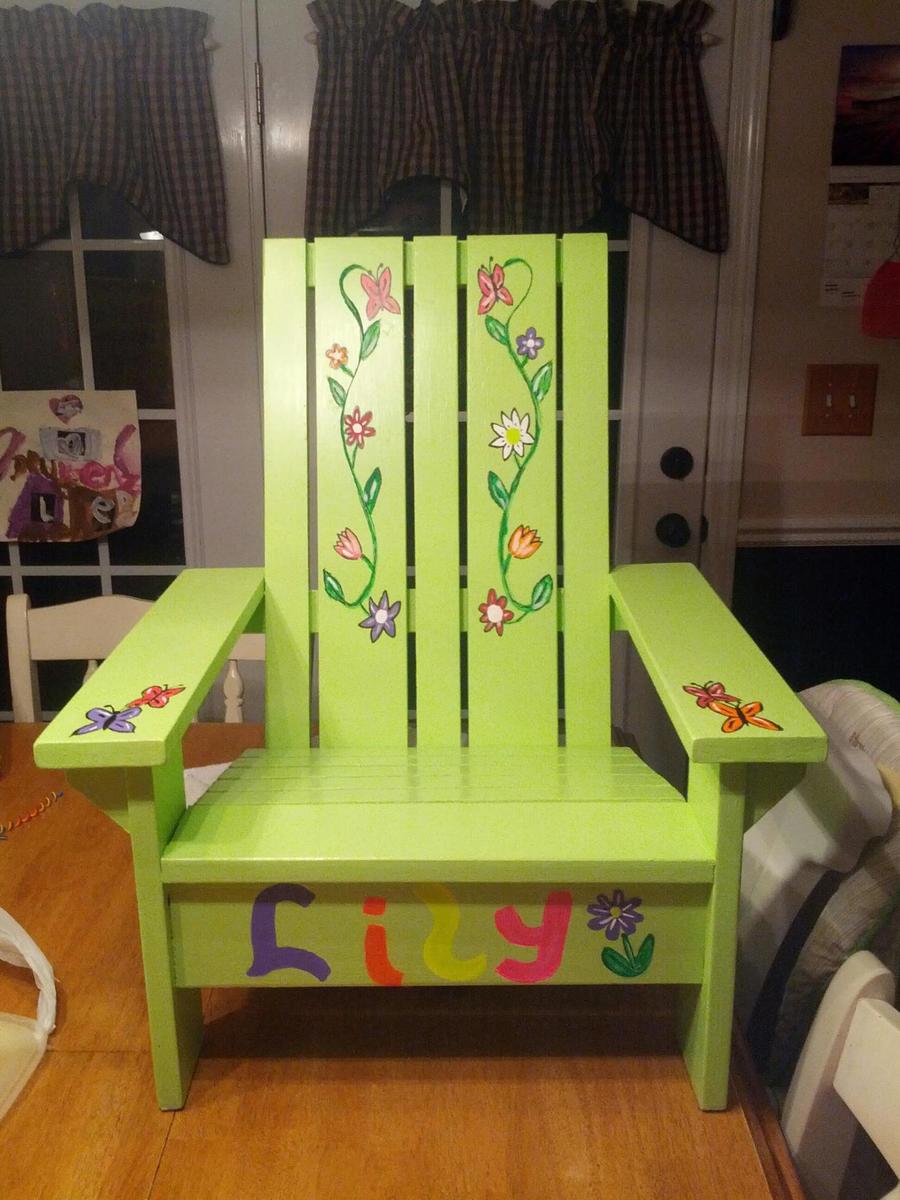
Chairs made as birthday gifts.

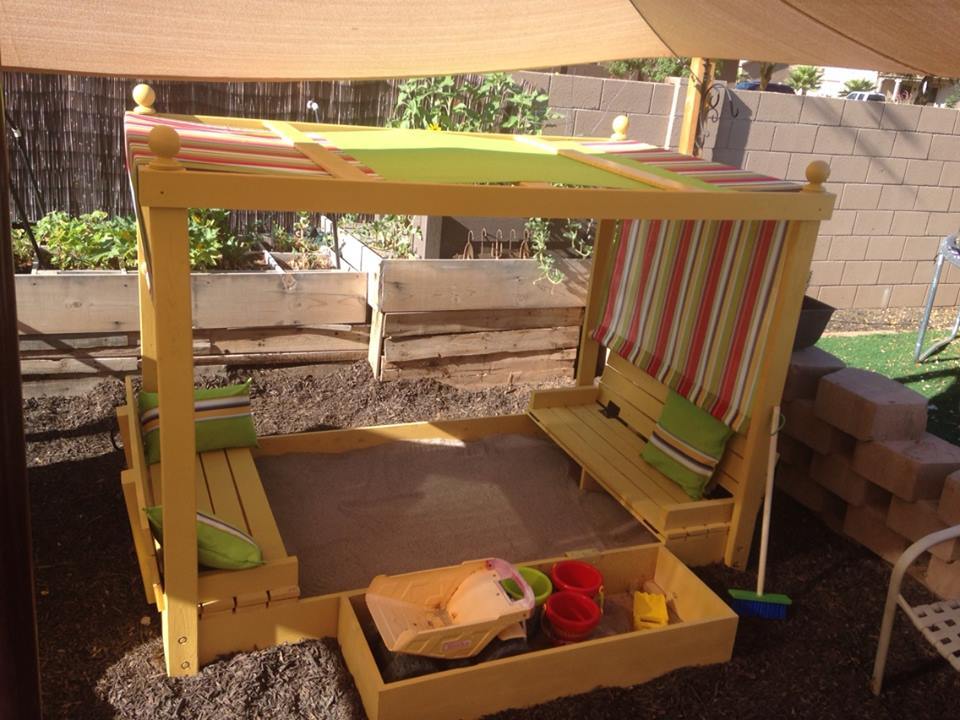
We adjusted the plan and created a 4x7 sand box with toy box and canopy. We are in love with the way this has turned out!


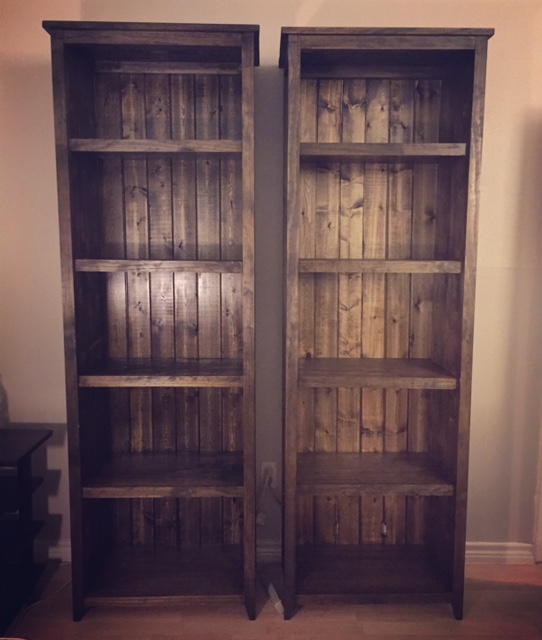
Stained with Minwax Jacobean. Thank you for the plans!
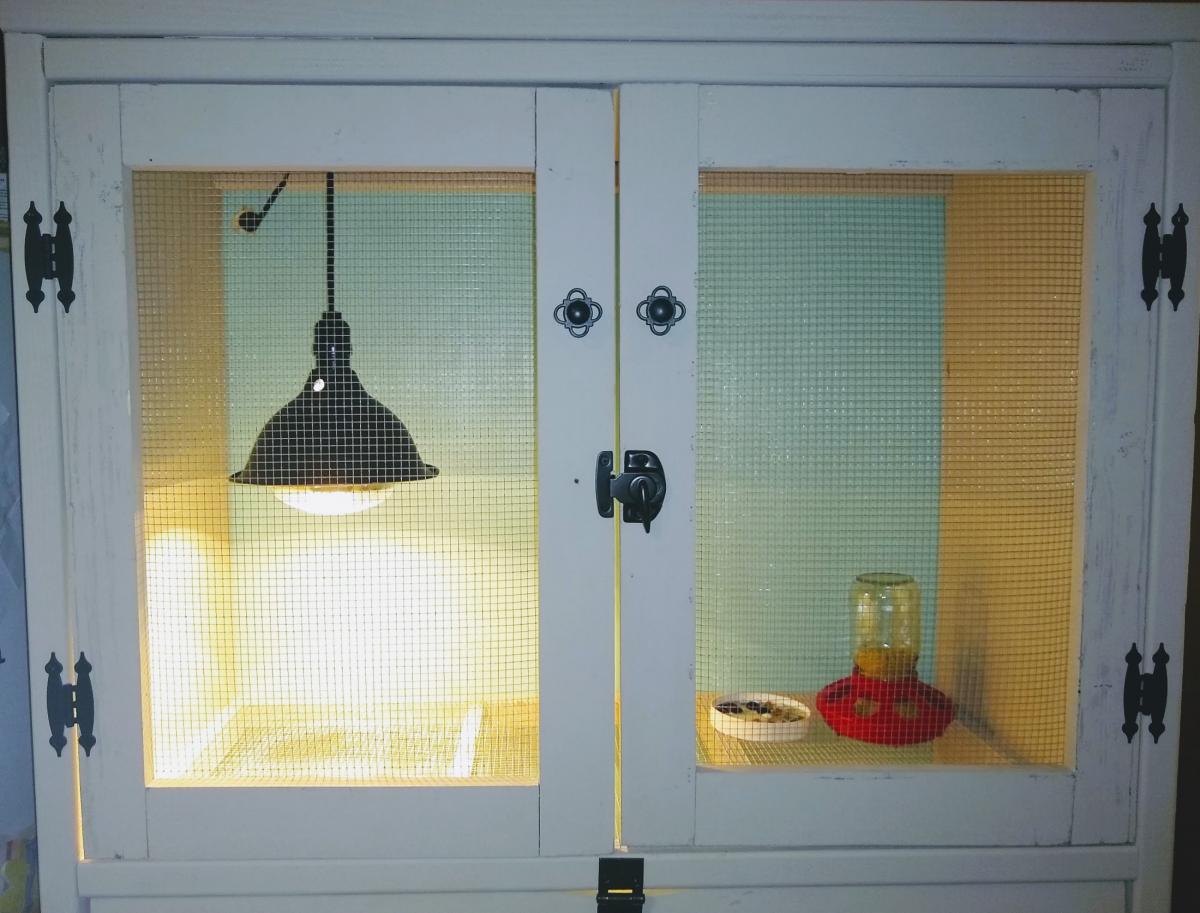
My family has started raising quail recently and I built their first home while they were still in the incubator. I have never done any wood work before, so this turned out much nicer than I expected! I followed the suggestion of having the brooder part on the top instead of the bottom and omitted the extra shelf. Two 5-gallon buckets fit nicely below the chicks. Since the quail are so small when they hatch, I used 1/4 inch hardware cloth for the "floor" but it wasn't long before that was too small so we had to change it to 1/2 inch. I am going to make a tray with each size of hardware cloth on it to make it easier to change out for next time, because they really do need both sizes.
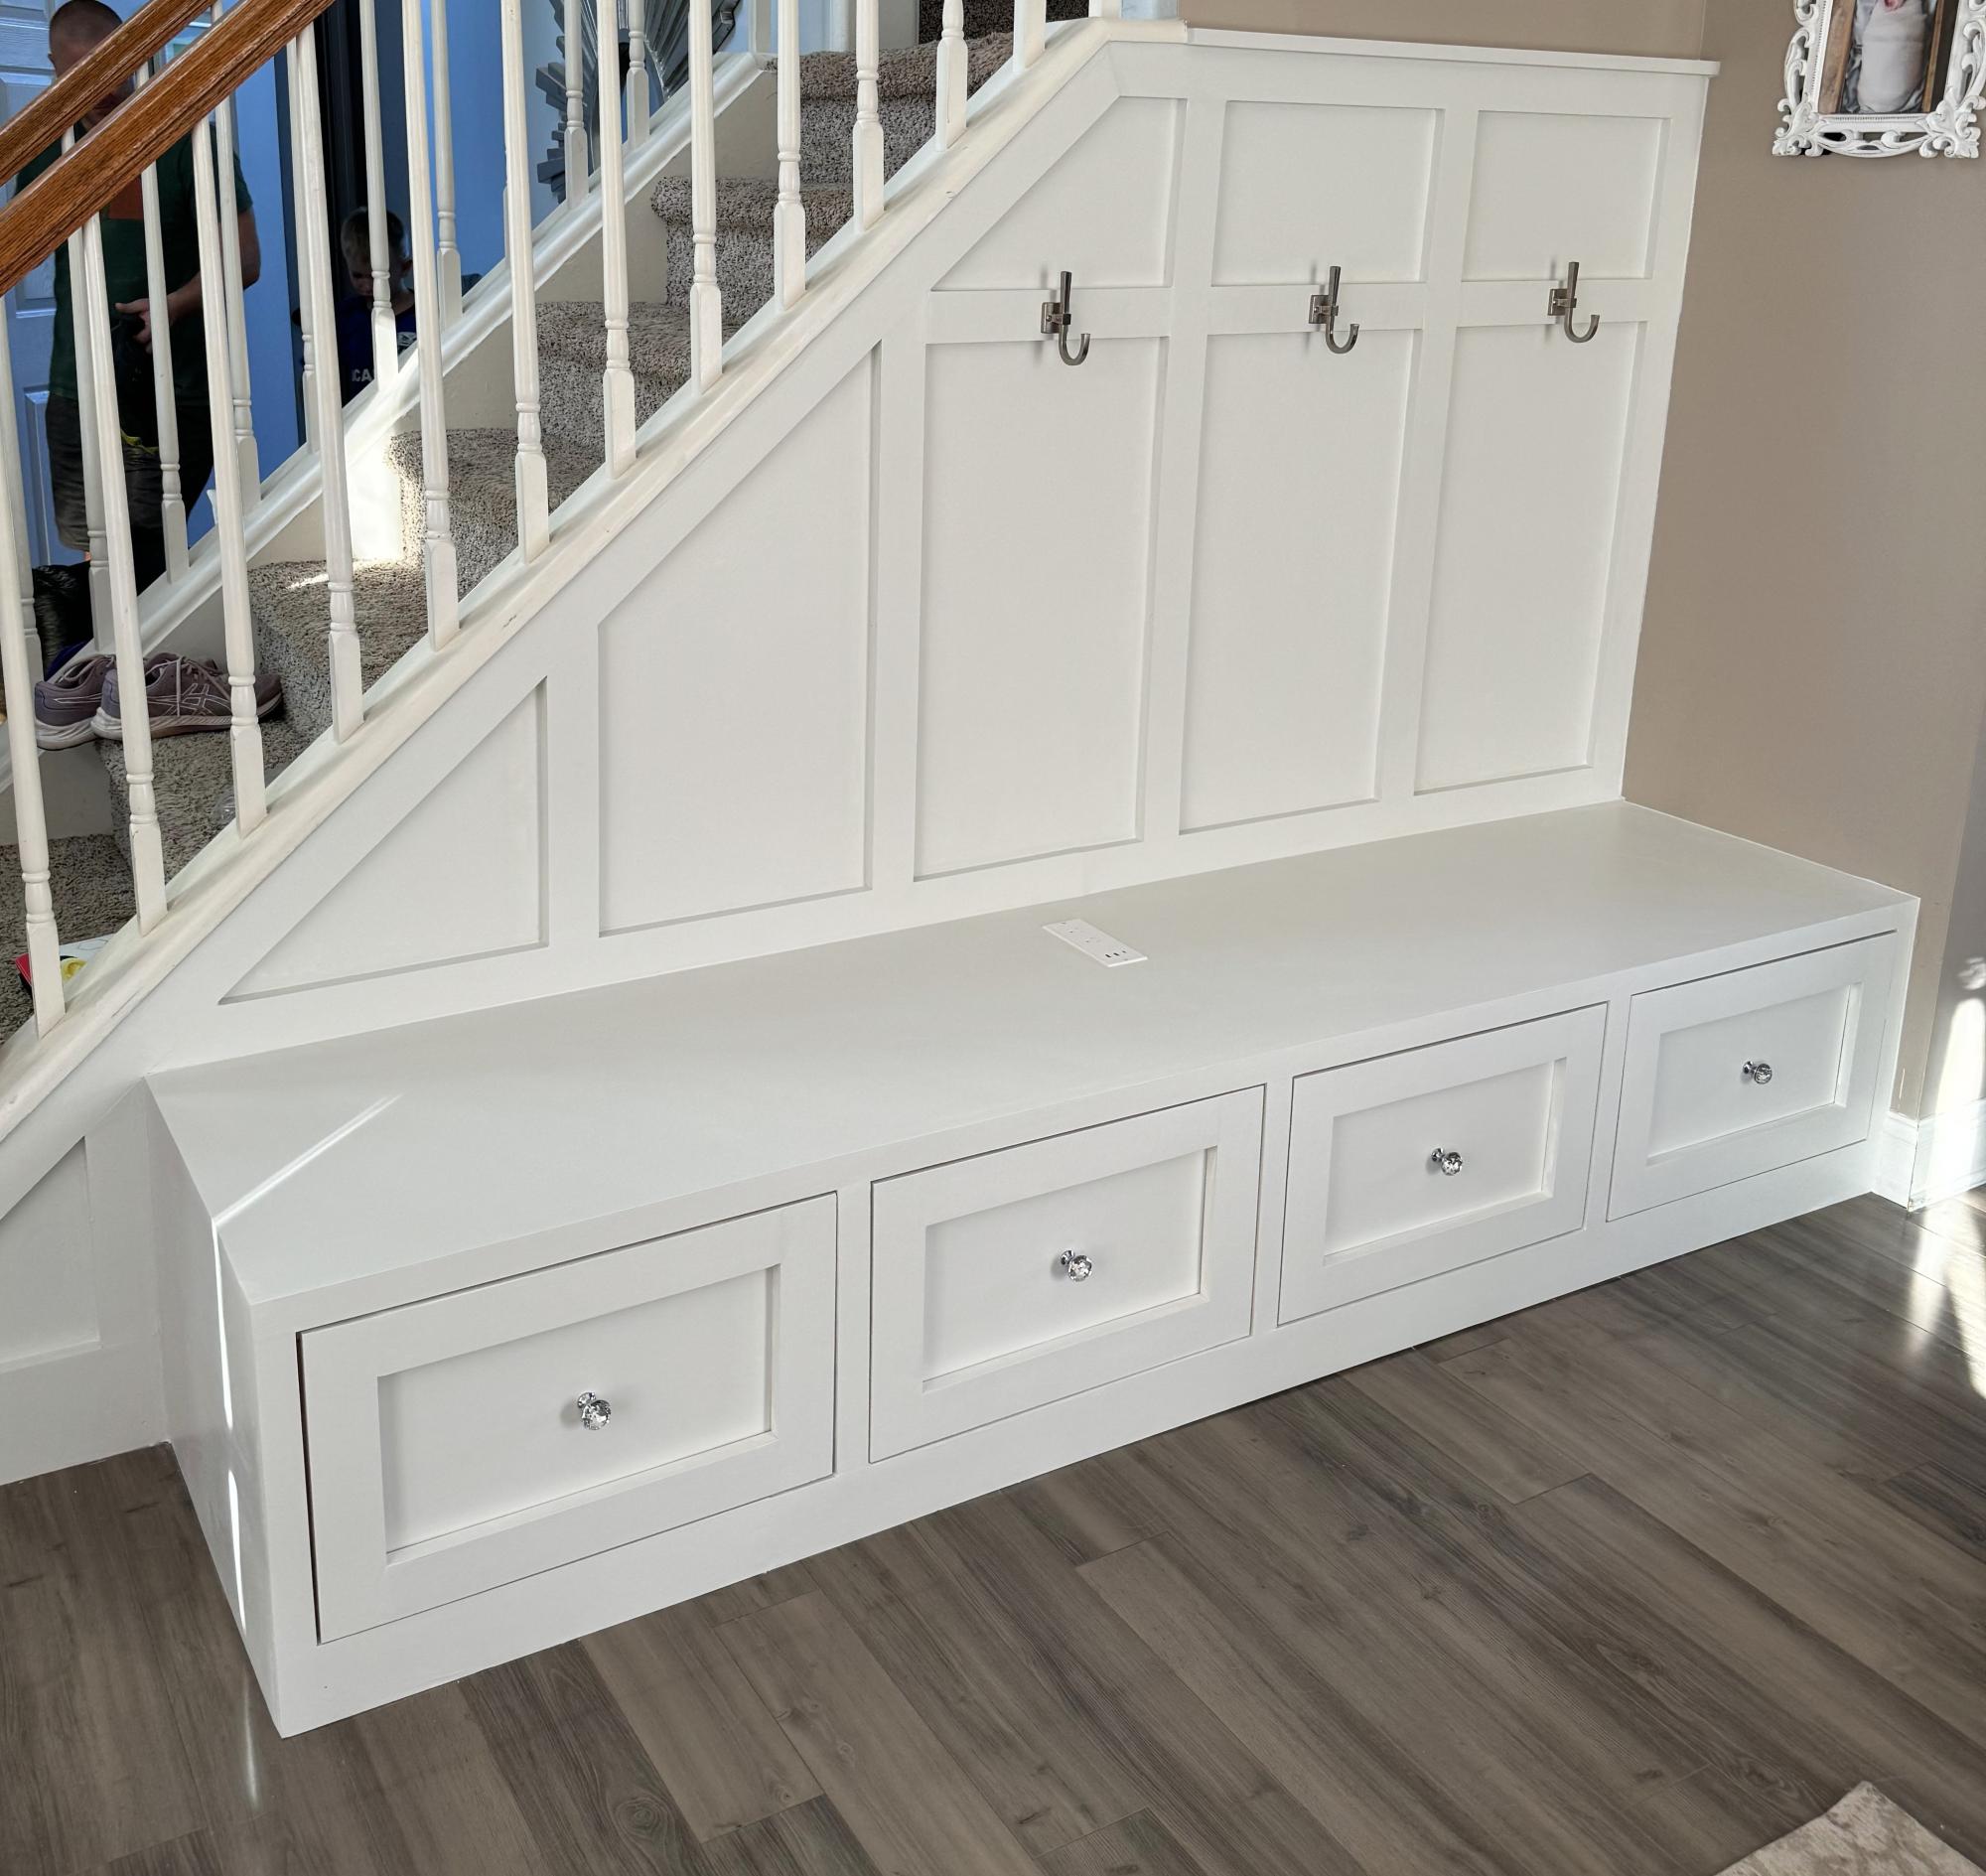
I had an empty space next to my stair case and desparately needed a place for my kids to hand their back packs and put their shoes that wasn't all over the place! I adjusted Ana's plans for 4 drawers since there are 4 of us and added board and batten. I also was placing the bench over an outlet which I didn't want to lose so I got an extension piece and cut a space out for it on top with a jig saw. Love the way it came out!
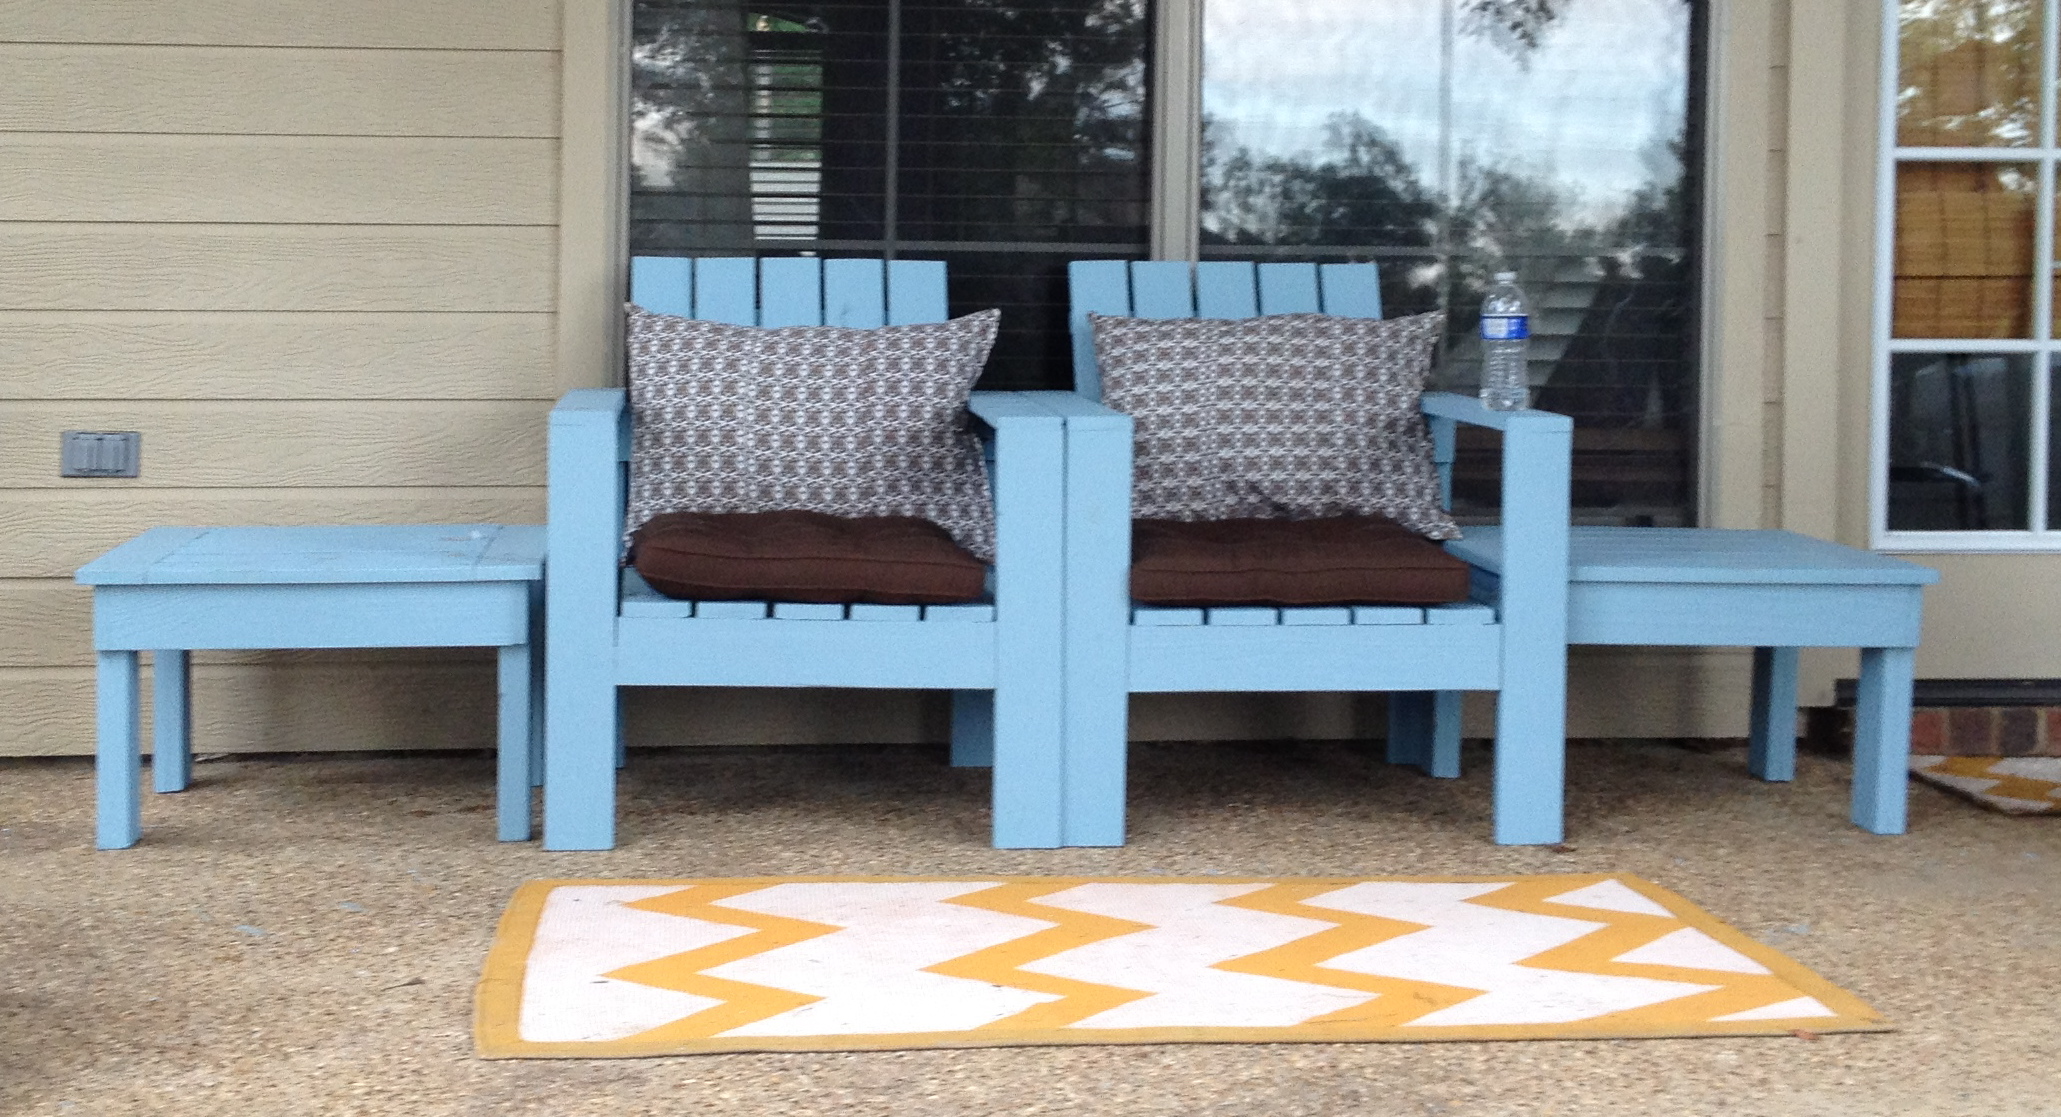
We wanted outdoor furniture but did not want to pay over $500. Very sturdy and will last forever!
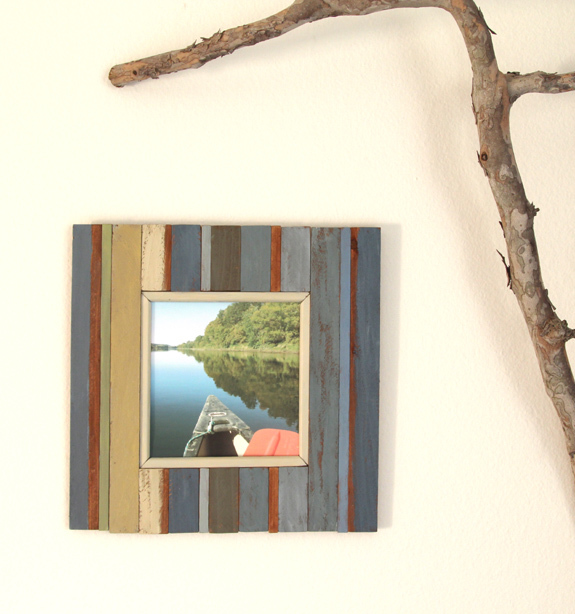
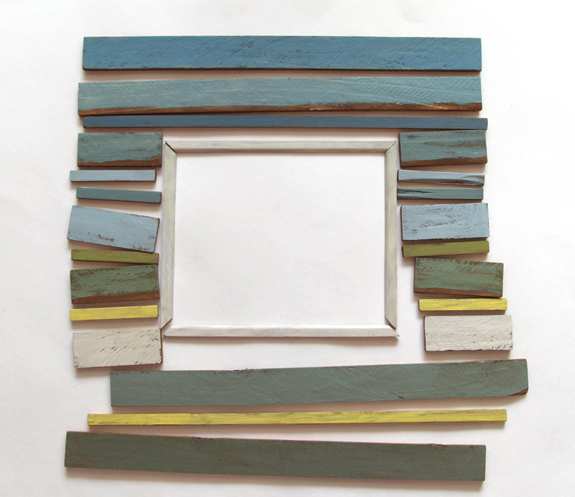
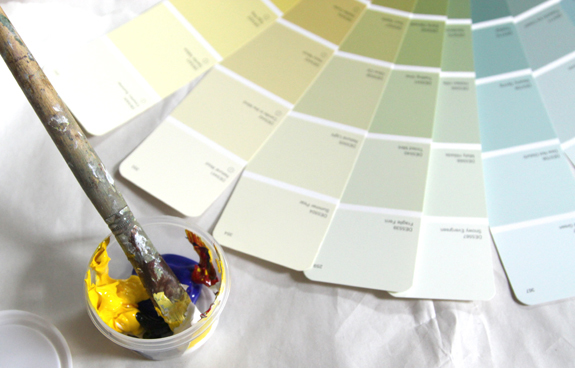
These picture frames are inspired by furniture and frames made from
reclaimed boat wood which came from fishing villages in many parts of
the world. The frames here are made from readily available materials – the humble fence wood boards, some stores call it lathe. An 8' long piece only cost $1-$2. The complete detailed tutorial is here- http://www.apieceofrainbow.com/diy-make-beachy-style-picture-frames-from-fence-wood/


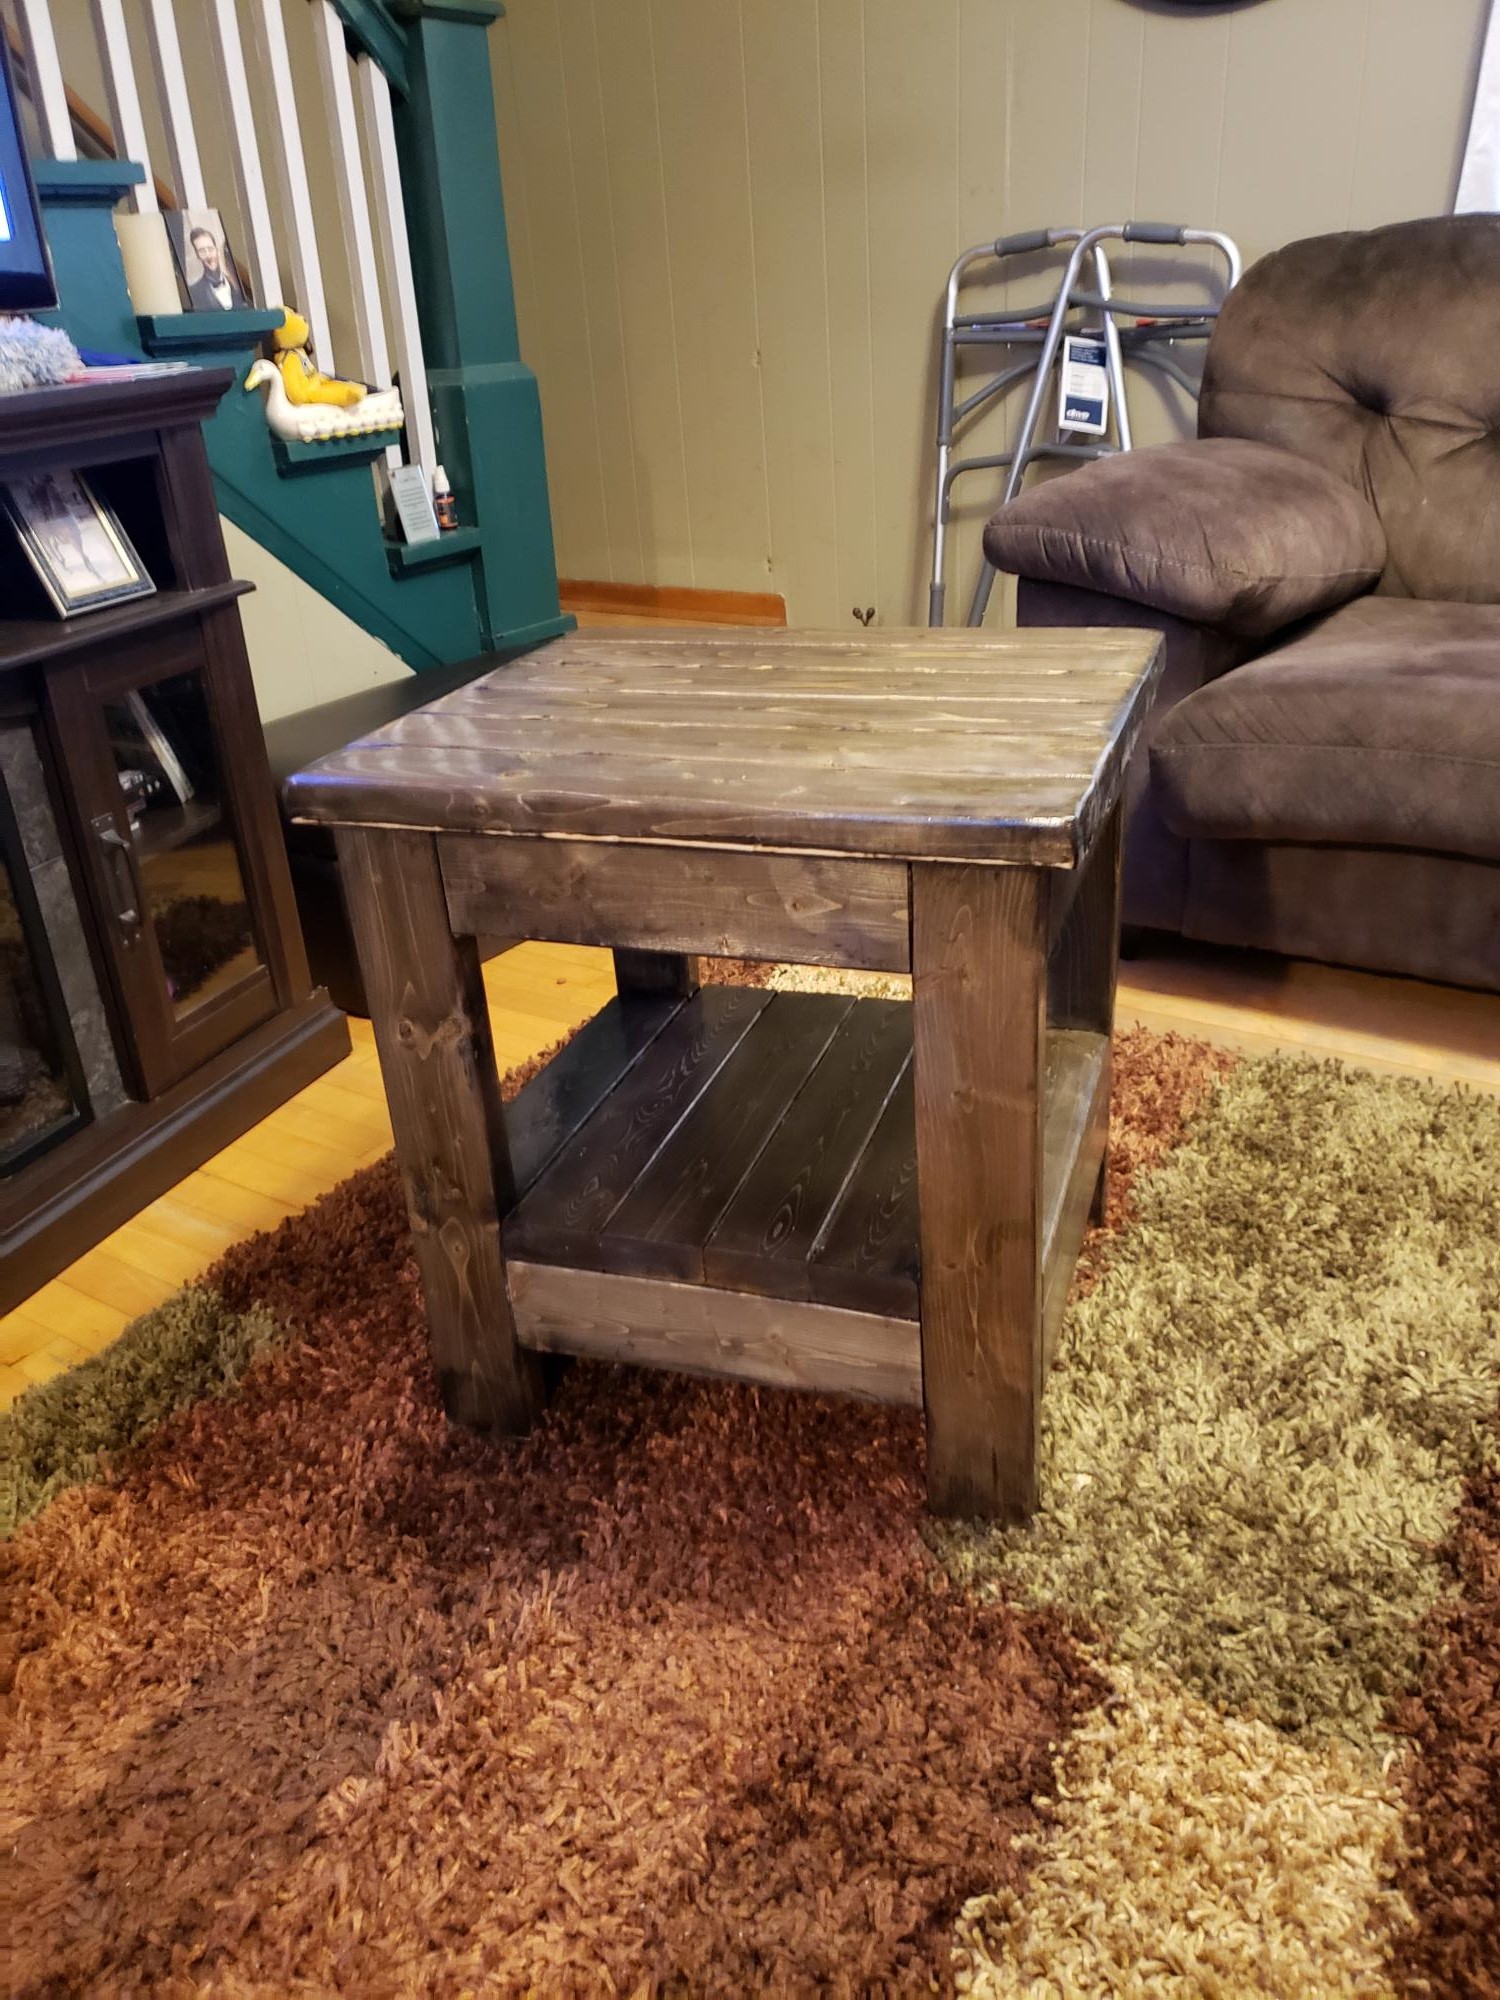
I built this for fun and my sister ended up wanting it. Therefore I never stained it as she has her own style. Hopefully I can update it when she stains it.

I finished my first project. Although there are some cosmetic errors, I think overall it’s amazing. We had a lot of wood left behind by the builder of our log home. So, I was able to use a lot of that. I made some adjustments to the height of the boxes to help the back!
Michelle M - Jefferson, NC
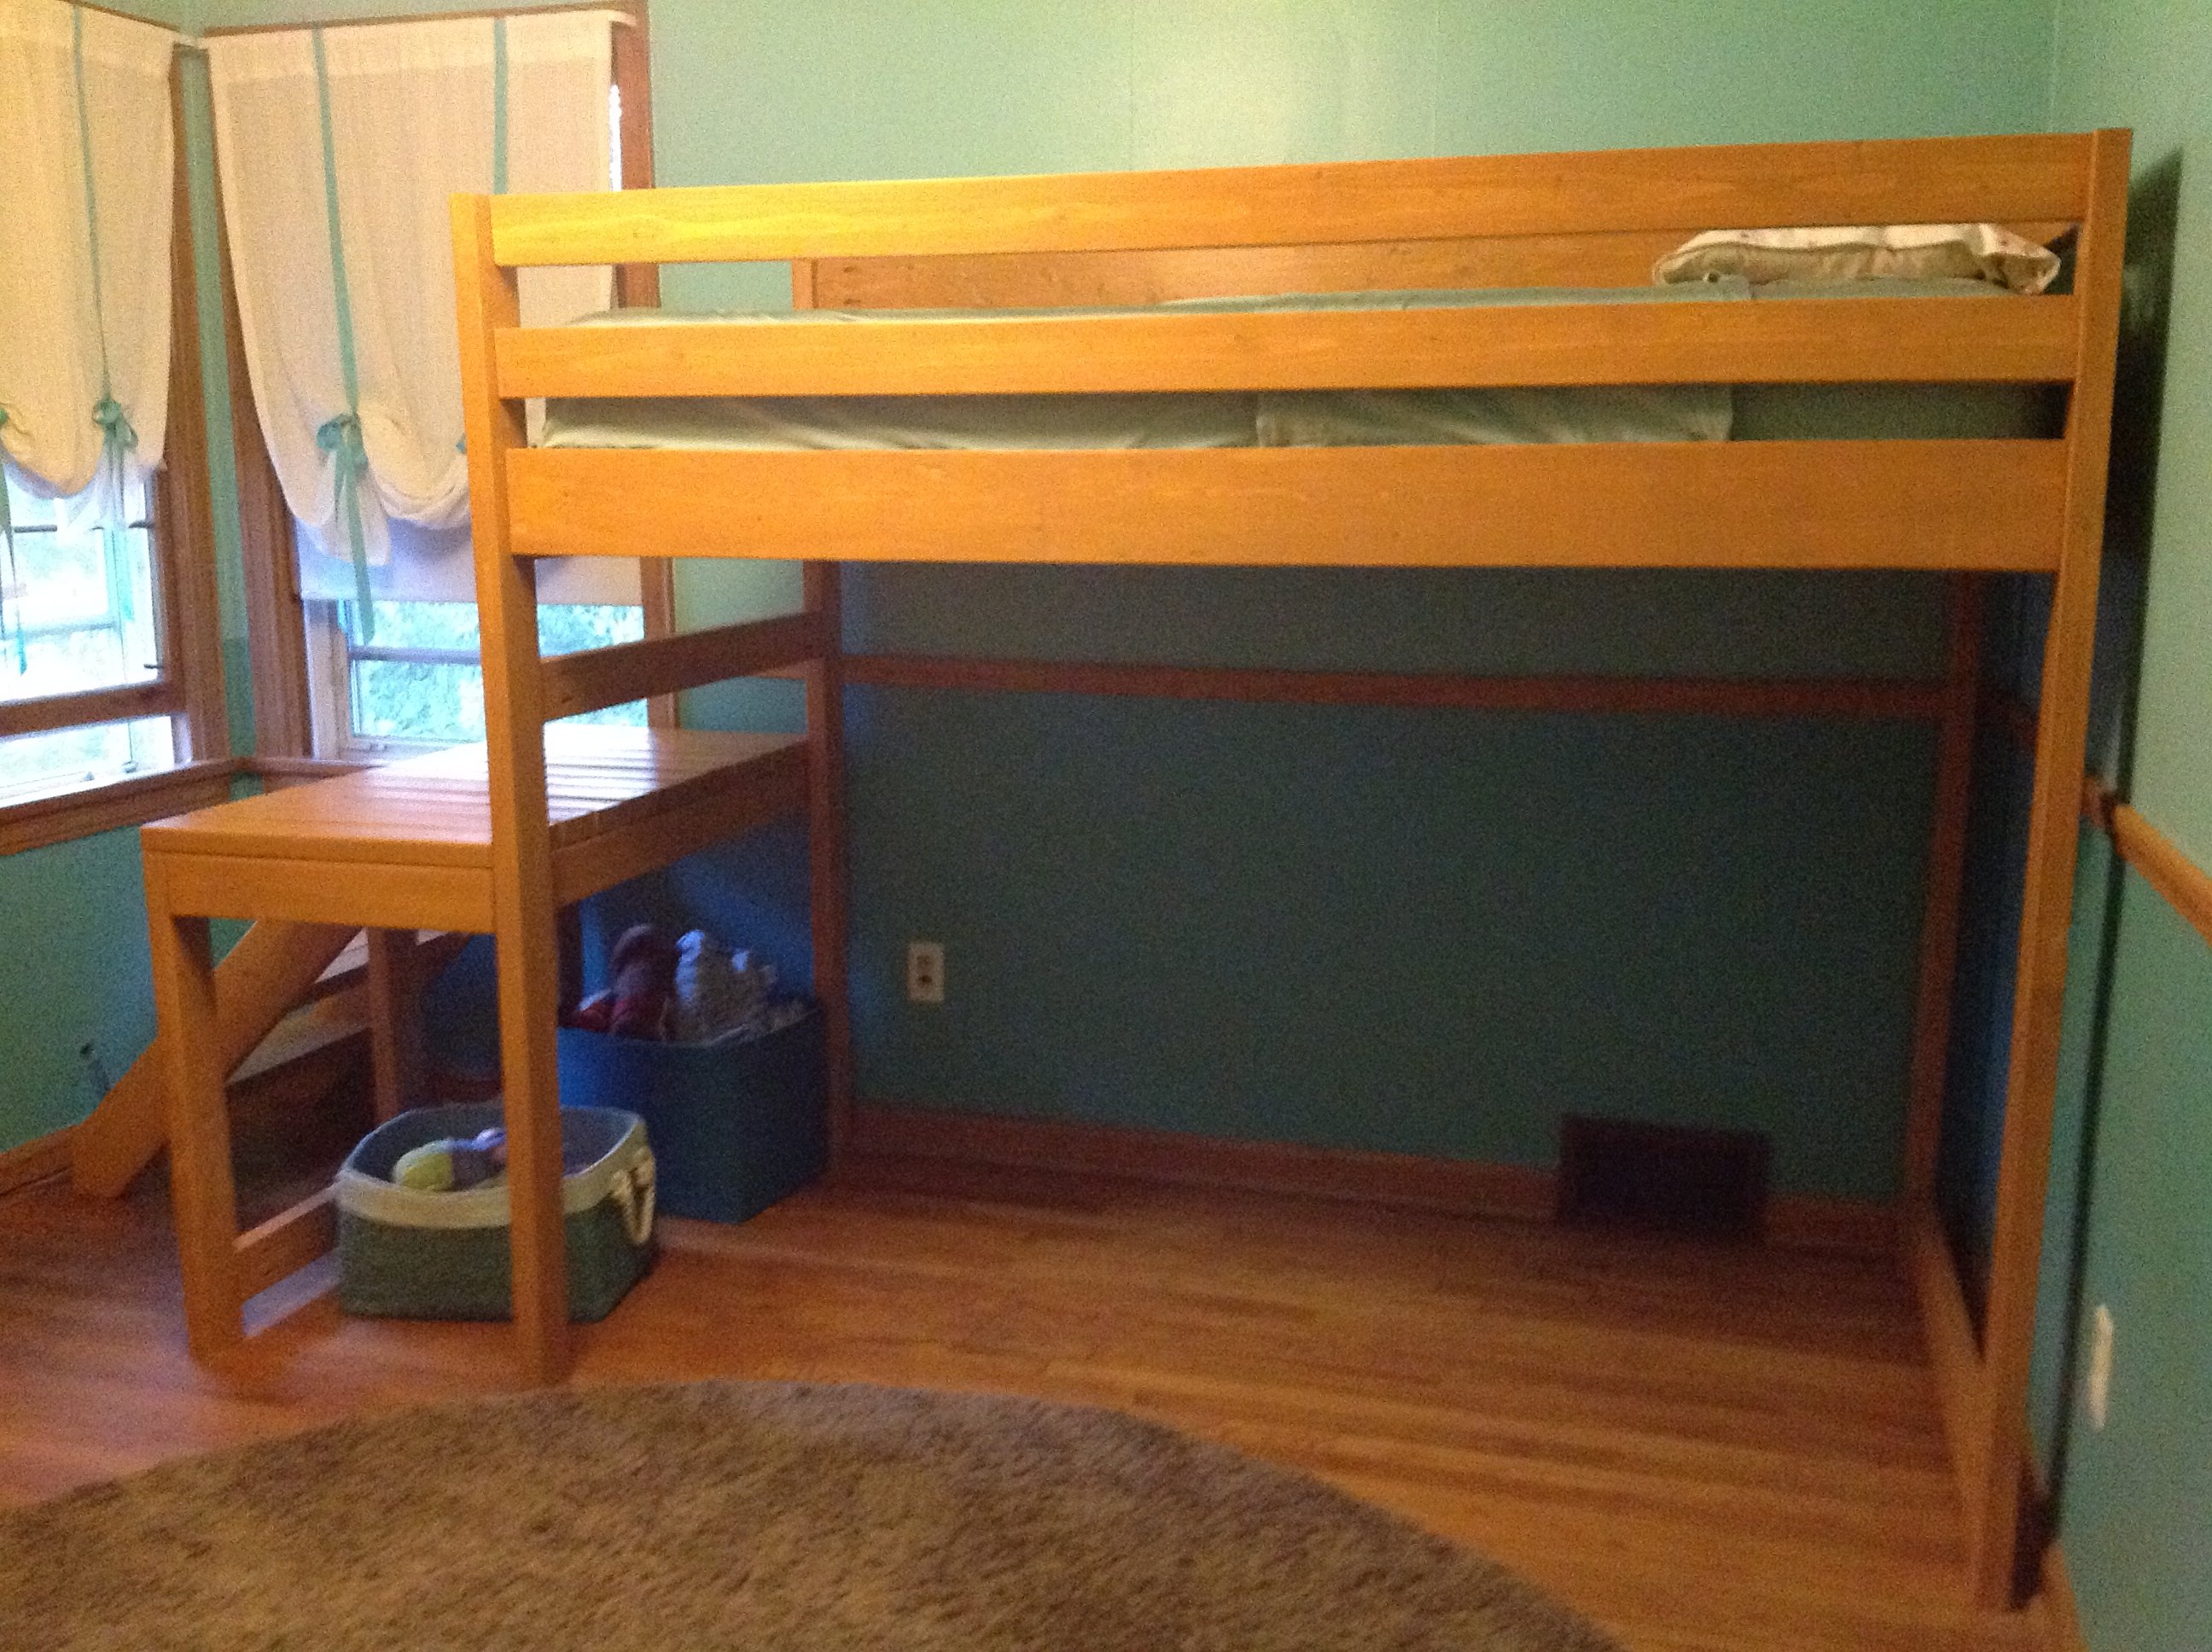
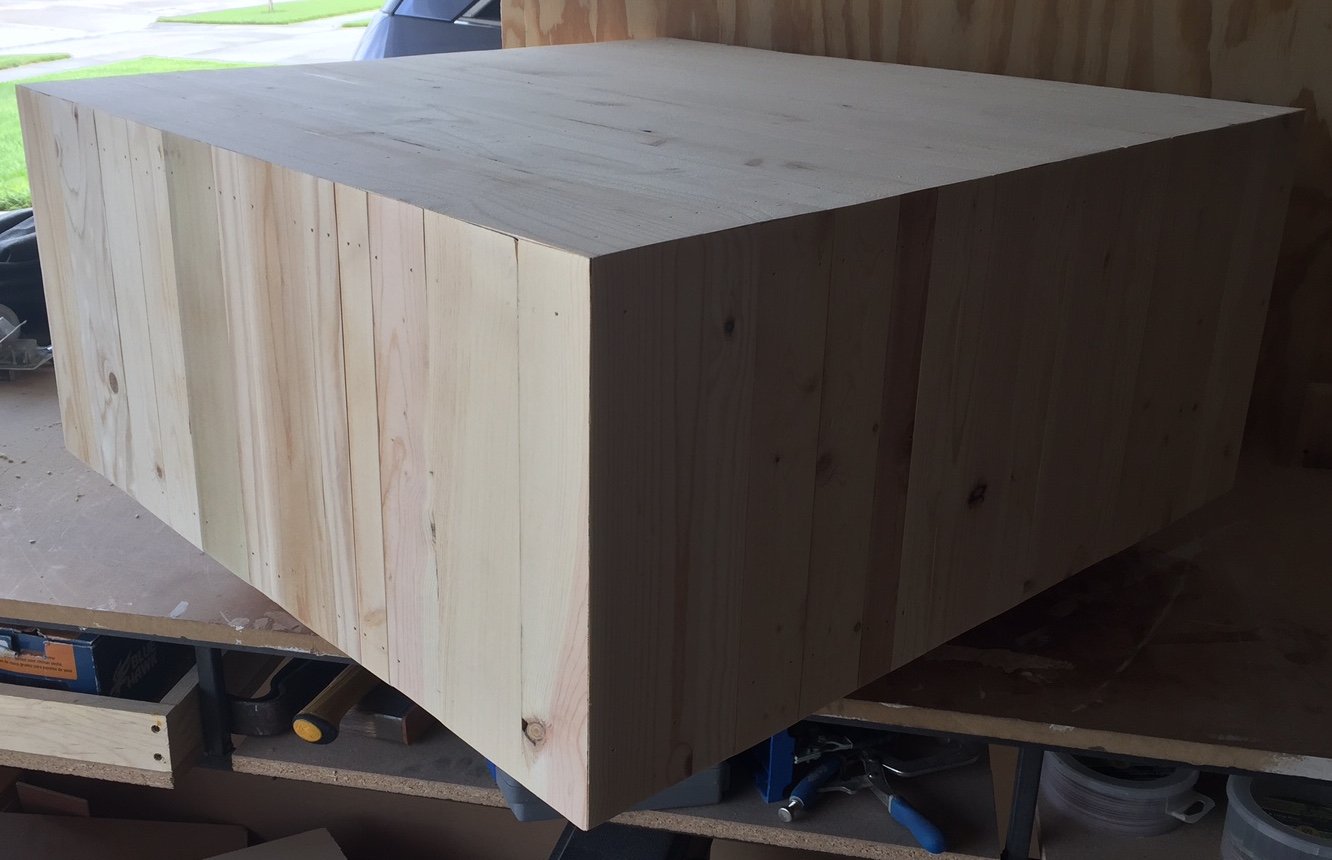
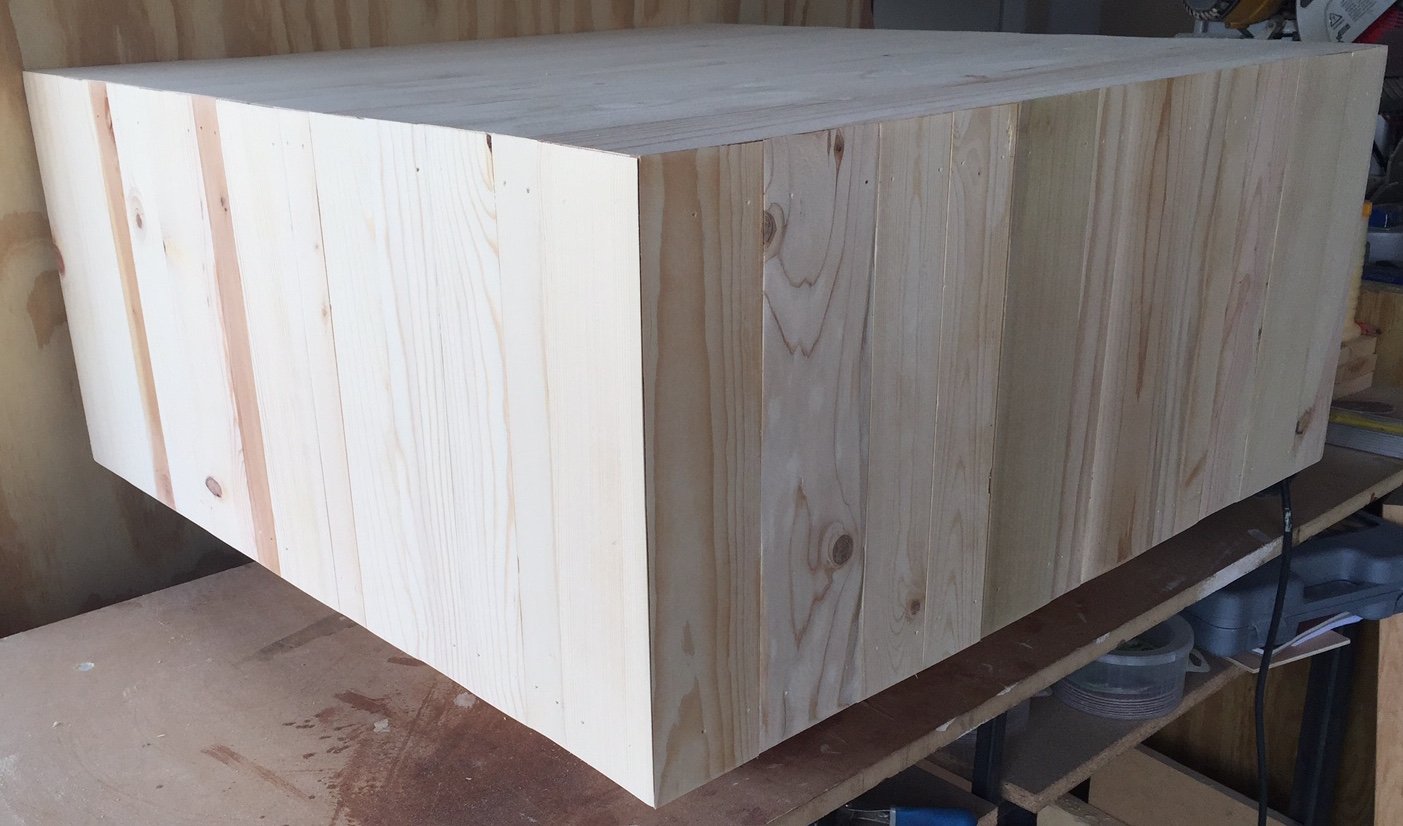
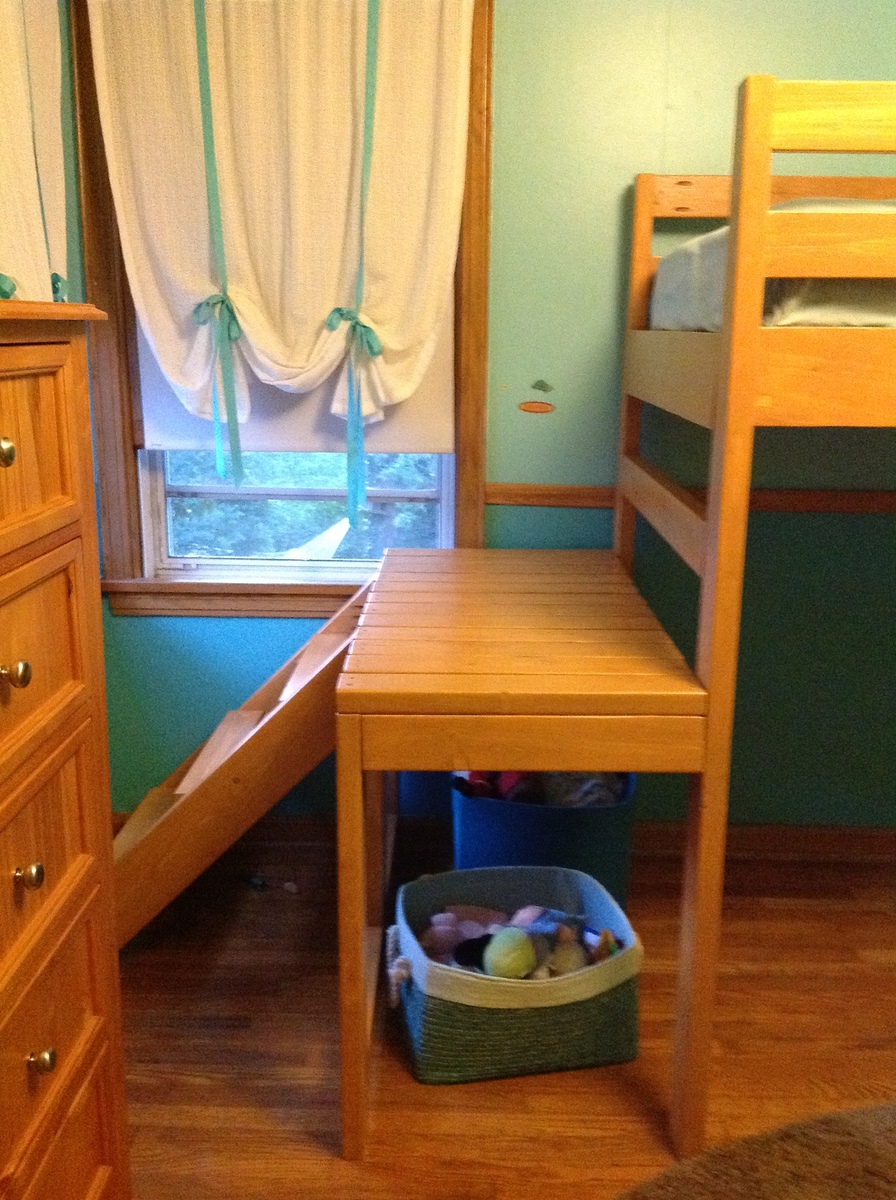
I finally decided I was going to make the fort bed for my daughter and was about to print off the materials list to take to the lumber yard and the junior height camp loft was front and center on the webpage. Though significantly more bed, it looked perfect my little girl. We really wanted her bed high enough to avoid the only heating vent in the room and didn't want to lose the floor space for play, this seemed to be an ideal fit. When I finally put the bed together I realized that keeping the staircase as in the original plans resulted in a bowling alley sort of space left over. It was awkward and really shrunk the room as the 'alley' wasn't usable for much of anything. I played around a little bit and my husband and I decided that we would put it on the side. It fit perfectly to the wall and was much more space efficient for the room. I am a little nervous about the new openness of the deck portion, but both kids have found it a fun place to read and pretend fish. It was my first project of this size and I did everything until the final assembly by myself and I am so glad to have done it. It took more time than I imagined, but again I am a true novice.
I really wanted it stained so that it would camouflage the wear a little better, but I had a great deal of trouble finding a low VOC stain in my town. I used the lowest I could find and a low VOC water based poly. It matches her dressers and trim nearly perfectly. Her older brother likes the bed so much that nearly everyday he tries to convince her that she wants to switch beds with him.
Tue, 08/28/2012 - 11:28
I love your bed so much! And I love the idea of having the stairs on the side like that. :)
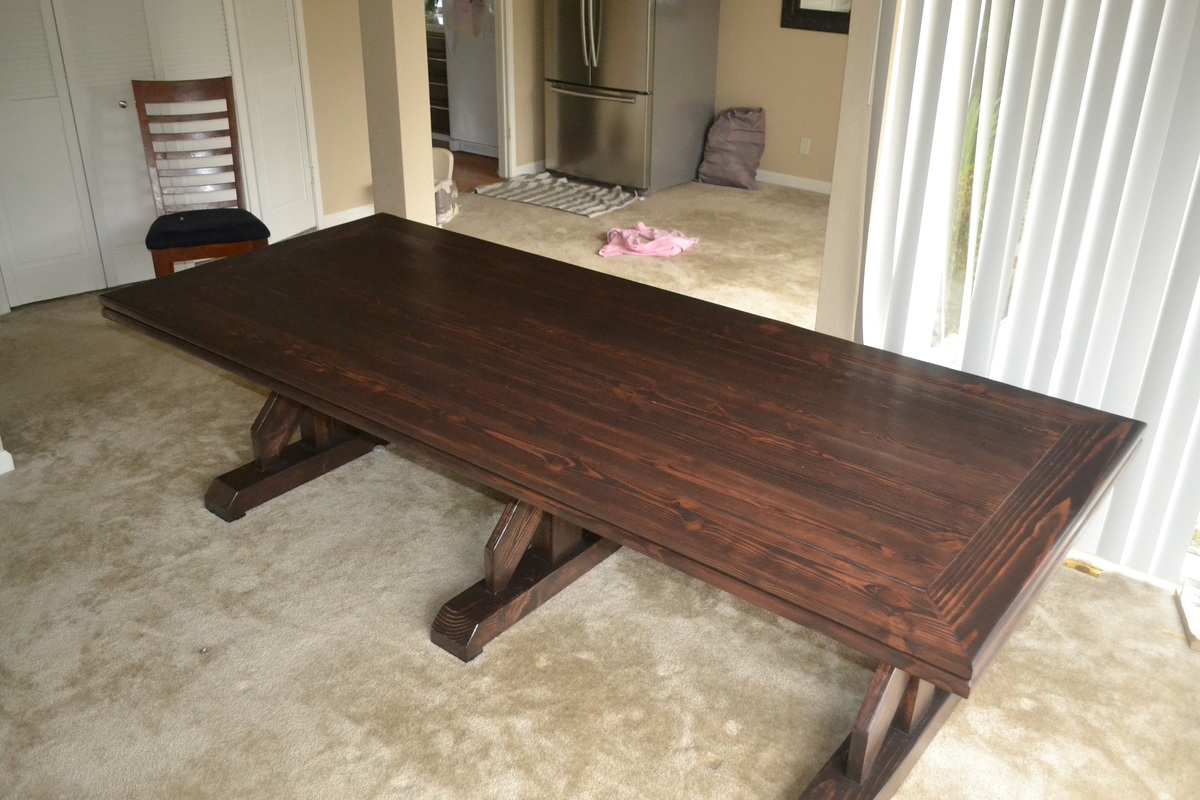
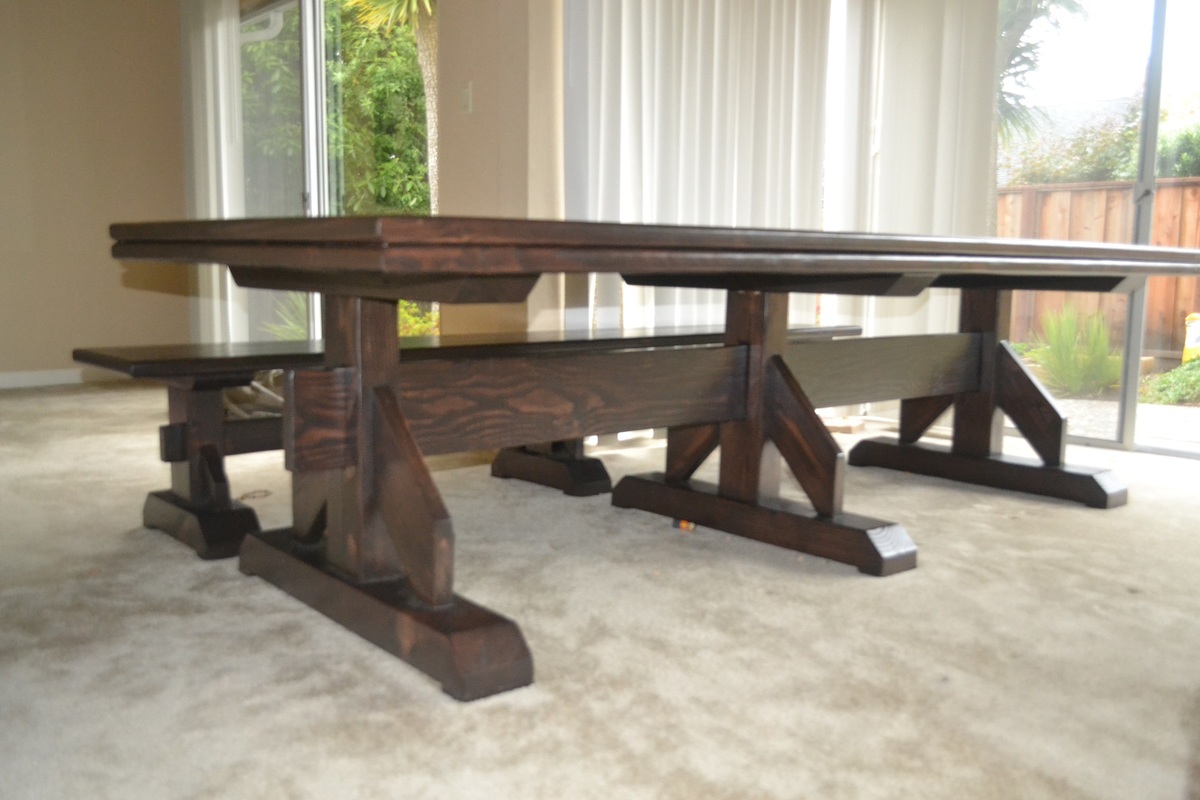
So I finally broke down and decided to make the table that my wife had been asking for sometime. This after our last table was damaged by mold in our last move. I have completed a few woodworking projects before this so from a skill level on this project it was not too hard. The problem was that I wanted the table to be perfect but my wife wanted the dings and dents that came along with a farm table, so we compromised somewhat.
I did run into one significant issue that will be a life long lesson. The Douglas Fir wood that I bought had a very high moisture content and during the course of the project most of the wood began to shrink up to a half an inch in some parts as the wood dried out. I was talking to a construction friend in the area when I was finishing up the table and he confirmed that he had the same issue with this wood locally. Would have been nice to know this from the beginning.
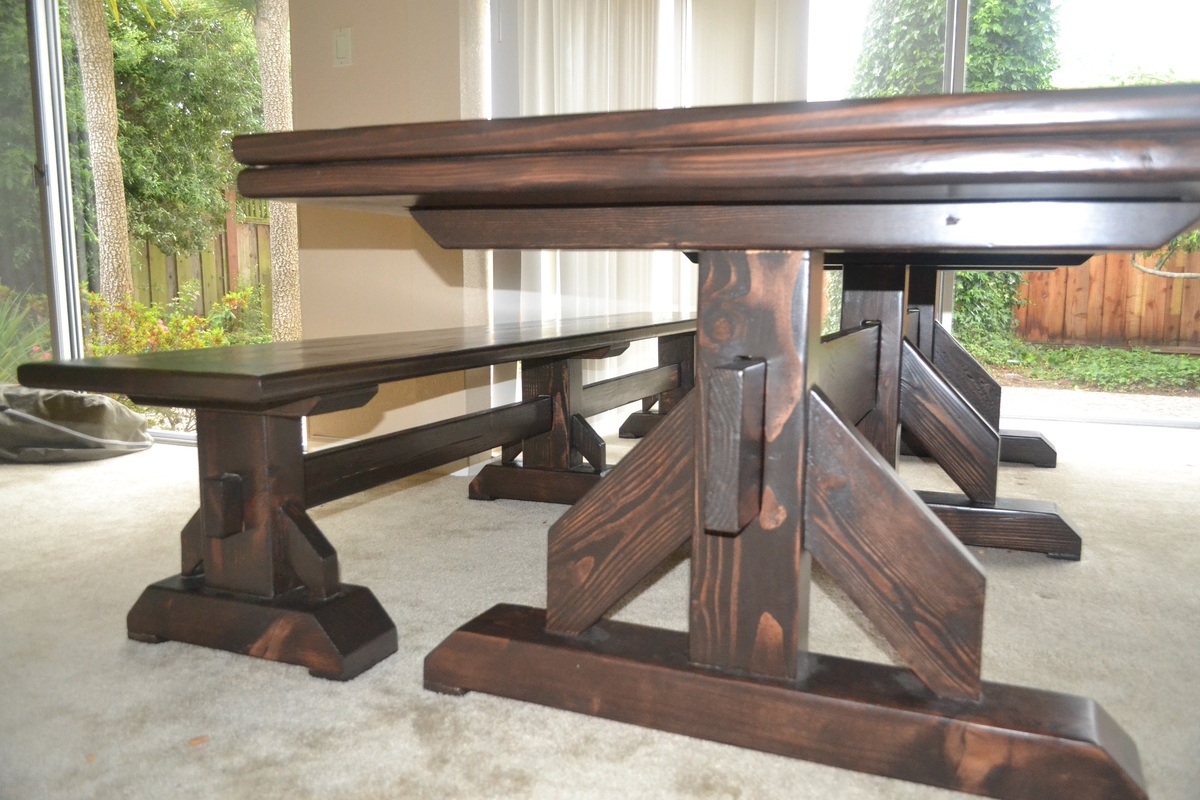
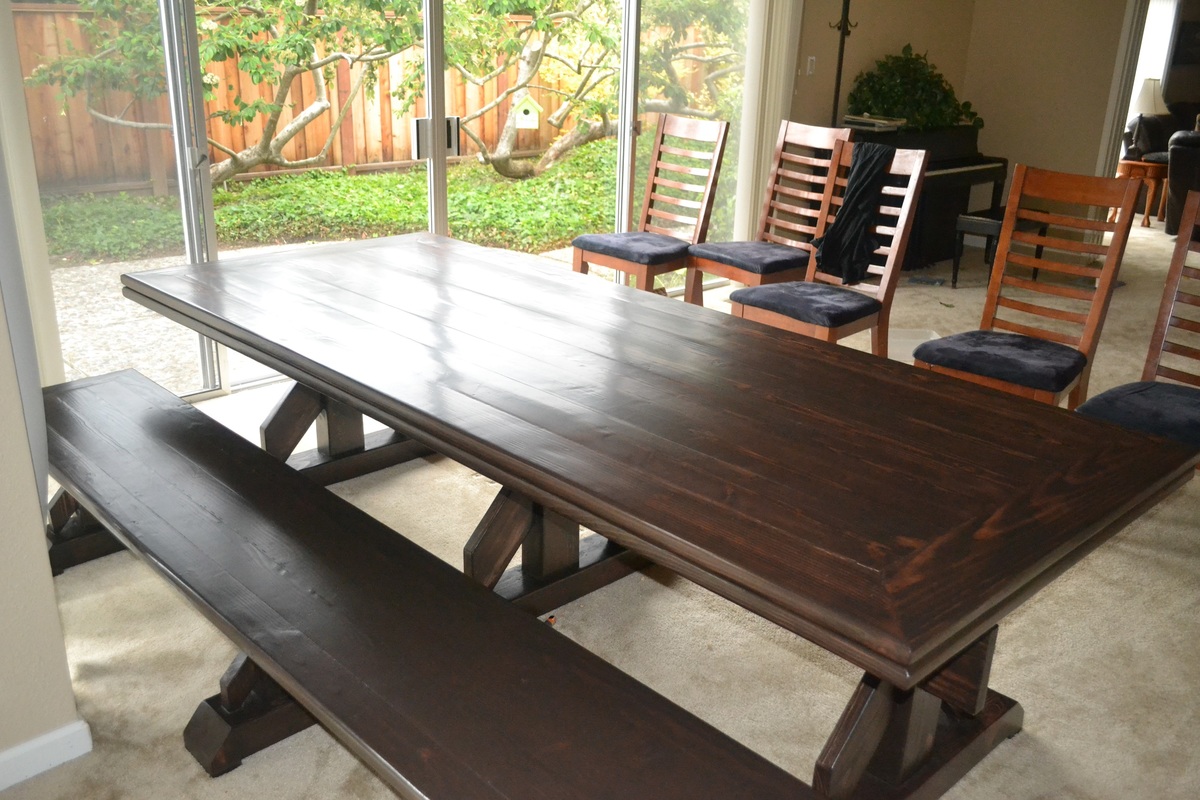
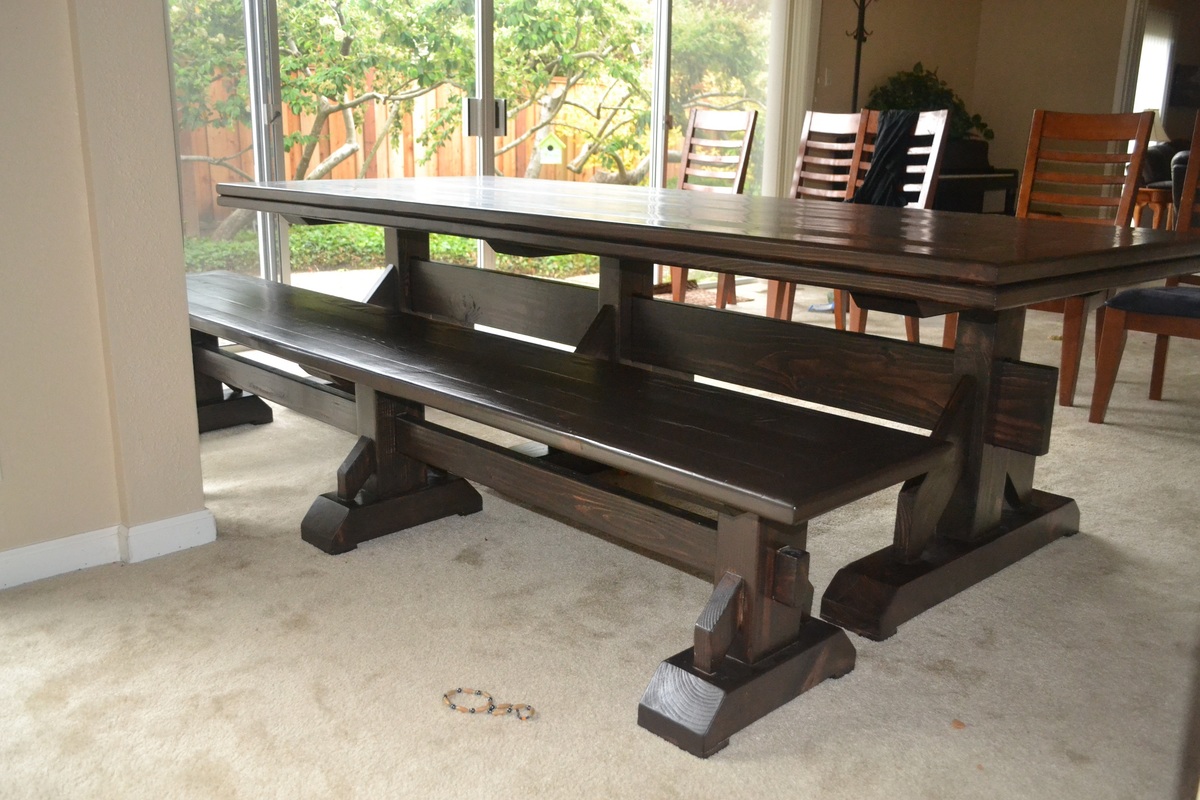
Anyways, we followed the Triple Pedestal Table and Bench with the following adjustments. We used all 2x6 boards for the table top in order to provide additional thickness for durability, we also removed the center divider and just opted to use the full length of the 8 foot boards. We then framed the table with 2x6 and then added another lip of 2x6 below the table top. The purpose of this was to create a large enough area to notch the boards for a resting areas of the leg tops. We also rounded all of the 2x6 edges on the top with a router as we didn't want to have any sharp corners for the kids to run into.
On the legs, we opted to use 4x6 posts for the leg bases and tops, as well as the leg post. We (meaning me) wanted to have a nice clean look rather than the layers of 2x6 and 2x4's in the original design. I used the router to create the hole in the post for the runner beam, and used a 2x8 beam rather than the 2x6 beam. Finally I did not have the patience to cut out all of the arches for both the table and the bench and my jig-saw was not working properly, so we just decided to improvise with the design as shown in the pictures.

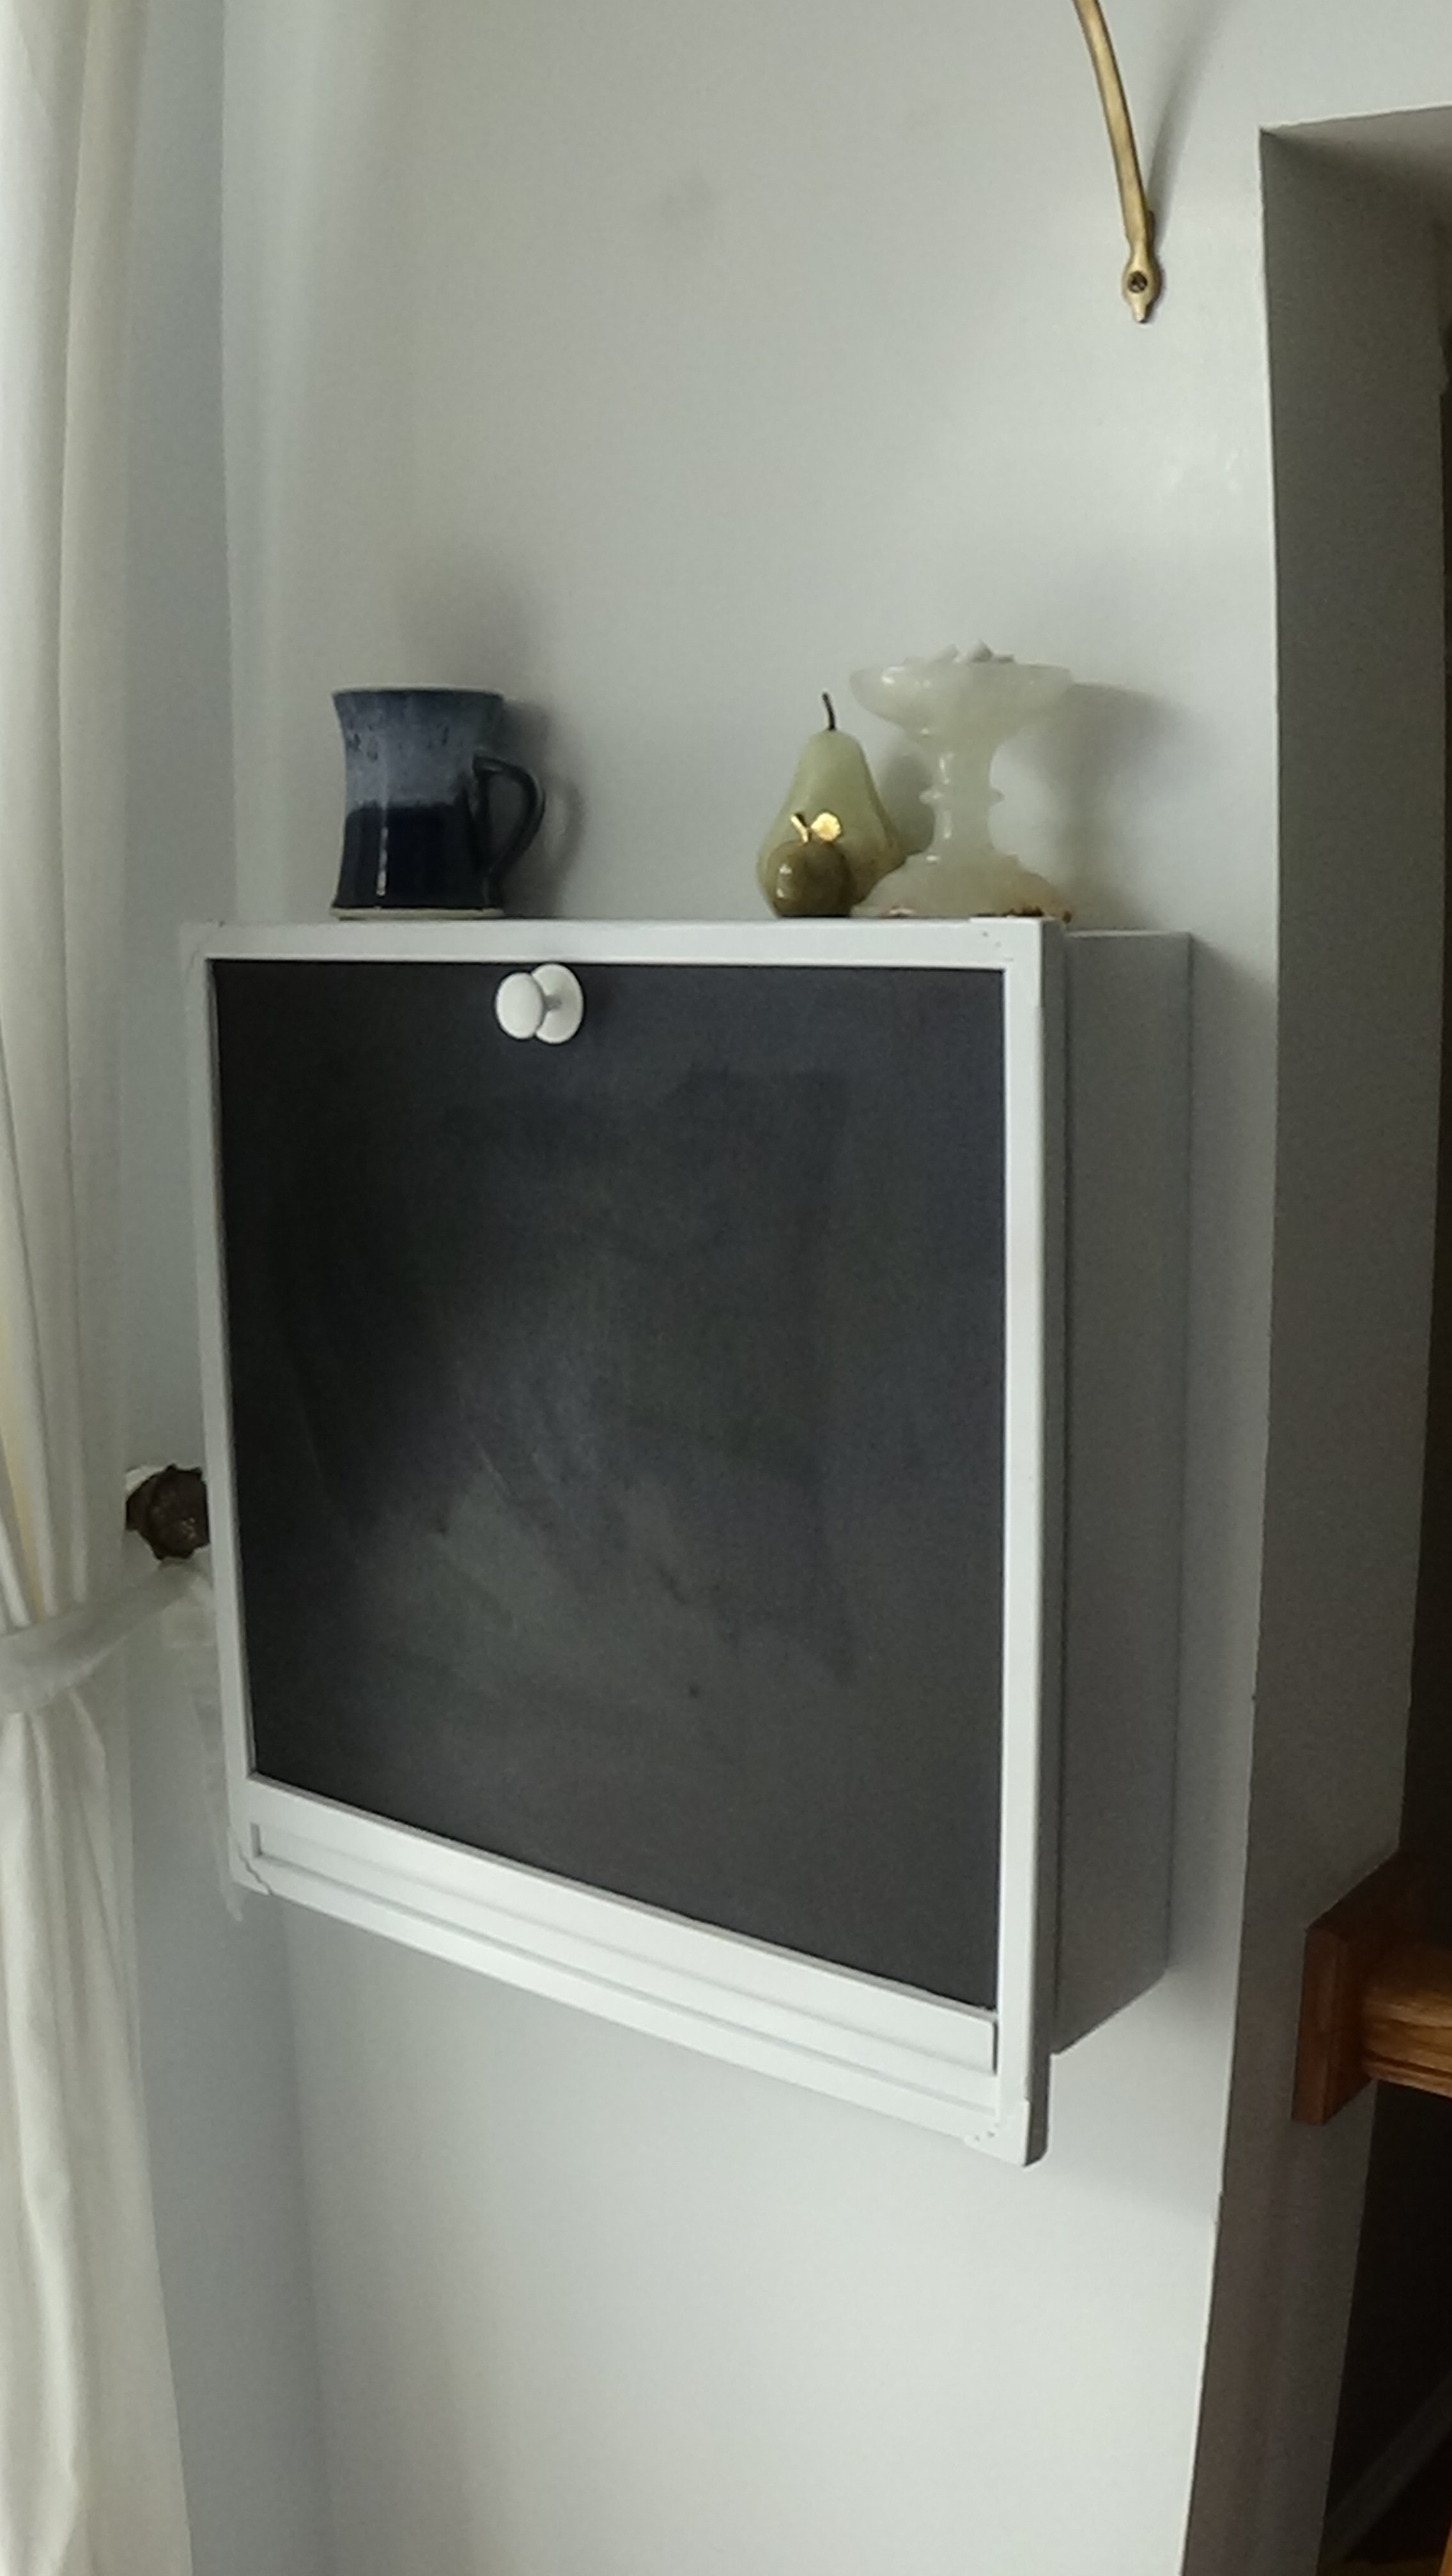
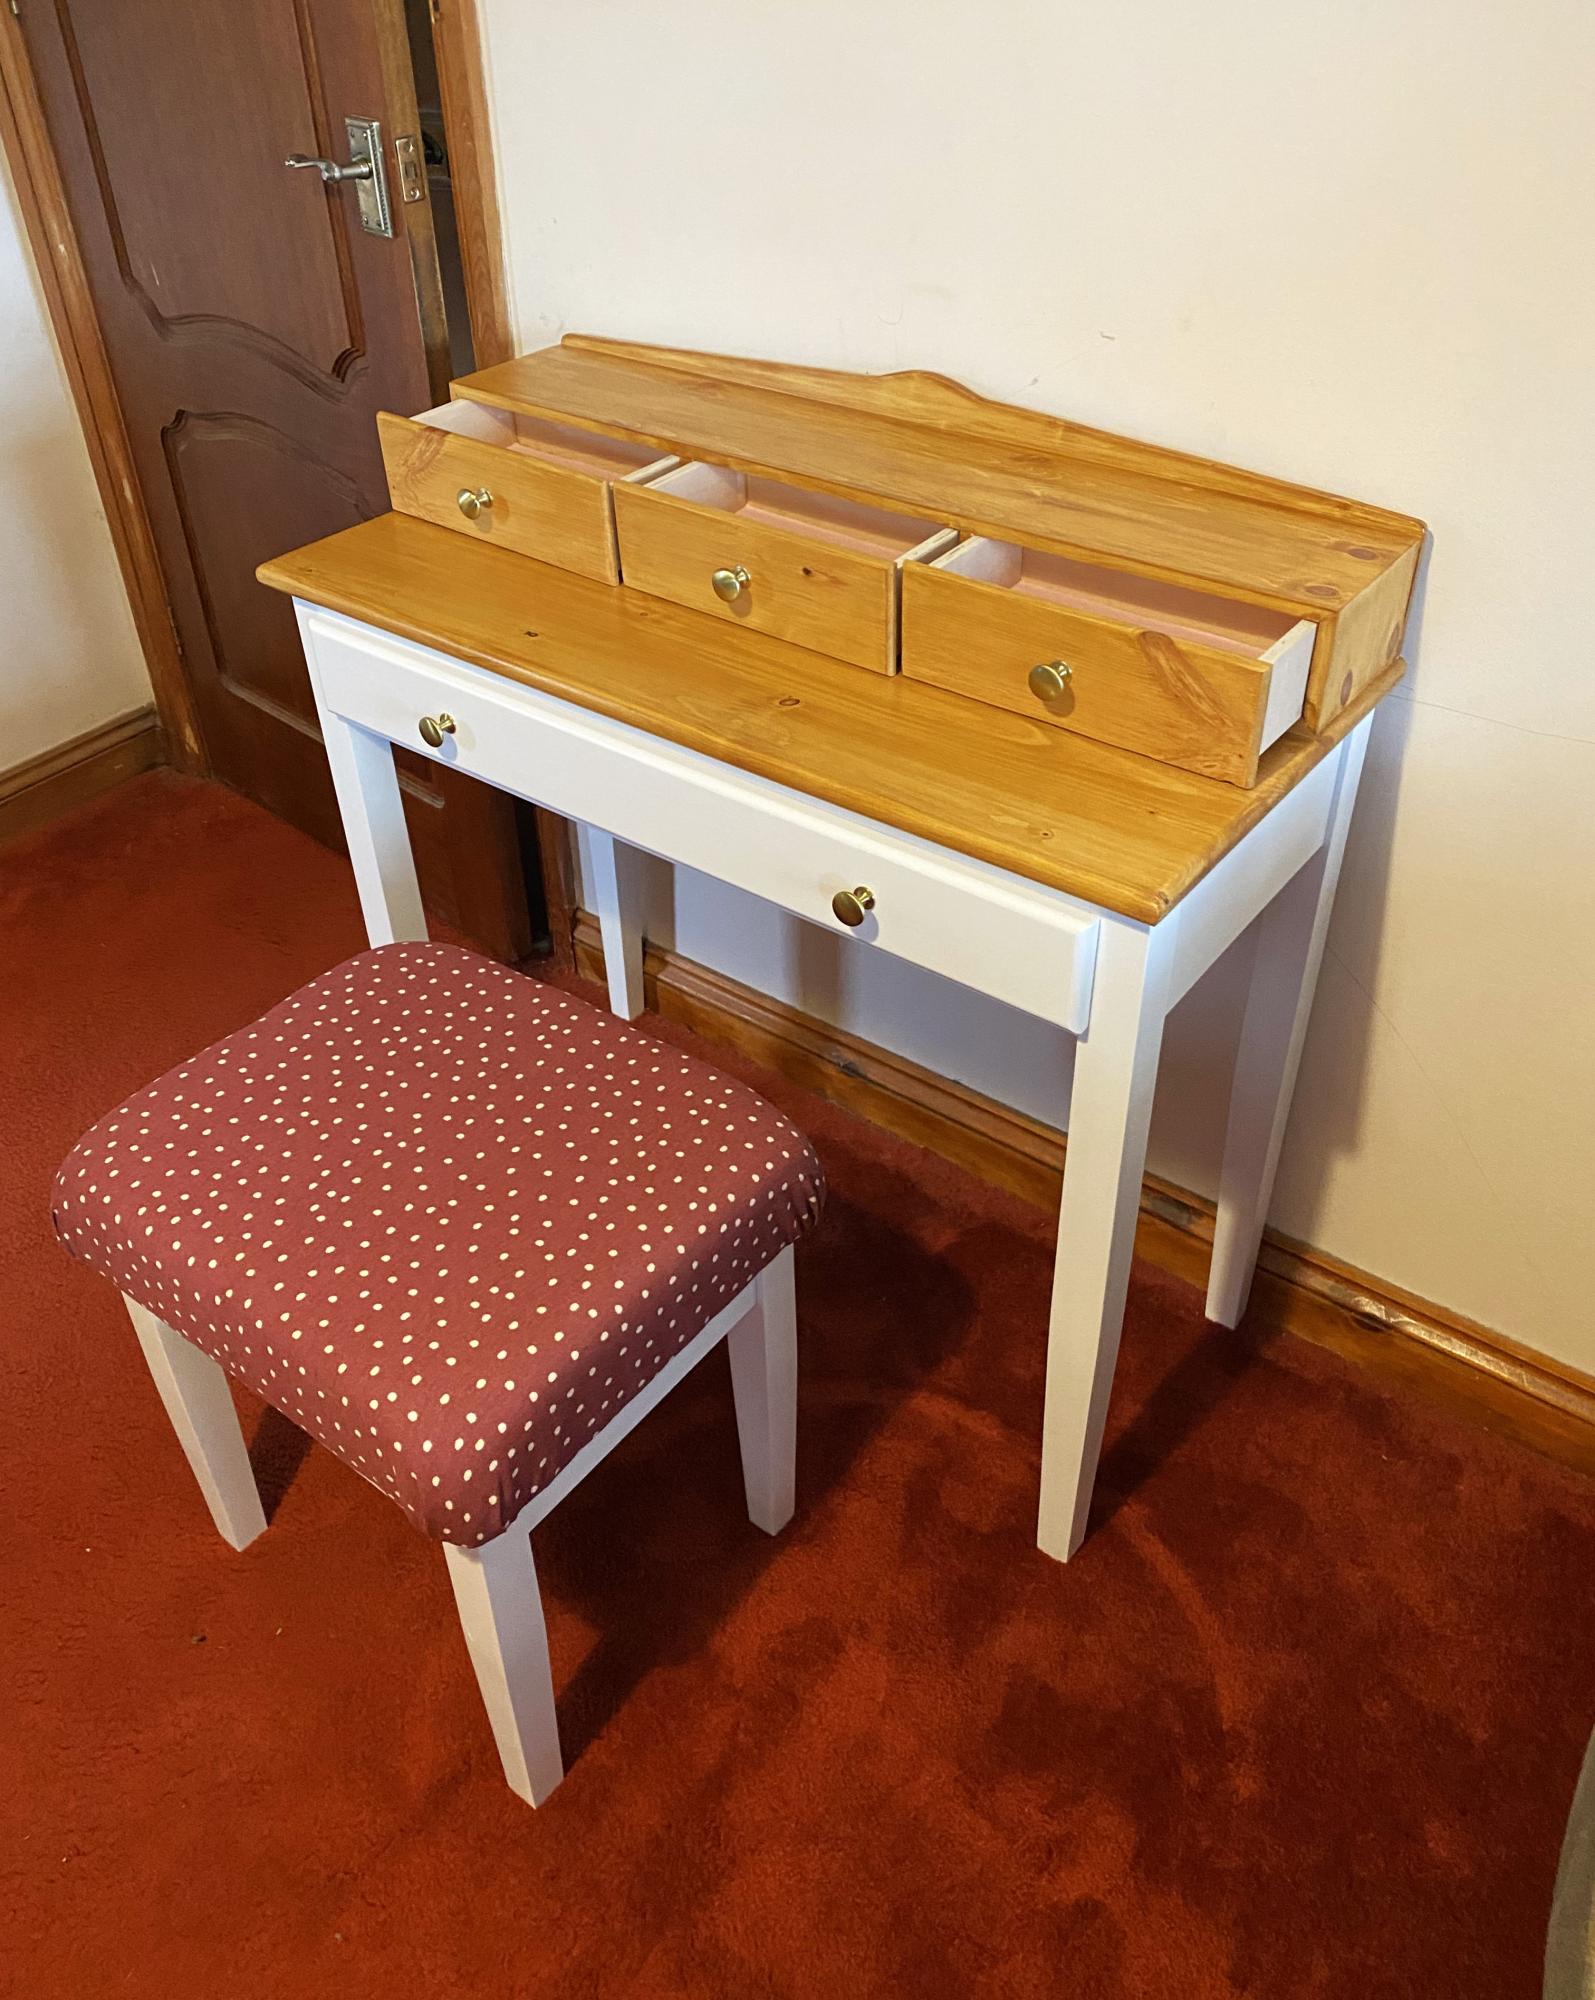
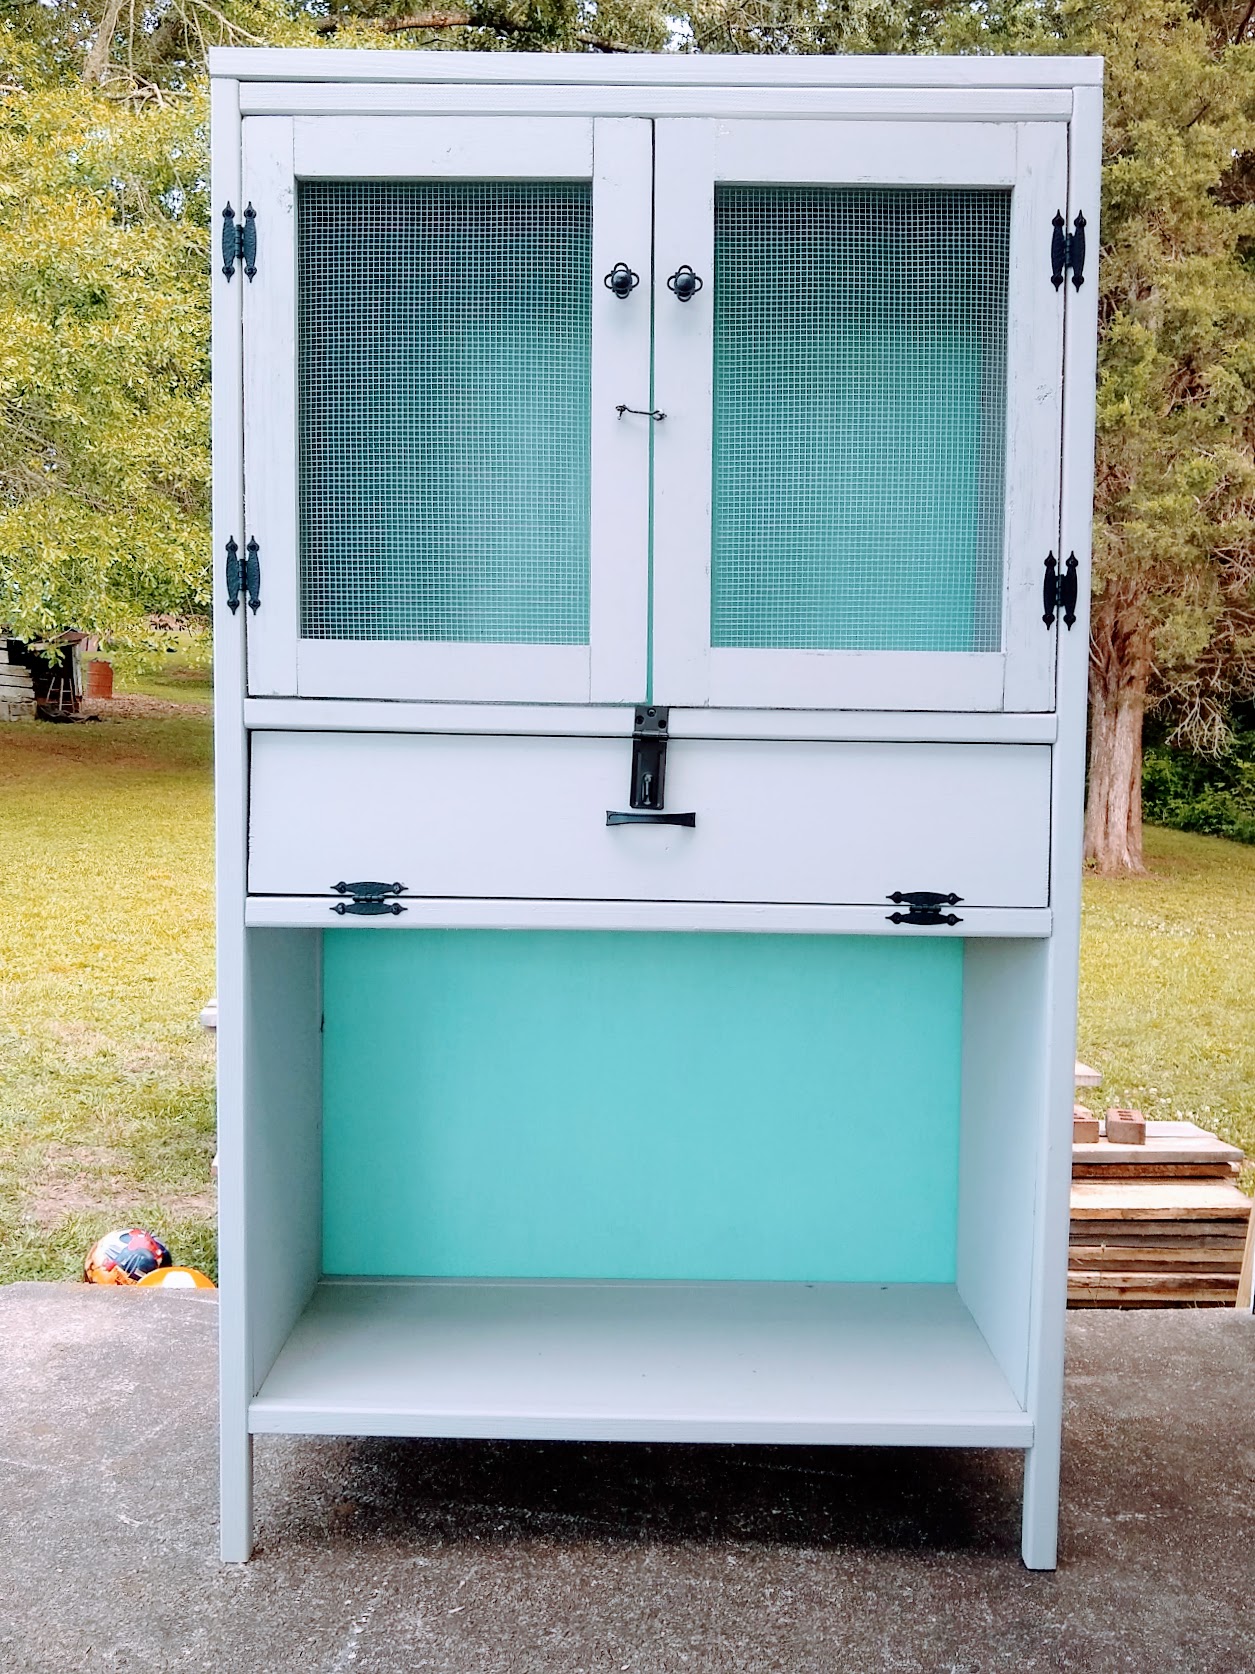
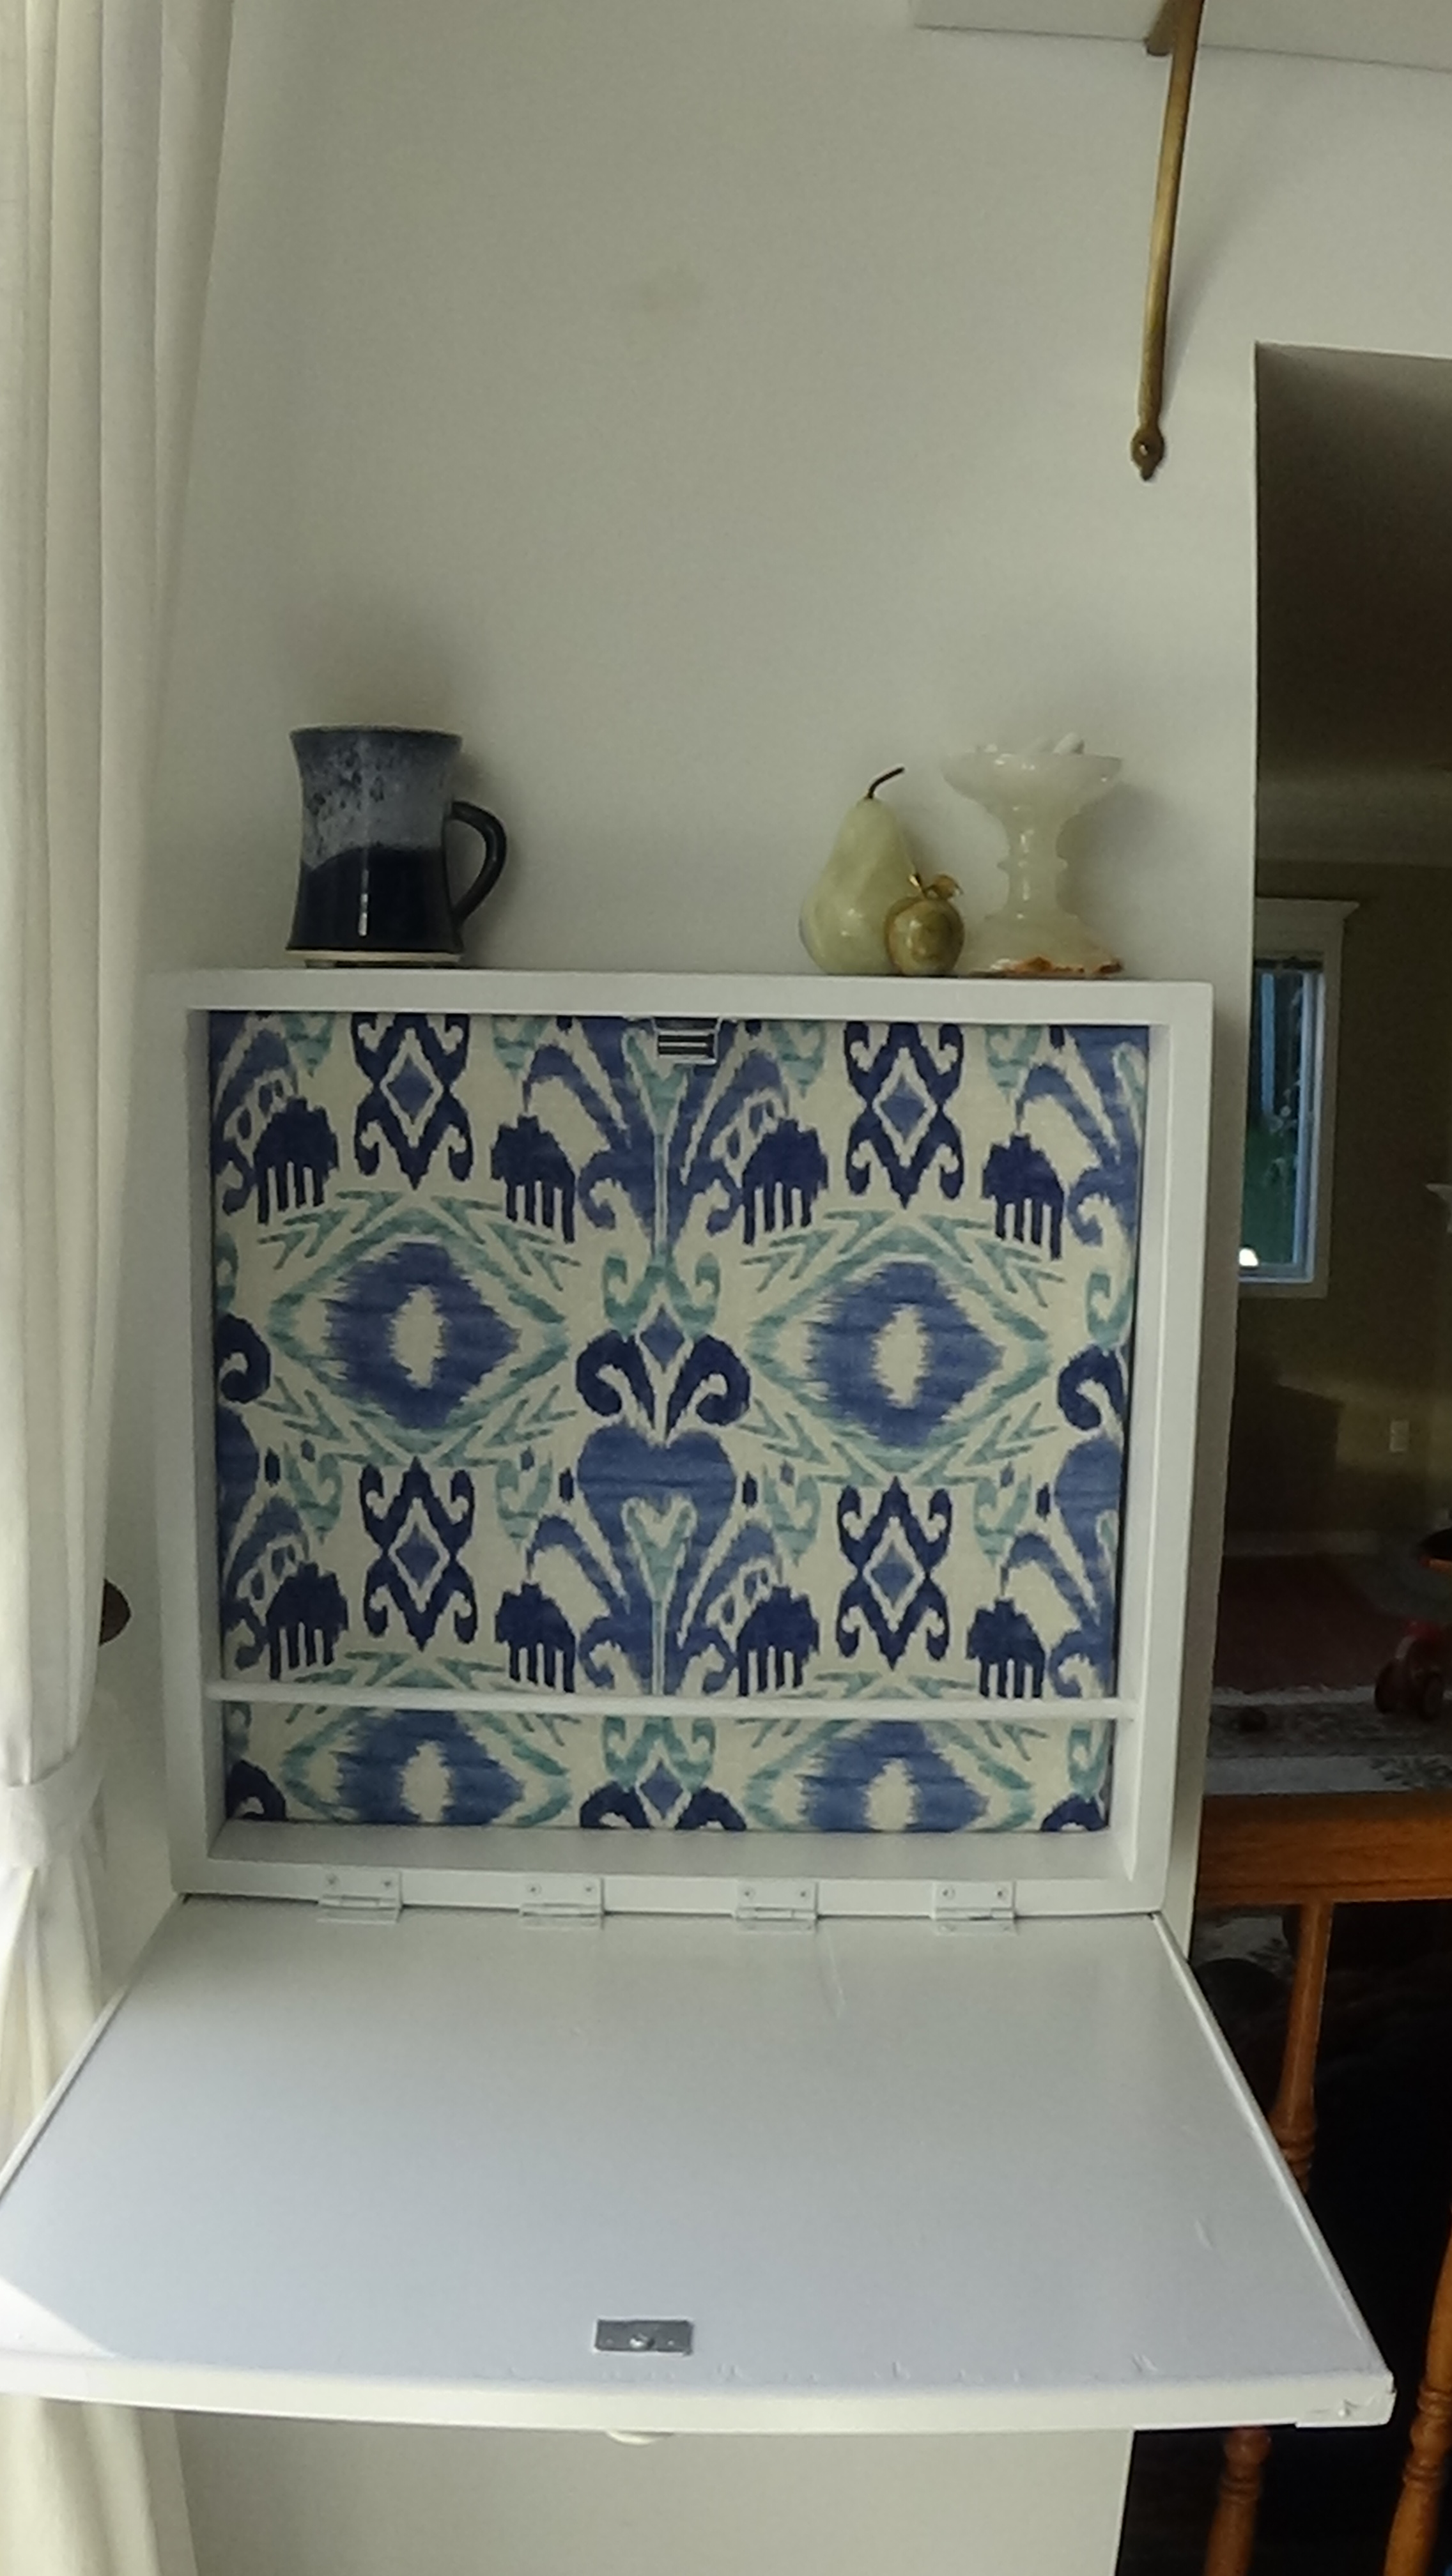
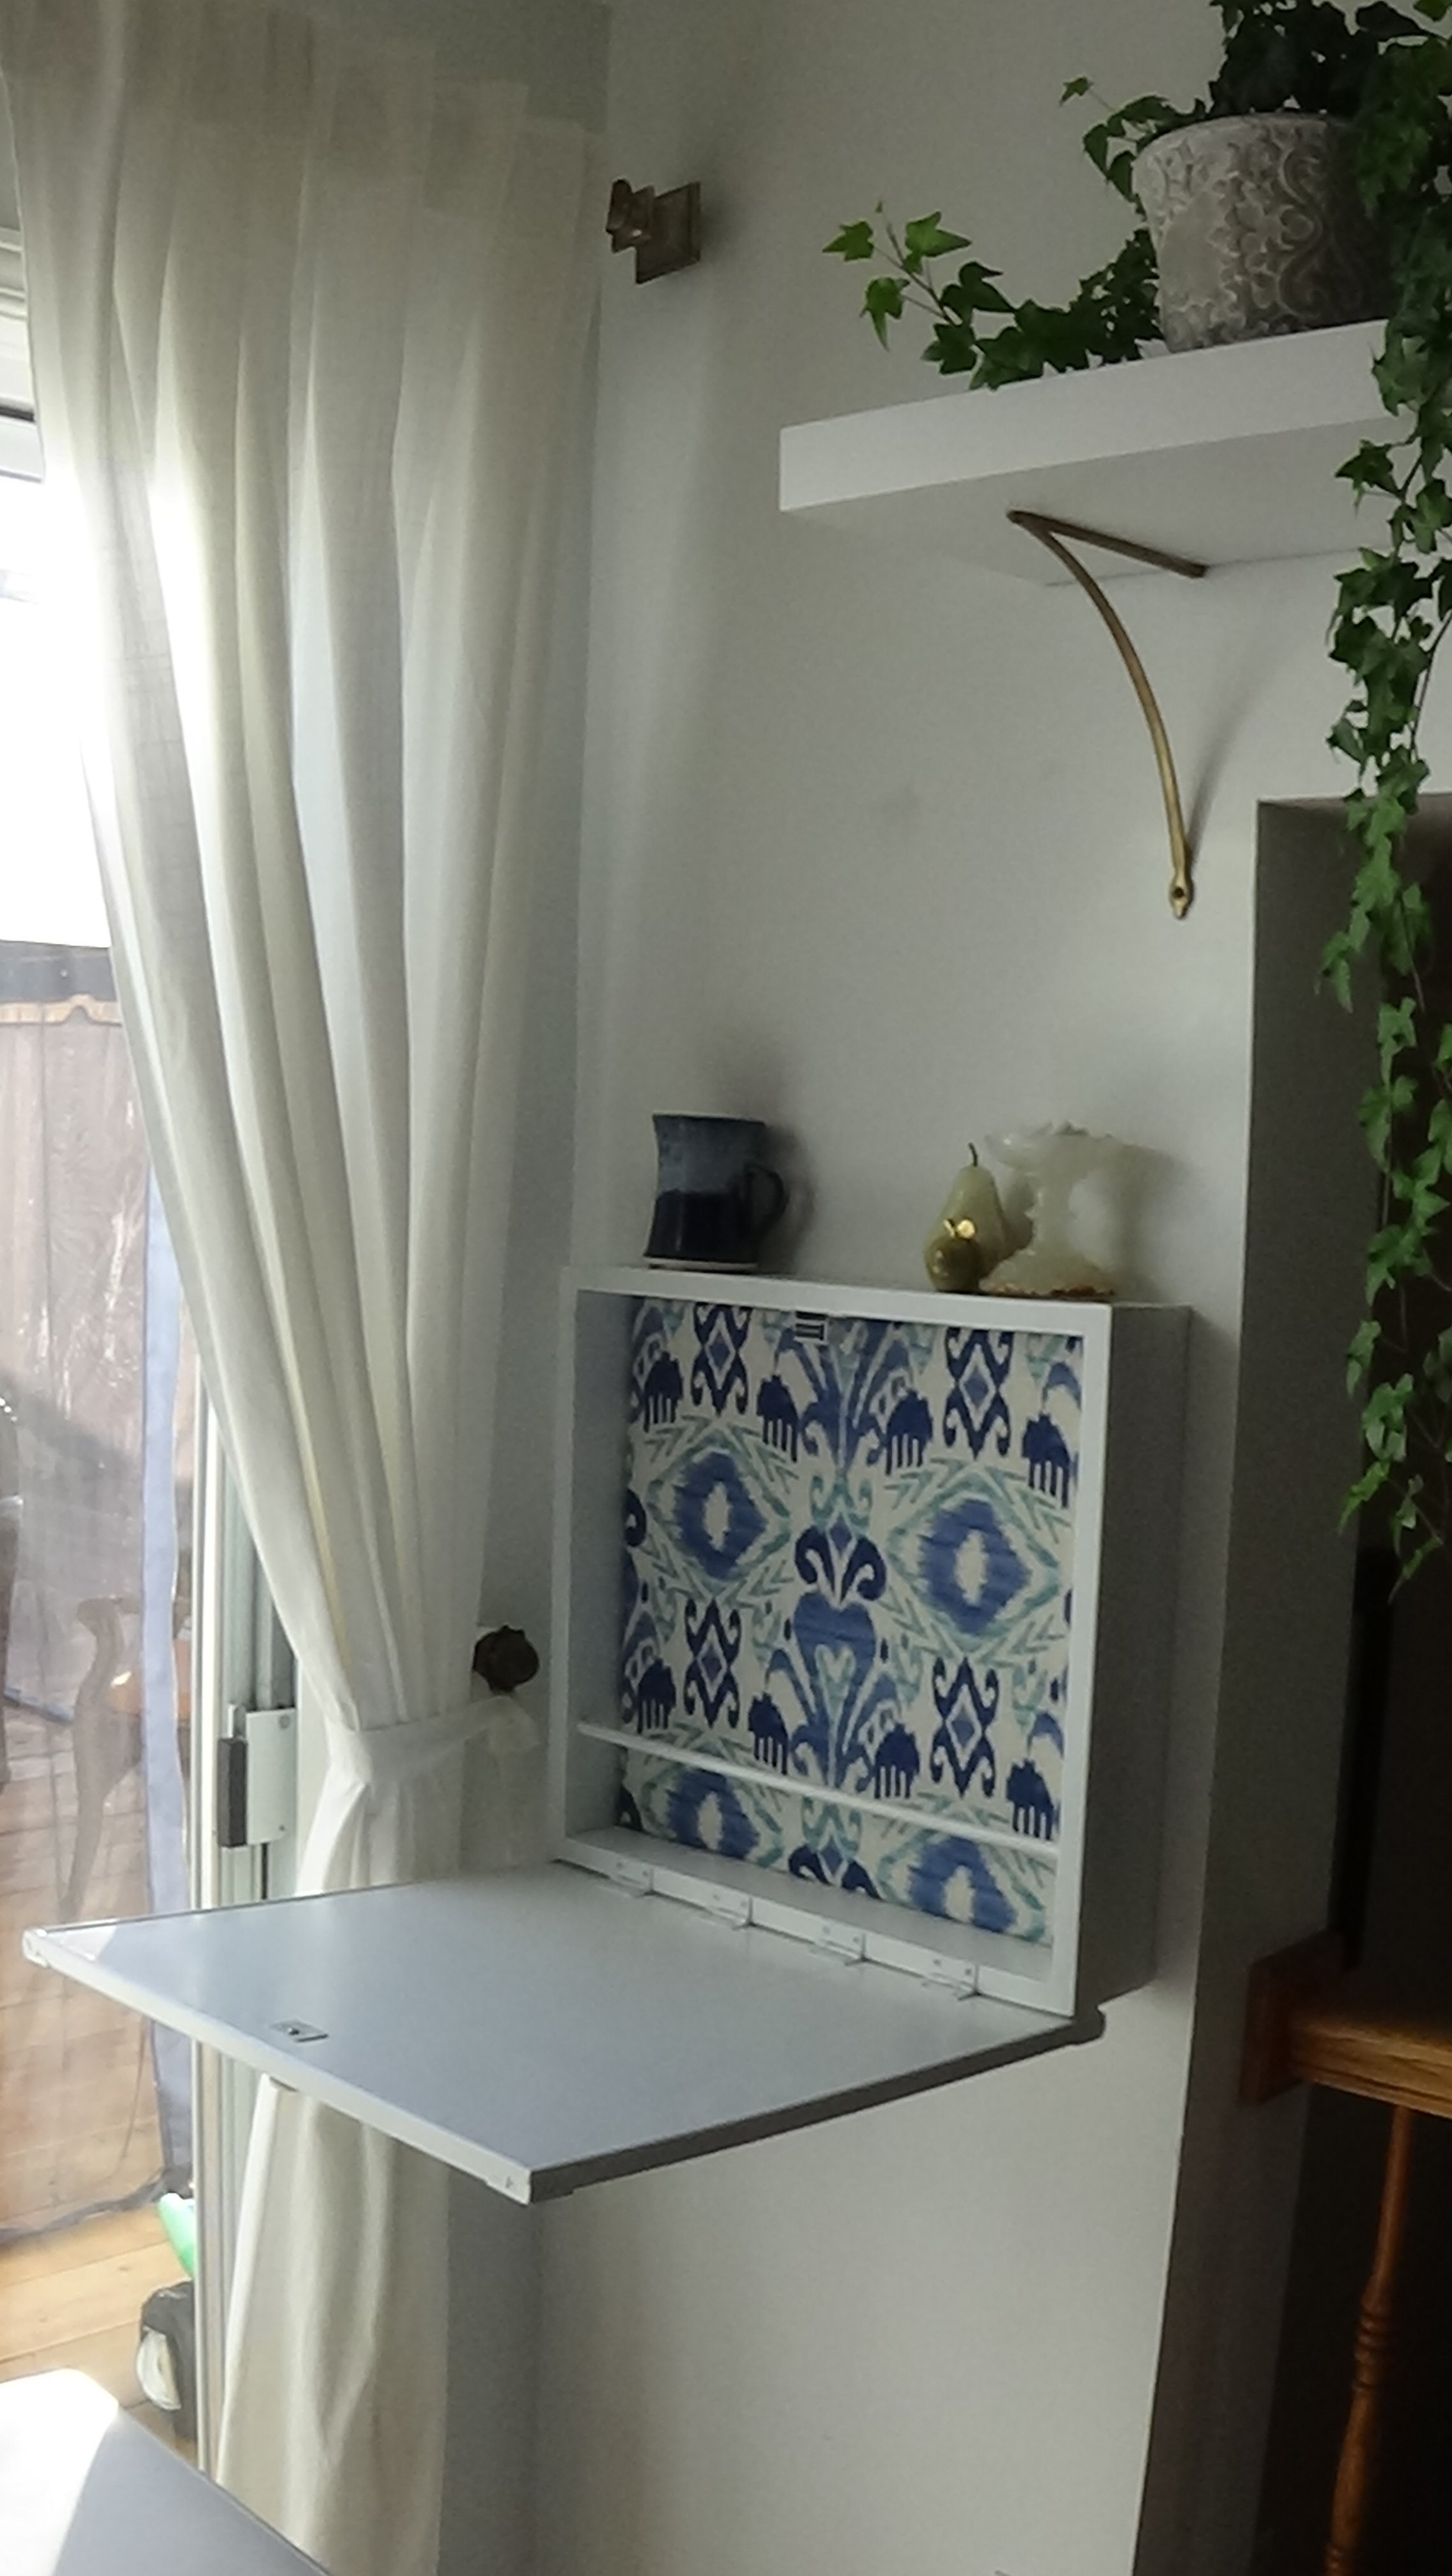
Inspired by Ana's Flip down wall art desk. It has different dimentions since wall space was limited. I used a magnet as a lock, added upholstered back, dowel for storage and extended the bottom part to add some strength. It is very handy!

Thu, 09/22/2016 - 09:06
Very cool, love the upholstered back! Thanks for bragging your project!