Tall Wood Planters
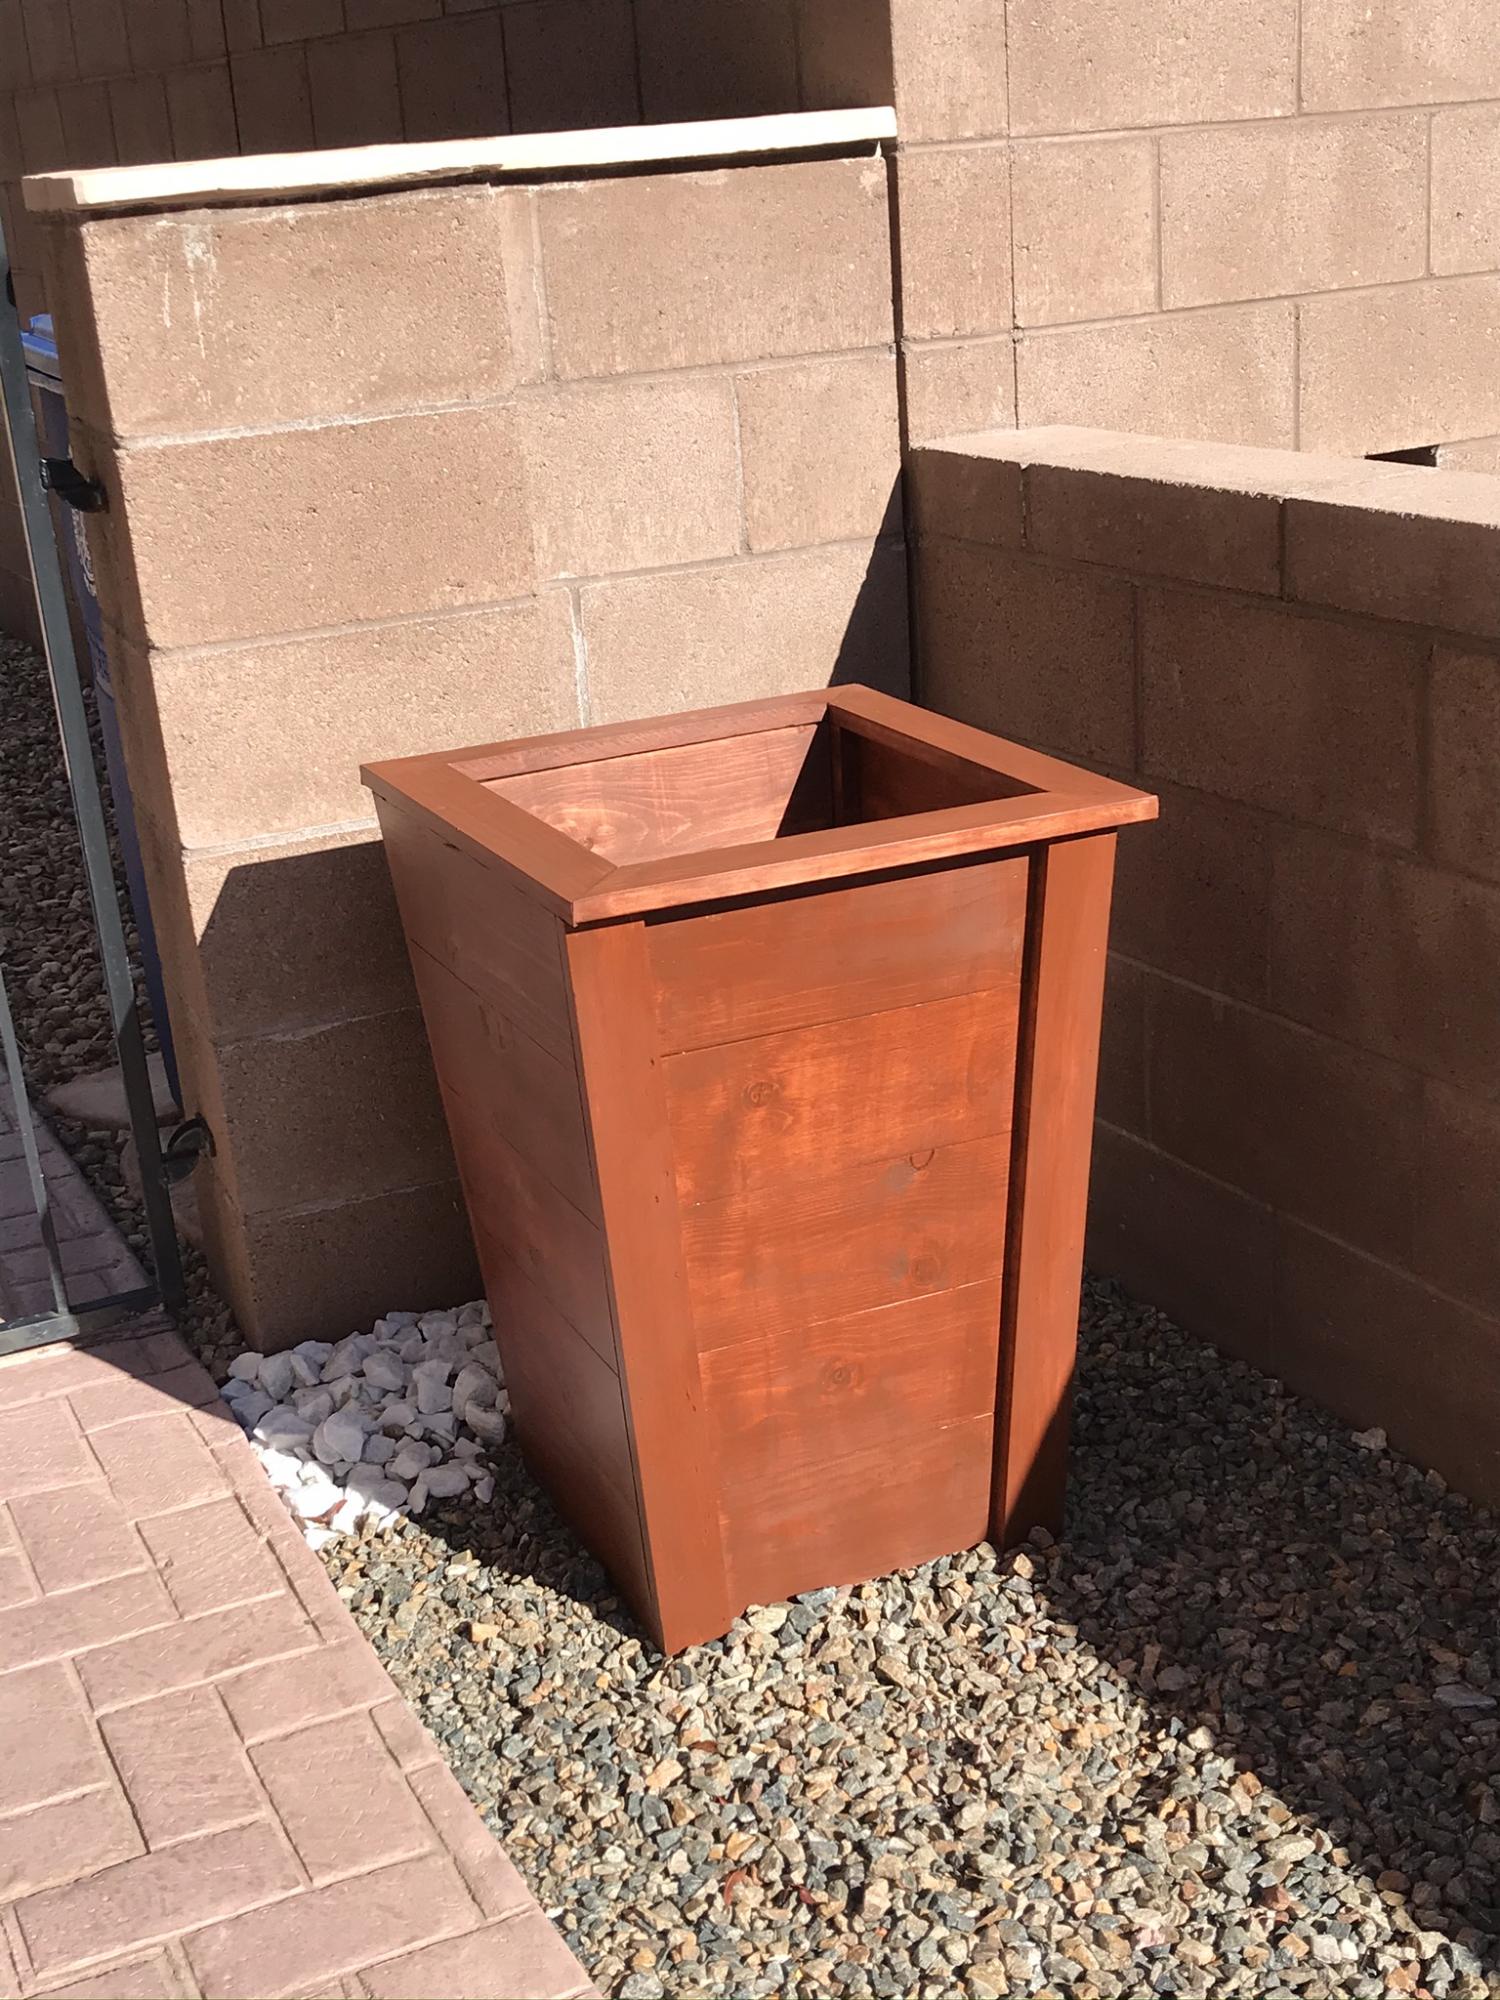
This planter was easy to make. Two days including finish.
Built from Plan(s)
This planter was easy to make. Two days including finish.
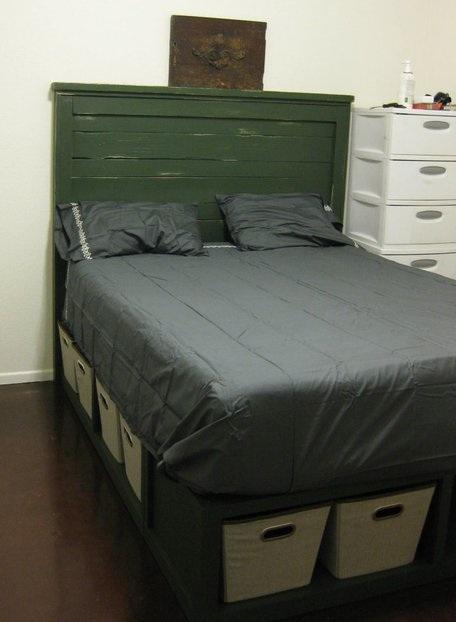
So we really needed a better bed than the flimsy moderny thing that would shift at least a few inches when I would get into the bed. And I like storage. So this was a great fit. The folks at blue were really good to me and help me cut all my lengths of plywood. I did modify the headboard to be 3 inches taller. Otherwise the plans were great! I had one hiccup in adding the divider to one of the benches. It came out kind of slanted. So I would recommend having a lot of light and measuring it out in the back of the box when you are inserting the divider
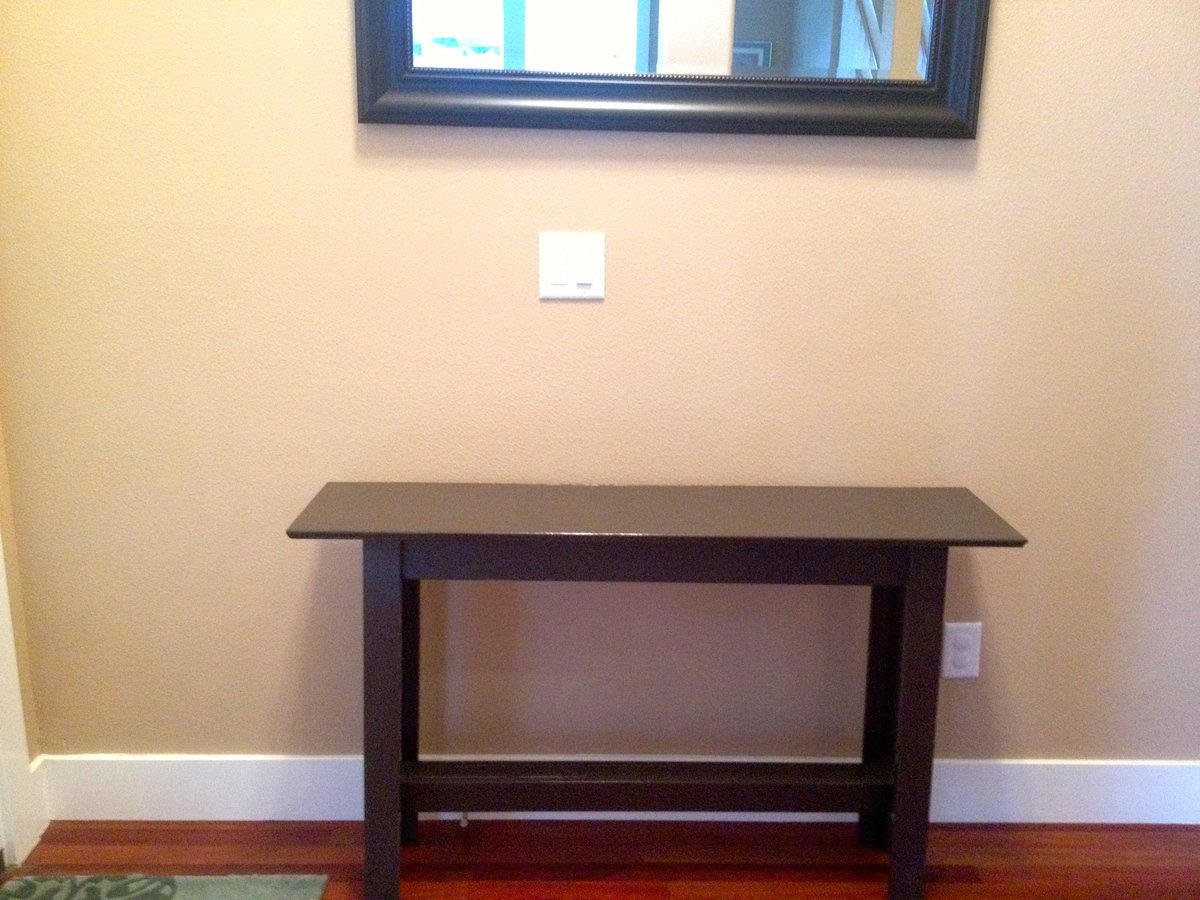
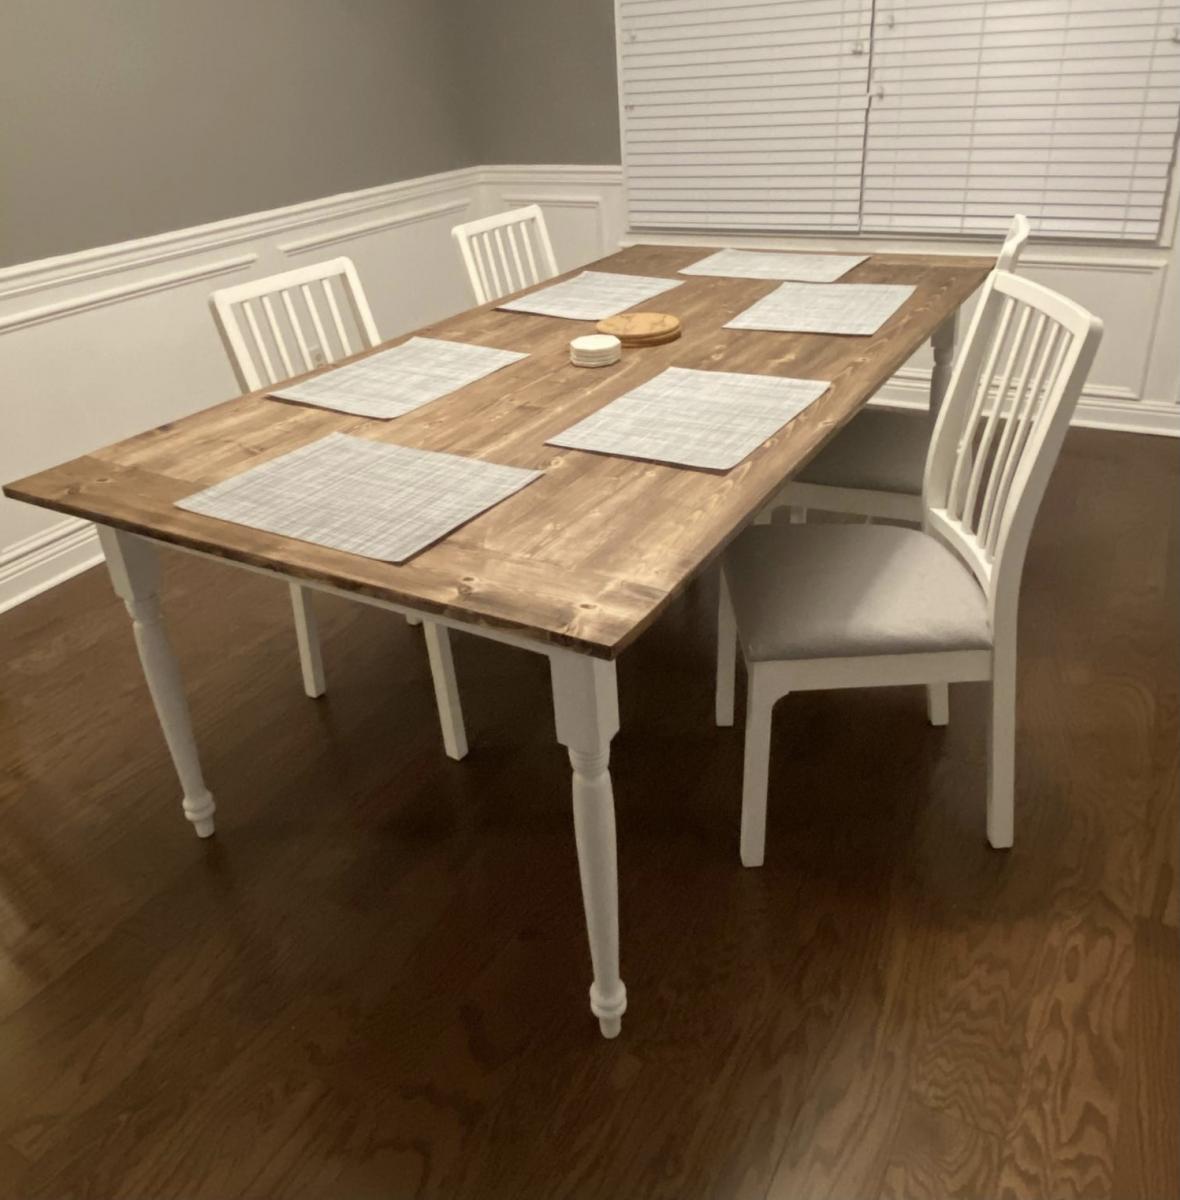
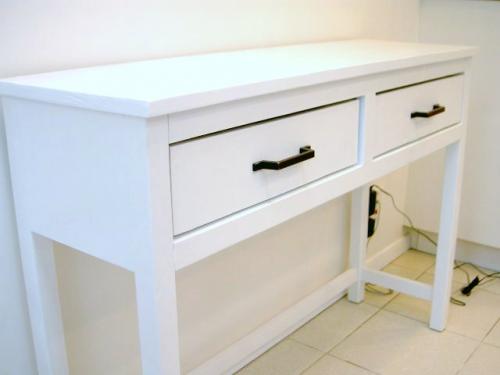
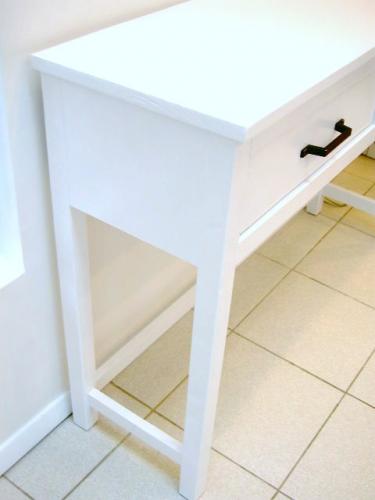
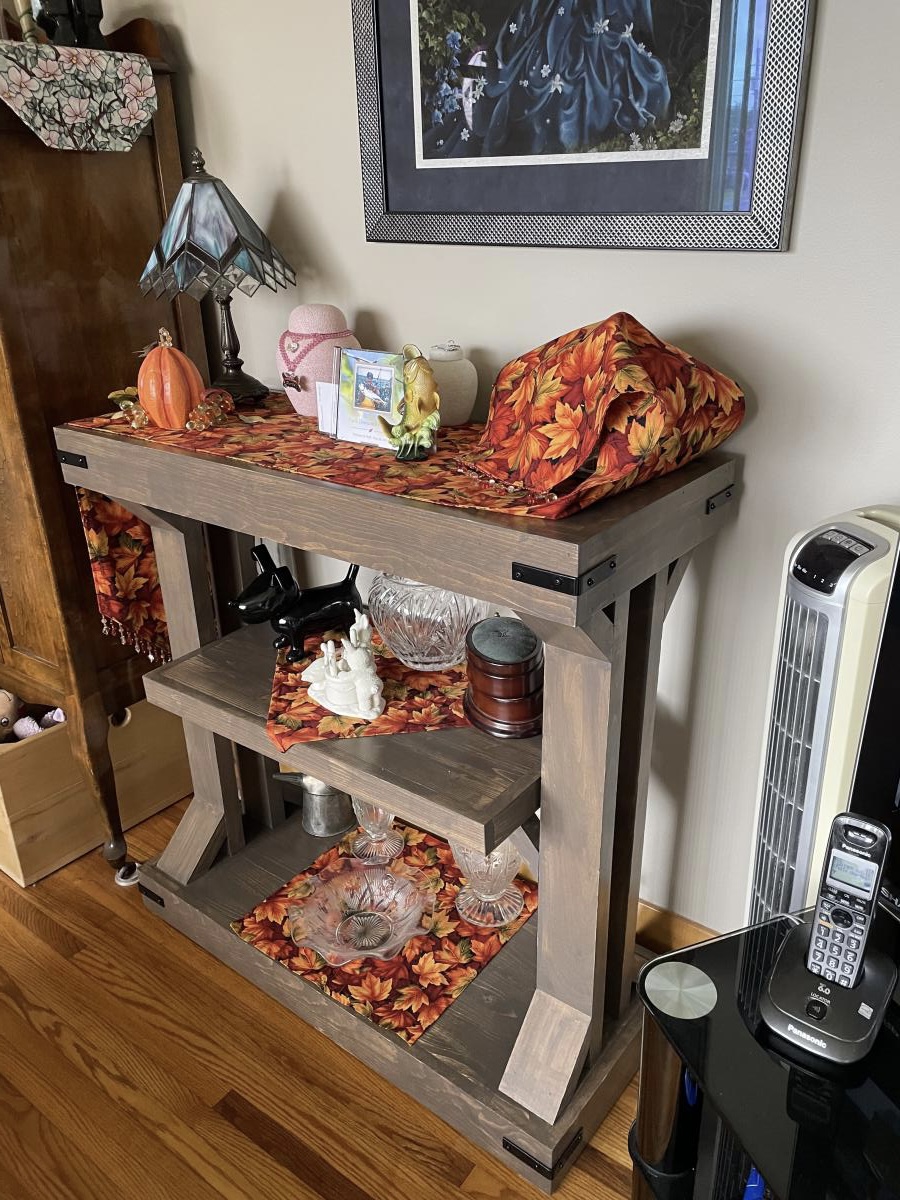
I made this entry table to go by our front door. It's a spin off from the "console table" posted by Anna. I read some of the comments from people who had problems with her plans as a result of different standards in lumber and decided to alter this some!
I cut the side braces short enough so when I included the measurements of the legs the actual table top extended approx. 3/4" further past the legs and apron of the table. I also went with one sheet of wood on the table top and finished it up with some trim around the edge of the table top.

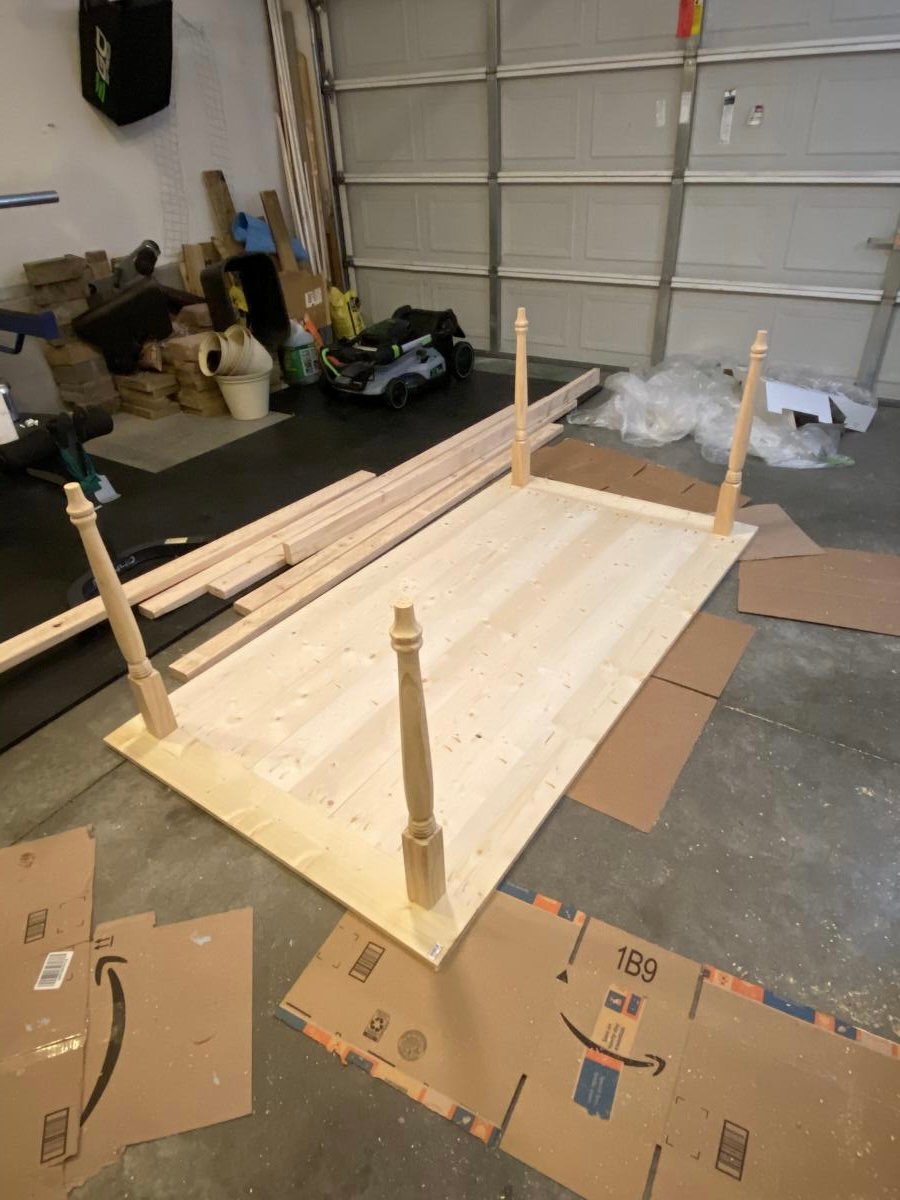
Behemoth of a build, and definitely took a long time to make.

We could not find a table that we liked within our price range so we decided to take matters into our own hands. Thanks to Anna White we were inspired to create this piece, our first wood building project ever!

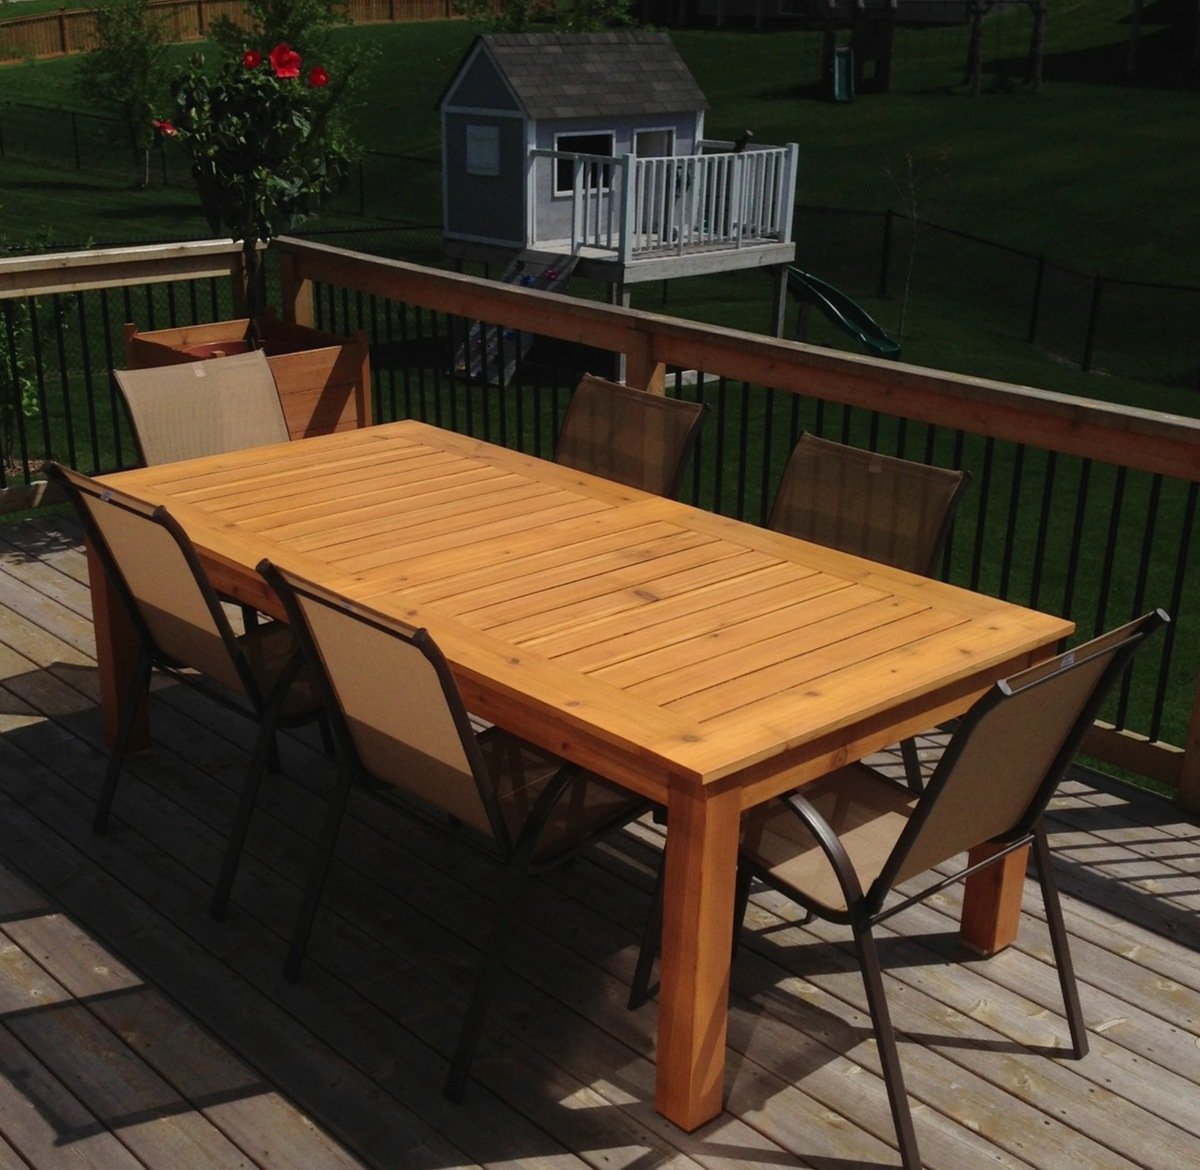
I took the Simple Outdoor Table along with a table I had seen at Pottery Barn and kind of put this together. It made of cedar and stained with a natural to keep the pretty color.
Mon, 06/03/2013 - 16:58
I really love the way you did this table! I've been considering a bunch of different plans and haven't been entirely satisfied with any of them. What are the dimensions of your table? And do you have measurements, or did you just figure it out as you went?

In reply to Size? by storchinsky
Wed, 06/05/2013 - 08:33
I started out with the size of 8 ft by 40 inches. It isn't exact but it's real close. After I had the initial measurements I just kind of pieced it together. I got ideas from looking at different tables on here and followed the pattern of the one I liked at Pottery Barn.
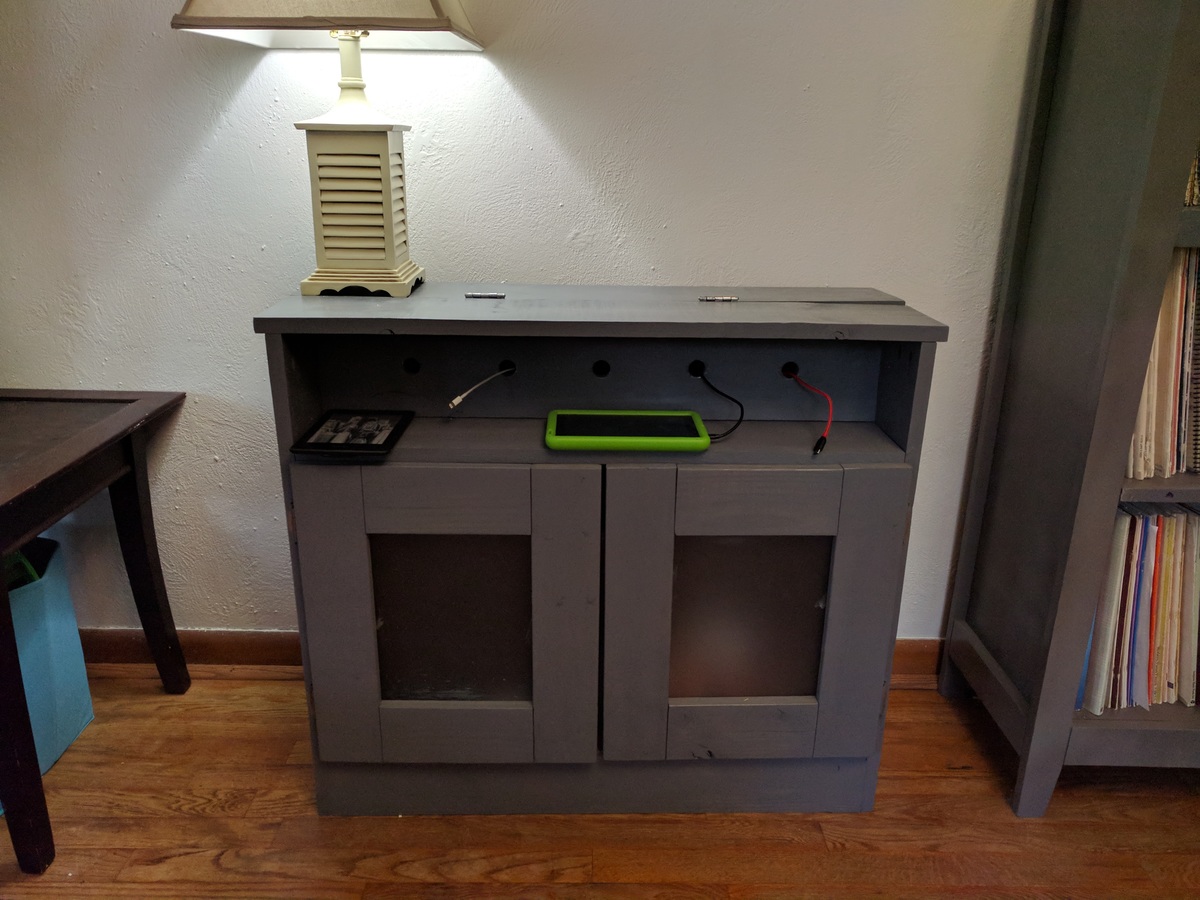
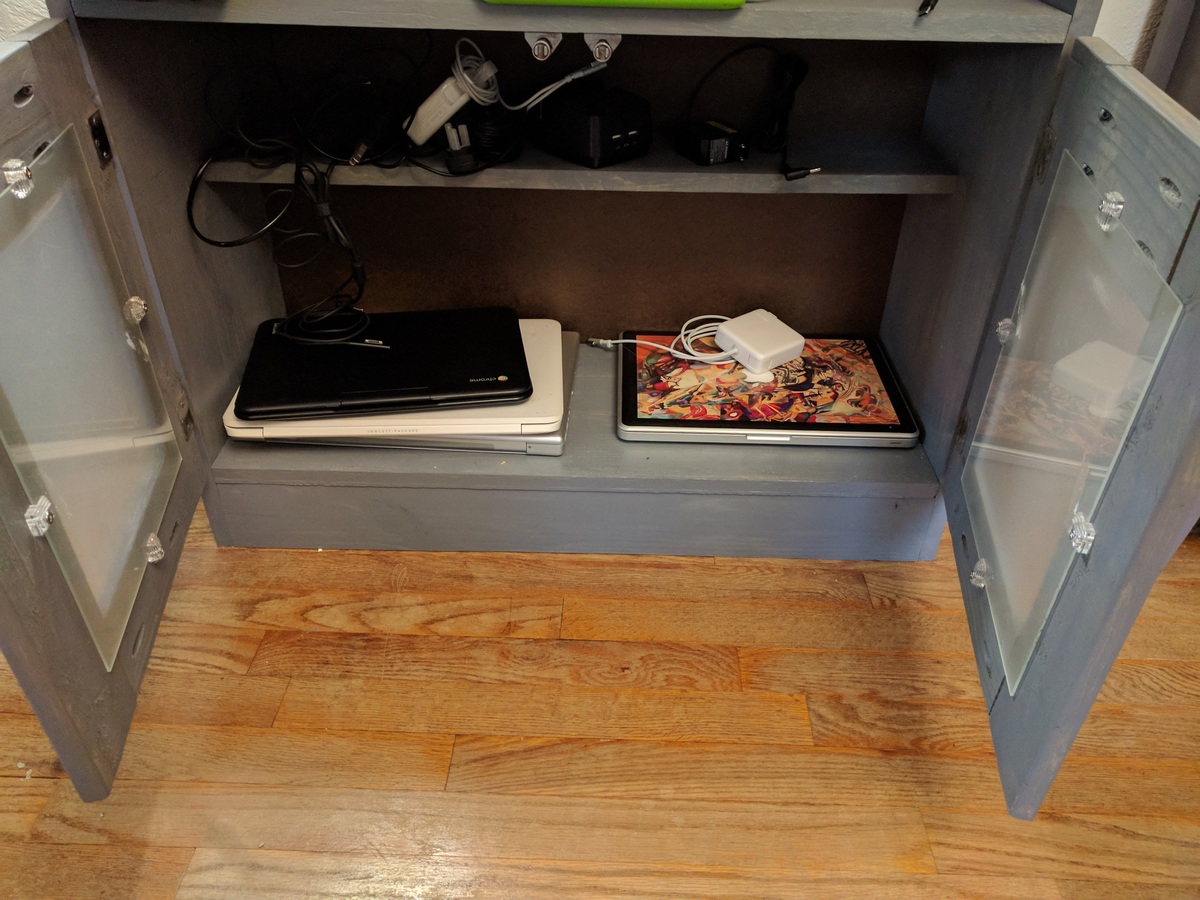
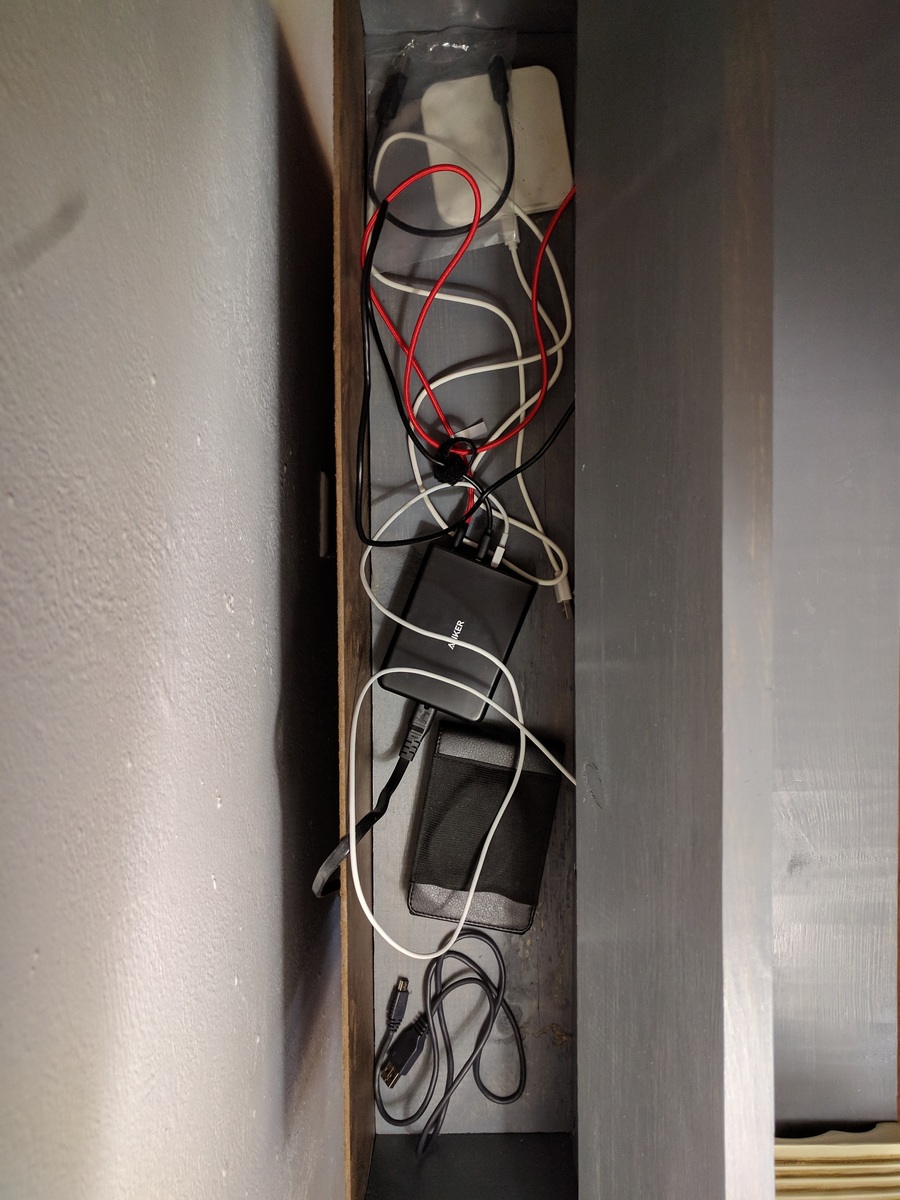
I used the charging station plans as my first attempt at building something using pocket holes, and also my first real attempt at building any piece of furniture from scratch. I stuck pretty much to Ana's plans except for not cutting the front footer (I didn't own a jigsaw at the time) and using panes of frosted glass as the center of the doors.
As a piece of furniture it gets used every day, but it has been most invaluable to me as a learning experience. I've built many pieces of furniture in the time since I made the charging station, growing my skills each time. But this project was where I started, so it always feels a little extra special to me.
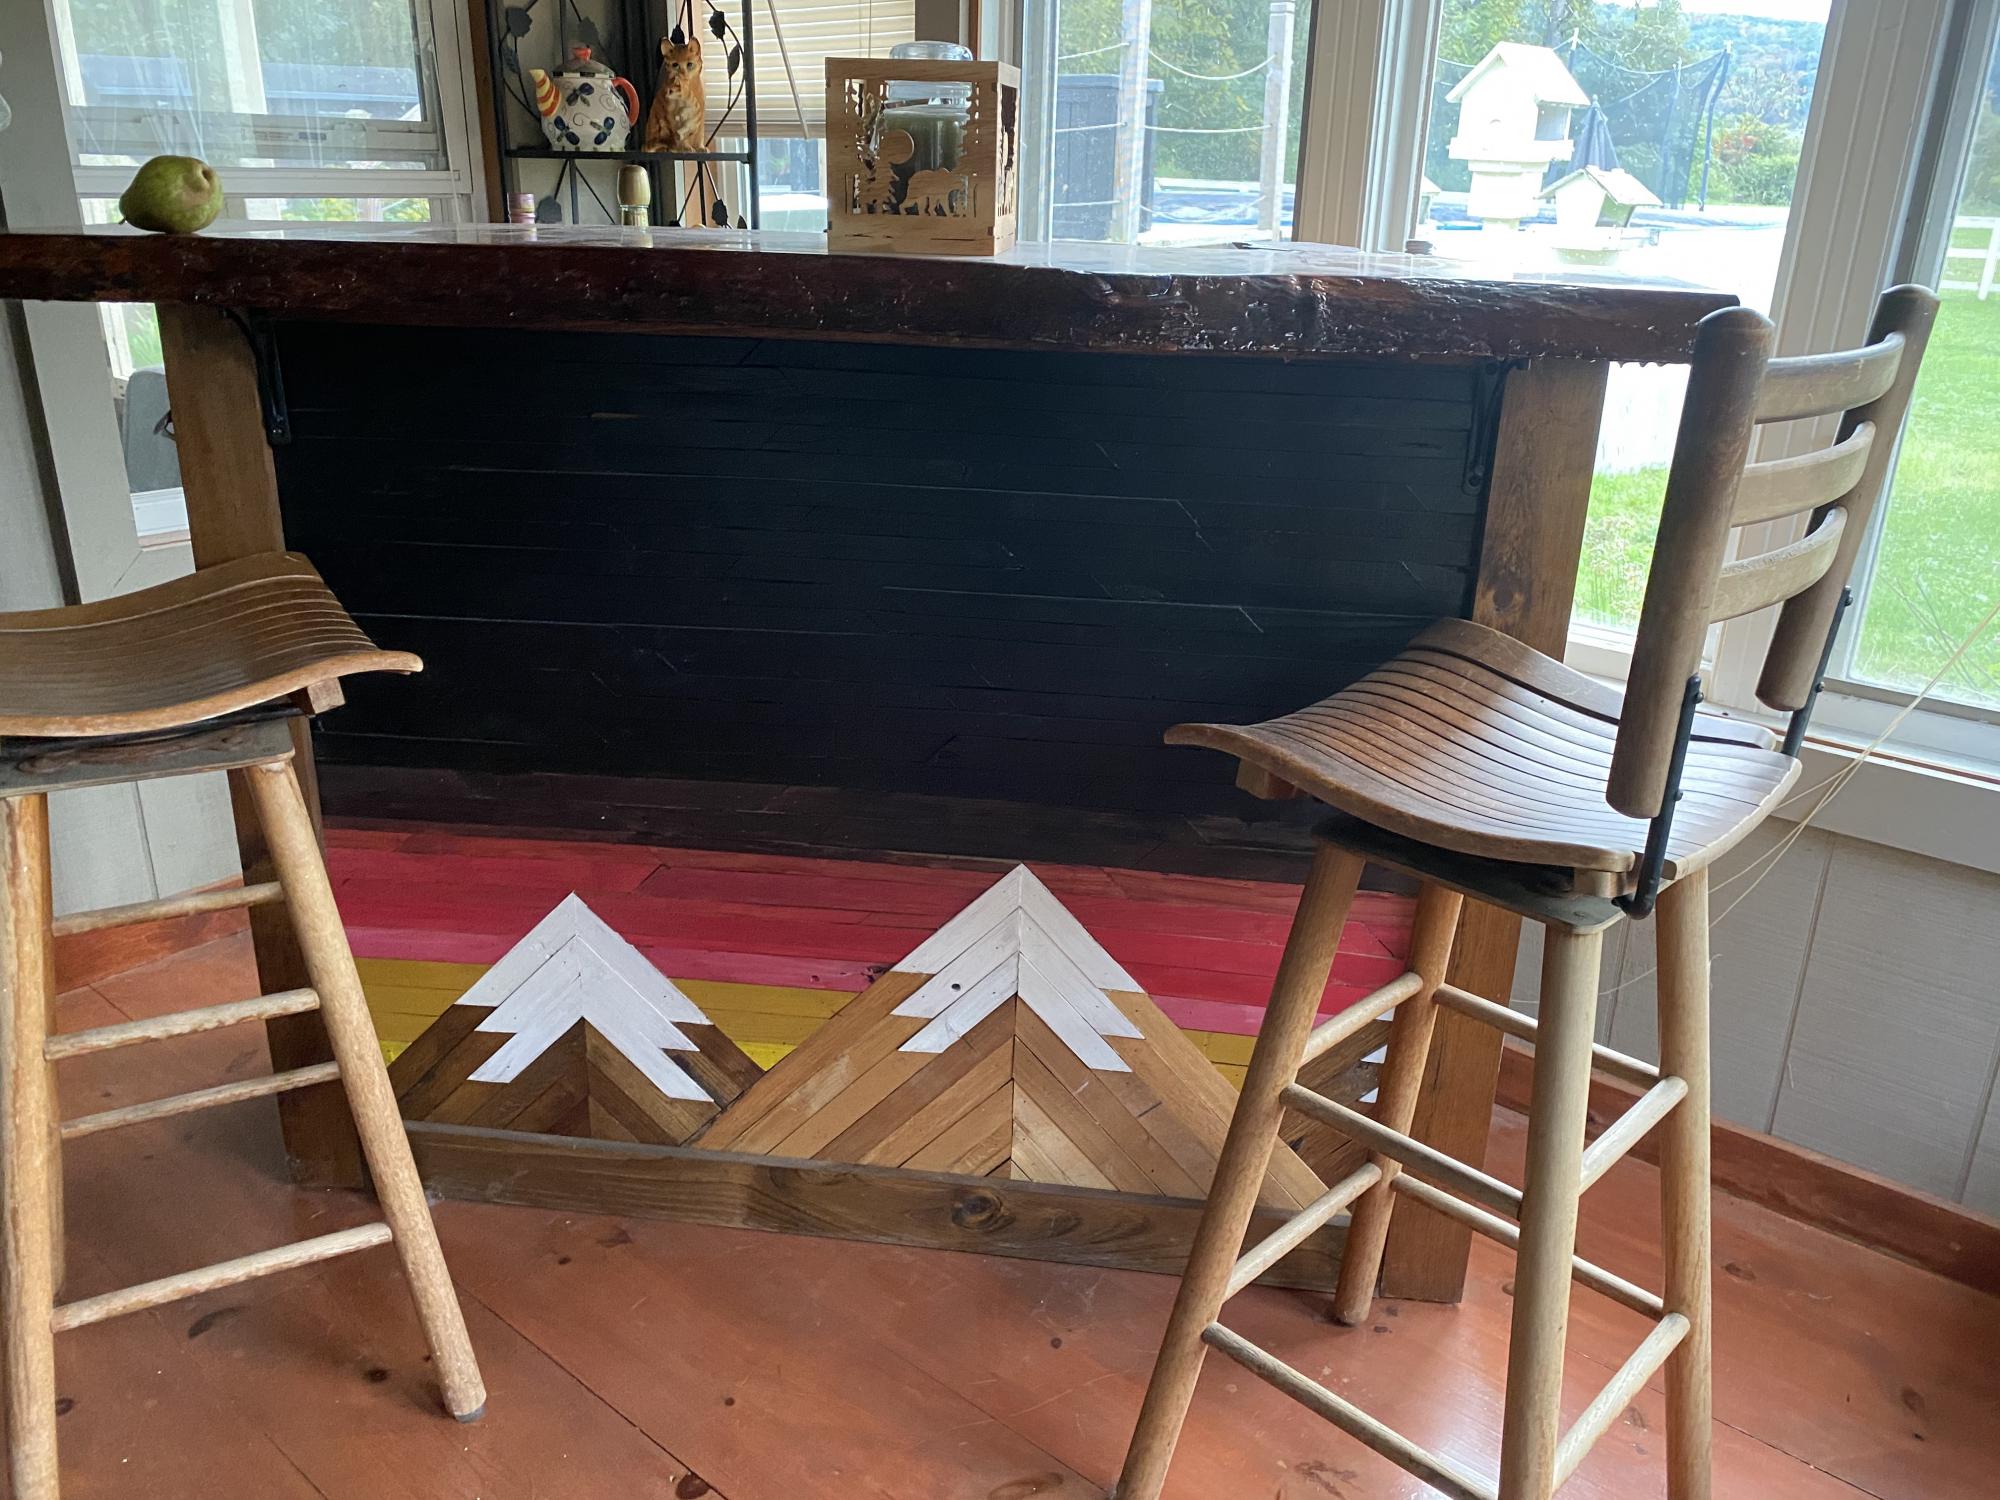
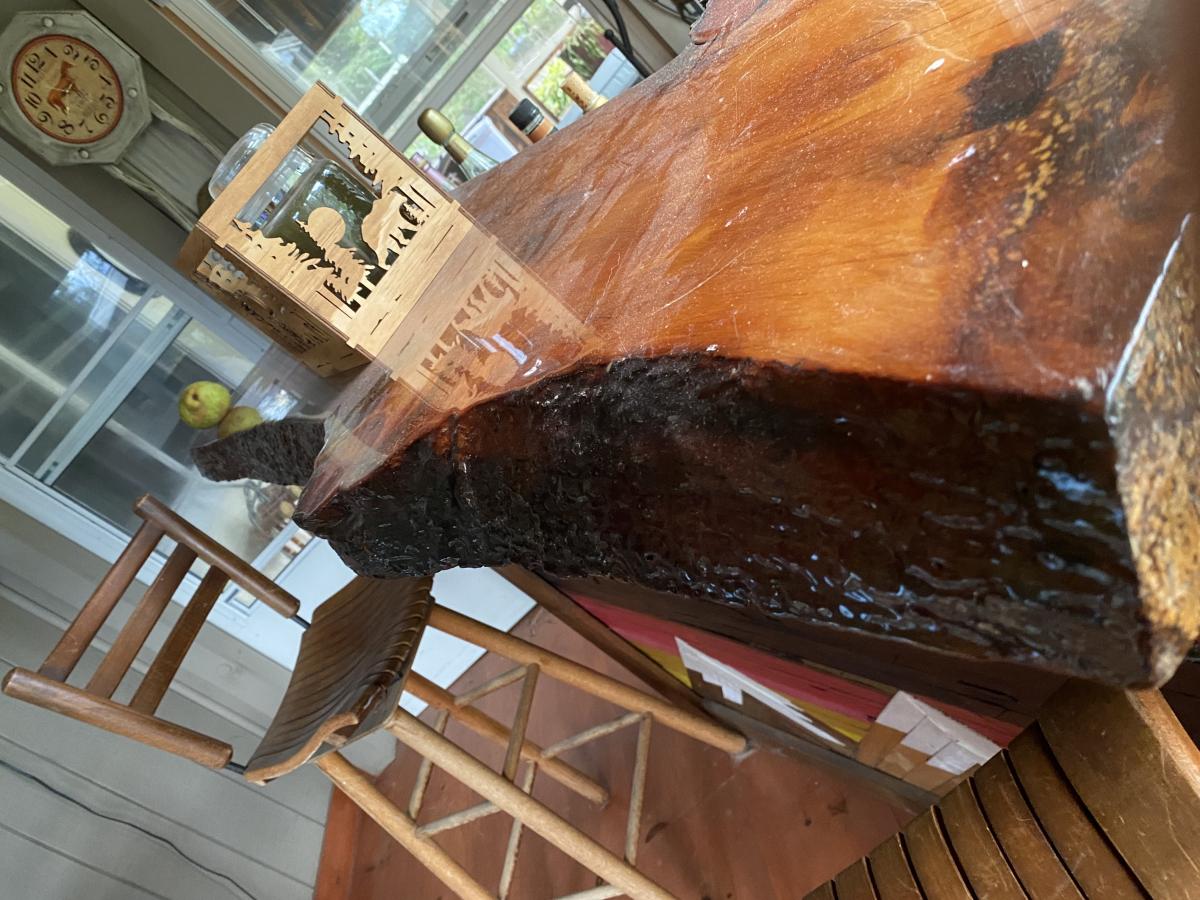
My covid bar. Kept me busy for a while. There were no plans used for this bar.
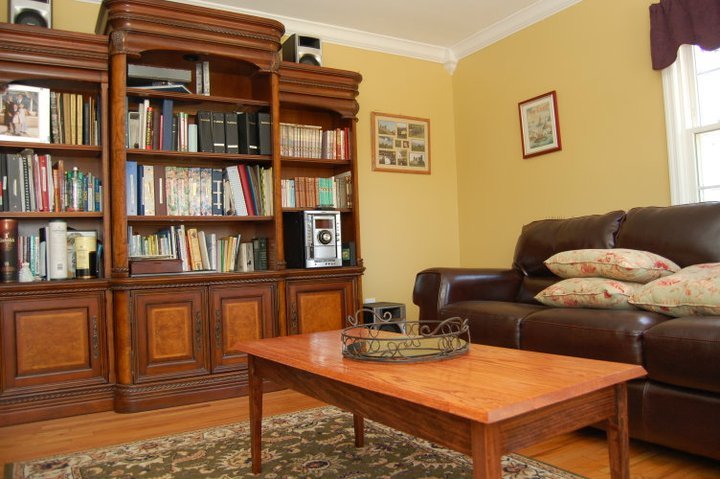
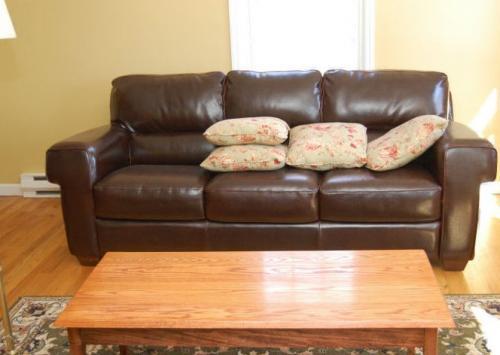
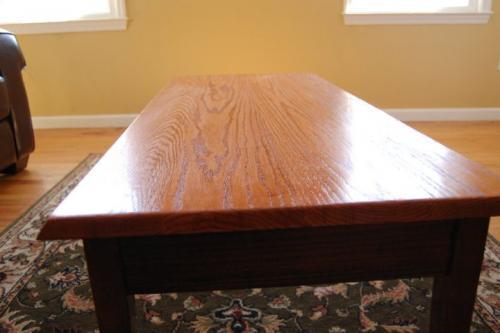
My wife said she did not want anything for her birthday, so instead of buying her
something after she said that, I decided to try and make something. We did not have a coffee table in our living room - when we hosted Christmas, we had a piece of plywood over boxes, covered with a table cloth. So I decided to try and make a coffee table for her.
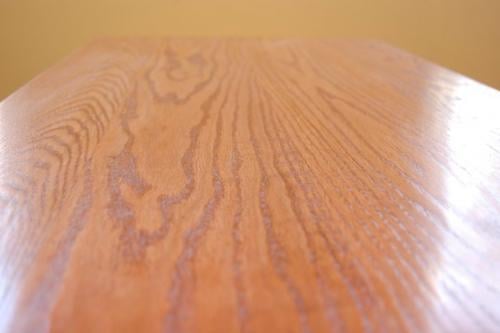
Made some mistakes sanding the top, so then had to spend a lot more time sanding out the gouges.I did not use a plan per se, but when I started looking here, it was remarkable similar to Clara's Table, with differeing dimensions. The cost was a little higher due to the oak boards for the table top. Those alone were $50.
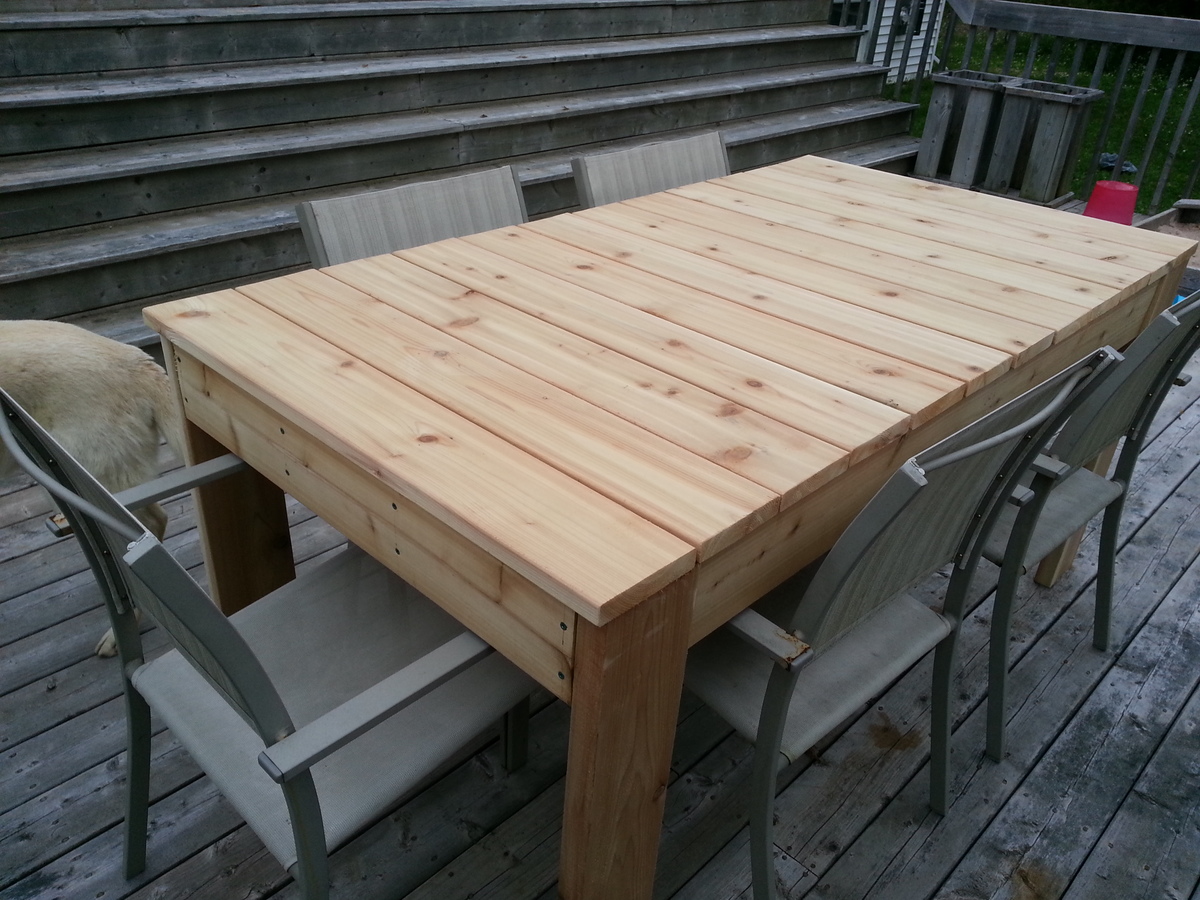
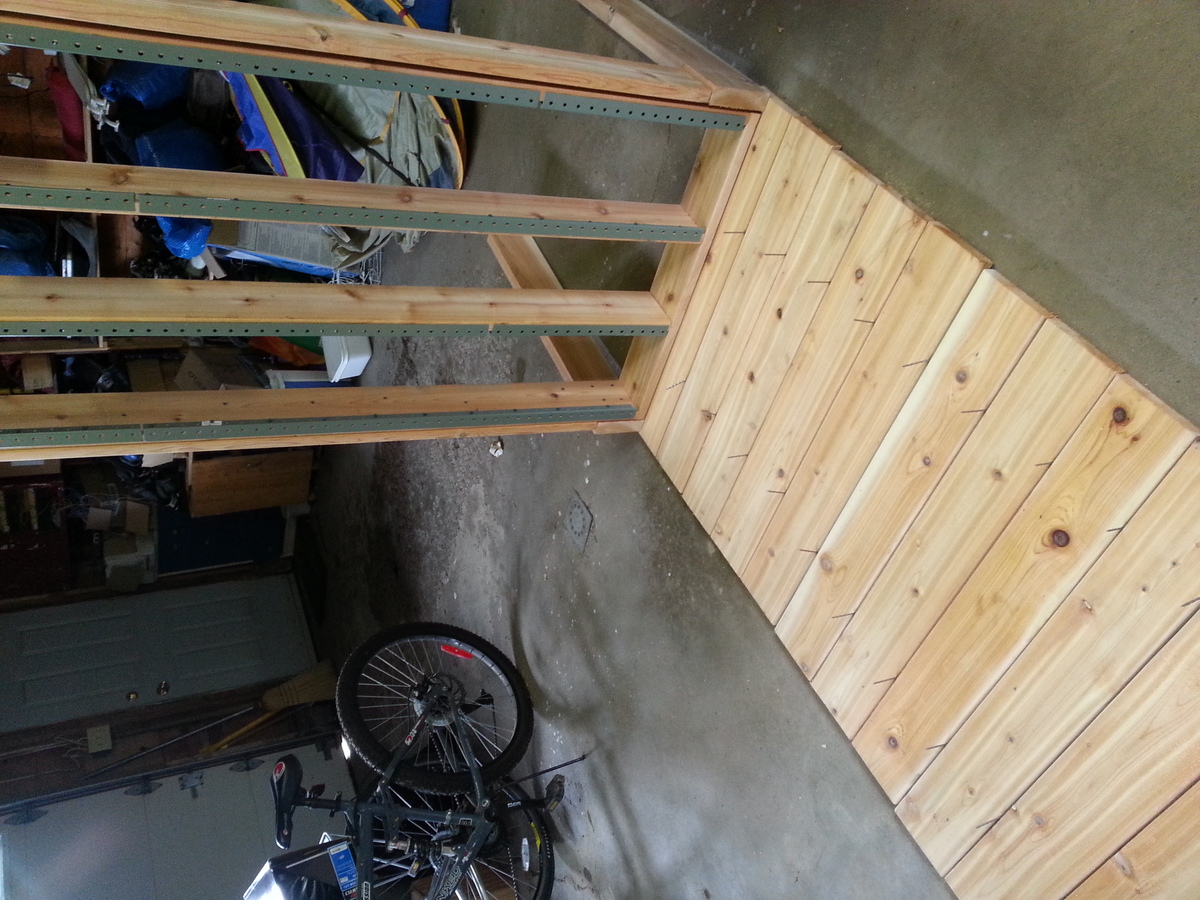
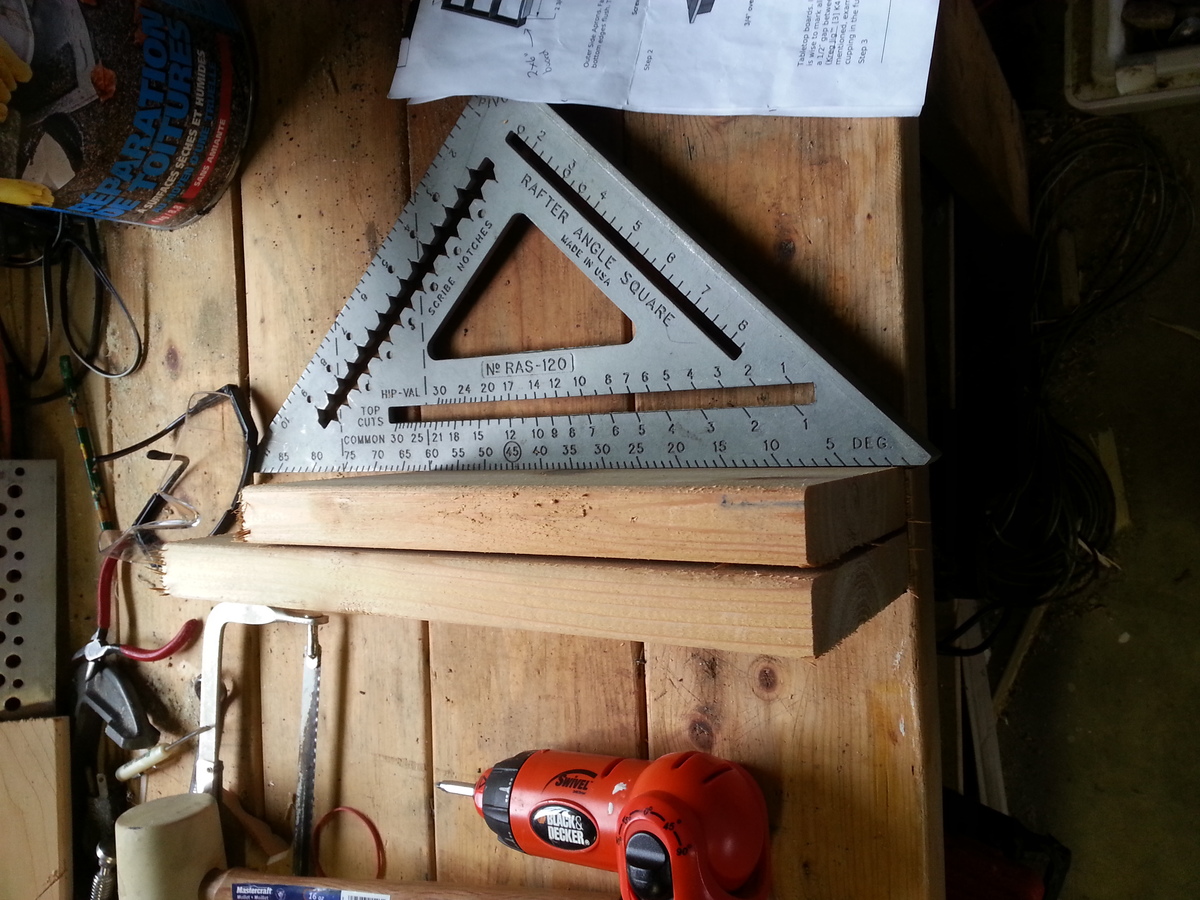
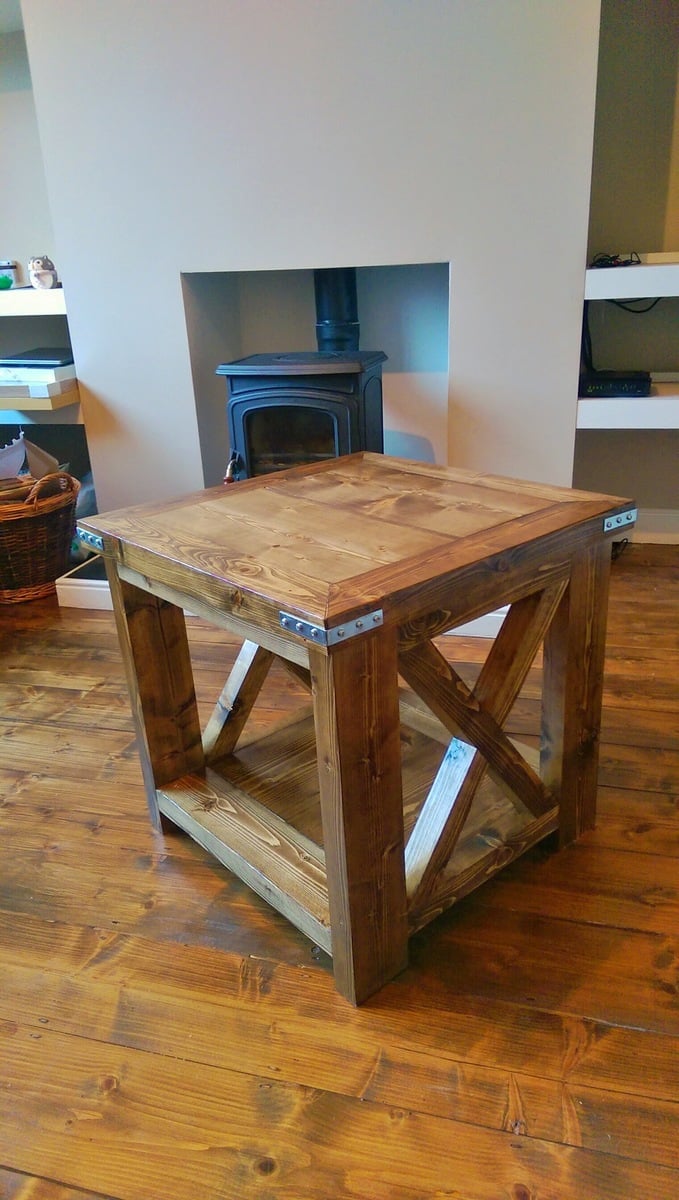
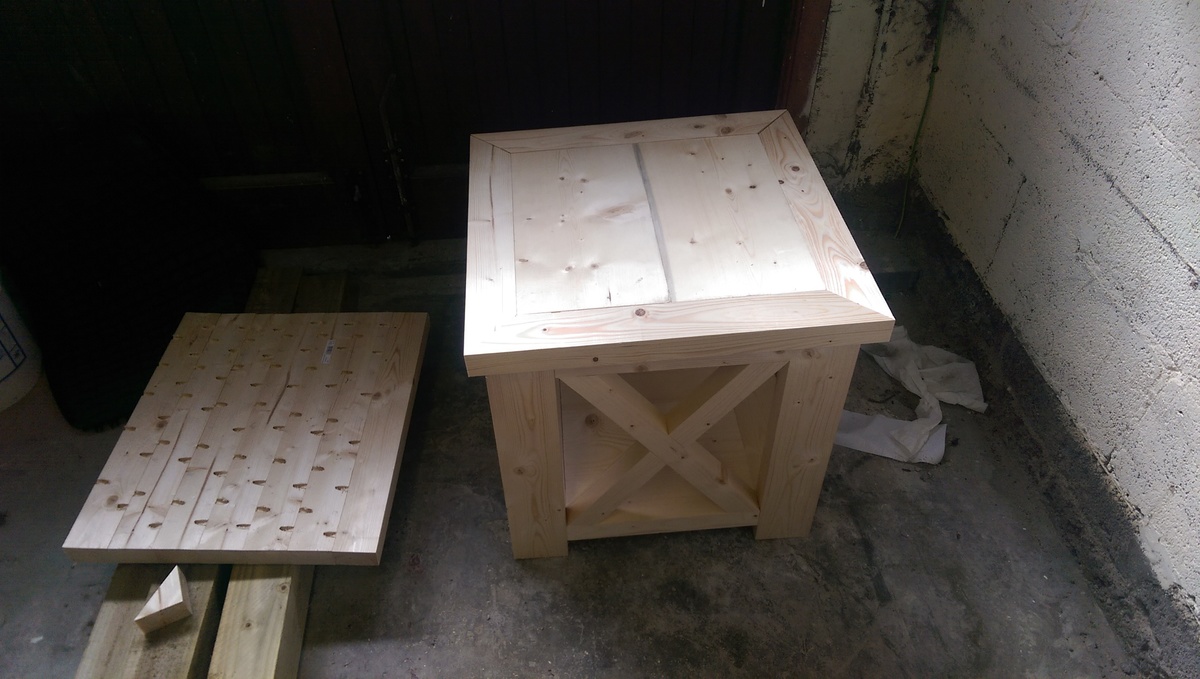
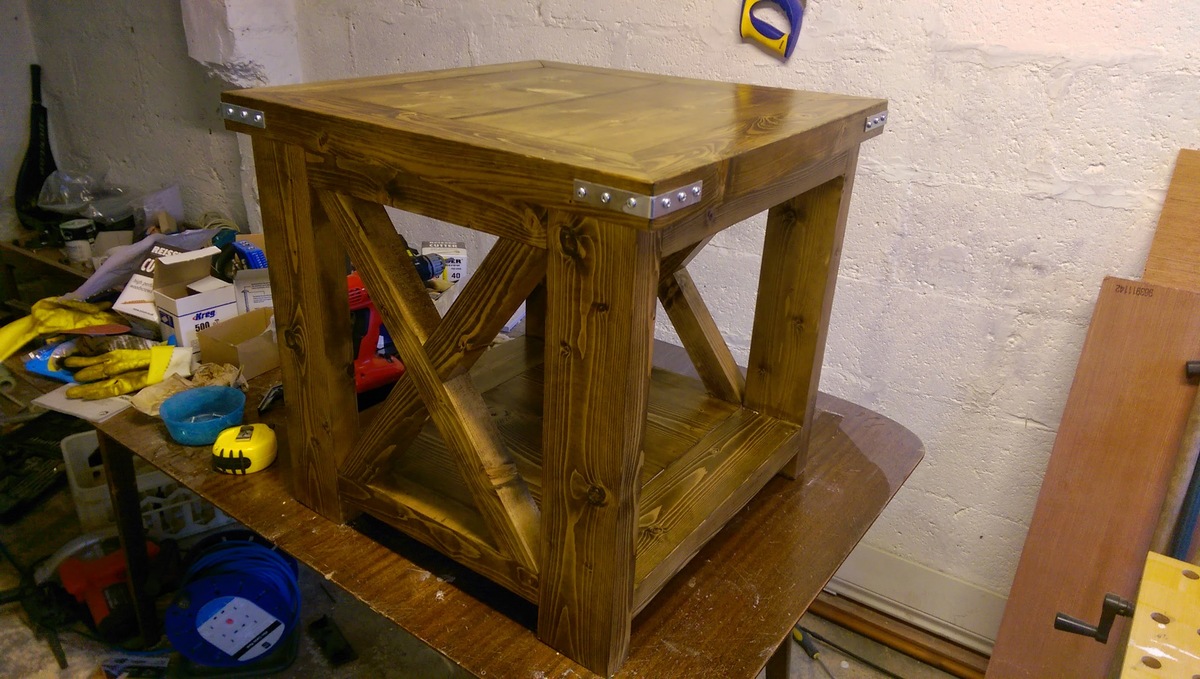
This table follows the plan pretty closely except that I wanted to use Red Cedar because of its beauty and durability. We can only get Red Cedar at one National Chain here and it only came in 6" widths, which meant a few recalculations. We also used deck strips (as recommended at the store) to attach the top from underneath (shown in photo) and adjusted the screw length to accommodate. We were able to keep waste to a minimum (seen in photo with triangle) by making sure to cut varying lengths from the boards (ie. one board gave us the length and width of the table). This was made easier by the available lengths of board from the store (8', 10', 12'). Another recommendation from the store was to use coated screws with cedar to prevent black streaks over time.
I love my new table!
Wed, 11/11/2015 - 11:08
I was wondering about the size of this table. If I need to make three different sized tables, 36x36 24x24 and 24x30 would this pattern be easy to adjust?
Thanks,
Sarah
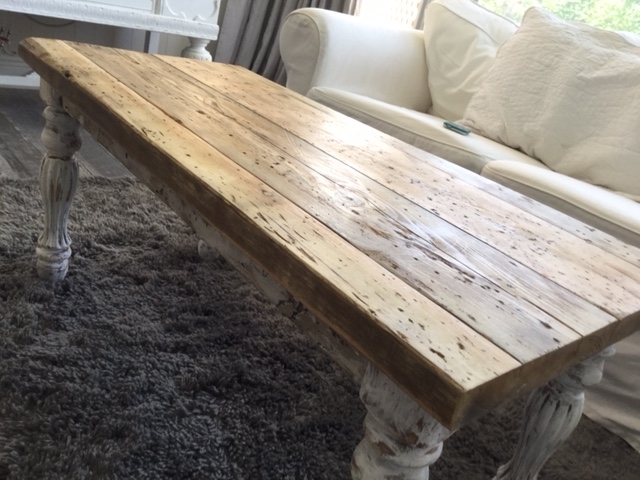
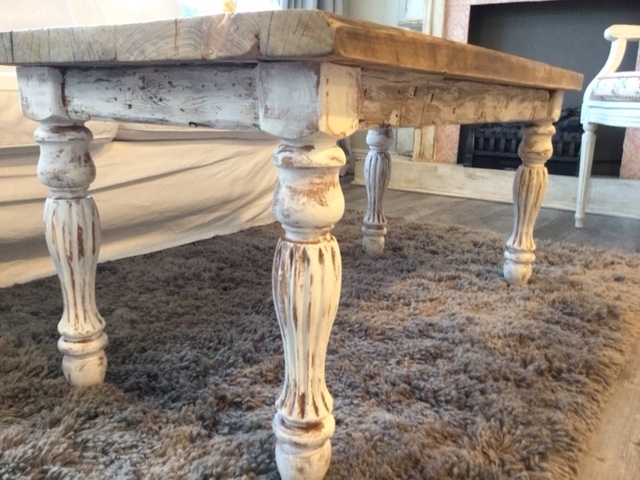
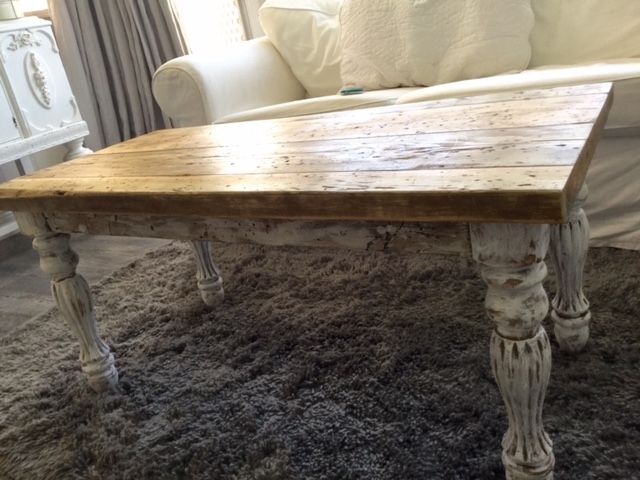
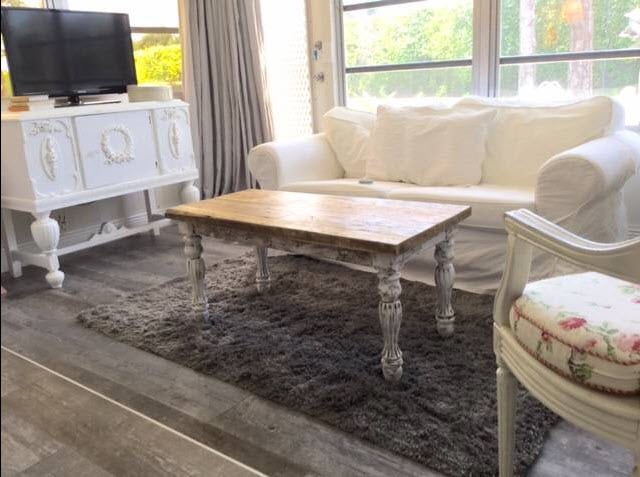
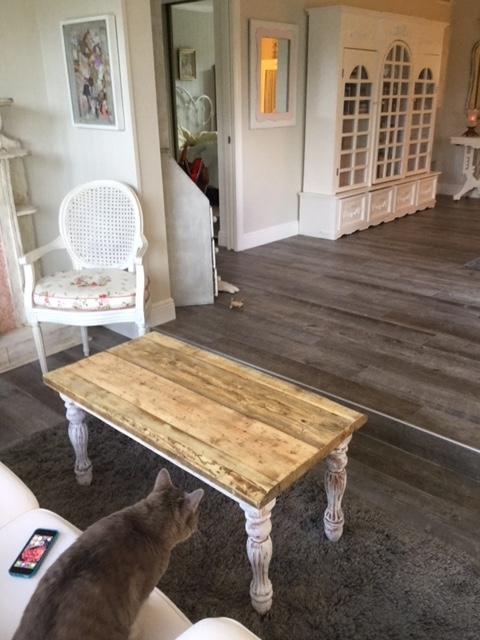
This is a turned leg coffee table that i built for my mum. the top is reclaimed and the legs were found on a cheap craigslist side table!
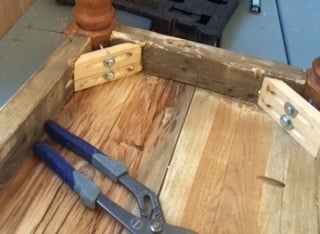
I used corner brackets to secure the legs so they could be taken on and off...as i needed to ship the table in the mail.
The boards on top were already distressed but i used a gooey month long festering vinegar and steel wool concoction to add even more interesting layers.
I am so happy with the table and my mother is in love with it!!!!
Thanx again for the great plan and resource that helped me build it!
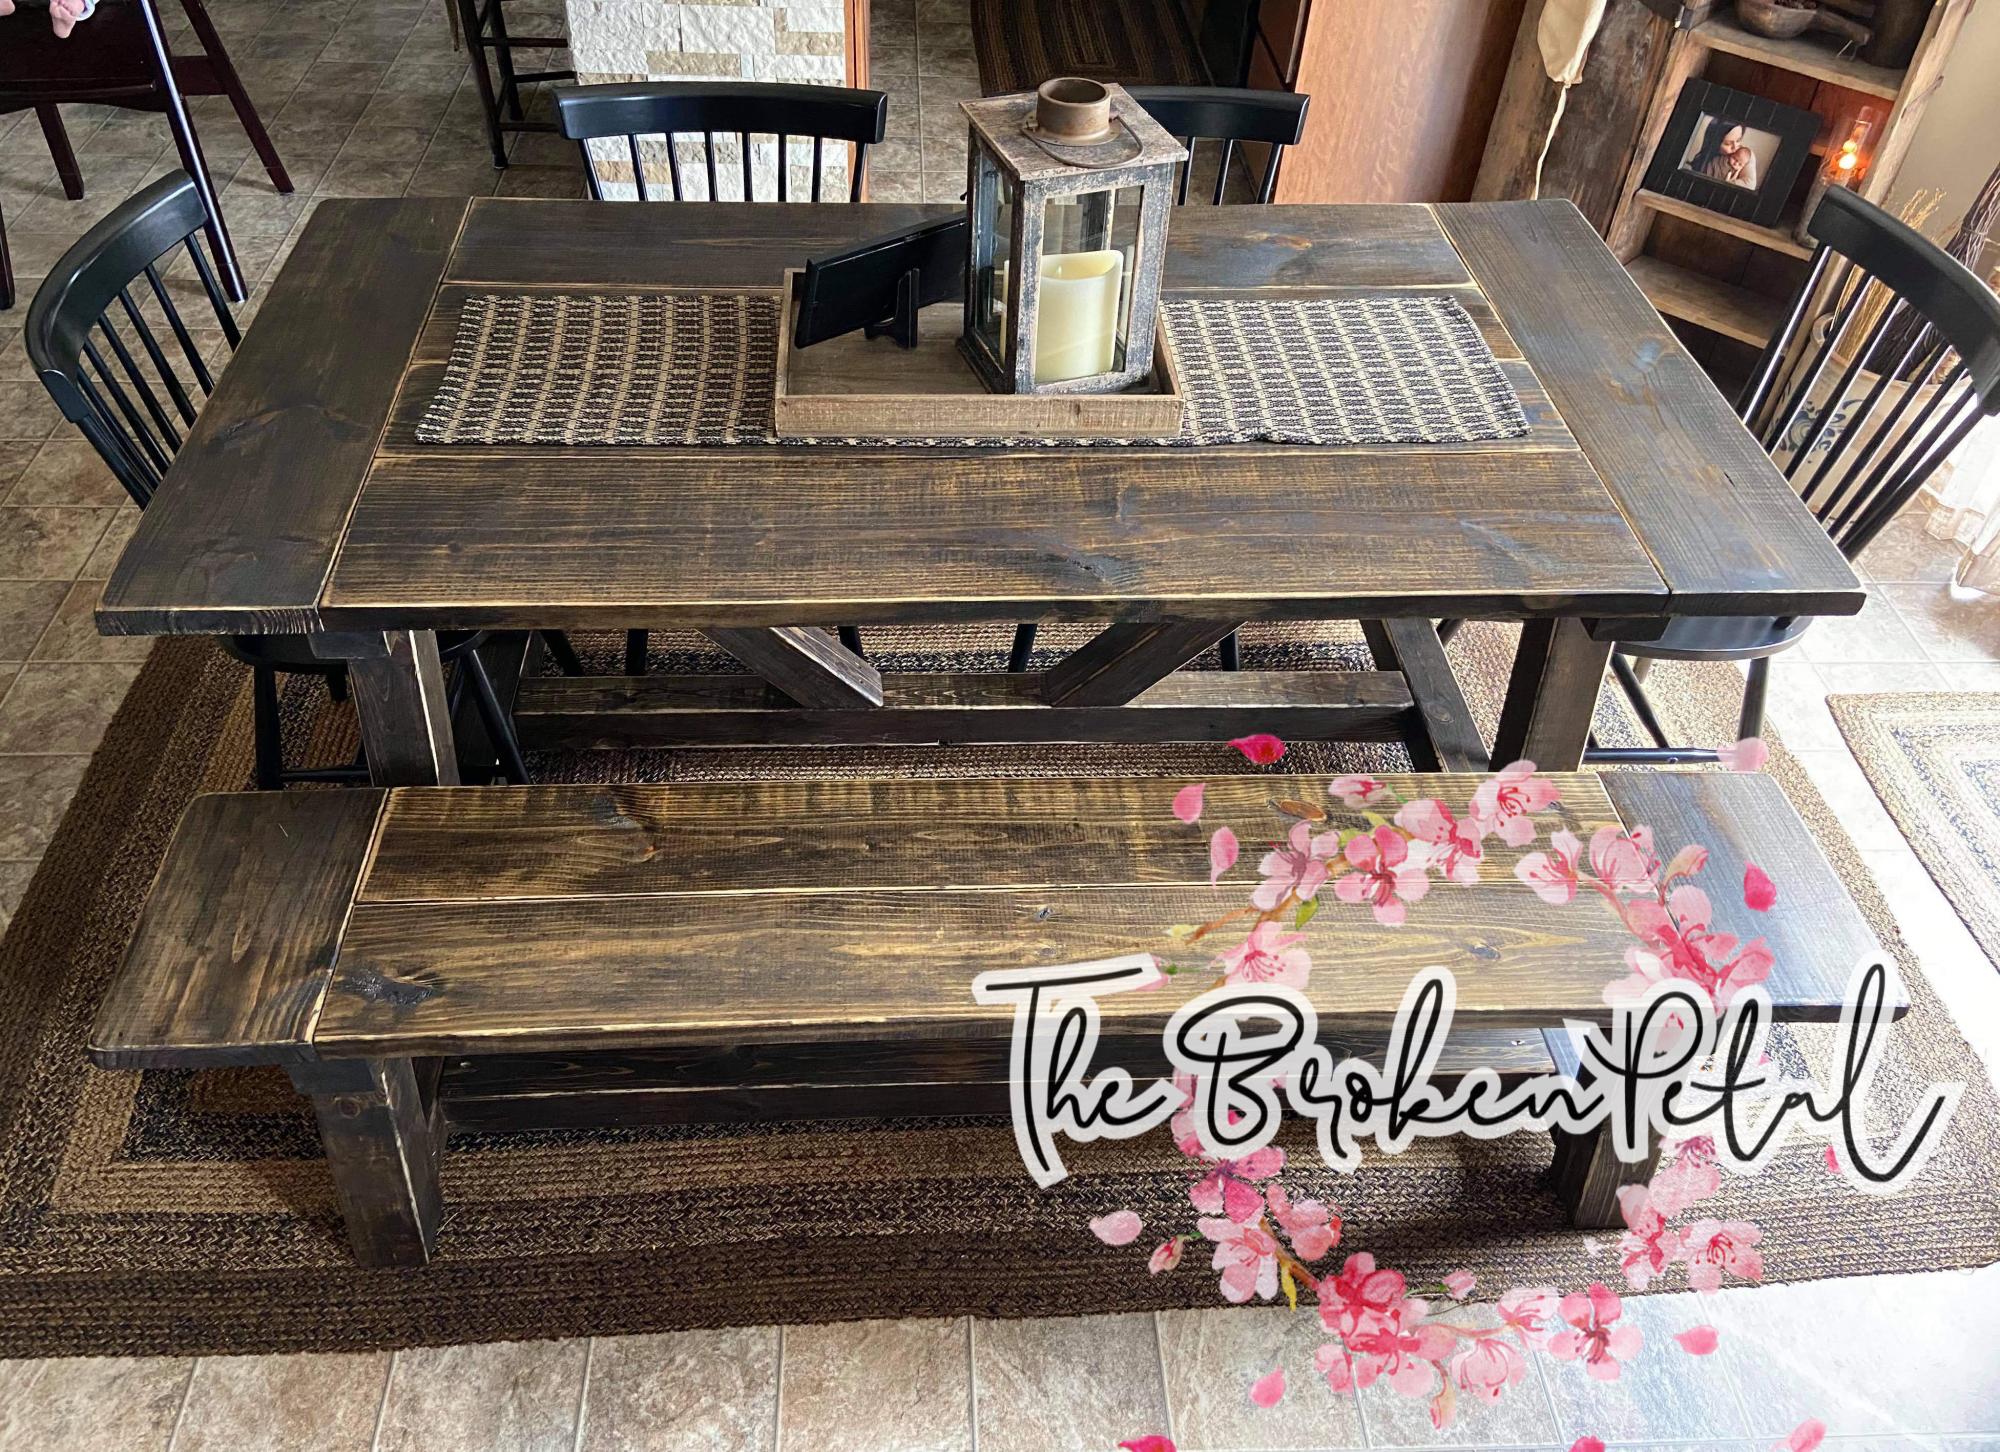
Absolutely love how this table & matching bench turned out! We made them rustic looking before staining with Jocabean stain. Our customers went crazy over it ❤️
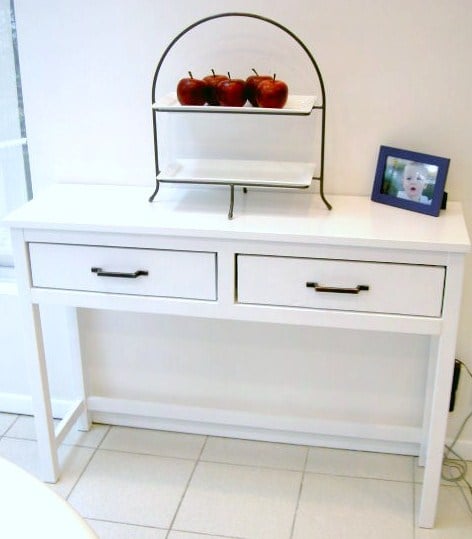
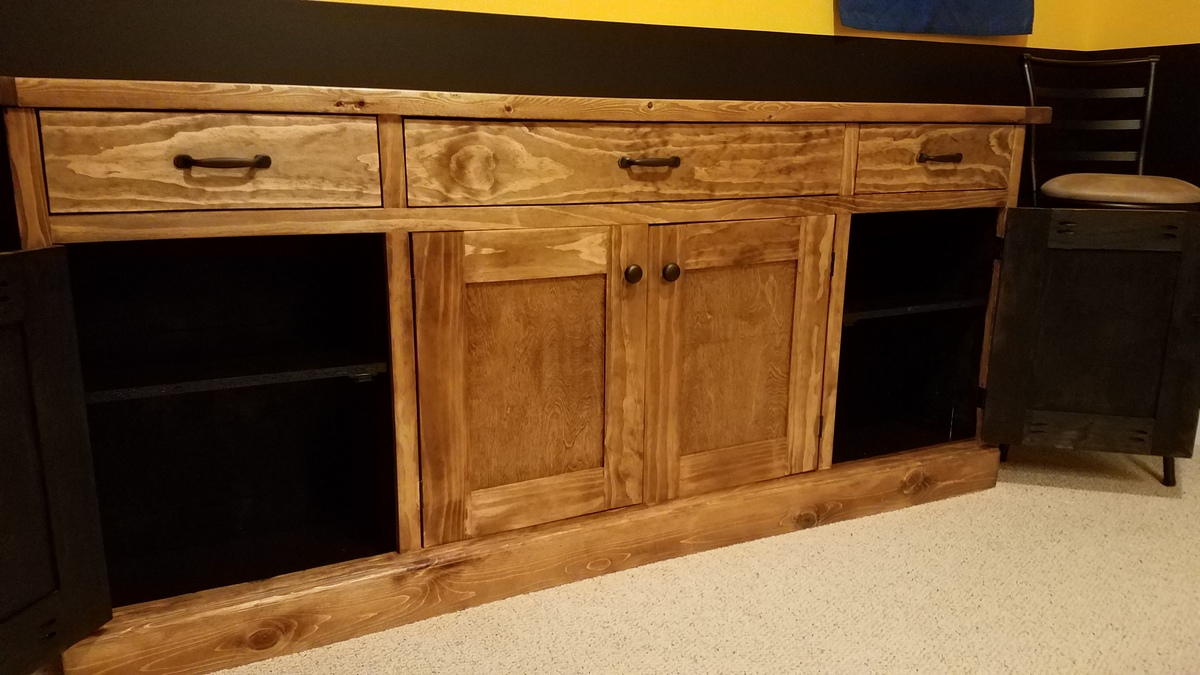
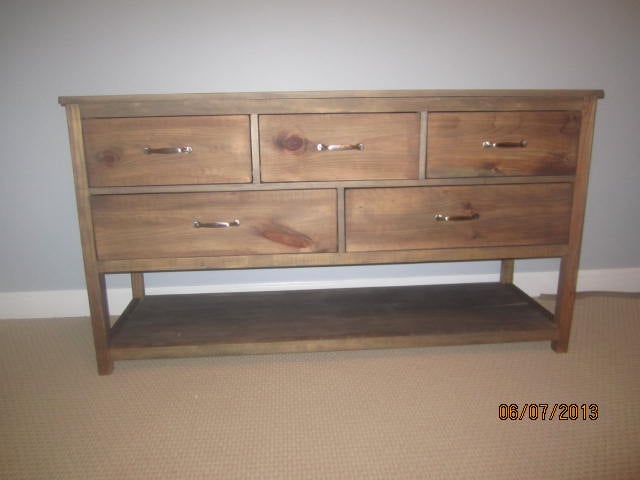
Simple sideboard with two drawers.


This is my first try at building! Well, I have built above ground gardens but never furniture. Seeing what everyone has done on this site encouraged me to give it a try too. I'm so glad I did and it turned out exactly as I wanted. Now, I have several other projects that I'm excited to start. This could get addicting.
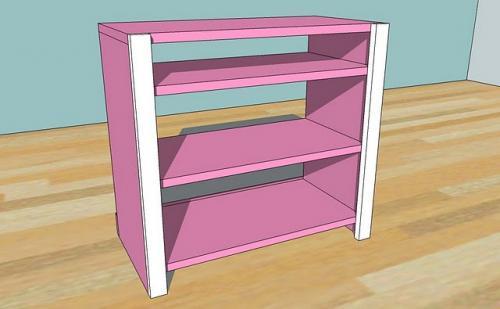
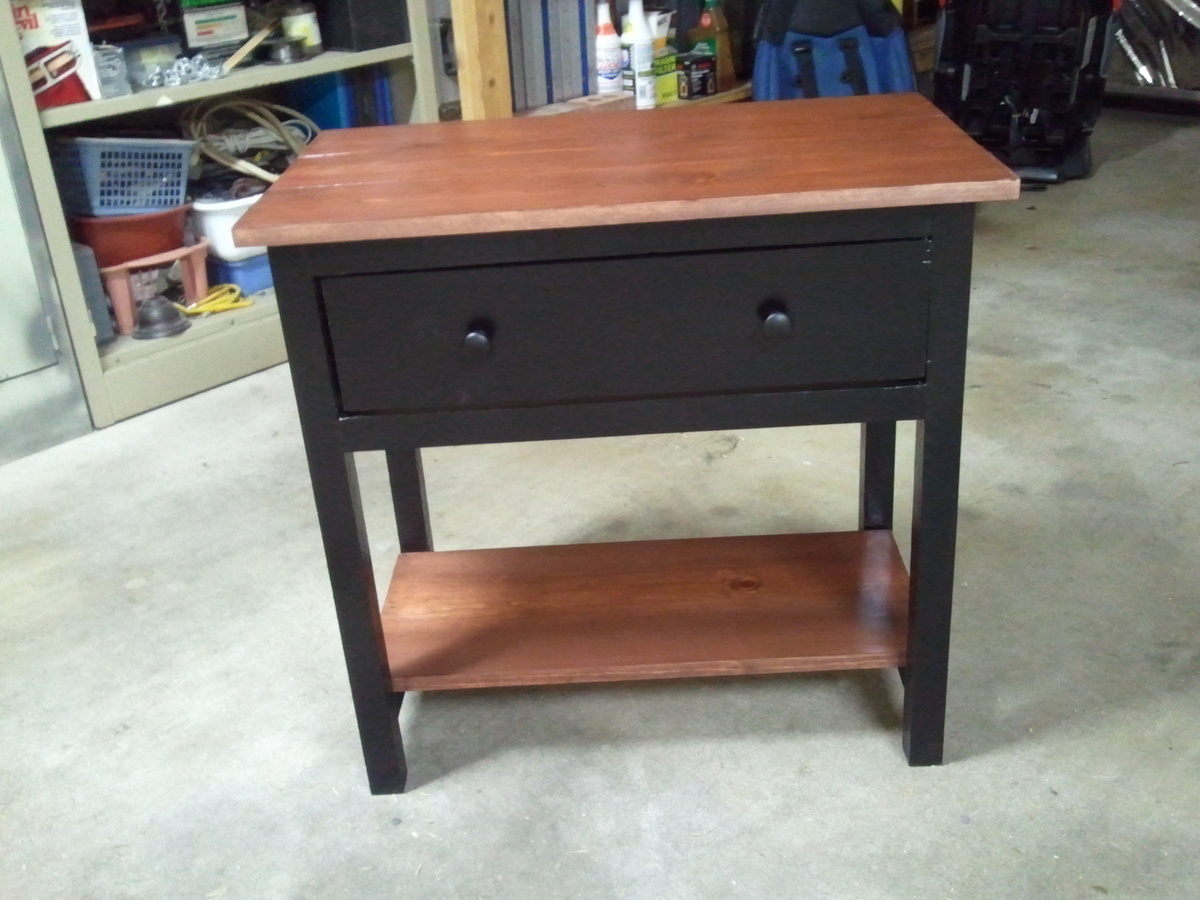
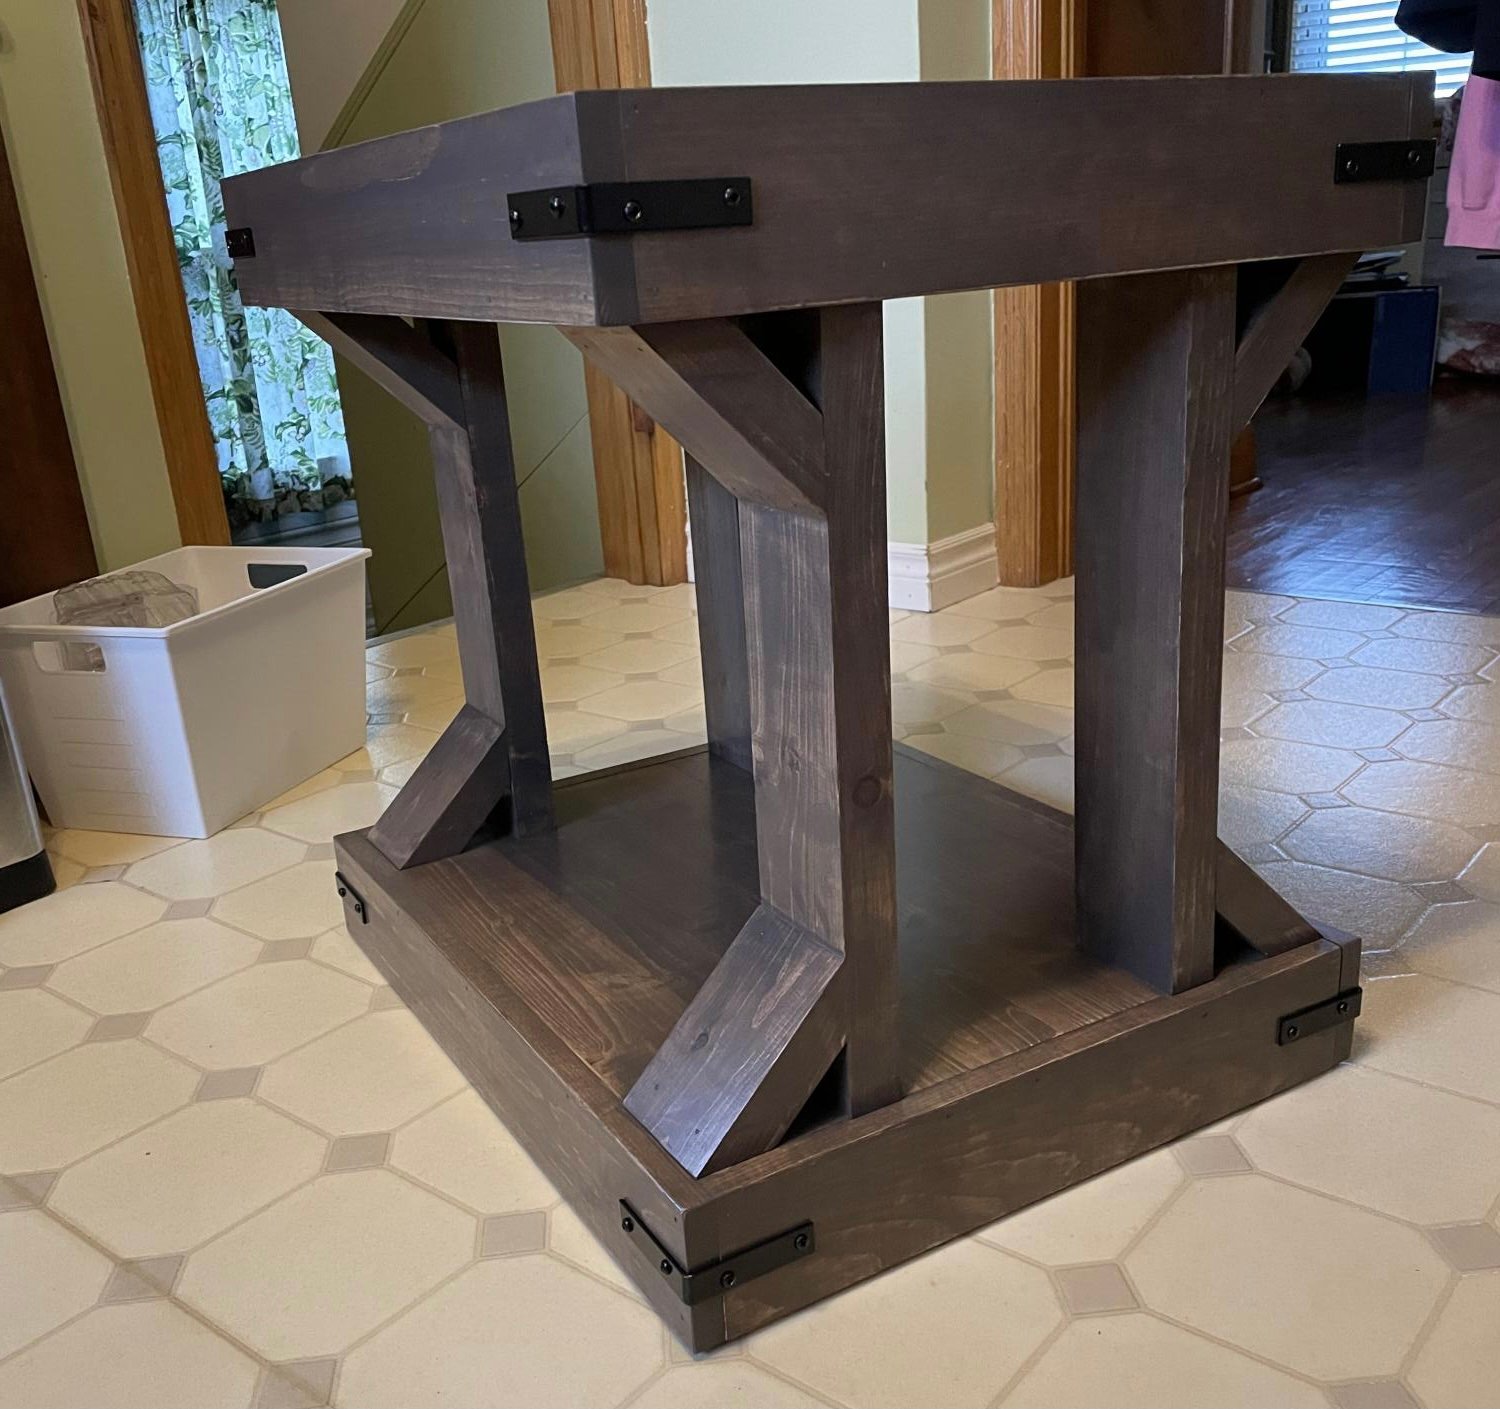
I needed a side table for my office and wanted it to match the decor. I have all black picture frames and accessories and needed the wood to look very similar to what was on the couch. I had planned on painting the bottom shelf but really liked it plain so decided to stain it as well.

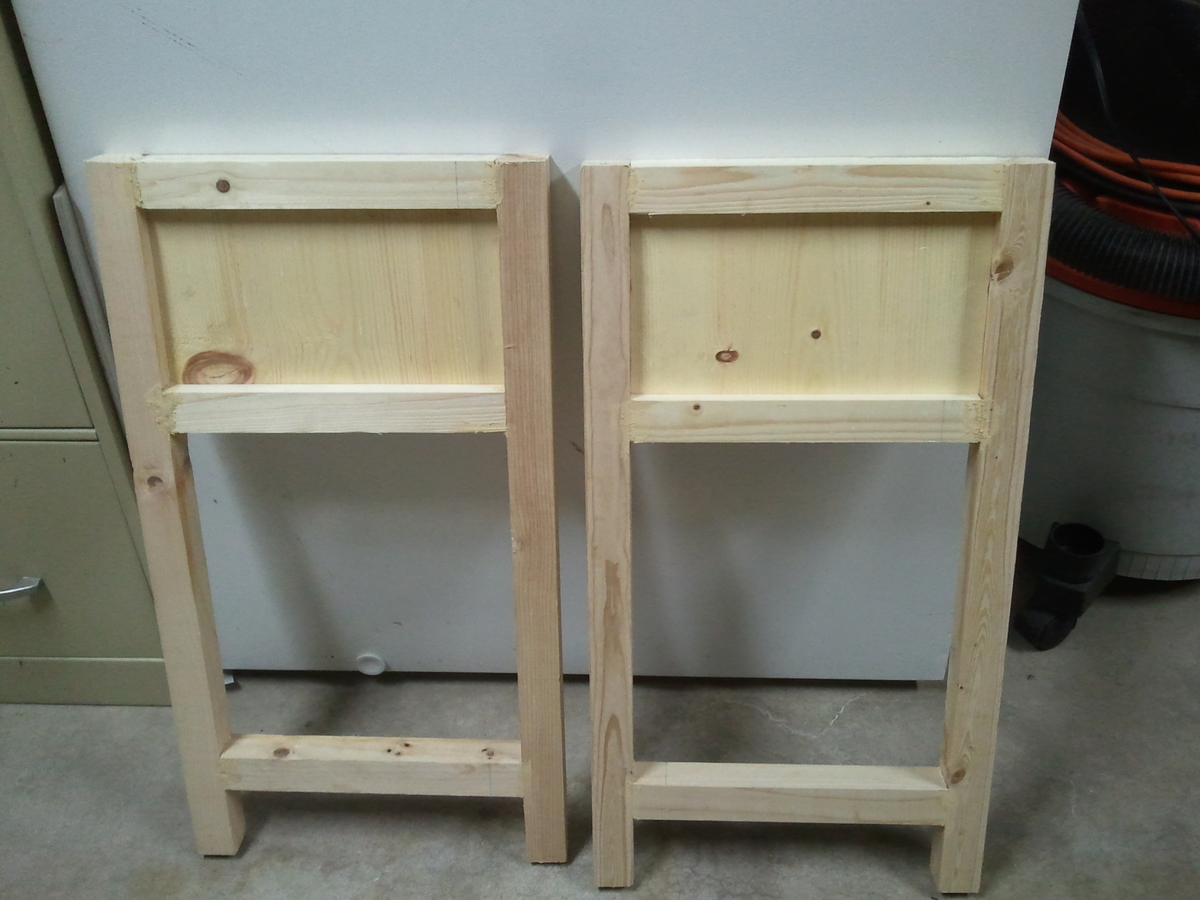
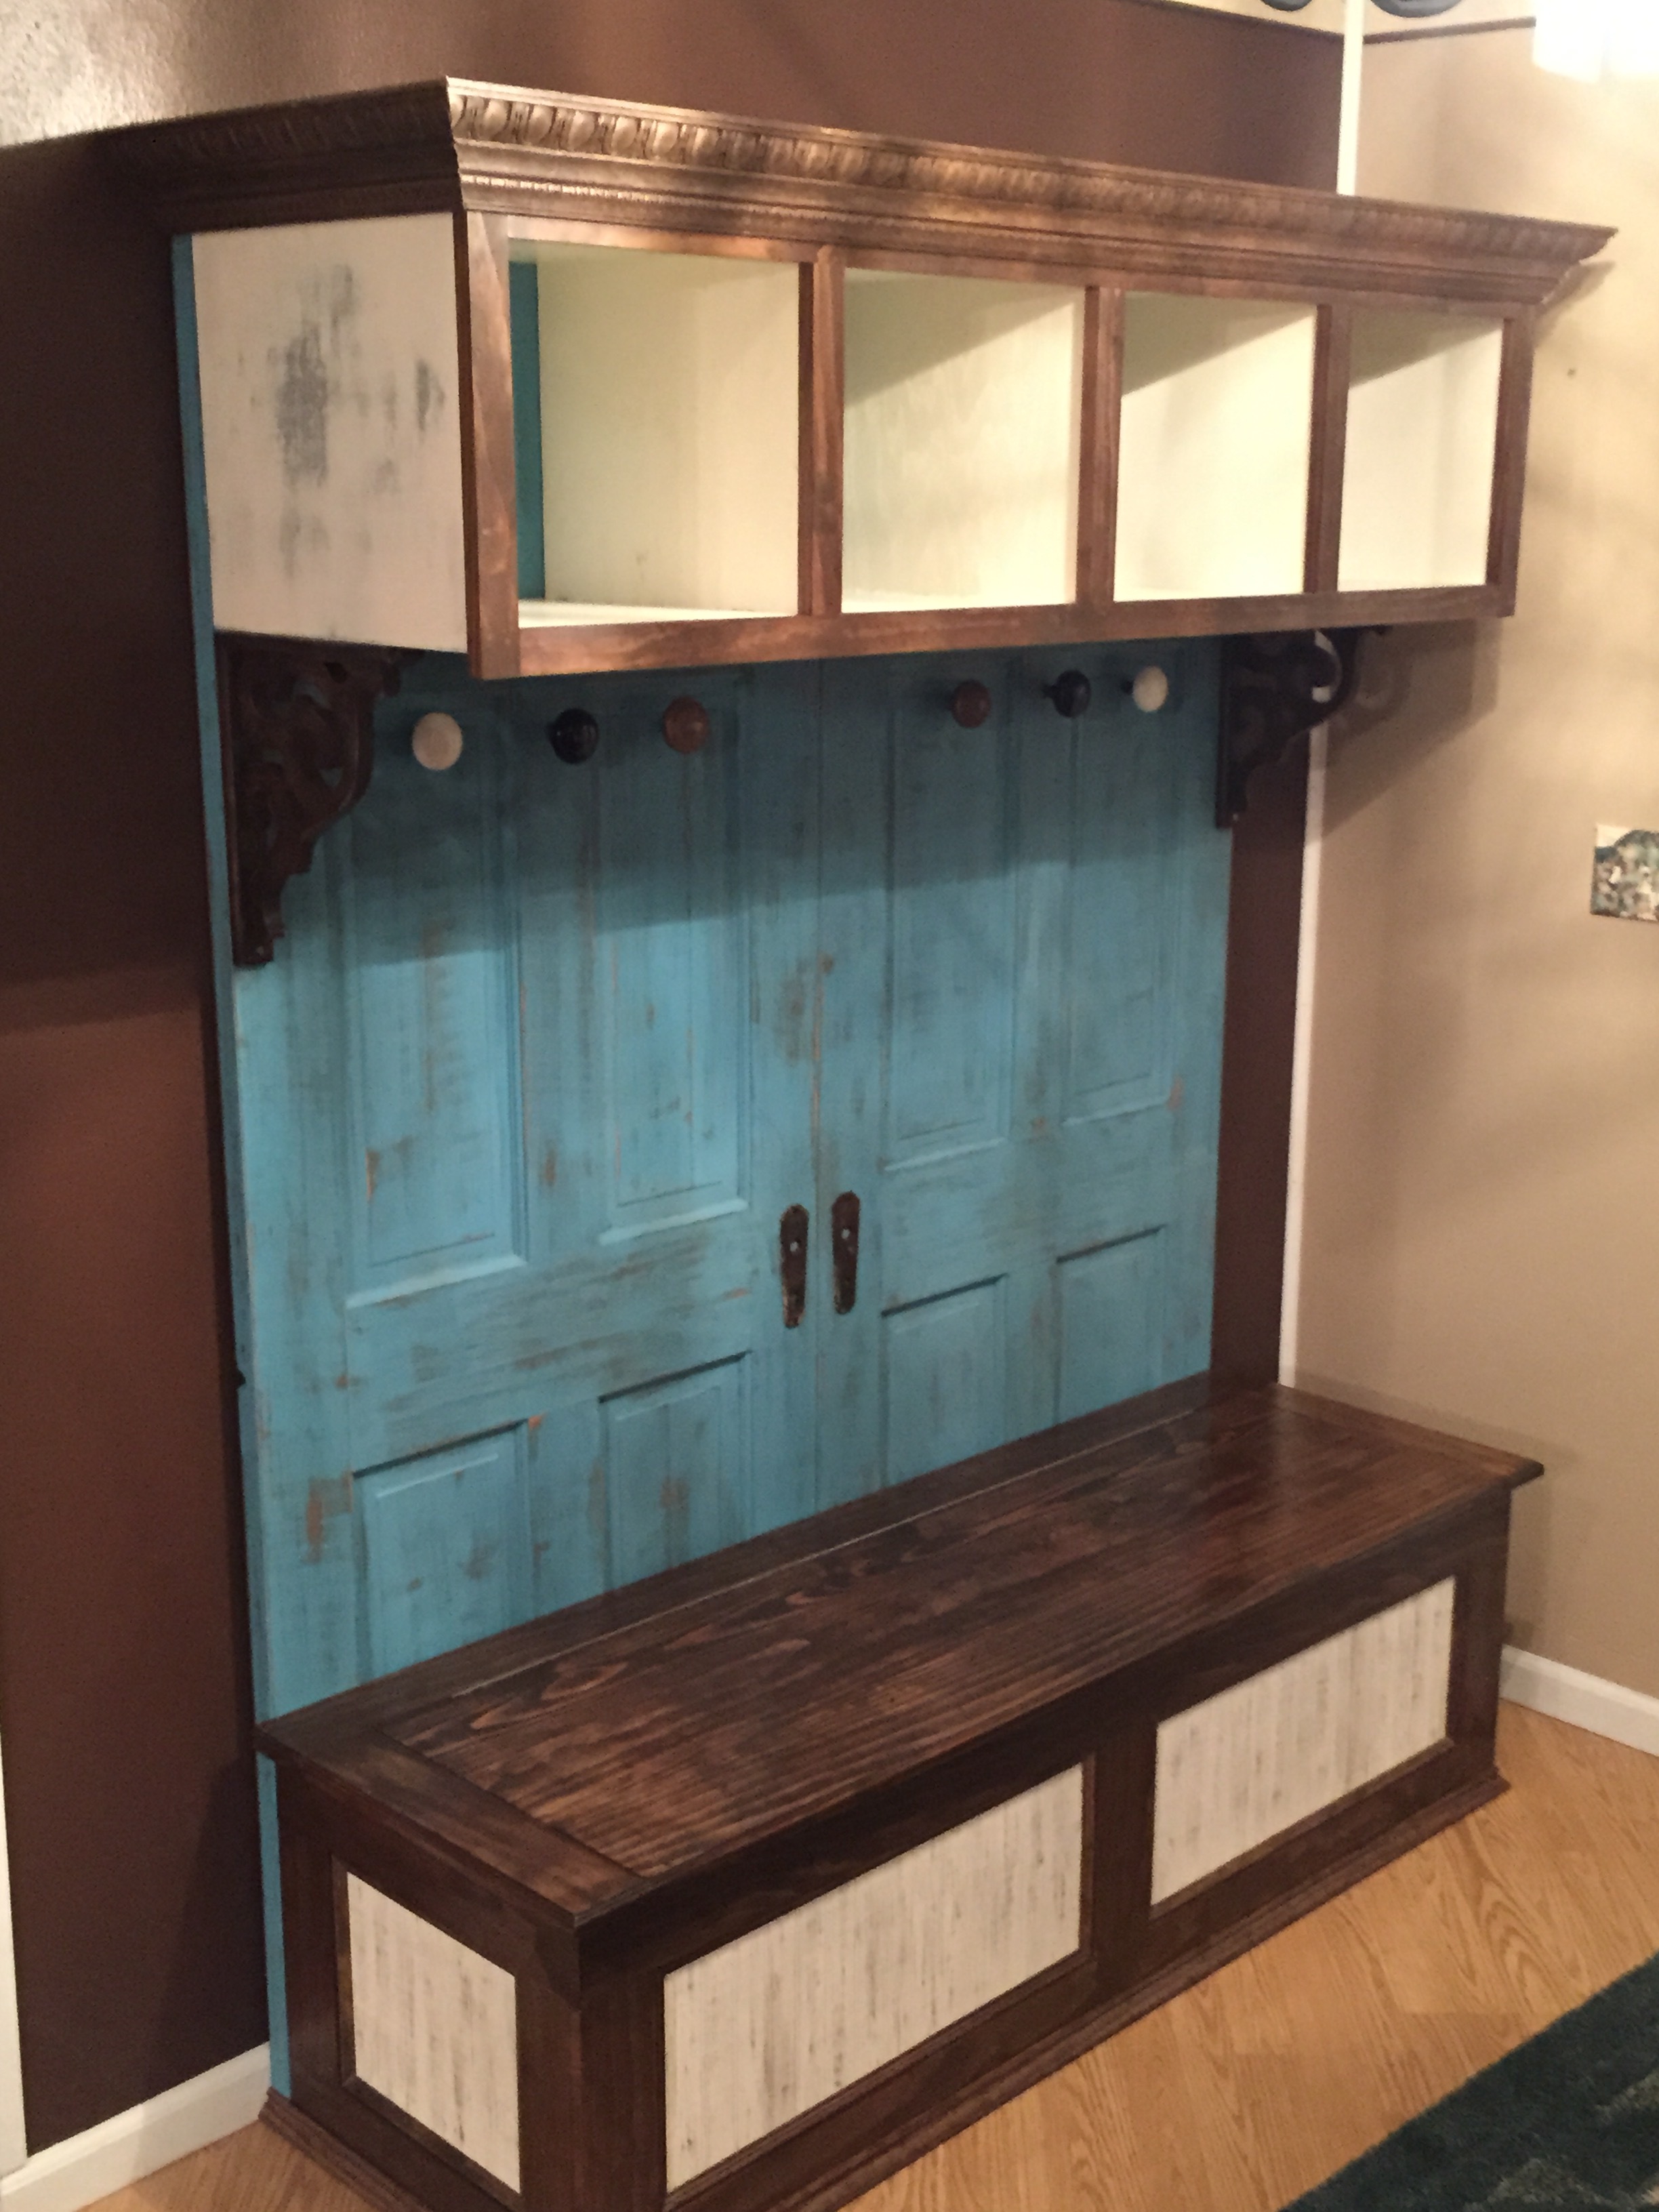
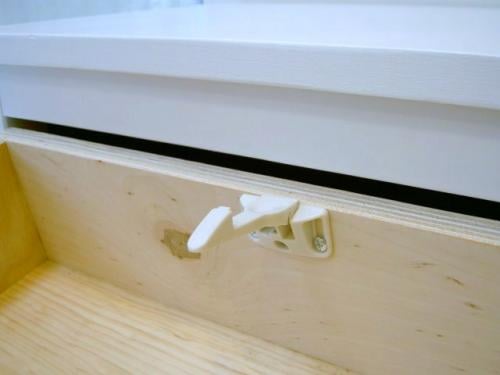
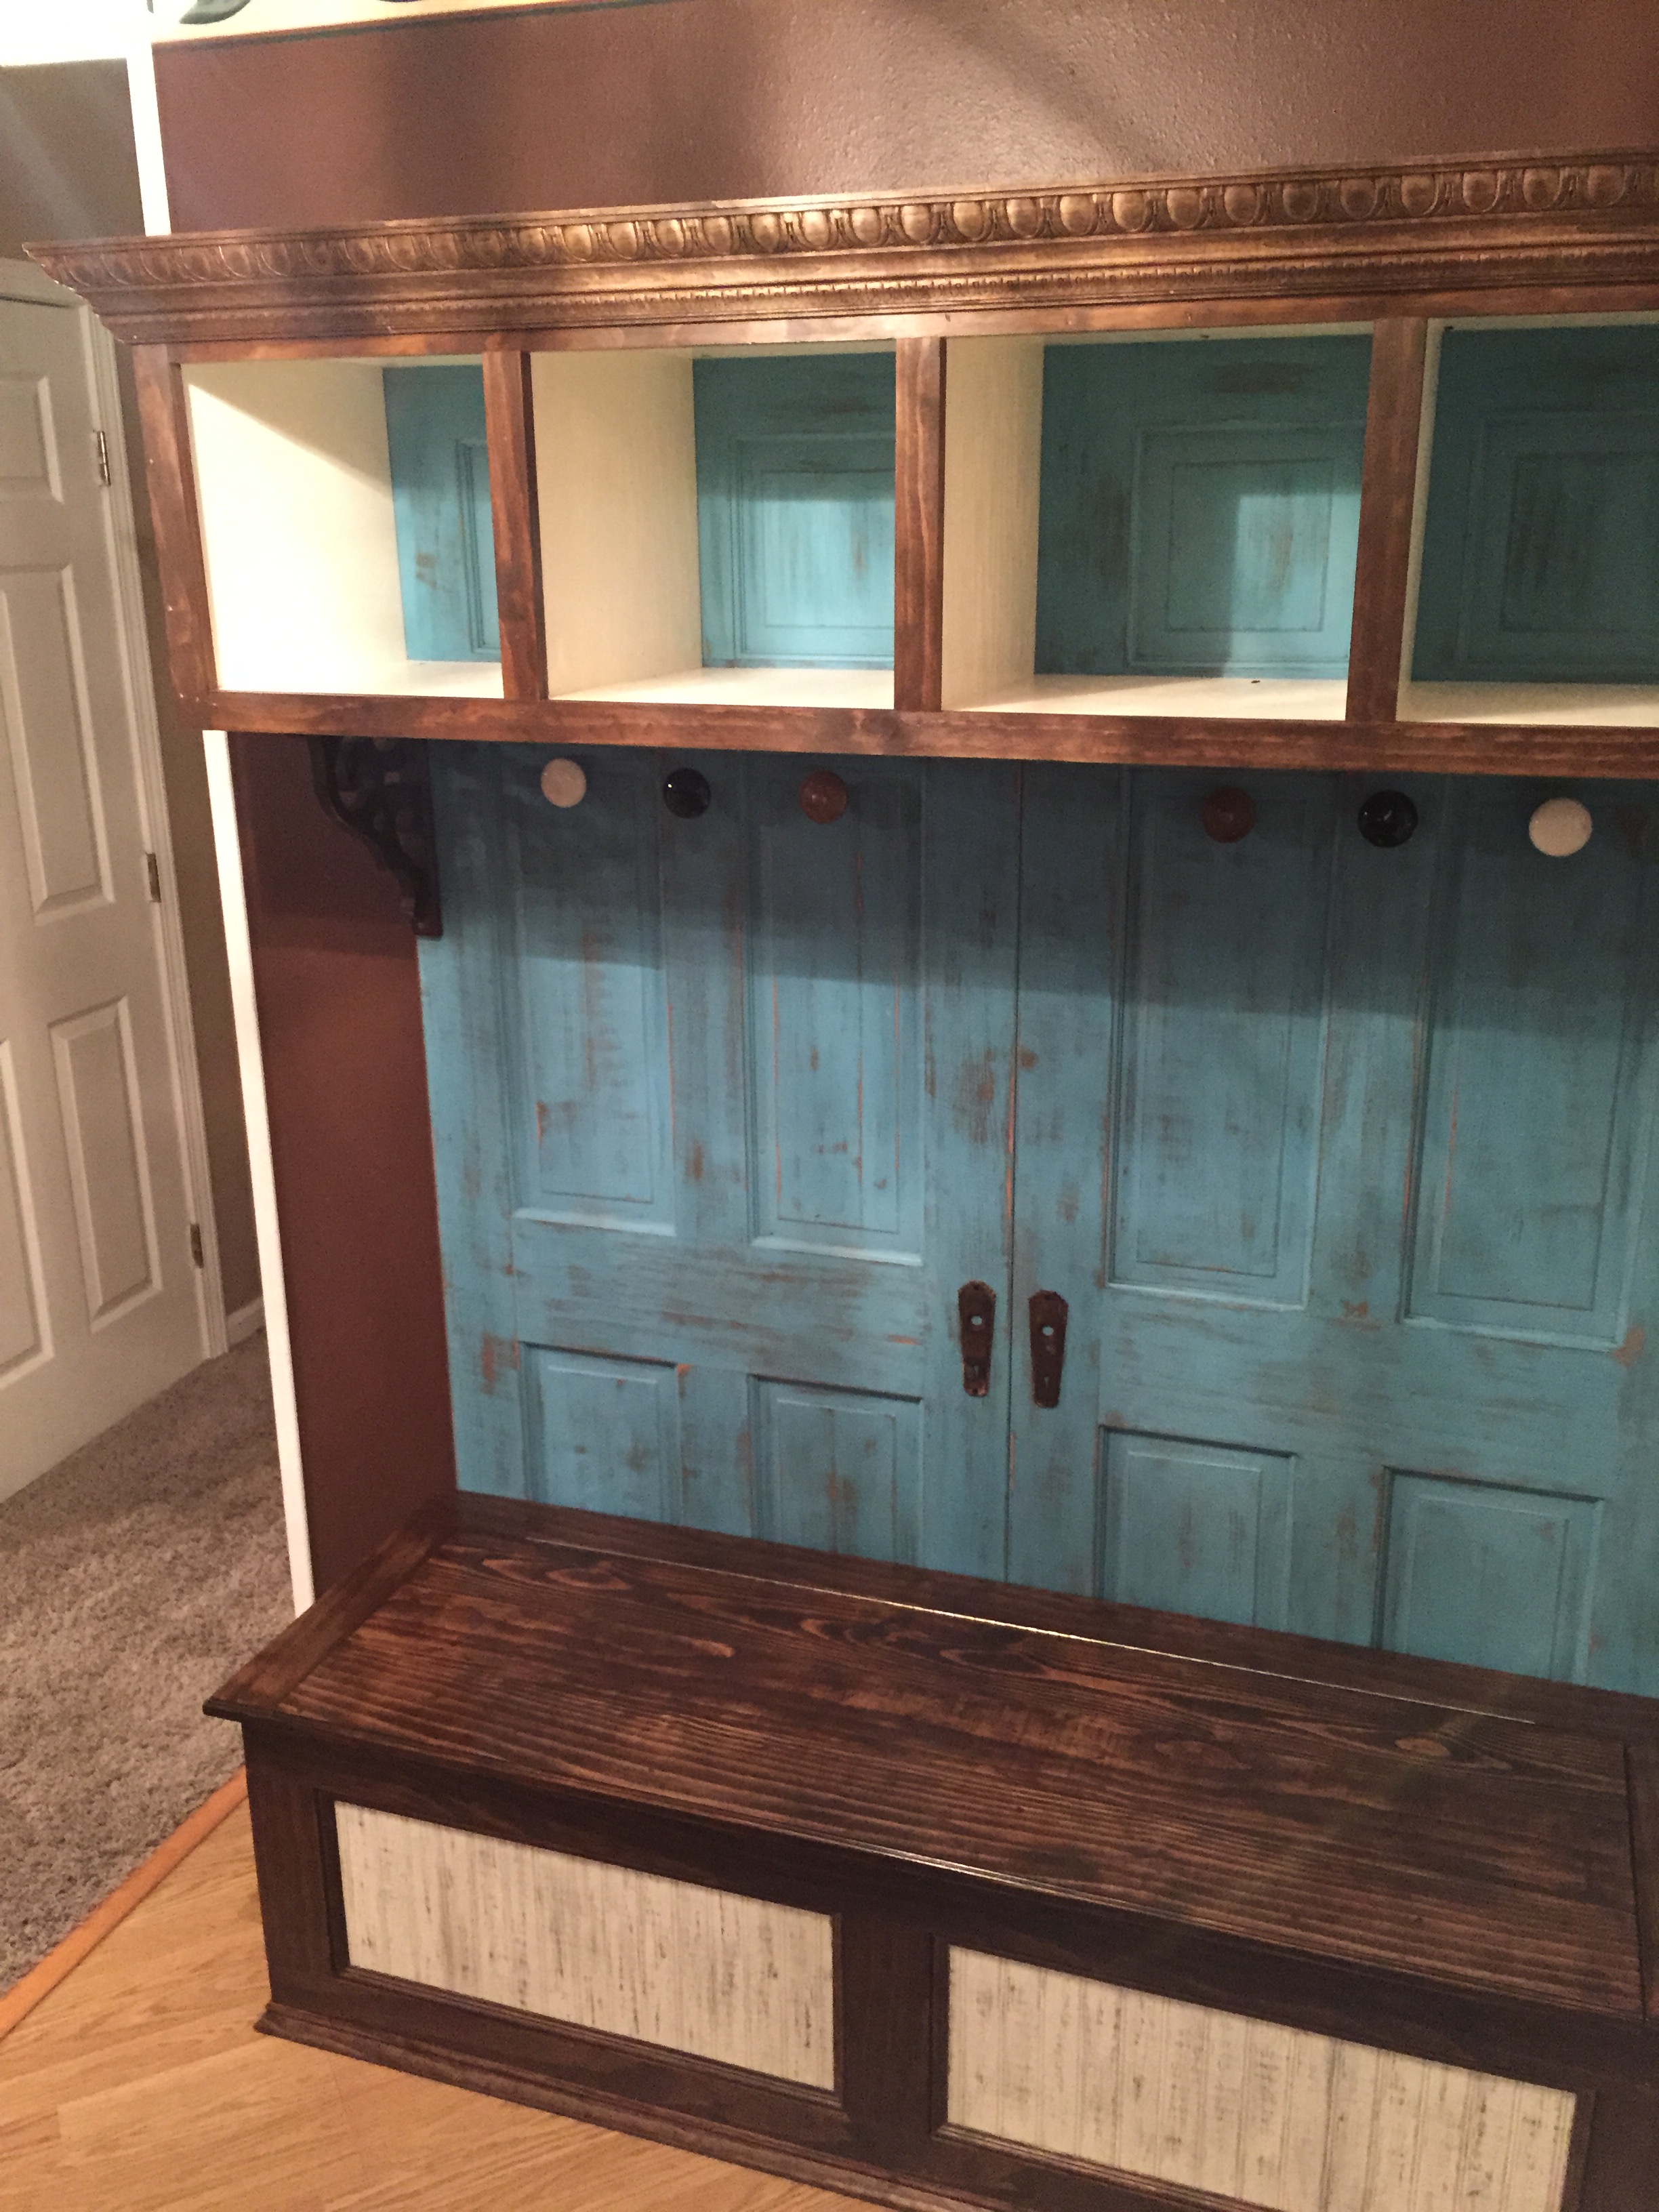
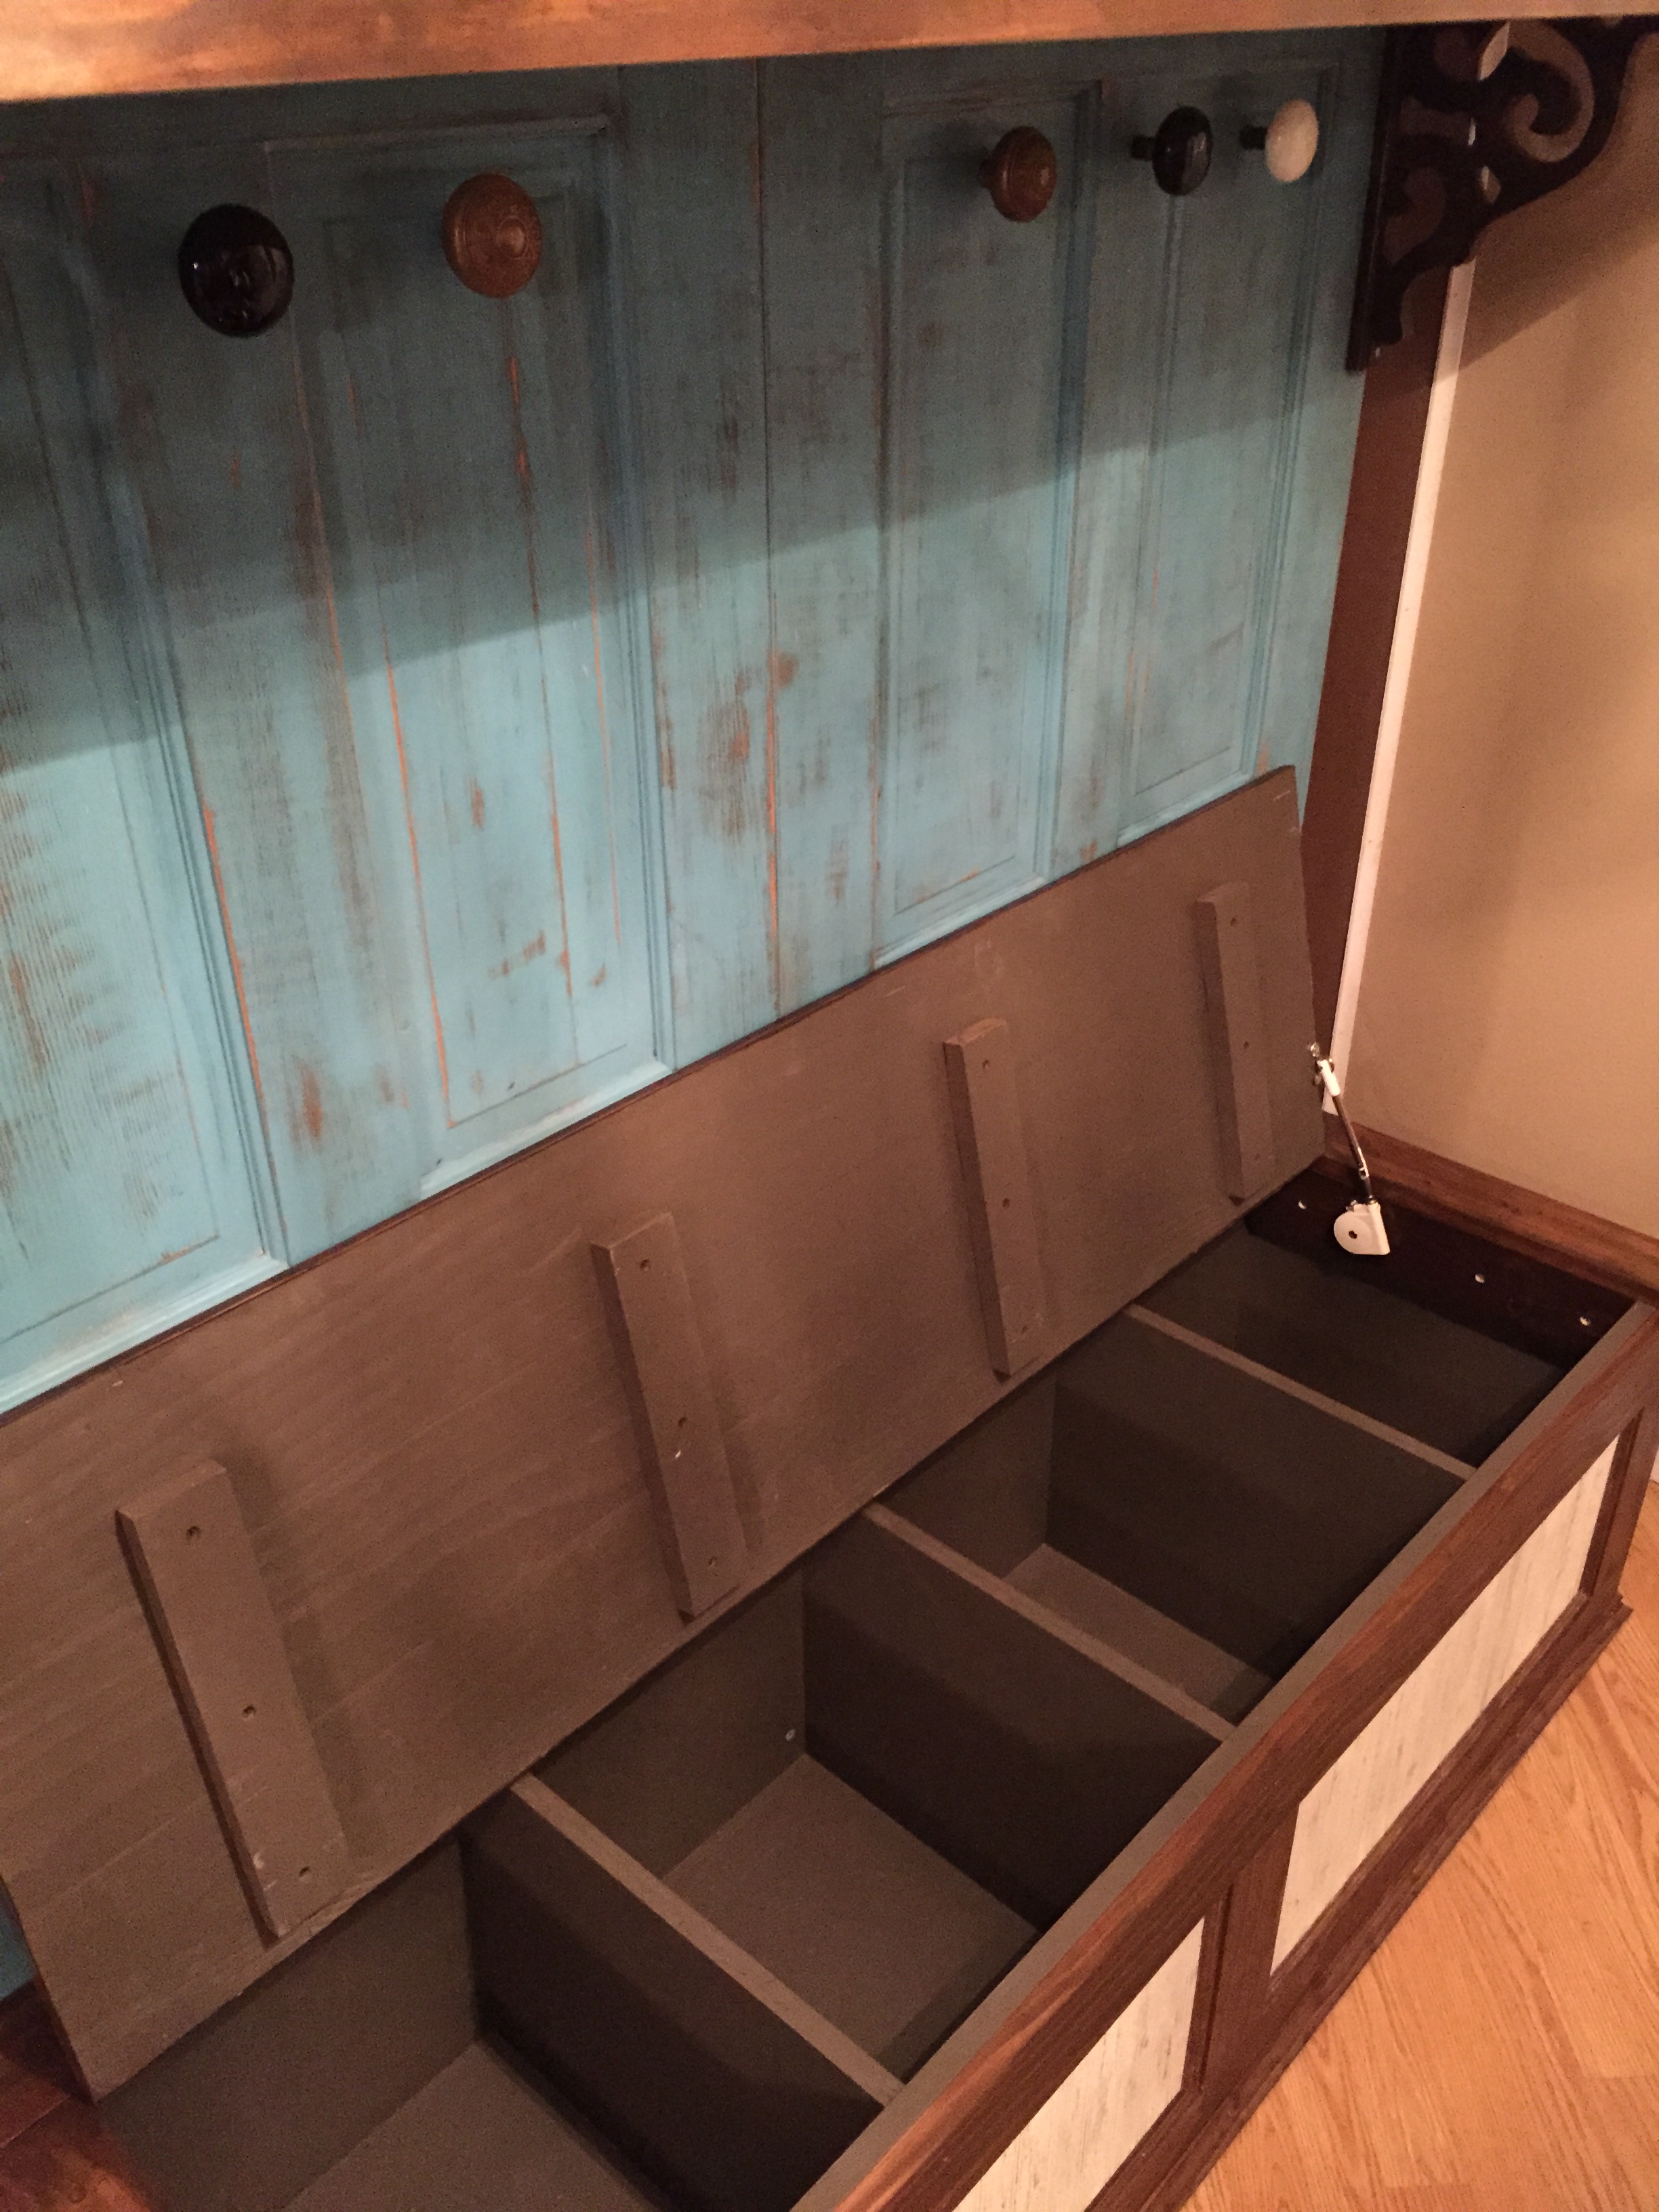
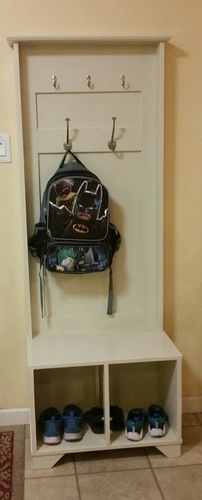
After 10 years of kicking around back packs and shoes that are always in the way, my wife decided she would like a Hall Tree for our foyer. For the last year or so I have been gathering ideas from the internet and putting plans together in “Sketchup”. I wanted to re-purpose some old doors and door knobs and was fortunate to find them at local auctions and antique malls. I’ll have to say that finding a pair of matching solid wood doors was the hardest thing to do. I was lucky to find a pair at an antique mall, and only paid $36 for both. The porcelain door knobs are used for hanging our jackets and coats. I found several of these at an auction. I used a piano hinge for the bench and installed a soft close hinge made by “Sugatsune” which I found on “Amazon’s” website
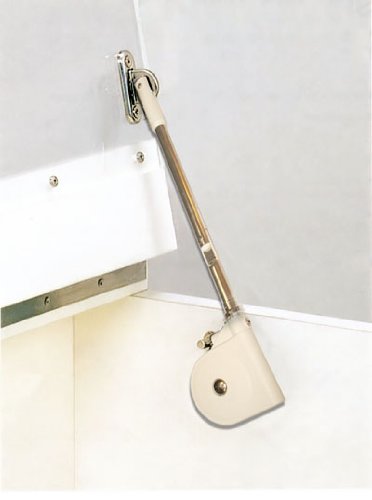
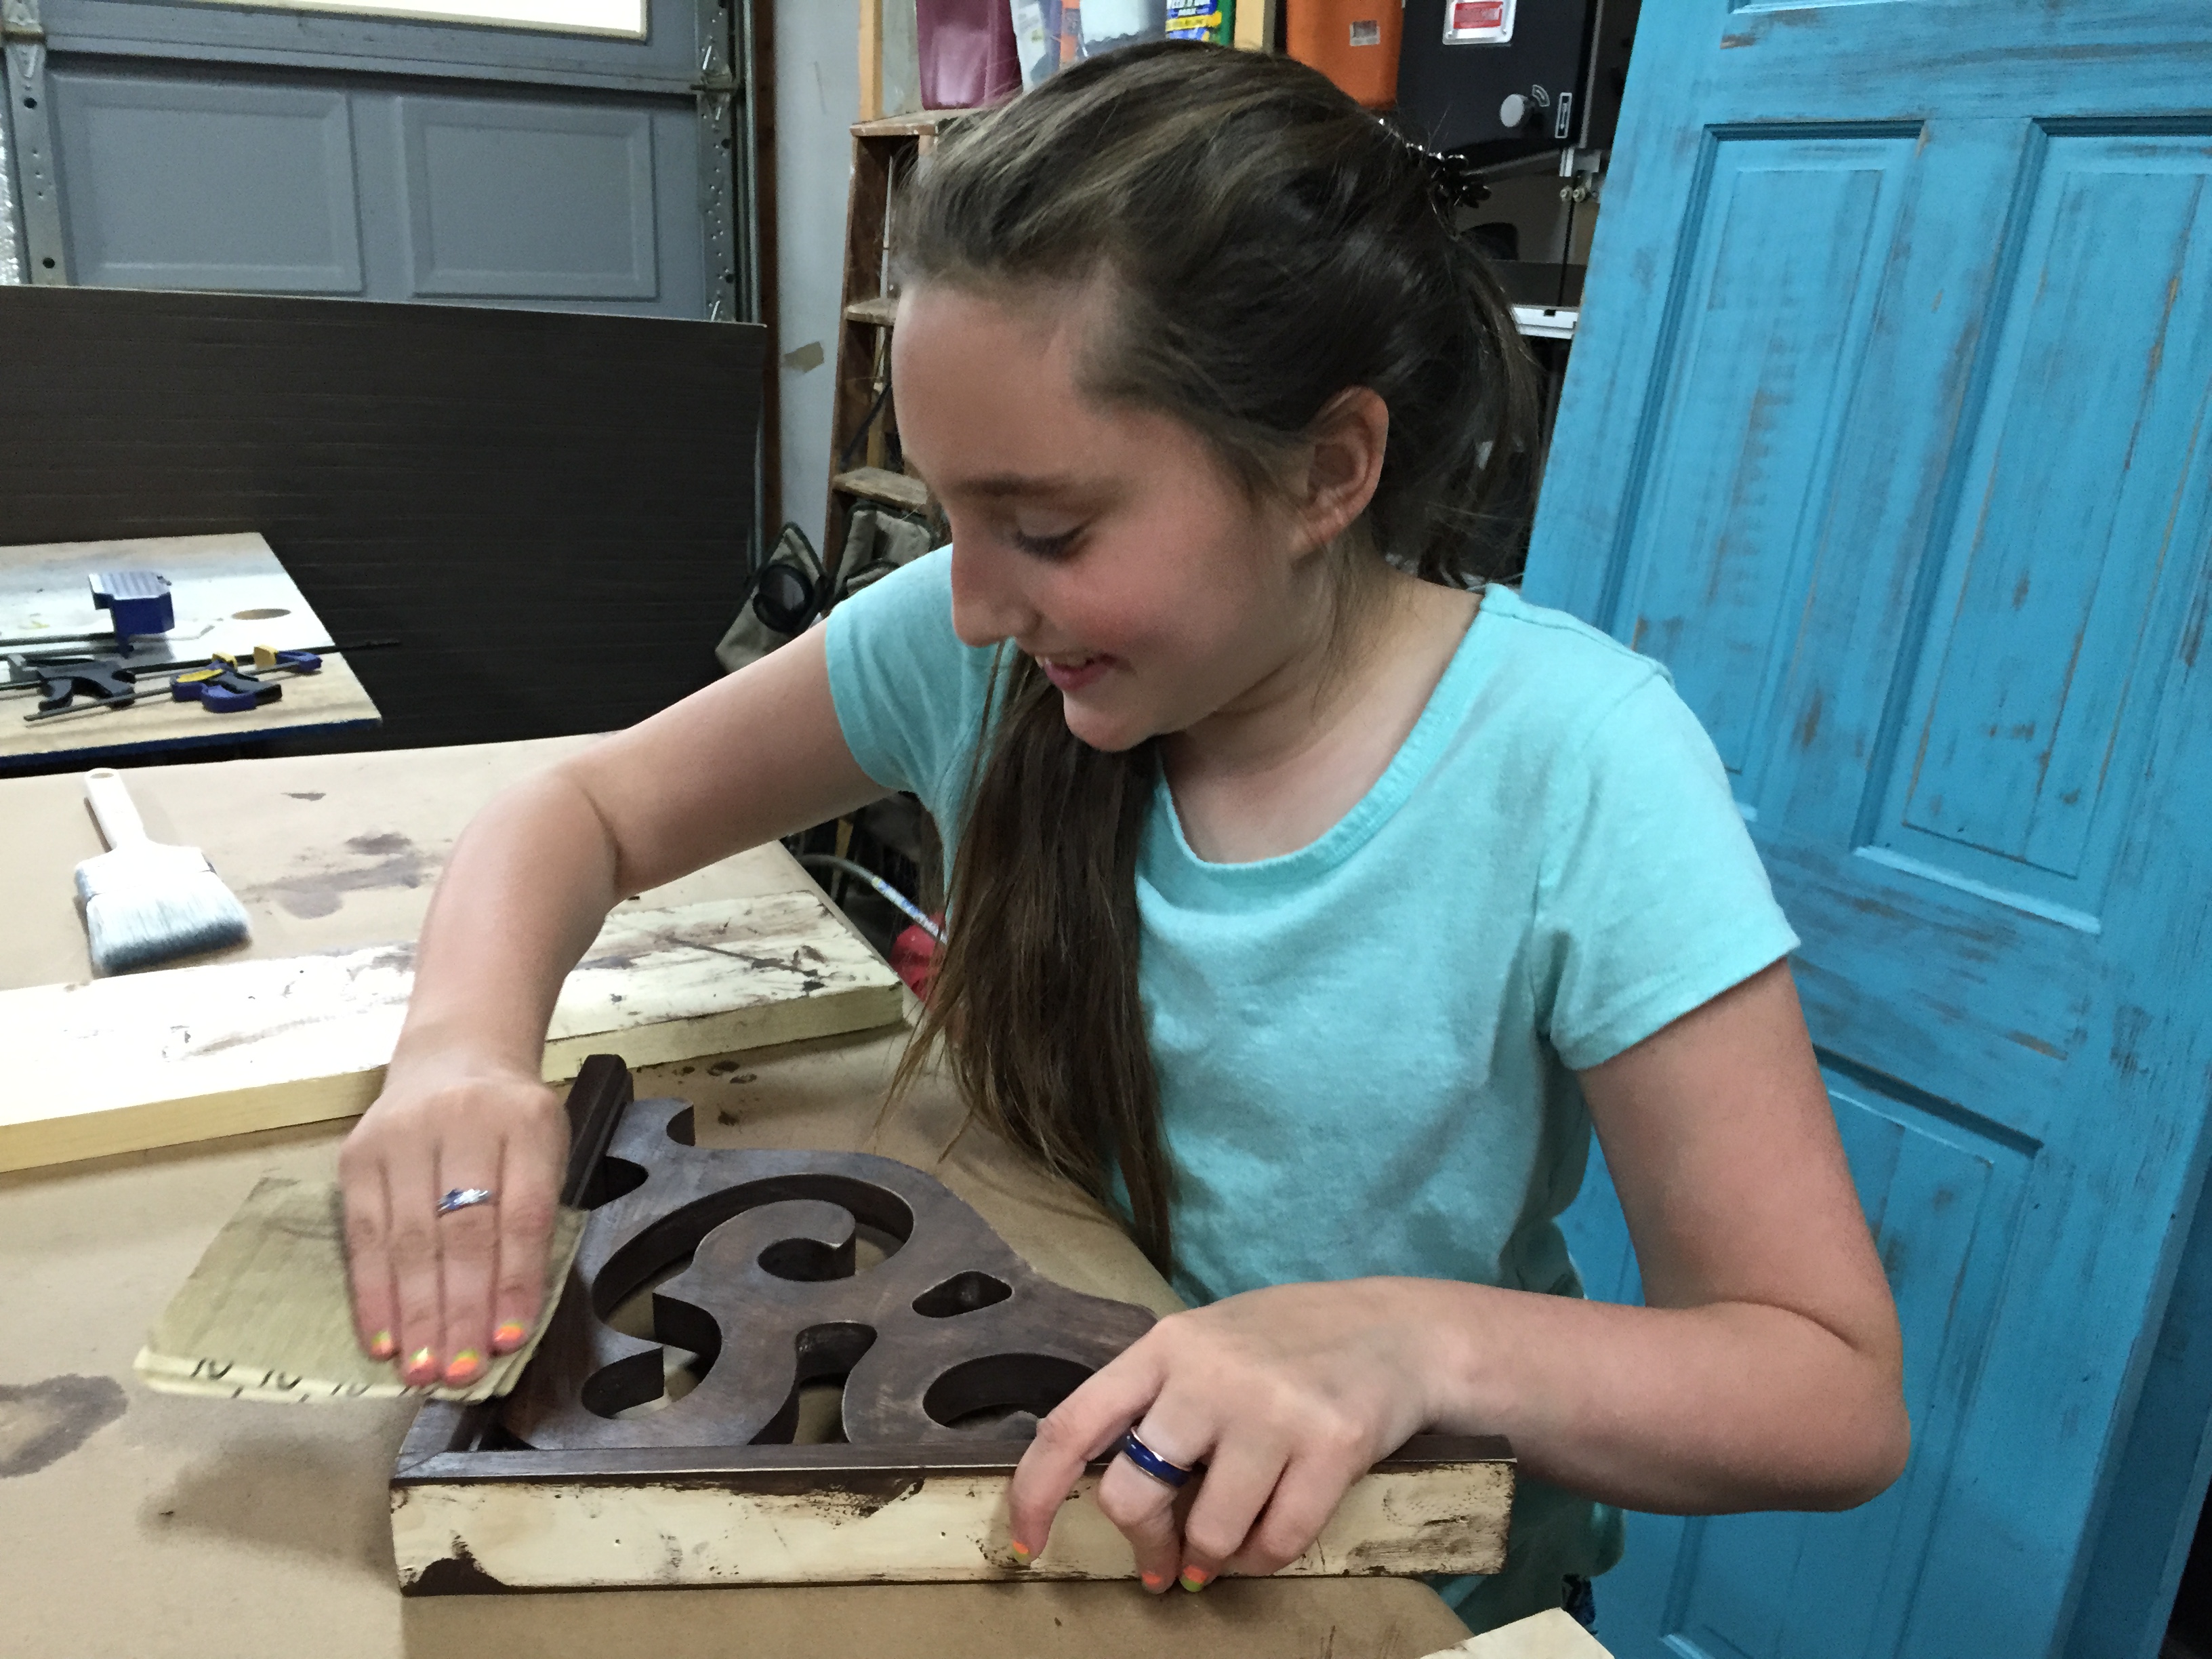
Not cheap but well worth eliminating the dreadful slamming sound of the bench door. I had never distressed anything, but this and my wallet received plenty during the build. I’d have to say the best part of the build was working with my little cookie monster. She was always wanting to help, and I’m gonna let her because you all know as well as I that those days won’t last forever. Not a professional by any means, but Thanks for looking.


Thu, 05/07/2015 - 11:31
This is really fantastic. I love the doors as a design element. I may just have to head out this weekend and find some matching doors.
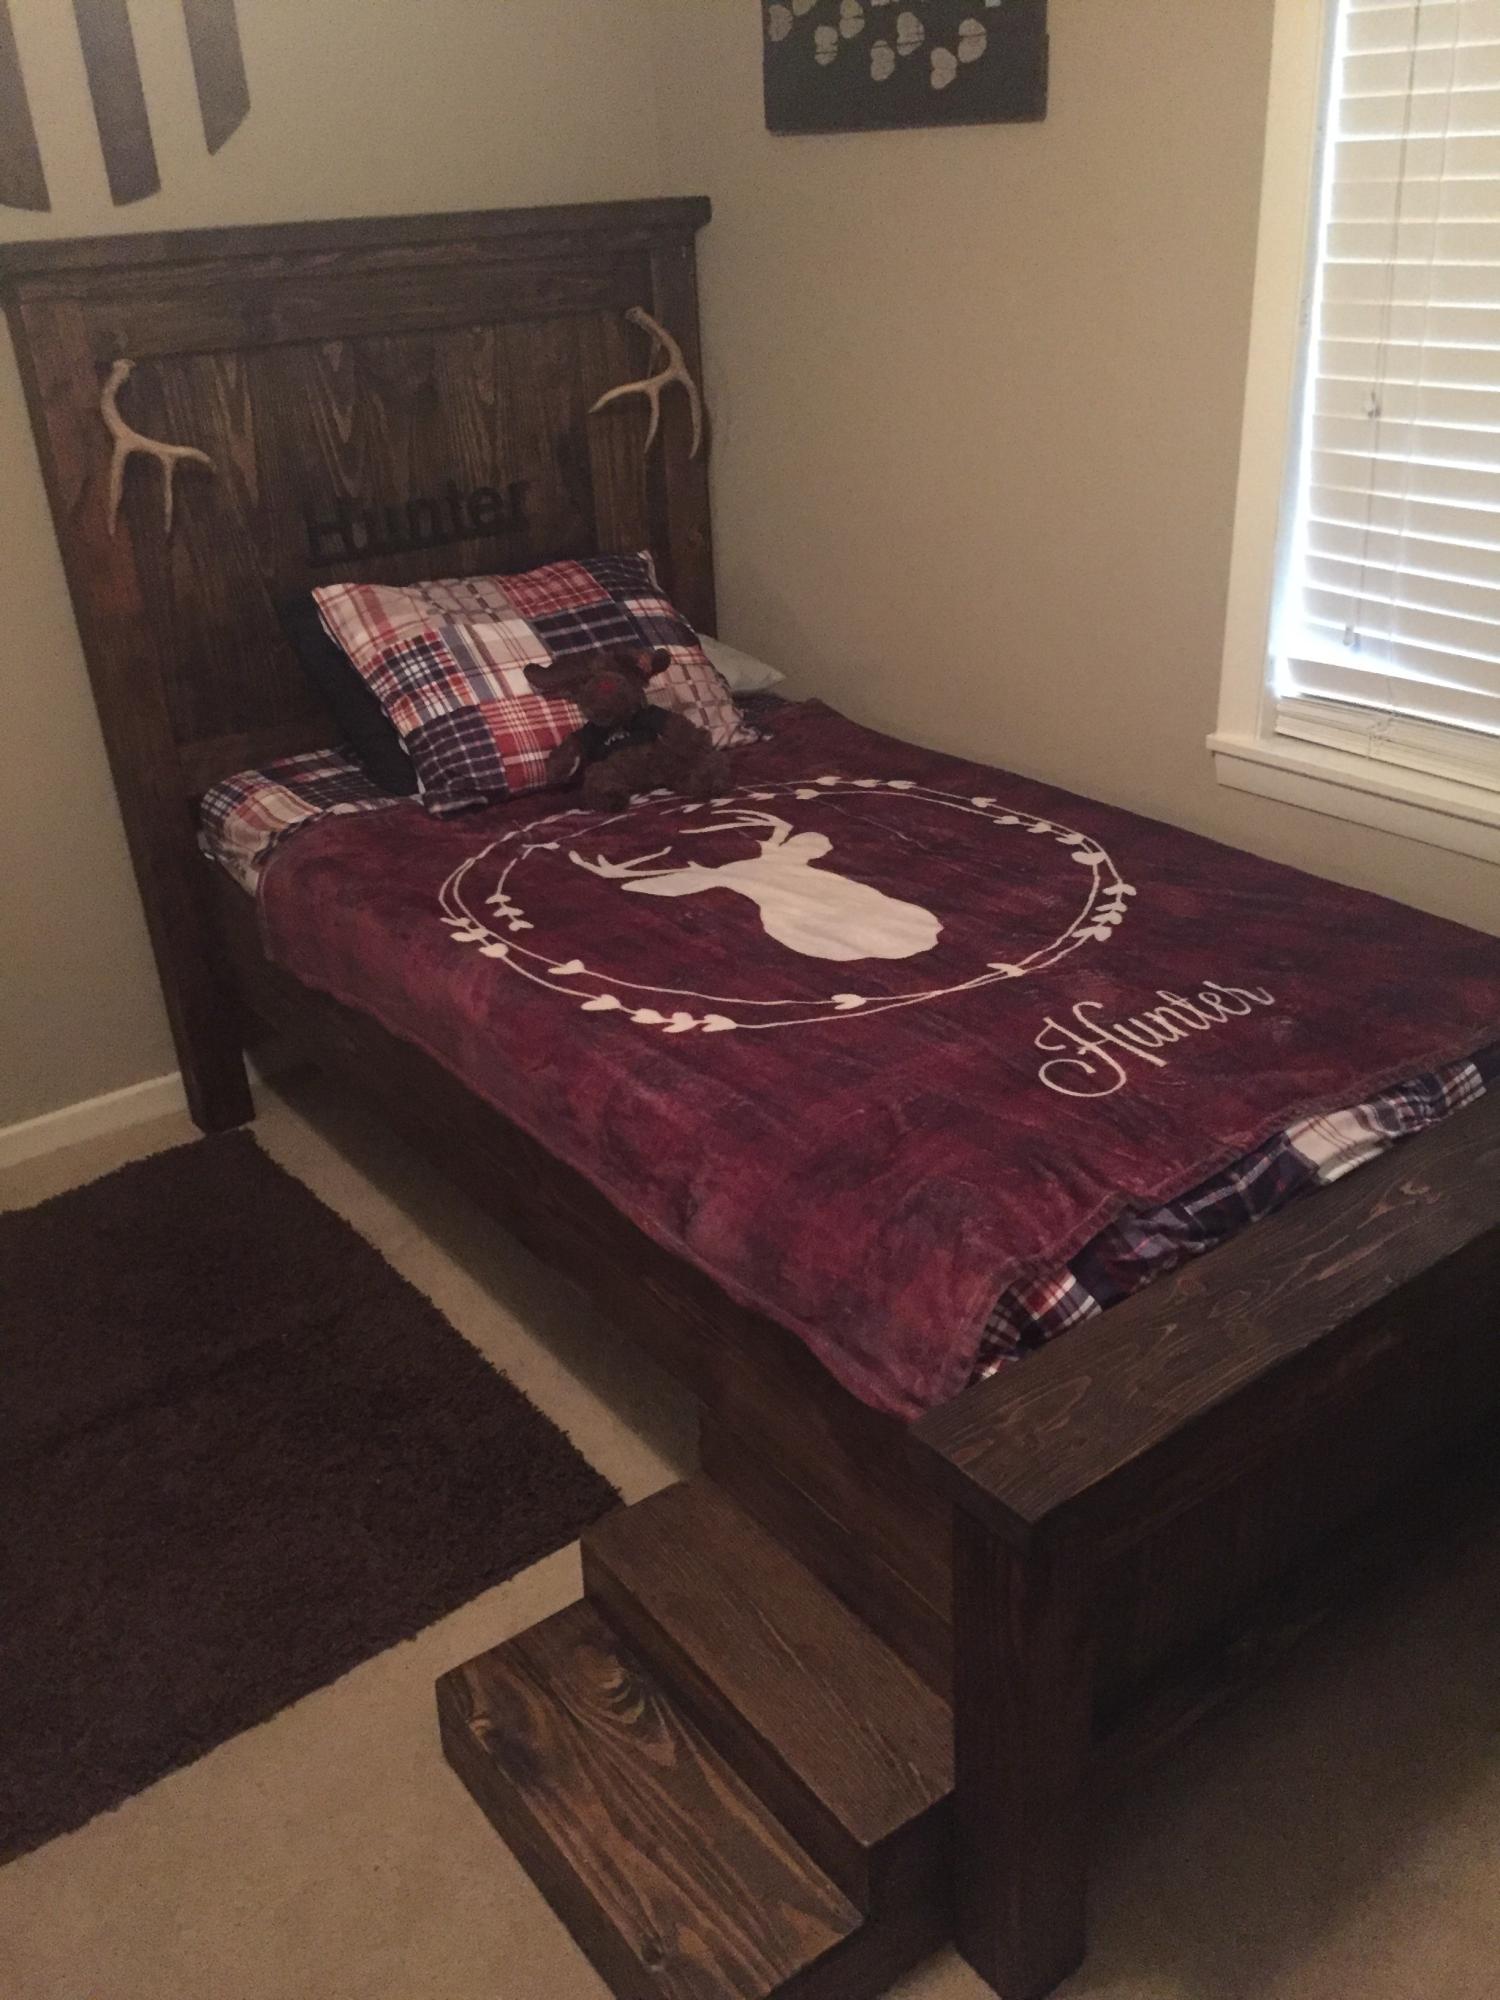
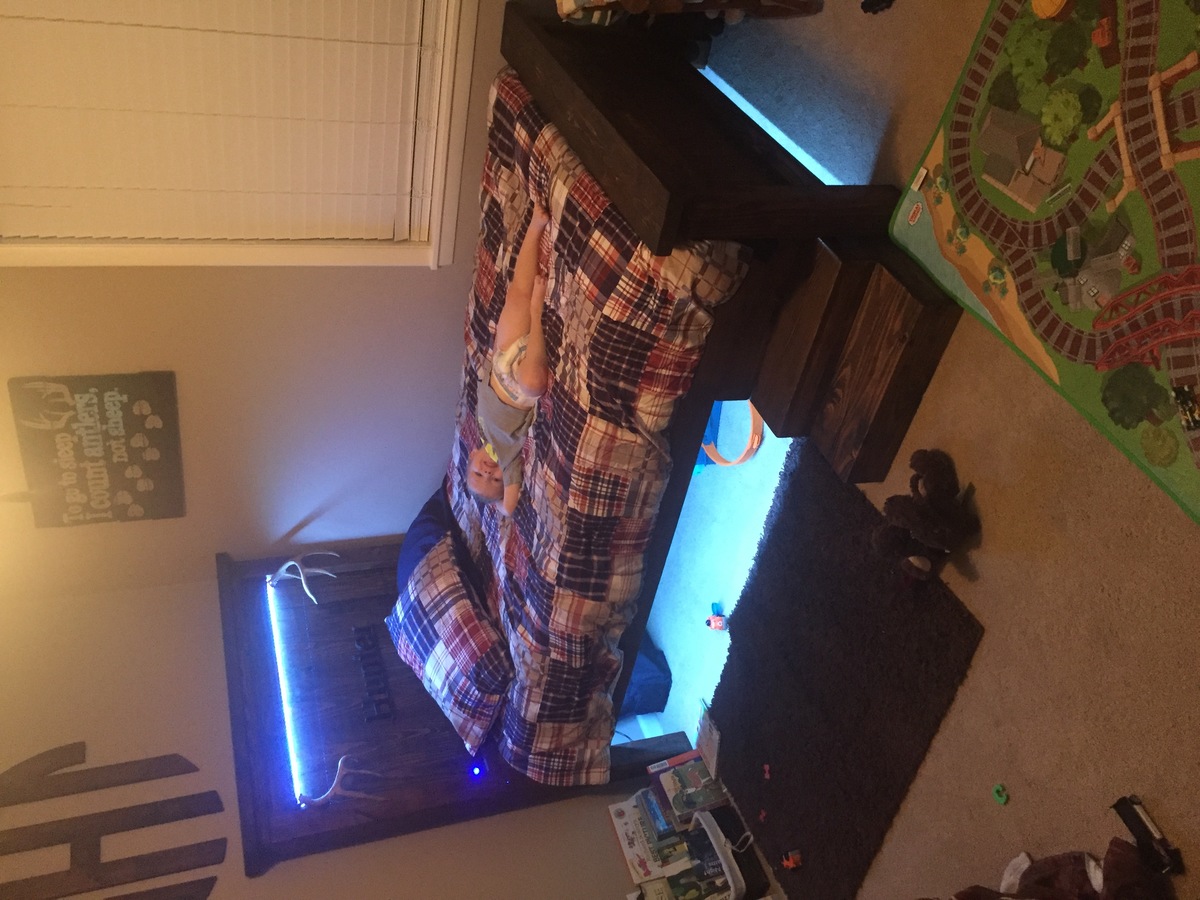
This is the first bed I have built. It turned out better than I expected. The plans were great and easy to follow. I completed the bed from start to finish in two days. The steps I made from leftover material.
I made the coffee table, an end table and I modified the console table to add another shelf because I have too much stuff lol! These are my first wood projects and I am happy how they turned out 🥰

The Factory cart was really easy to put together.
I This project is definitely the most difficult I've ever built. I've done lot of drawer slides before, but for some reason this one was the hardest. I think the culprit was squaring, which was mysterious to me bc I'm careful to take a square constantly. Could've been bowed boards, too. But, after some patience and forcing the boards to do what the should, it worked. I did rip down 2x4's for strength b/c our stores do not carry the upgraded 2x2's and furring strips would just not have been strong enough for a dresser. My son is very happy to finally have a place for his clothes. Thanks Ana for these plans!
I had to redesign the top because my wood was too narrow and warped to make it as per the plan, and I'm too cheap to go and buy some more. I think it worked out OK. I enjoyed making this piece and I'm trying to develop my accuracy in wood working. My patience for the "finishing" element is improving, but I'm still a Sand-a-phobe.
Modified From Ana's Fancy-hall-tree bench plan.


Comments
Ana White Admin
Wed, 10/06/2021 - 10:12
Fantastic planter!
That looks amazing, way to go!