Nightstand
Decided to build a bedroom set and like the Rhyan end table, but fell in love with tiled version. So we used porcelain tile on top.
We have a small extra bedroom in our basement for out-of-town guests that needed furniture. This plan was perfect. For the time being, Clarence the Dog will keep the bed warm.
Love this bed! My first build from Ana White. Took 3 weekends but could have been finished in one if I was fully prepared. Did most of the build first weekend and stained the next. Third weekend was putting it up in the bedroom. Nice guestroom addition.
Chicken coop with run!
by Vicki
This is the first building project that I've tackled and it's all thanks to Ana-White. I did lots of things different than the building plan but it was definitely my inspiration and extremely useful. I loved the Restoration Hardware table and so I went to the local store to put my eyes on it for myself. Some of the things that I noticed, liked, and included in my design are; I used 4-2x12"s for the tabletop, I used 2x8"s as the breadboards, I used 4x4"s for the legs as well as the side stretcher, I used 2x4"s as the undertable supports, I built two 15" extensions using 2x8"s and 2x2"s, and I attempted to distress the wood yet stain it to match our dining room as best as I could.
I've documented the build and you can check it out yourself at: http://tommyandellie.com/?p=14
I've revised the plans with even more details here; http://tommyandellie.com/index.php/2012/01/13/new-and-improved-farmhous…
Hope it helps.
Mon, 06/20/2011 - 15:06
This is stunning! I'm working on this table right now, but it's no where near as good as yours. I'm jealous. I love your extensions. I'd love to see a tutorial on adding extensions..
Tue, 06/21/2011 - 05:16
It looks beautiful. Did you attatch the 2x2 to the underside of the extensions and then notch out a place on the support for them to slide into? Can you please take a photo of the underside with the extensions on?
Tue, 06/21/2011 - 14:42
That's exactly right. Here's a link to the picture you asked for; http://www.tommyandellie.com/Site/Home/Entries/2011/6/10_Farmhouse_Tabl…
There's some more details and info specifically about the extensions on my blog at; http://www.tommyandellie.com/Site/Home/Entries/2011/6/10_Farmhouse_Tabl…
It's a super simple addition to the design and can take my table from 96" to 126"!!! Or take it from a 8-10 seat table to potentially 16 seats available for those Big thanksgiving meals.
Wed, 06/29/2011 - 15:41
Hello,
I was just wondering that since your table is a bit wider than Ana's table, did you make the support for the stretcher wider? As in, did you increase the length at all (in addition to making it stick out a bit at the ends? If so, what did you extend it to? Thanks and gorgeous job!
Wed, 06/29/2011 - 18:49
Hello,
I followed Ana's example and allowed for a 1" overhang on both sides. So the tabletop is actually 44" wide and the stretchers are approximately 42". The long 2x4" stretcher is approximately 88".
Hope that helps. Thanks for the positive comments.
Thu, 06/30/2011 - 04:43
For the table legs, I set my table saw blade to a height of approximately 1.5". I then made a first cut at 3.5" from the bottom, then made a cut at 7", and then made several subsequent cuts in between those two cuts. After it was all slivered, I used a hammer to knock it all out, and then swirled the opening all around on the table saw (blade still at 1.5" tall) to smooth out all the cuts. I used the same technique for the stretcher as well.
Sat, 08/06/2011 - 21:36
Hi Tommy, I tried clicking on your site and was told the site could not be found. Last week, I saw it fine and showed my hubby our next project, but now it's gone. Help!
Mon, 08/08/2011 - 13:25
It may have been bad timing when was updating the site or I may have changed something.
Try this out and let me know if it works;
http://www.tommyandellie.com/Site/Home/Entries/2011/8/4_Farmhouse_Table…
Or go to our main site www.tommyandellie.com
Mon, 11/14/2011 - 12:31
We've switched over our entire website and have had some issues.
Here's the new updated version; http://tommyandellie.com/?p=14
Here's the old one in case that doesn't work; http://web.me.com/tomsibiga/Site/Home/Entries/2011/8/4_Farmhouse_Table_…
Tue, 01/24/2012 - 03:37
Good job publishing this post. I would like to learn more about this subject.
Thu, 03/01/2012 - 07:17
What inspiring pictures! Apparently everyone agrees, because I just "pinned" one of these pictures to Pinterest and it was immediately repinned 27 times and counting. So nice work! I hope to make mine this weekend.
Sun, 04/29/2012 - 06:29
She and her boyfriend would like to build it using lumber i cut from my mill. They are thinking walnut, hickory or maybe ash but im not sure how that will work out with being distressed. And your extentions, do you have a 2x4 or two that slides out from under the table to help support them on each end ? Are there pics of the under side of the table as well? This is a great table and i think they will have fun as a family assemblimng and finishing it.
Thank you. DesII
Sun, 04/29/2012 - 07:38
Here's a link to how I make the extensions; http://tommyandellie.com/index.php/2012/01/17/farmhouse-table-extension…
And this post has a ton of pictures to see how it all works.
With the harder wood like walnut, hickory, or ash......it'll definitely be harder to distress but I think it makes for a really neat/unique piece.
Hope that helps!
Thu, 10/11/2012 - 12:52
Bench Plans can be found here; http://tommyandellie.com/index.php/2012/03/17/farmhouse-bench-plans/
A spreadsheet for the bench plans can be found here; http://tommyandellie.com/index.php/2012/06/28/cut-list-and-shopping-lis…
Tue, 04/14/2015 - 13:31
Hey Tommy, I saw the Farmhouse table design with extensions, I don't have Excel to open the cut list and need the buy list and cut list to complete the project, I am really short on time and need to start this project tomorrow. Please if you can, do you have a word document or a PDF that shows the page for those?
In reply to No Excel Please help by James Groover
Tue, 04/14/2015 - 16:47
Oh my God! I found the cut list I had misplaced it in my folders, dude, sorry about that. Never mind.
I love these plans! I build a reading loft tree house for the kiddos that they love... and I might love even more.
Original plan modified slightly: Length reduced from 42" to 25"... select pine used and seamless table tops used instead of separate boards.
Side tables made from leftover pine and spruce, using Ana White's Mini farmhouse bedside table plans to match the headboard. Took about a day to do two.
Inspired by Ana's Farmhouse Bed plans, I built this dog bed for my Jack Russell. I measured and planned for it to comfortably fit two standard bed pillows (in waterproof covers of course!). She loves it!
In reply to This is so cute!! You did a by benfoldsfivealive
Thu, 06/23/2011 - 14:20
Thanks! I figured after 14 years she deserved a comfy bed. :-)
well after I made my daughters bunk beds my toddlers were begging and begging me to make them a bunk bed so this weekend I decided to make a toddler bunk bed. So here it is and I'm here to share with you all.
Tue, 01/07/2020 - 12:23
We will be making this for our toddlers. I love this.
Sun, 10/13/2013 - 18:07
http://ana-white.com/2010/09/classic-bunk-beds-cleverly-designed.html
Use these plans but scale ut down to size for a toddler matress or crib mattress
plans arent available for the toddler size because its not standard compliance. Retarded I know ...I used the classic bunk. Bed plans and modified them....they are perfect for a beginner
Hi Ana,
Just wanted to take a minute to show off a few of my finished projects. I started doing this about a year ago when I found your site and downloaded the $55 fancy x desk plans. Well I've since put those plans away and am making my own! I use all new lumber from the big box stores and have discovered a few techniques to achieve the finishes on these. Thanks for looking and I'm about to post some more!
Johnnie
I made this one three inches taller and two feet longer and decided to miter the top. I also used a LOT of glue and blue Craig screws.
My husband Rick and I (Juanita) built the two chairs and table from your plans. We angled the seating on the chairs, similar to Adirondack chairs. So comfortable. We also modified the table to include the lower shelf. Love your plans.
i made this a while back, but just got through painting it. Saw it was a great table for drinks, will serve a double purpose.
Tue, 06/28/2011 - 08:00
...being a side table because I don't like how not sturdy it turned out (my fault in building)! =) Yours looks great!
Tue, 06/28/2011 - 11:24
I was surprised at how sturdy it is, although my husband is still scared to sit on it, but it's sturdy! :)
Well, one thing's for sure. Follow Ana's plans and everything will come out just right.
Oh. And another thing. I can't get my kid out of this bed! It's awesome. And really simple to make.
Thanks, Ana!
First of all, thank you for the inspiration and foundation for my daughters bed! I knew I had to be a bit creative from the start because the plans were for a twin size and I was building a full. I used your plans for a place to start and ended up putting my own twist in where I could. This is an interactive build complete with the bed, a dry erase board, plenty of cork board, TONS of storage, and a "secret" compartment behind the dry erase board. Oh, and the fully functional desk that my second grade daughter uses to the full extent. Thank you for what you do Ana, without your inspirations this couldn't have happened!
Hi fellow builders!
It's Jen from The House of Wood! Today I’m sharing this beautiful Guitar Display Case. I've been wanting a place to display my guitar, and this definitely fits the bill, with a glass (acrylic, actually) panel door, motion-sensored battery-powered LED lighting, and gorgeous rosewood guitar hanger. And I designed it so that you can build it out of half a sheet of plywood! Get the build plans for my Guitar Display Case at JenWoodhouse.com.
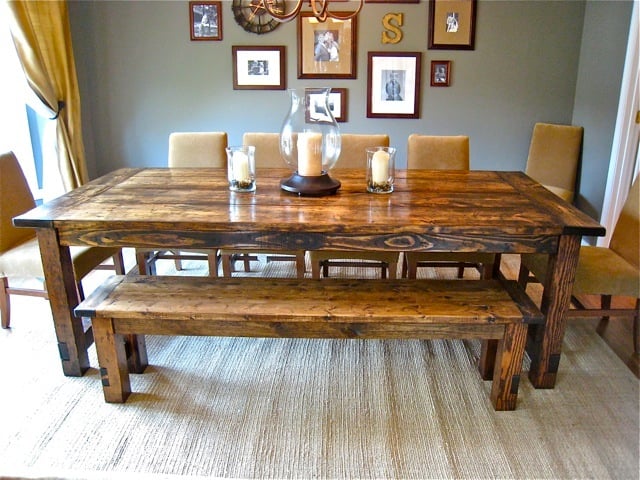
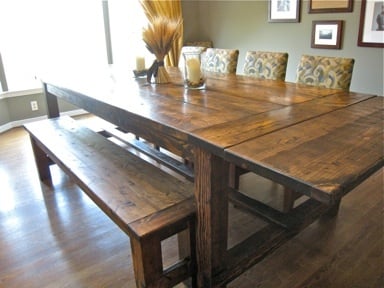
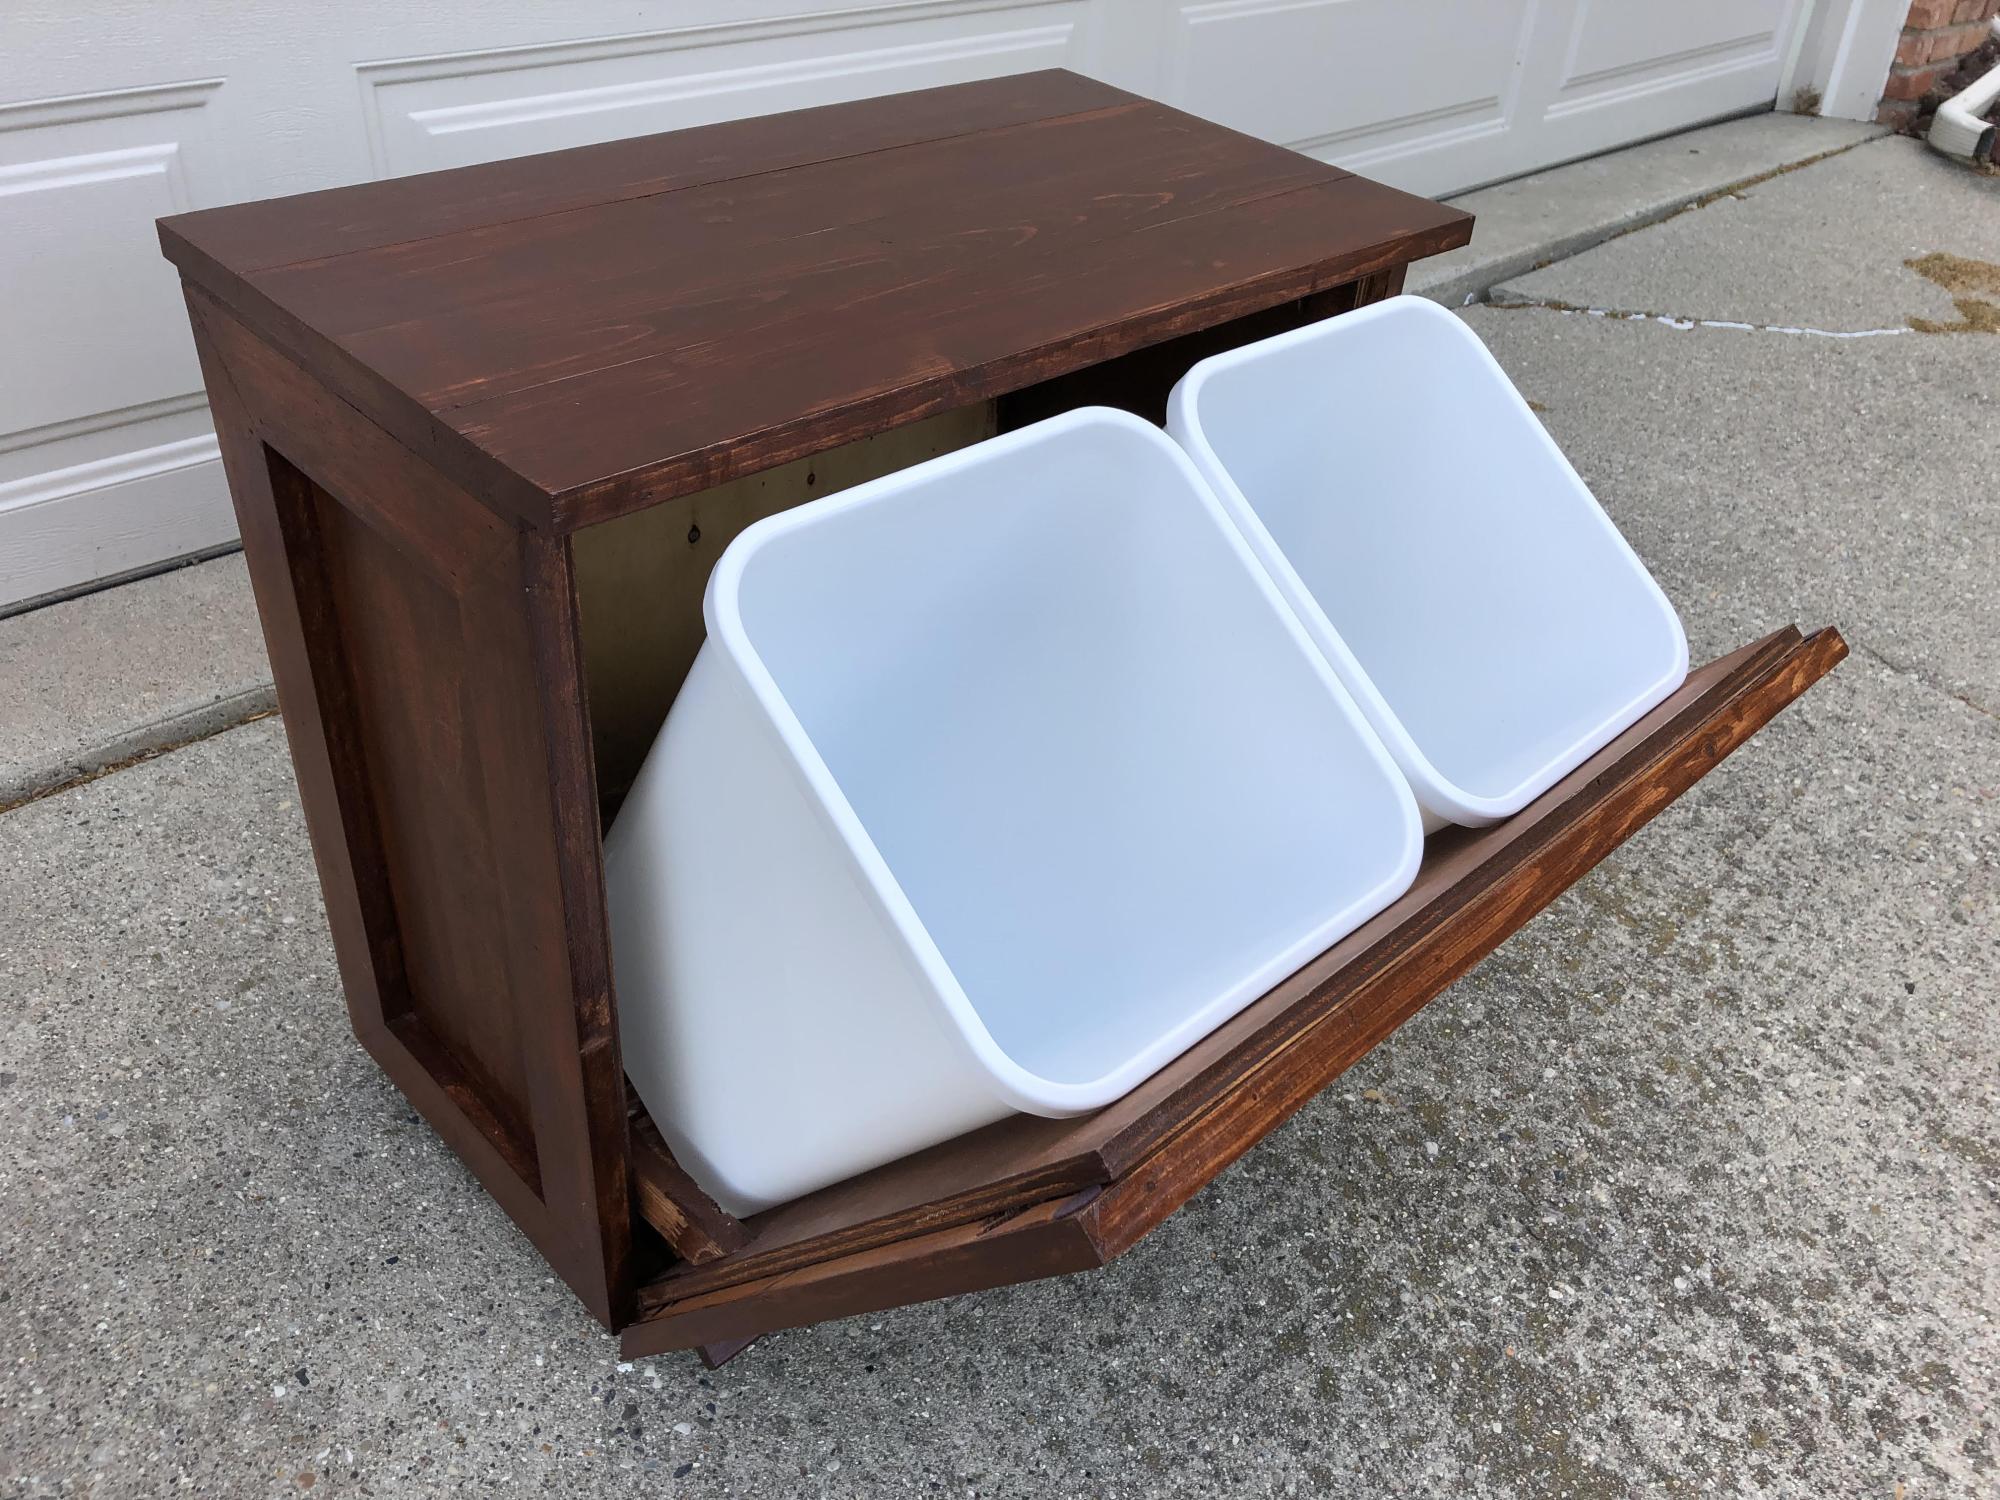
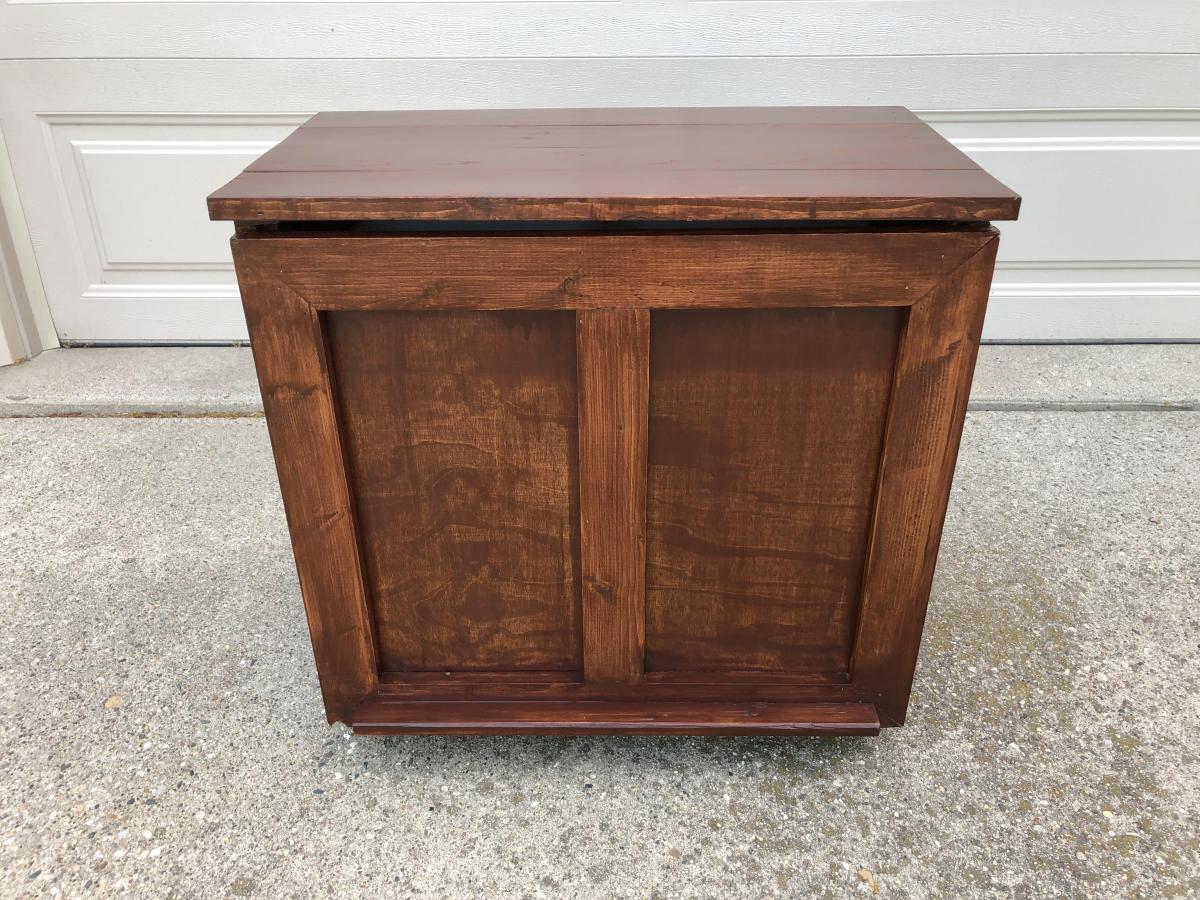
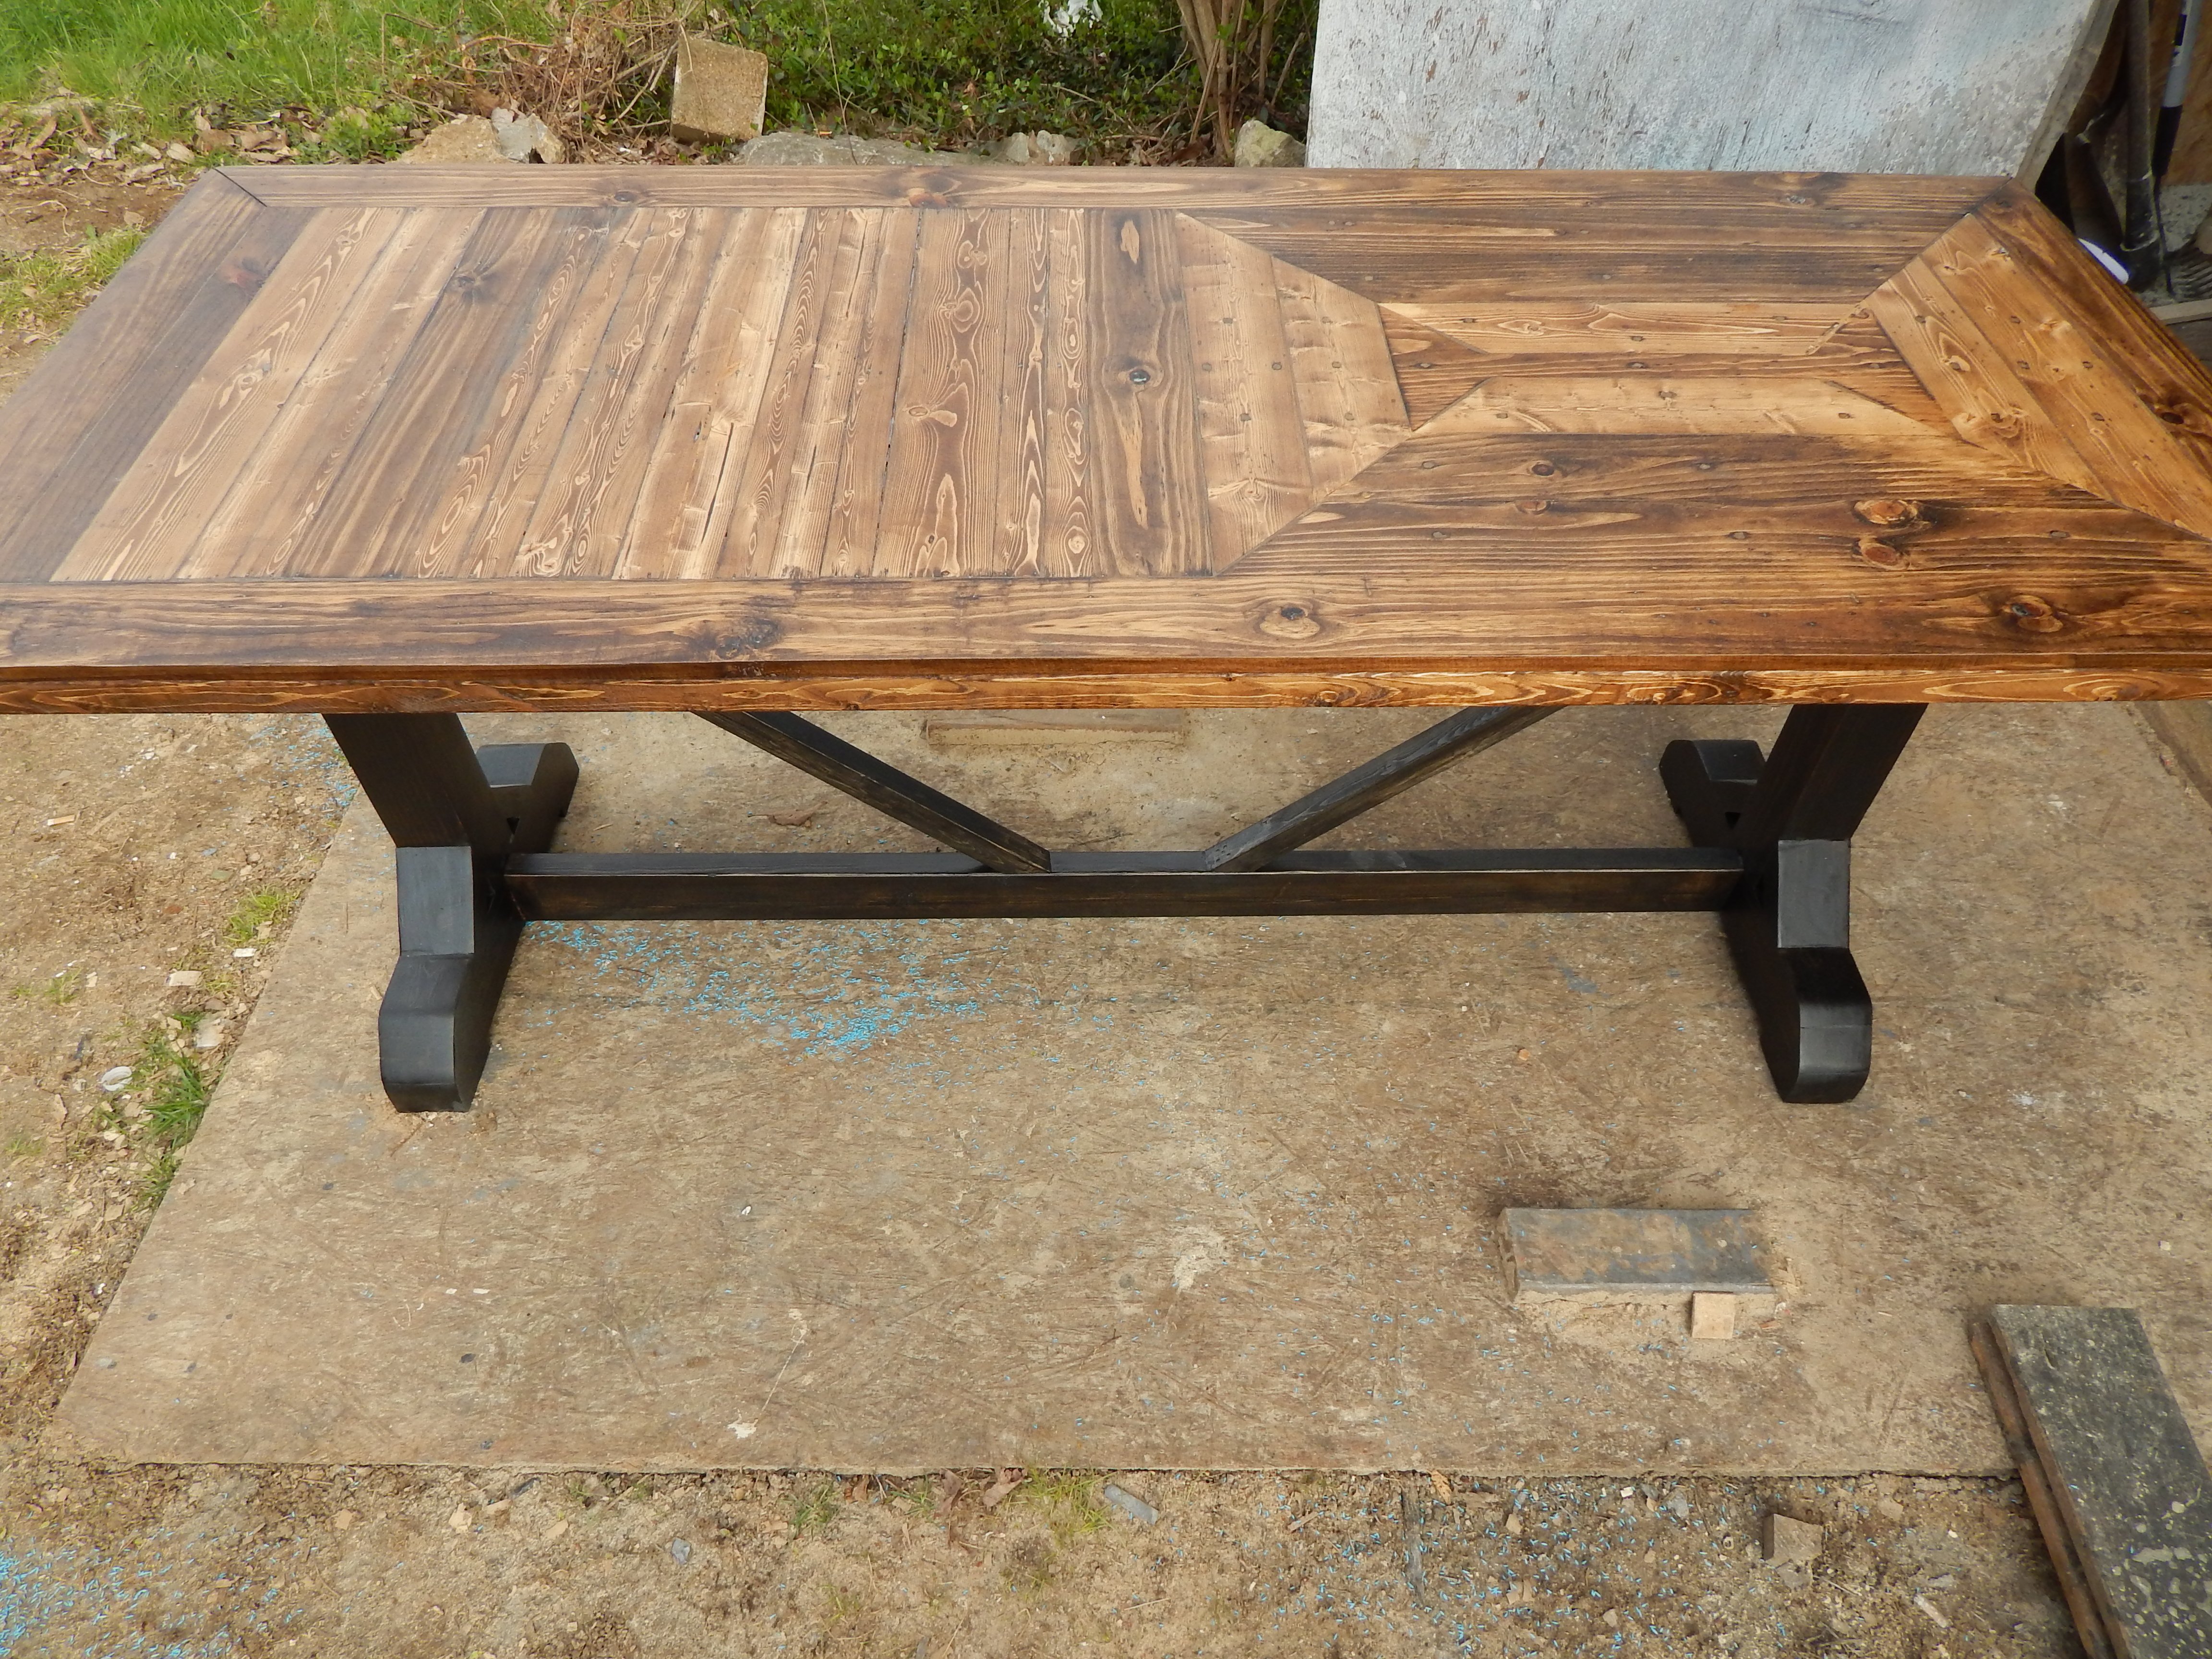
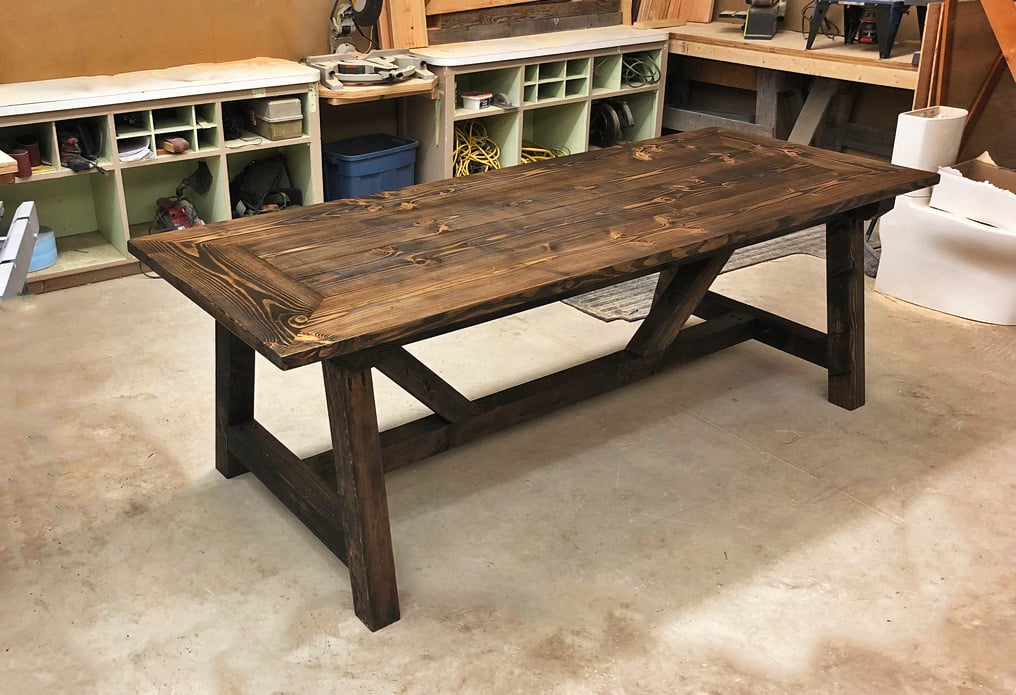
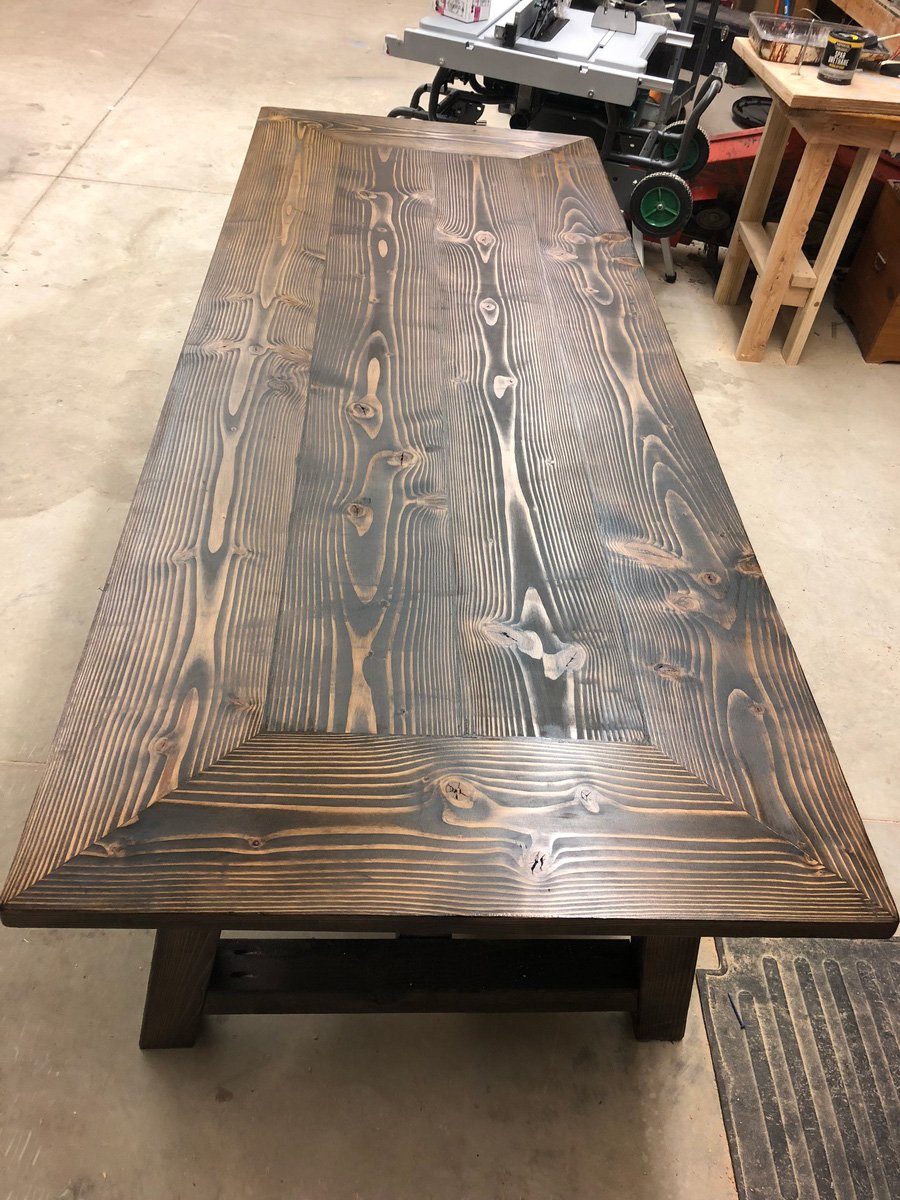
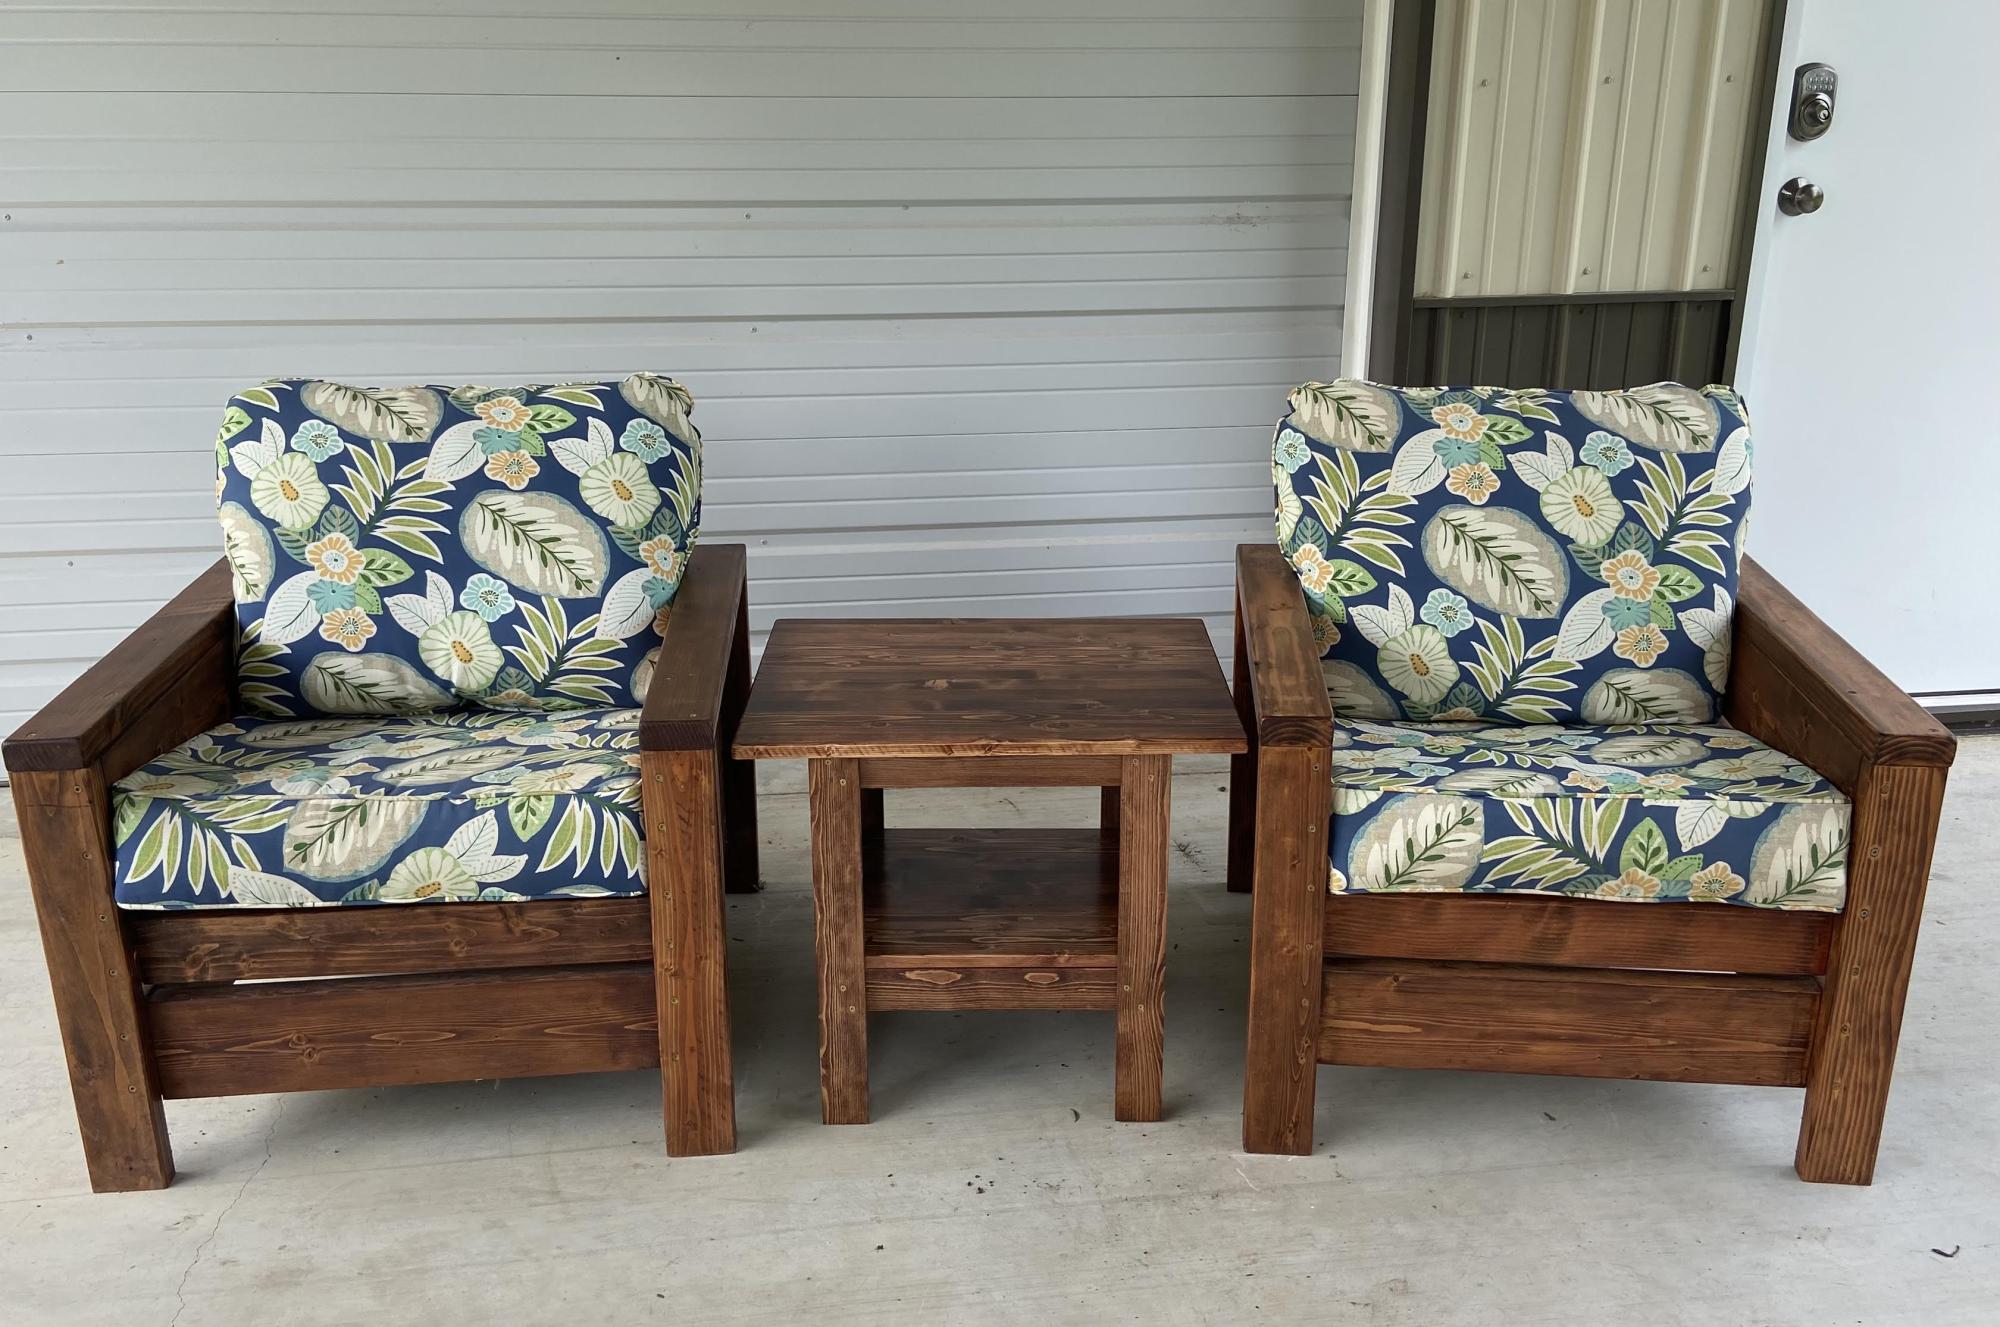
I wanted to start building right away....But had nowhere to build! Anna suggested the Kreg Jig, and since my birthday is when I found the site, "suggested" this as a gift to my daughter, who passed it on to the big guy...and viola, Master Kreg Jig. Happy Birthday to me! I got the plans from the Kreg Jig Community....super helpful site, answer all questions, and a great resource to beginner builders.
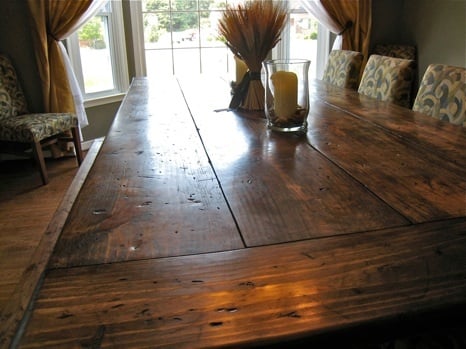
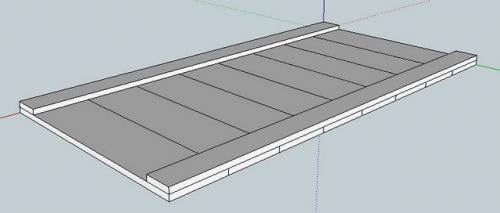
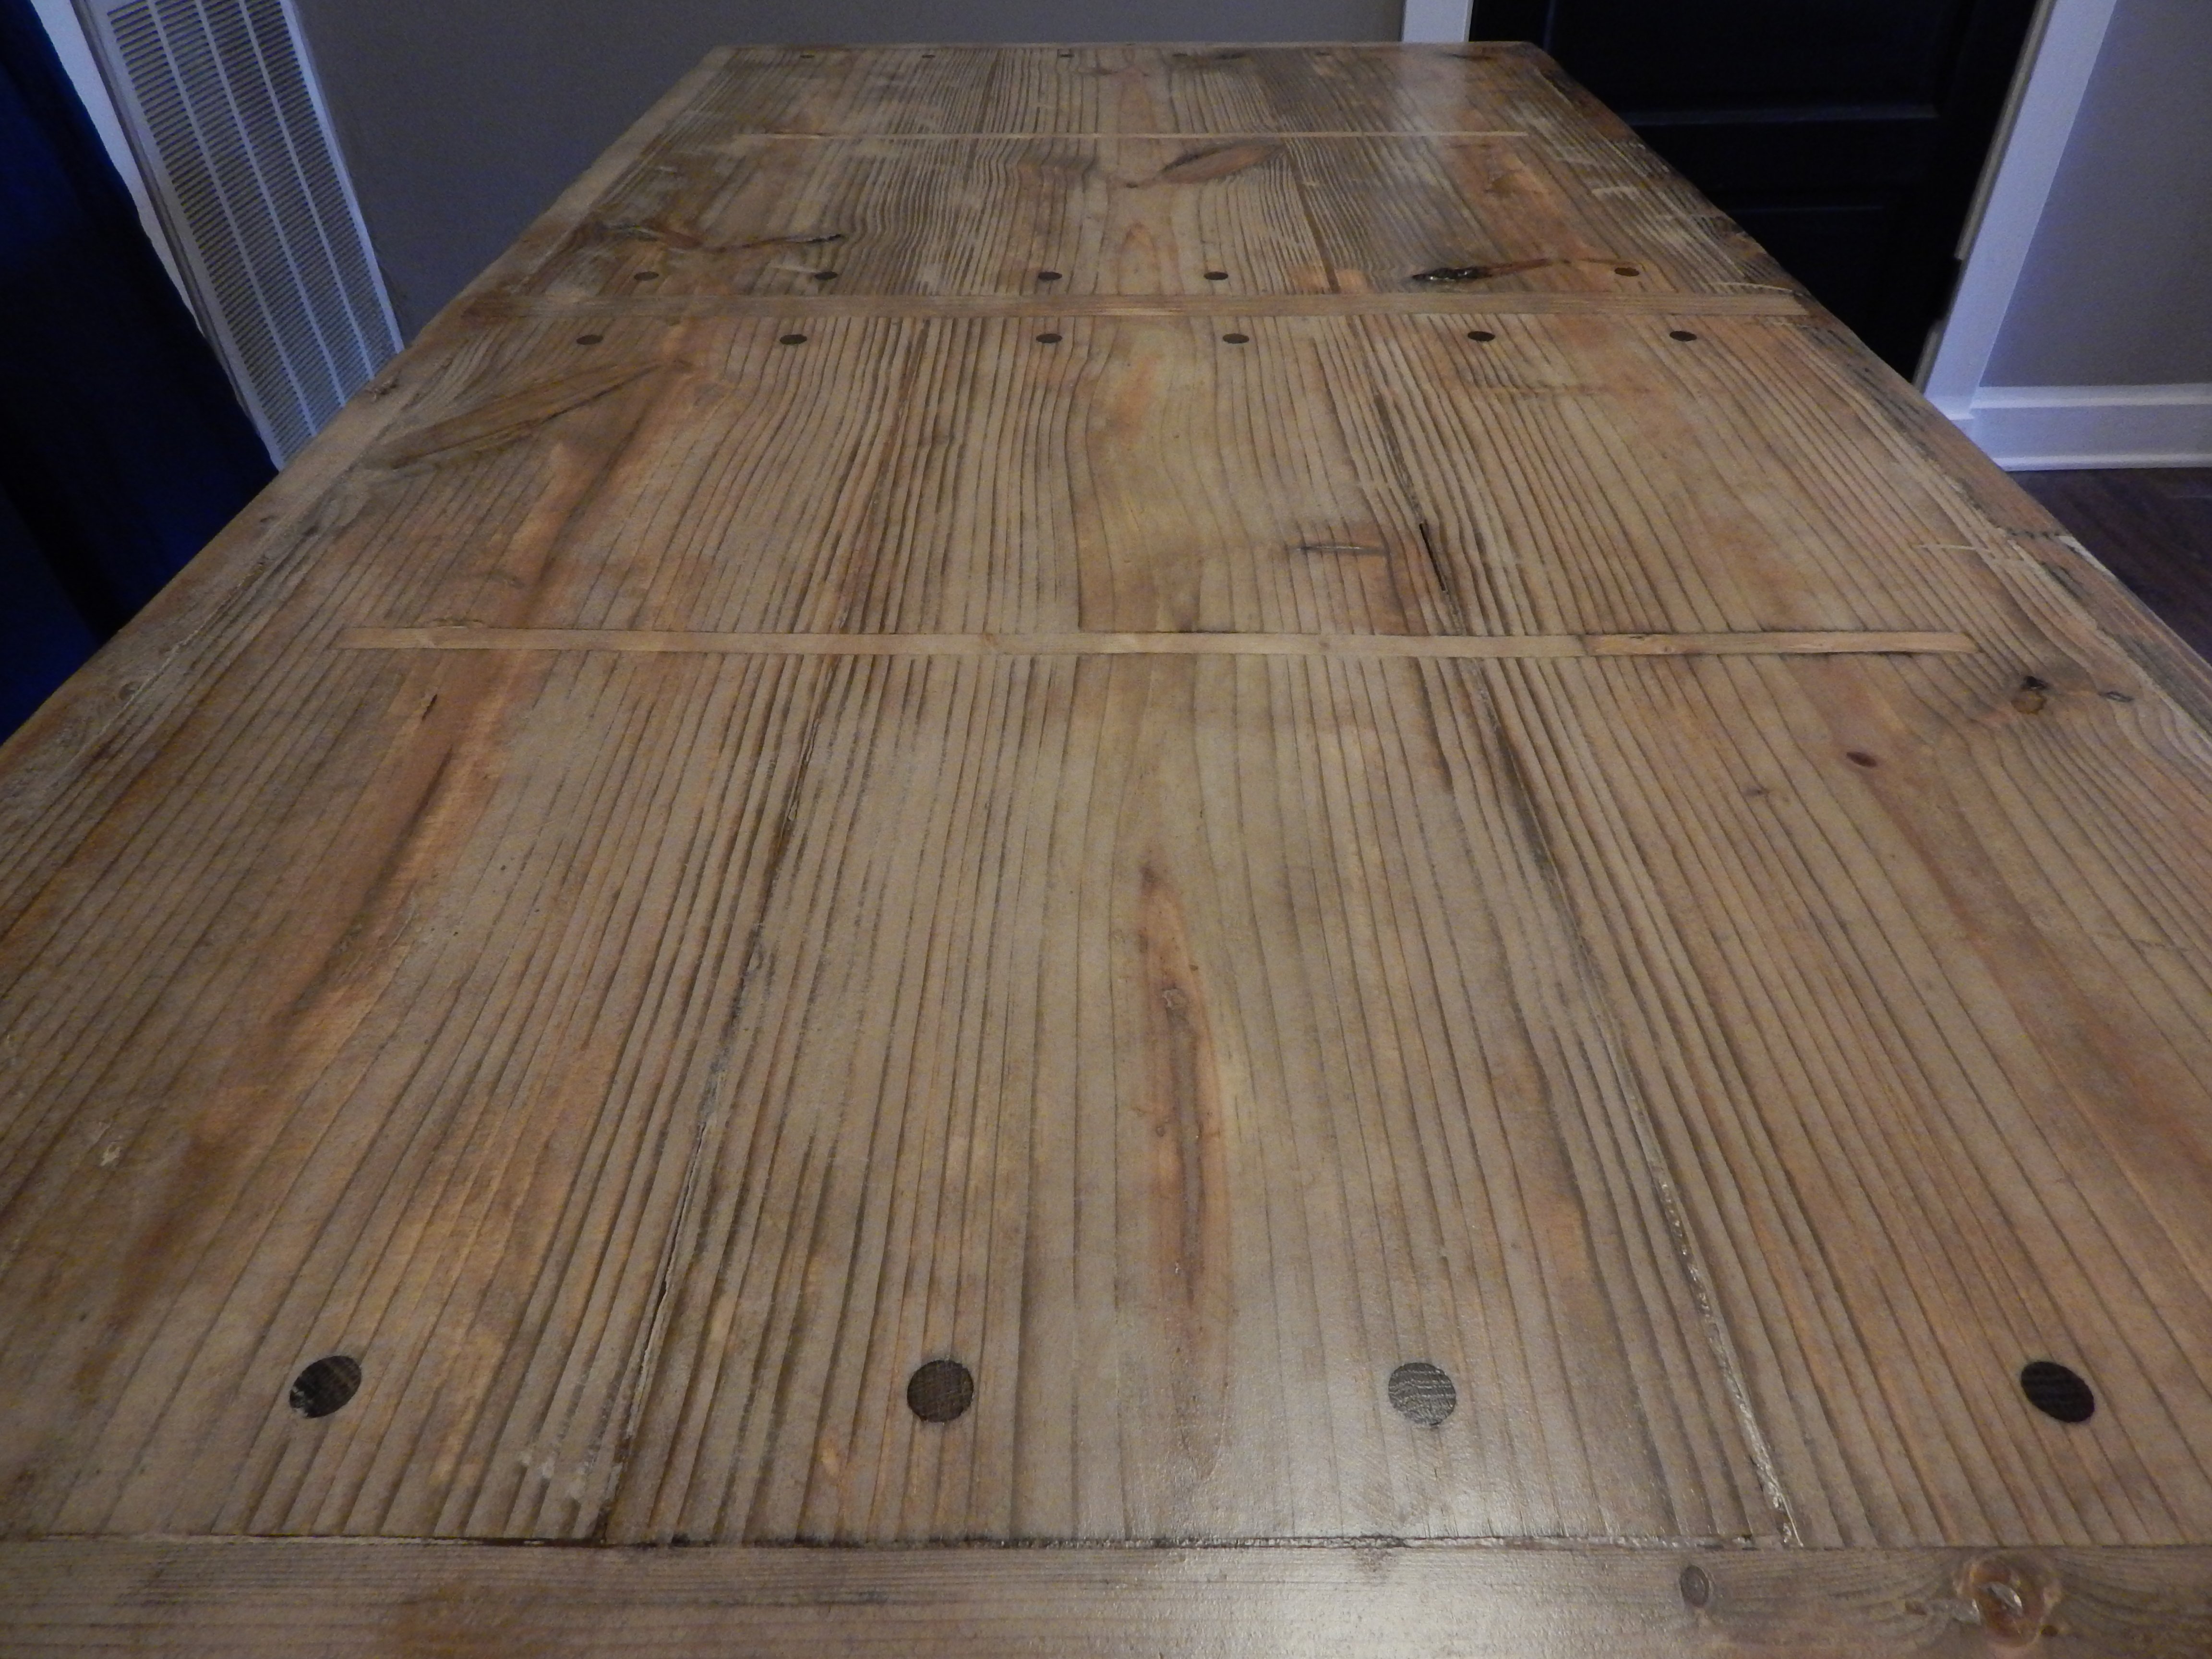
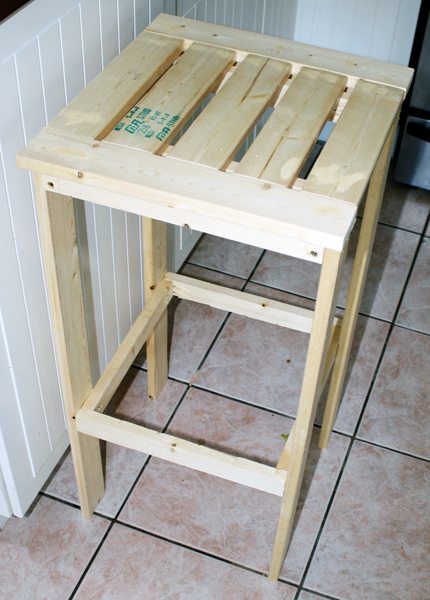
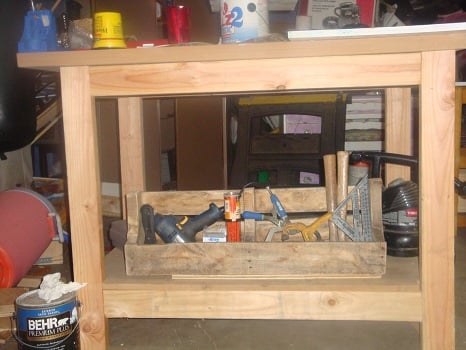
The worktop is made of 2 pieces of MDF, which is SUPER durable. Loved working with it. This took a day, and not a day goes by that I don't use or get some kind of compliment on it. What's really neat is there is a utube video to follow as you build geared towards the just starting out builder, which shows layout, cuts, jigging, very easy to follow. Plan is on Kreg Jig Community, free if you register, as well as lots of cool free plans....not quite as cool as Anna's :)
Very reasonably priced about $70 inc 100 ct Kreg screws
This is a wall ornament I made for my daughter for their get away home on the golf course at Canadian Lakes, MI. "No animals were hurt in the mounting of this moose head" The only thing to suffer was a few pieces of scrap wood that I had laying around.
Fri, 08/09/2013 - 06:14
Very cool! Did you come up with this idea on your own or are there plans for this?
Fri, 08/09/2013 - 08:24
My daughter say a small one on a shelf in a little restaurant in Stanwood, MI and told me that she would like one, only larger. That was as large Asia could make it wit the scrap wood that I had laying around.
Fri, 08/09/2013 - 08:29
My daughter say a small one on a shelf in a little restaurant in Stanwood, MI and told me that she would like one, only larger. That was as large as I could make it with the scrap wood that I had laying around.