
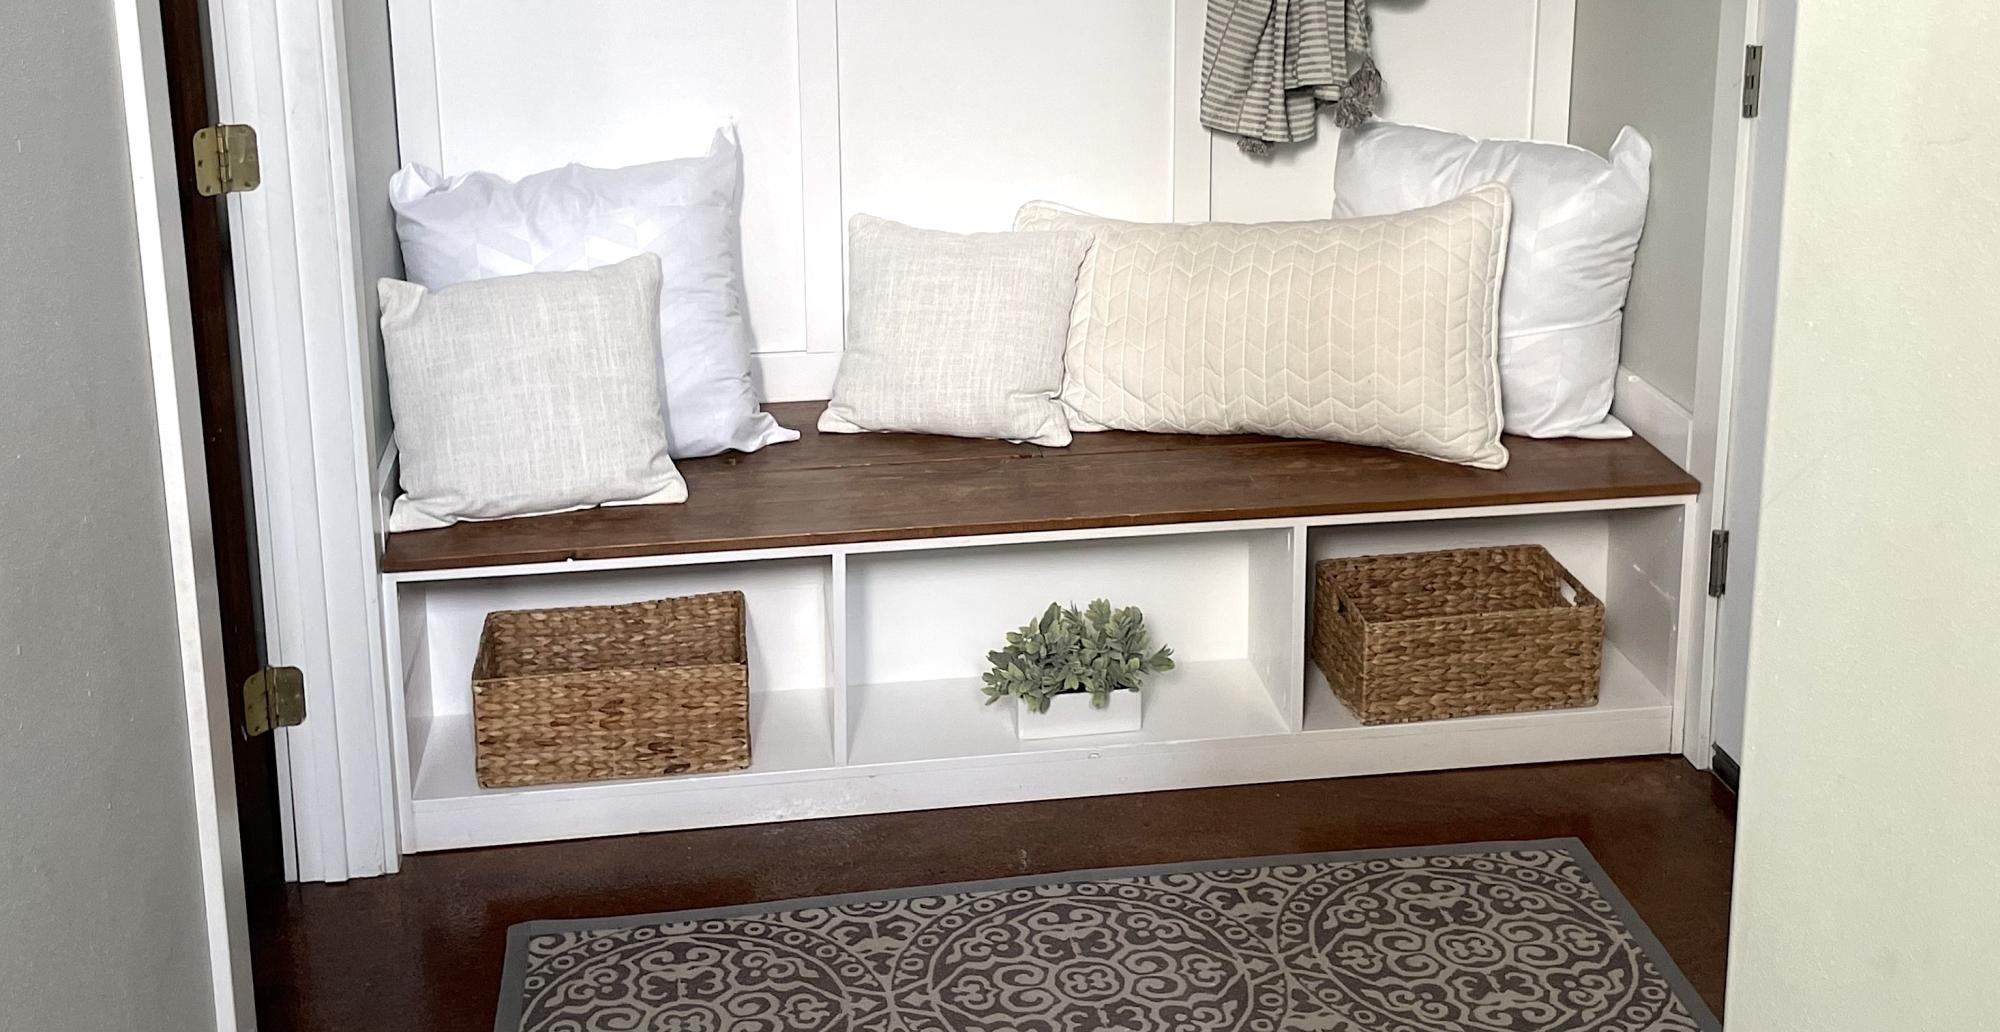

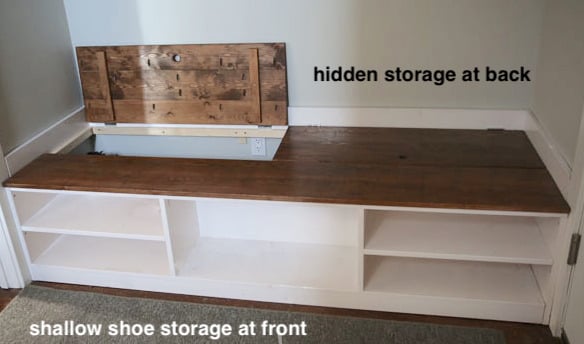
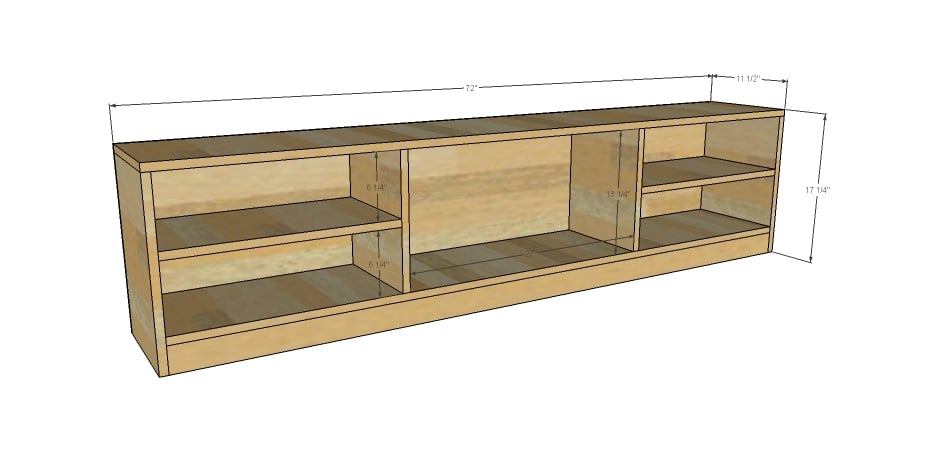
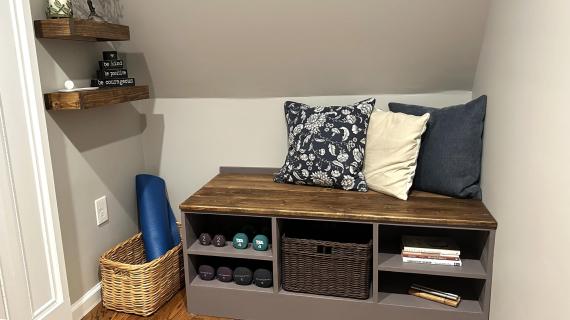
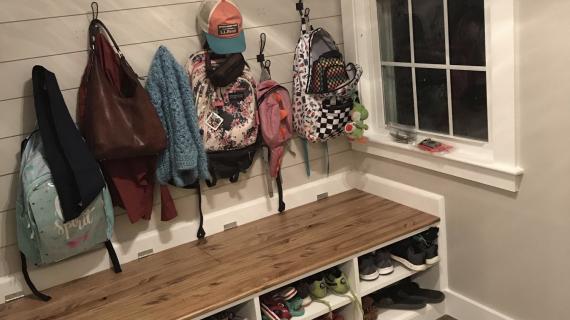
This bench is a shoe bench on the front ... and hides a compartment in the back for boots or storage! This creates a generous bench seat, but shallow shoe storage (so shoes don't get lost in the back), and lots of hidden (but accessible) storage in the back.
Step by step plans with video tutorial from Ana-White.com
RELATED: Board and Batten Wall Panel
Why This Bench is Amazing
- Deep seat depth without deep storage cavity for things to get lost and buried in
- Shallow shoe storage at front - easy to put shoes away
- Huge boot or storage compartment at back
- Easy to build design using common materials
- Very easy to customize for different spaces
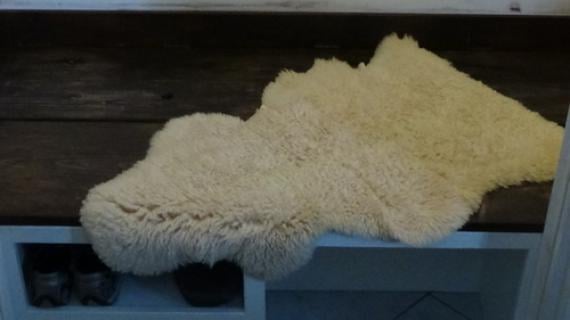
- Durable - I built this project about 10 years ago. The photos used in this post were after 10 years of use. I did do some cleaning and touch up paint and removed shelves.
Video of this Project
Watch this video showing how we built this bench into the nook area.
Also Check Out This Similar Project
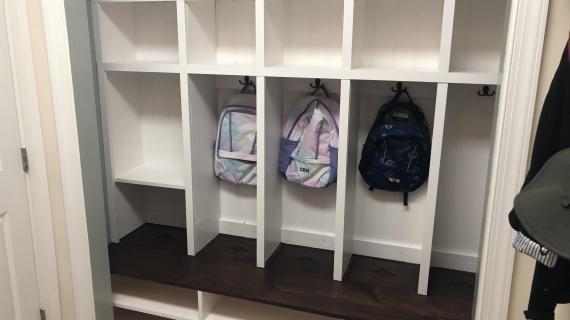
This bench turned out so well, I used the same idea again a few years later. This time, it was inside a closet, so I built the bench in two pieces -
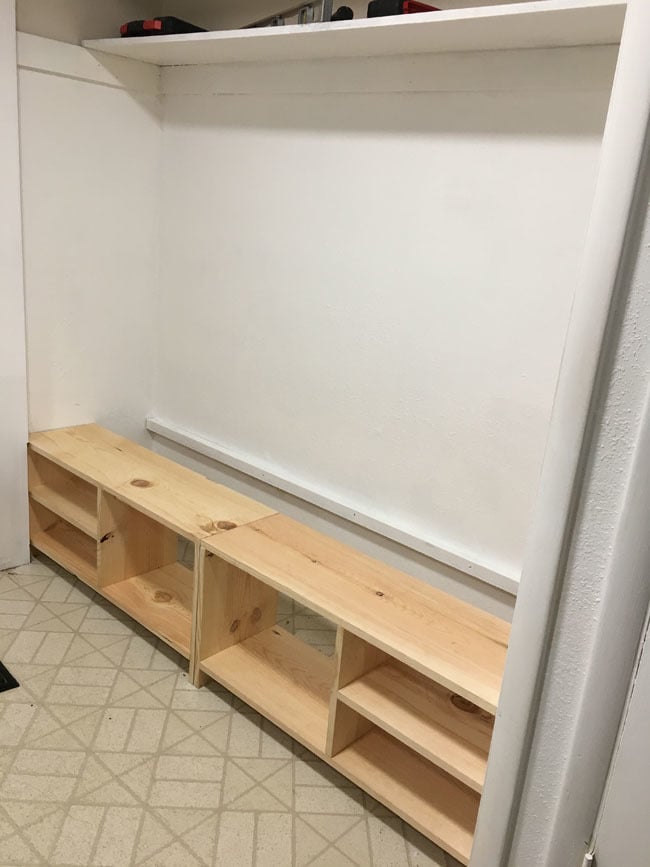
Then I attached a 2x2 cleat to studs in the wall behind the benches. I hinged the back top pieces from the tops of the benches, when closed they rested on the 2x2 cleat. This was SUPER easy to build and turned out awesome!
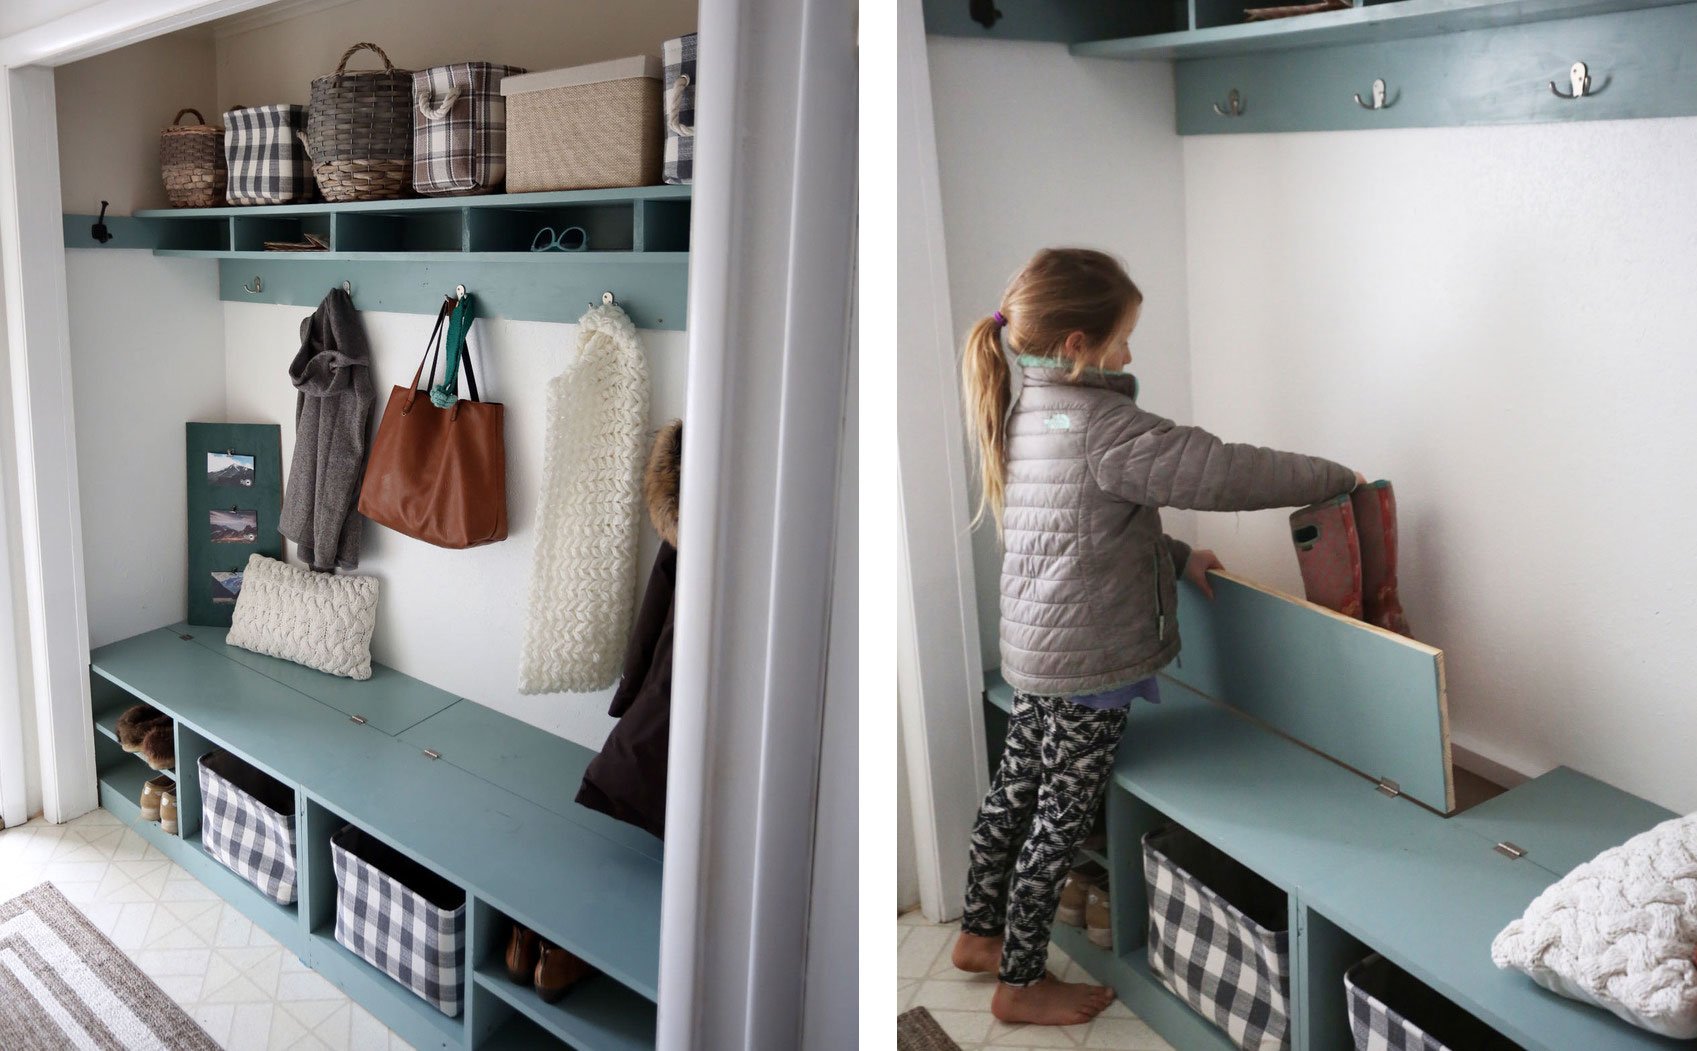
Here's the plans and more photos of the closet mudroom build.
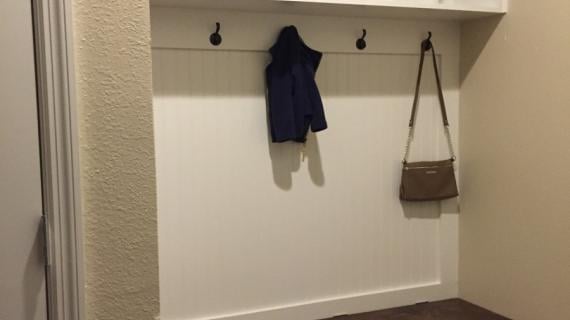
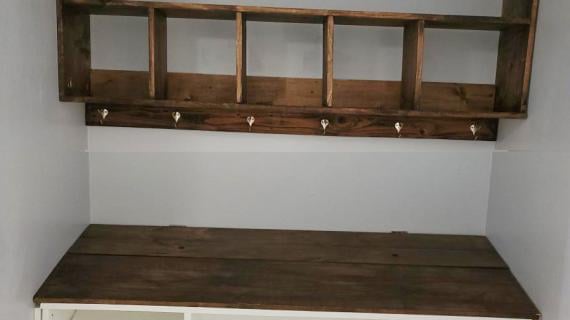
Board and Batten Wall Panel Project
Fast forward ten years, still love the bench but wanted to update the back and overall look. So I added a board and batten wall panel for hooks at the back - this was a standalone project that I built in the garage, and then just hung on the wall. Check out the video and plans here.
Plans for the Bench
The only way you are going to get this amazing mudroom is to build it yourself! We are here to help with free plans, videos and tutorials to help you along the way. Here's the plans for the bench portion - watch the video to see how the top came together.
Preparation
- 22 feet of 1x12 boards
- 2 - 1x3 @ 8 feet long
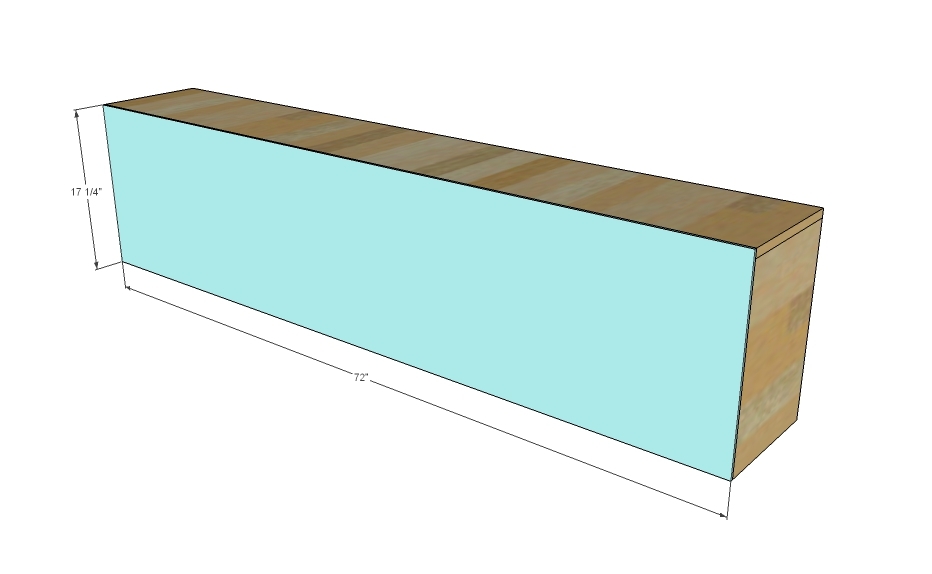
- 17-1/4" x 72" back (1/4" plywood or similar)
- 1 - 1x12 @ 72" (bench top)
- 2 - 1x12 @ 16-1/2" (bench sides)
- 1 - 1x12 @ 70-1/2" (bench bottom)
- 2 - 1x12 @ 13-1/4" (dividers)
- 2 - 1x12 @ 21" (shelves)
- 2 - 1x3 @ 70-1/2" (bottom supports)
- 1/4" plywood for back is 17-1/4" x 72"


Please read through the entire plan and all comments before beginning this project. It is also advisable to review the Getting Started Section. Take all necessary precautions to build safely and smartly. Work on a clean level surface, free of imperfections or debris. Always use straight boards. Check for square after each step. Always predrill holes before attaching with screws. Use glue with finish nails for a stronger hold. Wipe excess glue off bare wood for stained projects, as dried glue will not take stain. Be safe, have fun, and ask for help if you need it. Good luck!
Instructions
Step 1
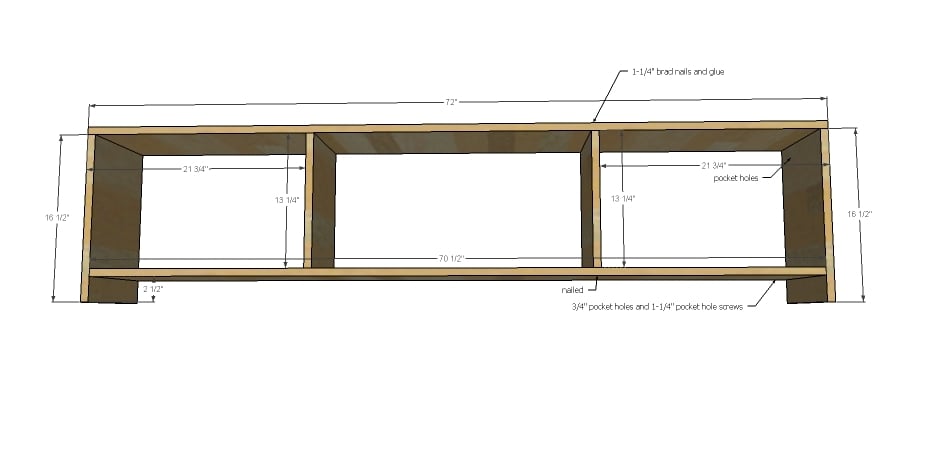
After cutting all the boards, we built this bench by first attaching the legs to the top shelf and the bottom shelf. These are the main structural joints, so we used 3/4" pocket holes and 1-1/4" pocket hole screws. Since we knew this bench would be covered on both sides by walls, we placed the pocket holes on the outsides of the sides.
For the dividers, we just nailed and glued those in place with 1-1/4" nails.
Step 2
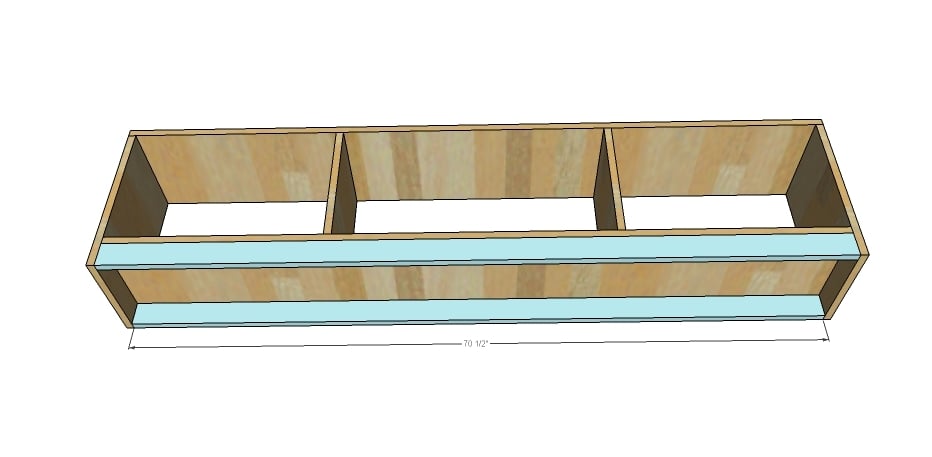
Then we added the 1x3 supports along the bottom with nails and glue.
Step 3
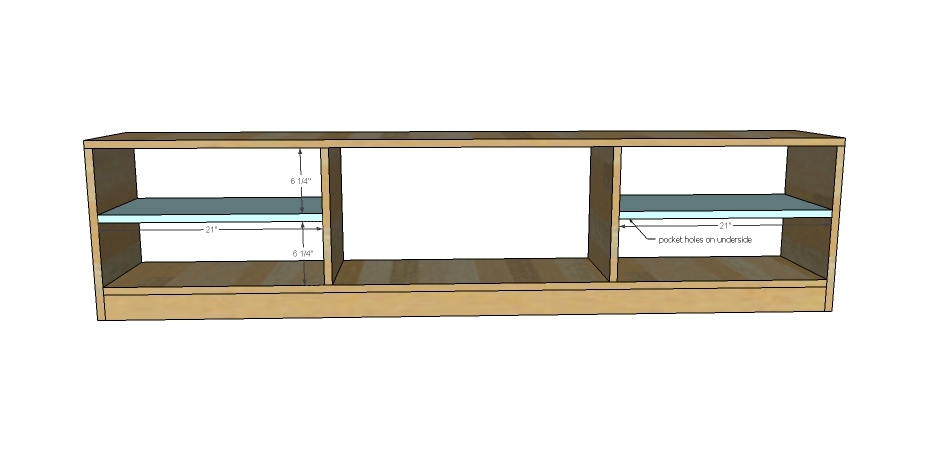
Next we added the shelves. We opted for pocket holes on the underside for added strength here.
Step 4
Finally we nailed the back on with glue and 3/4" nails.
It is always recommended to apply a test coat on a hidden area or scrap piece to ensure color evenness and adhesion. Use primer or wood conditioner as needed.


Comments
PMarie
Thu, 02/26/2015 - 09:45
Extra Wide Shoe Bench
I noticed the receptacle inside the boot storage area. This would work well for plugging in the smaller type boot dryers! My husband's work boots would be out-of-sight but still able to dry overnight!
juliadeer
Sat, 04/22/2017 - 22:12
Neat idea
That's a cool idea, also I thought of running that plug up and putting in another outlet at the top in a cubby for phone chargers and such. You could hid all the tablets and phones in a cubby.
juliadeer
Sat, 04/22/2017 - 22:09
Wood for shoe area
I was wondering what type of 1x12 you suggest for the shoe area? Is your shoe wood the same as the top? Did you use pine? I am concerned about the white paint always looking dirty and holding up well to scuffs and dings. Any suggestions?
Martelwd
Sat, 12/30/2017 - 07:04
Wood type
I was also curious what type of wood did you use for each step?
kaguardado08
Sat, 01/27/2018 - 07:31
attach to wall
I wanted to build a mudroom on the wall in our entry way. How would I attach this to the wall? There won't be side walls like you have pictured.
sop4582
Tue, 05/07/2019 - 09:42
Design Software
What software do you use for your furniture designs?
In reply to Design Software by sop4582
Ana White
Tue, 05/07/2019 - 15:24
I use sketchup
I use sketchup
sop4582
Wed, 05/08/2019 - 11:25
Thanks for the quick reply. …
Thanks for the quick reply. I've just started with SketchUp, and am trying to teach myself to use it. Did you use any tutorials to help you learn the program or did you just play around with it until you became proficient? By the way, I love your site and have used your plans to make several pieces for friends and myself. Thanks for sharing!
egg
Sat, 06/06/2020 - 21:19
Hi ana, it would be helpful…
Hi ana, it would be helpful if you can draw the way it's screwed, such as places for the pocket hole.
haleymacp
Fri, 07/03/2020 - 11:44
Hi Ana, Any chance you…
Hi Ana,
Any chance you could provide a shopping/cut list for the hidden storage in the back?
Thanks!
Haley
Melissa H. Jones
Wed, 04/07/2021 - 08:28
a great opportunity
a great opportunity