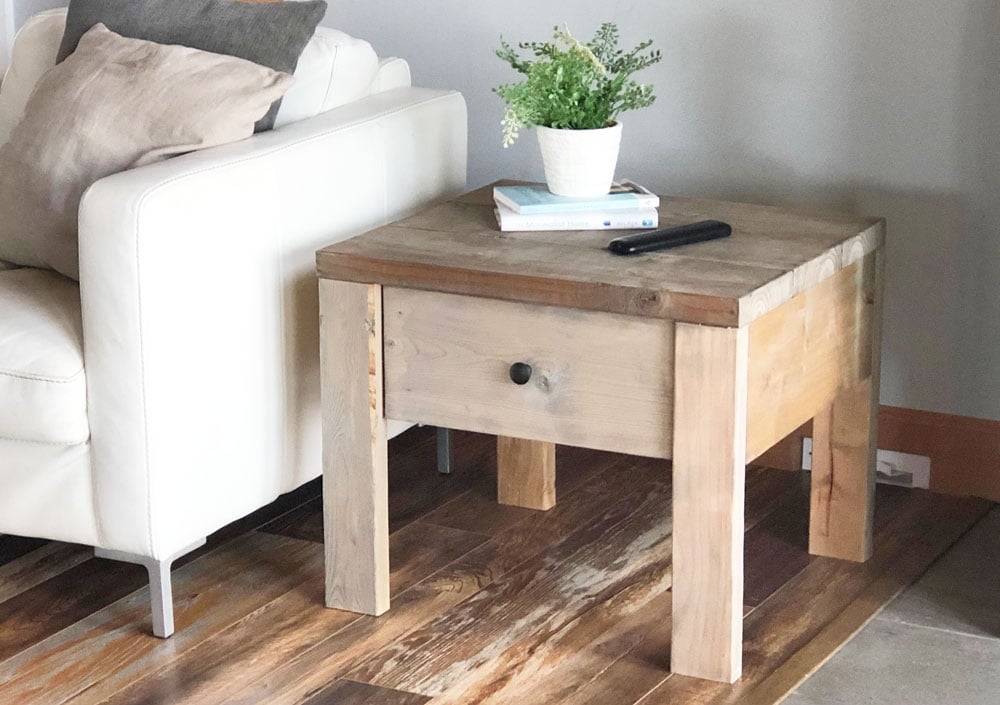
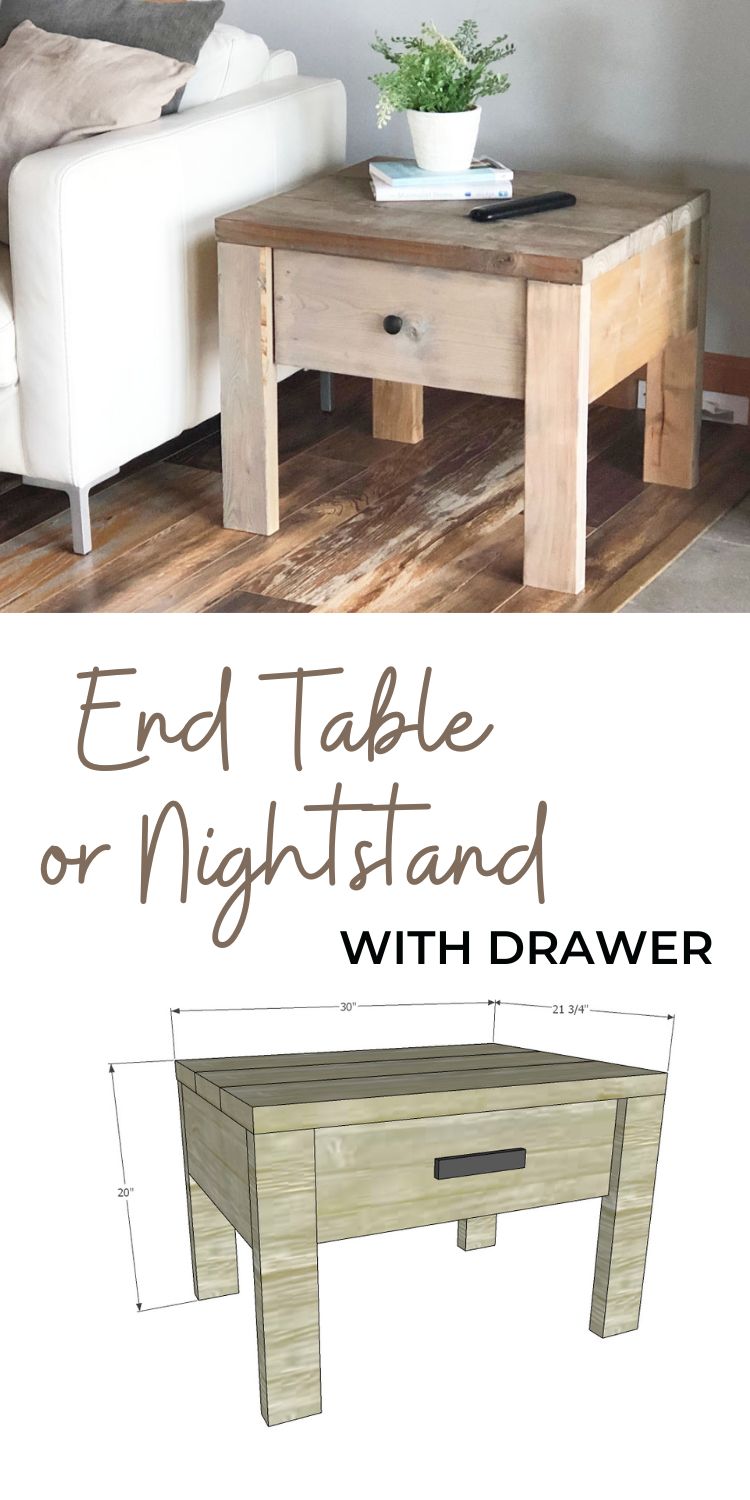
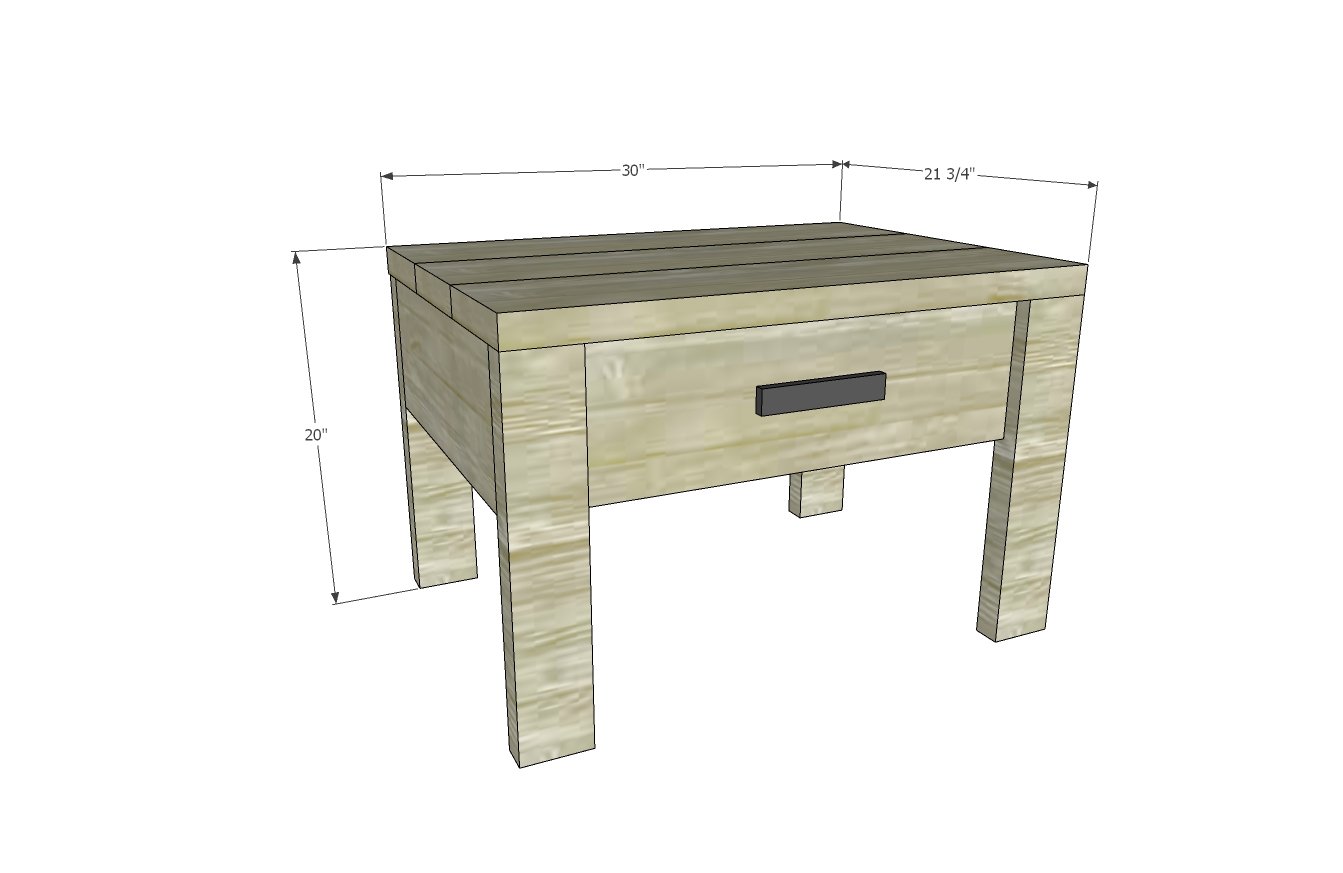
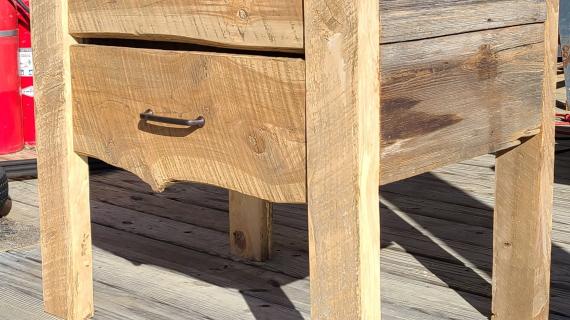
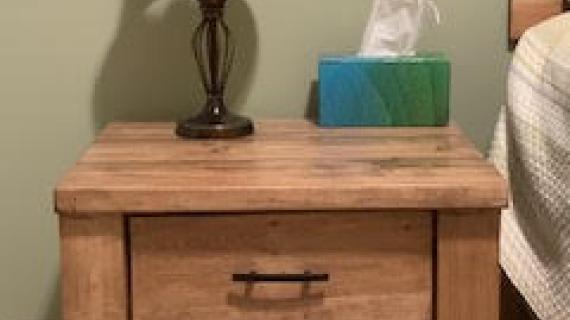
Build your own end table or nightstand with drawer, for about $50 using 2x4s and 2x6 lumber. Beautiful, solid wood design is substantial in size and sturdy. Features a large, roomy drawer and planked wood top. You just need a few basic power tools and our easy, beginner plans with step by step diagrams, video tutorial, detailed shopping list and cut list.
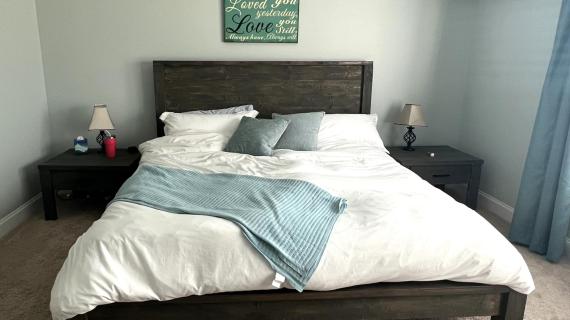
Build the matching Modern Farmhouse Bed with our free plans.
Pin For Later!
Preparation
- 1 - 2x4 @ 104-5/8" long (or longer
- 1 - 1x8 @ 8 feet long
- 1 - 2x8 @ 8 feet long
- 1 - 1x4 @ 8 feet long
- 1 - 1/4" plywood @ 20-1/2" x 19"
- 18 white euro style drawer slides
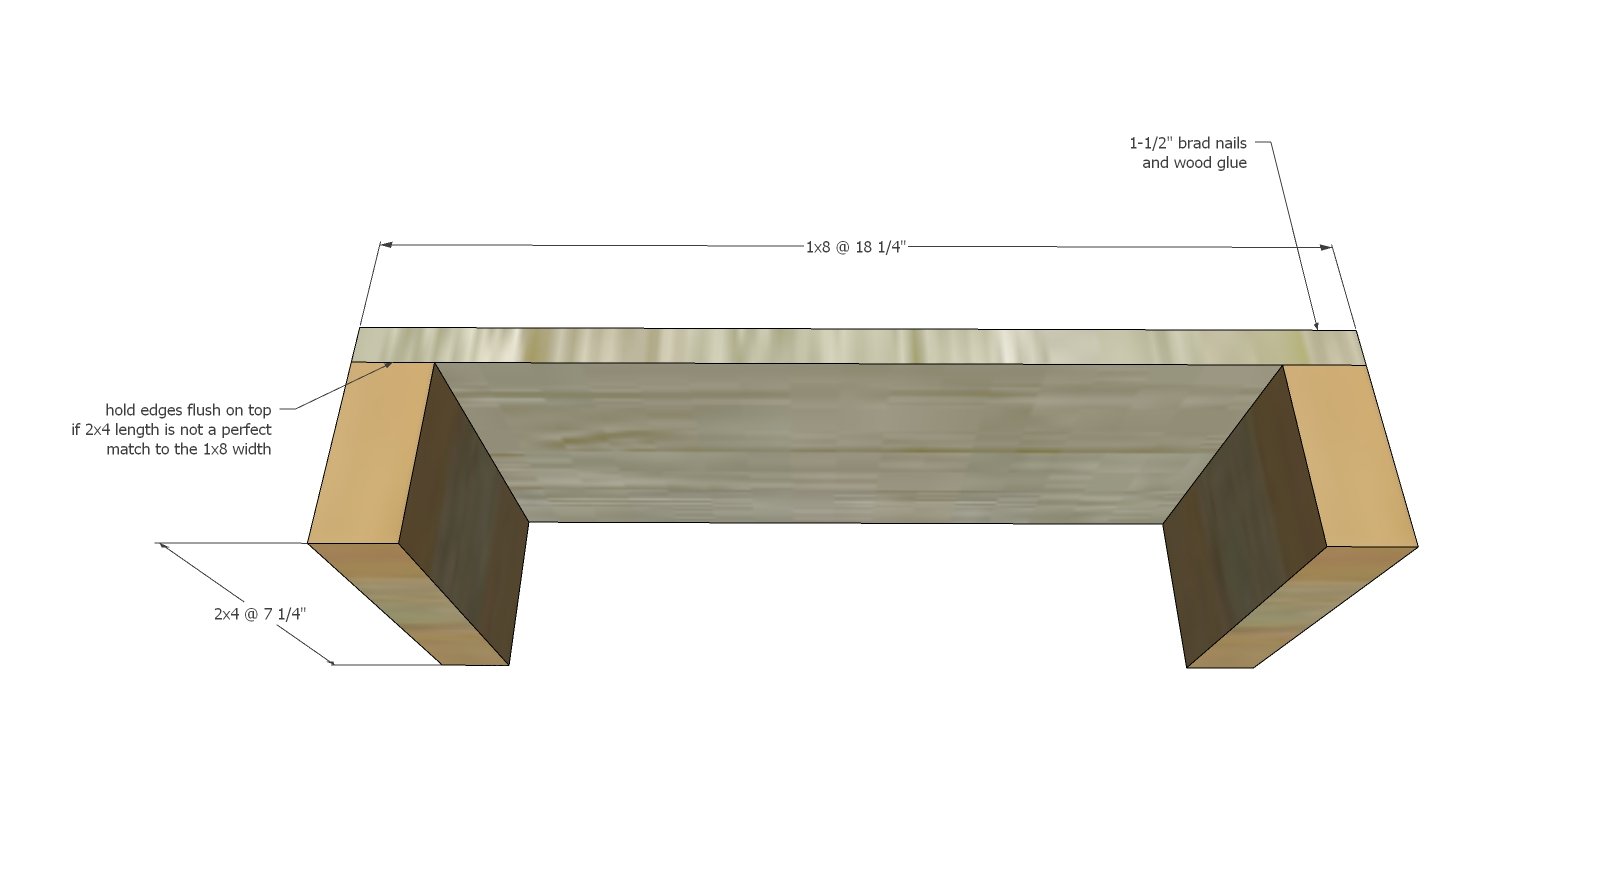
- 4 - 2x4 @ ~7-1/4" - cut to match the width of the 1x8 boards
- 2 - 1x8 @ 18-1/4" - sides
- 4 - 2x4 @ 18-1/2" - legs
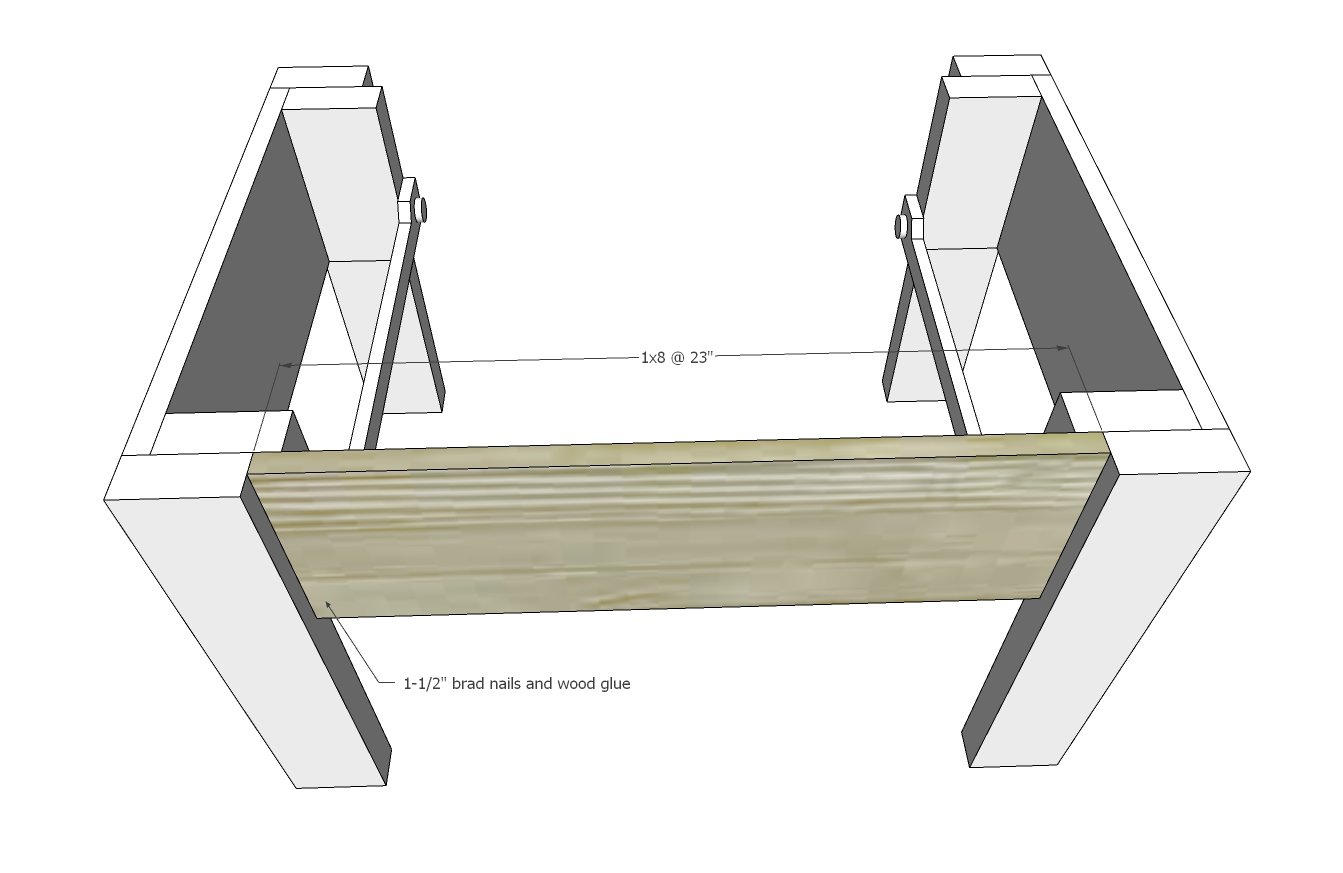
- 1 - 1x8 @ 23" - back
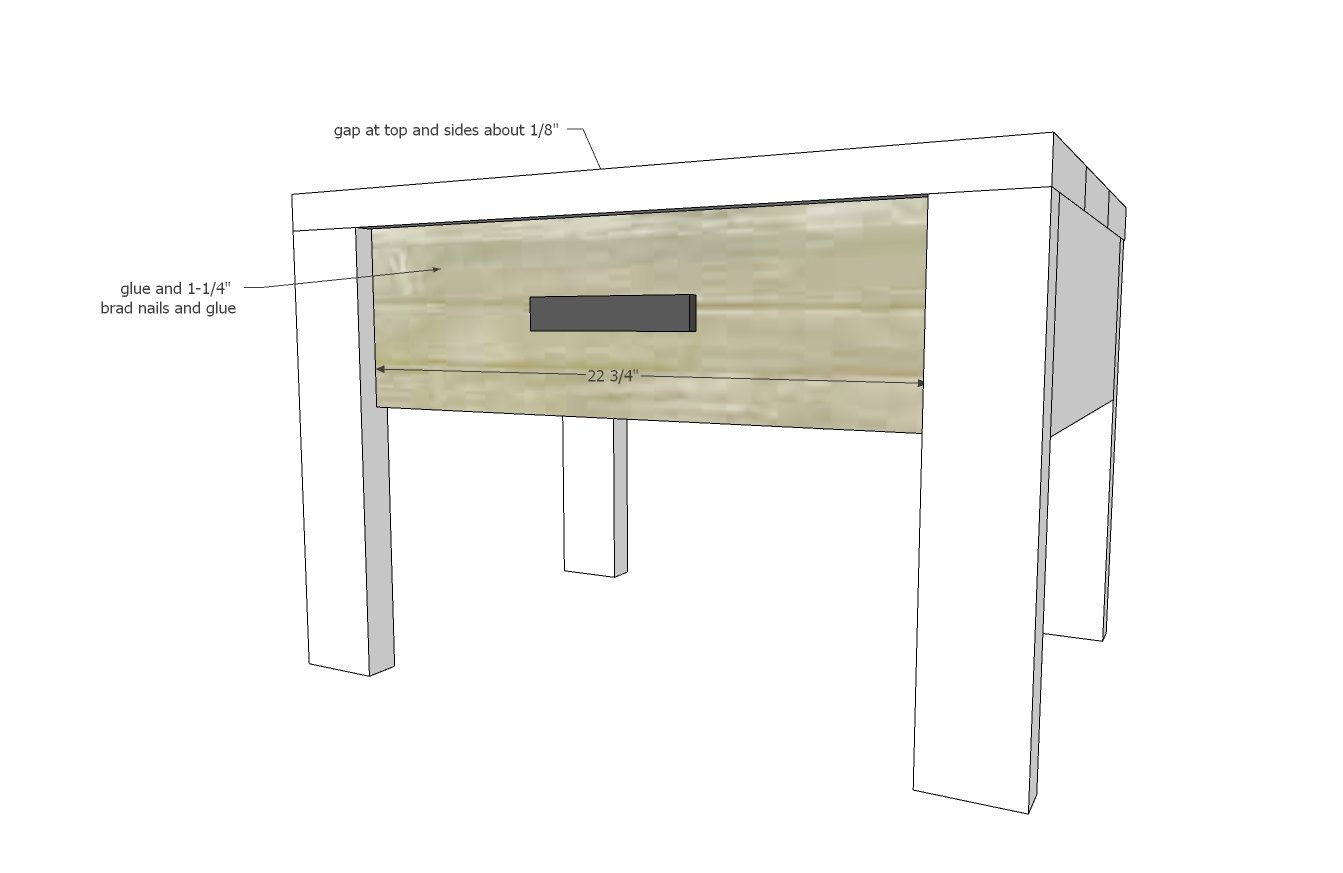
- 1 - 1x8 @ 22-3/4" - drawer face
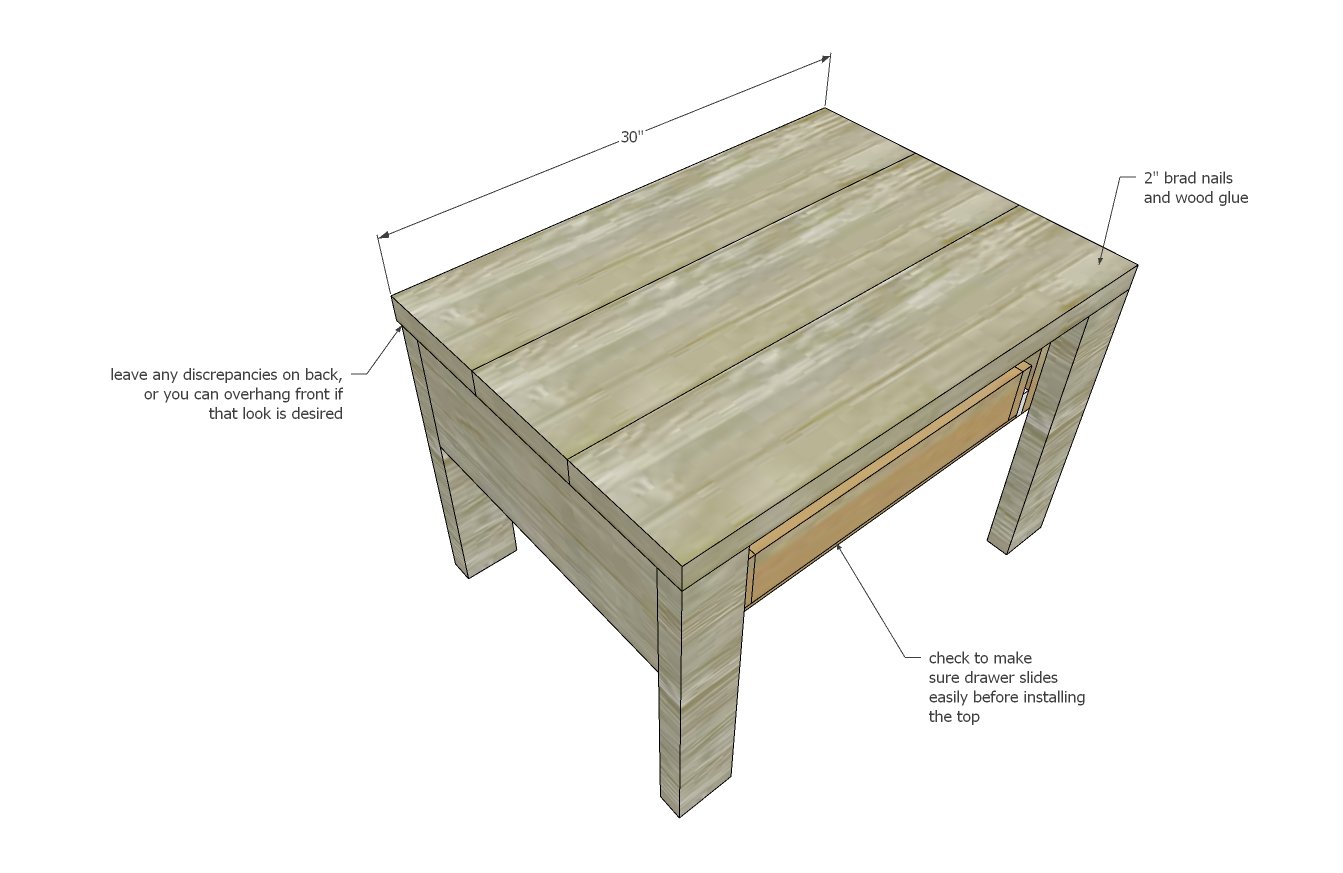
- 3 - 2x8 @ 30" - top
DRAWER - Do not cut until you can measure the opening and adjust to fit if needed
- 2 - 1x4 @ 18"
- 2 - 1x4 @ 19"
- 1 - 1/4" plywood @ 20-1/2" x 19"
1-1/4" nails can be used for the 1-1/2" nails, if you don't want to buy both
Instructions
Step 1
Step 2
Step 3
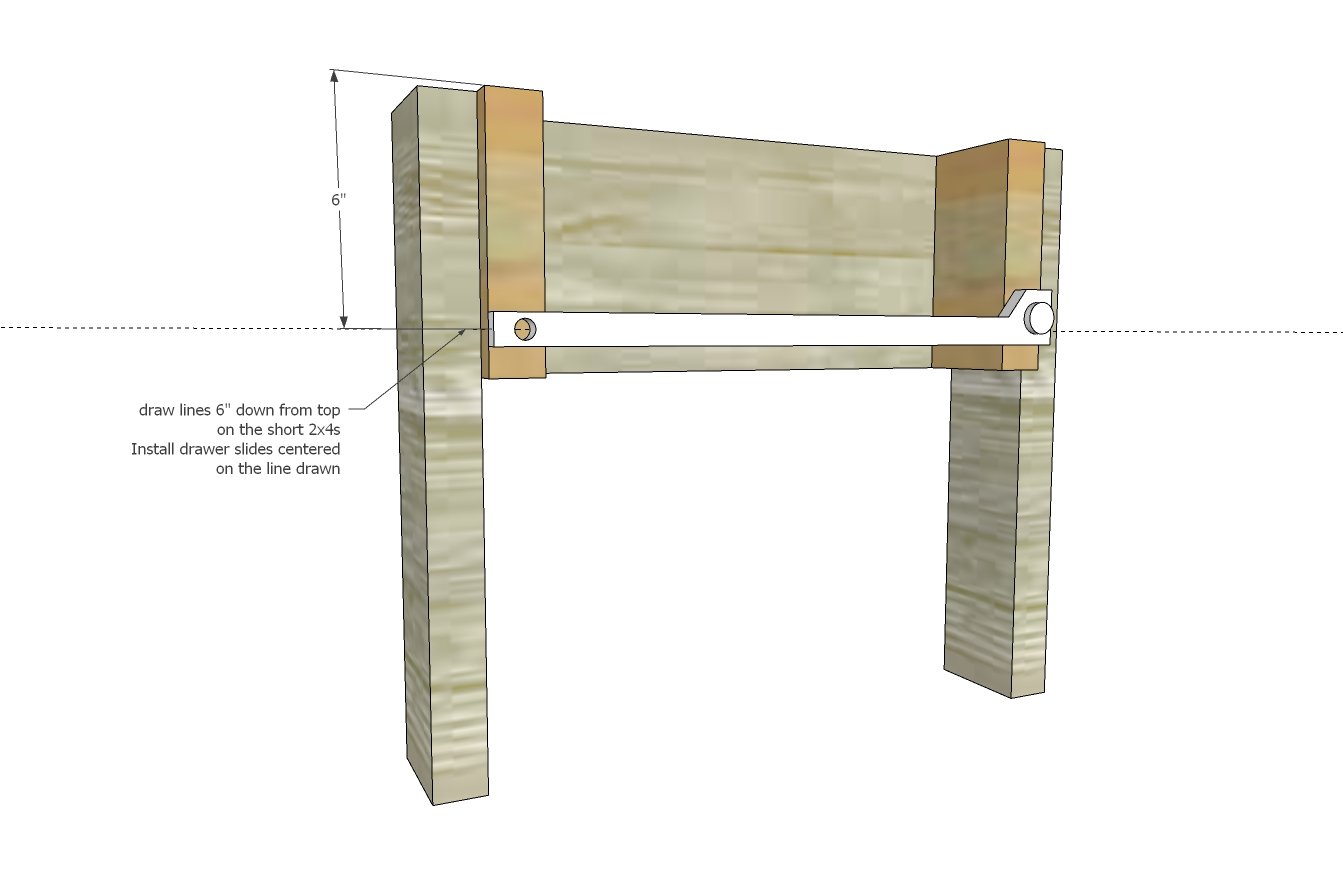
Install drawer slide cabinet member on the shorter 2x4s.
Make sure the two drawer slides are installed exactly the same location so your drawer slides evenly.
The front of the drawer slide (wheel side) is flush to the front edge of the shorter 2x4. The back edge may end short of the back shorter 2x4 depending on your drawer slides.
Repeat for opposite side (but in mirror).
Step 5
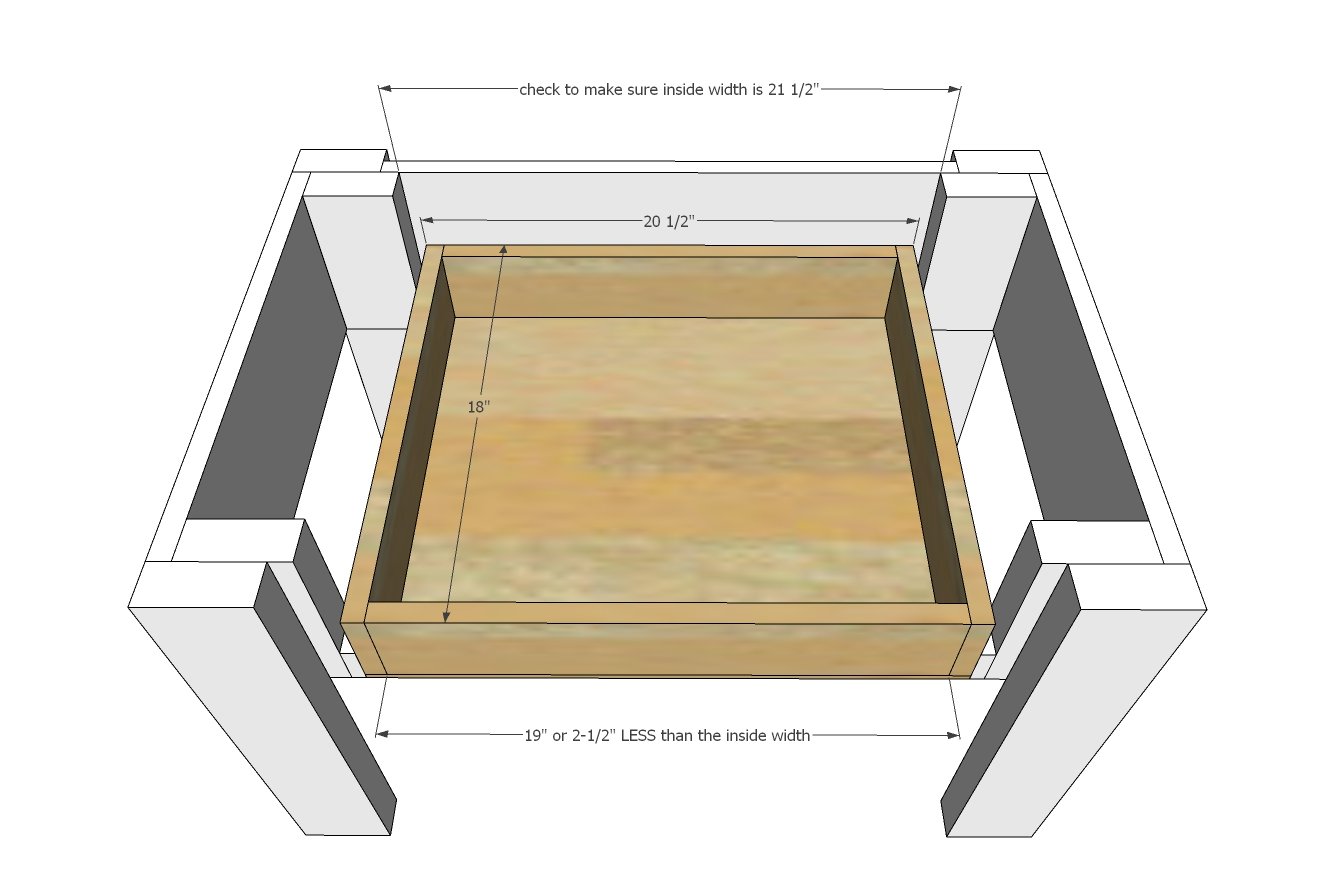
Measure the opening for the drawer cavity.
Read the instructions with your drawer slides. Common drawer slide clearance is 1" overall (1/2" on each side).
Figure your drawer size and build to fit.
If ALL of the following are TRUE, you can proceed with measurements shown in diagram and given in cut list -
- Inside width is 21-1/2"
- 1x4 thickness is 3/4"
- Drawer slide clearance is 1/2" per side (1" overall)
Cut bottom plywood and nail and glue to bottom with 3/4" brad nails.
Install drawer members on the finished drawer.
Test drawer inside the nightstand.






Comments
andrew14321
Wed, 10/16/2019 - 04:04
Hi Ana, Would you mind…
Hi Ana,
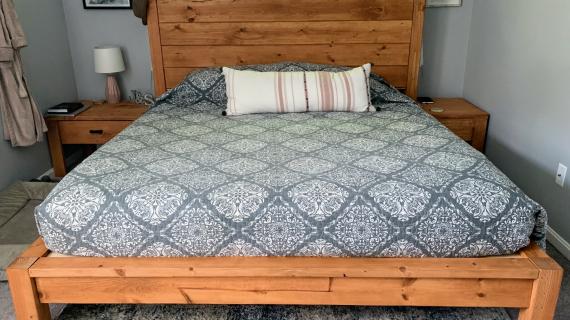
Would you mind telling me what stain and wood you used on the Modern Farmhouse Bed picture above, below the first nightstand picture with the gray and white pillows?
Thank you,
Andrew
Emo Wood Works
Mon, 04/13/2020 - 18:14
Help with measurement
Hi Anna I love this nightstand I would love to make 3 draws I was going to make it 30" high. I do want my draws deep so I will use 1x6 draws and 1x8 face front I just want to know how many inches will the back 1x8 piece should be. Please let me know. Thank you
Emo Wood Works
Mon, 04/13/2020 - 18:17
Sorry I forgot to mention…
Sorry I forgot to mention that my draws will be 25" long and 18" depth
were4cs
Thu, 06/04/2020 - 12:41
15 year old daughter built this.
My 15 year old daughter built this. Super easy. She went with me to get the wood. She would not let me do anything but sand. She did it all. Even stained it.
hdan450
Sat, 04/10/2021 - 15:09
In progress and good learning
I am currently making this, it is a really good blueprint with great details used alongside the YouTube video
This is my first woodworking project and it looks great, just need to sort the top out and attach the drawer face
Some good lessons learned - the width I required needed to be shorter than this, and I realised that the 2x4s here too wide, along with the wood for the drawer. I have successfully managed to scale both down to get a nice drawer in there
If there is a way to upload images here I'm happy to share :)
Overall pleased with this and how it is progressing for a first attempt :)
s@flores
Tue, 06/01/2021 - 07:34
Length of nightstand top
Hi Ana,
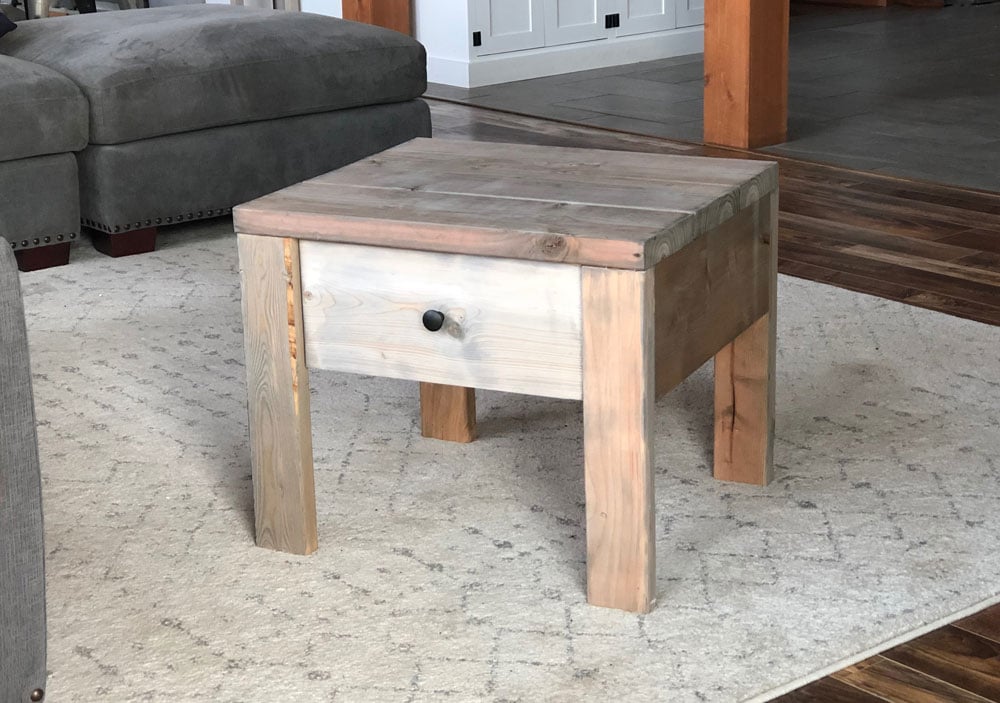
Quick question regarding the top of this night table, is it really 30 inches? The one you made on the video does not look like that long? We are in the process of making the matching king bed and eventually make the matching night stand but with the length of 30 inches it won’t fit in our room. I hope you will notice my comment.
Thank you very much