Community Brag Posts

Thanks for the plans, this is exactly what I was looking for.. So I made two.

Submitted by dshudson on Mon, 05/19/2014 - 03:38

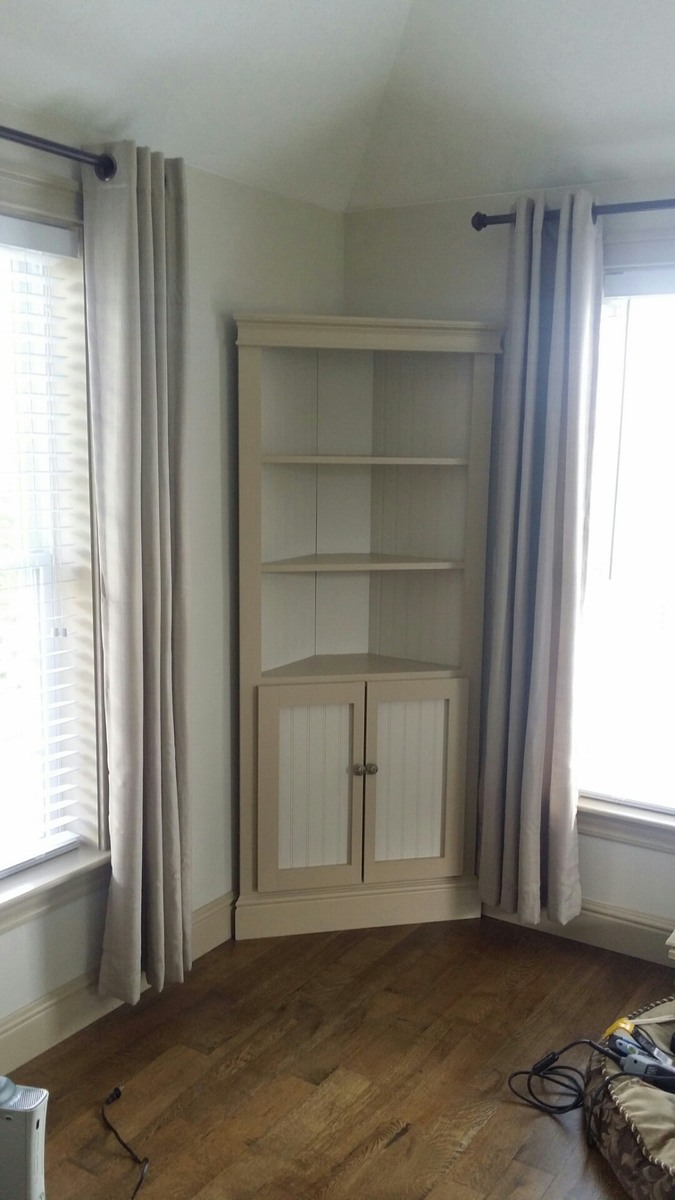
I did this project over the weekend. I love it. Makes the family room pop. I needed something to hide my cable box and this worked perfectly. I made two, one in each corner. I too purchased the creg jig and now that I know how to use it, I will be doing more diy projects. Thanks.

Estimated Time Investment
Weekend Project (10-20 Hours)
Recommended Skill Level
Starter Project

Comments

MSGRet

Mon, 05/19/2014 - 06:05

Excellent job, looks great. Where did you get the plans from? My wife bought one from a unfitted furniture store last year and stained it but it looks nothing like what you build. I would like to build one myself if I can get the plans.

MSGRet

Mon, 05/19/2014 - 07:56

Thanks guys, just what I was looking for but couldn't find it earlier. Thanks for your help.

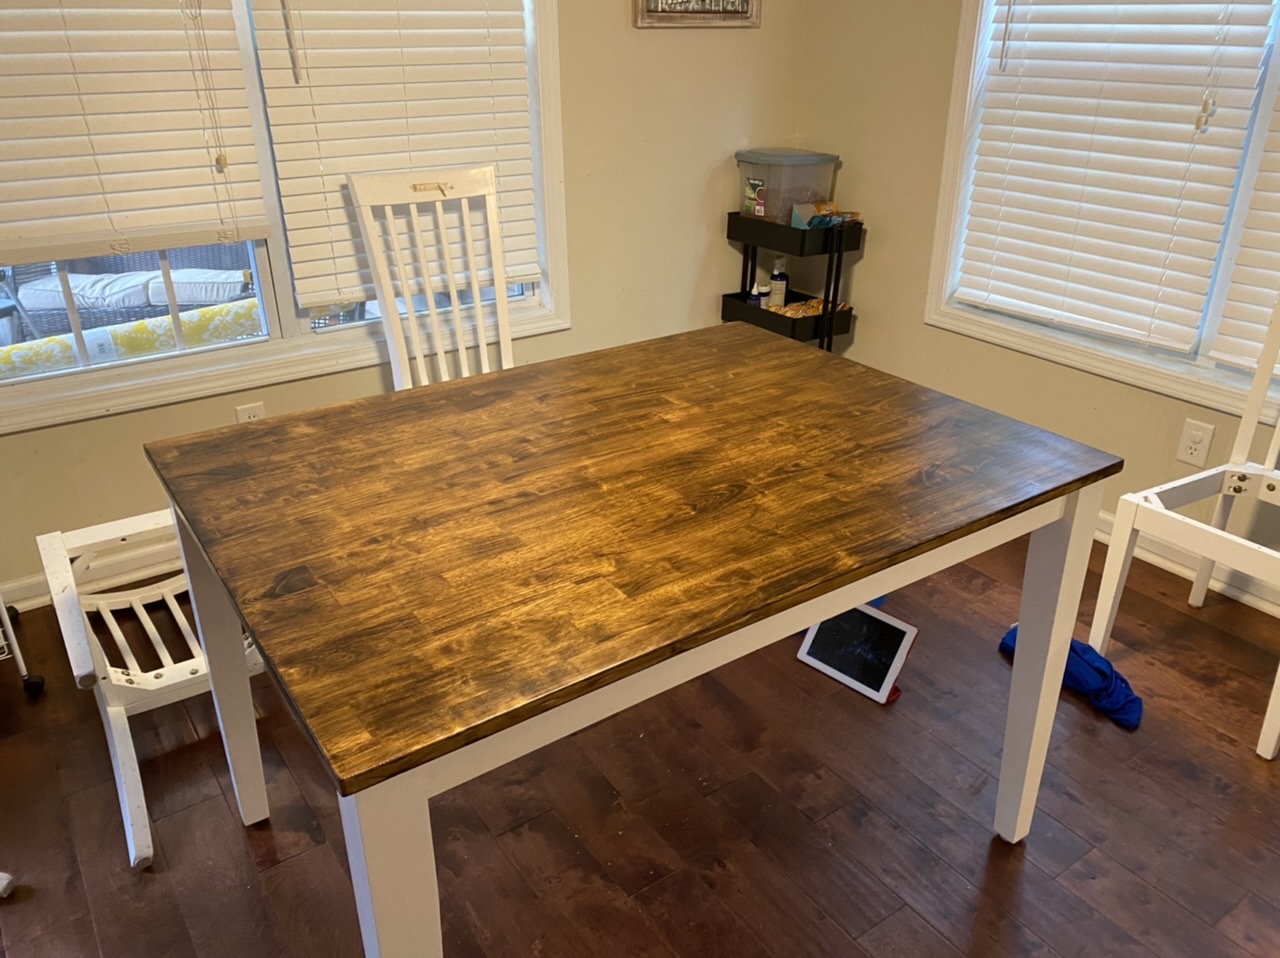
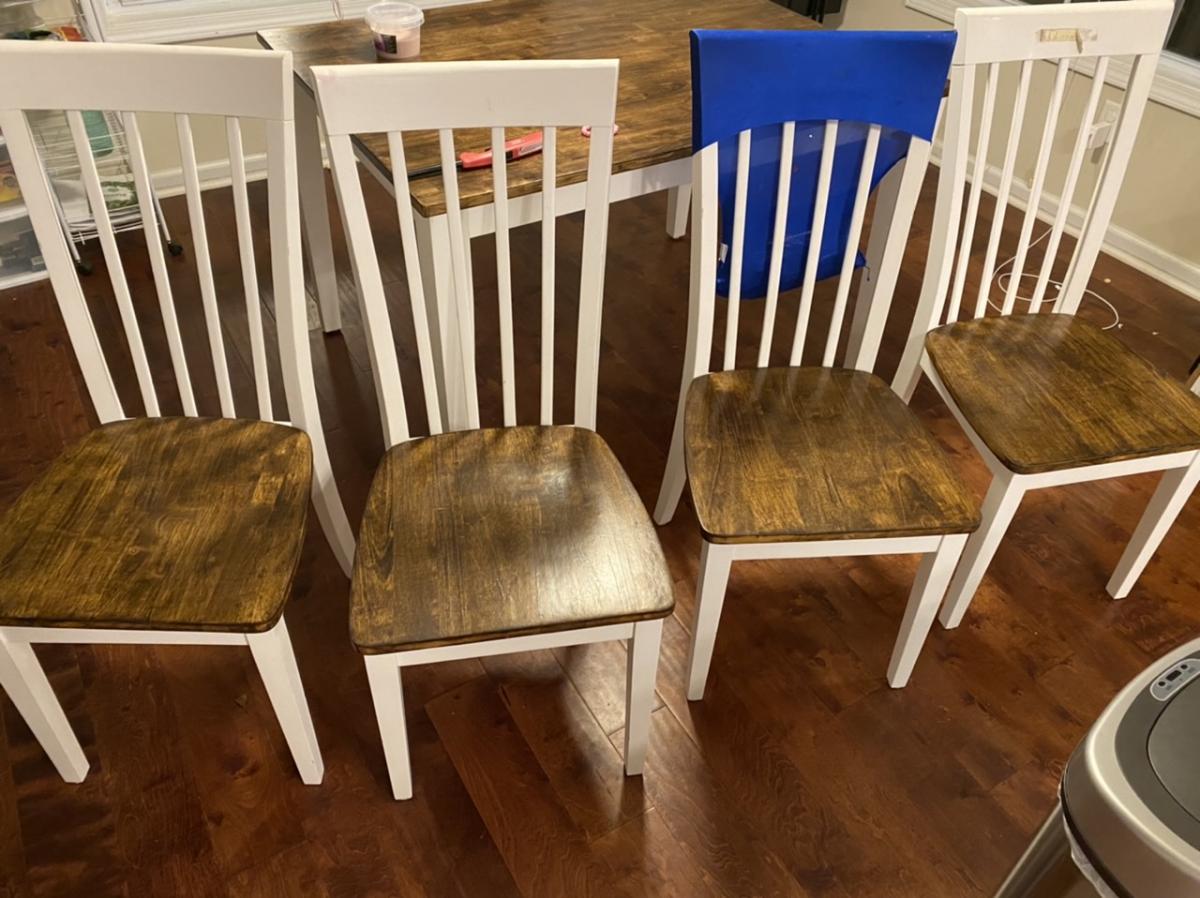
Refinished kitchen table and chairs

Submitted by tthackston on Tue, 06/02/2020 - 06:45

My kitchen table needed something, so instead of buying new, I sanded and used a dark stain on the table top and chair seats. It looks like whole new table! This wasn’t from a plan, but used skills I learned building from Ana’s plans! Off to build the Little Helper tower now!

Estimated Cost
Less than $50
Estimated Time Investment
Weekend Project (10-20 Hours)
Finish Used
Dark walnut stain
Recommended Skill Level
Beginner

Rustic Table

I made this table before the PB plans came out on the this site. I used gate hinges on the corners and 3/4" piece of all thread on the bottom. The top was poured with the High Gloss glaze from Lowes. It fits 8 all around and you could squeeze in 12 if you really needed to. All together this only cost $350.

Estimated Cost
$350
Estimated Time Investment
Weekend Project (10-20 Hours)
Recommended Skill Level
Intermediate

20 Second Tidy Up

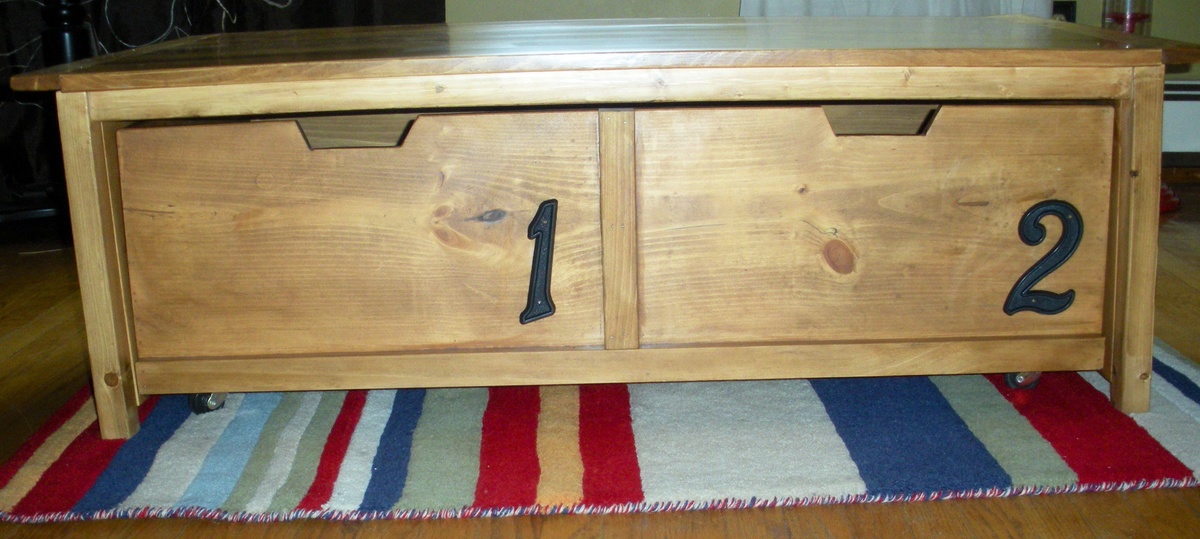
This was a fun simple project. I added some fabric to the bottom of the trundle. If you have questions when building please let me know. Thank you for viewing.

Estimated Time Investment
Weekend Project (10-20 Hours)
Finish Used
Ipswich Pine - Minwax
Dark Walnut - Minwax
Recommended Skill Level
Beginner

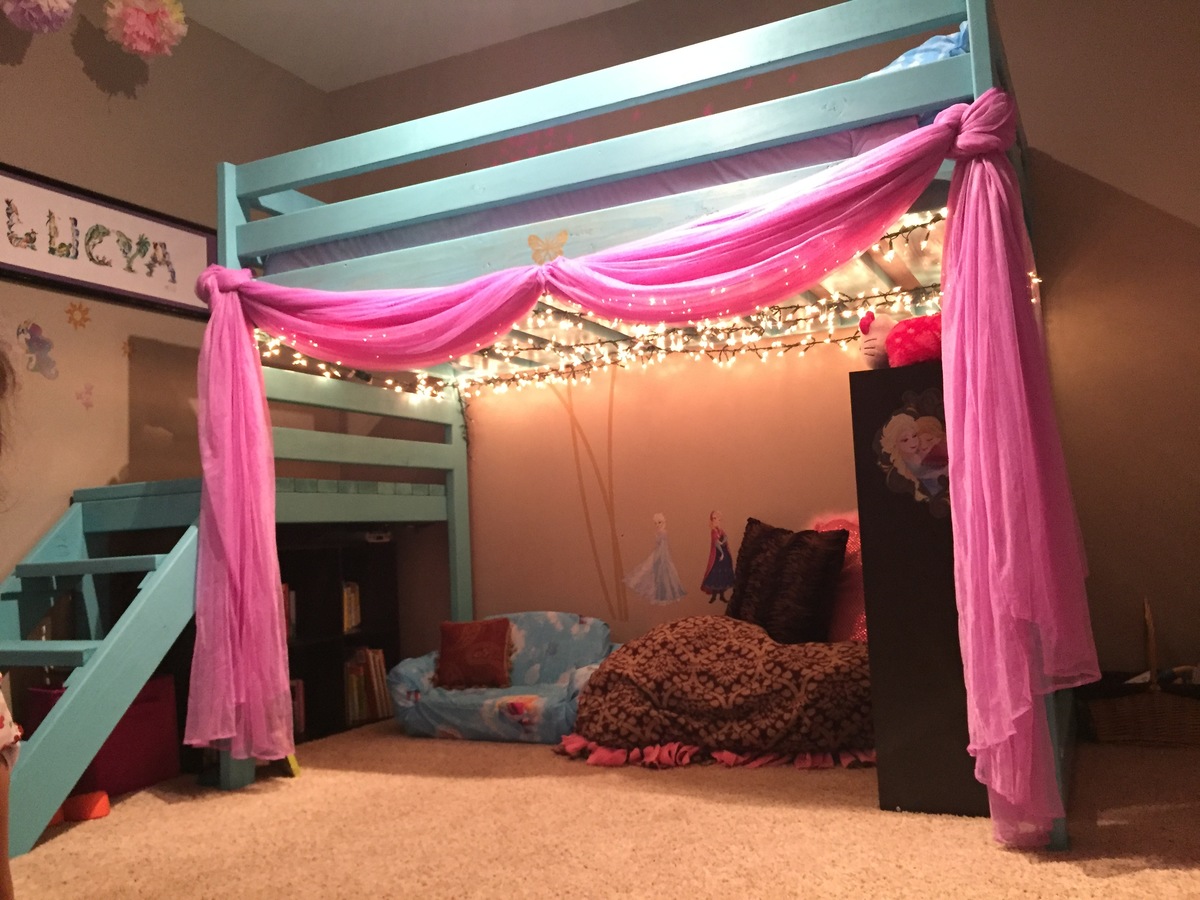
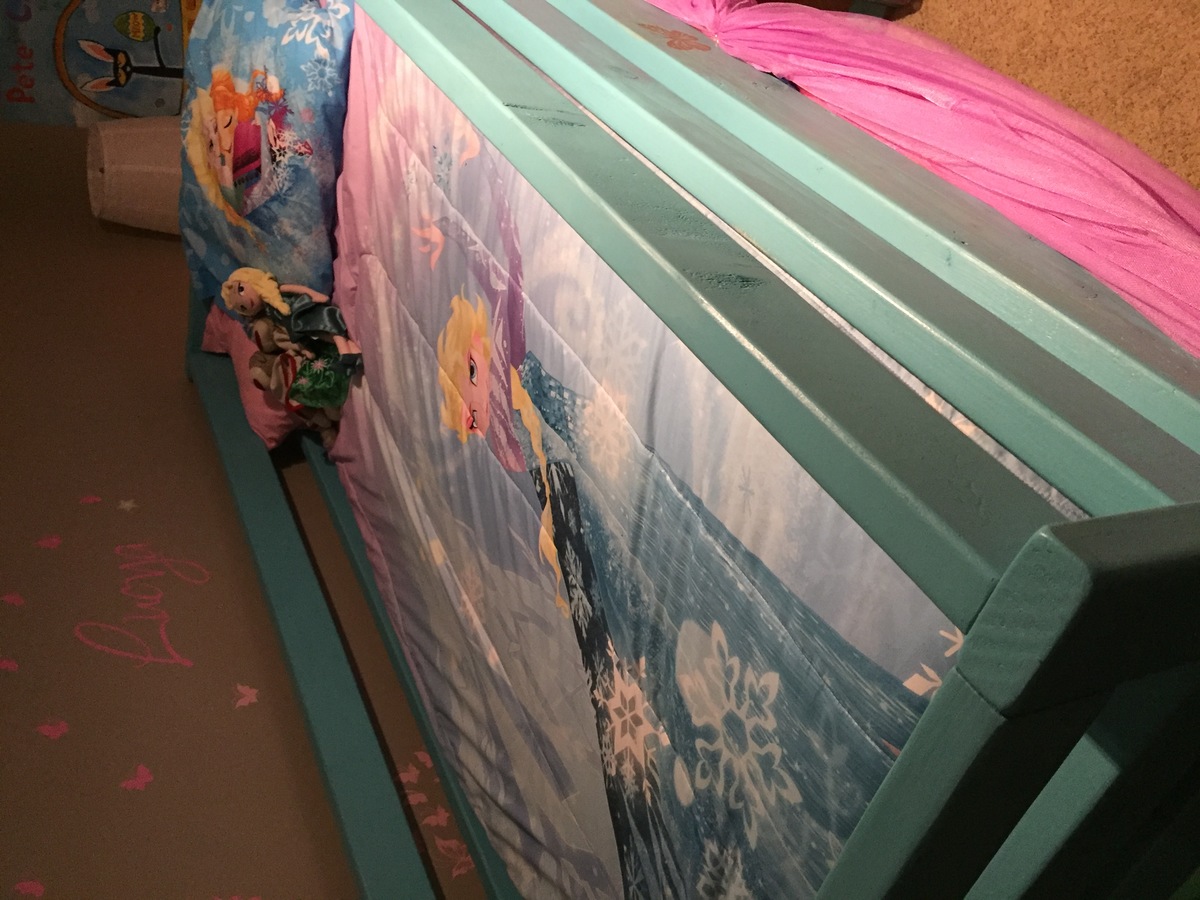
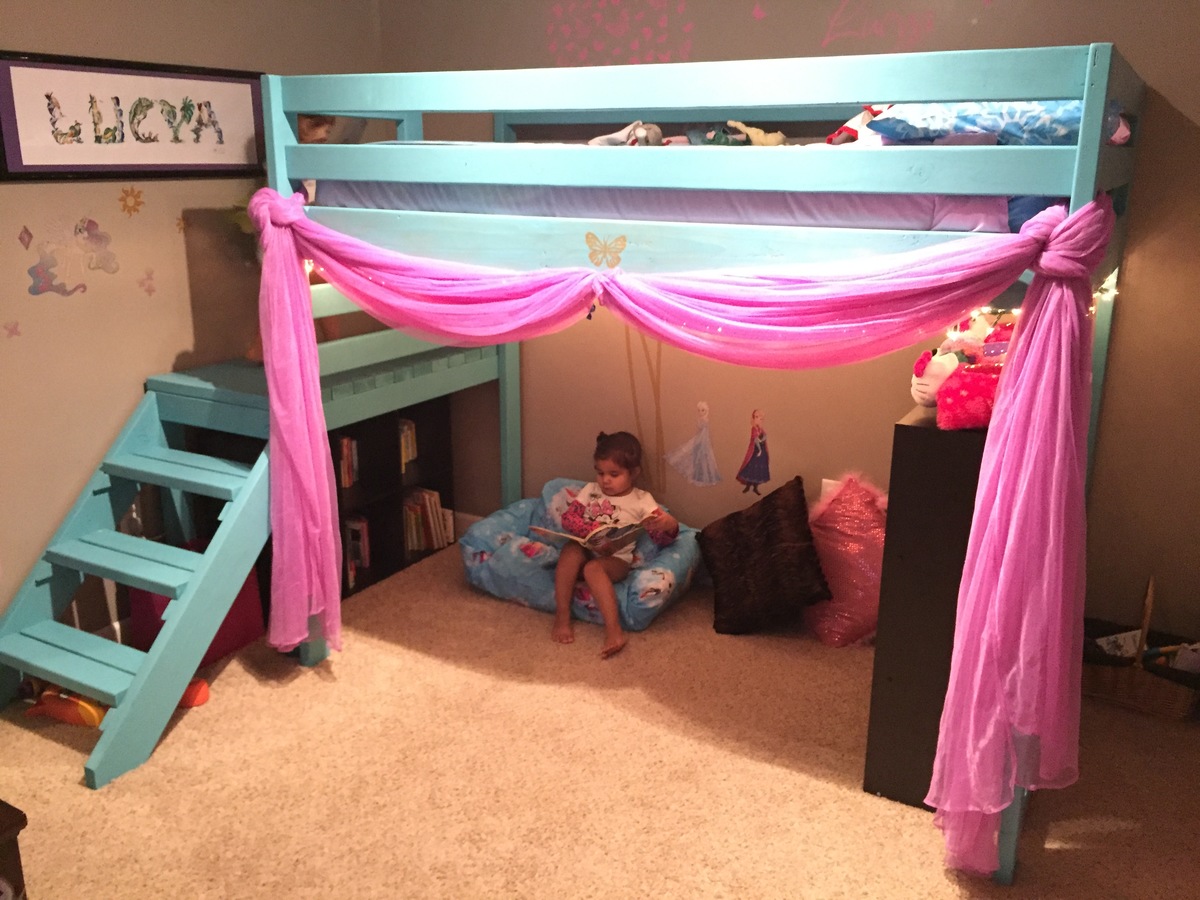
Elsa Loft Bed

Submitted by Anonymous (not verified) on Sun, 08/21/2016 - 16:22

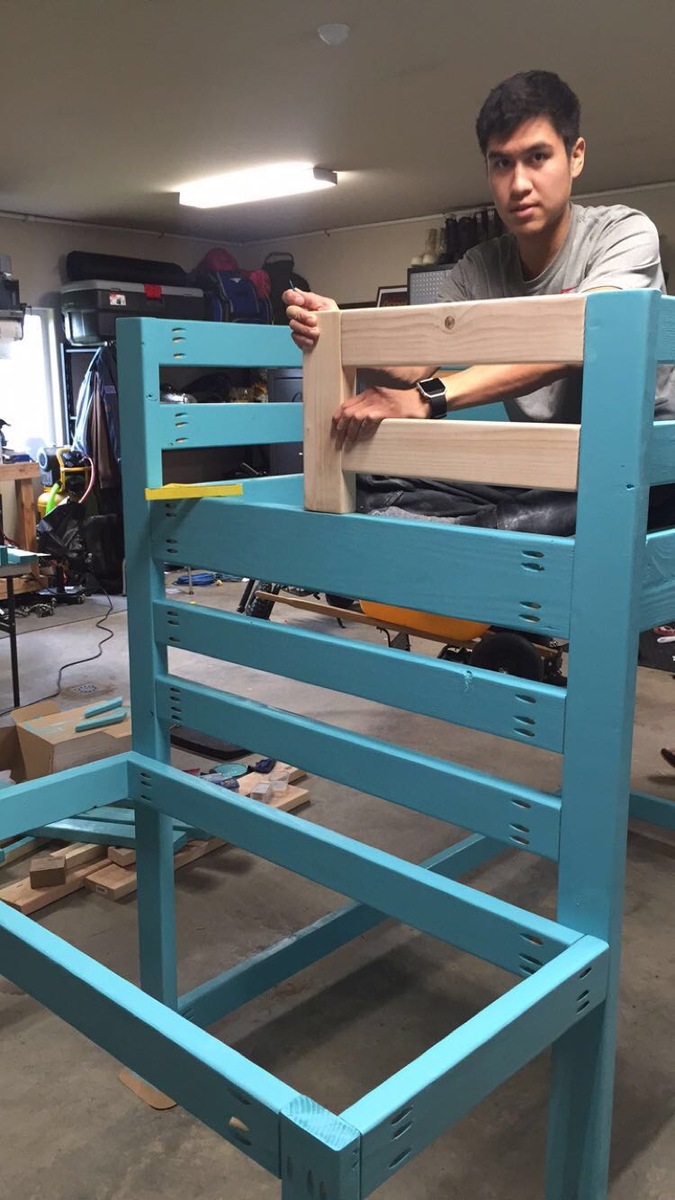
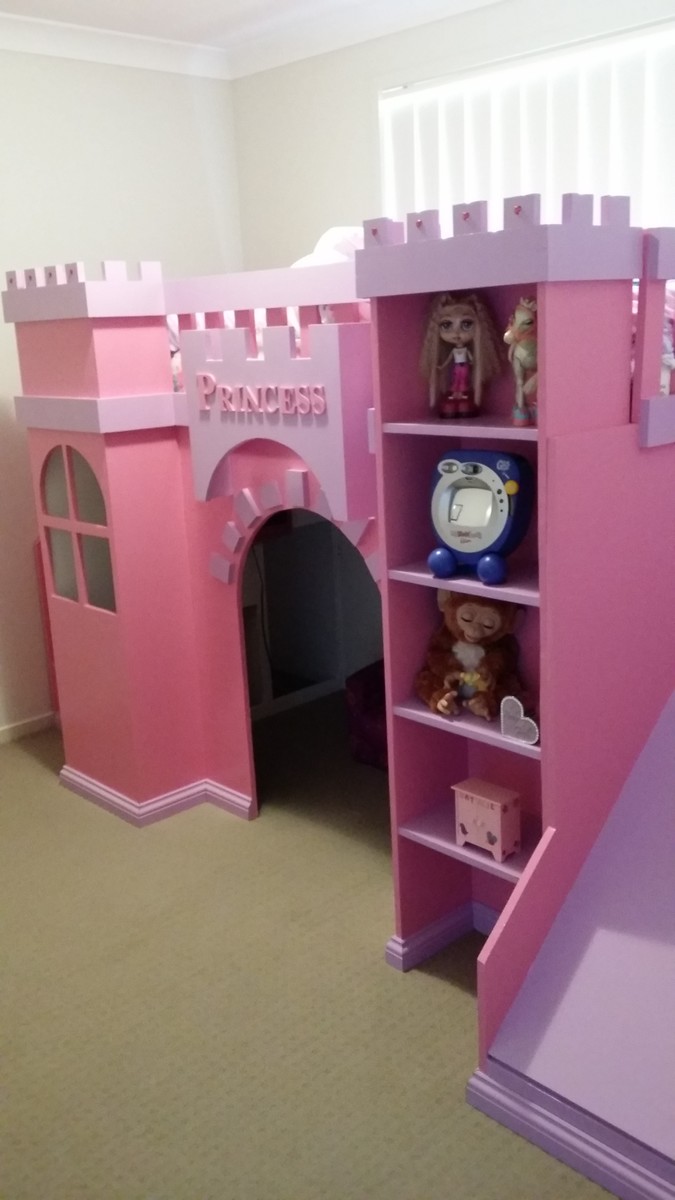
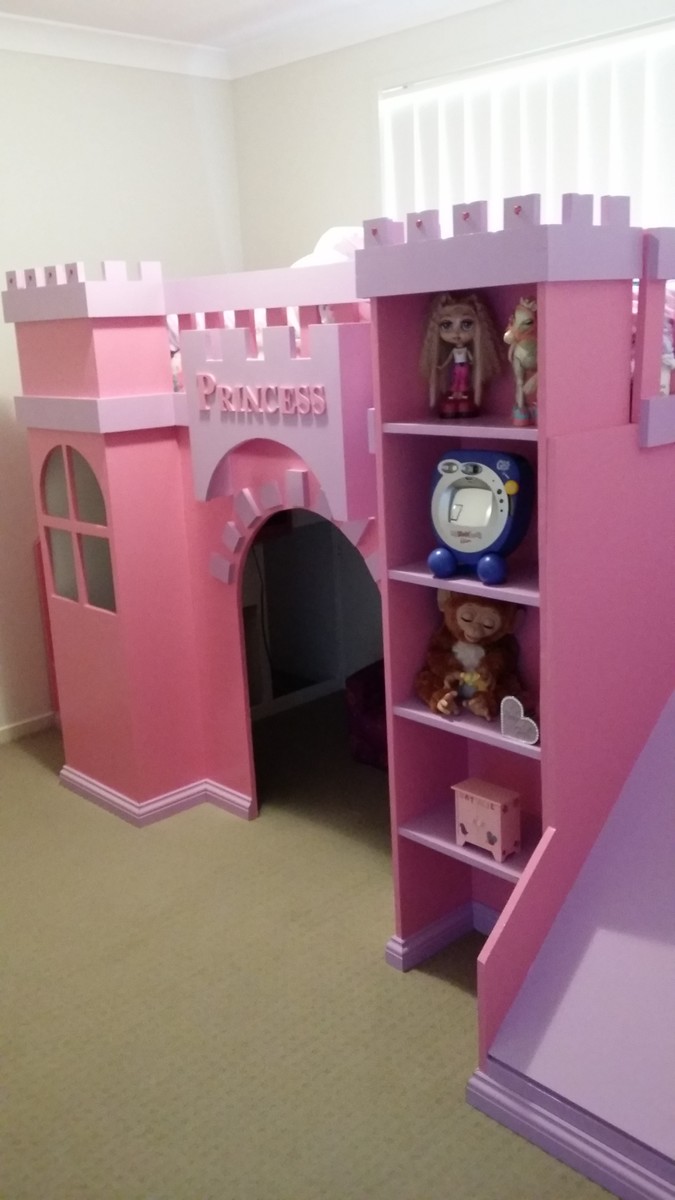
Wow! This took much longer than 2 hours and cost around 200 but it was worth it! My 3 year old LOVES it. We added a safety rail to the foot end. 

Estimated Cost
200
Estimated Time Investment
Weekend Project (10-20 Hours)
Finish Used
Splurged on a "one coat" pain from Home Depot. It's amazing.
Recommended Skill Level
Beginner

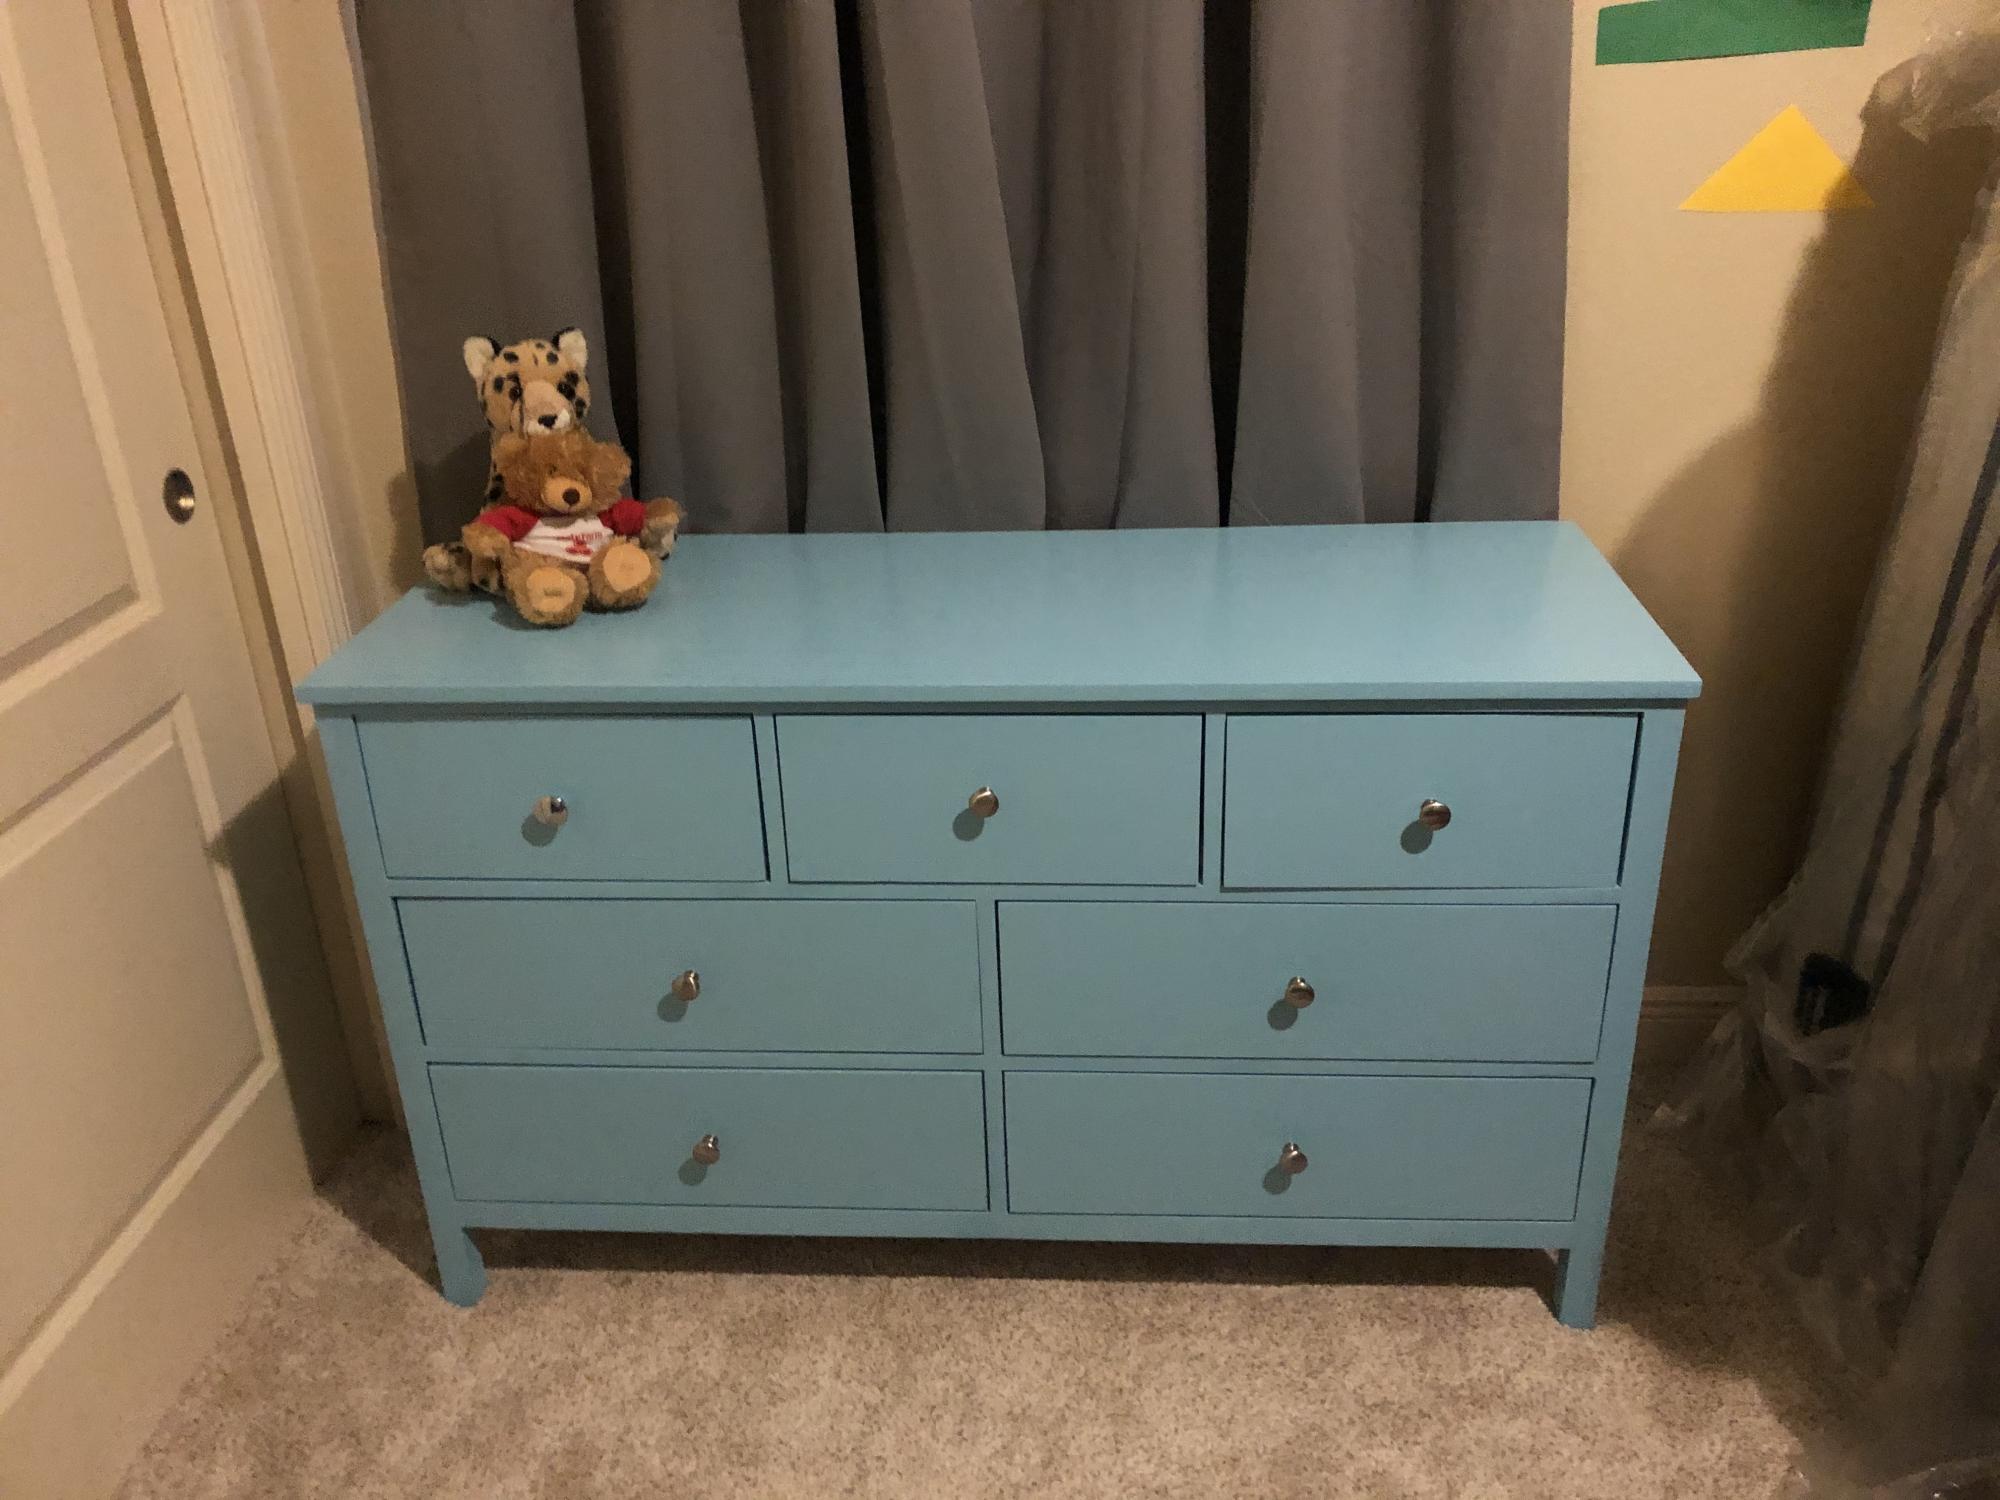
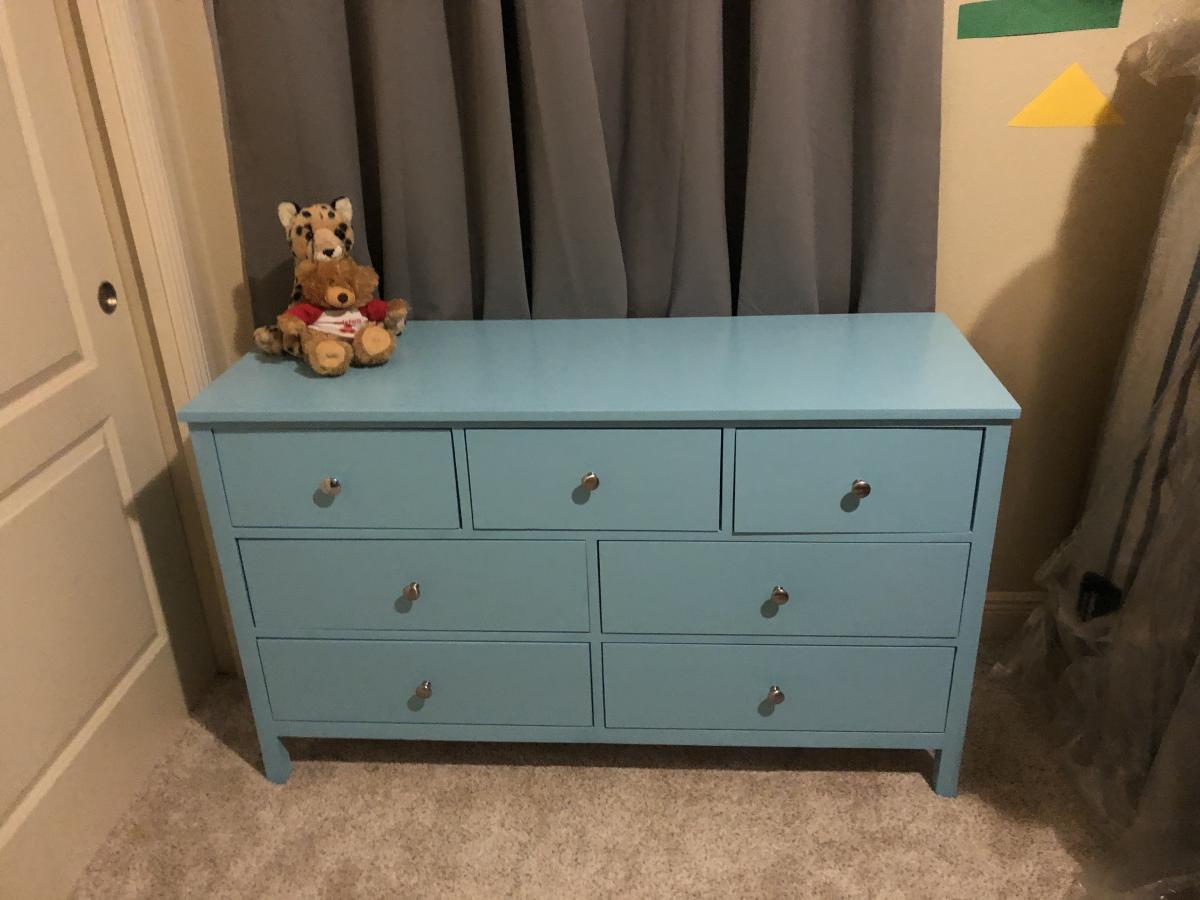
Dresser done!

Submitted by pantheon79 on Wed, 06/03/2020 - 18:23

Struggled with this one, but it’s done and I’m pretty proud of her

Built from Plan(s)

Comments

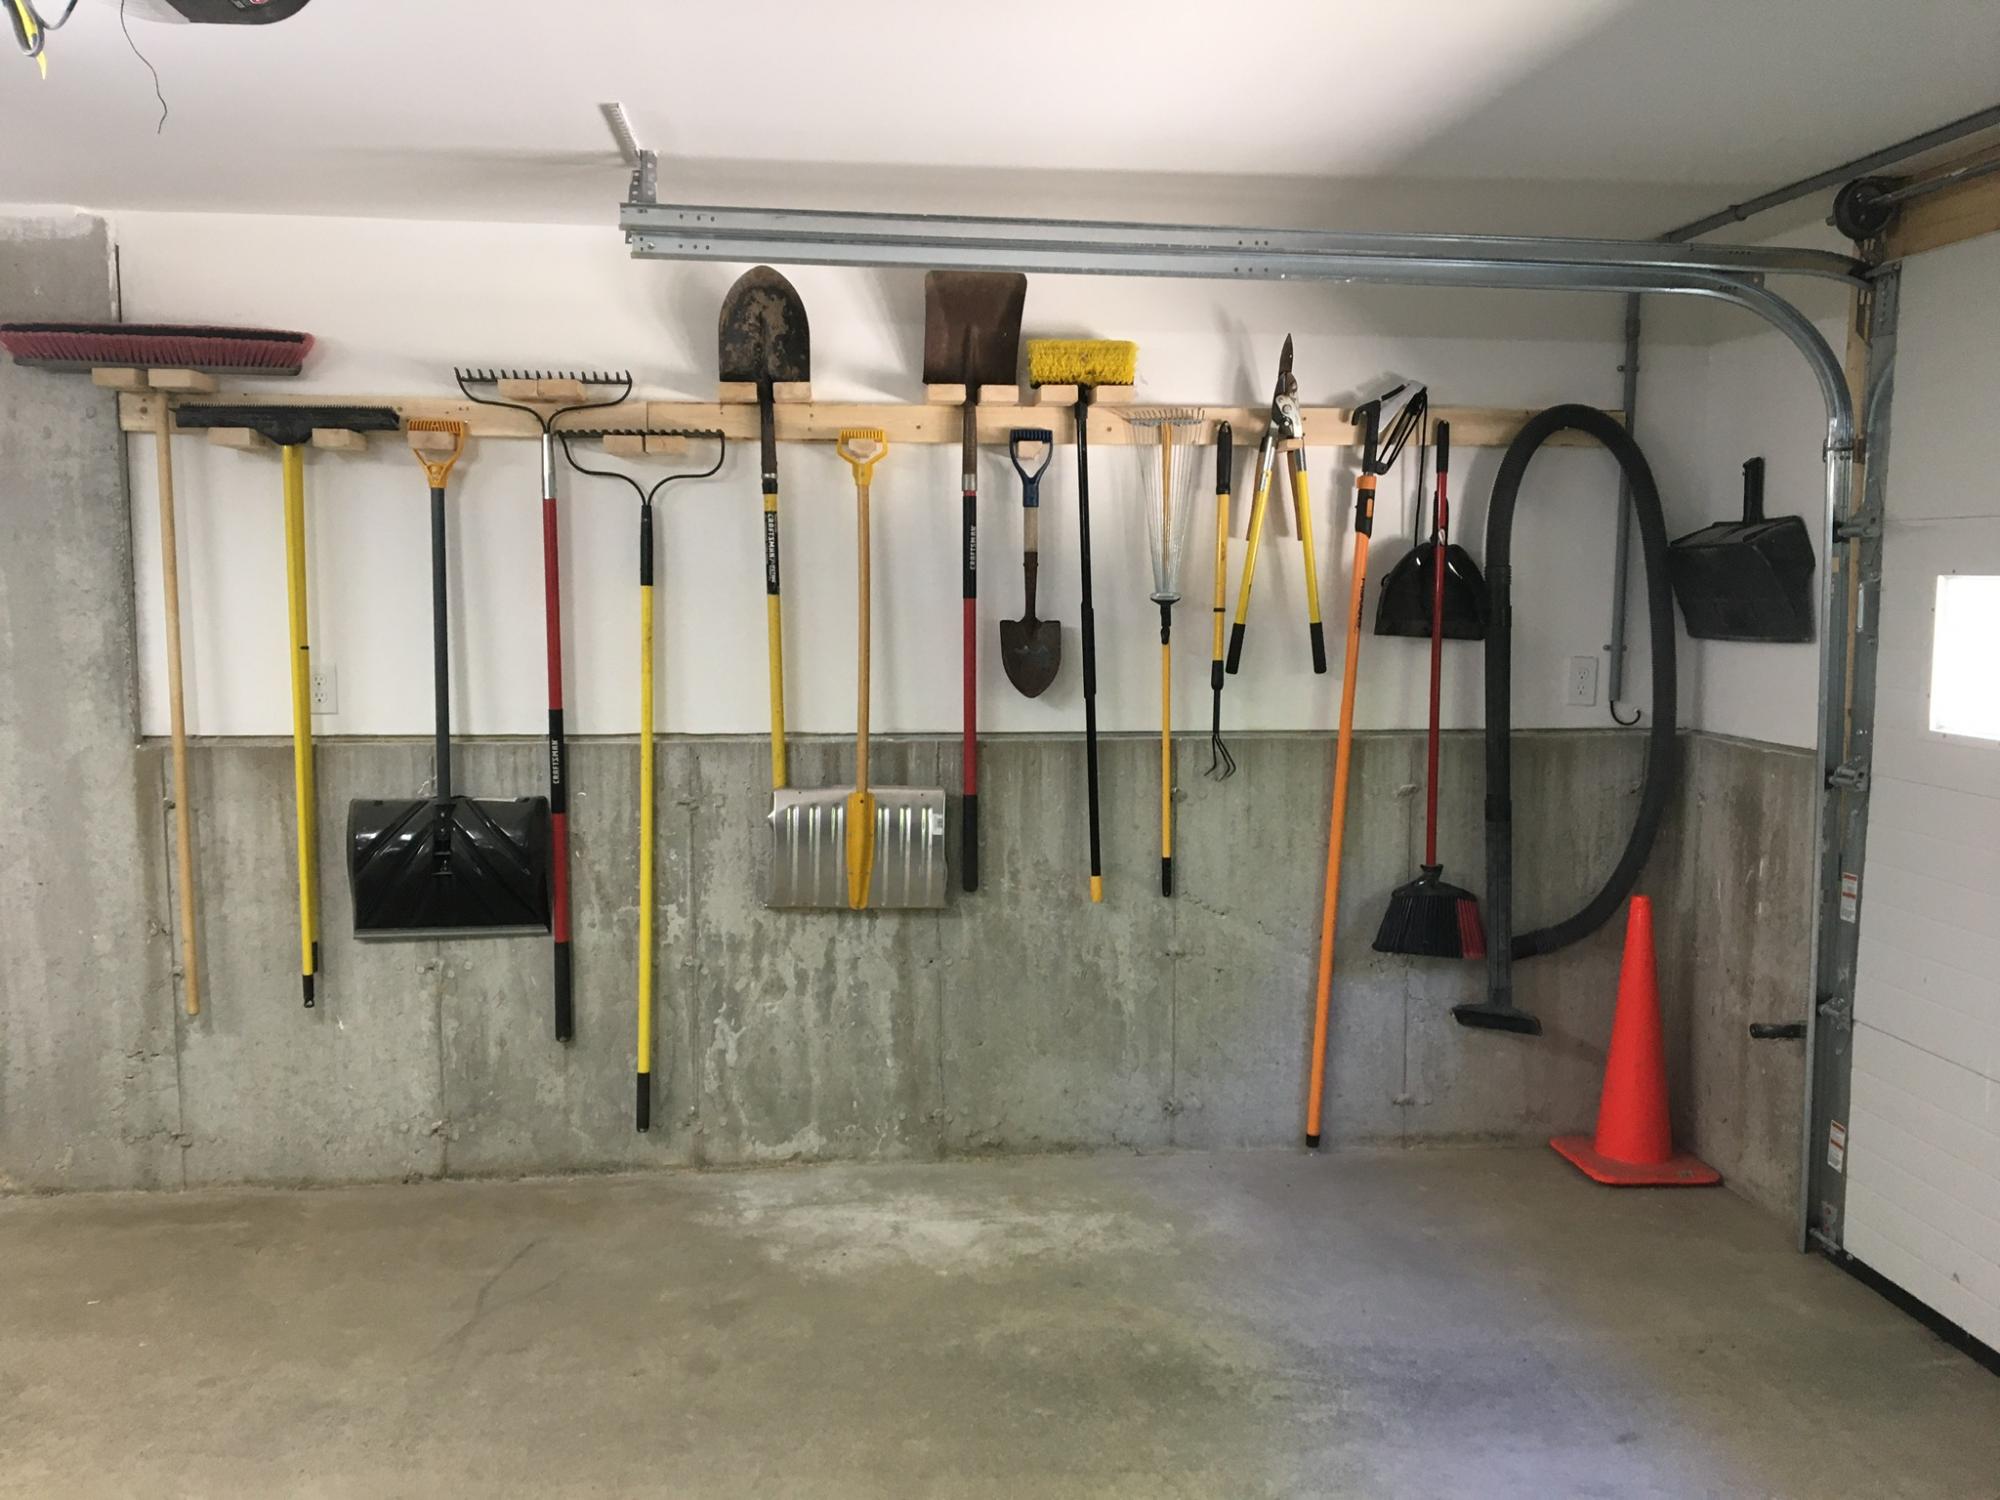
Garage shelves

Shelves in garage

Estimated Time Investment
Day Project (6-9 Hours)
Finish Used
Glidden paint. Martha Stewart colors.
Recommended Skill Level
Beginner

Comments

Brittany Maughan (not verified)

Wed, 08/22/2012 - 22:07

You are a genius! lol I have been complaining about my garage and how I need to organize the clutter so I can build more. All along I just needed to build this. Could you tell me an estimate of what it cost you?

Much needed for our bathroom!

Submitted by Anonymous (not verified) on Thu, 08/25/2016 - 09:48

I am a really beginning builder (read: this is about my fifth project ever), but it is perfect for our tiny, narrow bathroom. I finished it with Golden Oak stain I already had on hand, and I enjoyed the process. Thanks so much for sharing the plans!

Estimated Cost
$30
Estimated Time Investment
Day Project (6-9 Hours)
Finish Used
Golden Oak Stain and Poly
Recommended Skill Level
Beginner

Almost finished

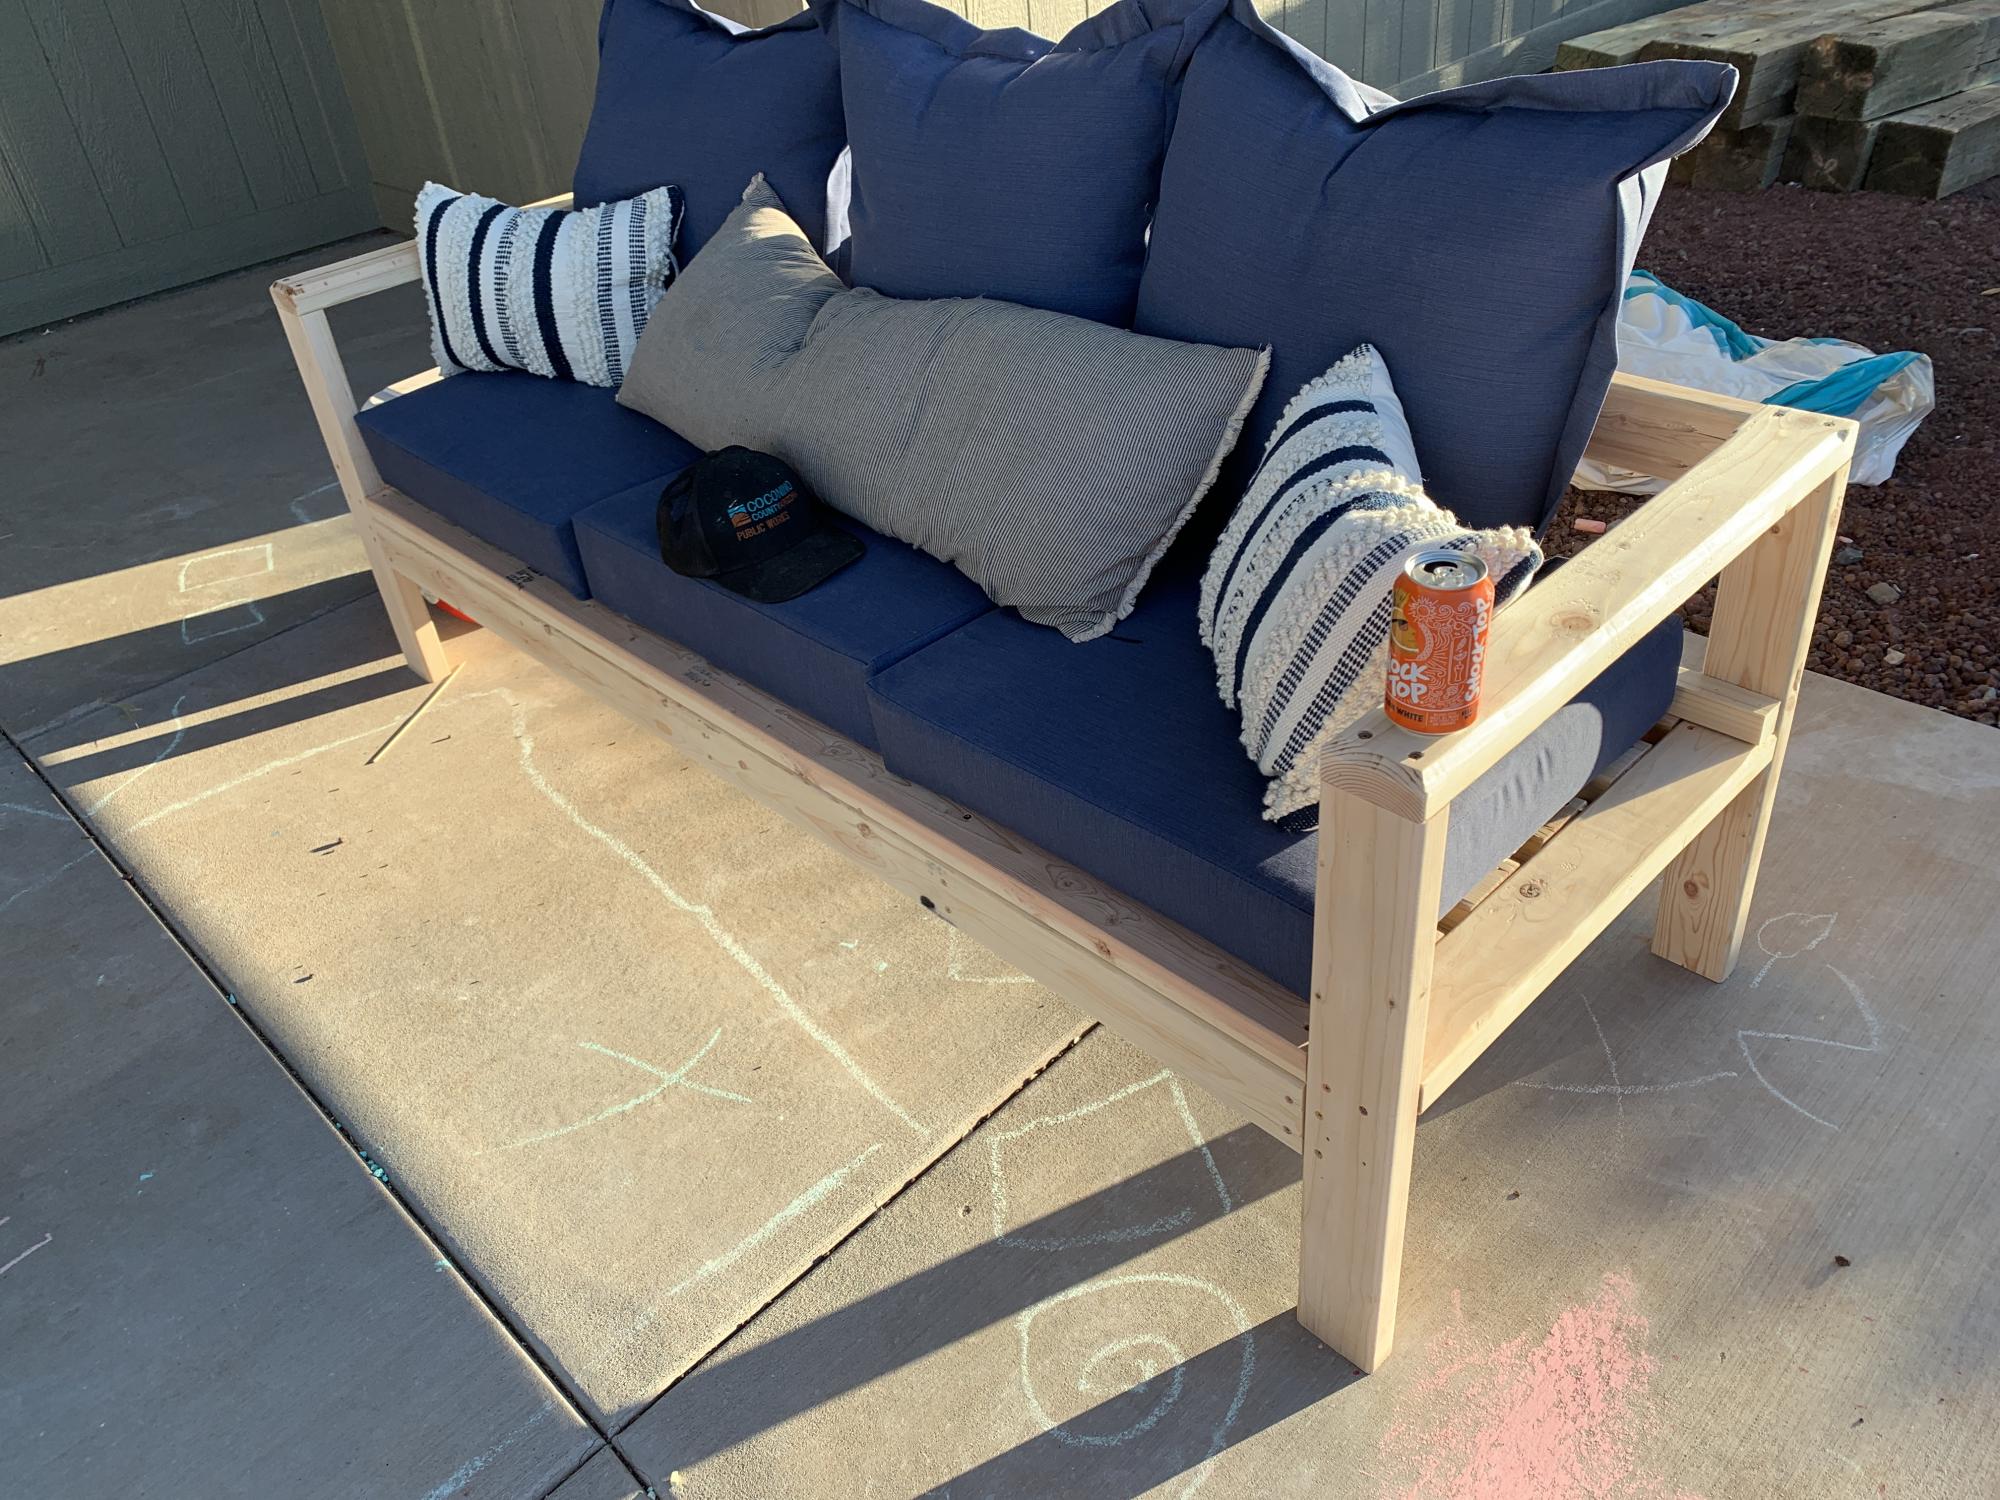
Submitted by jfloyd on Sat, 06/06/2020 - 19:24

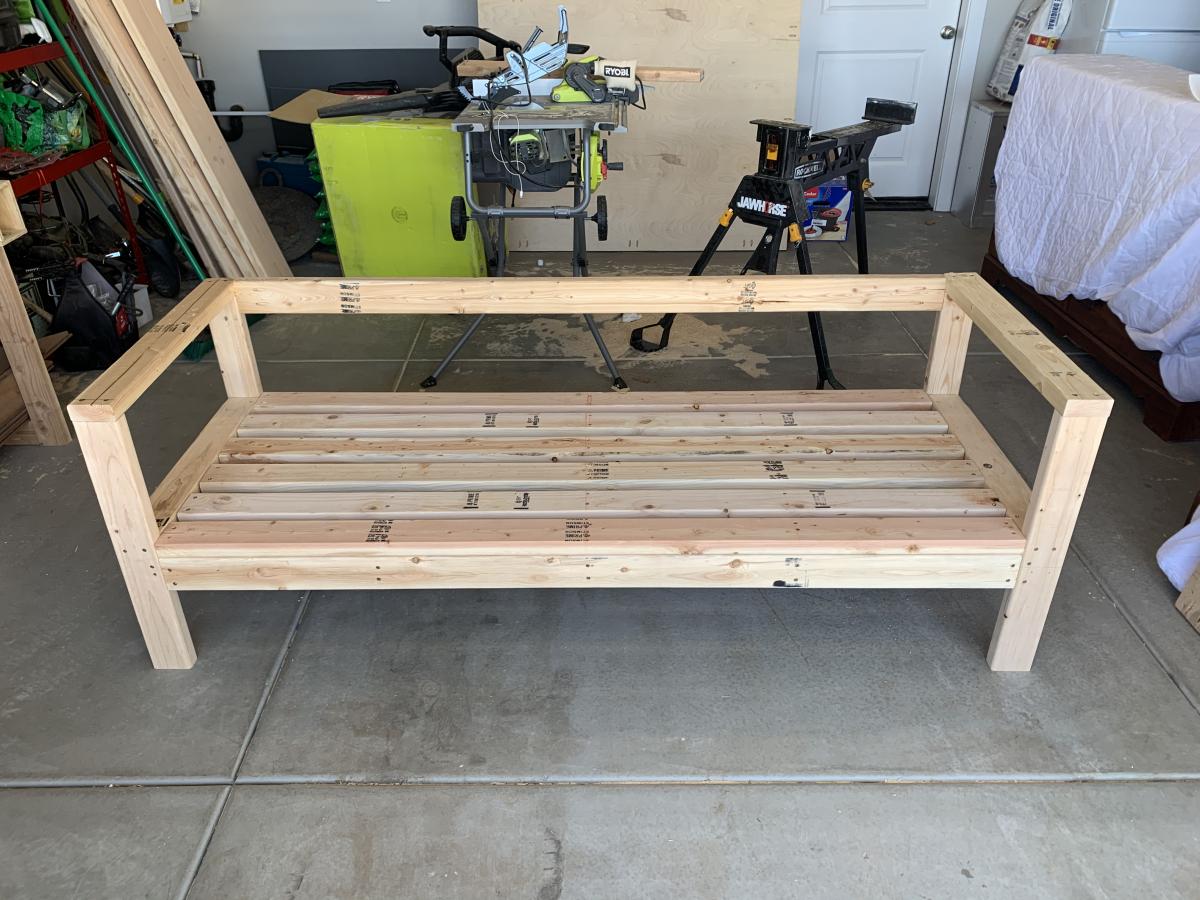
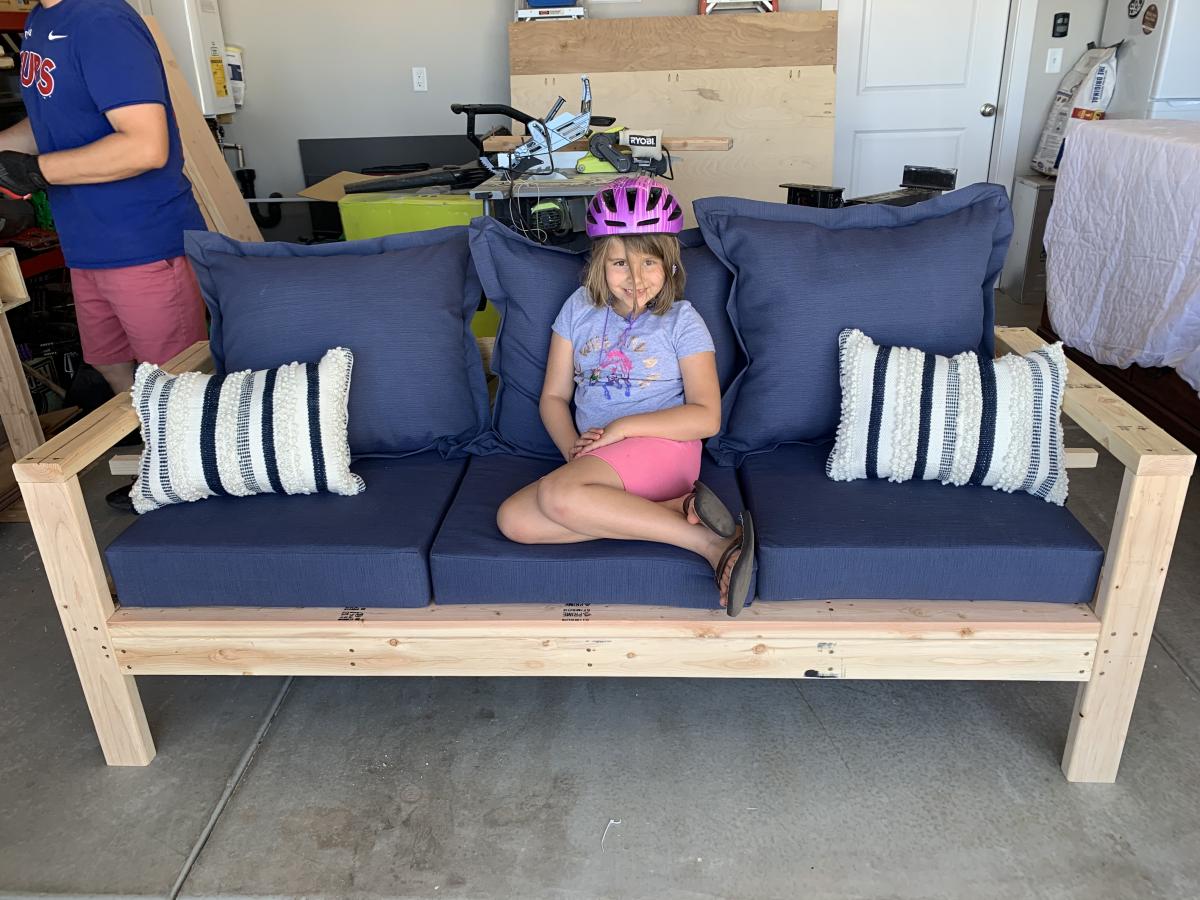
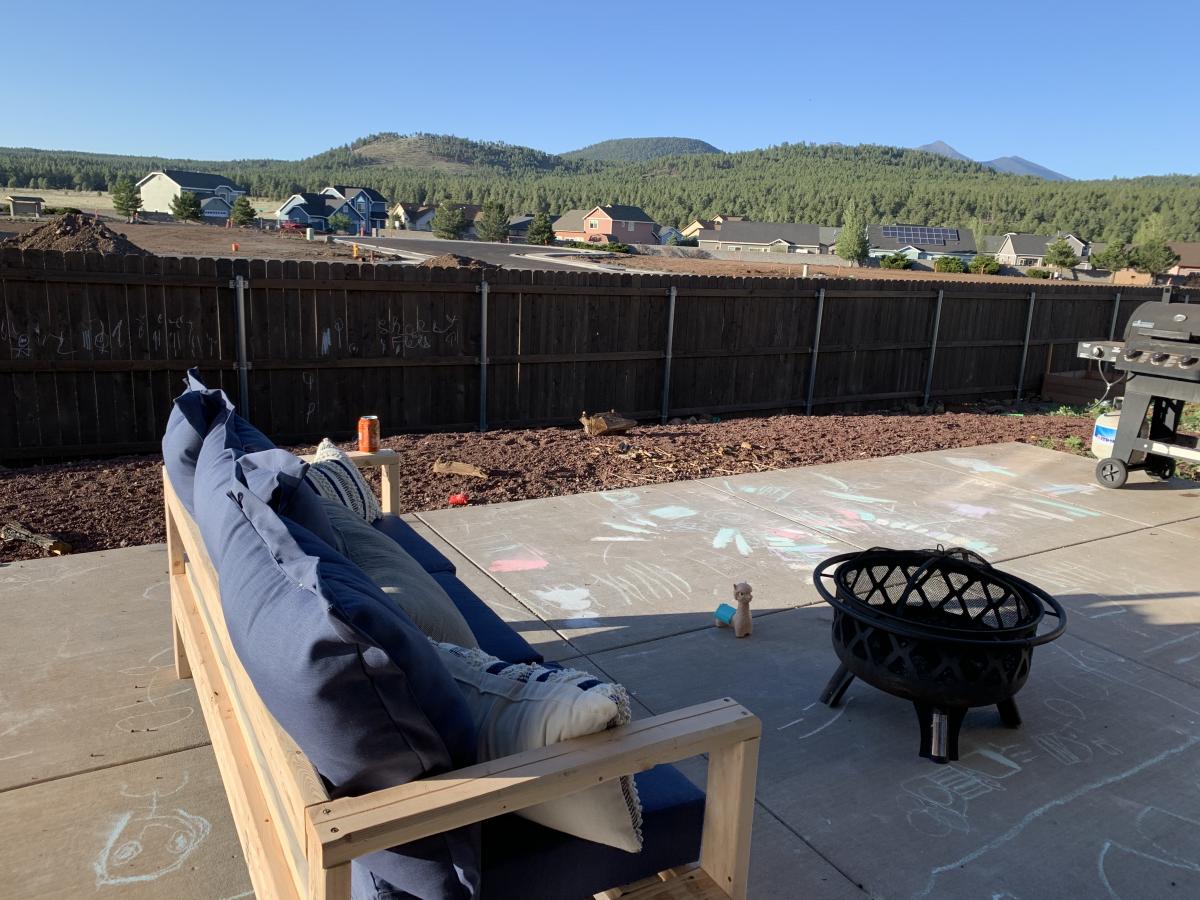
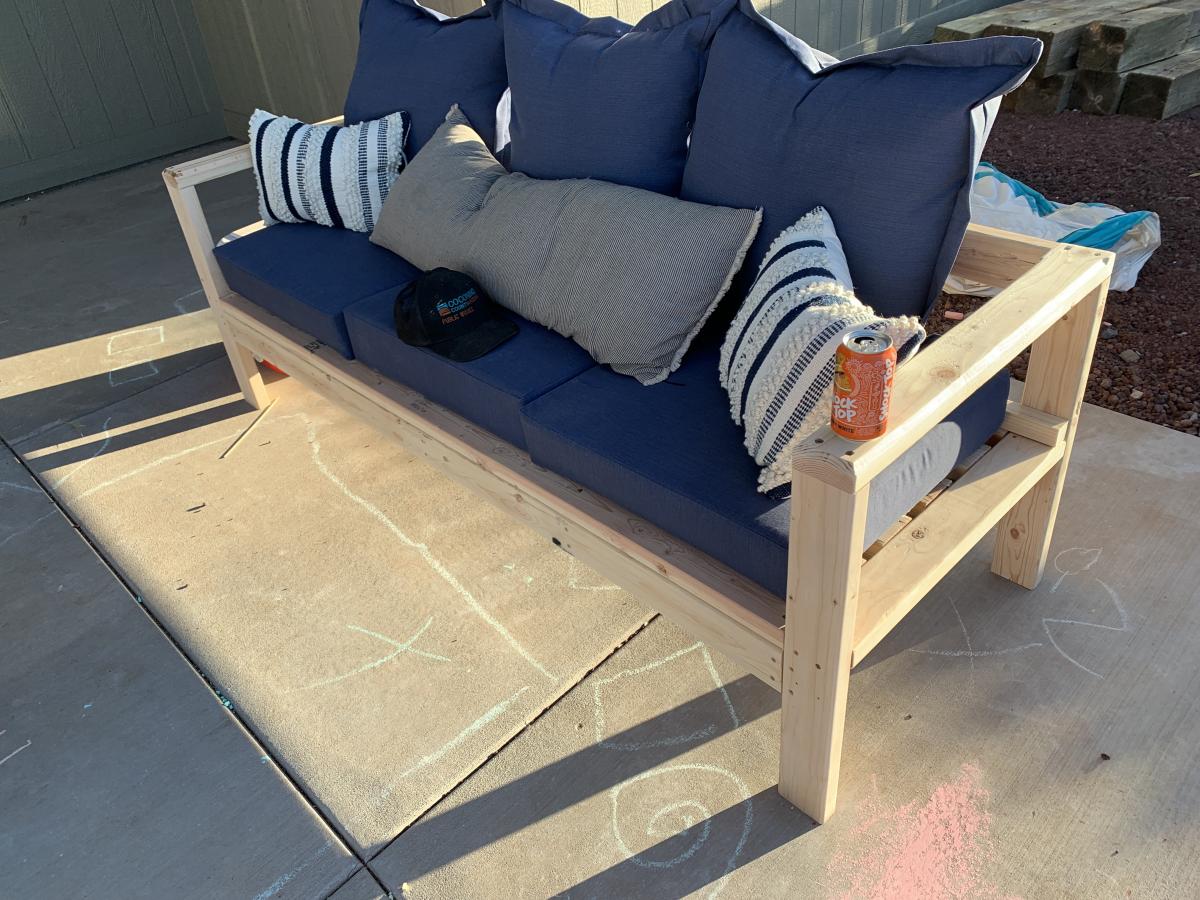
Fairly simple, especially if you have a miter station. So many repeating cuts. I think I cut the entire couch in 20 minutes. I believe we’re in this for about $250; including screws, and cushions, and paint. Very inexpensive compared to purchasing. So, I routed the arms with a 45 and added a 2x2 rail to keep the cushions from moving out the back. I will be turning it into a sectional soon. Also painting it red... Stay tuned.

Built from Plan(s)
Estimated Cost
$250
Estimated Time Investment
Afternoon Project (3-6 Hours)
Finish Used
Will be Behr exterior paint in crimson.
Recommended Skill Level
Beginner

Sausha’s Washer/Dryer Pedestals

Submitted by altf4osu on Thu, 08/02/2012 - 11:07

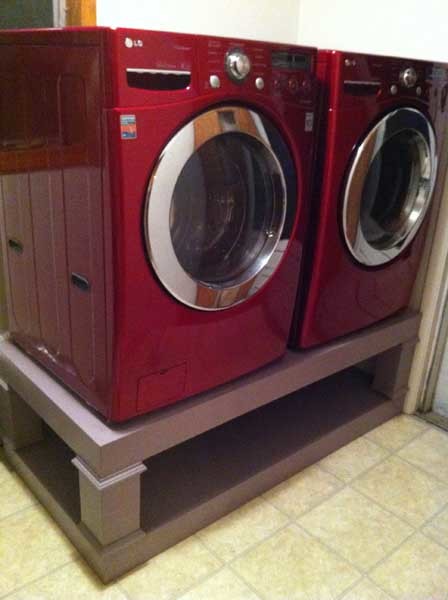
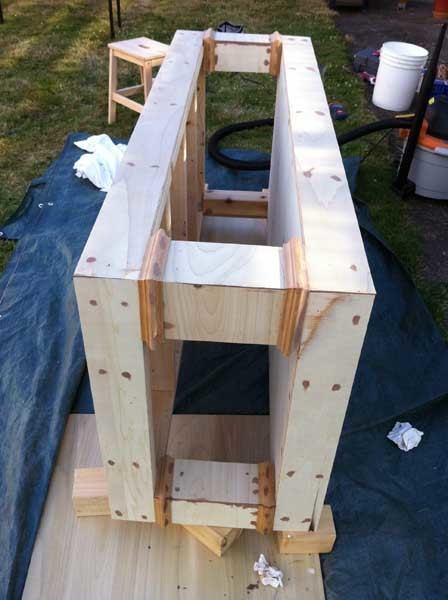
We've been talking about making this for quite some time now, probably close to 6 months. Mostly because we've never made anything before we kept putting it off. We had a free weekend and decided that we needed to complete this project that's been hanging out there for way too long. We'd researched where to get the wood, and what we wanted, but still did a little more planning. Thursday night we went to the big orange box and checked out their options for 2x4s, plywood and moulding. Friday I went to our local Ace lumber yard and looked at their options.

Friday night we decided to get the 2x4's and plywood from Home... the big orange box since their plywood was much more level. We paid a little more for the grade A plywood, but didn't want MDF as it will disintegrate when it gets wet. Not planning on getting things wet, but just want to be sure.

We got the moulding at the local supply store along with screws by the pound and corner brackets.

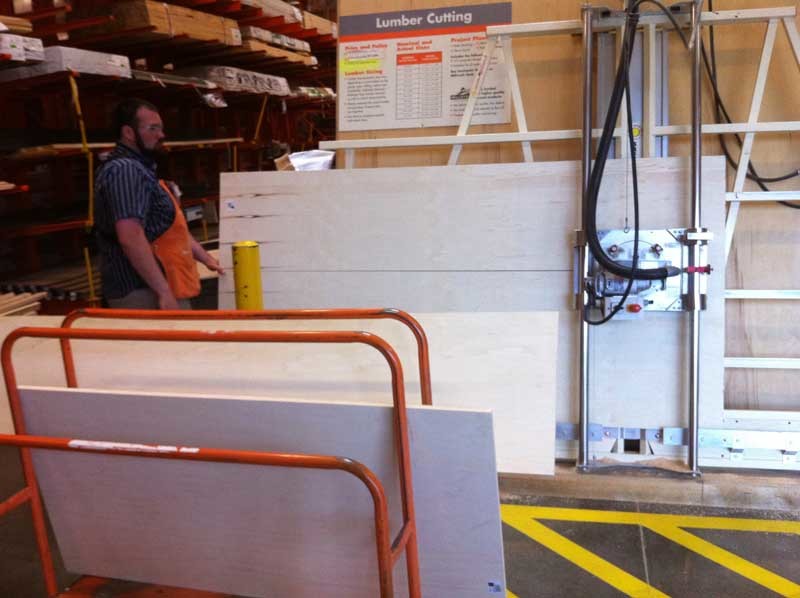
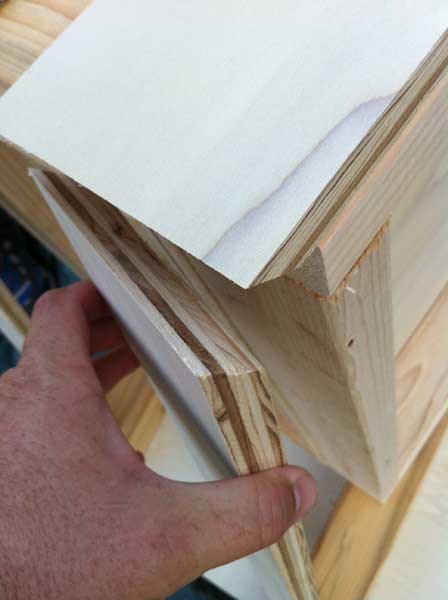
As you can see in one of the photos, we had the store cut the plywood for us as we didn't have access to a table saw. We borrowed and used a compound mitre chop saw for the rest of the cuts. Since we had so much leftover plywood and really liked the look of Sausha's wider pillars, we decided to go with facing out the front and left side (the only ones visible in our location) and columns and put moulding on the front and one back leg showing. For the moulding we only faced the back and right leg with two pieces. In hind sight as the pedestal doesn't go against the wall we could have gone all the way around, but that might have added another weekend.

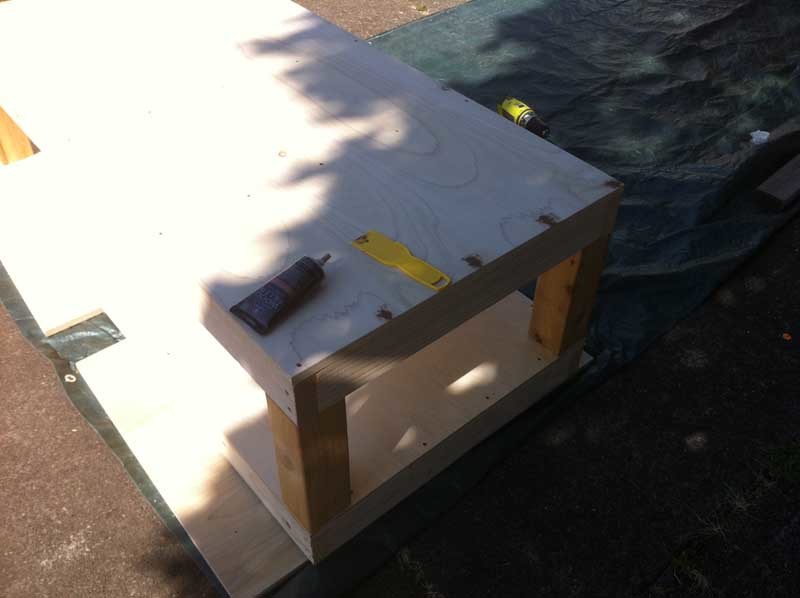
Saturday we started out getting the rest of the necessary wood, laying out the boards and deciding how we wanted to proceed. We ended up following the directions and not making any changes to it. The only change I thought about making was to take the 2x4's all the way to the ground rather than mount them on the bottom decking. We decided since this has been made quite a few times and haven't seen any bad reports, we'd stick to the plan.

Saturday we worked about 9 hours total putting everything together, facing out the project and filling the screw holes with wood putty. My only regret at this point is that I didn't fill the top edge of the faced plywood all the way across with putty. In order to get a much cleaner look, if I were to do it again I'd have bought a tub of wood putty and filled the entire edge to eliminate any holes or spaces from the edge of the plywood and the seam between the face and decking.

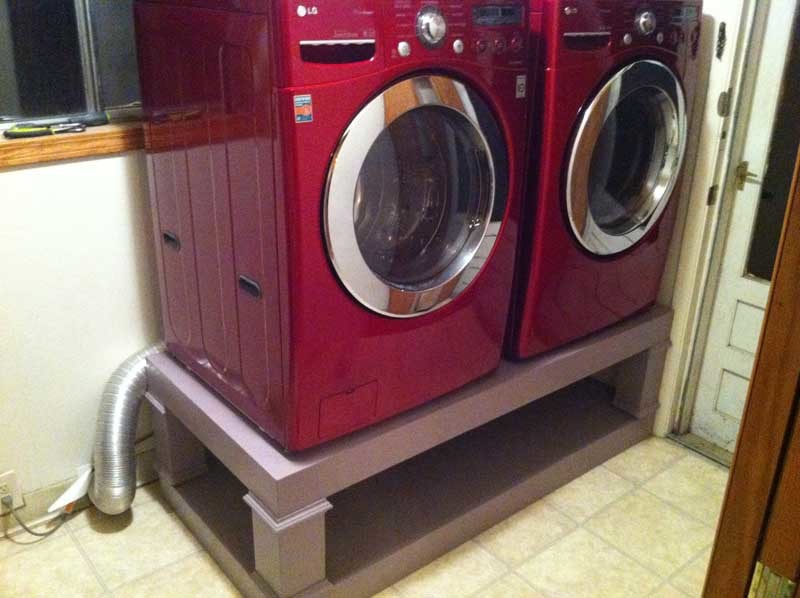
Sunday we started out by sanding the wood putty down, reapplying where needed, sanding the rest of the rough edges flat, and then started on moulding. The moulding took a better part of the day to get the angles right, and thankfully we had the compound chop saw that would do greater than 45 degree angles. We glued and nailed the moulding down, and then took the project into the garage to paint as it was getting late on Sunday. Three coats of paint smoothed out all the edges. Be careful about drips on the corners. We decided to go with something other than 1)trying to match the washer/dryer and 2) black as it might attract too much lint and show. In the pictures it's actually a lot more purple than in real life, but it's a gray paint with a tint of color to it, Behr premium primer and paint in one.

We put the stand in place Monday evening, although the paint was still slightly tacky. The hardest part about the end was getting the washer and dryer up and hooked up. We needed to put the washer up first and connect it as the hookups were behind the dryer and no way we could have connected it with the dryer in place.

We love it! It's raised the washer and dryer up to a decent level, saved us at least $350, and now have room to put baskets underneath. The whole thing rattles quite a bit when the washer spins up, but so does the house and the TV stand 2 rooms away...

Due to a few bad cuts, we ended up having to get an additional strip of moulding. If you're not experienced in doing moulding, plan on a LOT of waste. ;)

Our next project needs to be a matching recycling center which will go right next to this.
Estimated Cost
$180
Estimated Time Investment
Weekend Project (10-20 Hours)
Finish Used
Behr ultra primer/paint in one.
Recommended Skill Level
Starter Project

Outdoor Cedar Day Bed

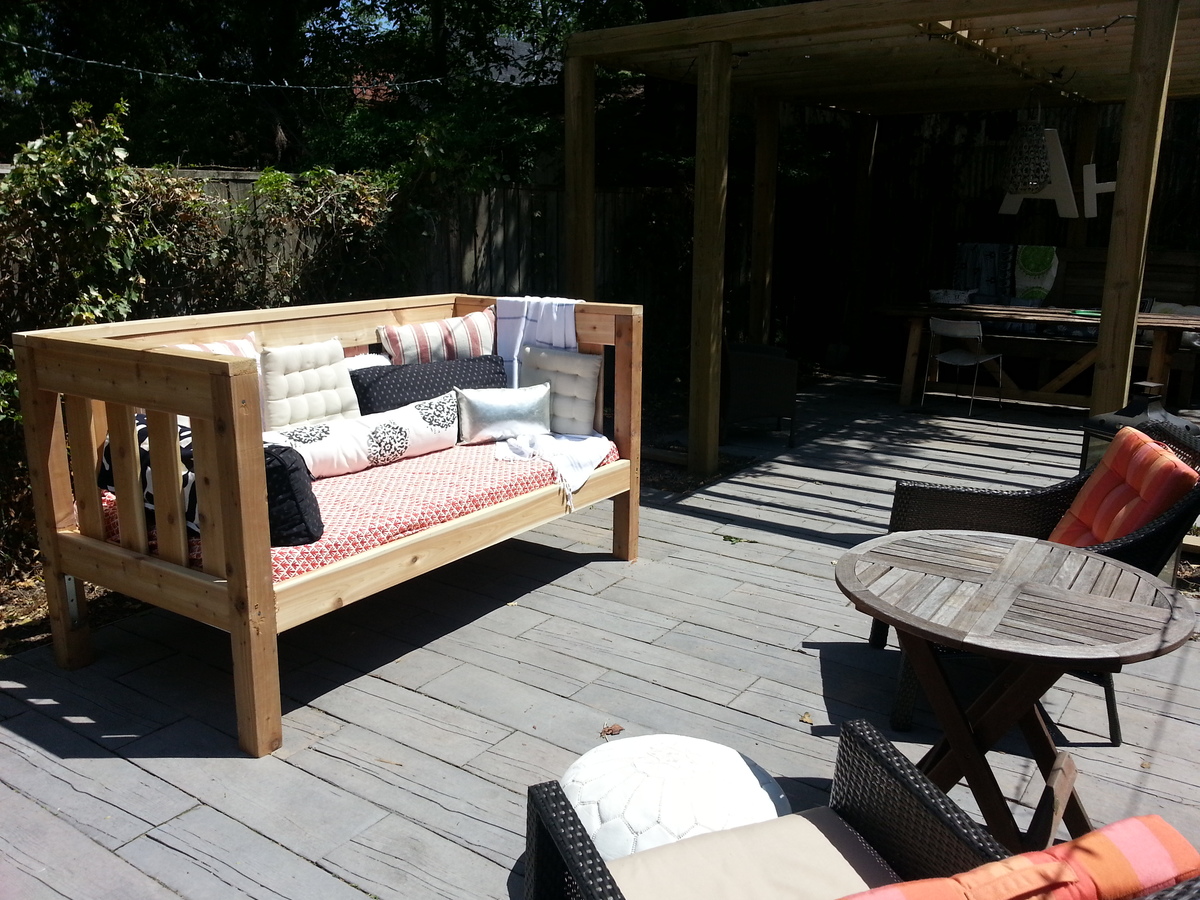
Modified from the plans for the simple day bed - link - http://ana-white.com/2009/12/plans-simple-daybed.html

Another visit from my friend Lisa and her miter saw - this time we were joined by my daughter Claudia. We changed the height of your indoor day bed from 31" posts to 44" posts in order to have enough height for people to lean back.

We used cedar so this can be left outside year round (I'm in Toronto, Canada). The lightweight foam single mattress can easily be removed.

Thanks for the plans!

Estimated Cost
@$350.
Estimated Time Investment
Afternoon Project (3-6 Hours)
Finish Used
none
Recommended Skill Level
Beginner

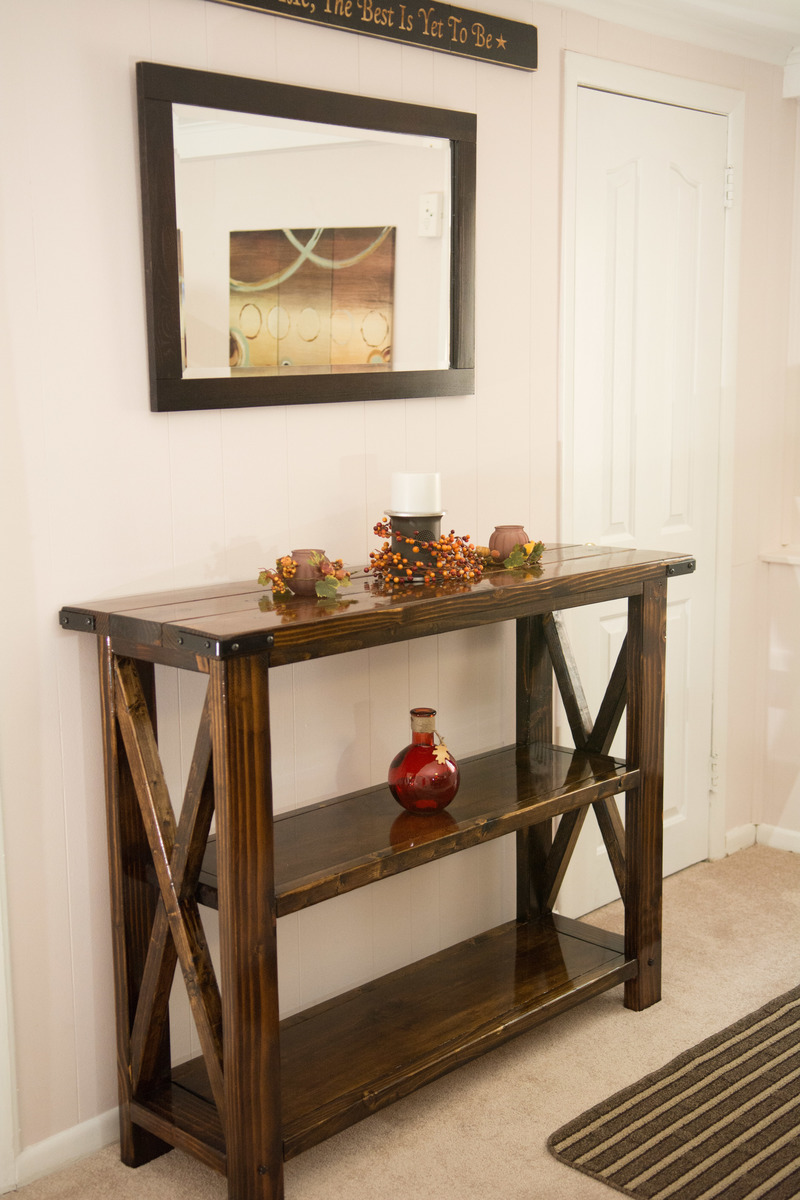
Rustic Console

Submitted by Anonymous (not verified) on Sun, 08/28/2016 - 16:58

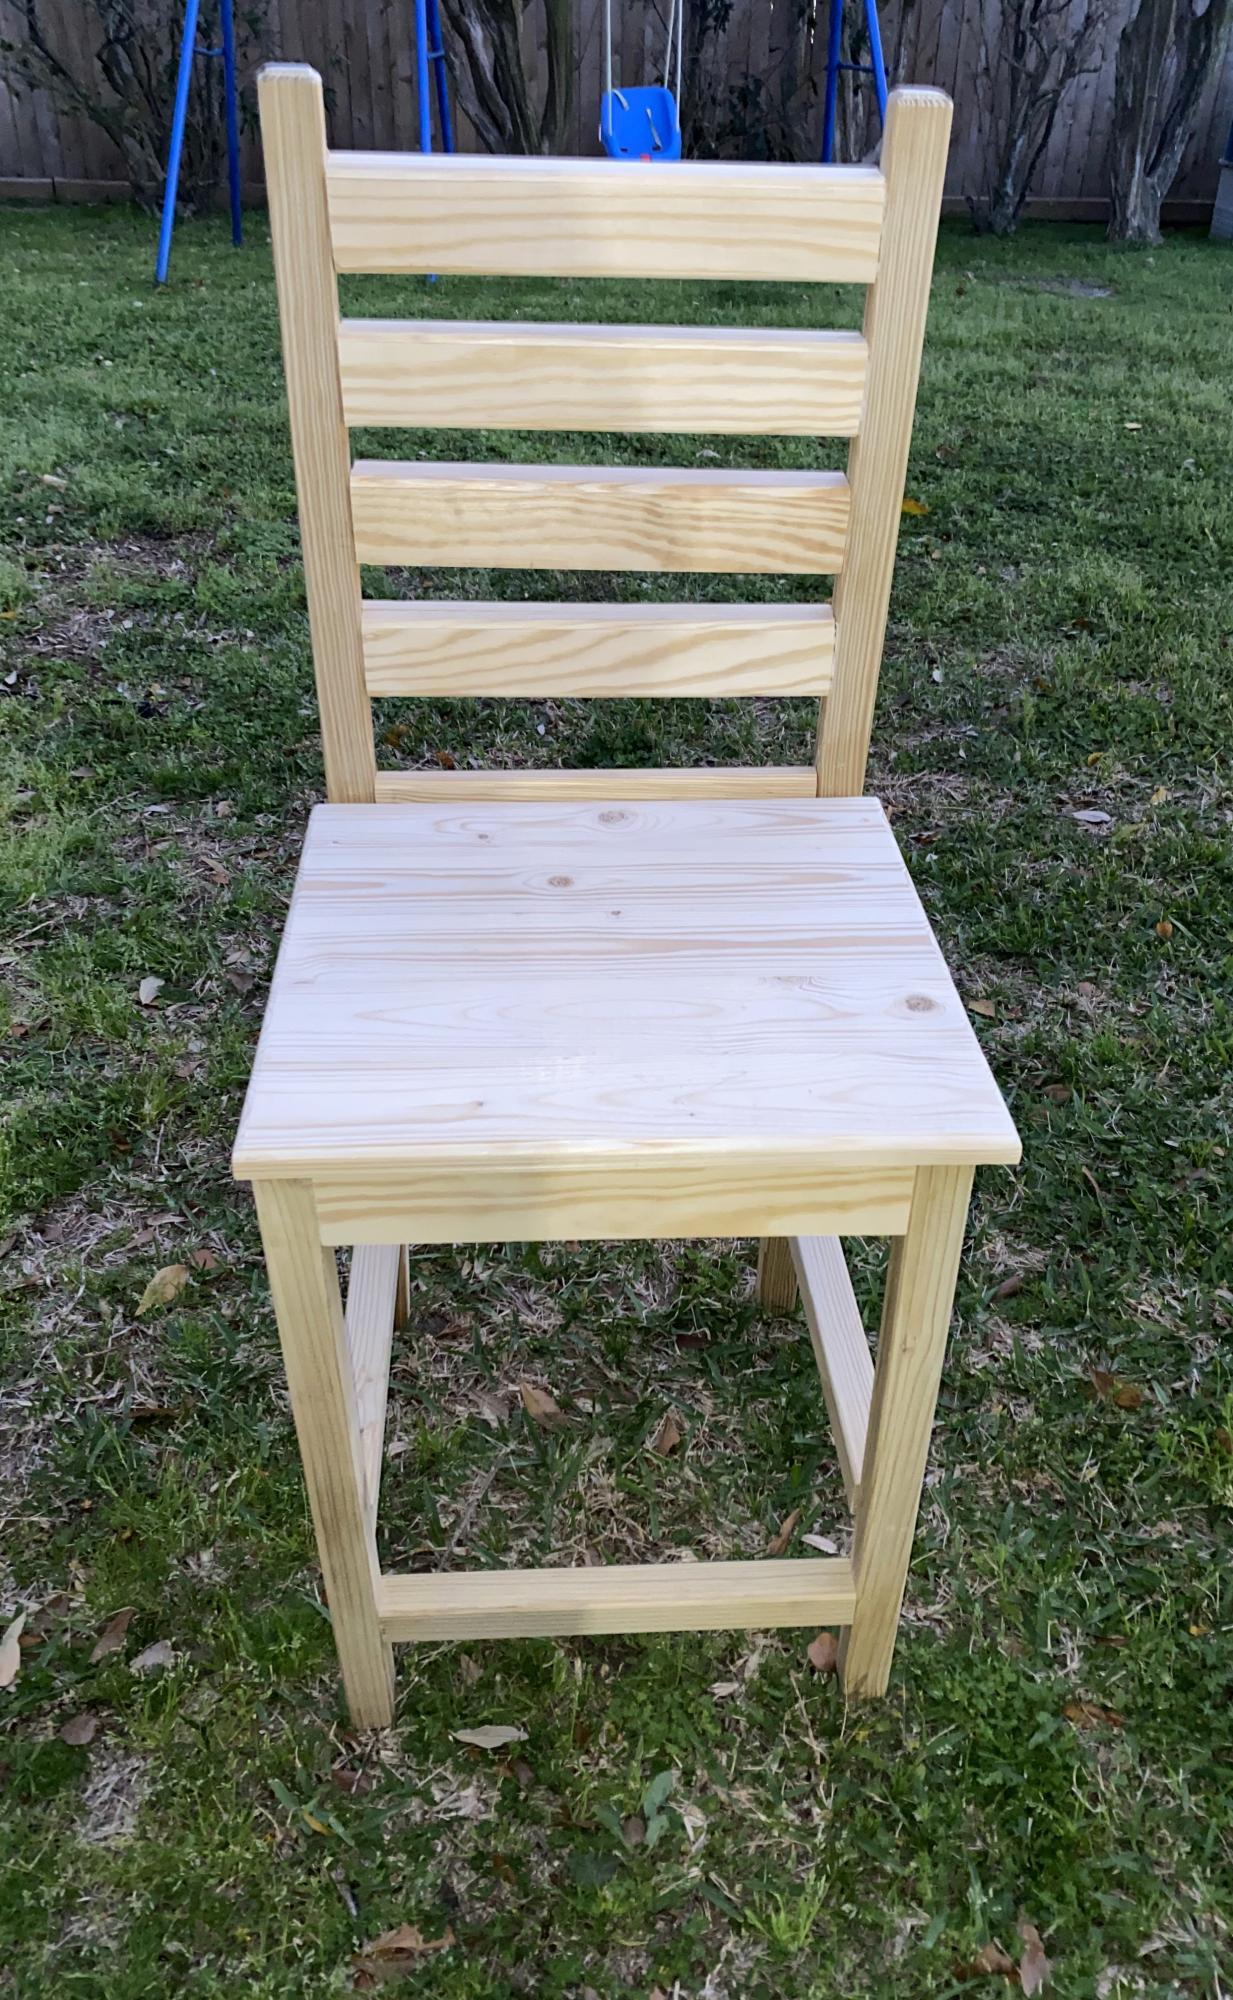
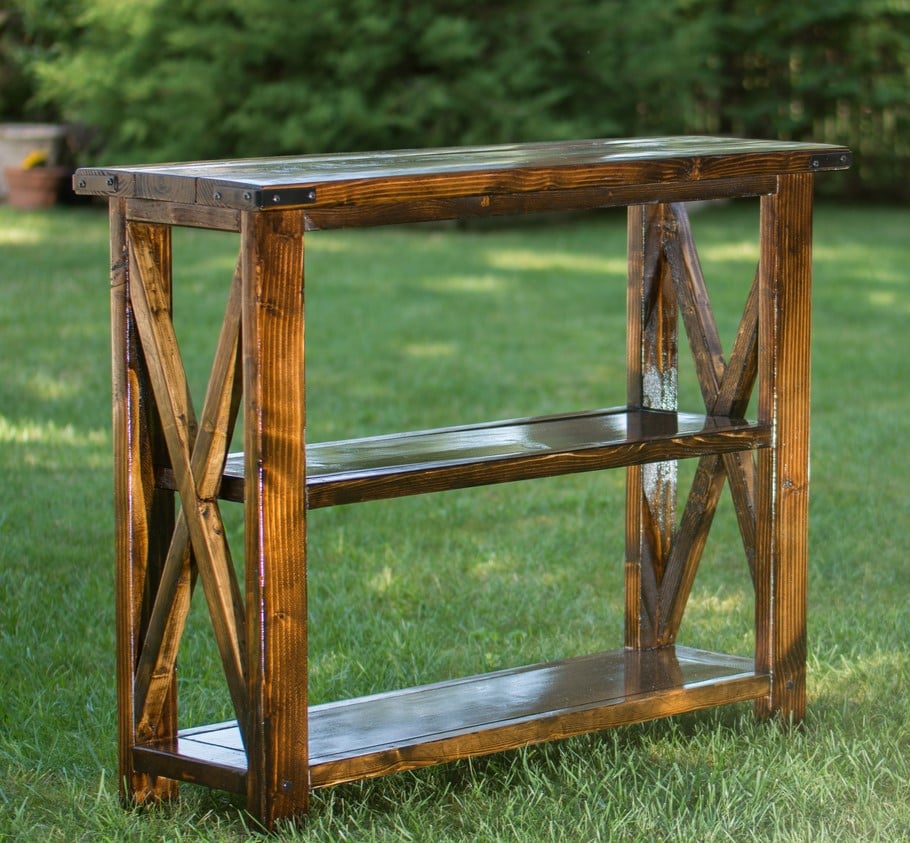
My first project.

Built from Plan(s)
Estimated Time Investment
Week Long Project (20 Hours or More)
Finish Used
Dark Walnut
Recommended Skill Level
Starter Project

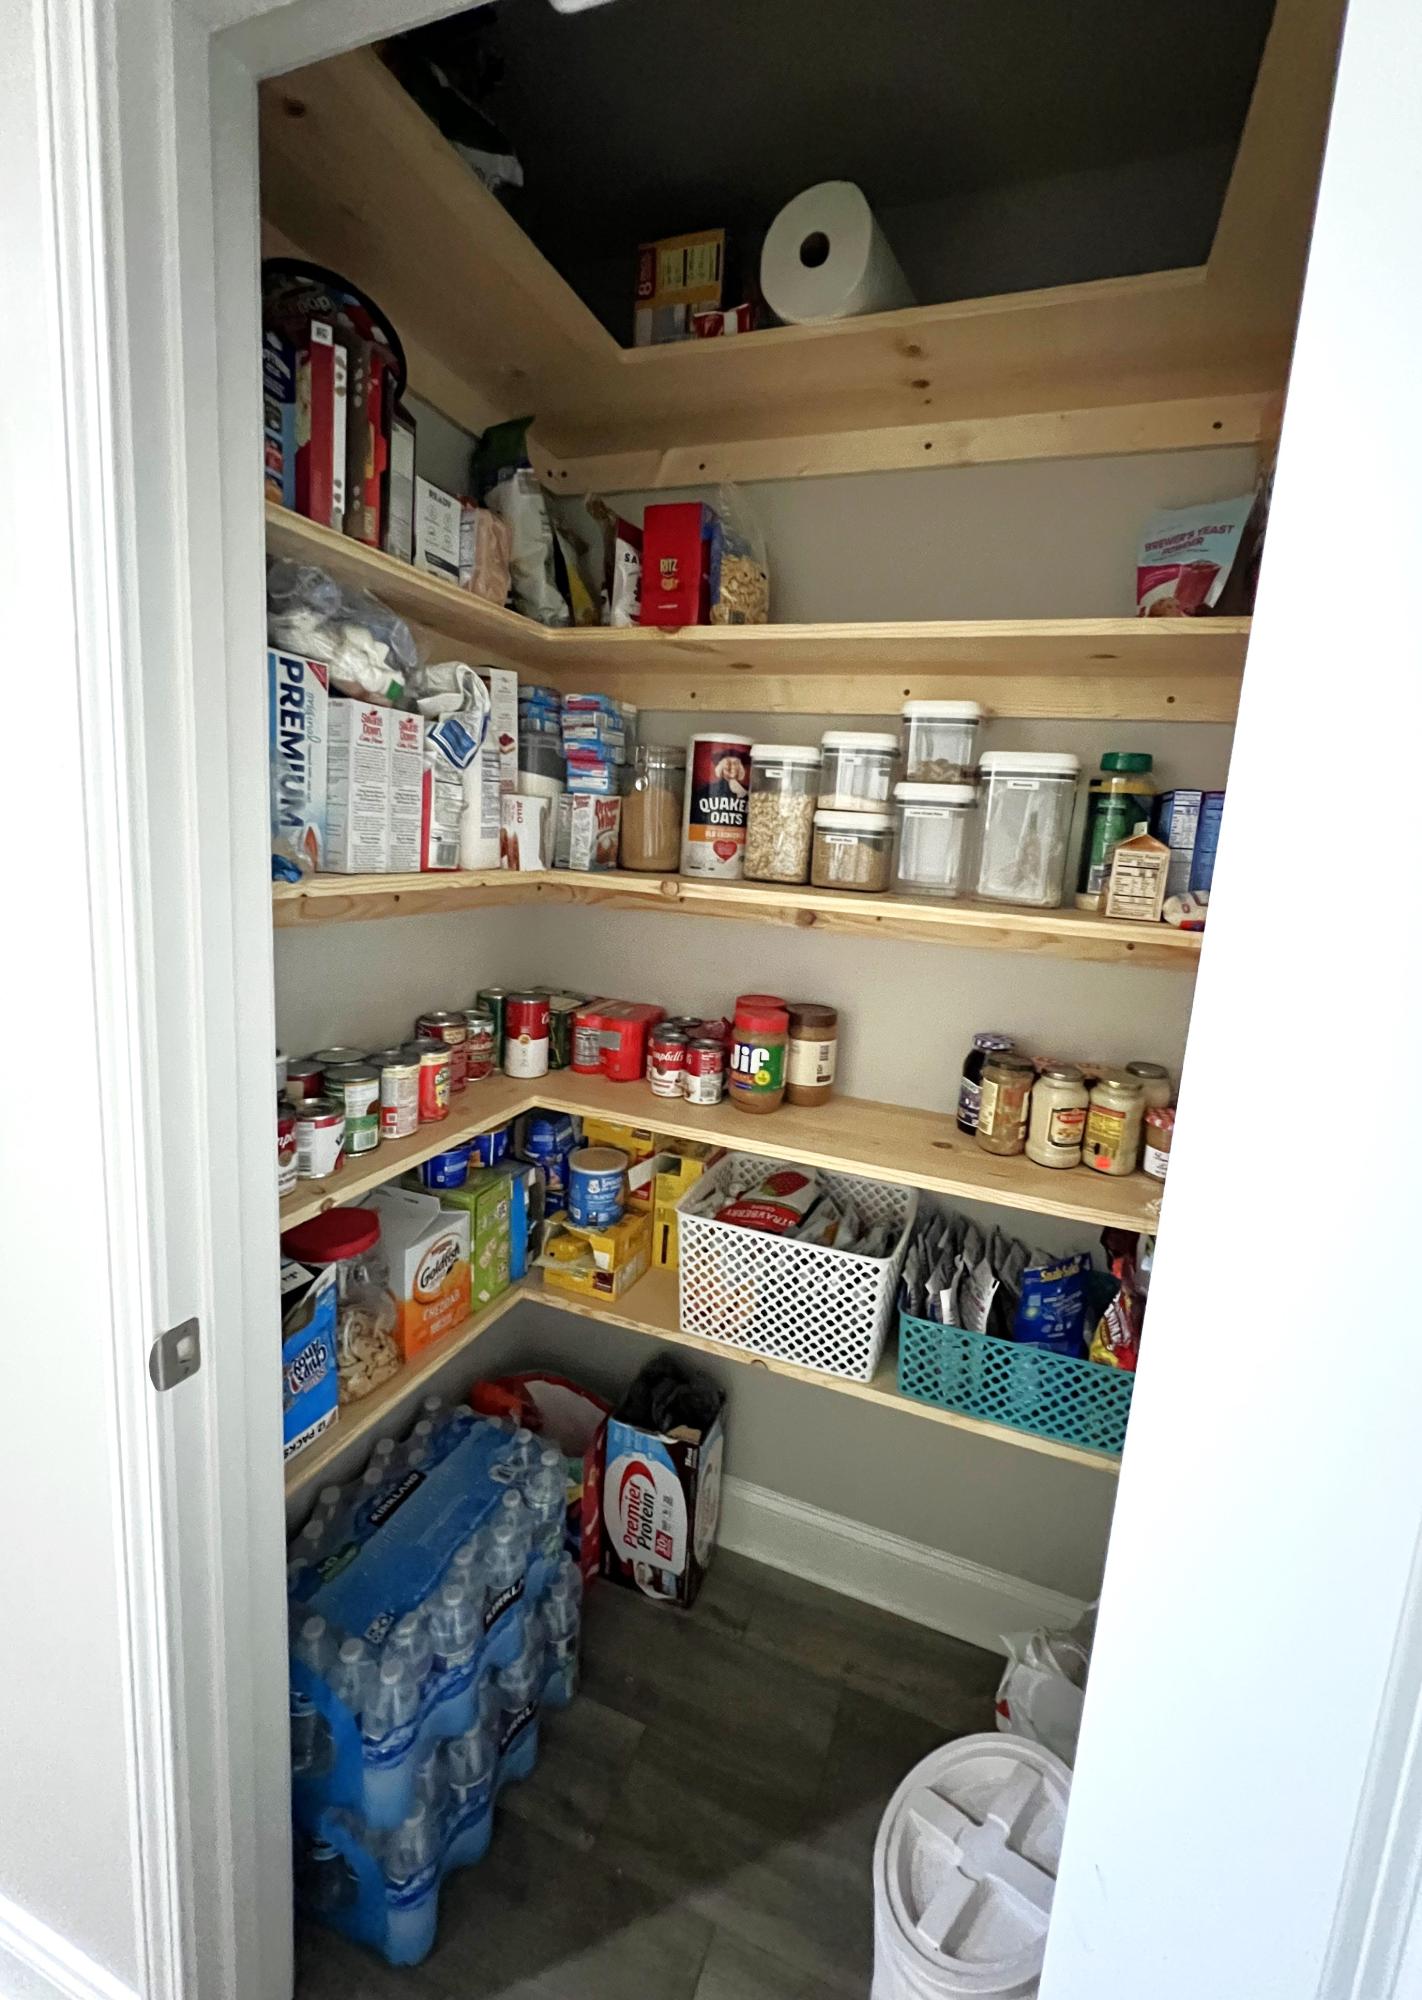
Simple Wood Pantry Shelves

Submitted by Anonymous (not verified) on Mon, 03/11/2024 - 13:31

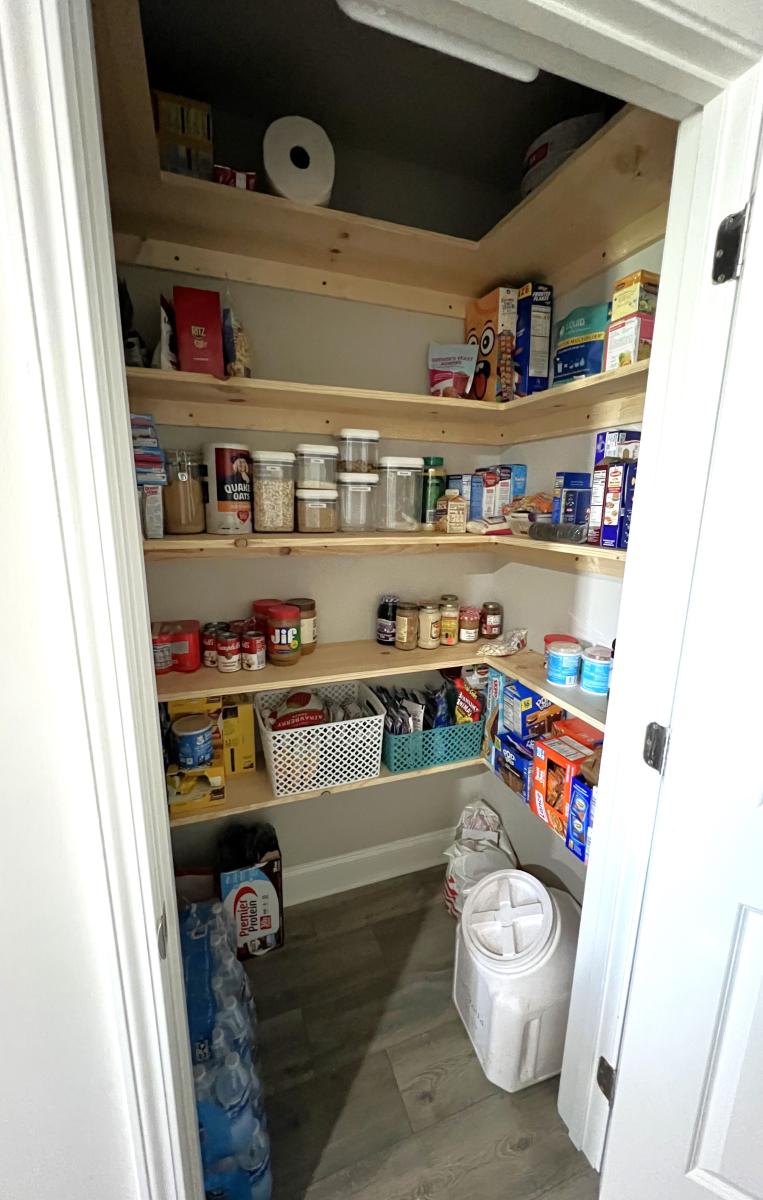
The wire shelves that the builder placed were not cutting it for storage. This setup from your plan helped garner so much more space for organizing. The pantry is roughly 54”x 35” and we were able to place five shelves instead of the four. Thank you so much for your assistance!

Built from Plan(s)

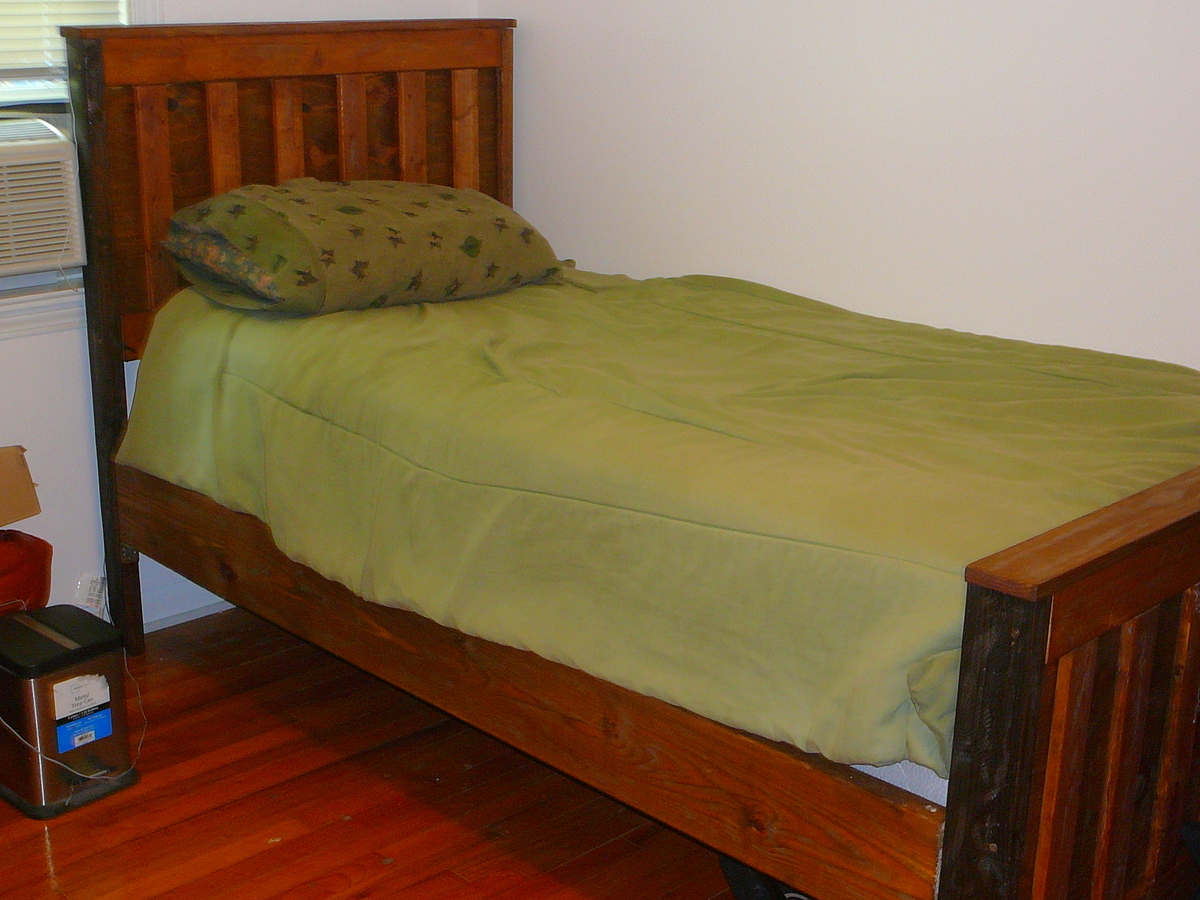
Kentwood bed

Submitted by Christine on Mon, 08/06/2012 - 09:42

These are the first pieces of furniture I have ever built. The first bed was a project for my daughter and me only, but we let the guys help on the second bed. I copied the finish described by the blog. Everyone was real doubtful that it would work, but it turned out great. My sons love their new beds!

Built from Plan(s)
Estimated Cost
$135.00 for 2 beds
Estimated Time Investment
Weekend Project (10-20 Hours)
Finish Used
breakfast tea and a solution of vinegar and steel wool. Tear up the steel wool and cover with vinegar. Place a lid on your container and put it in storage while you build the bed. It will need 2 or 3 days to sit before it is ready to be used.
Recommended Skill Level
Beginner

Butcher Block Island

Submitted by Anonymous (not verified) on Mon, 03/18/2024 - 10:20

I really needed a kitchen island. That would work for me & last.
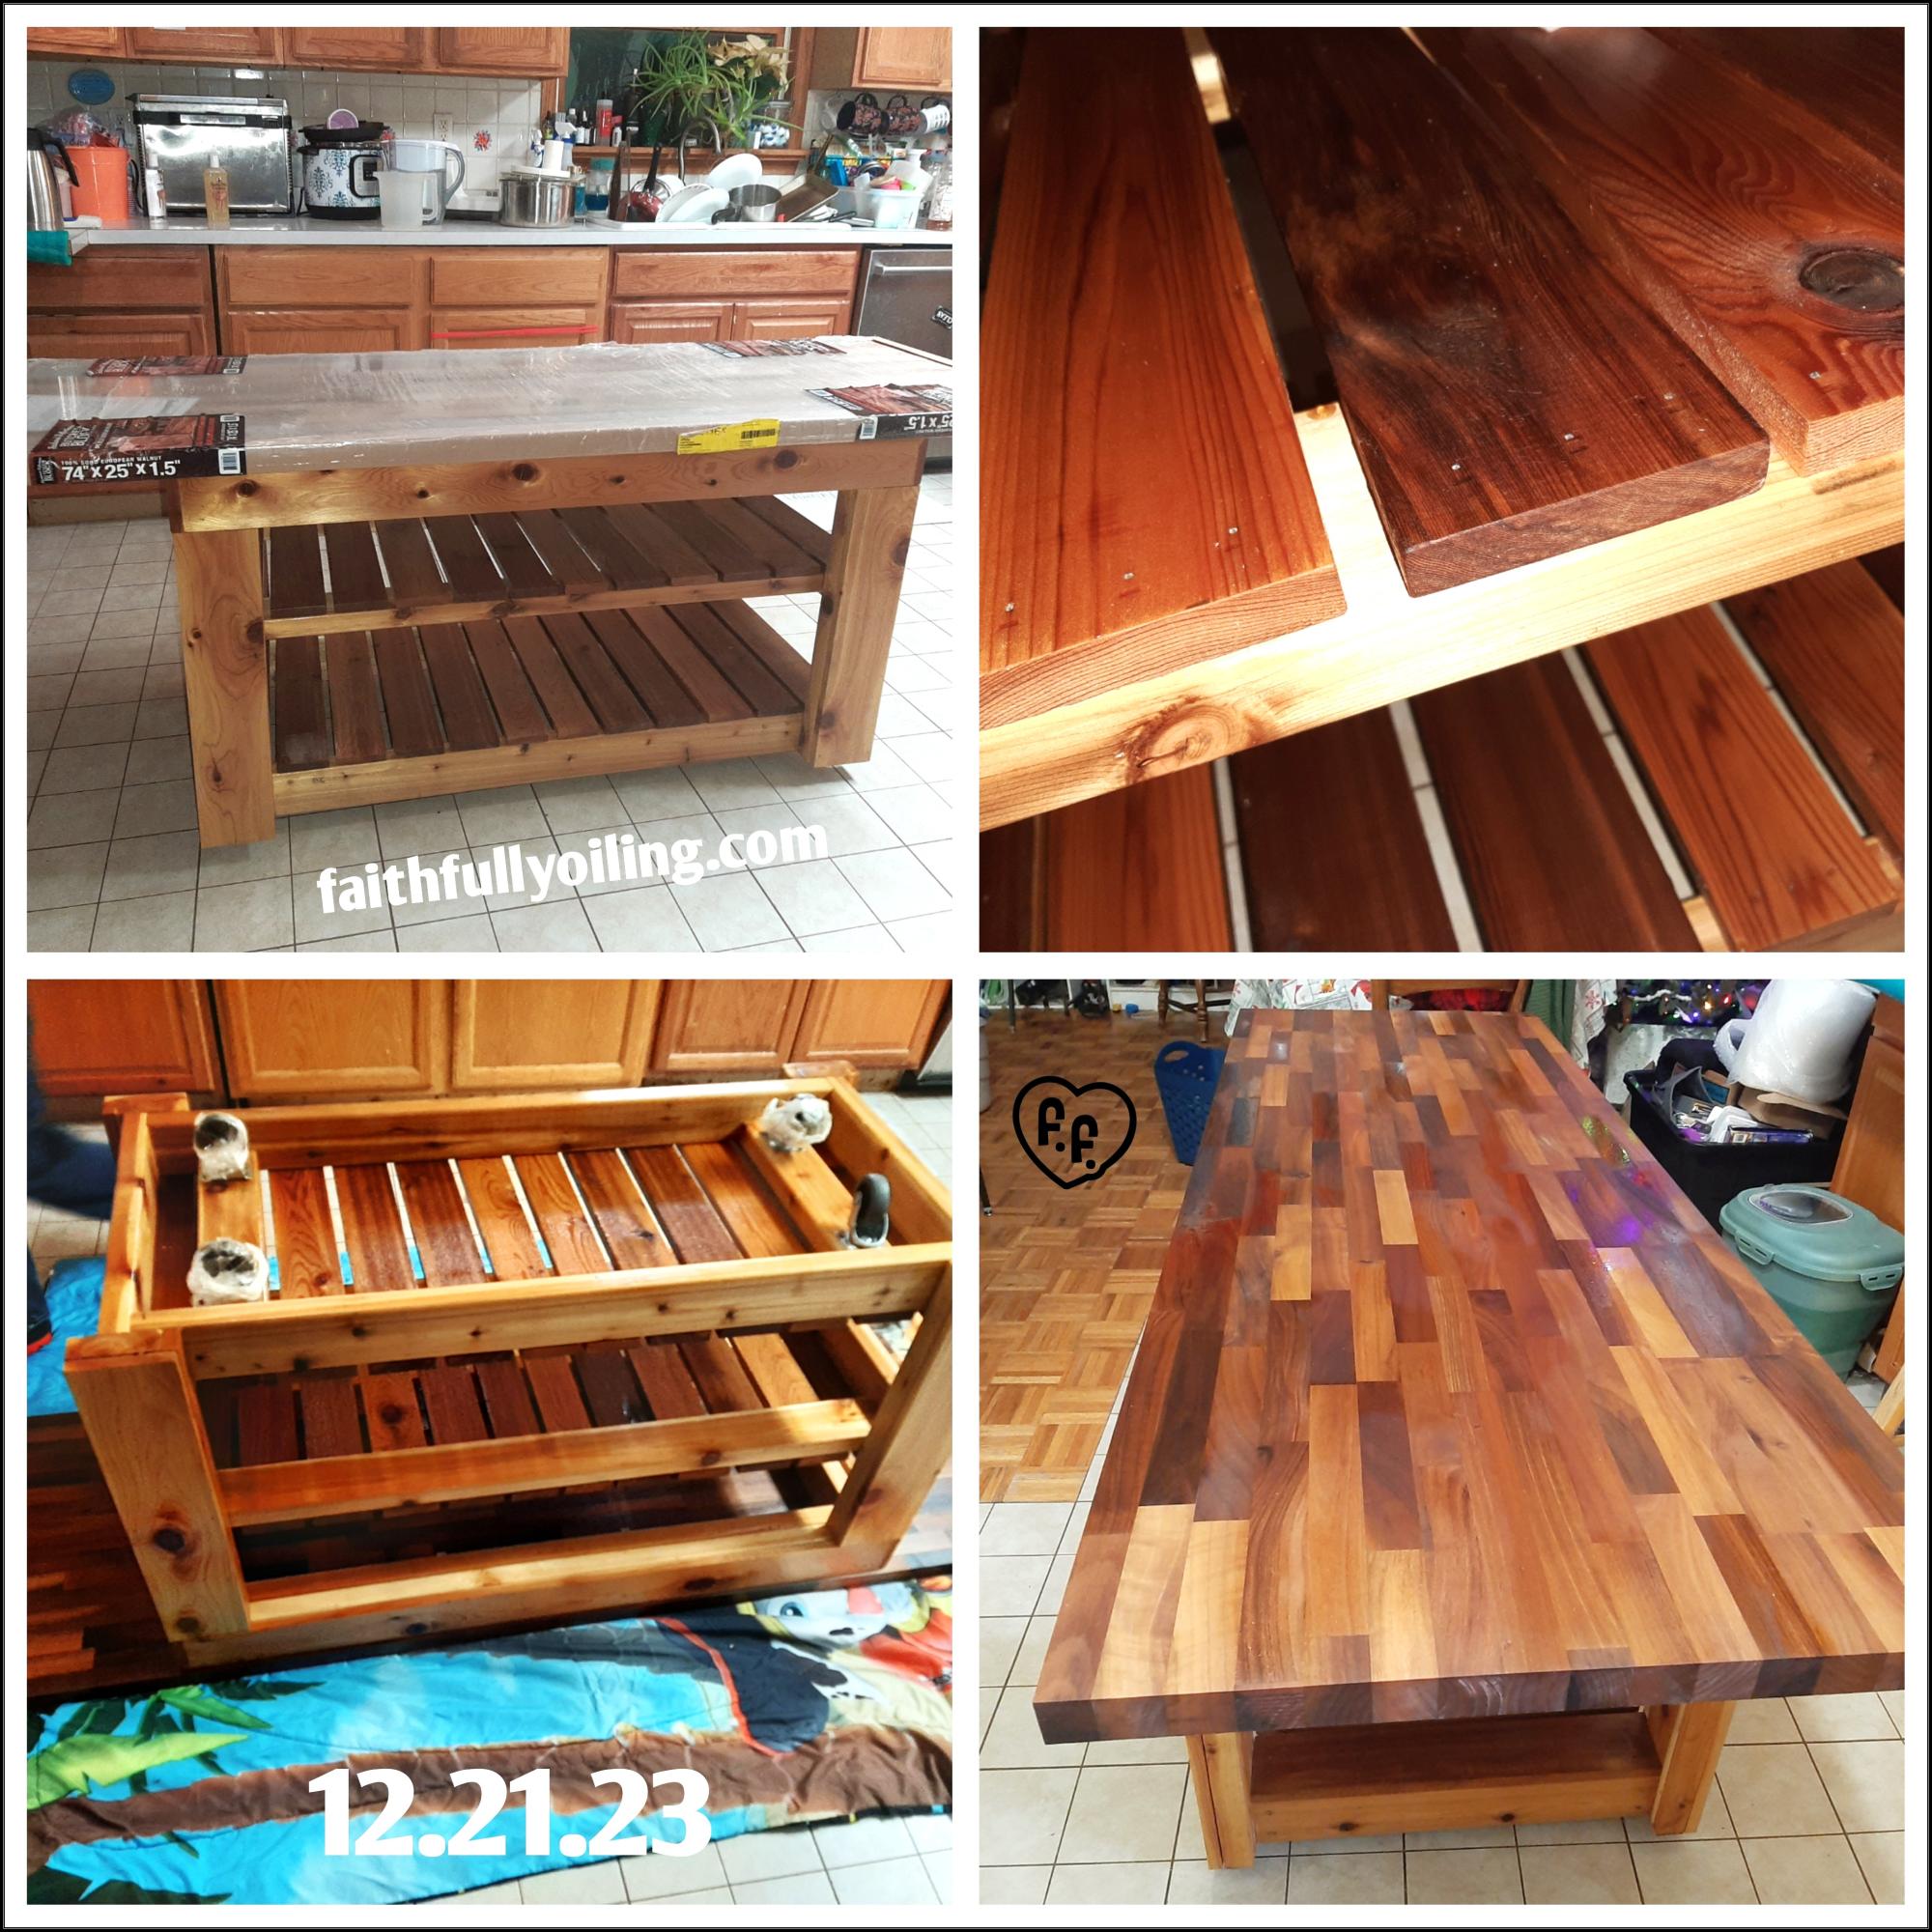
We, my husband & I, based our plan off of the Easy Kitchen Island Plans. I printed the plans. Then modified a few items. Originally I was gonna do a 4ftx25" but my butcher block we found was 6ft. So we left it with 6ft. My barstools slip under the overhang so kids can pull them out & use when needed but not be in the way.
We also made it custom to my height for mixing & kneading dough. The selves are different to work.with my tupperware containers. (Goal is to get all the same eventually).
We used cedar & a little pine for the main structure. The top is European walnut butcher block.
It's on wheels. So I can move it out of the way if needed.
We did seal the sides (kids & messy cook). The shelves & top I used butcher block oil & conditioner. Ever month I add a thin coat of conditioner to the top.
I love that I have so much room now to create.
Thank you so much for the inspiration!
Faith & Jonathan Flesher

Built from Plan(s)

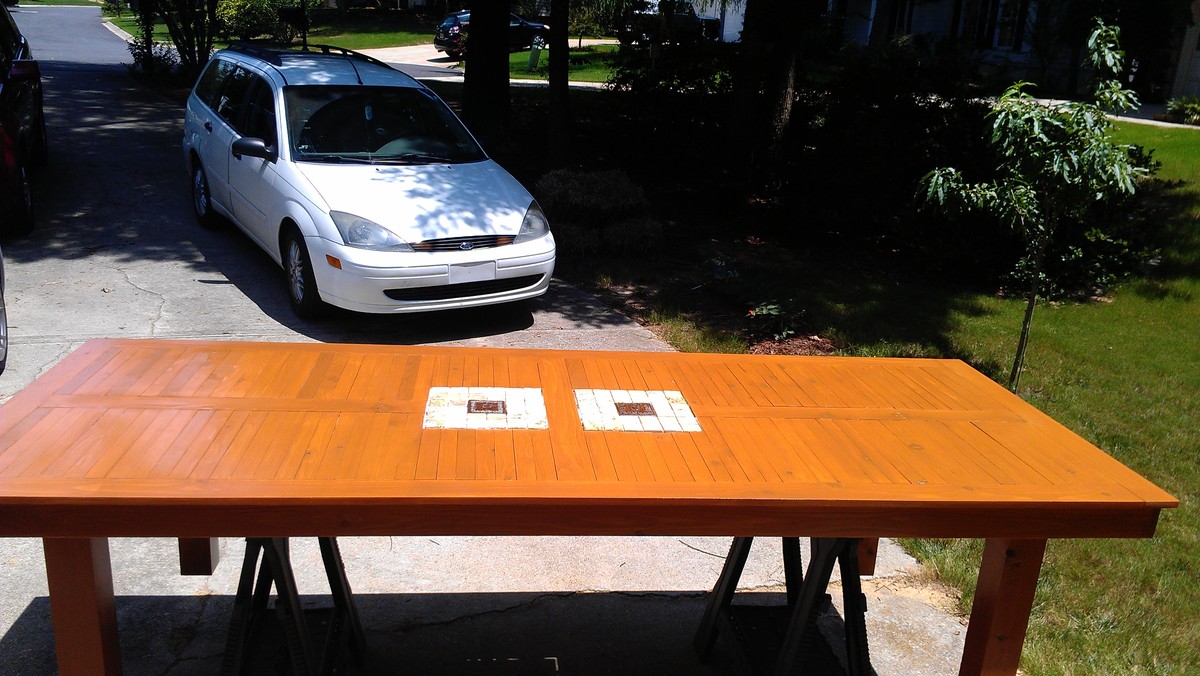
Large Modified Outdoor Cedar Table

Submitted by pbmahaffey on Wed, 08/08/2012 - 16:05

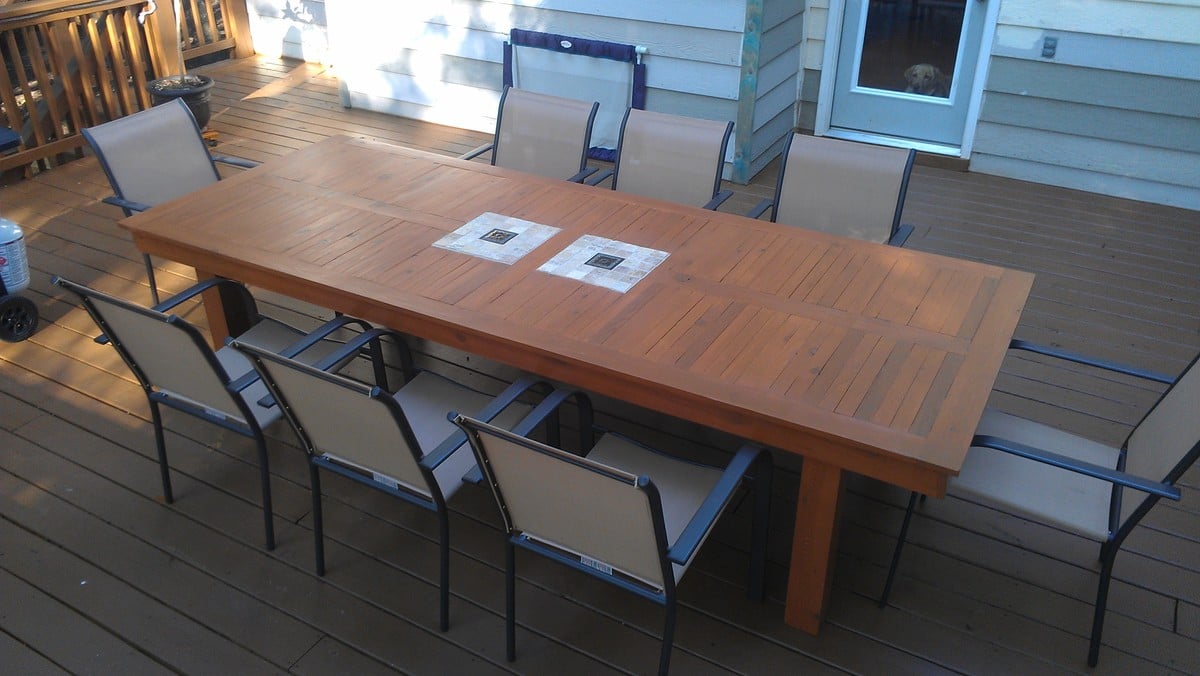
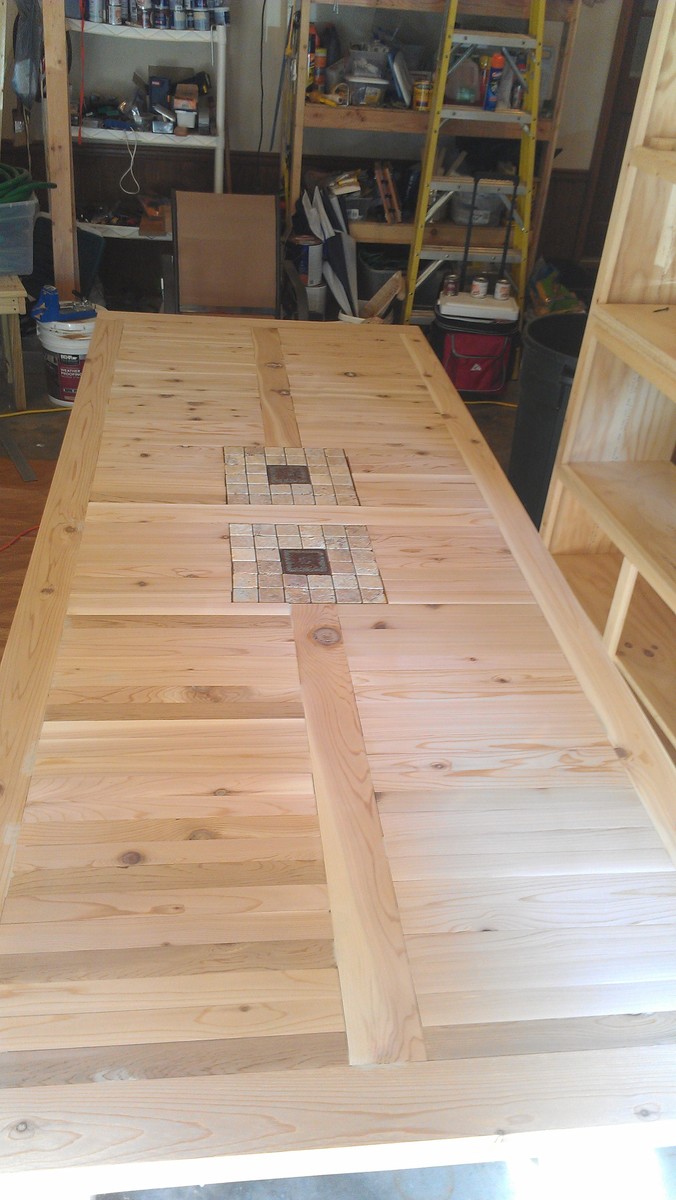
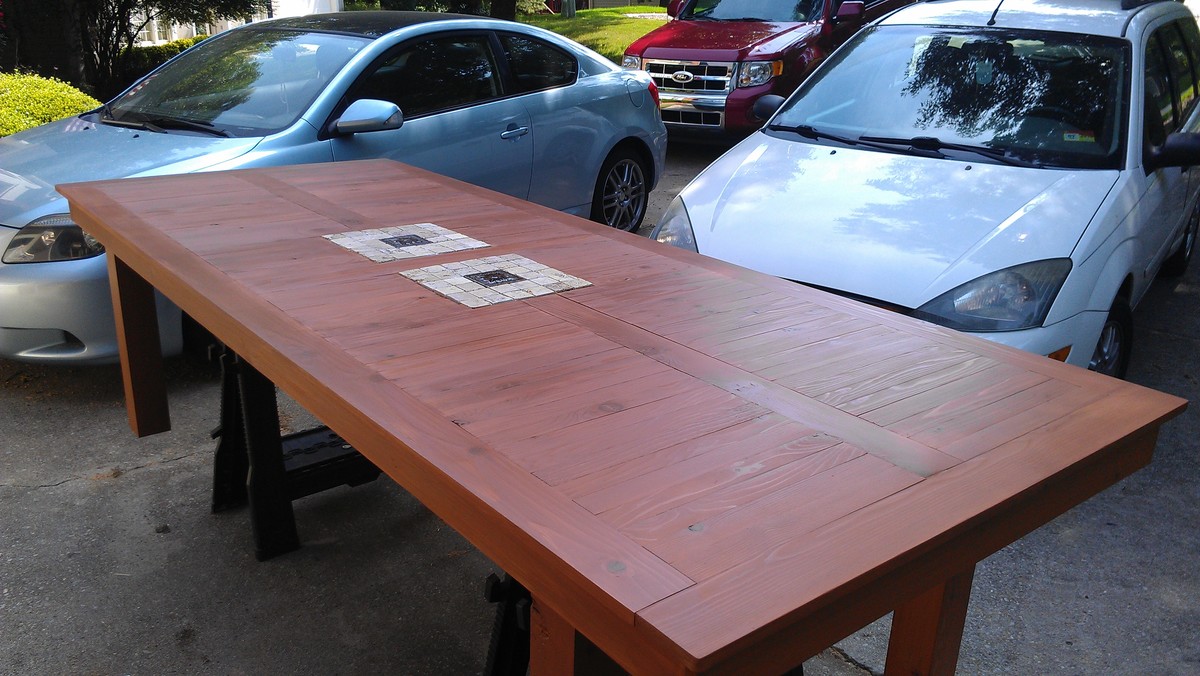
We finished the deck this summer and wanted a large table to put on it. I saw the different versions of the outdoor Ana built. This one seats eight and has a tile inlay. For now...chairs from Walmart provide seating.

Estimated Cost
$300
Estimated Time Investment
Weekend Project (10-20 Hours)
Finish Used
Behr Semi-Transparent Stain
Recommended Skill Level
Intermediate

Comments