Tryed end table with shelf
Top 22.5" x 24.5" Base 21"x21" Total height 24"
Base finished with Dutch boy trim paint.
Top 22.5" x 24.5" Base 21"x21" Total height 24"
Ana, you saved us! Thanks to you, Santa’s Elf “Ralph,” whipped this up literally the day before Christmas. We have three little girls and wanted to make Christmas magical again after having survived some significant personal tragedy. Christmas has been rather difficult after loss and grief but your doll house was the perfect remedy. Not only do our girls still play with it daily over 9 months later (this has never actually happened with any other toy), but we are thrilled to use it to store all of their dolly clothes and accessories. No mess in our house and it’s super cute! People ask us all the time where we bought it. We tell them it came from Ralph the elf and his bestie Ana White.❤️
Wed, 10/02/2019 - 09:55
This is a gorgeous dollhouse! I especially love the stained roof. And the smiles!
After completing all the pieces for myself based on 4x4 pedestal dining table with planked wood top, I thought I would build a table for my daughter.
The pedestal base is the same as the plan.
Now all i have to do is get it transported 400km down the road
The table was made from 200mm x 50mm pine sleepers
The top was finished with 2 coats of British paints 1 coat finish
Tue, 05/30/2023 - 12:52
Wow, this is gorgeous, thank you so much for sharing! Your daughter will be thrilled.:)
We made this based on the Emerson Buffet plans, but modified to fit our current TV accessories. We also added legs, instead of the framed base.
We've built over 100 of these farmhouse beds - we've tweaked the design ever so slightly.
Our first Farmhouse Bed took roughly a day to complete. We sanded the entire bed, applied stain & then applied two coats of matte varnish. At least apply one. Stain can leak for weeks, and smell bad for longer.
We use 2x3's for our slats and find them extra strong!
Love this bed so much, we plan to build another 3. Used local white cedar milled just down the road from our cottage.
http://www.ana-white.com/woodworking-projects/modern-farmhouse-bed-frame
My original plan was for a laundry cart or stand for laundry baskets. I ended up building one that is pretty big for 4 baskets, a shelf on top, and elevated 10" on the bottom for our Roomba vacuum to be stored.
I saw the plans for this and had to have it! My husband had it assembled pretty easily (we've built several dining tables/benches, but this was our first piece that went out of that box, lol) and the whole project took maybe a day or two including staining. We left of the end pieces just because we were trying to get it done quickly for Thanksgiving; we intended to add them on later, but I kind of like it open. Everyone who has seen it loves it!
Sat, 12/07/2013 - 21:46
Your hall tree looks really good! (Early American is my favorite stain color!)
Val @ artsybuildinglady.blogspot.ca
Really fun project. My dividers were a little off, but for kiddo storage- it's not too shabby. Bins were on sale at target. Because I trimmed the whole case out in 1x2s- 11x11 was the size I needed. The labels were extra, but totally worth the cost in my opinion. Loved this project and love the organization it brings!
My daughter needing a dining room table. After discovering Ana White’s web site and building plans, I figured I could do this ! I have a background in quilting so I was thinking , cut the material , piece it together....simple !!!! It was definitely the plans and YouTube videos that made this achievable. I had never run a miter saw or table saw in my life ! I still can’t properly read a measuring tape !!! I had the basics down and away I went !!!
It turned out beautifully and best part of all is I could gift my daughter a table and bench made with love from mom !!
Choose the equivalent of 4 x2 here in Australia but as you can see the Depths were different. Painted in Dulux outdoor paint in Vivid White
Sat, 06/10/2023 - 06:28
It looks great, yes there is some figuring when dealing in metric...
This is our version of a dresser cabinet. Thought we would share. We used mostly birch plywood and began by staining it but ended up painting it after the stain didn't work out.
Tue, 04/17/2012 - 07:34
Great job! I am in the process of building mine. Trying to figure out how to do my doors. I did a double set (6 baskets). Figuring hinges out is baffling! Lol
I used the basic plan but made a few changes. First I wanted a track layout that was screwed down. Easy to start playing for a two year old. And a reversible top that could be used for activities. The top therefor is one piece of ply. With a hole drilled in one end for inserting a finger to start the lift/flip. I used a little thinner ply than recommended to give a little lip around the trim to not allow the crayons and trains to roll on the floor. This also allows me to put two inserts on the plain side. I have a half chalkboard/ half whiteboard inserts. This gives it more flexibility. I also added a theater front to the mix that I store in the cavity of the box with the other top inserts. Finisher with white paint and minwax spray lacquer.
This is a modified version of your plans. I made it 4x8 and adjusted the roof and front according. For the back wall, I used T1-11 siding and the pickets everywhere else. I added a floor and ramp too.
After moving, my wife informed me that I would be building her a new TV console. This is the end result. Now we need a bigger TV!
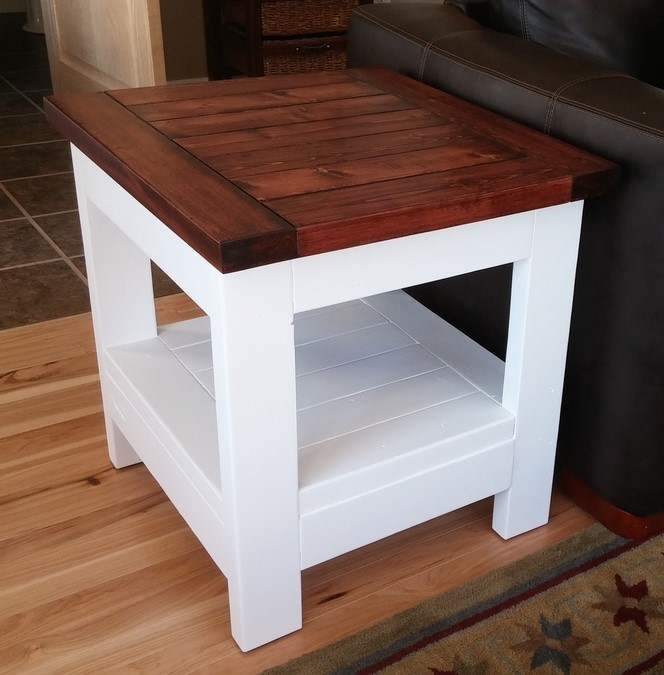
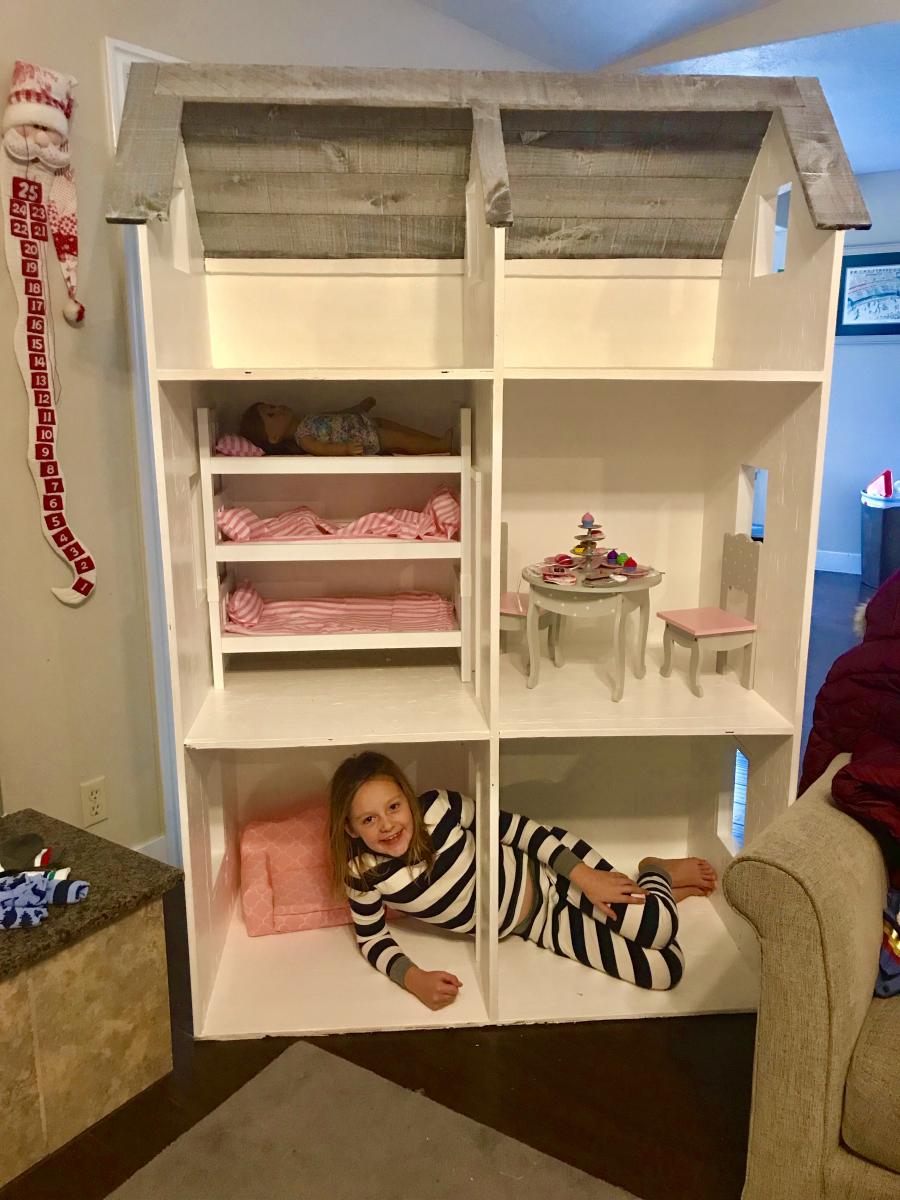
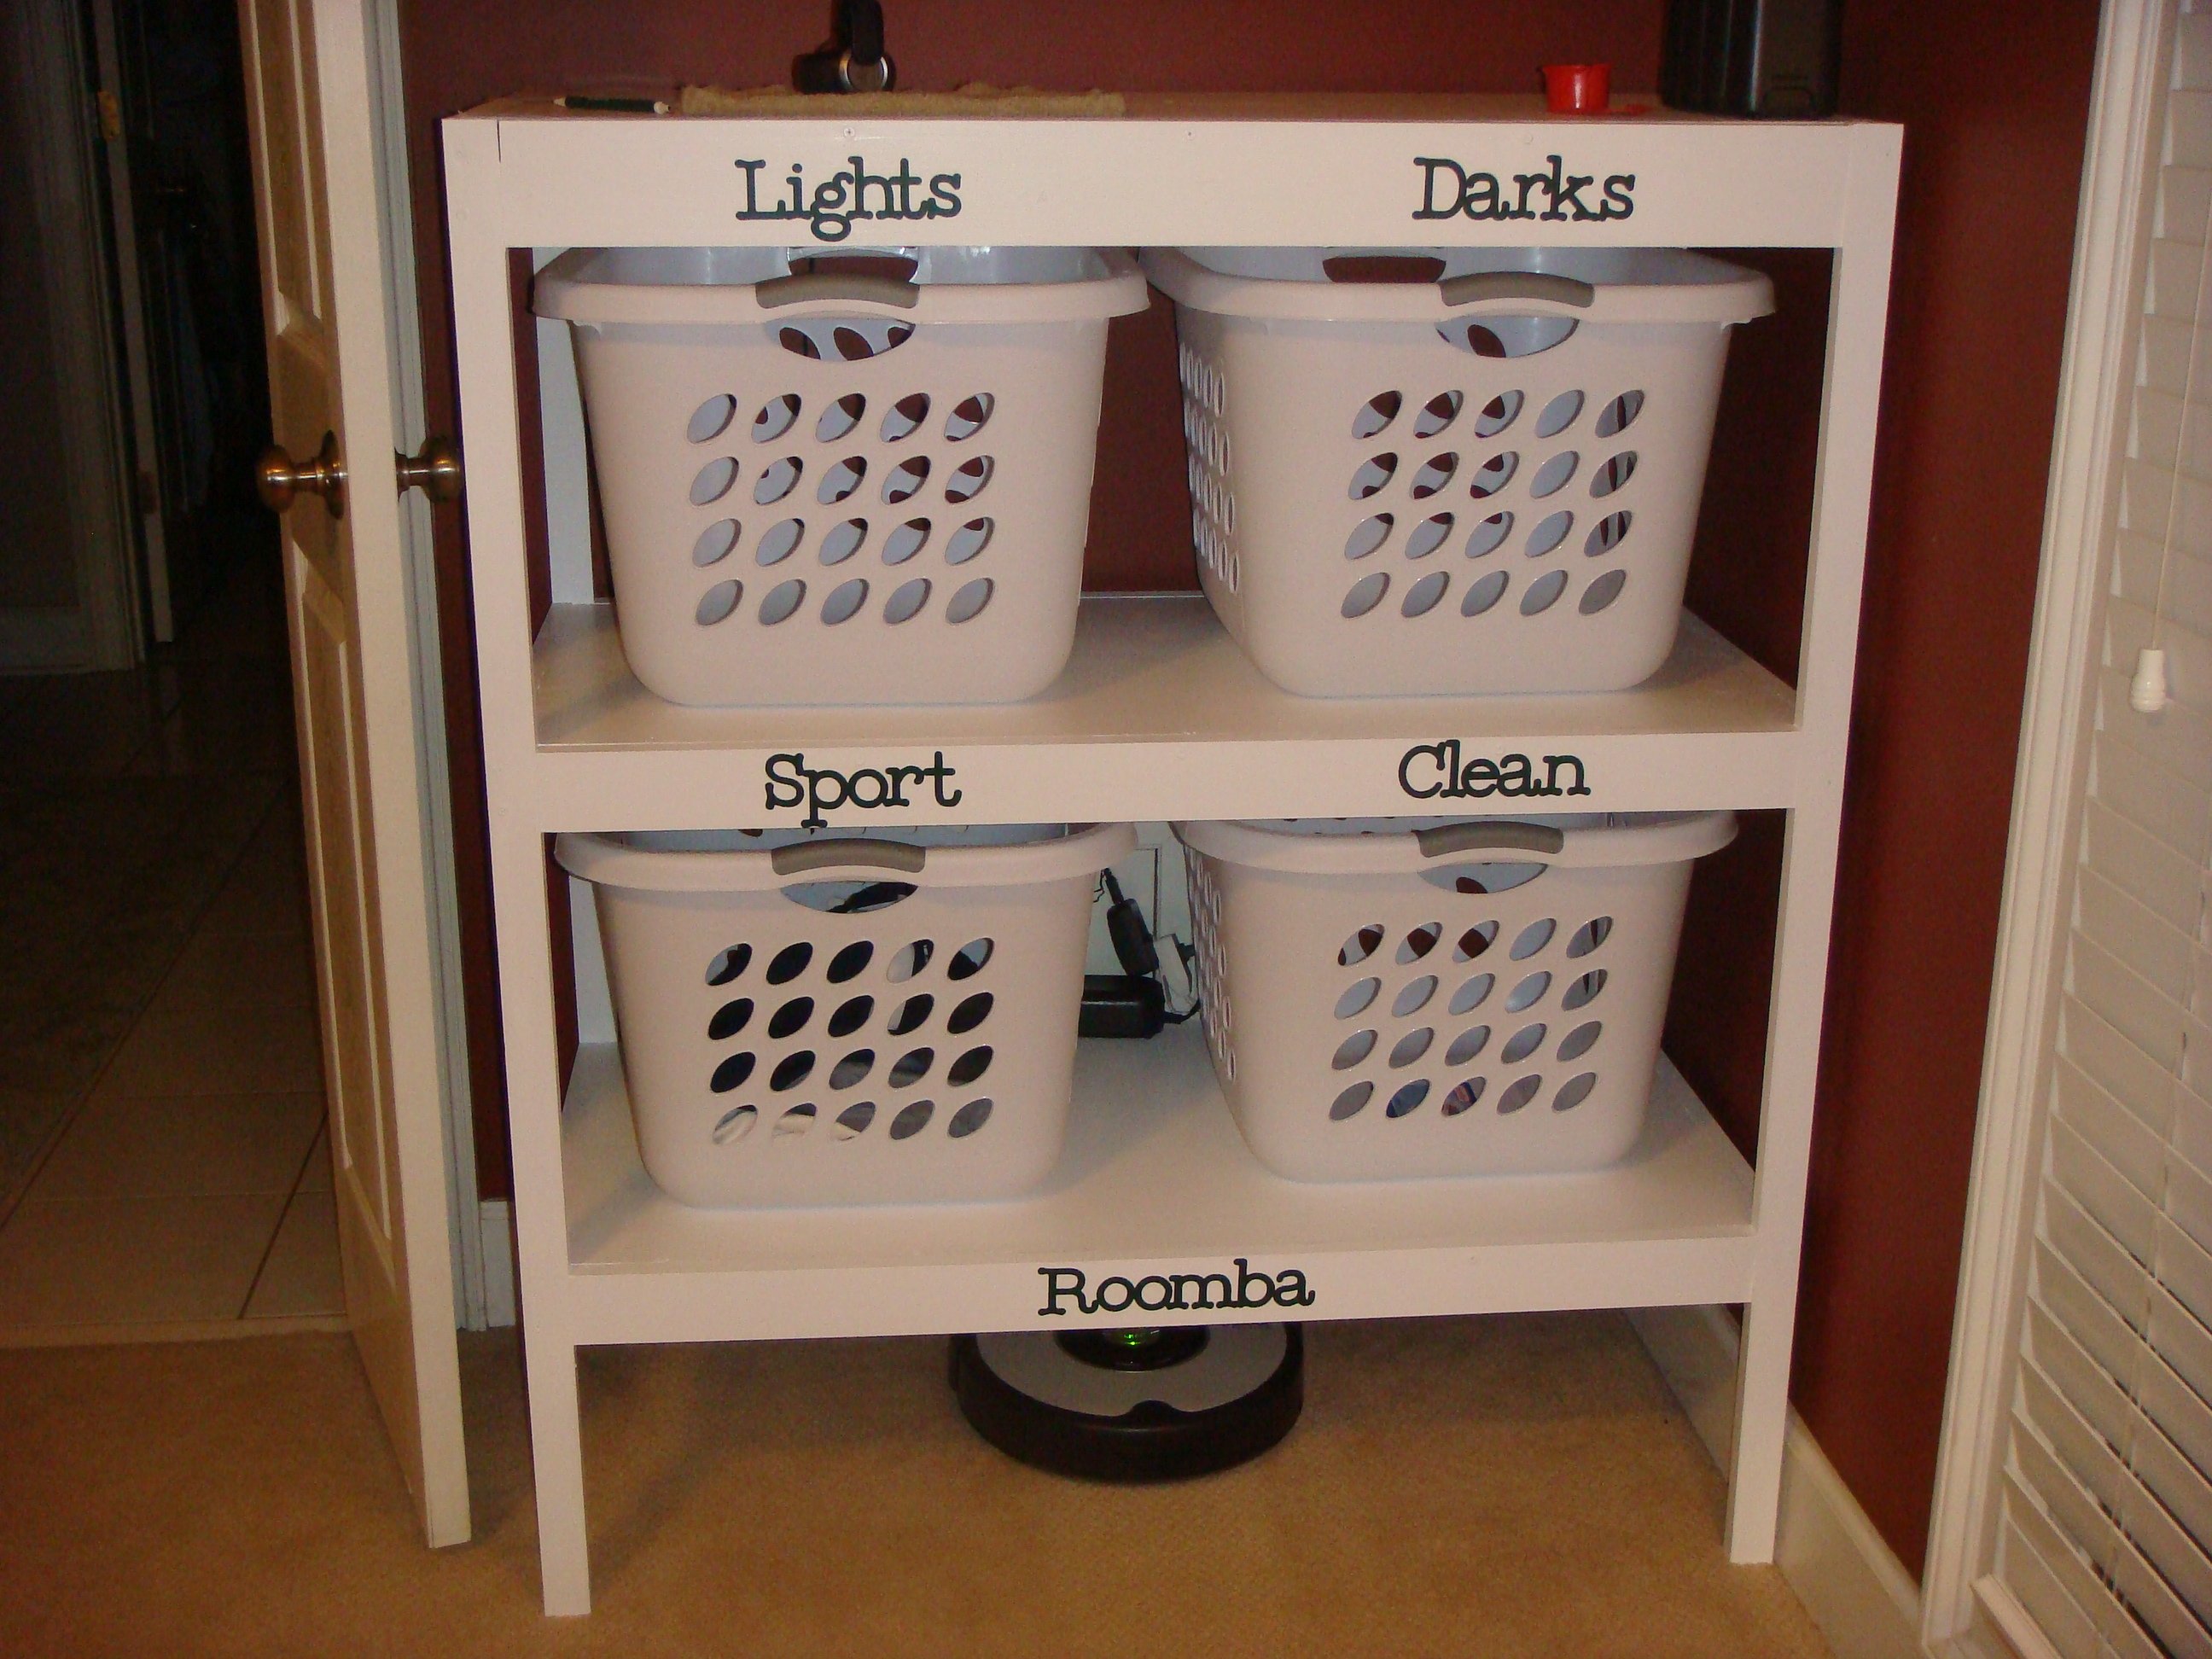
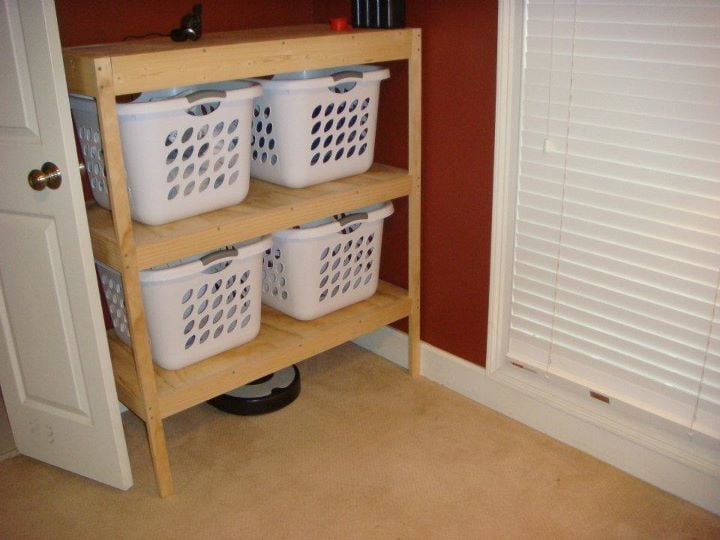
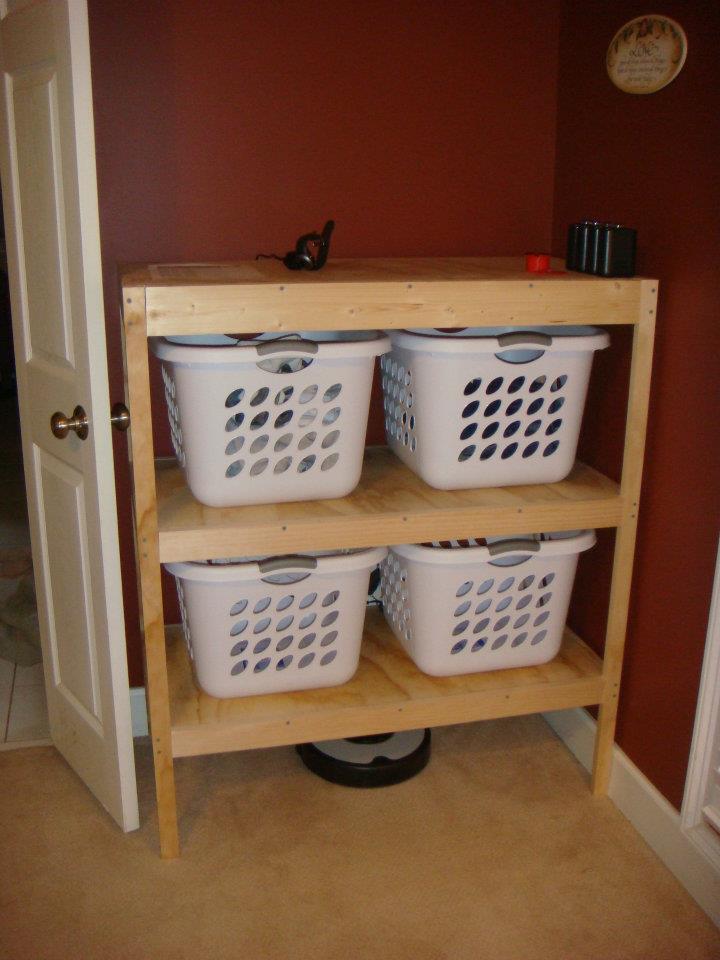
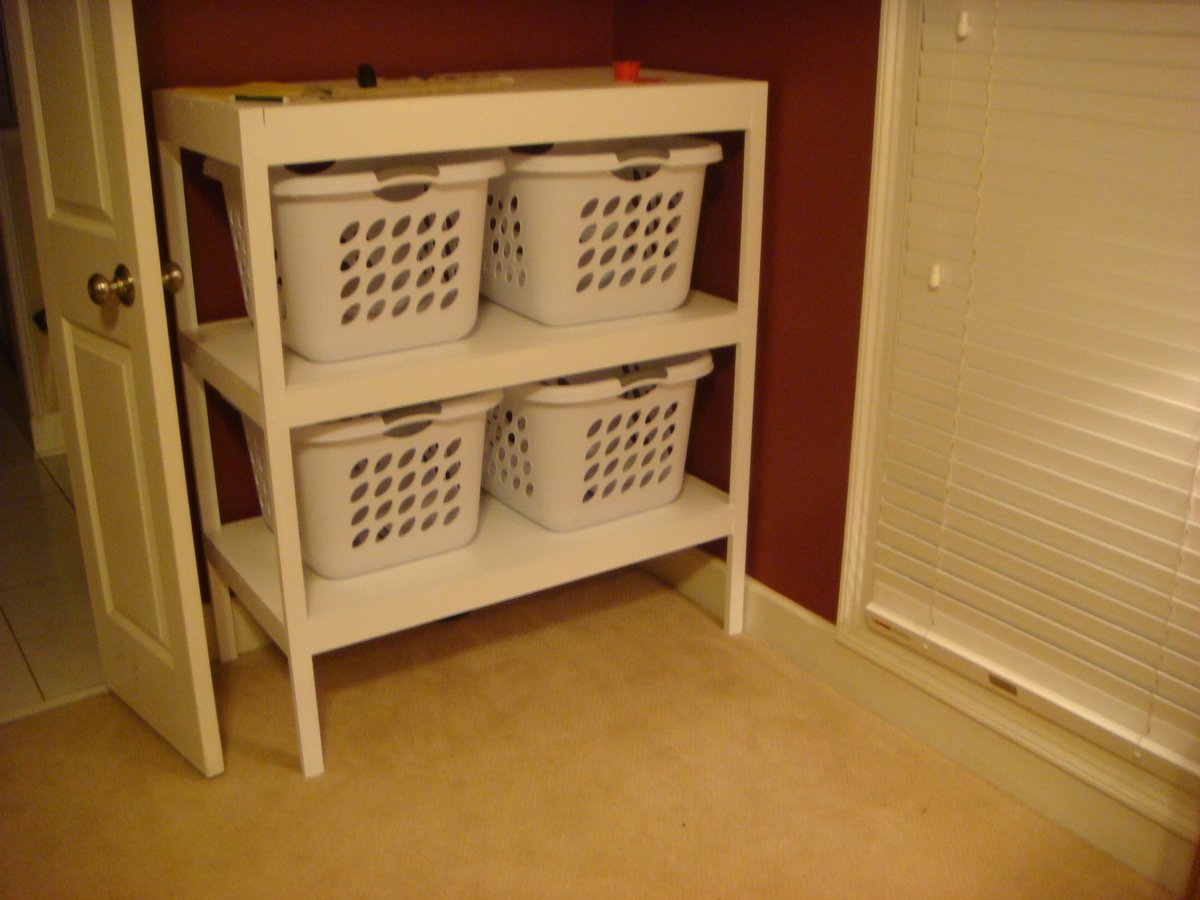
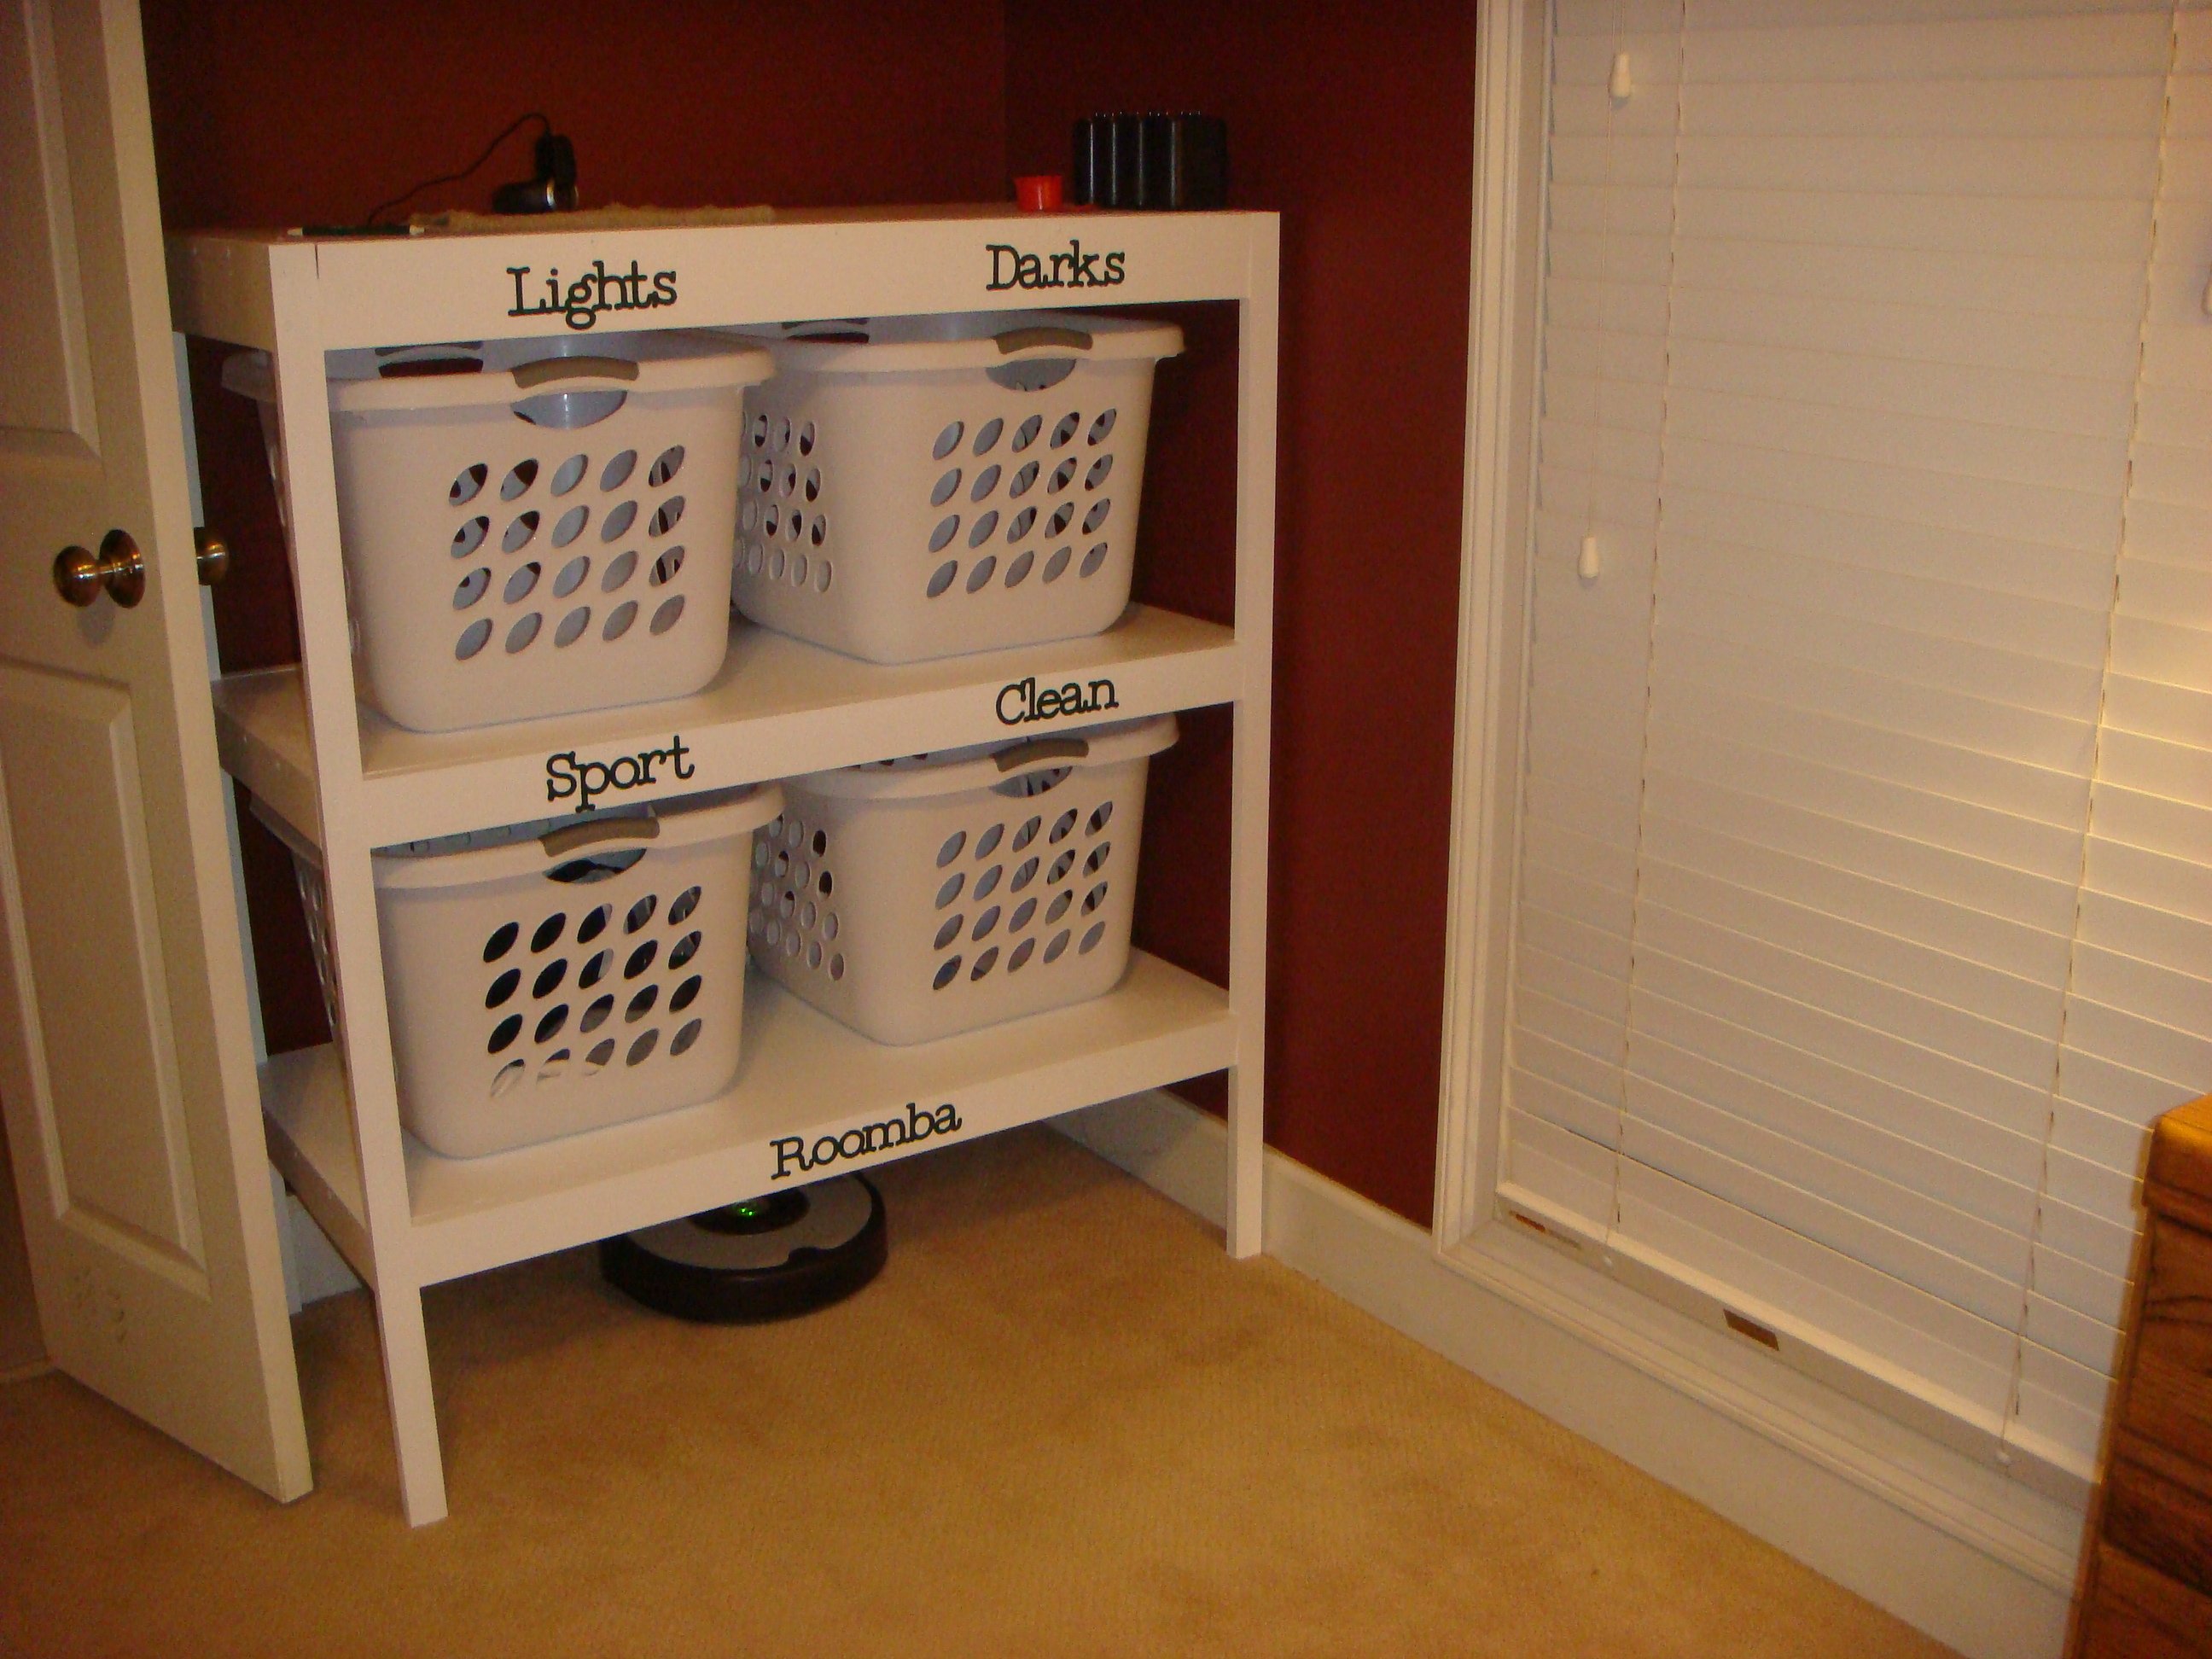
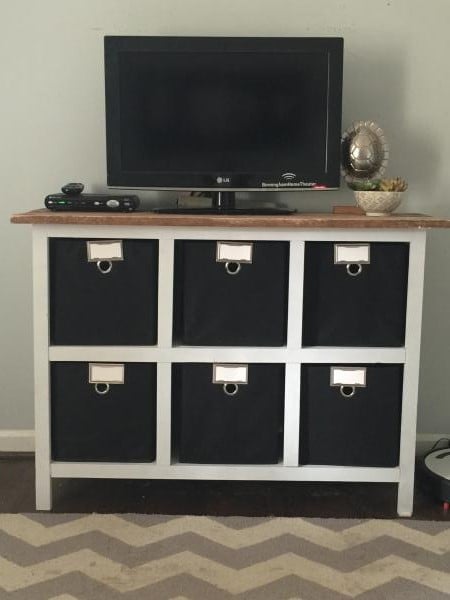
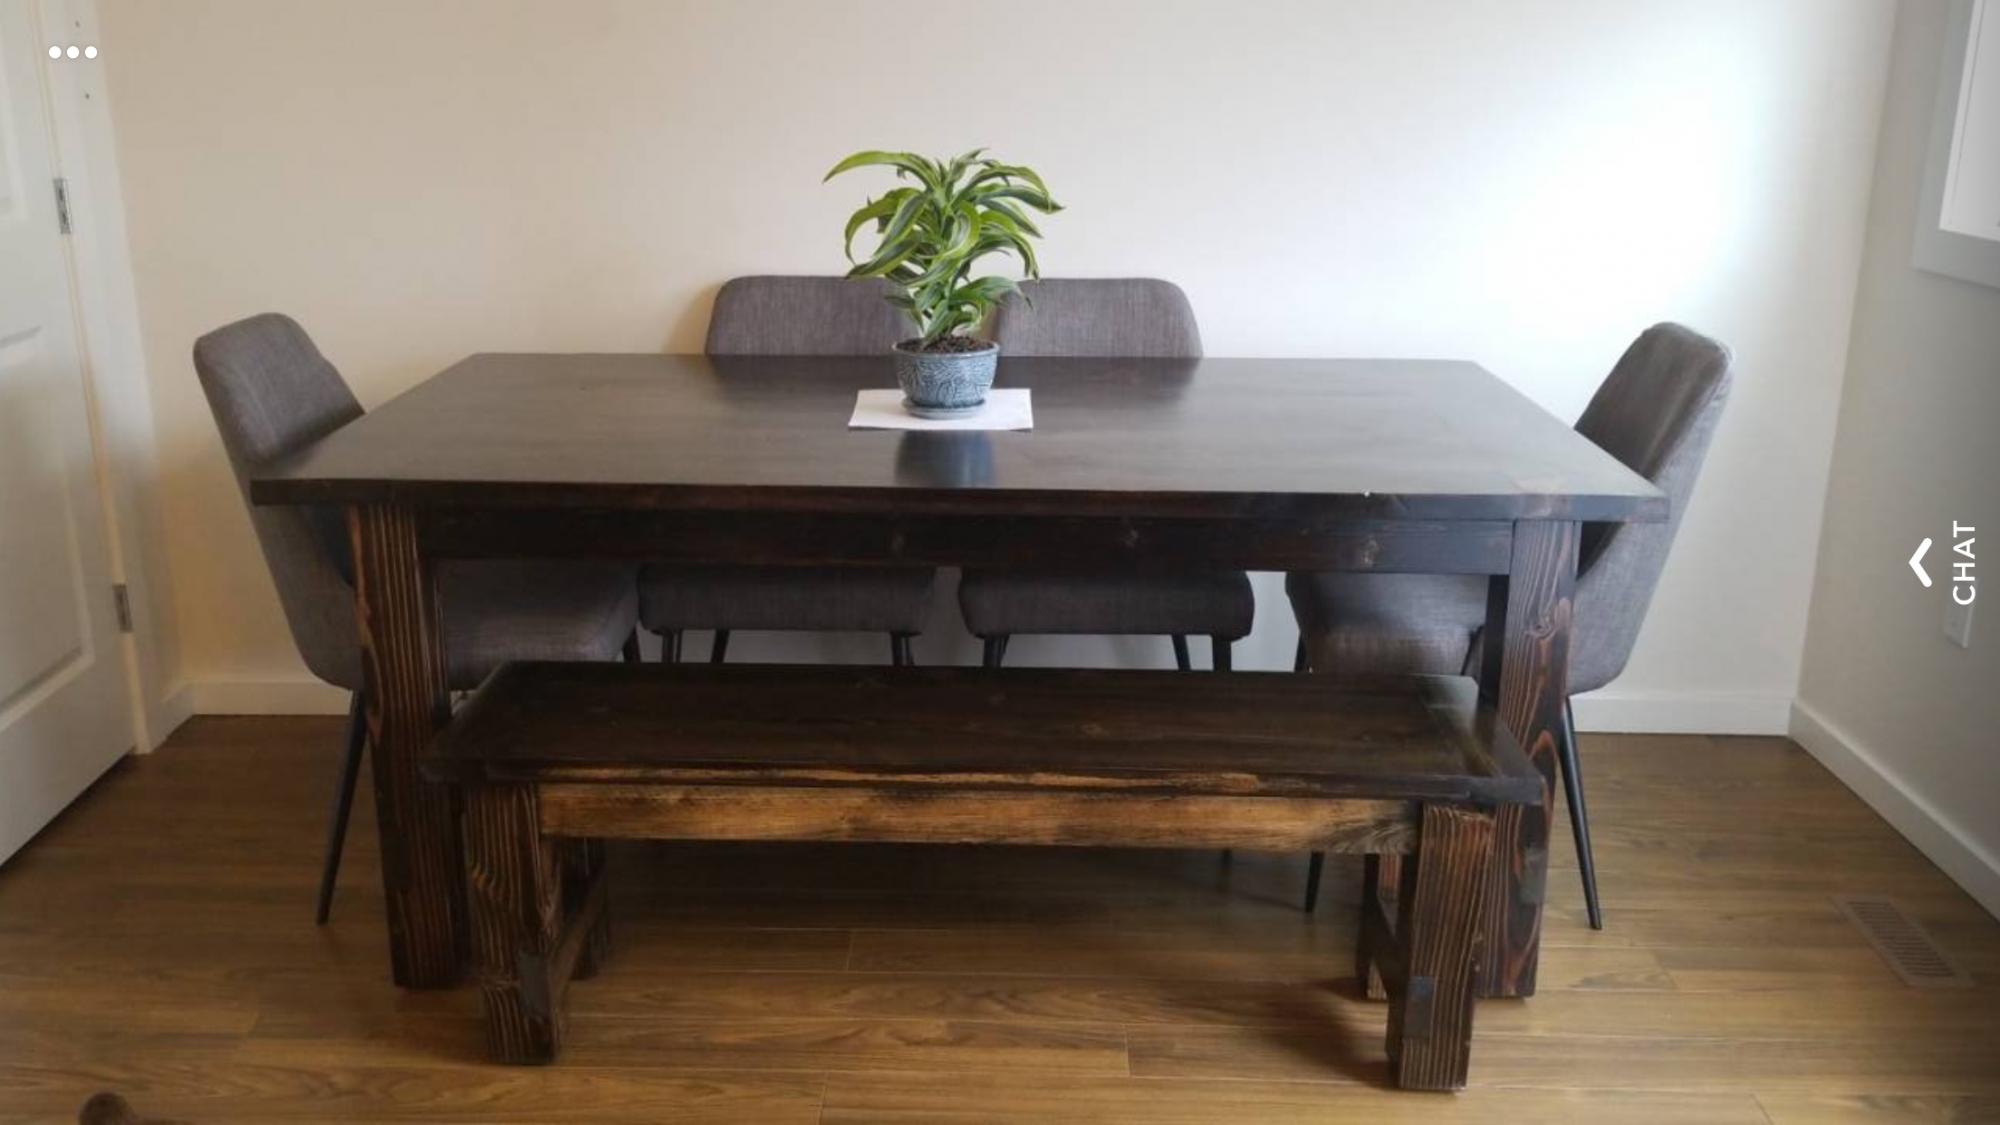
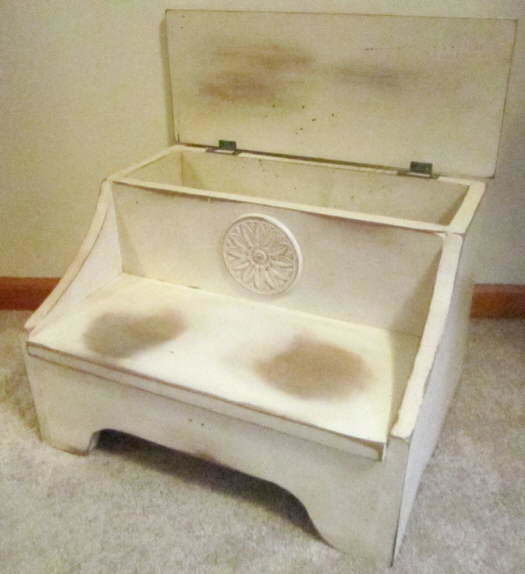
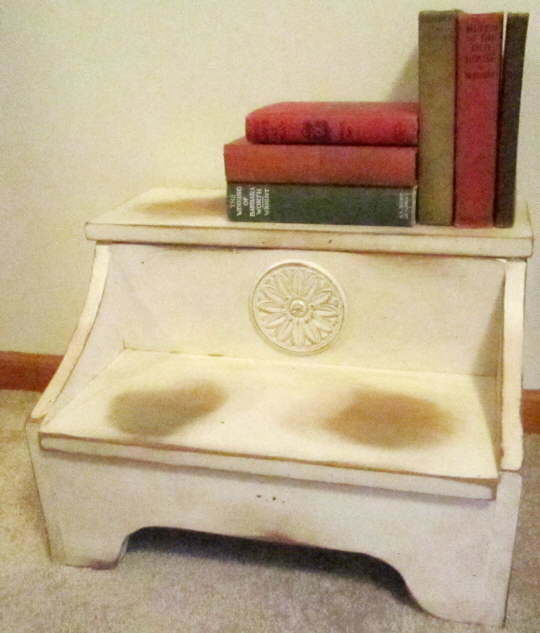
I've wanted a storage bed step for years. They can be used for all sorts of things from storing books (not just in the bin, but also on the lower step) to remotes to . . . well, whatever clutter you need to stash away! But all those professionally-made ones are a steep price. The children's step on the site ( http://ana-white.com/2010/09/some-more-stairs.html ) is just perfect for modifying for a more adult look. An applique, wider steps, sloping sides, and a decorative cut on the front help transform child's furniture into practical storage space for children, teens, and adults!
Before I start, here's a bit of encouragement for those of you like me who don't have access to a lot of power tools: I made ALL of the cuts with a jigsaw! So if that's all you have, don't be afraid to try it!
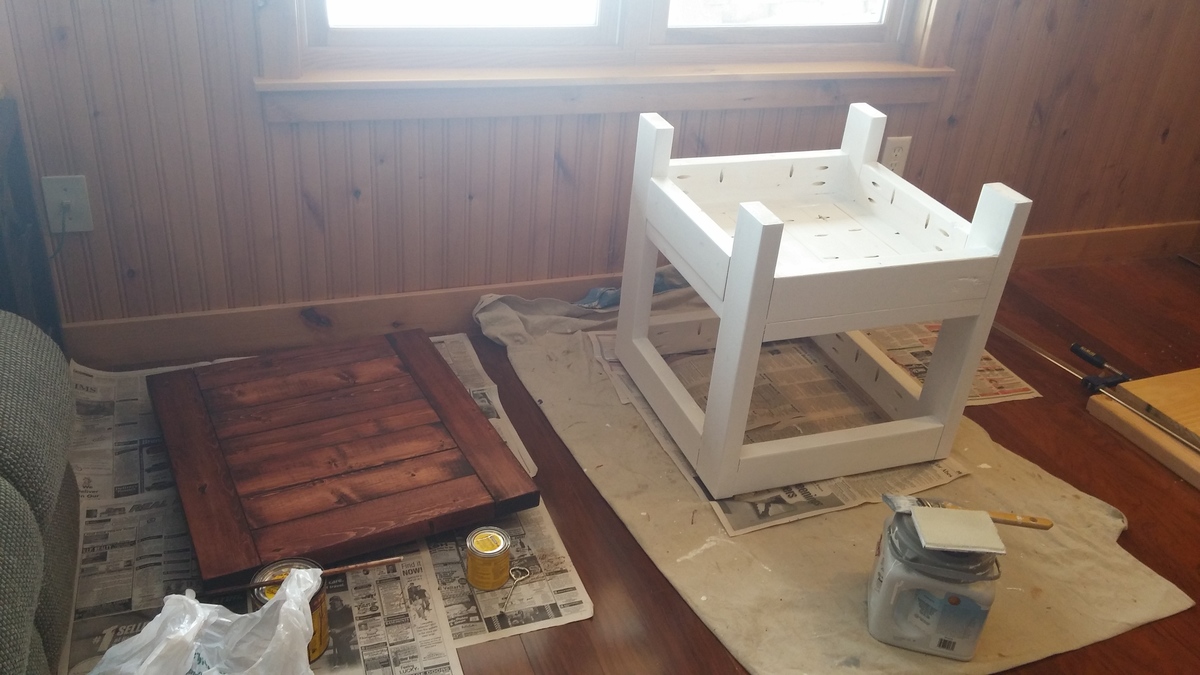
The main thing to do is to take your time. Think things all the way through and do them in the way that you feel will be the easiest for you. Use a pencil and draw all over that wood (for this plan--I recommend a paint finish!). For example, I realized I would need to assemble a significant amount of the middle section first, because there was no way to get the bottom step securely attached without doing this. I couldn't attach its back edge to the interior, with tools I have access to, if the plan's assembly order was followed. Other than putting the lid on last, I had to use a completely different order for assembly, and it was so unusual that I'll leave that order up to you. So, take your time--but you can do it!
Bed Step's Interior and Top
----------------------------
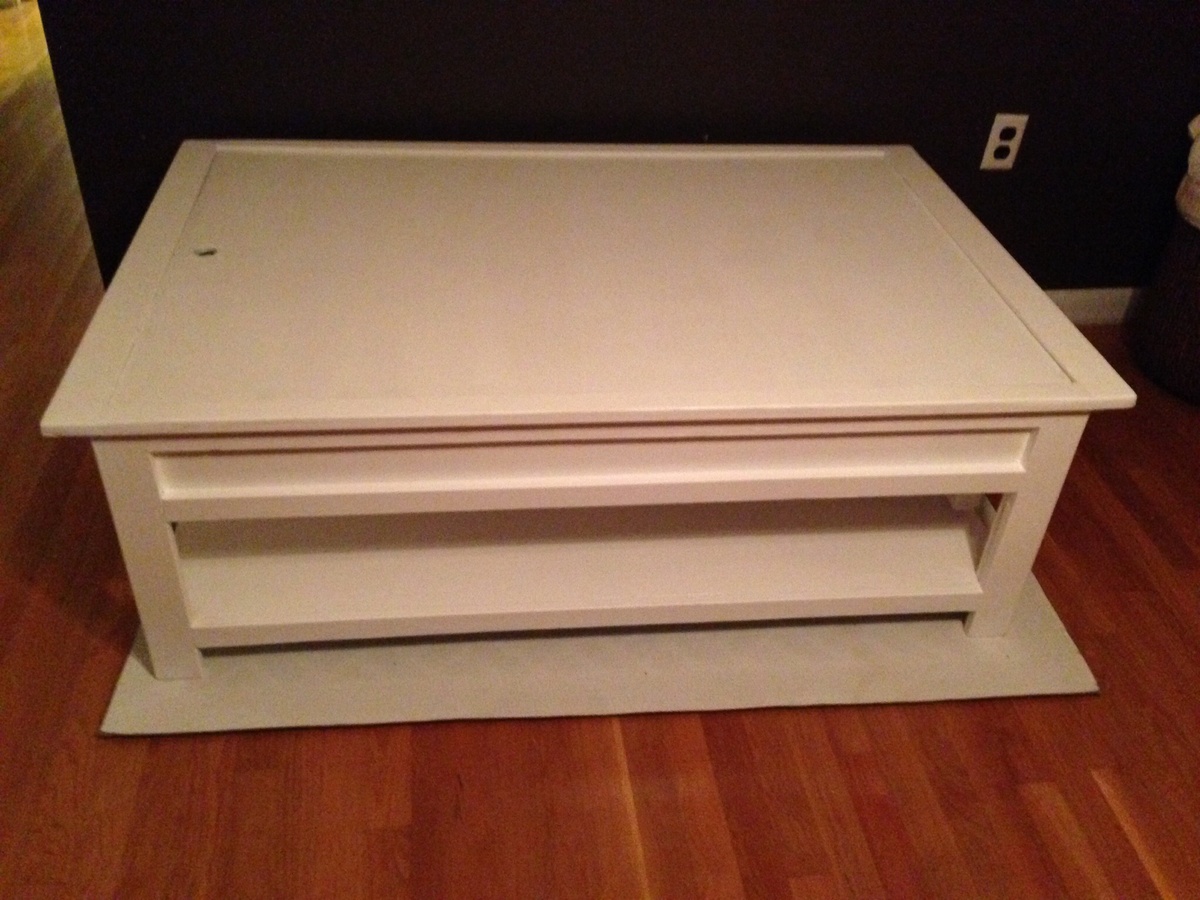
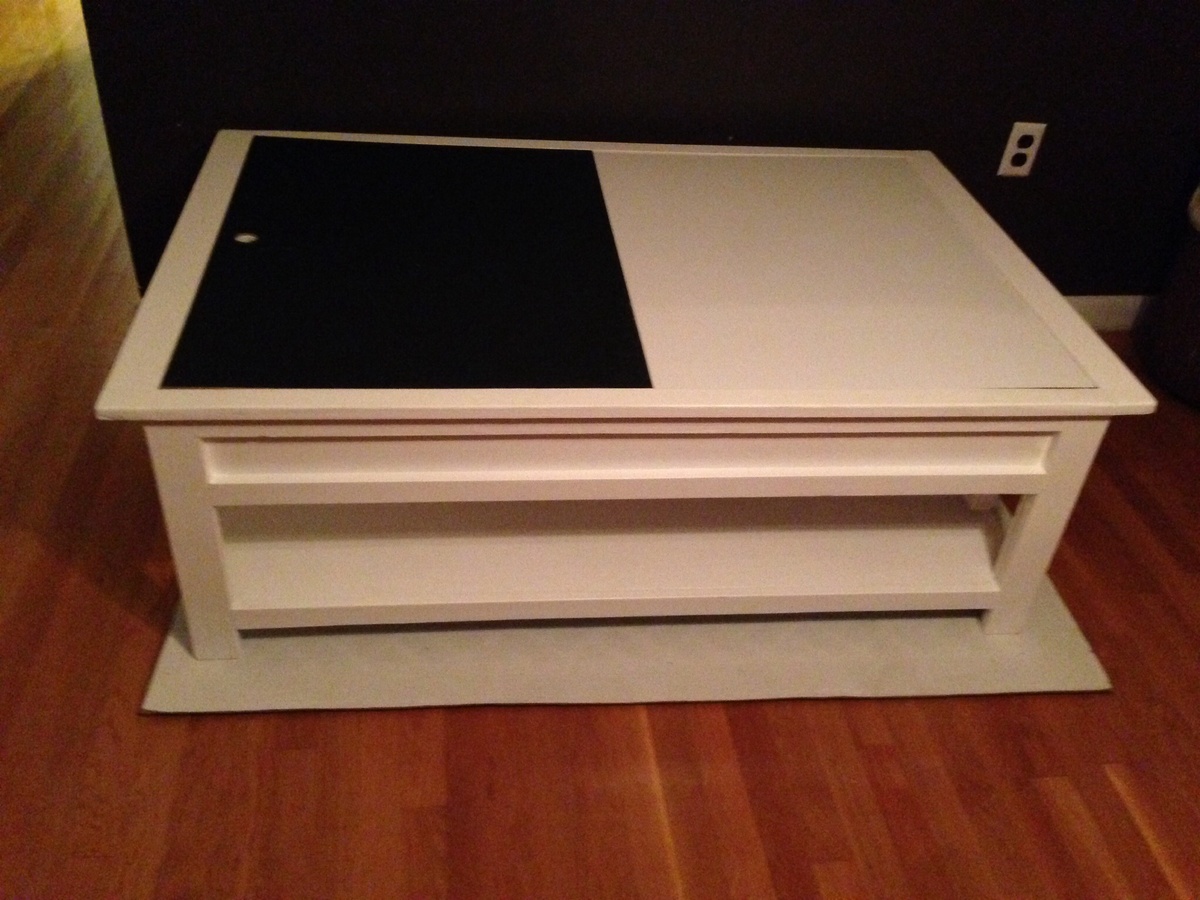
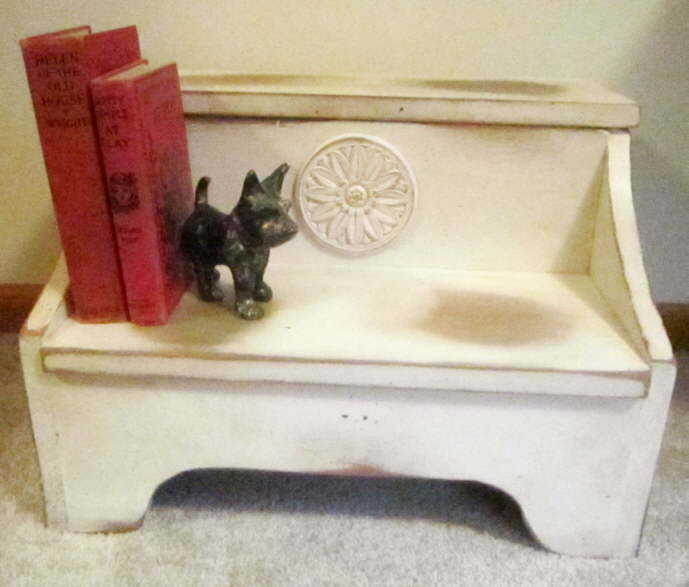
Adding 4" to the plan's side-to-side lengths brings it about up to the size of a traditional adult bed step. It also adds a LOT more storage space under that top step! However, you'll notice from the photo that I wanted an inset lower step. With it inset, sloped sides could be added--these double as built-in bookends! The lower step/tread, therefore, won't have 4" added to it. Instead, it should be cut to the same width as the interior boards (such as the footer). The lower step then becomes 16" (the same new length as the interior pieces), while the top one becomes 18" (4" added). Here's how I modified these pieces:
* 2 - 1 x 12 @16" (rather than 12") for the actual box's front and back (they're called "sides" in the plan). Here's a really easy change. The hole in the front one to pull open the lid can be omitted. This cut seems to make it look more like a child's step, isn't on adult ones I've seen, and the overhang of the top tread, especially on the side edges, is enough to open the lid. With a lot of planning and measuring, it can be helpful to add the applique to the box's front before too much of the assembly is complete, because it's easier to attach it to a flat board. On the same board, draw where the top of the lower step tread should hit. This is one of many helpful lines you can draw on the wood before assembling the bed step.
* 2 - 1 x 6 @ 16" (instead of 12") for the storage box bottom and the footer of the lower step (where it says "Molly" in the plan). On the footer, add a decorative jigsaw-cut-out design of your choice. Remember to leave a significant amount on the bottom for support.
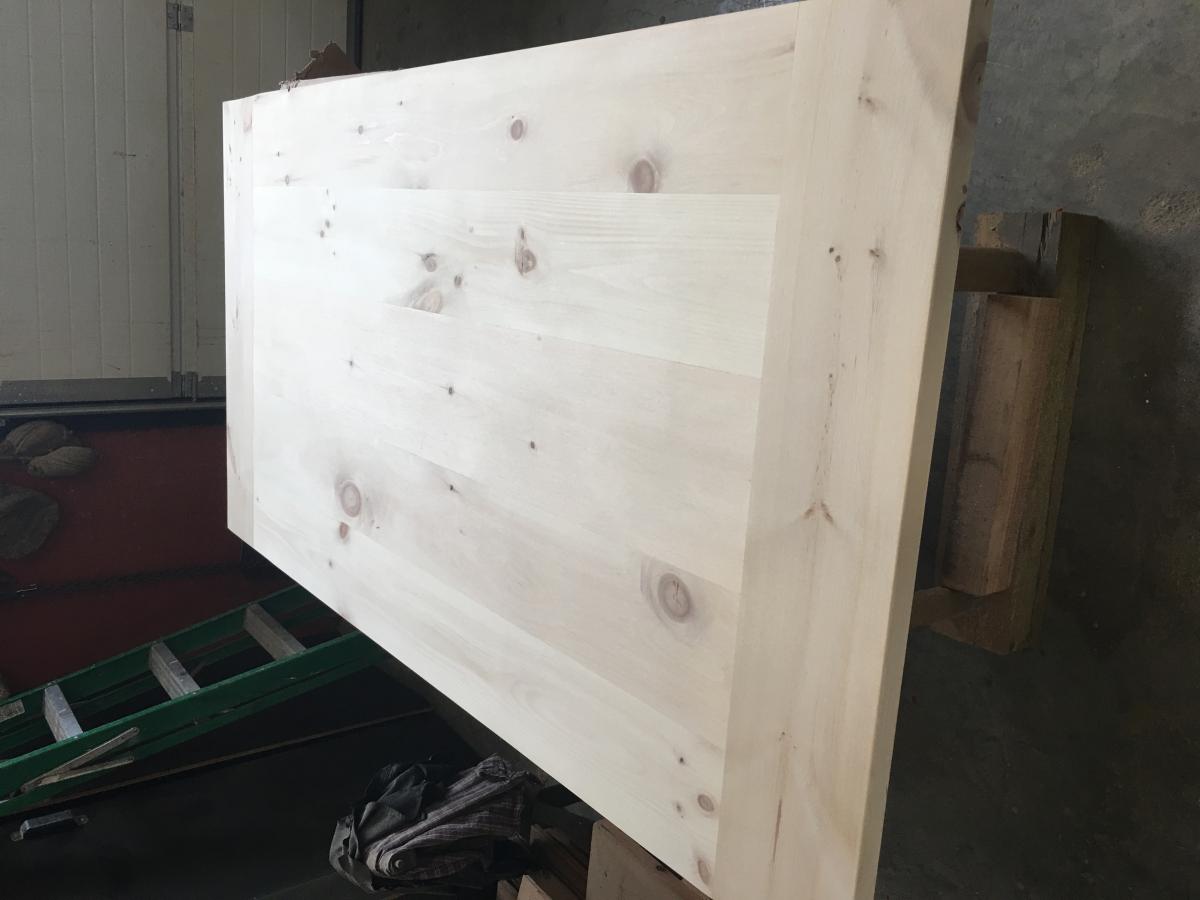
* 1 - 1 x 8 @ 16" for the lower, inset tread
* 1 - 1 x 8 @ 18" for the top tread
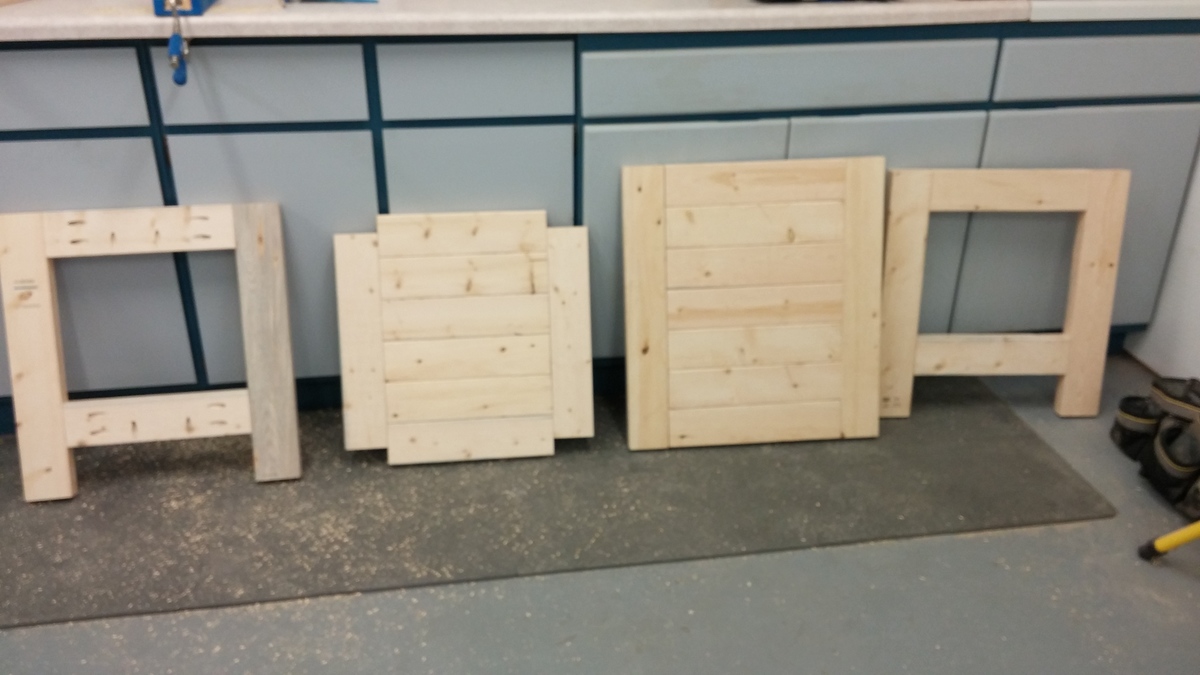
Bed Step's Sides
-----------------
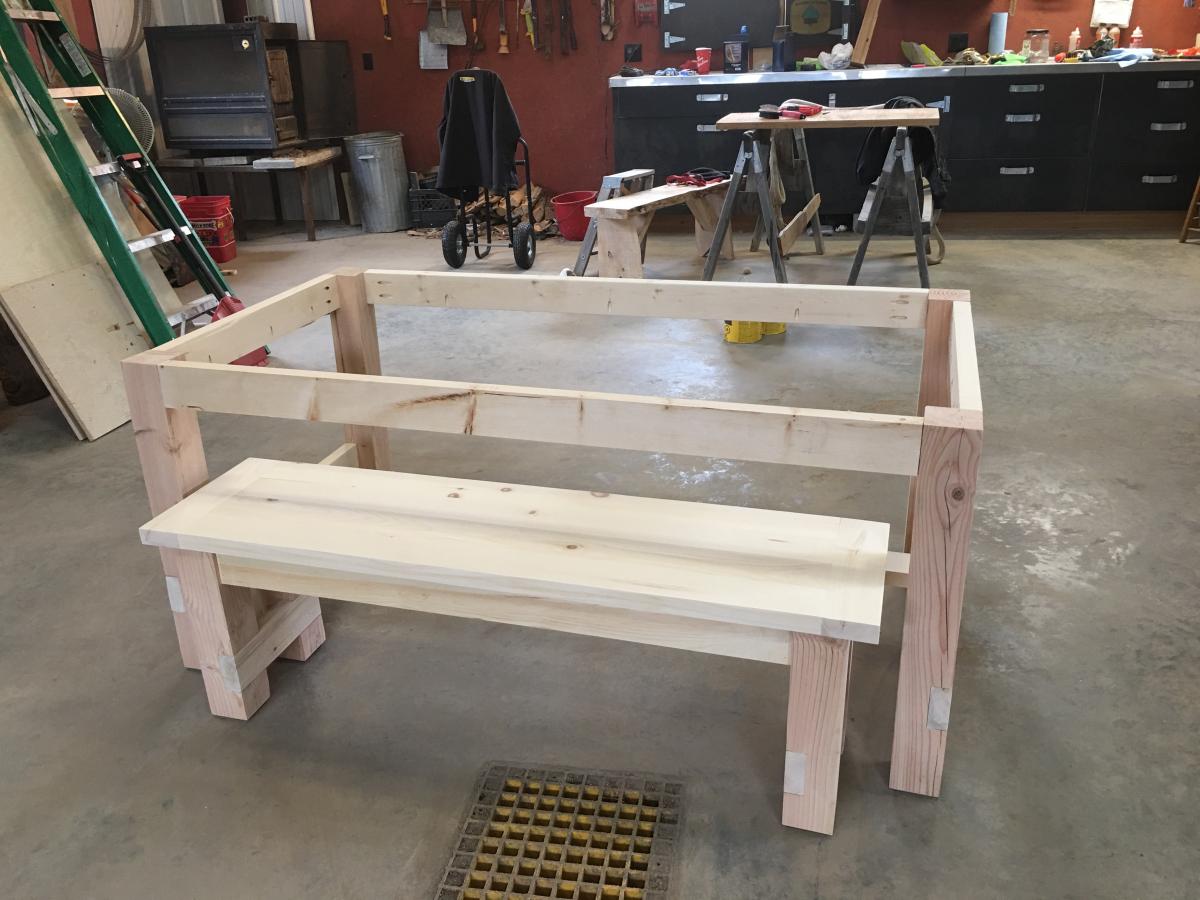
The above instructions pertain to the bed step's pieces that make up the center section. But the sides of the bed step can be a little intimidating due to the slope change, and here's where a pencil will come in really handy! First, a sigh of relief. The pieces are cut to the same length, so there's no change there. Cut out two 1 x 12 pieces at 14". Another sigh of relief: Your lower step will hit in the right place, because it's inset, and you've already drawn on another board where it should hit on the other side! In some ways, this can be a bit easier than having to get those original-plan L-shaped cuts just so.
Because the 1 x 12 I used was really off with measurements (it was 11 1/4"), I can't really give precise measurements for the step's two sides. But I'll try to explain what I did as best as possible in hopes that it will be helpful if you want to copy this look. The side pieces require a lot of thinking, in order to get that slope to hit the right areas. When I was finished with this bed step (before painting it), it was covered in pencil marks!
You won't want to cut as far down as the instructions say, in order to have the side slopes end a bit higher than where the lower step hits. Because the dimensional lumber I used was not a standard width (it was 11 1/4"), I only cut down about 5 1/8" instead of 6". But don't follow this measurement--base it on the wood that you have, instead. When you measure, keep in mind where the other boards will hit the sides, and measure. Basically, where the top of the arch sits shouldn't need to change from the plans, but you probably won't want to have your lower arch cutting point as low as 6".
I freehanded the slope to the needed size on a piece of paper, and then traced it to both pieces on opposite sides. The bottom arched cut already in the plans should be drawn on, as well. Remember to measure and draw, measure and draw, getting it exactly as you want it before making those cuts.
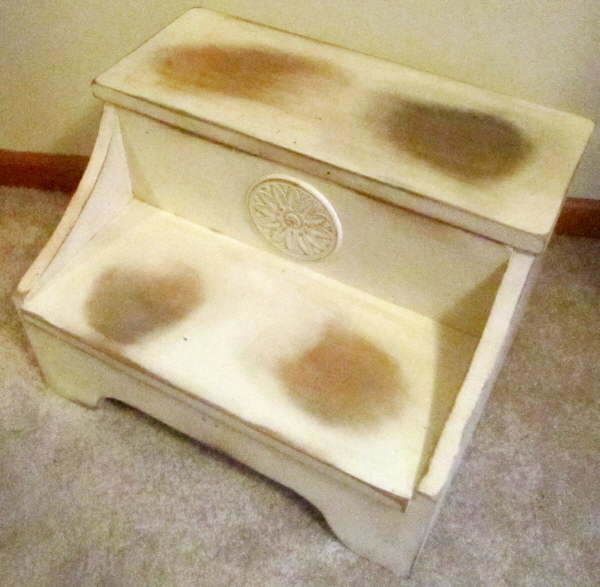
If you're going for the homemade antique look, it's easier, which is one reason I like the distressed look. You can just tell yourself it's supposed to look whatever way it ends up looking!
I hope these tips will help you make a bed step, as well as encourage you to try to modify other Ana White plans to fit your own needs. Have fun!
We recently moved back to my hometown and bought a beautiful farmhouse that was built in 1908. We knew Ana's Farmhouse Table plan was perfect for our dining room! We followed Hillary, from The Friendly Home, advise and black tea stained the wood, then sanded it with an 80grit paper. The next step was to apply the oxidizing solution, made up of 000 steel wool dissolved in white vinegar. We will continue to use this finish technique on other builds so we now keep a massive mason jar in the basement. If you decide to do the same, remember not to tighten the lid. The mixture creates a gas expansion in the jar that could pop the top! Once this was applied we let it dry completely and started sanding again. This is the fun part. The love of my life, who had never attempted to build anything before, felt like an artist! It was so much fun to hear him exclaim he had created another masterpiece! Once we had all the pieces sanded , we put the whole thing together and applied 2 coats of min wax. Unlike Hillary, we did not add color to our wax, but decided we liked the color just as it was.
Built this buffet/sideboard in about a week. Huge, and kind of a pain to move, but beautiful and extremely useful.
Made this ladder blanket rack and stained it. Only my second project that I have stained. I’m not around the learning curve yet. Works very well and hides our robo vac well. I did have a mishap - lesson learned don’t put kreg screws in for a test fit and then remove them. All of the holes stripped out while doing final assembly after finishing and I had to plug the holes to be able to finish it.
I love this design, Ana has created the perfect toy, esp to give as Birthday presents! The size is perfect, very sturdy, I put mine together with Kreg Jig. I've made 7 so far, the first time I made it, I didn't have a 1x8, and ended up Jigging 2 1x4's together. Worked so well, I do it every time now. I like to make these, fully sanding the piece before I put it together, and letting my niece or whoever is recieving it, paint it themselves. It's a great way to spend an afternoon with your aunt
Blog is under construction, I will be posting additional high chairs as I make them
Thu, 11/15/2012 - 02:12
Why viewers still use to read news papers when in this technological globe everything is
presented on net?