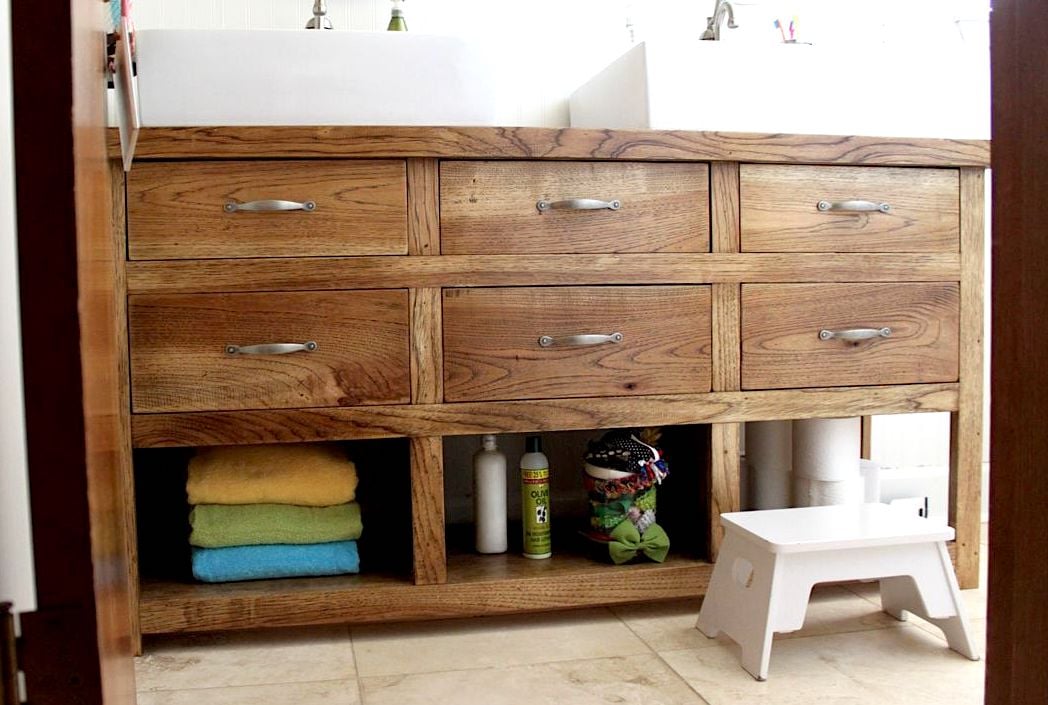
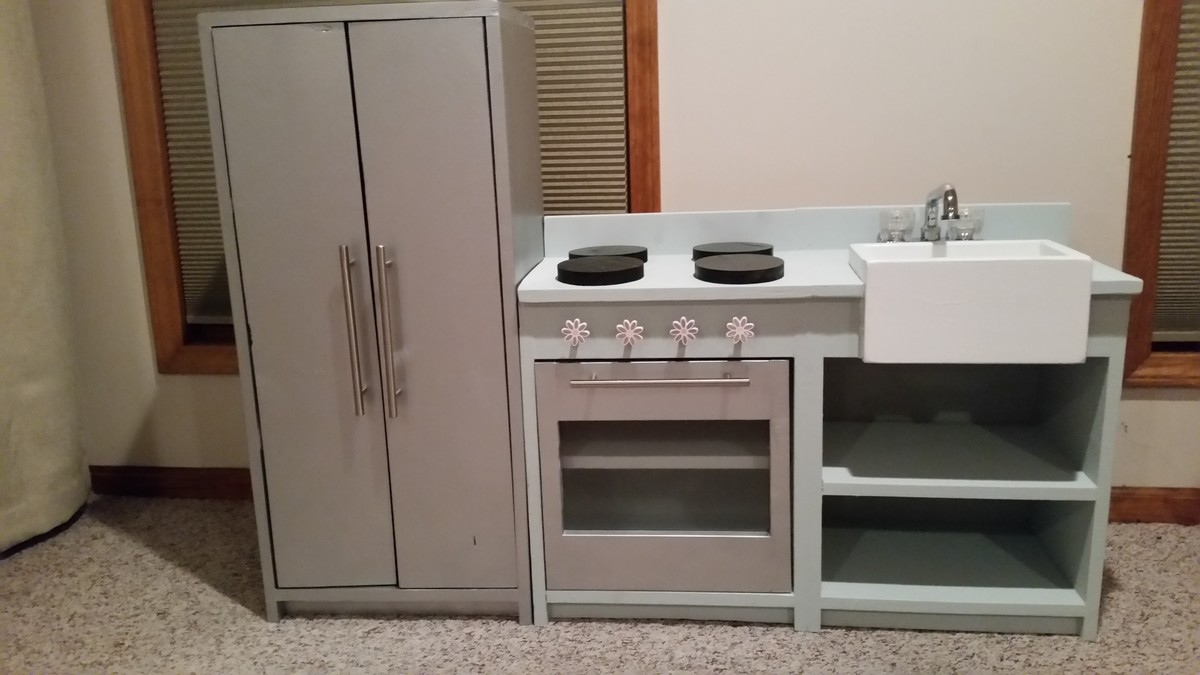
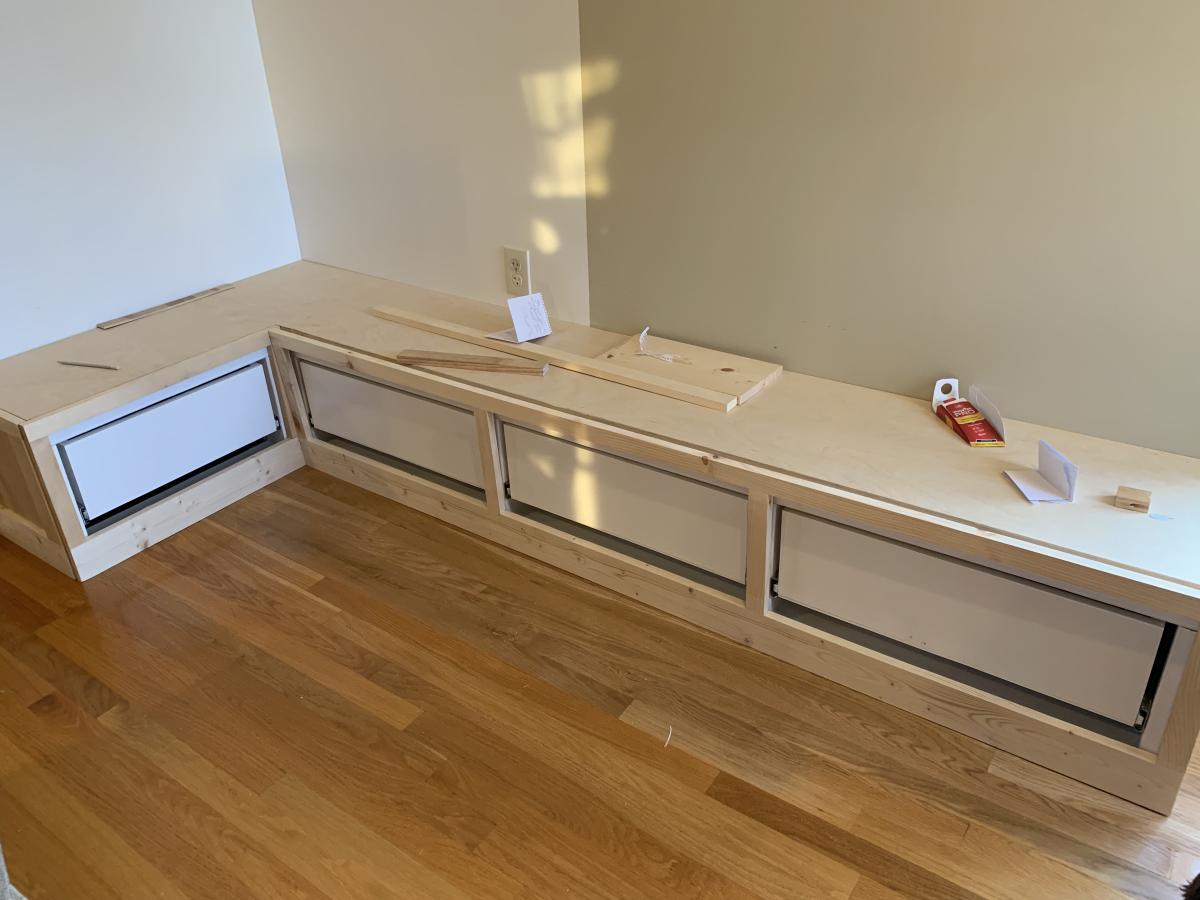
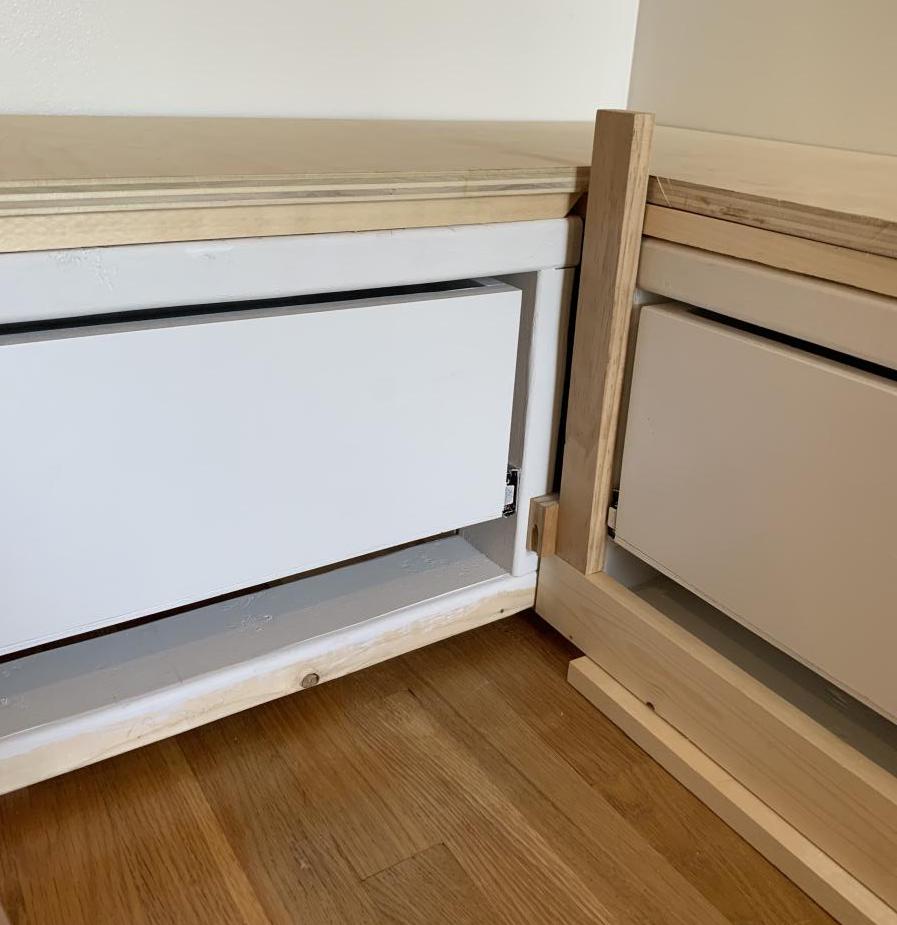
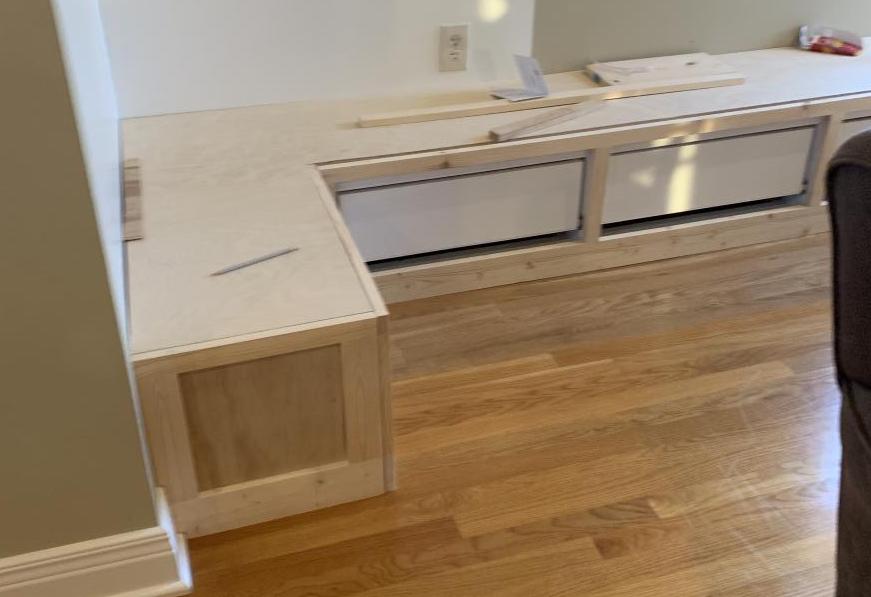
This project went pretty smooth. I built the sink box out of 1x6 and 1x8. Total cost (if I got the right stuff the first time) would have been about $120. Most of that is in the faucet (a $25 laundry faucet from Home Depot), pulls (about $4.50 each), knobs ($3 each), and hinges. I also purchased the wooden discs for the stove at Michael's for about $1 each. I used common pine and sanded it smooth before painting, which saved a lot of money over the more polished pine products. I used stainless steel spray paint for the fridge and stove door, and leftover paint for the rest of the sink and stove. I glued all joints and used my finish nailer rather than a Kreg Jig. I had a hard time finding hinges that will work, so keep that in mind. I ended up buying some of the European hinges that were surface mounted on the inside, and they work well. One suggestion - if you're planning on mounting these next to each other remember not to allow any overhang on the countertop. The plans call for a slight overhang, and I had to do some messy cuts after I had the cabinets assembled to correct that. I ended up attaching the cabinets together for added stability. Overall this was a surprisingly simple project. I'm considering building another cabinet like the sink/stove without any doors just for some countertop space and additional storage.


Comments
Richard714
Thu, 10/03/2013 - 07:29
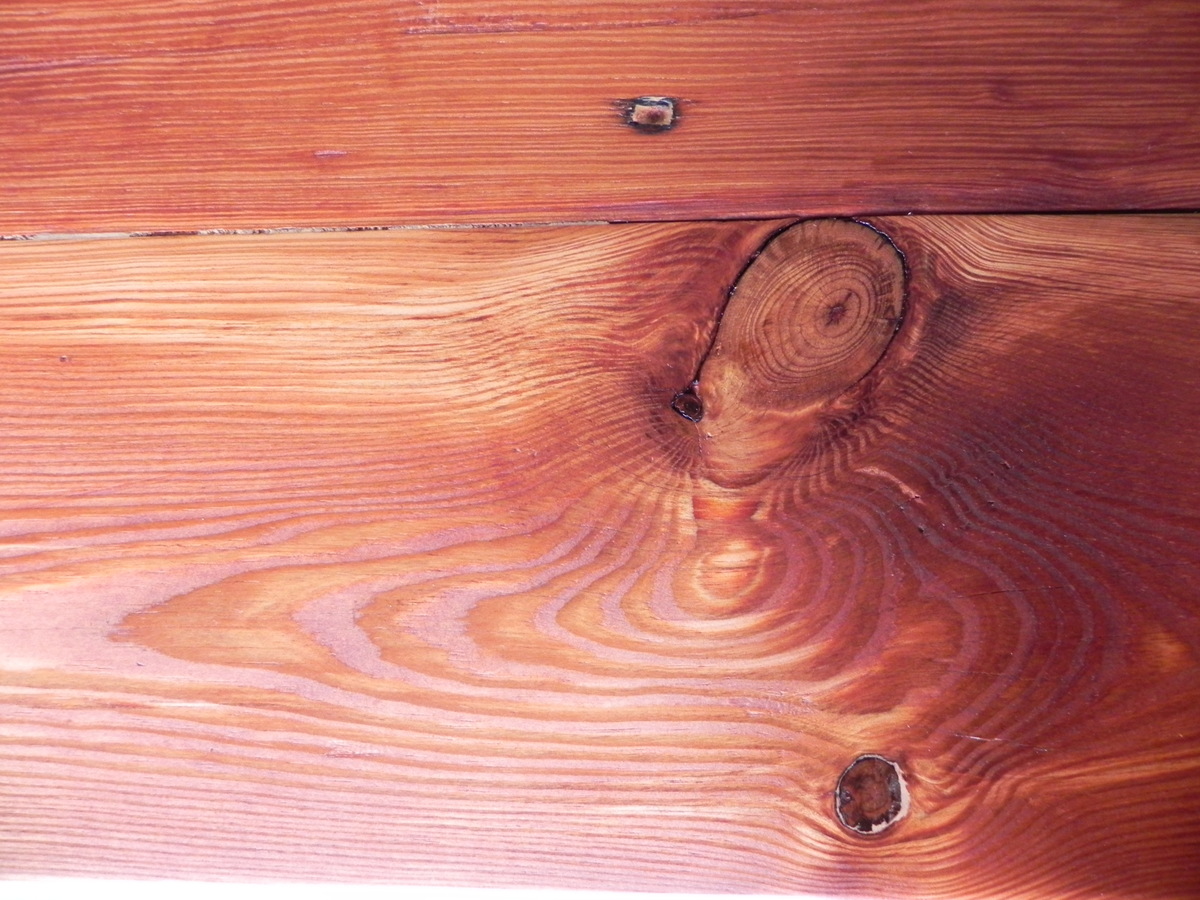
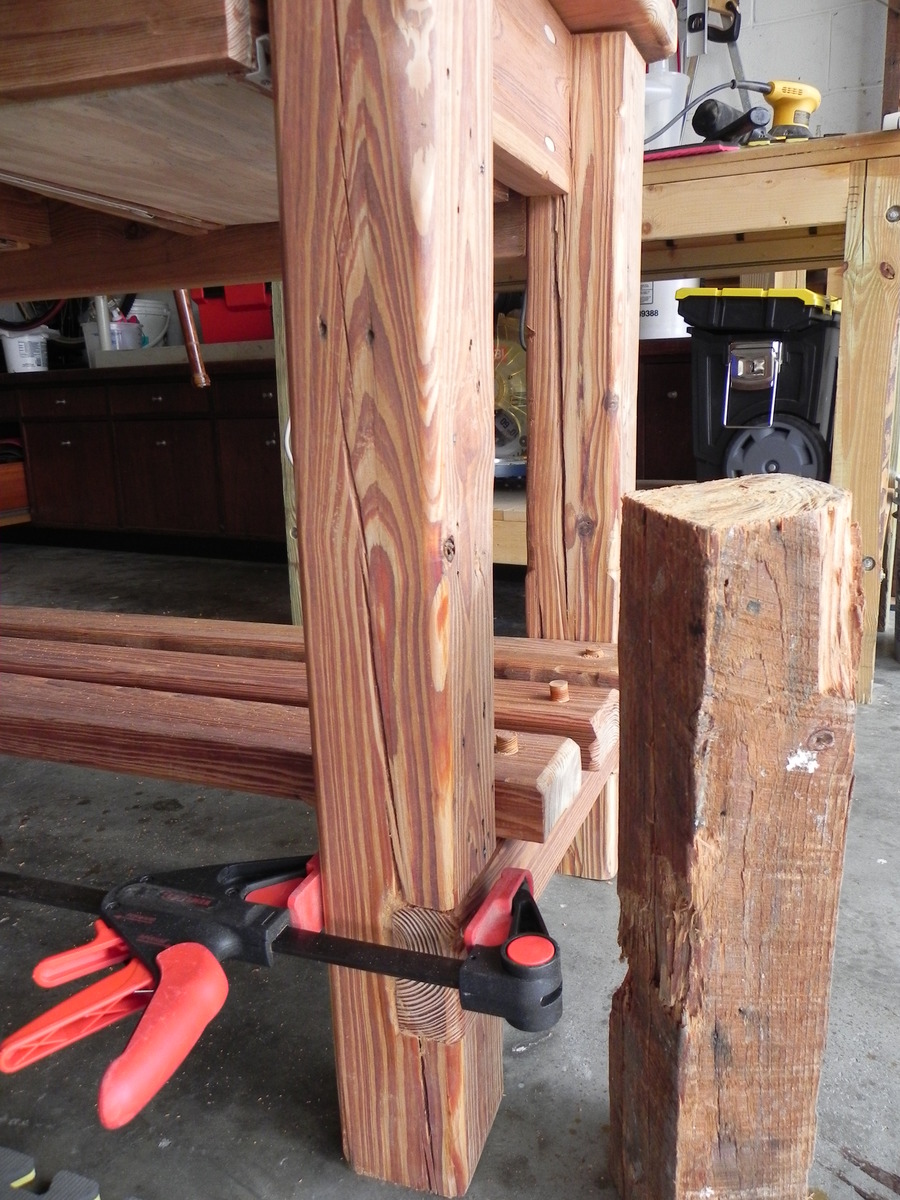
The heart of pine is more
The heart of pine is more dense than red oak and heavy!!