Cal King Wood Headboard

Cal king headboard
Christmas gift
Built from Plan(s)
Cal king headboard
Christmas gift
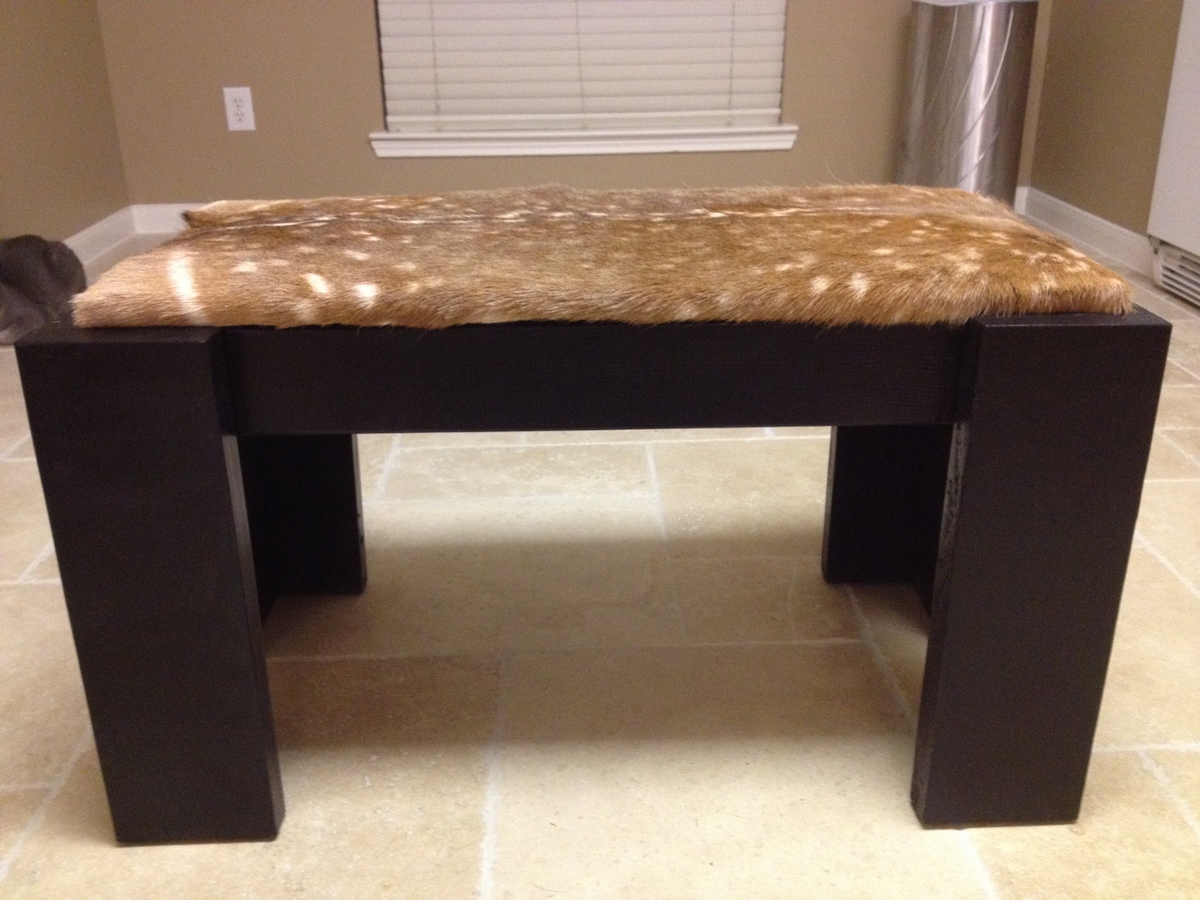
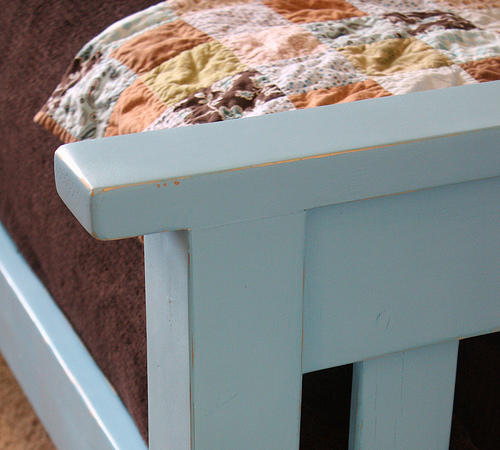
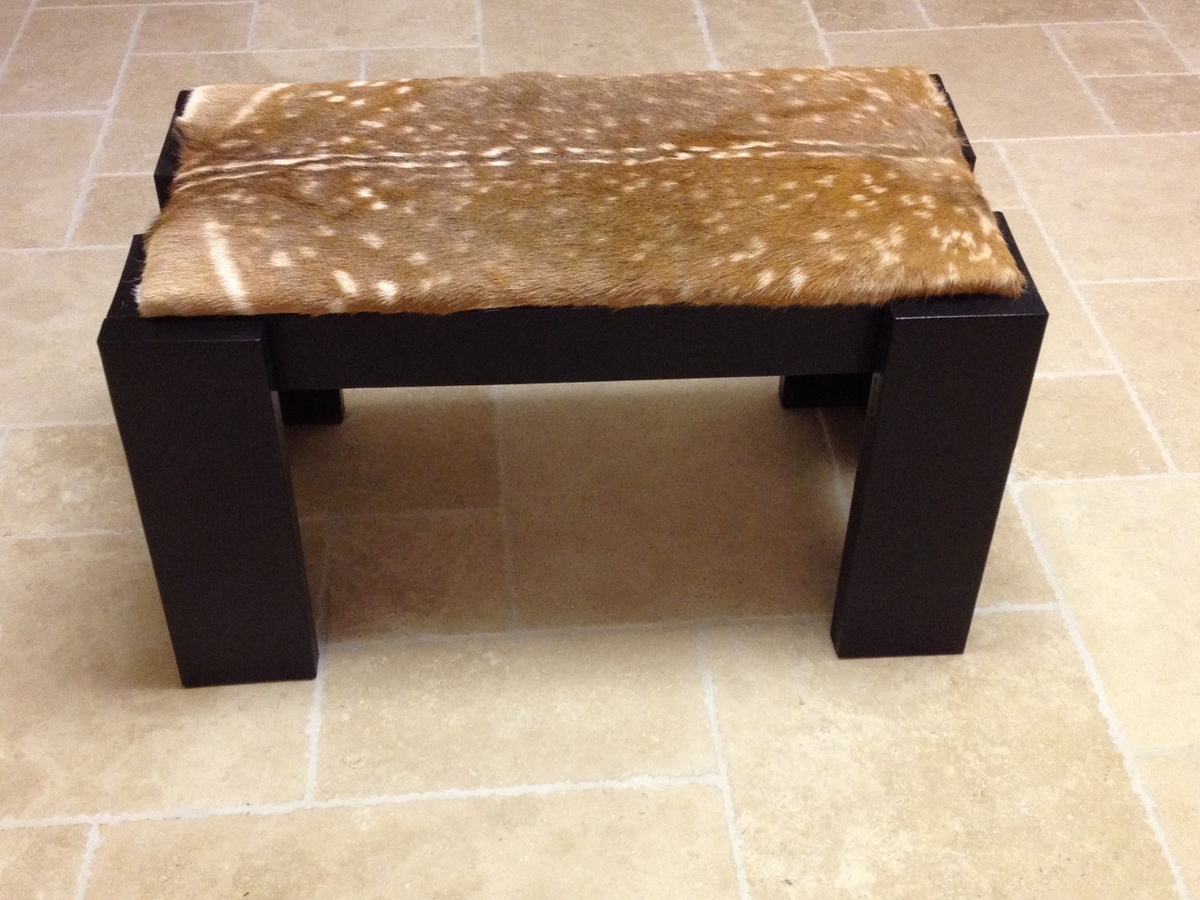
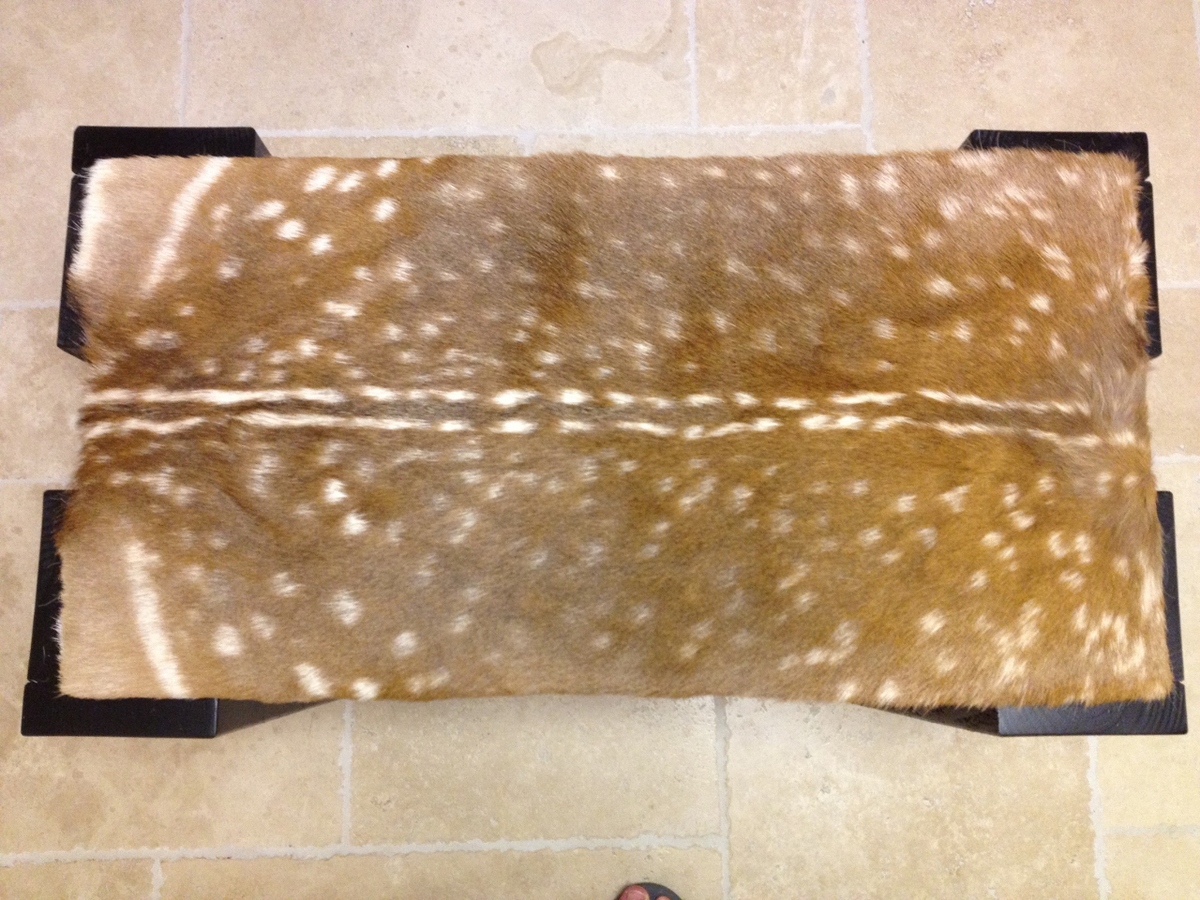
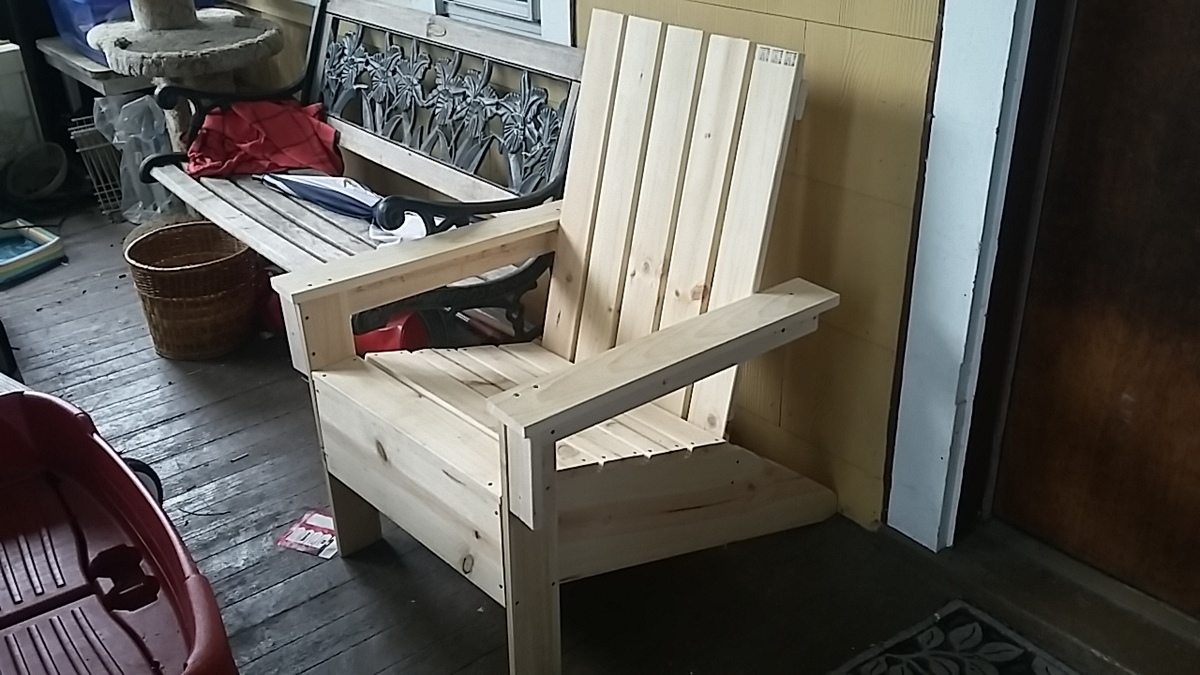
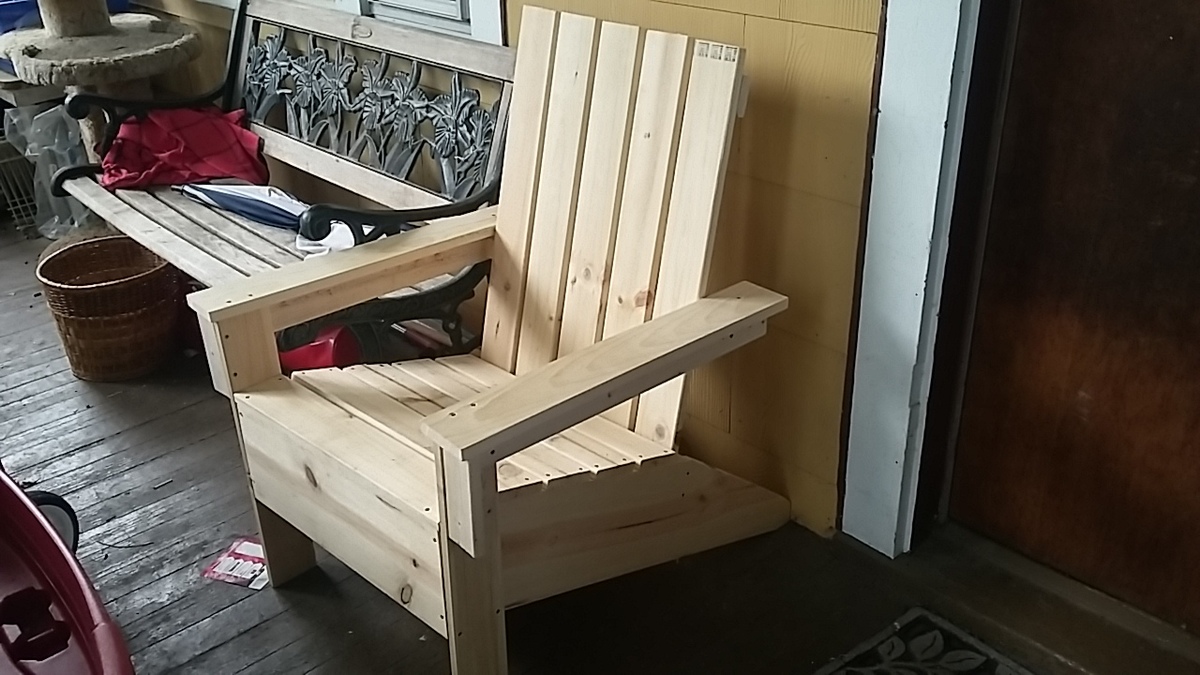
I am new to furniture making and my neighbor and Friend showed me this website. I wanted a piece a bit more modern looking with a rustic flair so I picked this bench for the ease. I did however change the dimension of the bench to accommodate a Fallow that I shot last year and had tanned. I look forward to building the next piece.

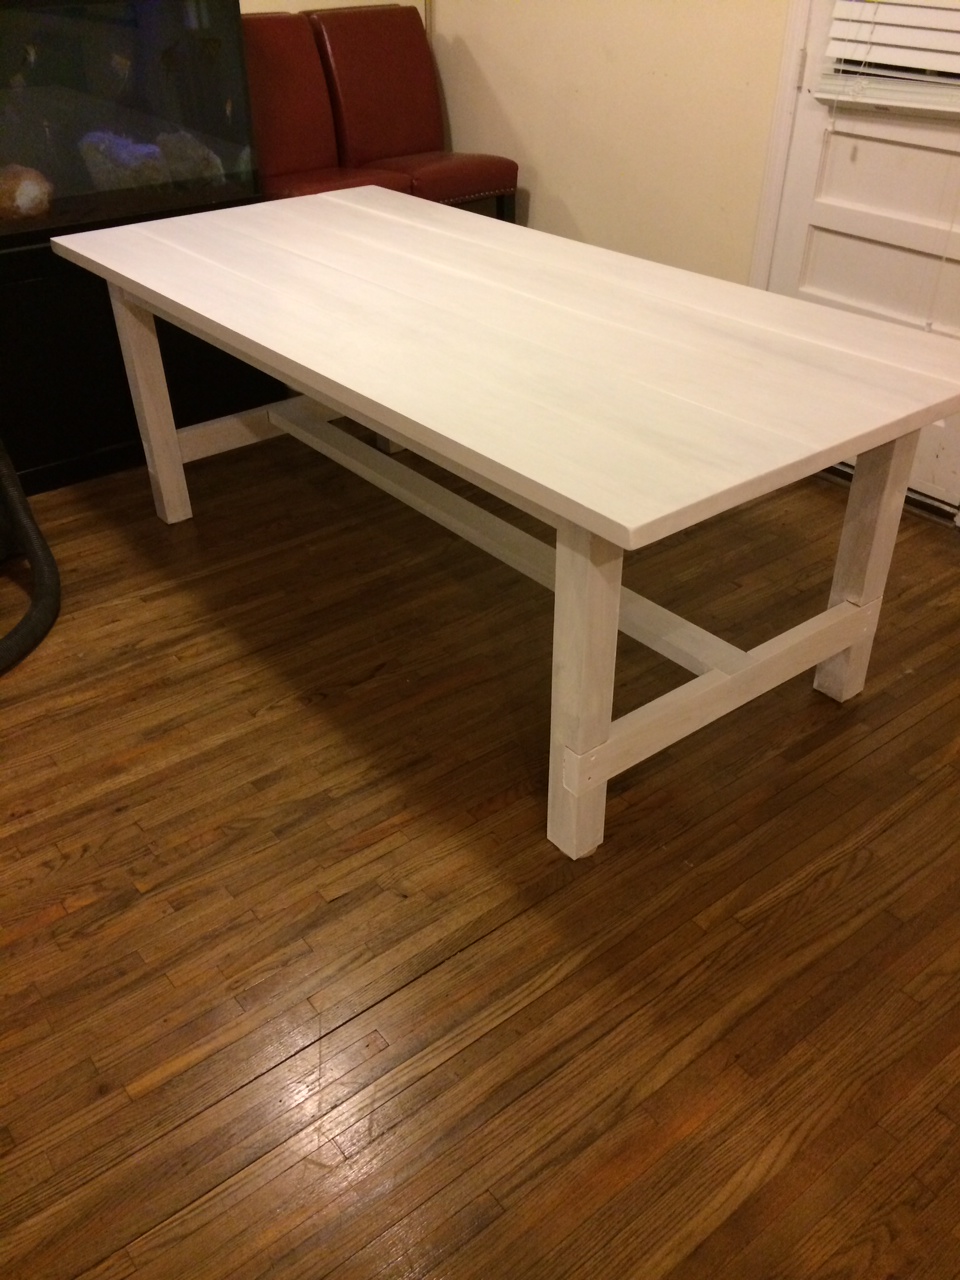
This is my first project using a Kreg Jig. Went together in about half the time of previous projects. I love it. Thanks for sharing the plans!
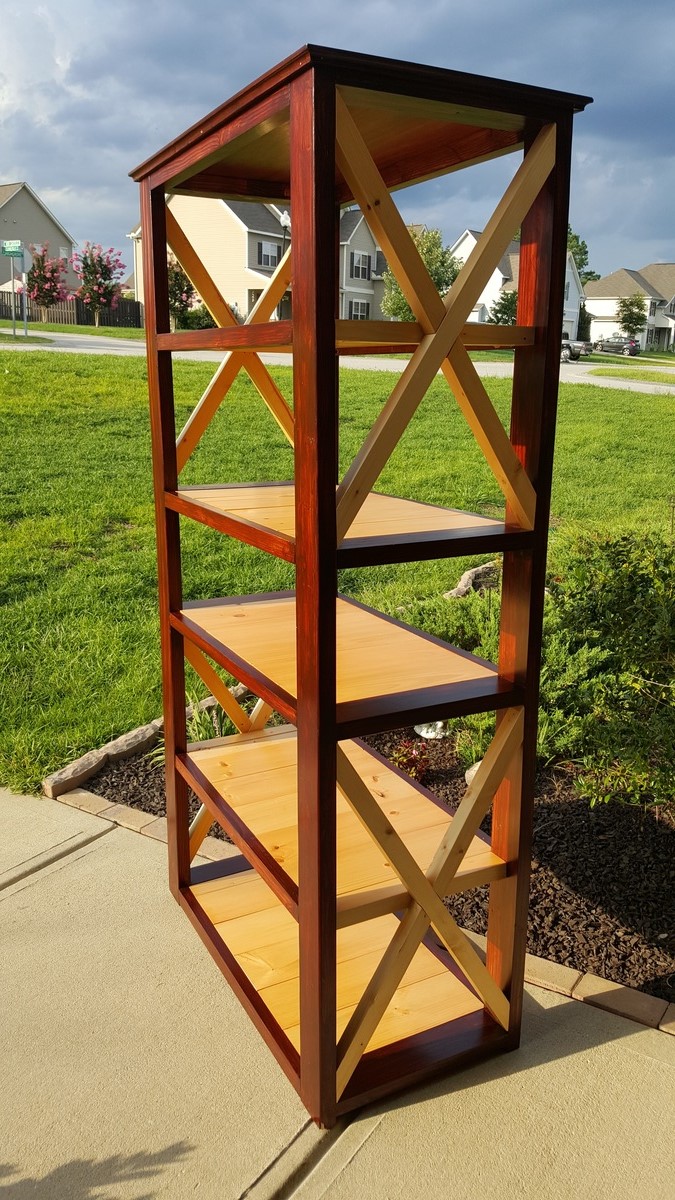
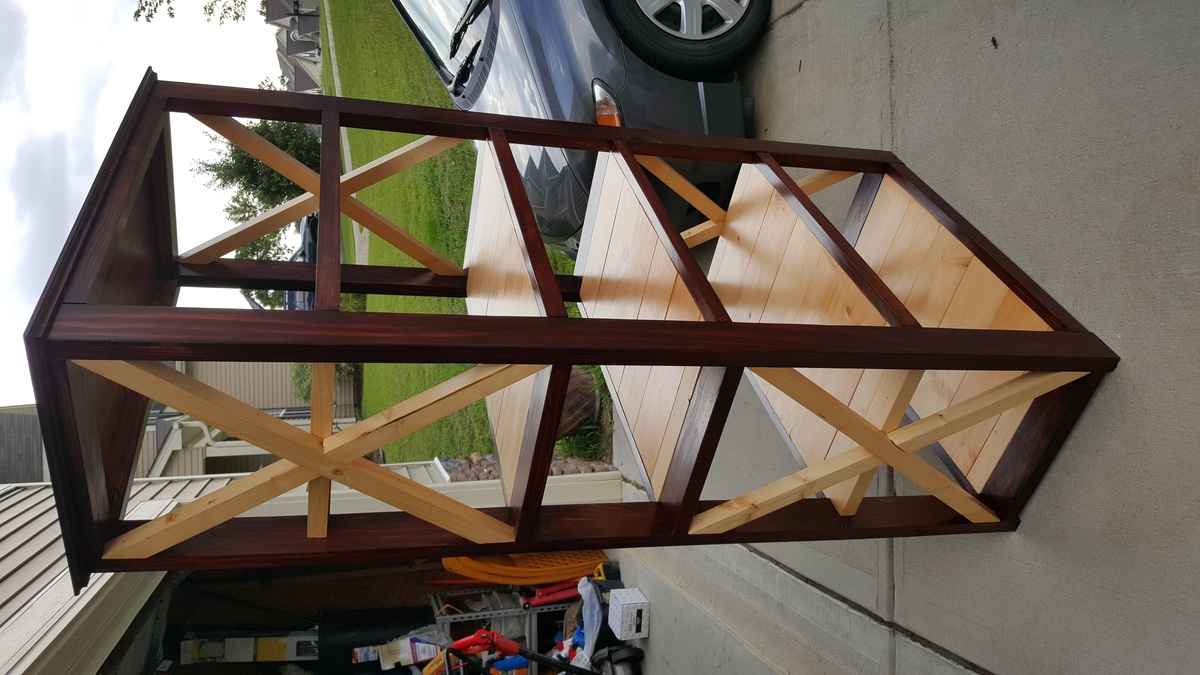
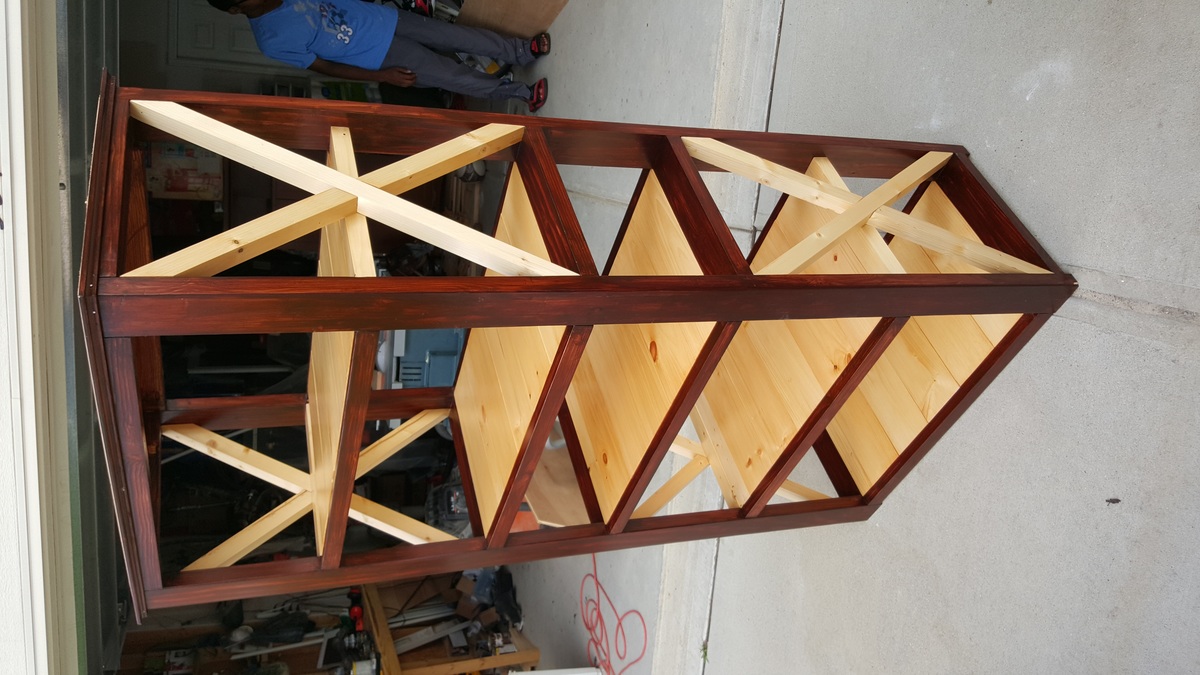
I made this book case for my daughter to replace an existing book case. I the design is a little different from what I found.
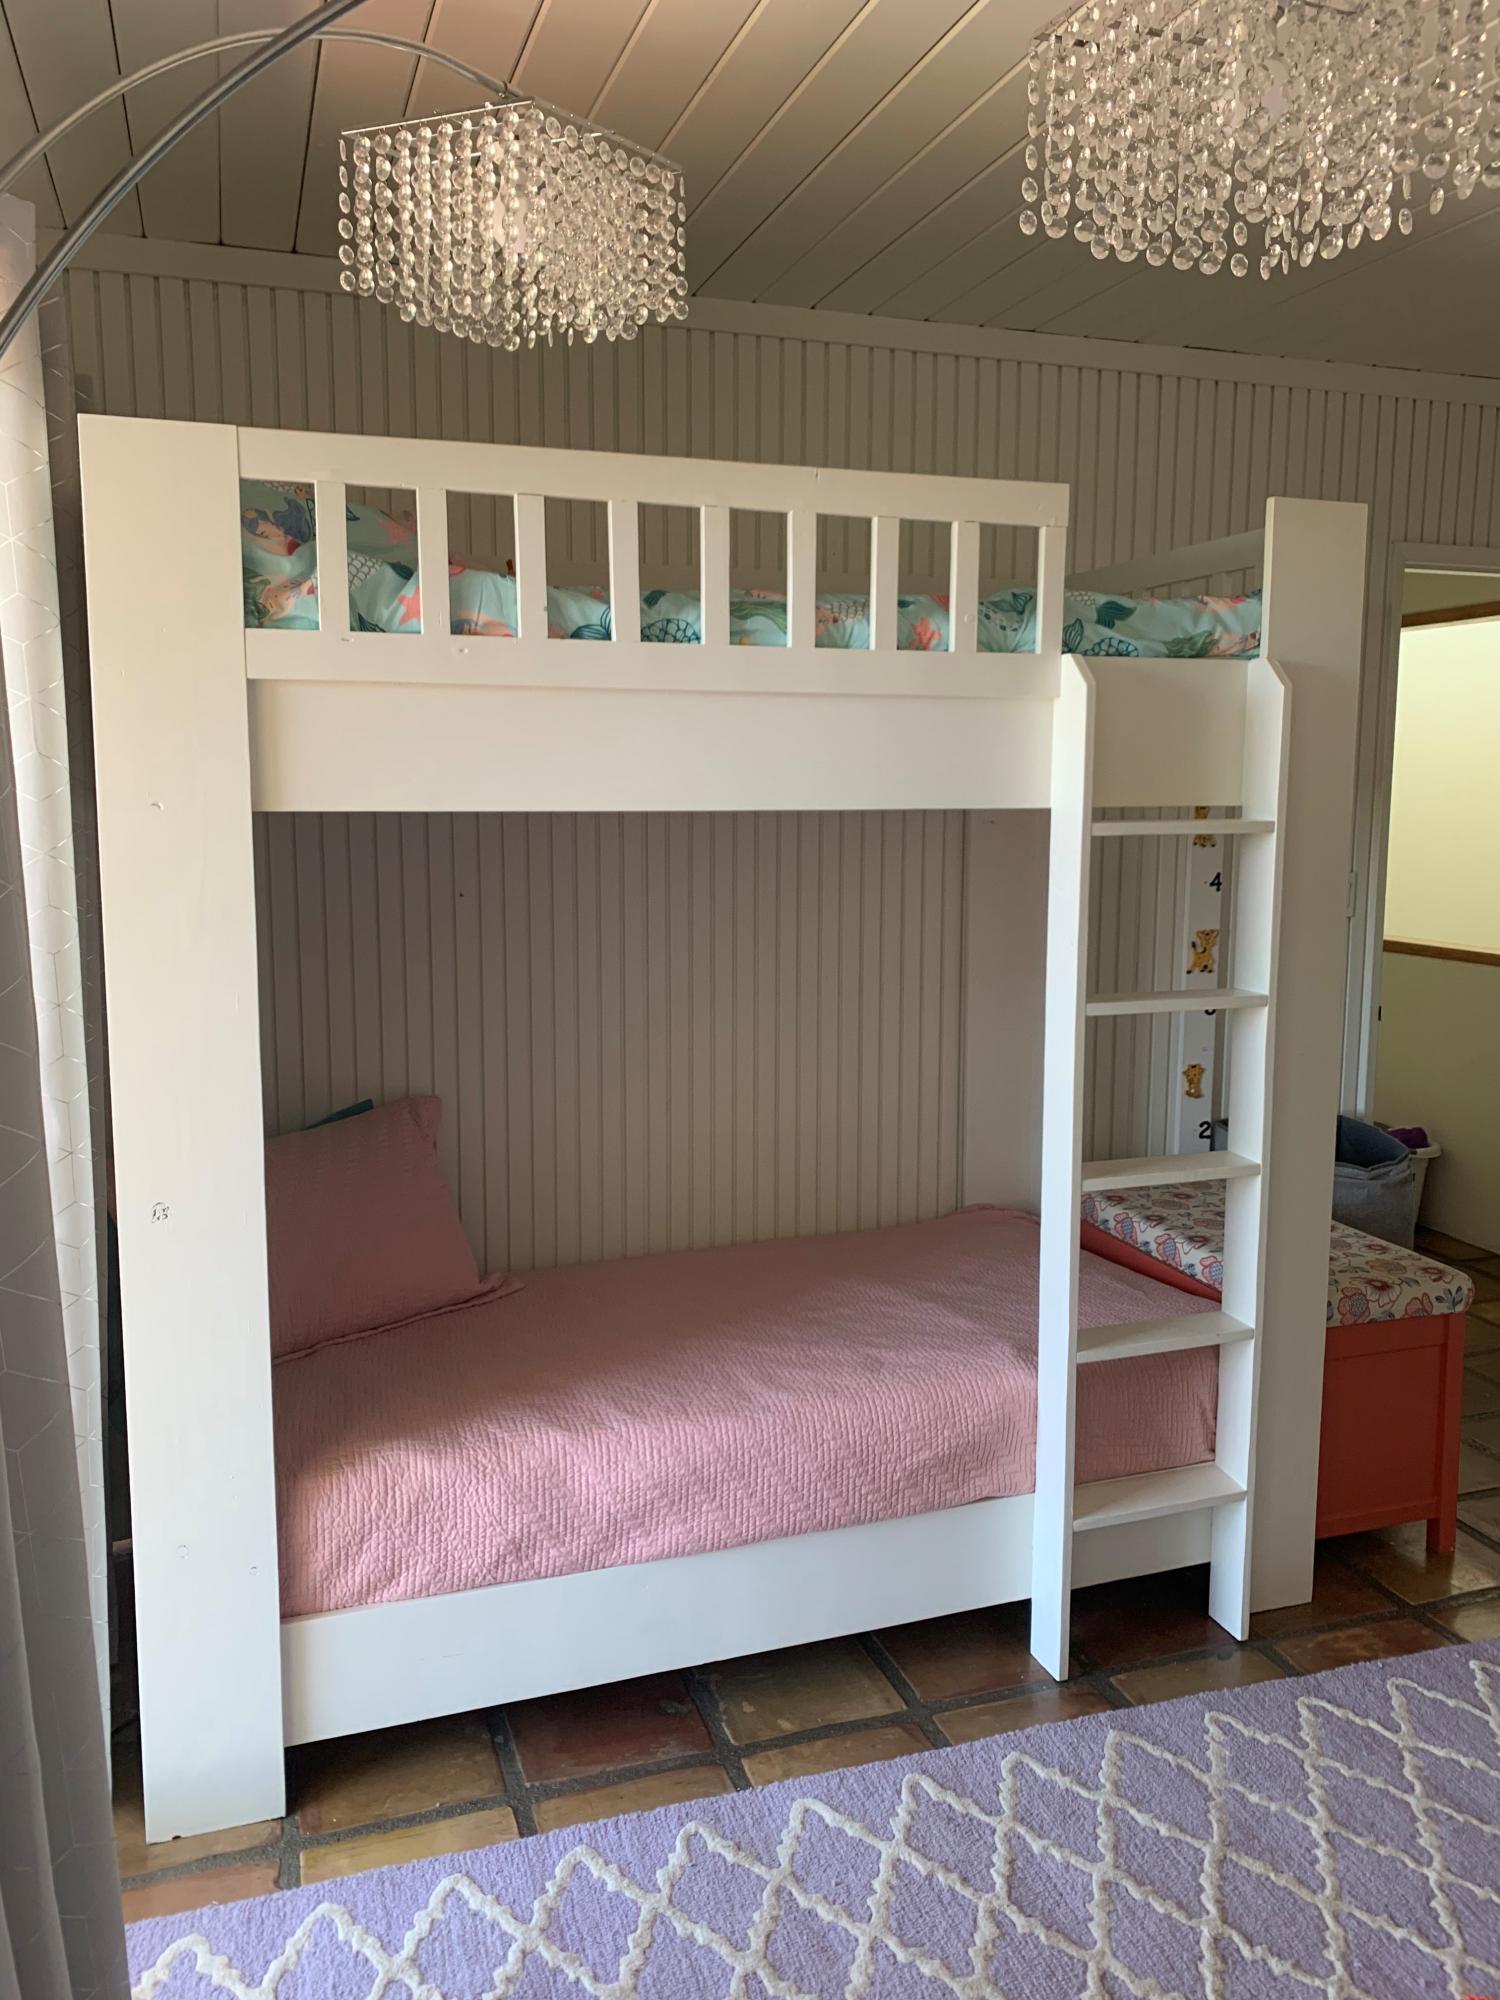
We build this bunk bed from the Rustic Modern Bunk Bed plans. We finished it with one coat of primer and one coat of Dunn Edwards Swiss Coffee. This project was made easier with a Dewalt 12'' sliding compound miter saw, Kreg K4, and a speed square for every aspect of the project.
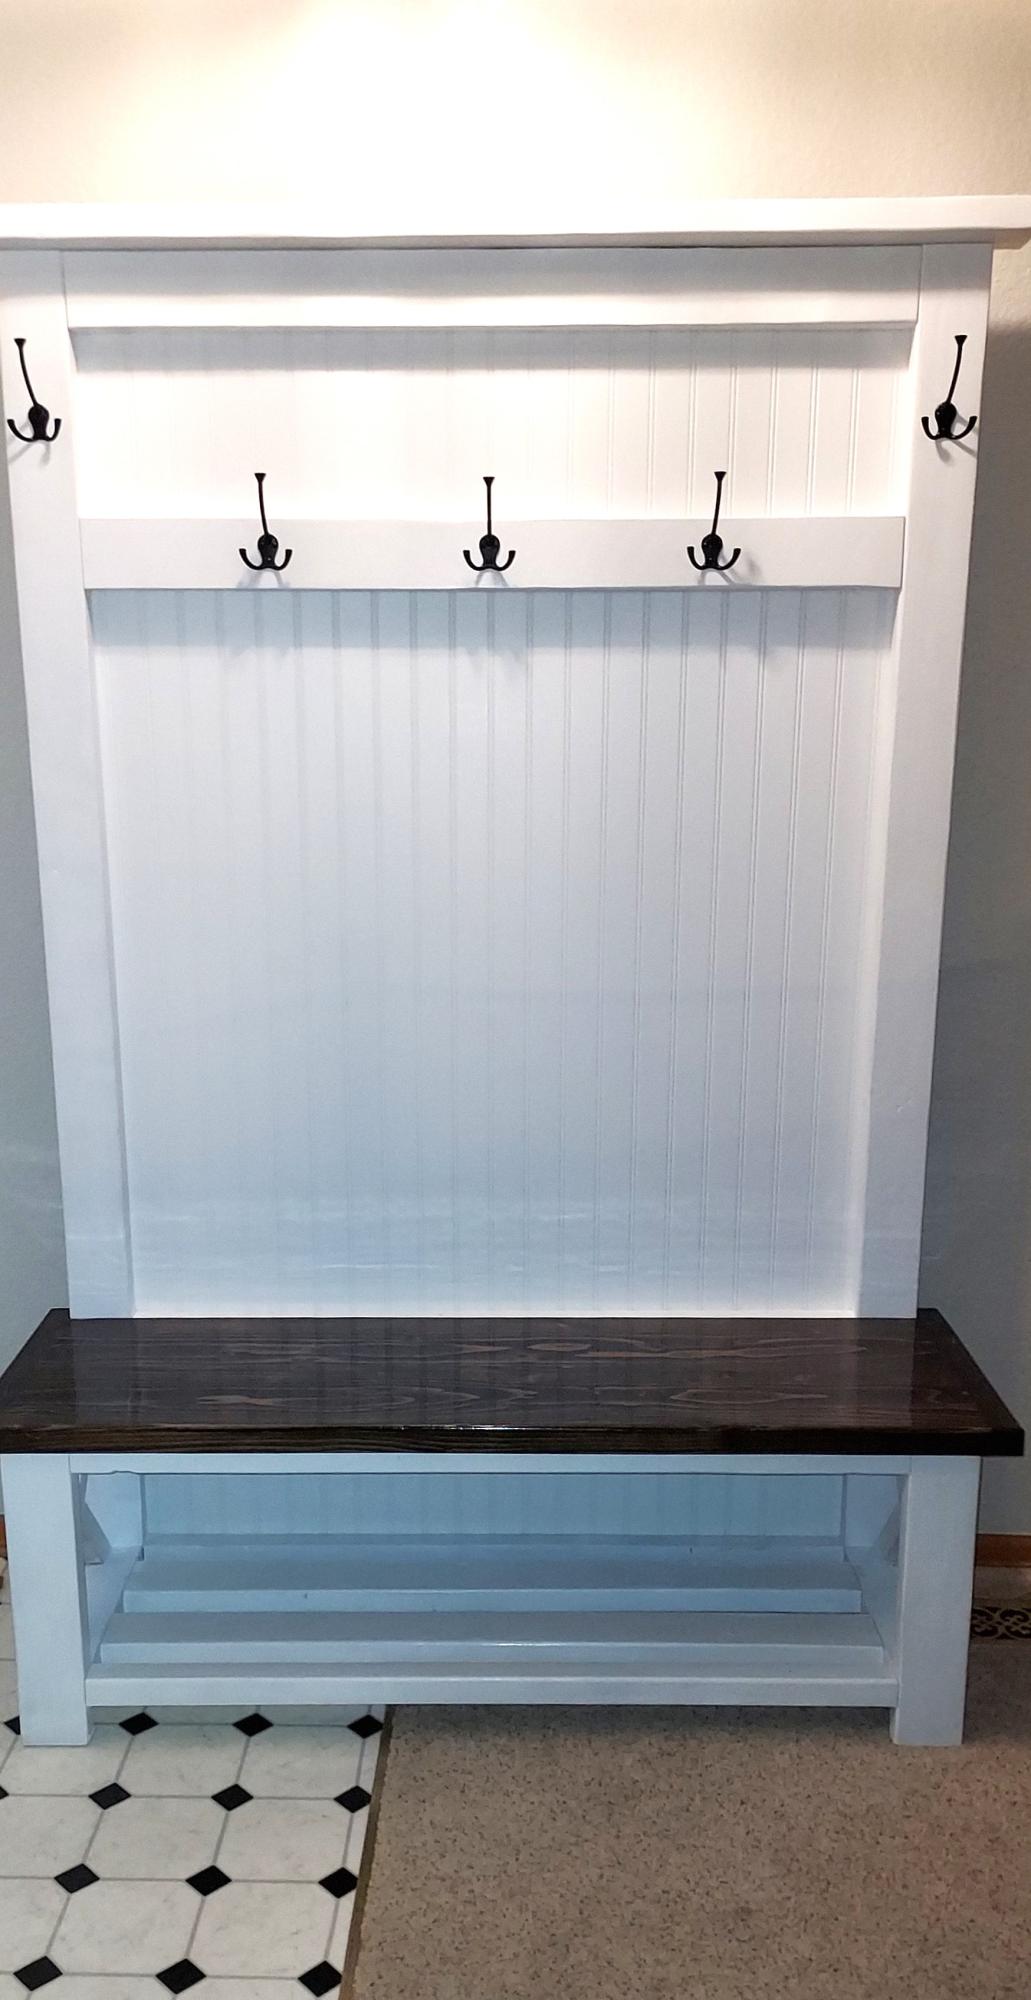
After too long fiddling around with other things, I finally finished the hall tree for my wife. Used a sheet of bead board for the backing and it didn't turn out too bad. Thank you for the plan and the inspiration Ana, very much appreciated!
Steve

I needed a new island for my craft room, so we used the Michaela's Kitchen Island plan and modified it to be 30 1/2" deep. First time with drawers...they were a booger!!
Wed, 01/16/2013 - 22:10
Hello, I check your blogs regularly. Your
story-telling style is witty, keep up the good work!
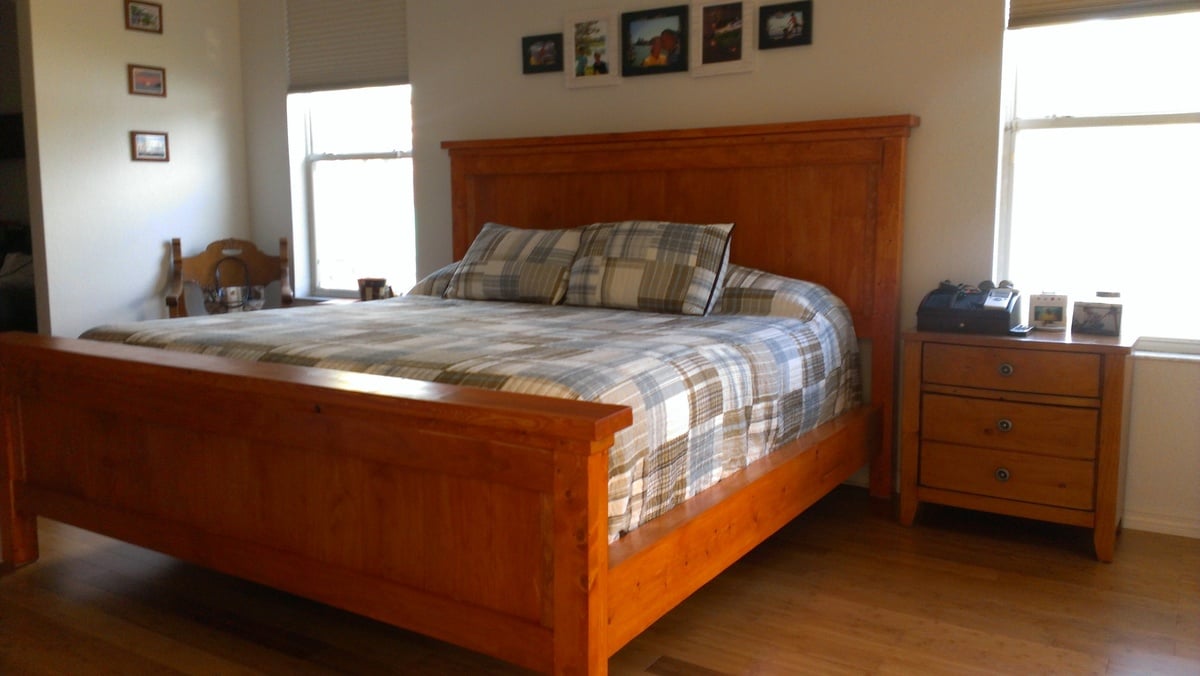
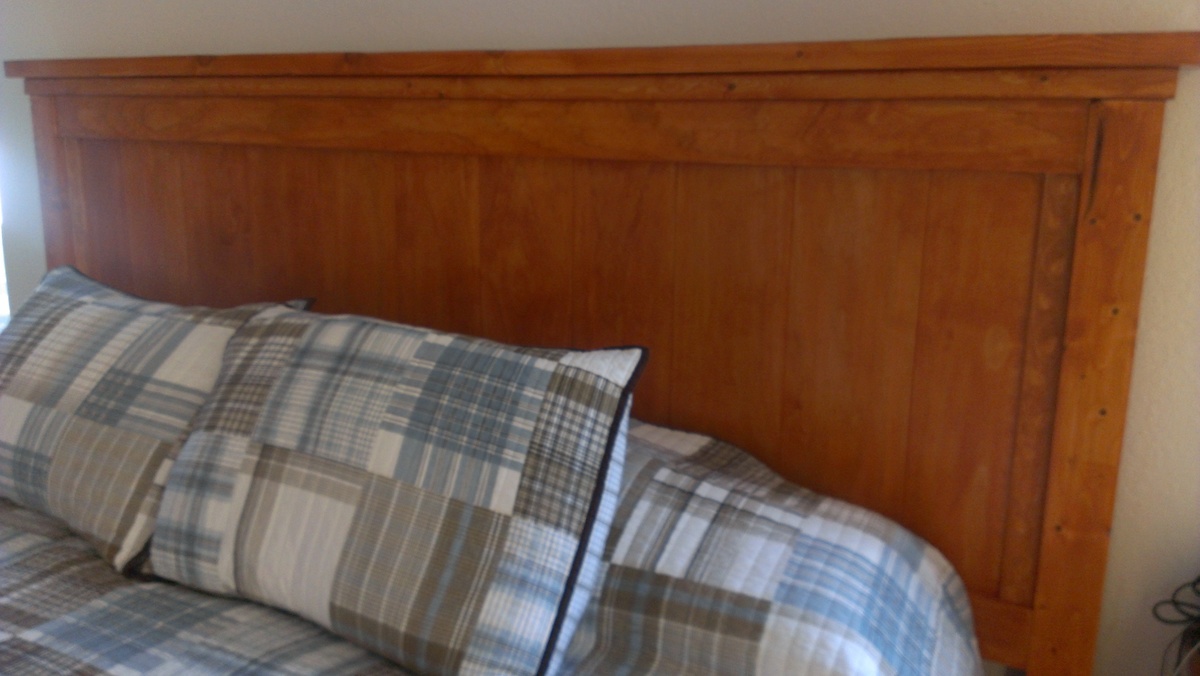
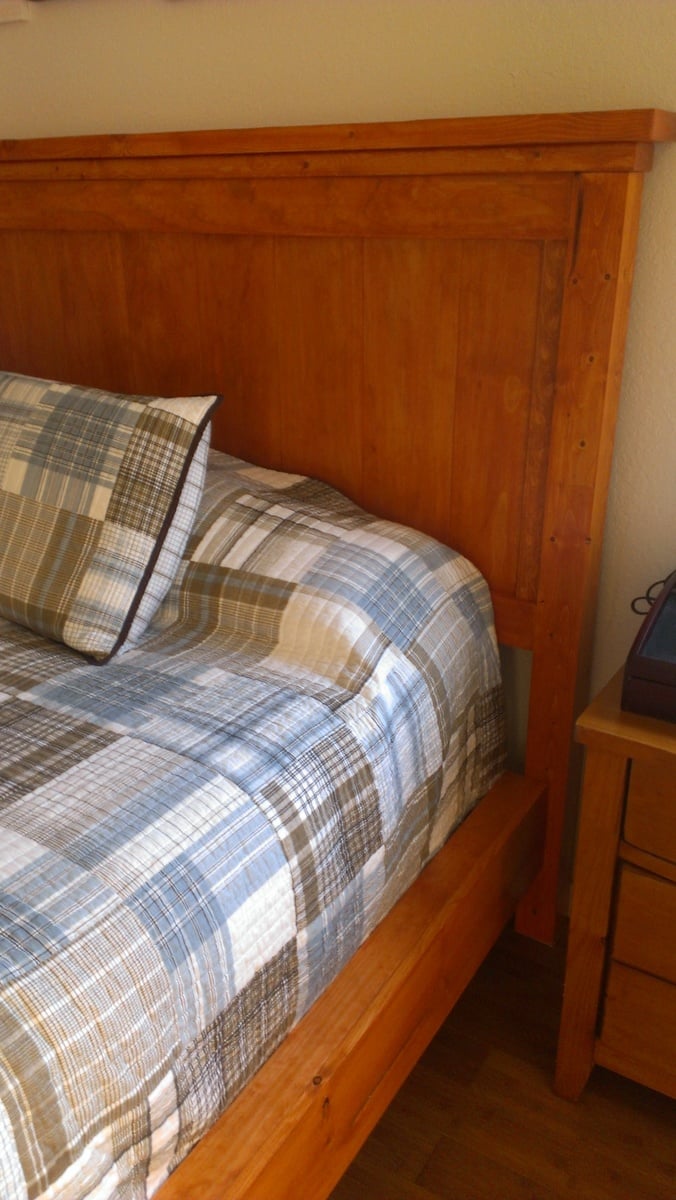
King size Farm House Bed. Project took about 30 hours of work (1-3 hours per night). Built with White Board and Pine woods. Pine was used for the head and foot boards slats. We made the mistake of making our bed head board and foot boards 6 inches too wide (mental brain fart). So our options where to scrap or figure something out. After some thought we decided to place a step on the running boards using a 1X3 (pine). The effect was stunning. Also added "vine" vertically to the end of both foot and head board, it looks better in person (you'll have to zoom into image). We took care in sanding all boards, staining using Wood preconditioner, then Minwax Colonial Maple, and then Semi-Gloss Minwax Polyurethane. We love the sturdiness of the bed! as our friends that have seen it have continuously repeat "It's beautiful, this is how furniture used to be made" couldn't agree more!
Fri, 04/25/2014 - 08:45
This is a great bed. I love the idea of a step. It looks professional.
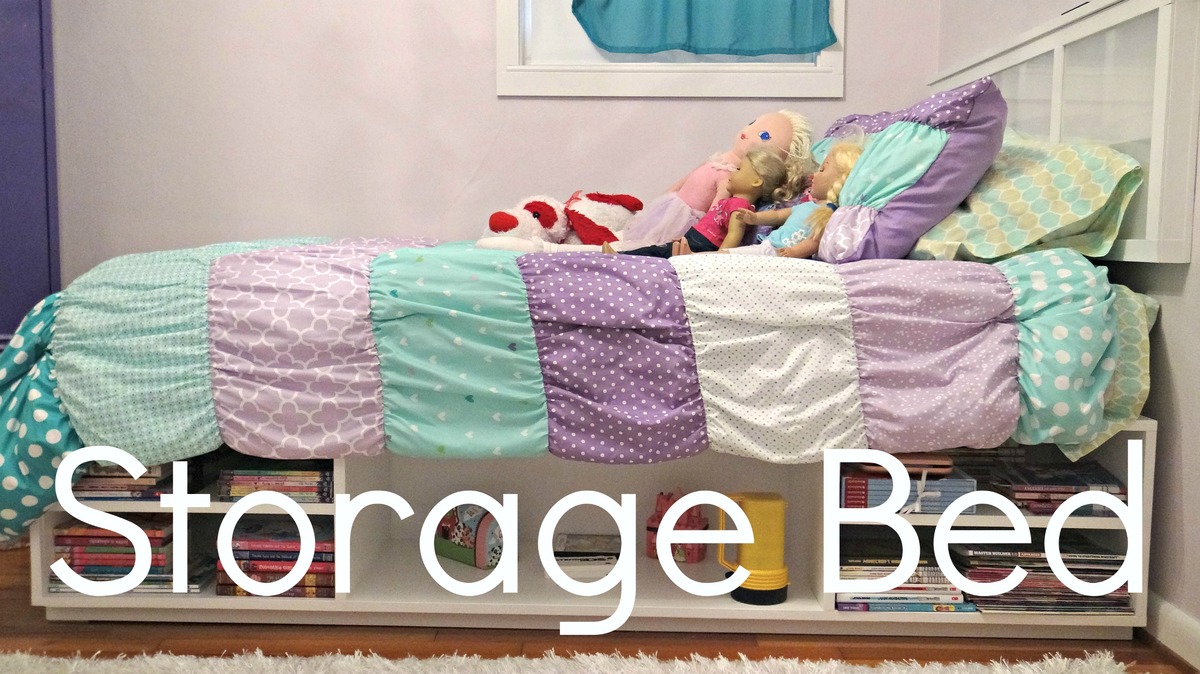
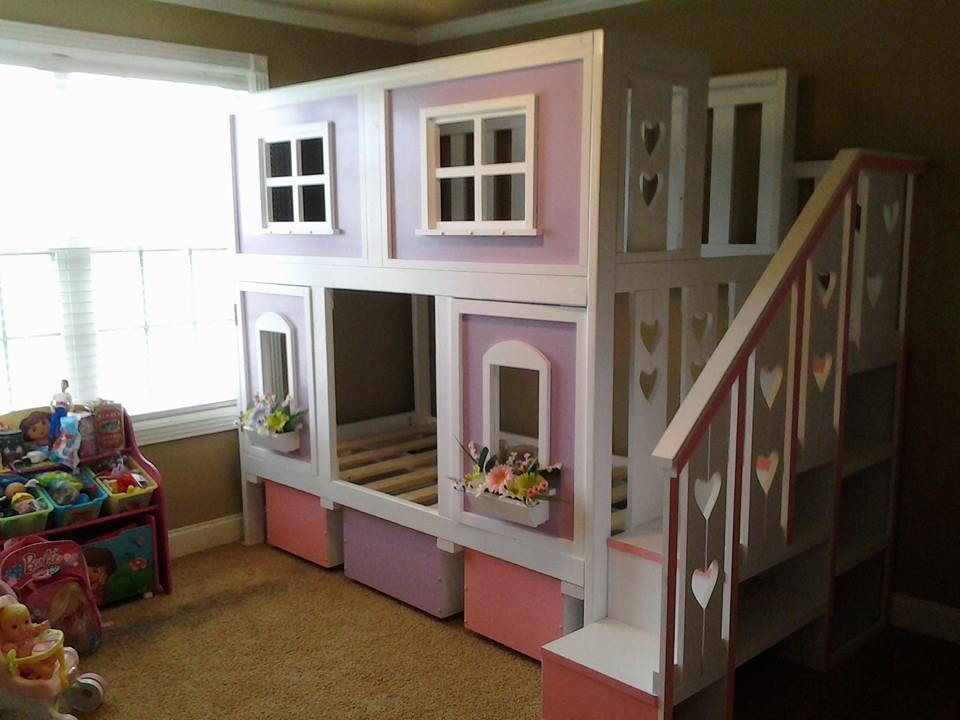
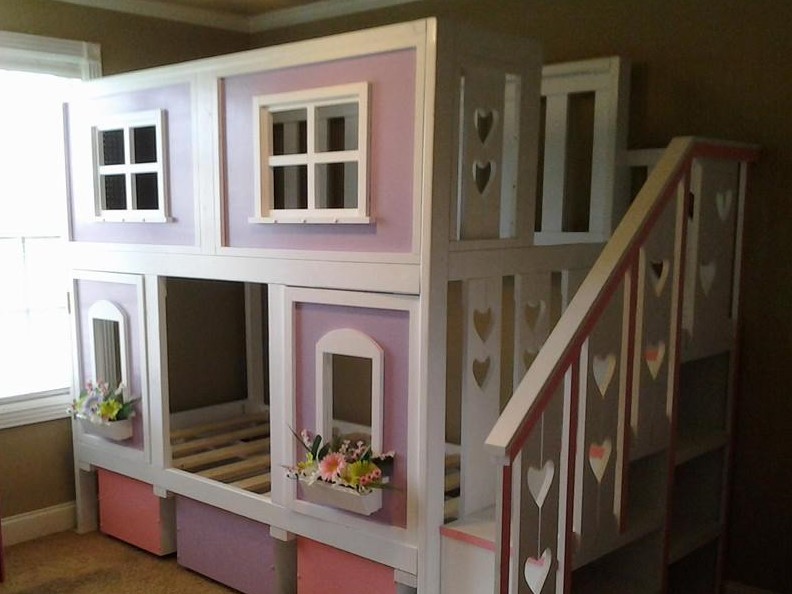
Over the winter we decided to upgrade our daughter's bed from a single to a double. We wanted her to be involved in the concept and design. Here is what we came up with!
More builds/projects/tool info can be found at my YouTube page. Would love to have you stop by!
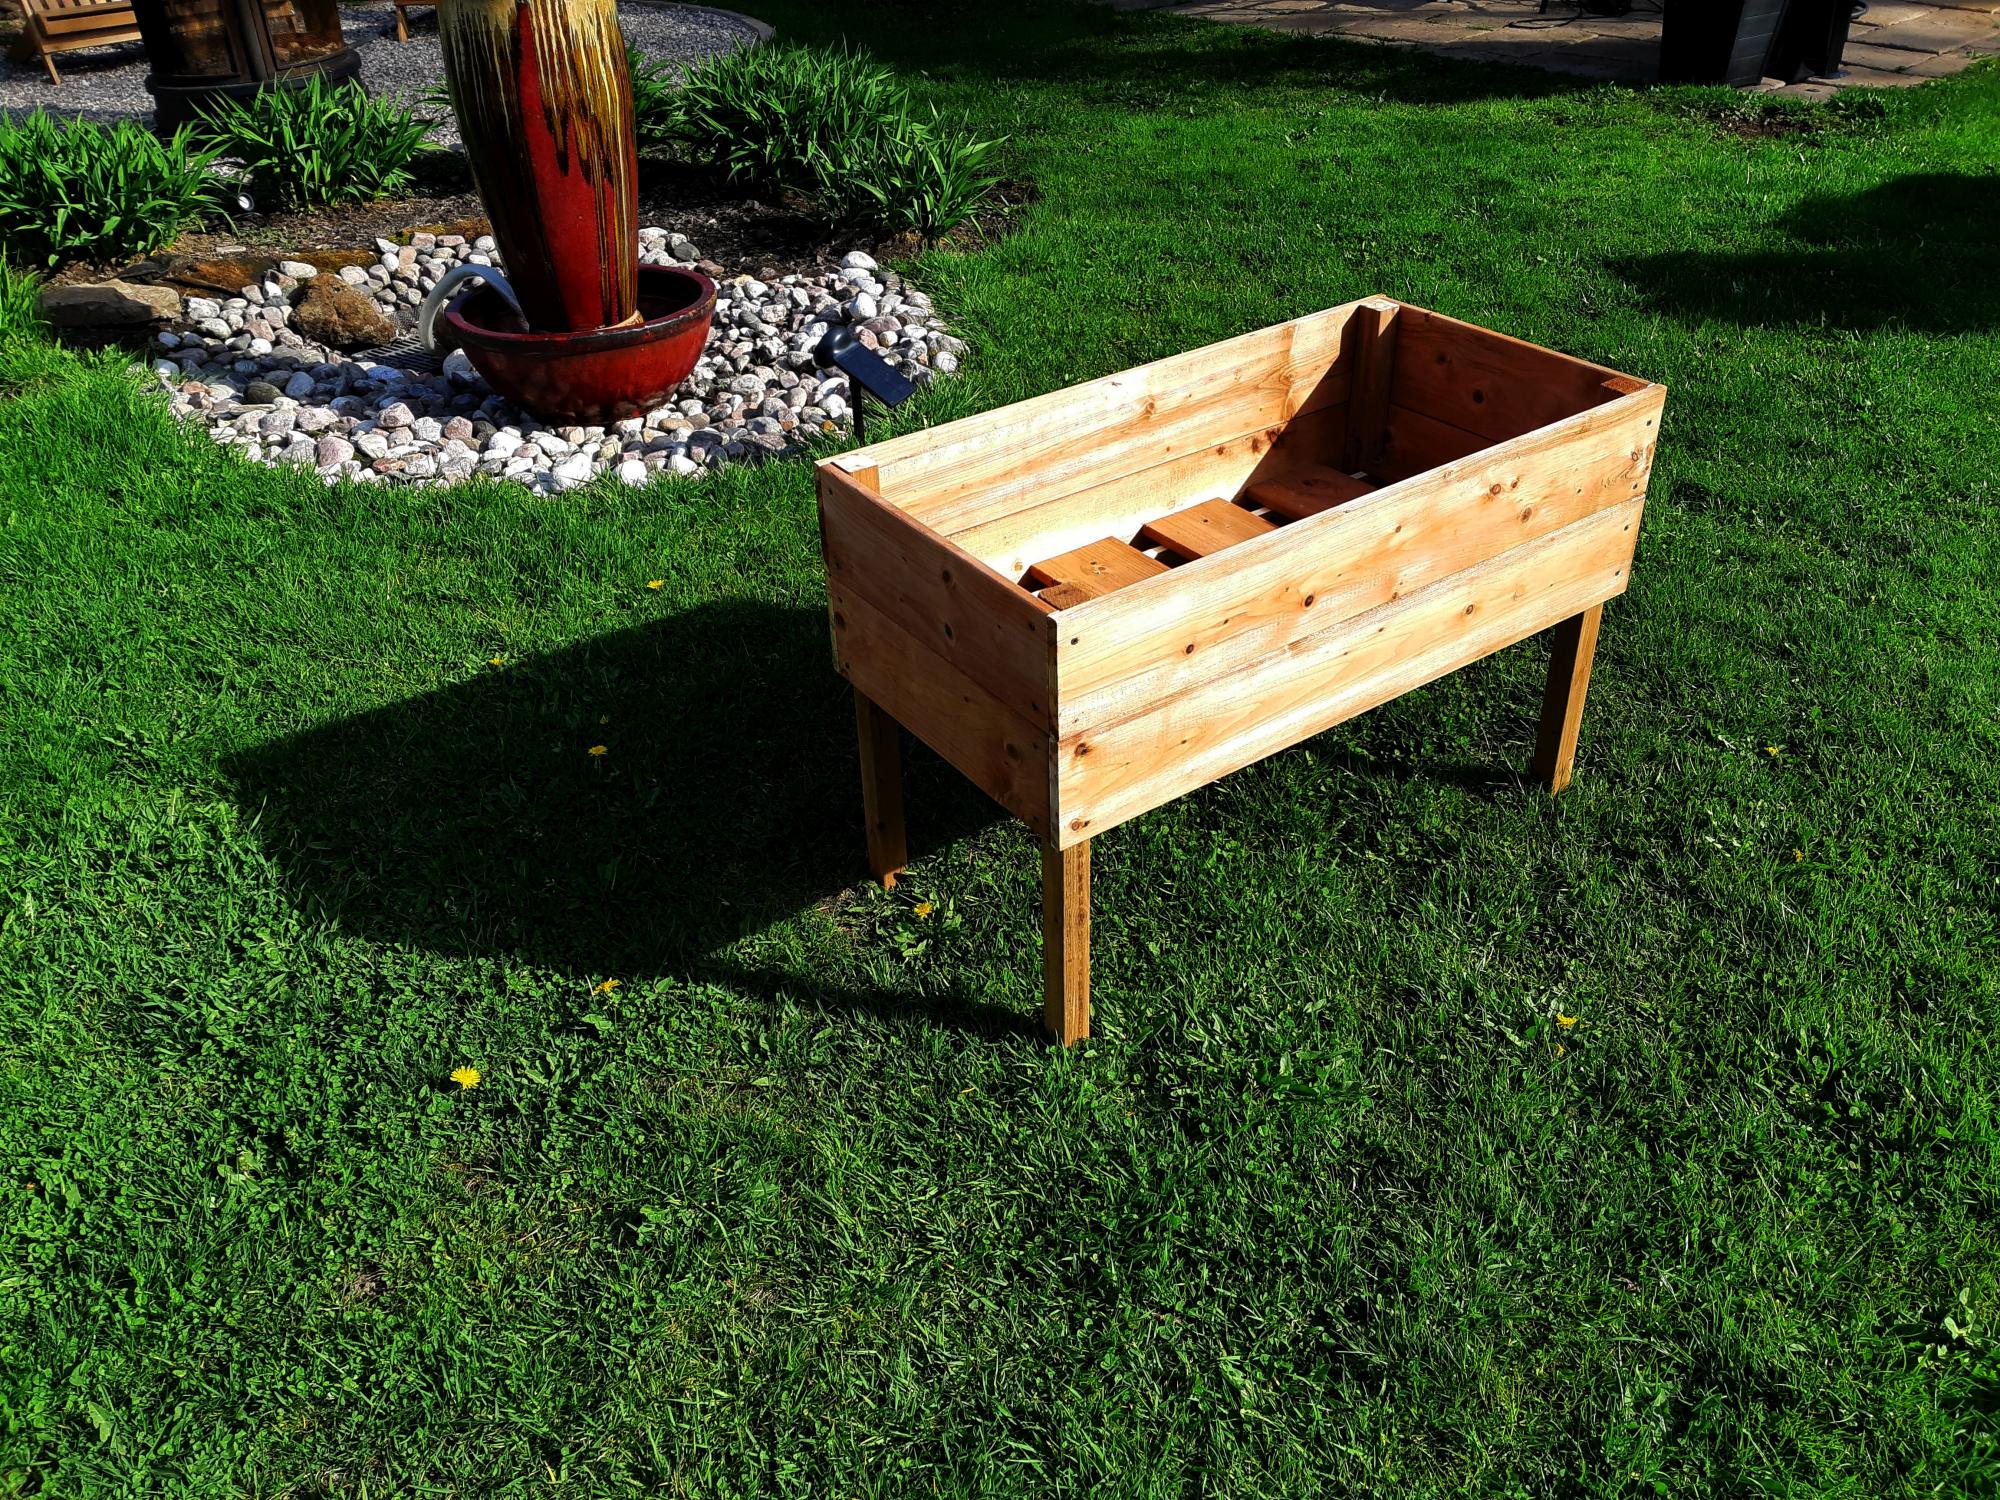
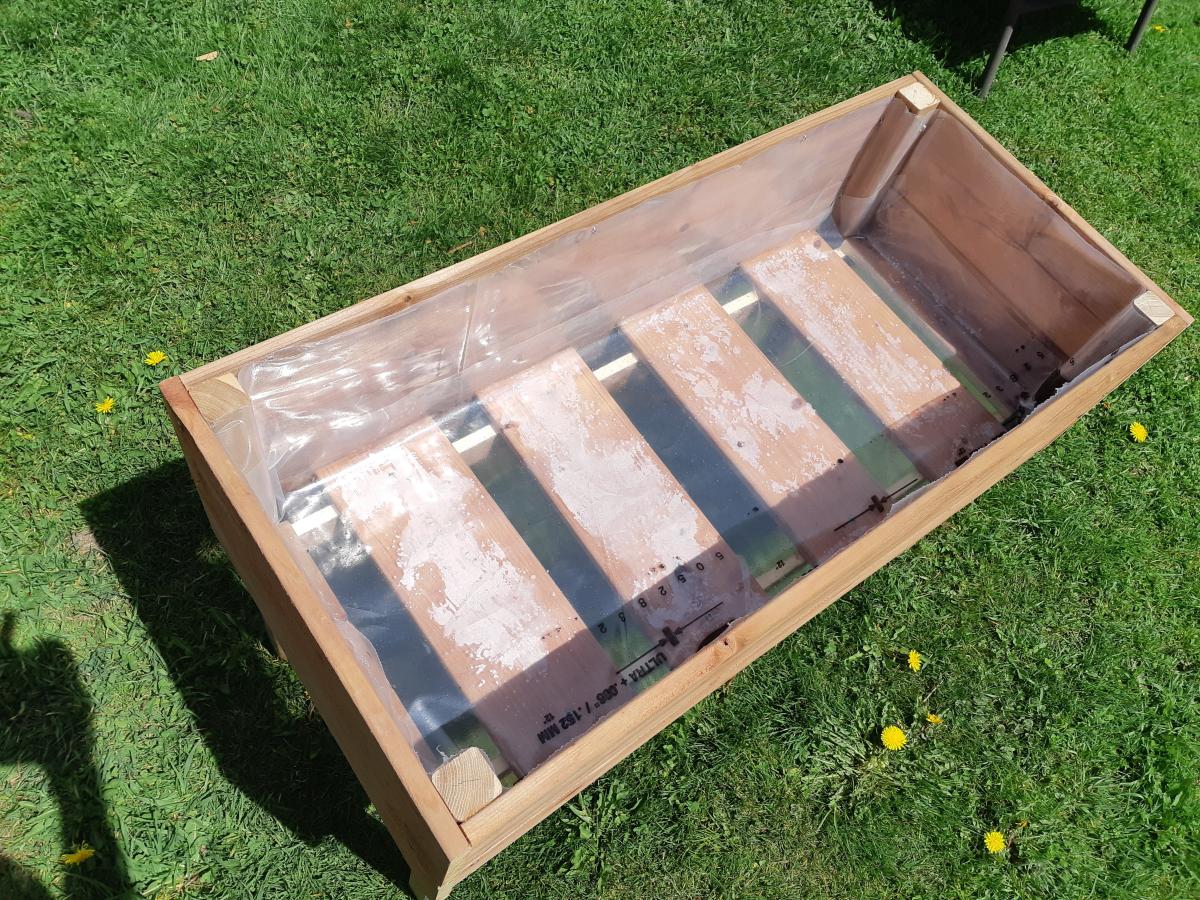
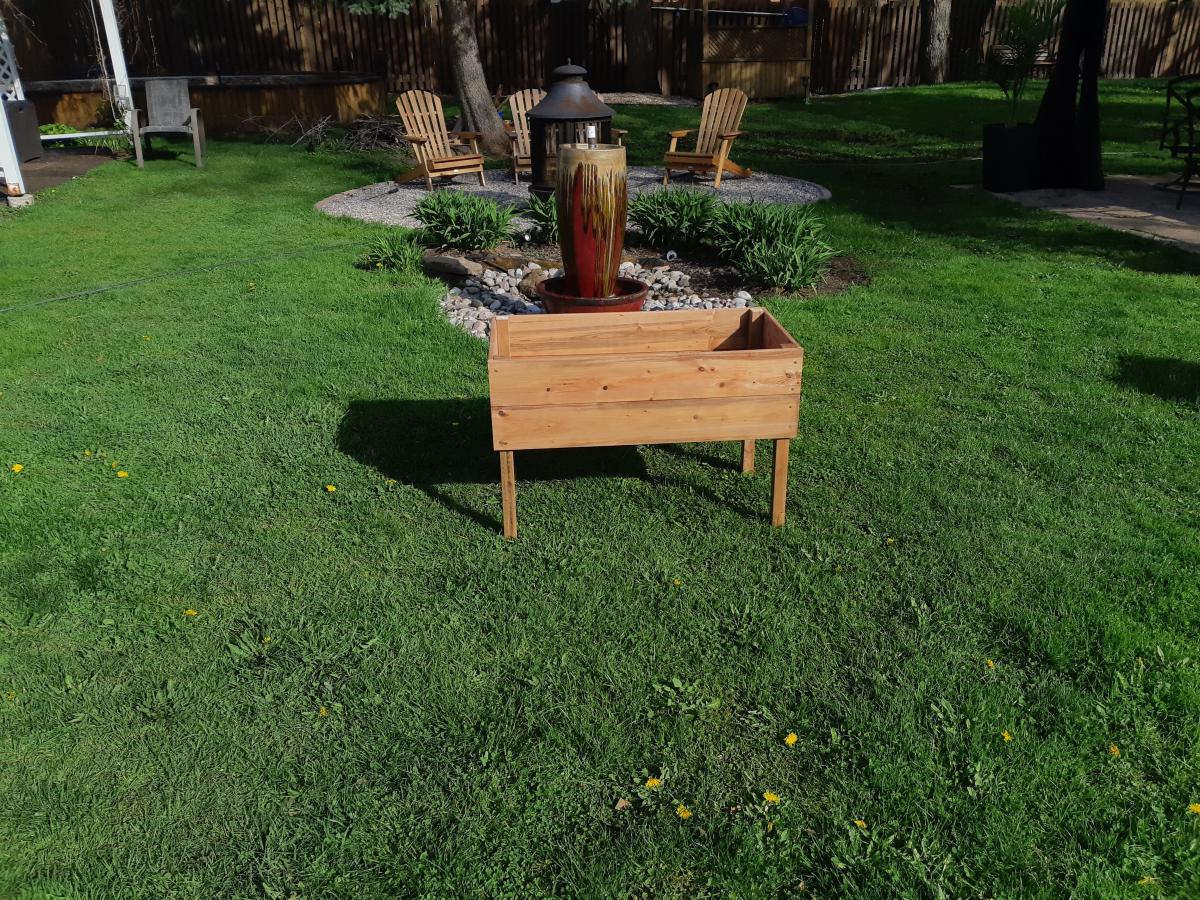
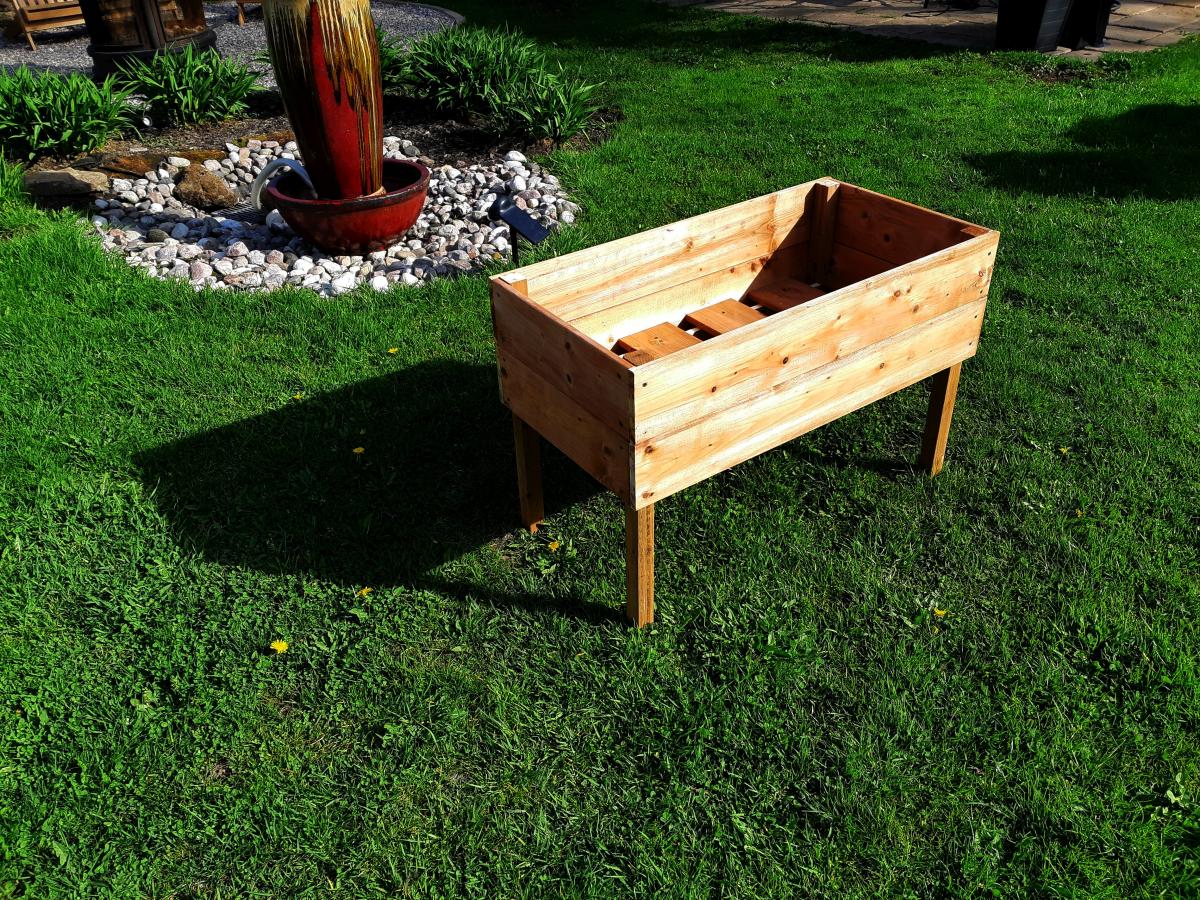
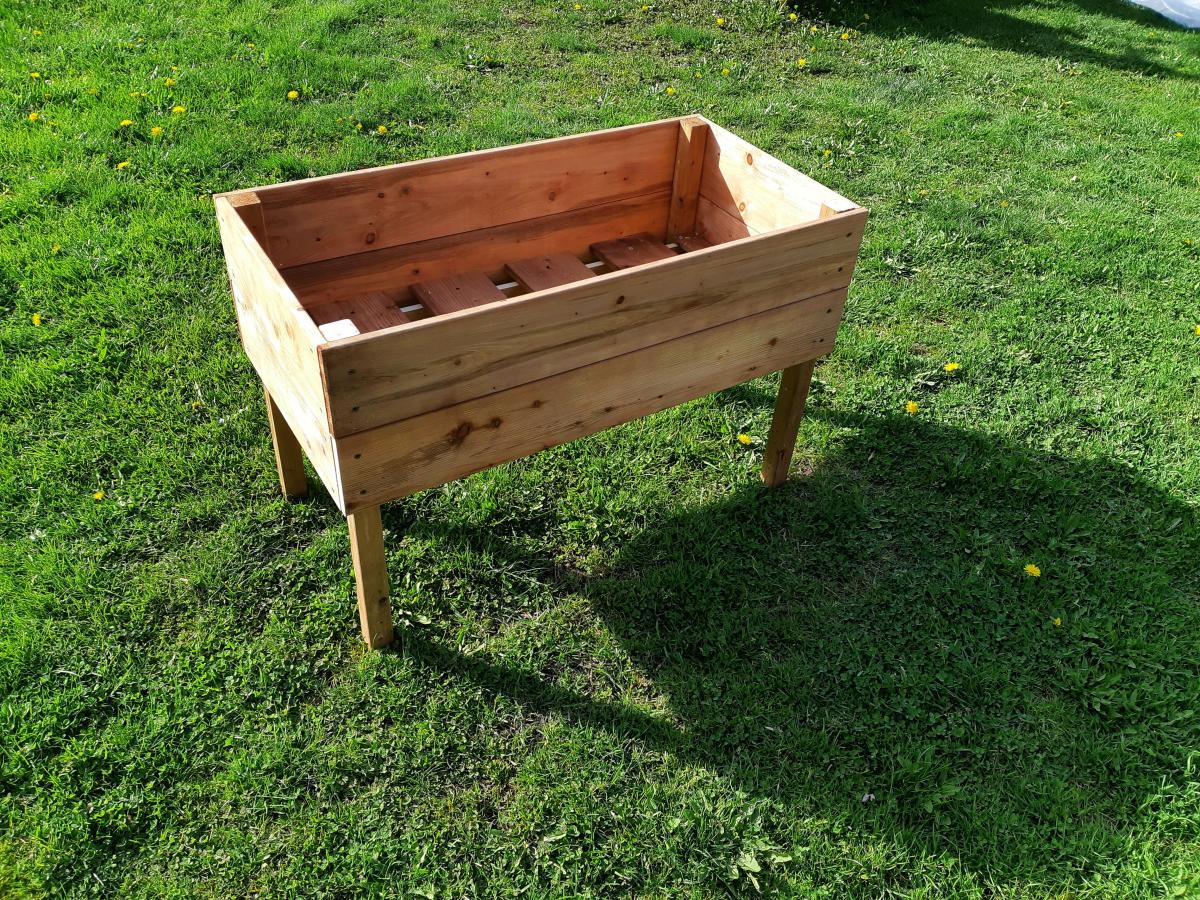
Not much to say apart that some internal measures were different (!?) and that I used treated wood and covered everything with recyclable plastic.
Oh yeah, of course.... Thank you Ana!!
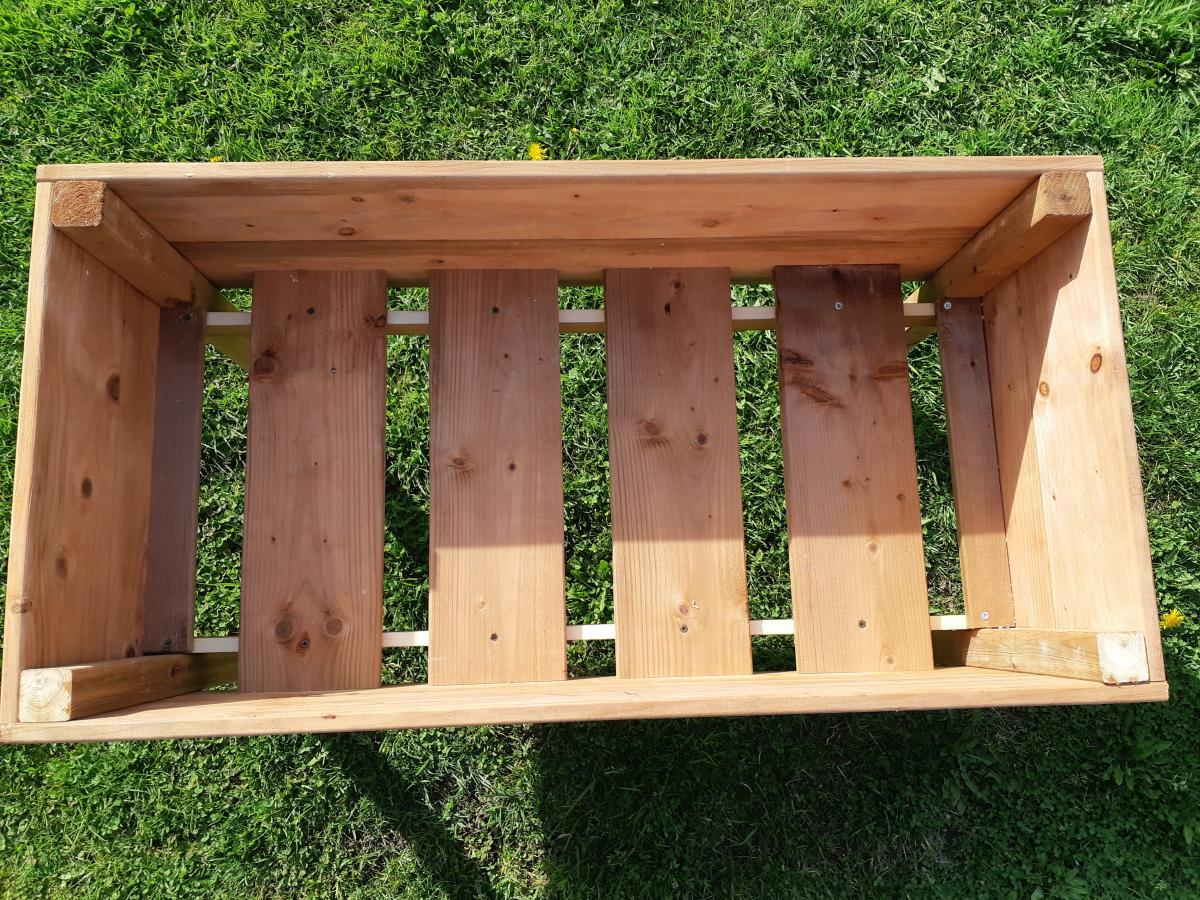
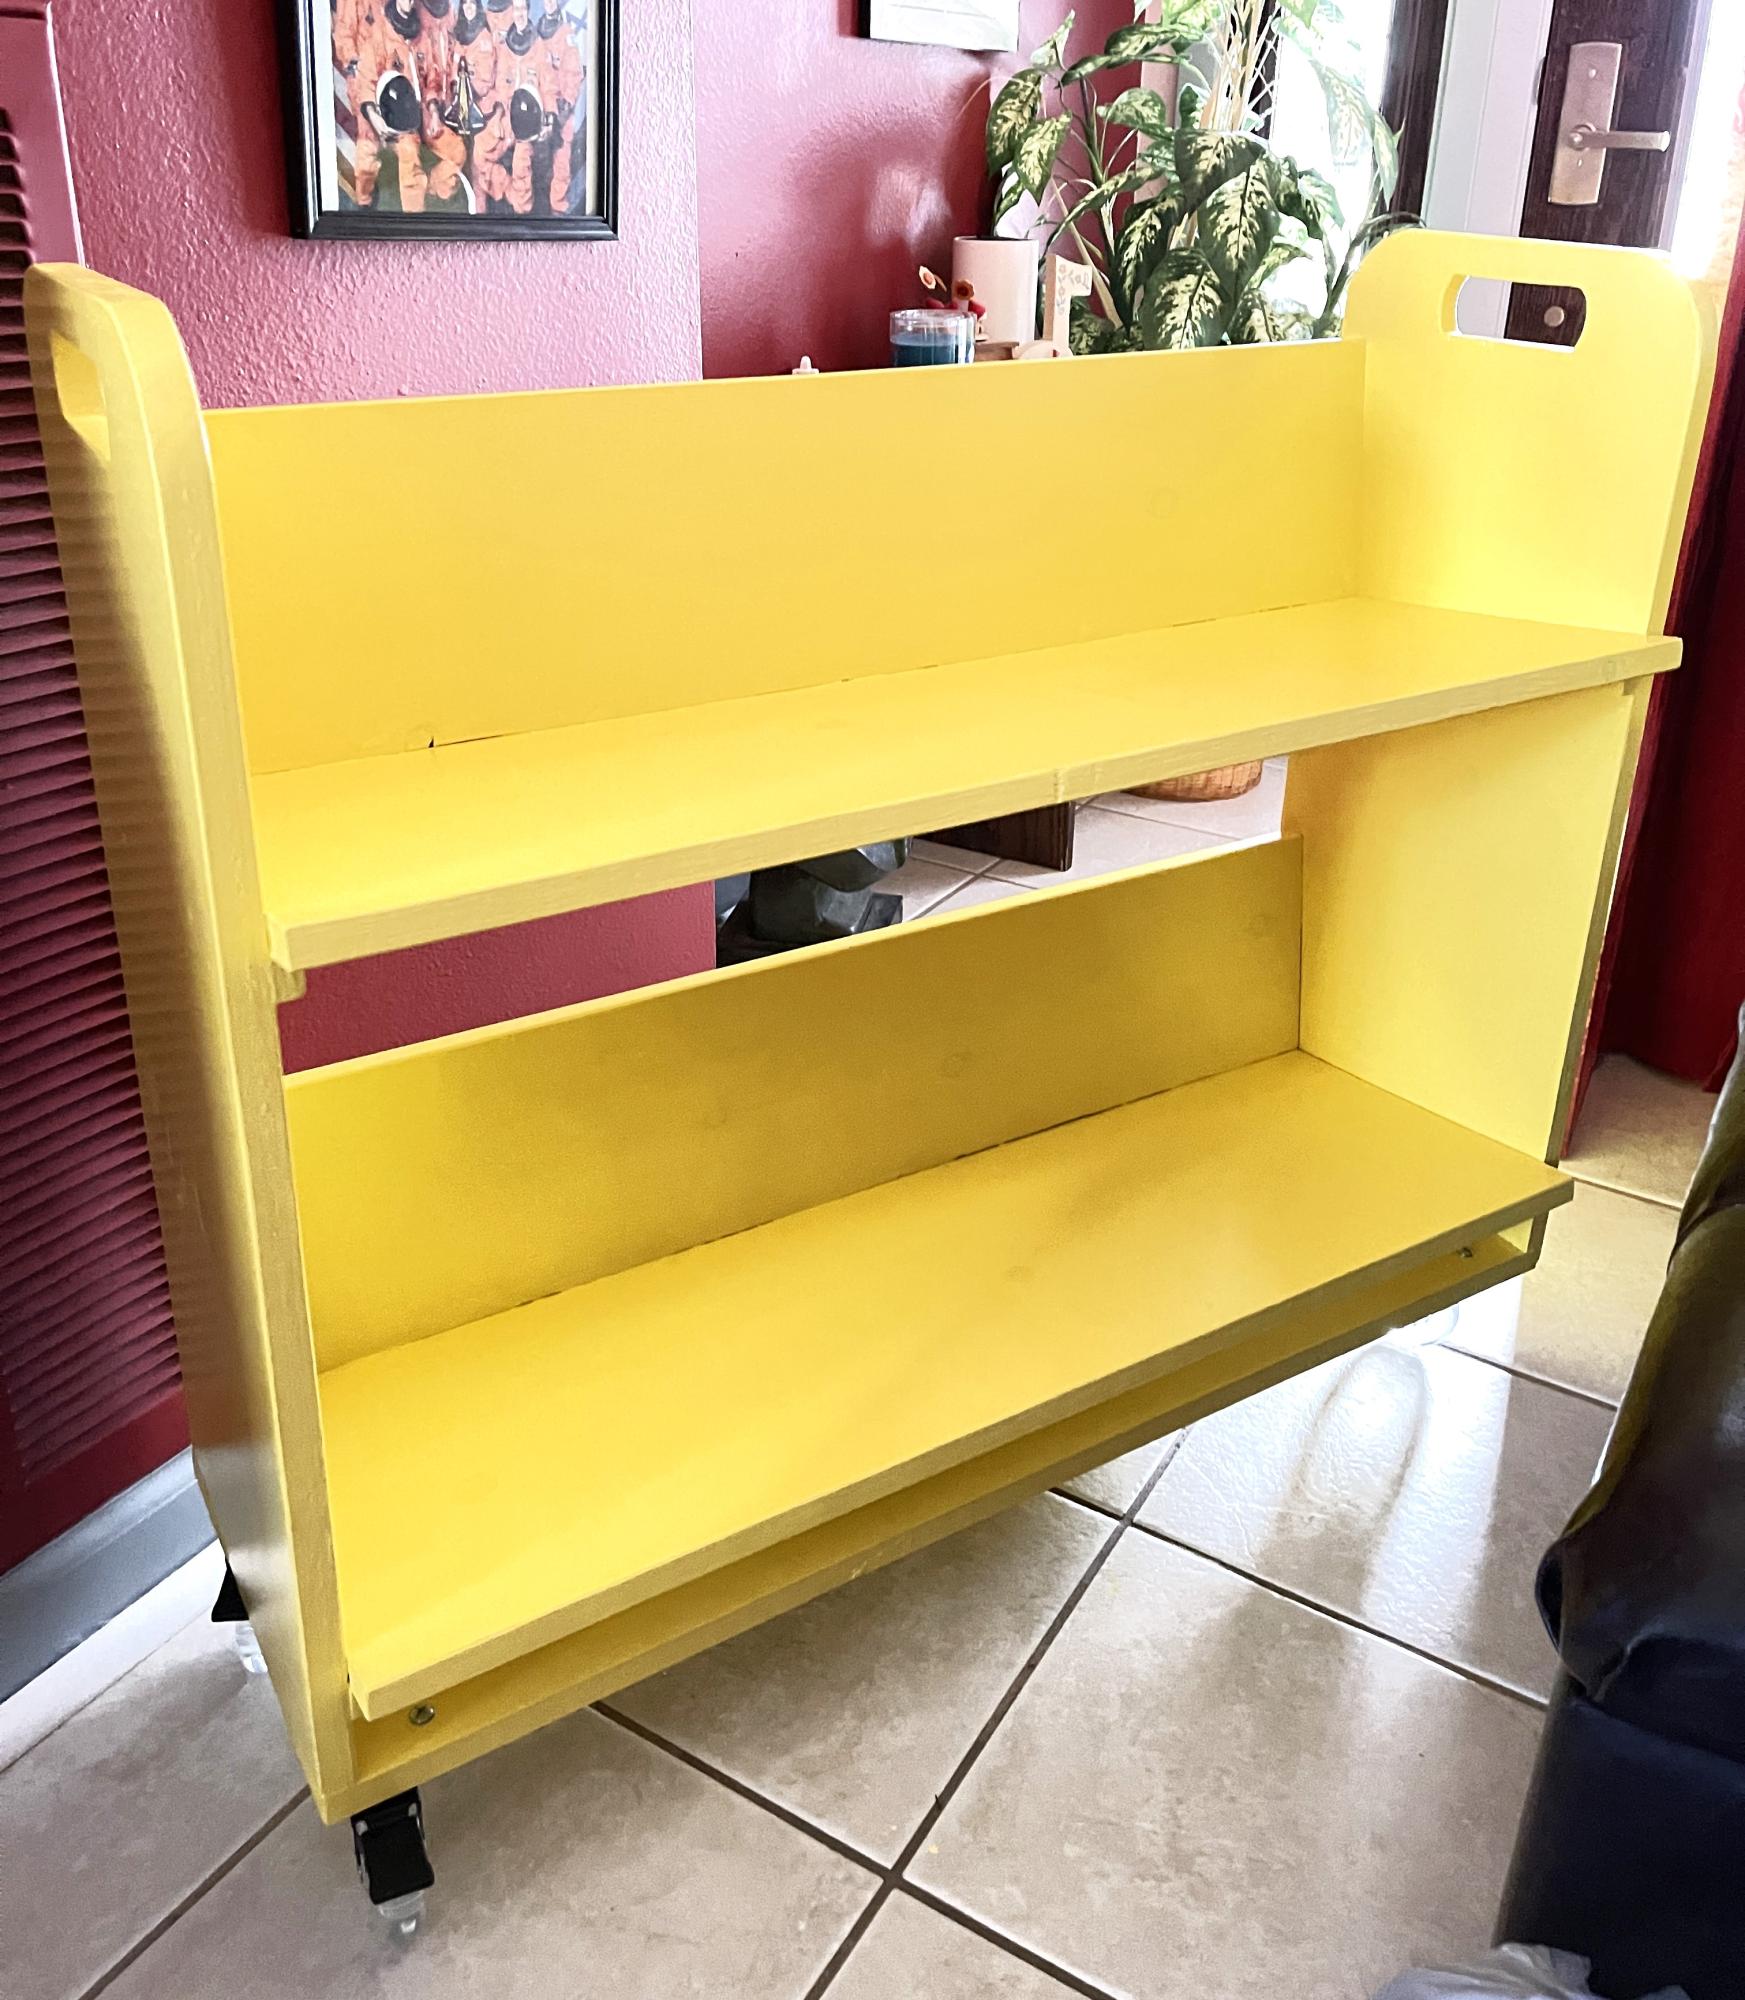
I wanted both shelves to slant. Cutting the hand holes didn’t go well for me. I used 3” wheels to better maneuver on carpet. I originally tried two fixed casters and two swivel casters but that was too difficult to maneuver so now all four swivel.
HC in TX
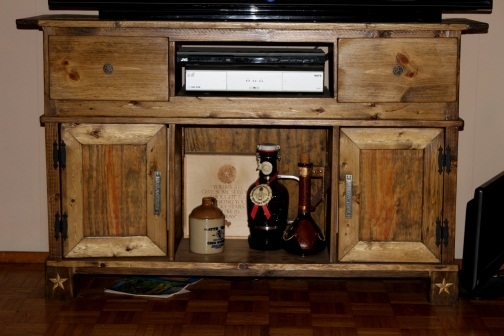
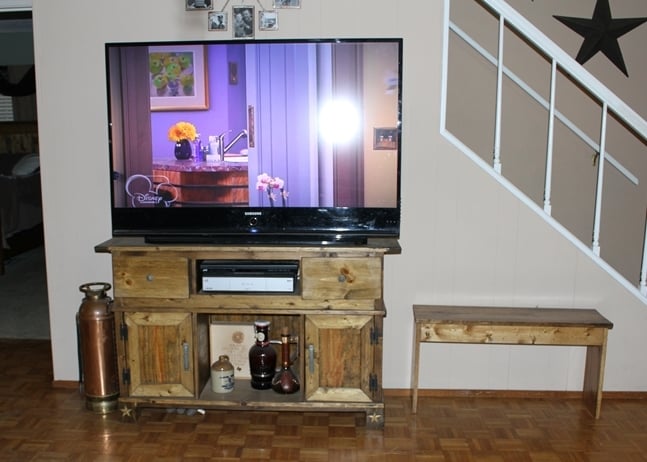
My husband loves this piece. I built it just for him ;) It had nothing to do with the fact that I had a great dislike for the glass/metal unit that he had when we merged our things together...wink wink!
I modified this plan in order to have shelves for the dish console and the dvd player. I also left the bottom shelf open for display, instead of placing the wine rack there.
Was so easy with ANA instructions and the results were an a amazing accomplishment!
First wood- building project I have ever attempted. It seemed crooked for most the time i was building it, which stressed me out and somehow it all worked out in the end! Very sturdy and think it would definitely sell for more than i paid for. Proud of it!

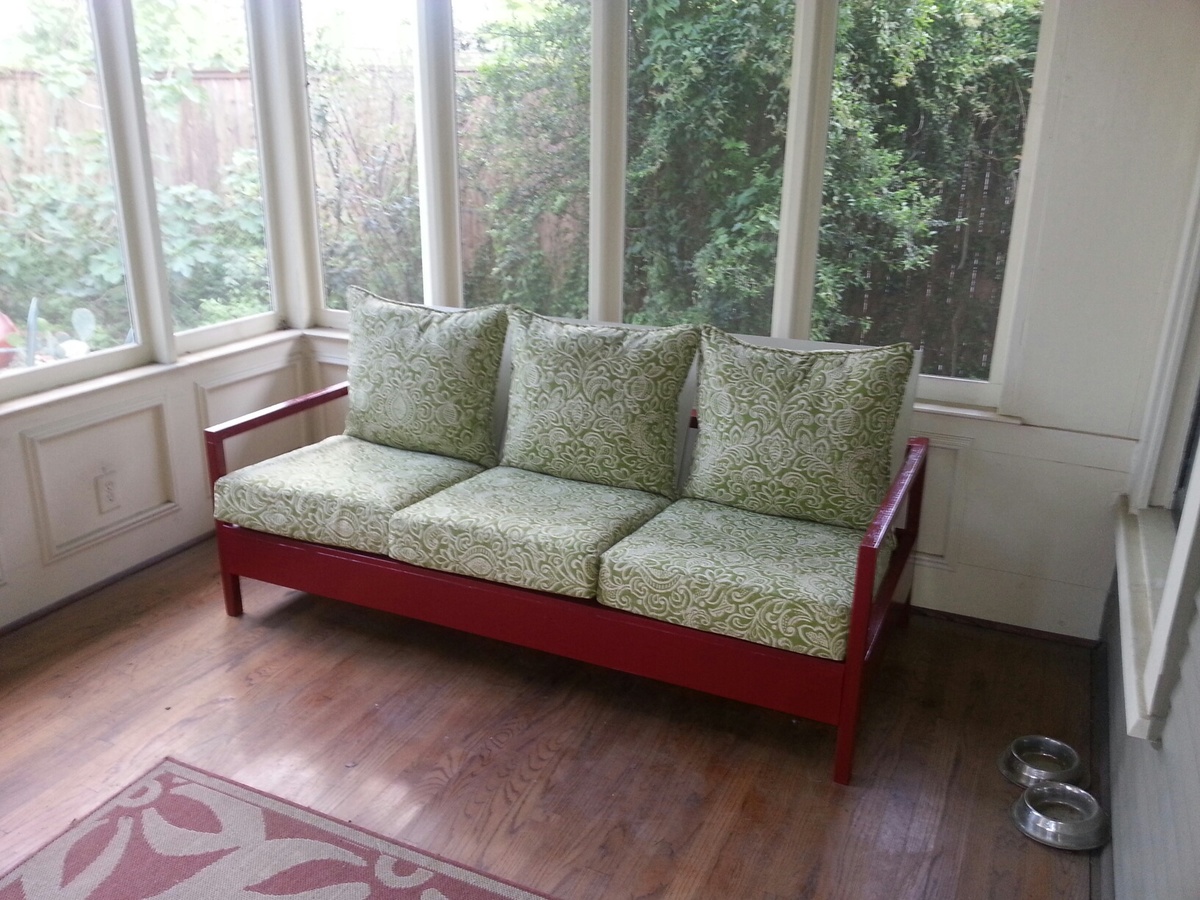
We chose to use 2x4 construction because we simply needed a sturdier build. Enough said. :) I wanted to use cedar, but when we went to the lumberyard, they didn't carry 2x4s in cedar, just 1x4 and said it was hard to find. Being that I had wanted this built by Labor Day and it was already July, we bought the pressure treated wood. I know, I know, chemicals galore. We worked on it a little at a time. We modified it for a higher back, but now I wonder if that was needed, because although the cushions are deep they do go down some when you sit on them. Ah well, we are still happy with it. Because of the higher back, we opted to just use the armless section on the end, however we might build a modified arm later on. We'll see how it goes.
Sat, 07/14/2012 - 08:04
So proud of my talented sister. Love to see more. My cat Keko is still loving his bed

In reply to So proud of my talented by Debbie Gregory (not verified)
Sat, 07/14/2012 - 11:24
Aww, thanx Deb!
Sat, 07/14/2012 - 14:47
Very nice work, hey I’ve been sitting on and eating off treated lumber for years ( Maybe that’s what is wrong with me LOL )
My dad built this for my daughter.
Thu, 05/01/2014 - 11:11
Your father is an artist. Excellent craftsmanship. Your daughter is a lucky little girl. :)

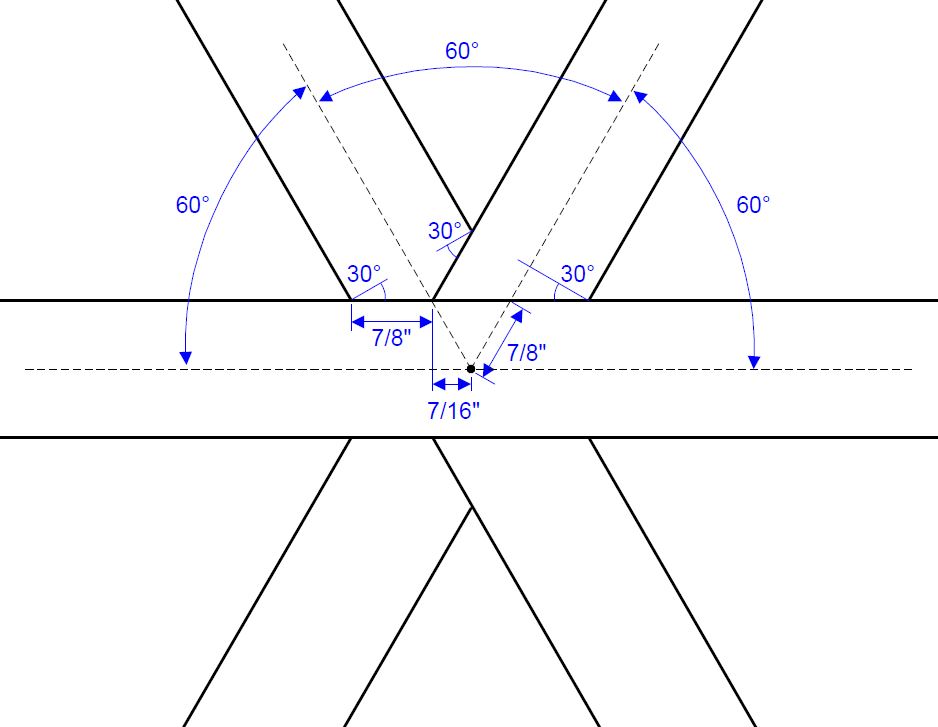
Thanks for the plans. My little brother from Big Brothers Big Sisters and I made this table and had lots of fun doing so. We made a few modifications which might be useful to others:
1. We modified the center joints (at the lower and table level) so that one 2x4 could continue across the entire diameter of the table for greater strength (see pictures for details).
2. As recommended we extended the seats out 4". This made it very comfortable to get in and out.
3. We started the center with 2 pieces of 2x6 rather than 6 with the thought being that this would help strengthen the center of the table. (see pictures for details).
4. We added a stiffener at the center 6-way joint on the lower level to help really strengthen that center joint. This was made out of 2 pieces of 2x6 as shown in the pictures.
Thanks,
John


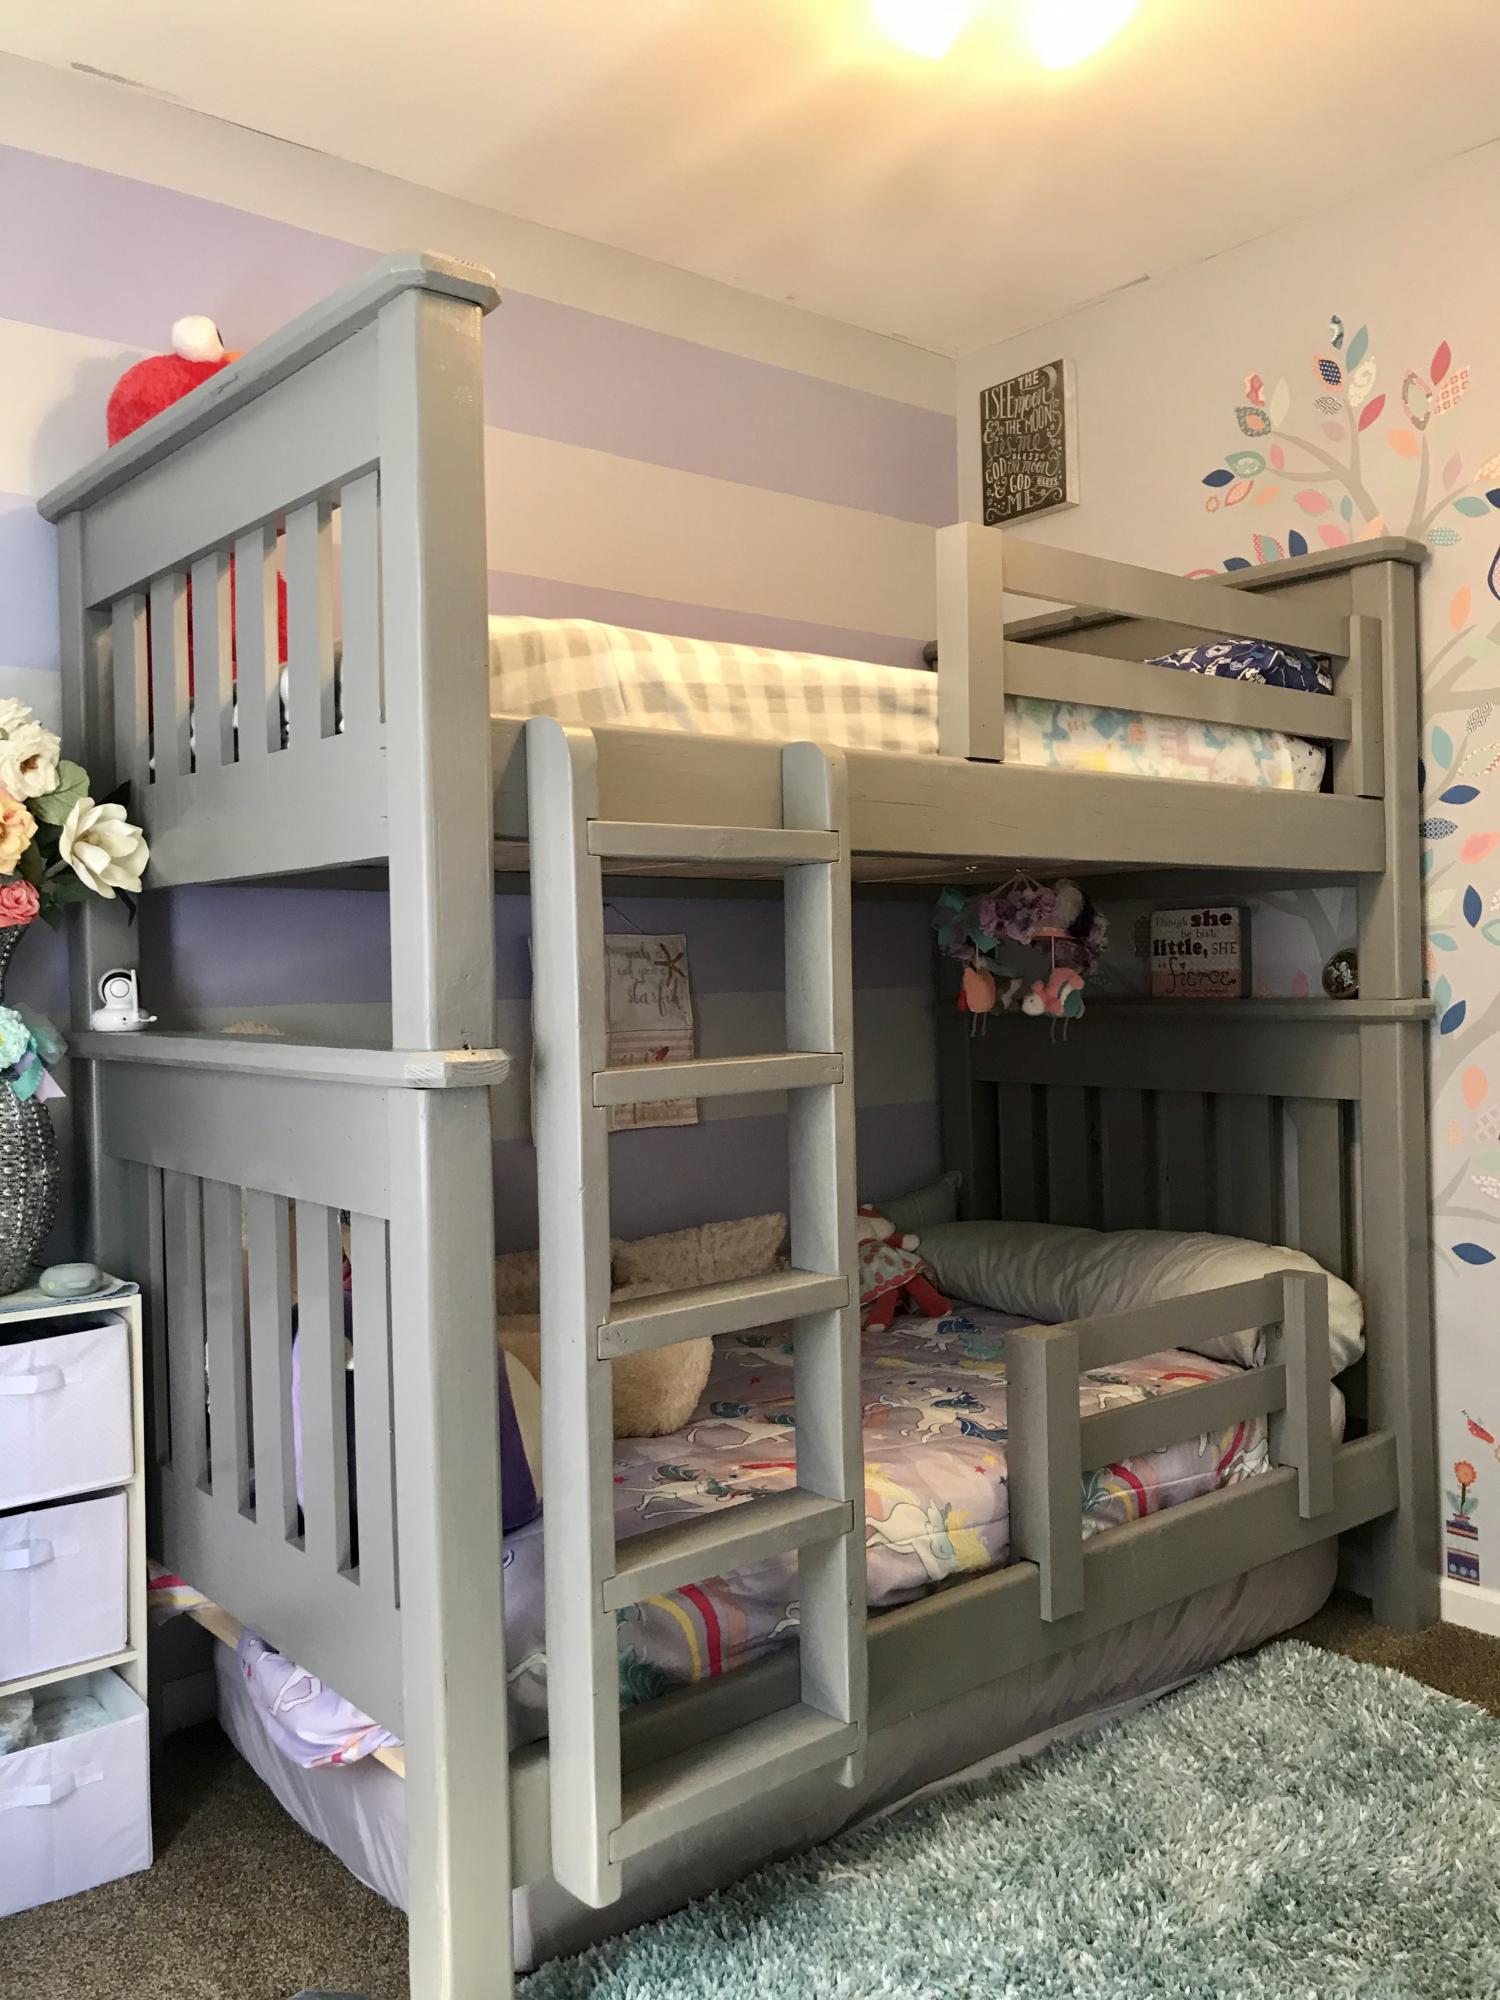
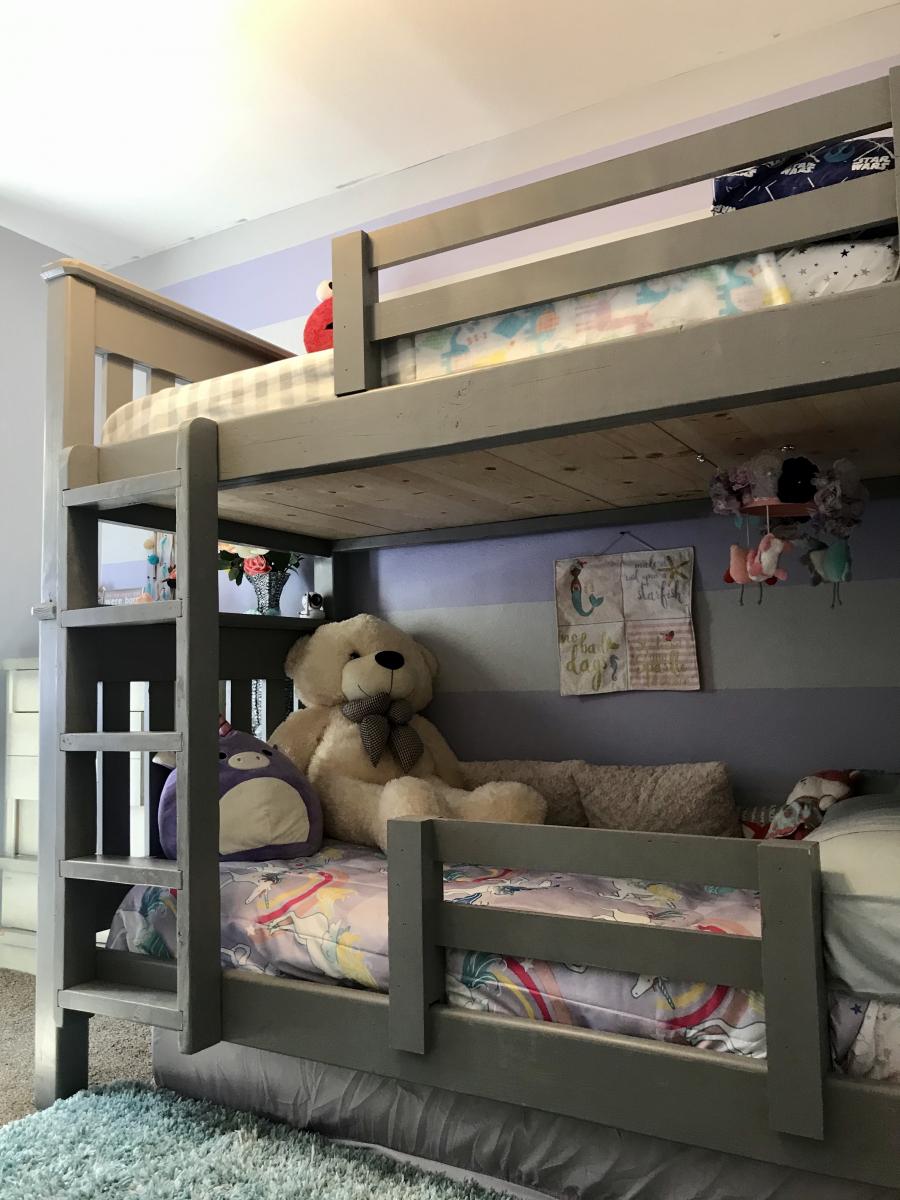
Built mostly from the Simple Bunk Bed plans on this site with a couple of modifications. Namely: made a vertical ladder, used Rockler Bed rail fasteners, increased bed height to fit 3rd twin mattress underneath for when my moms visits, and made a removable bottom safety rail that slides on when my daughter goes to sleep. Overall it was a fun project to do and they kids are really enjoying it.
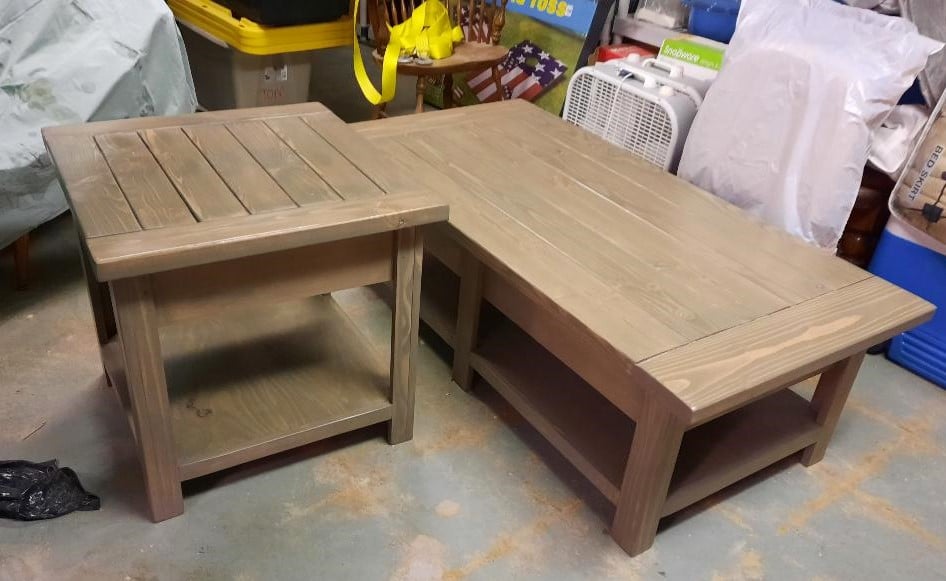
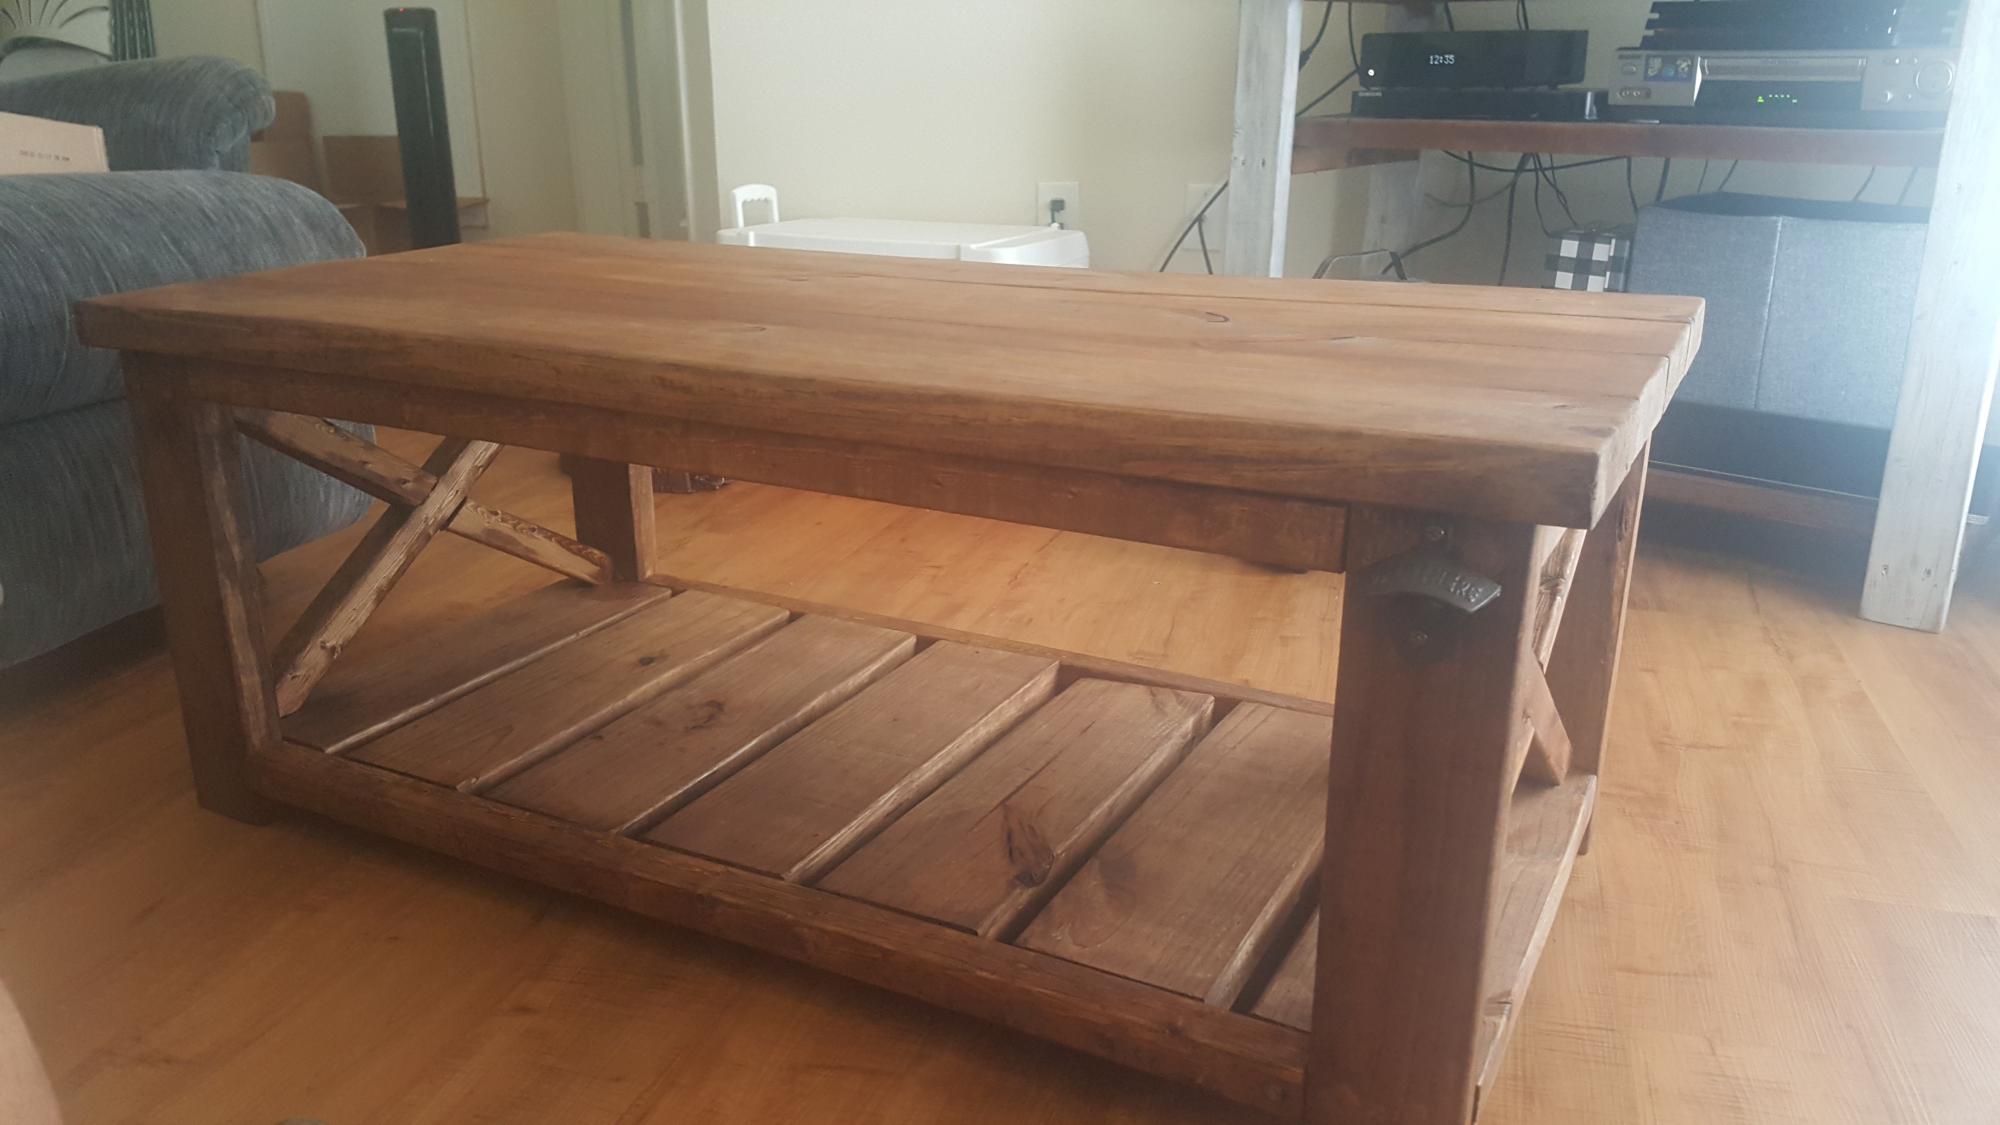
This is the coffee table again with the matching end table.
Jim Carr
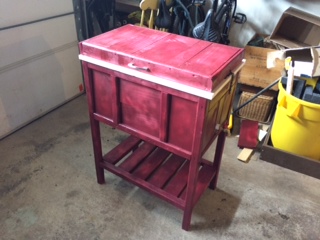
I saw this project posted online and thought it would be a nice improvement to our patio since we just added fire pit benches this would be a great addition instead of dragging the old plastic cooler out every time we entertained.
Once I got all the cuts done it was like putting together a big puzzle. For the most part I did this one my own on the floor of the garage. If you have the space I would suggest doing all the screwing together atop a table and off the floor.
I was very happy with the outcome and I look forward to finding more projects here to add to our backyard.