Privacy Planter with Solar Lights

Such a FUN project! Plans were easy to follow.

Such a FUN project! Plans were easy to follow.
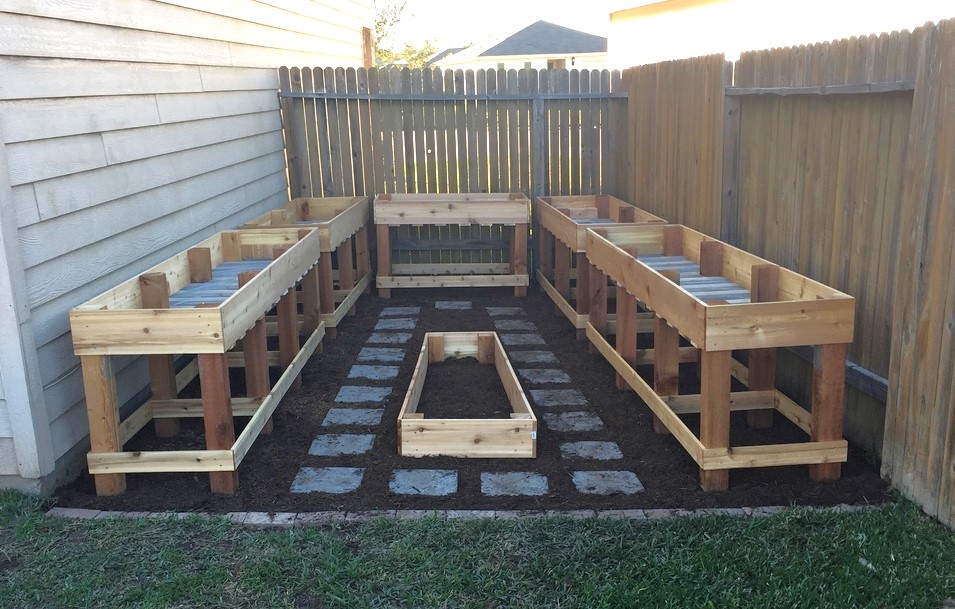
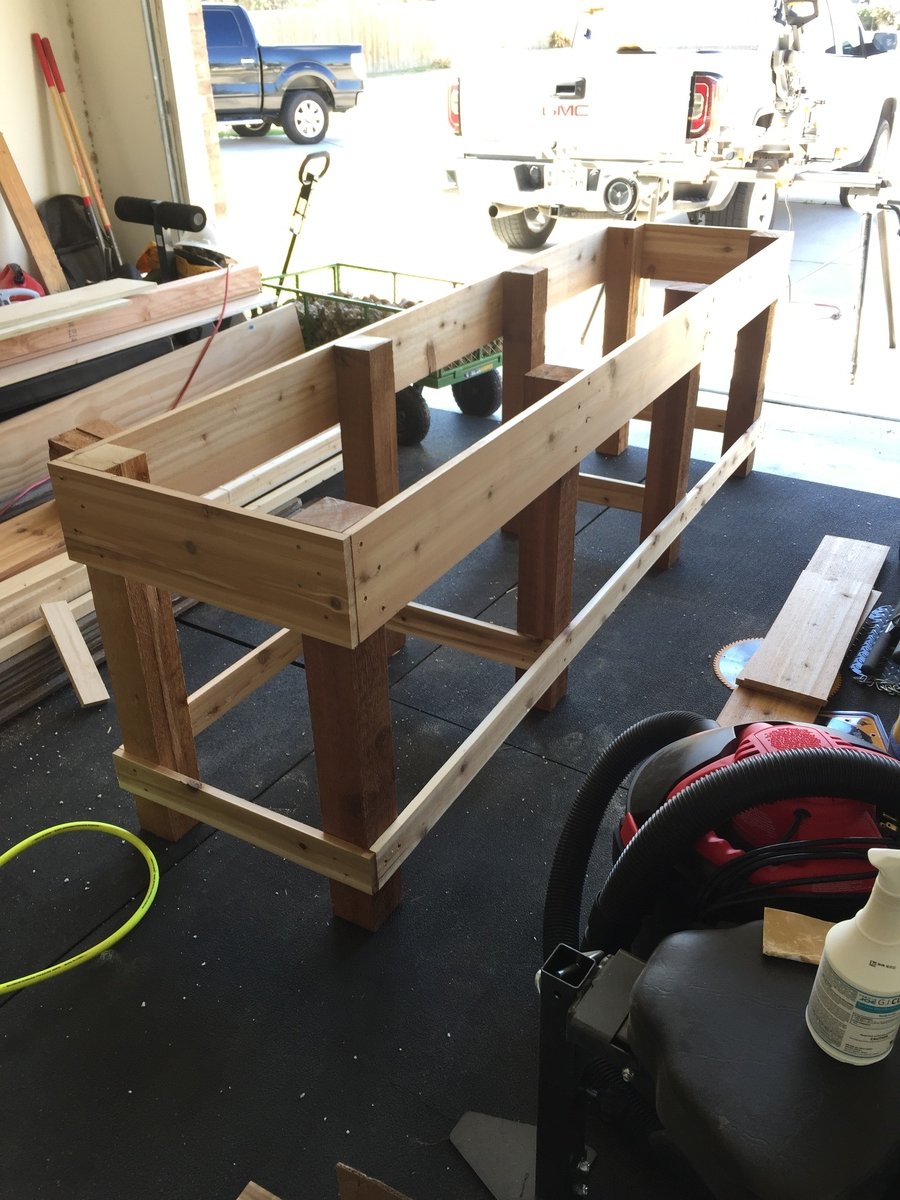
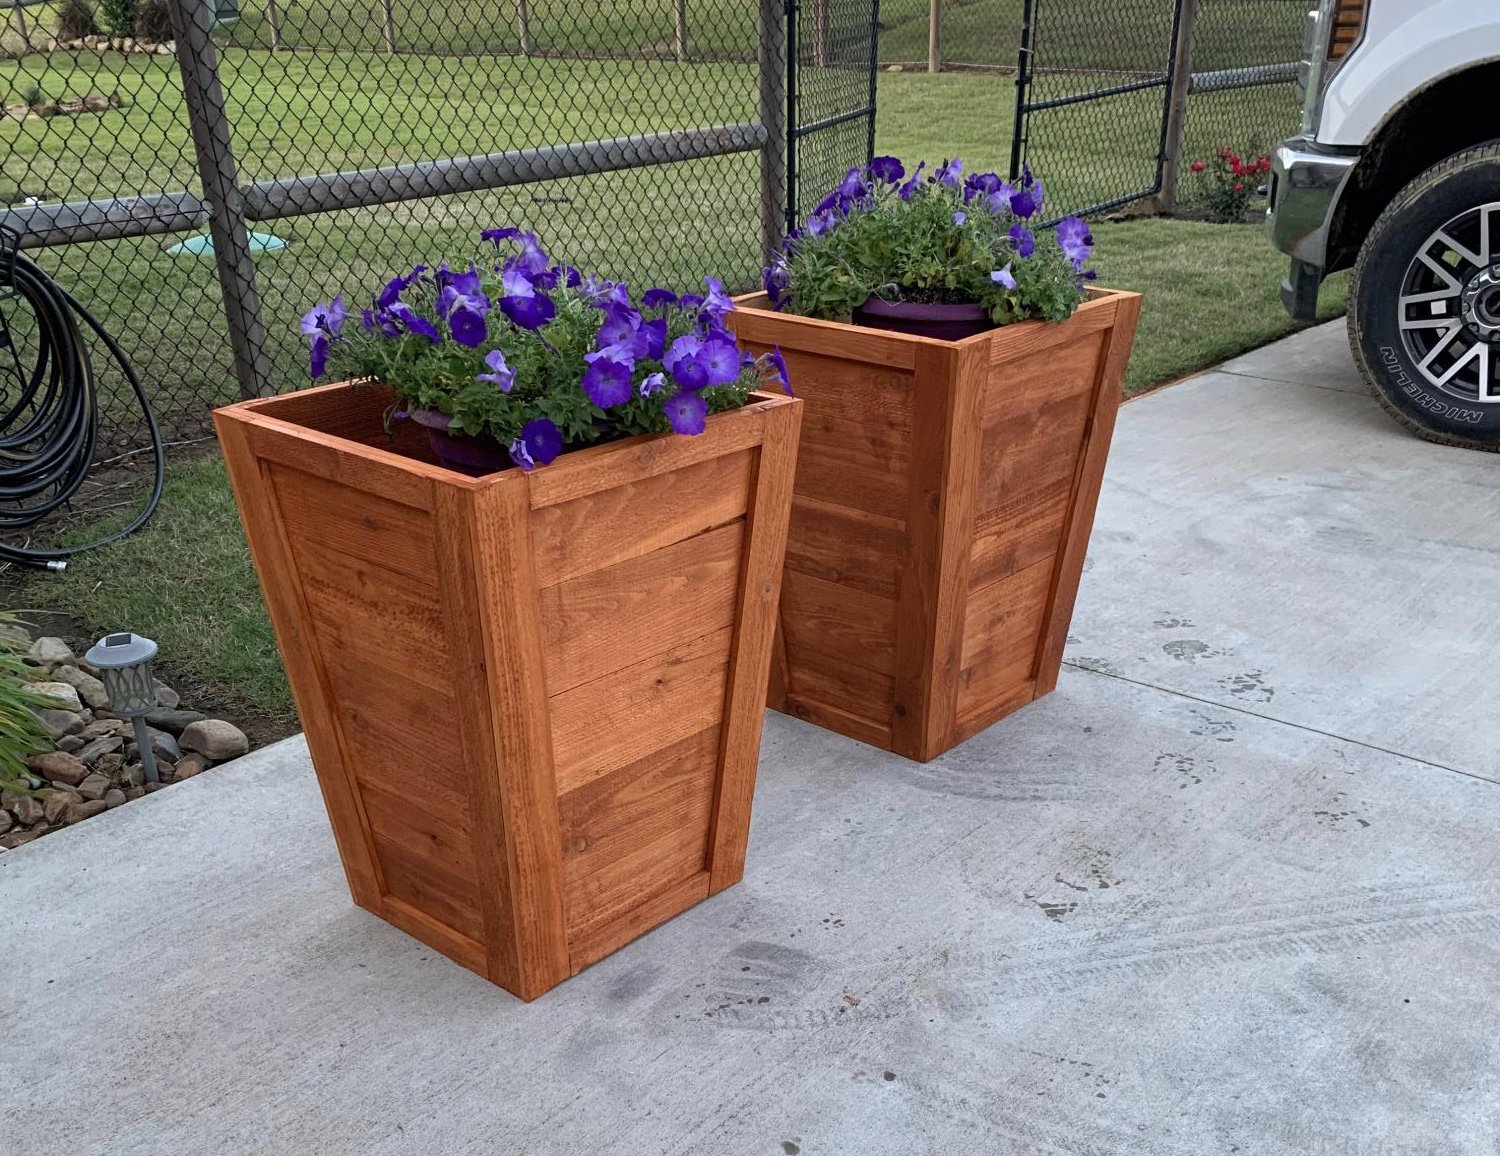
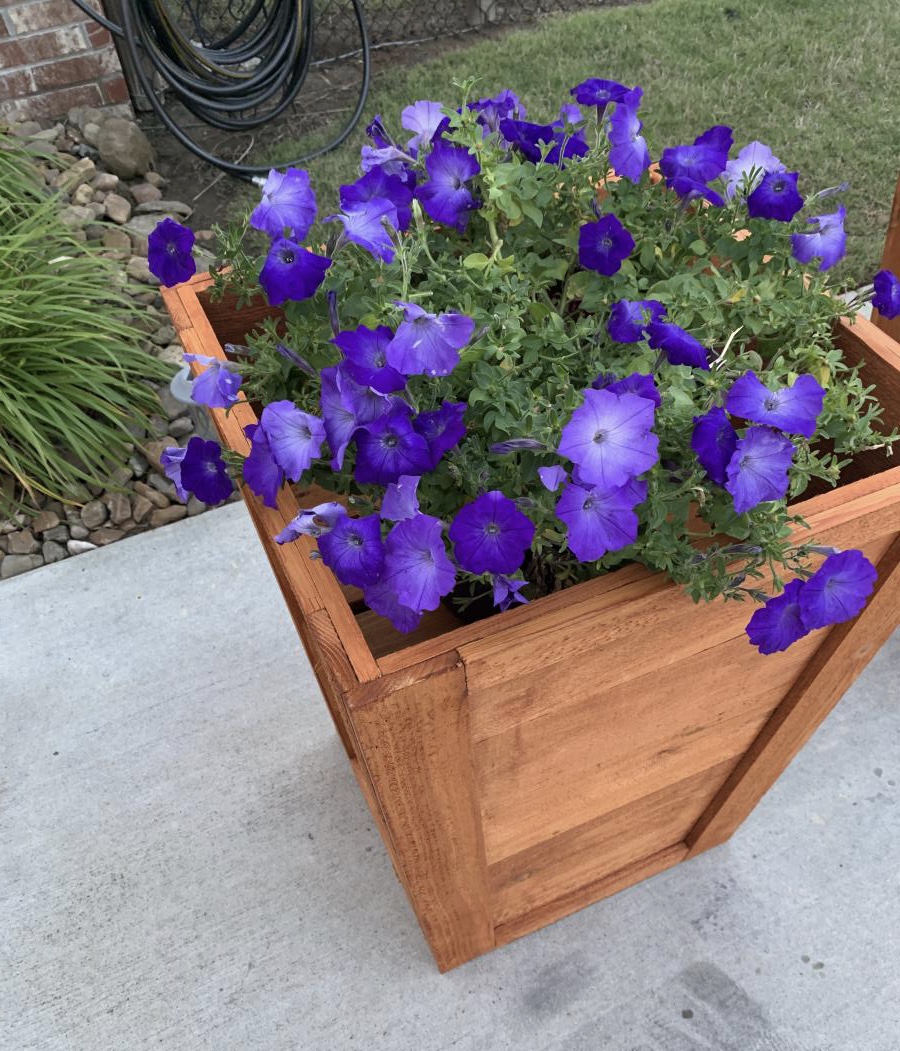
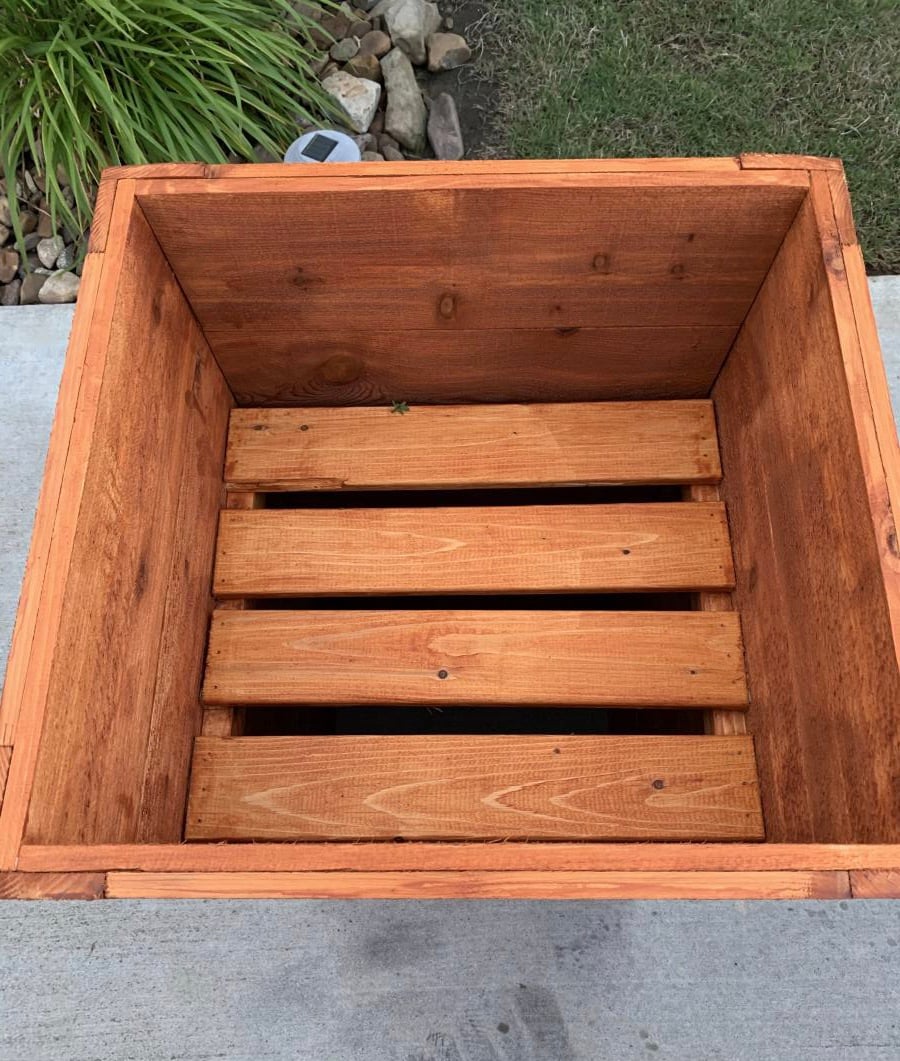
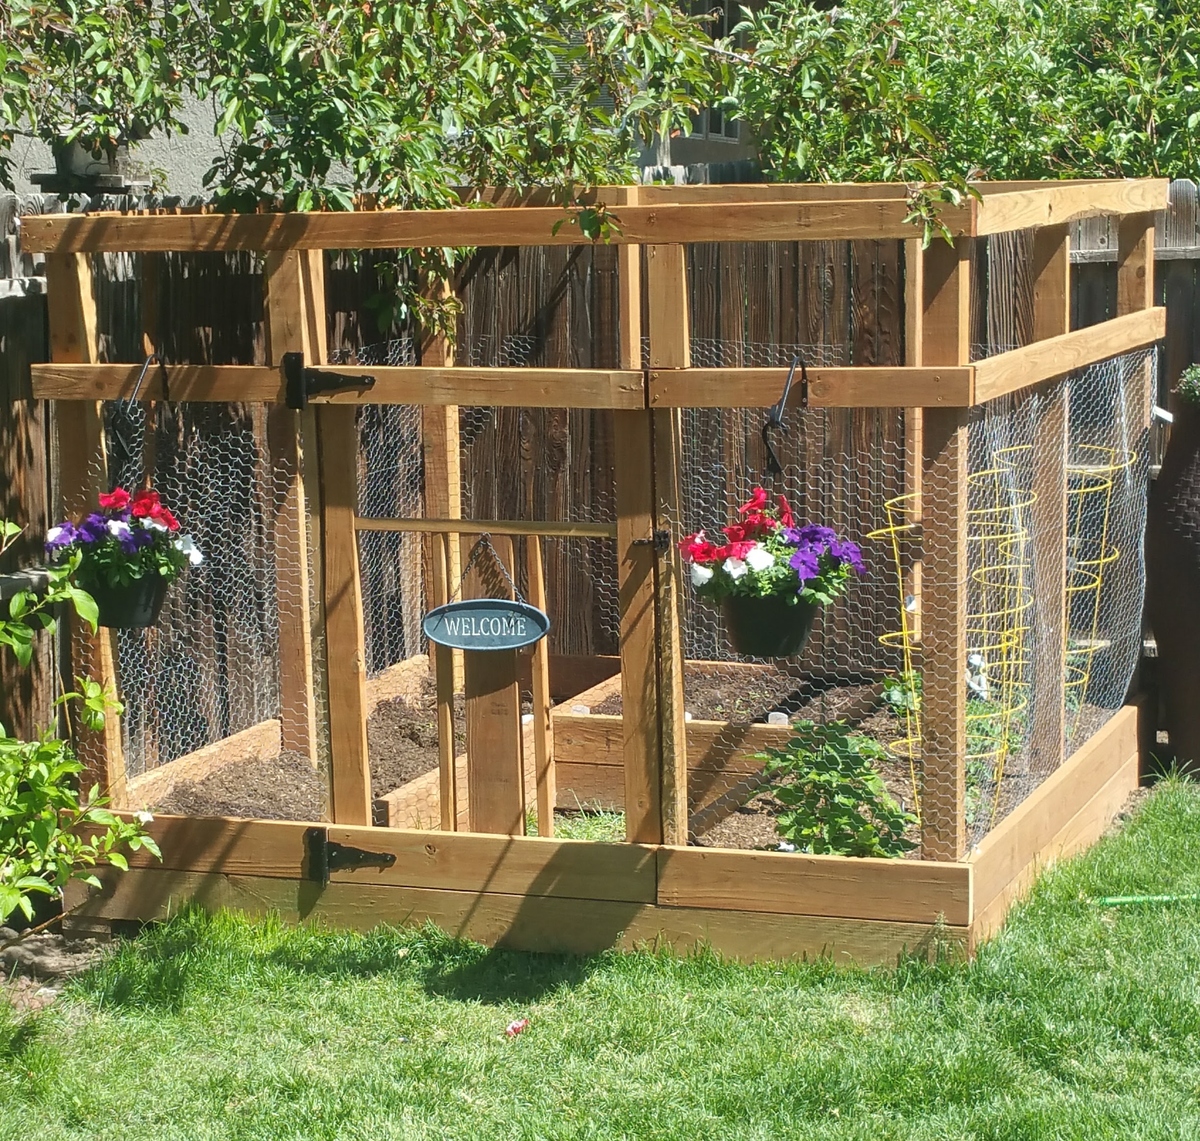
Cedar Fence Picket Raised Planter with Shelf - Excellent project! Used Cedar 2X4’s and Flood Clear finish. It is just beautiful and the petunias are filling out perfectly!- @jenmelnick
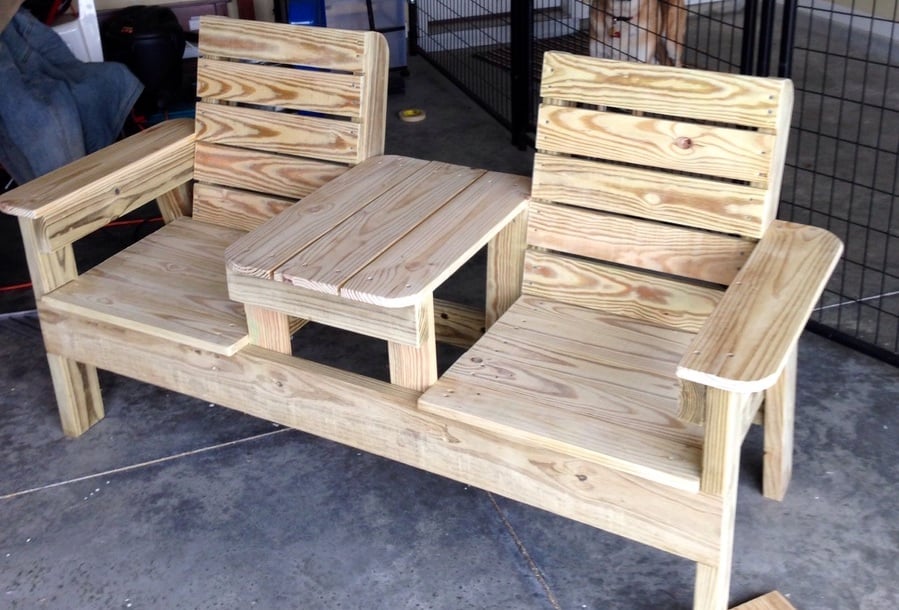
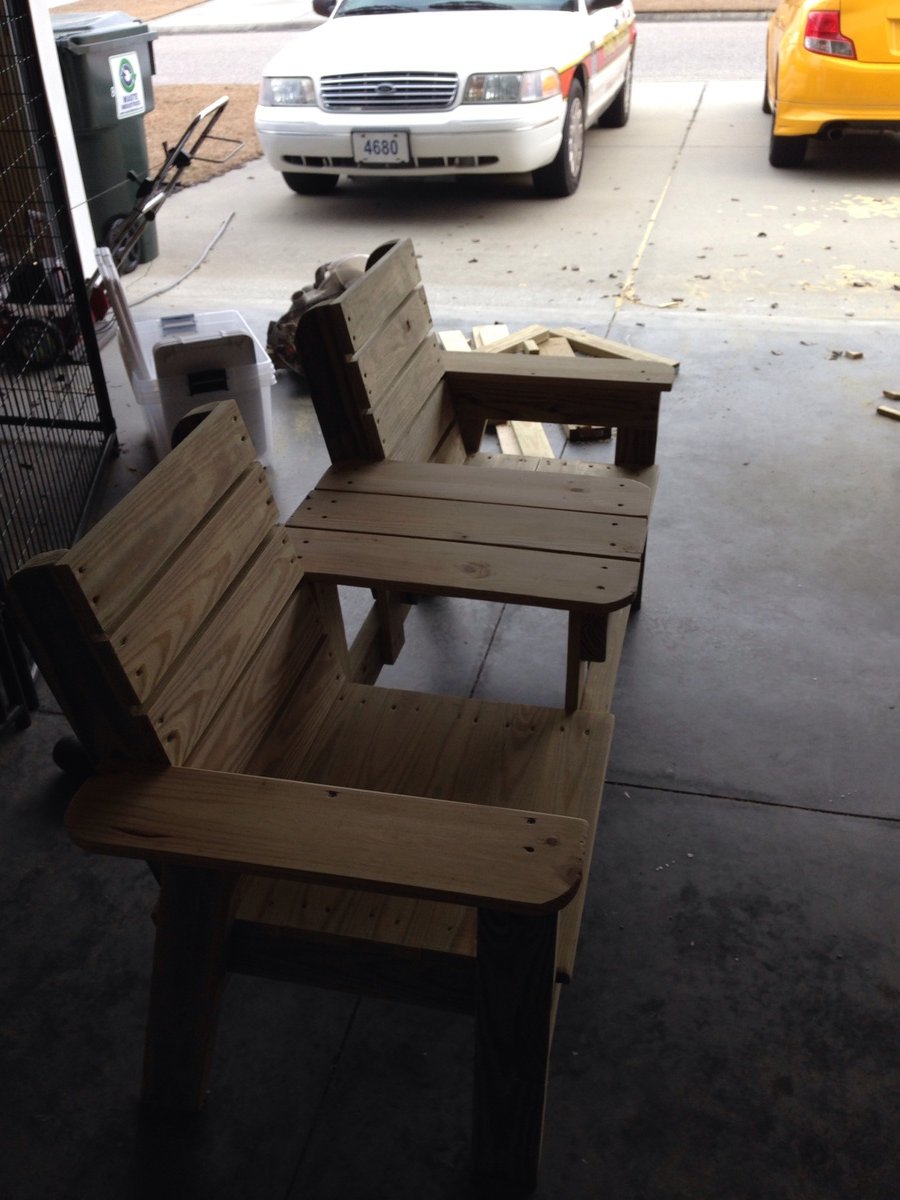
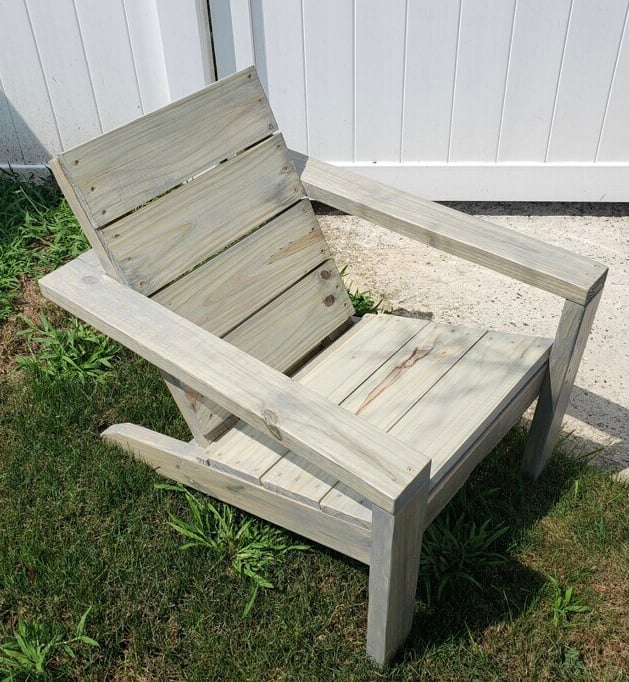
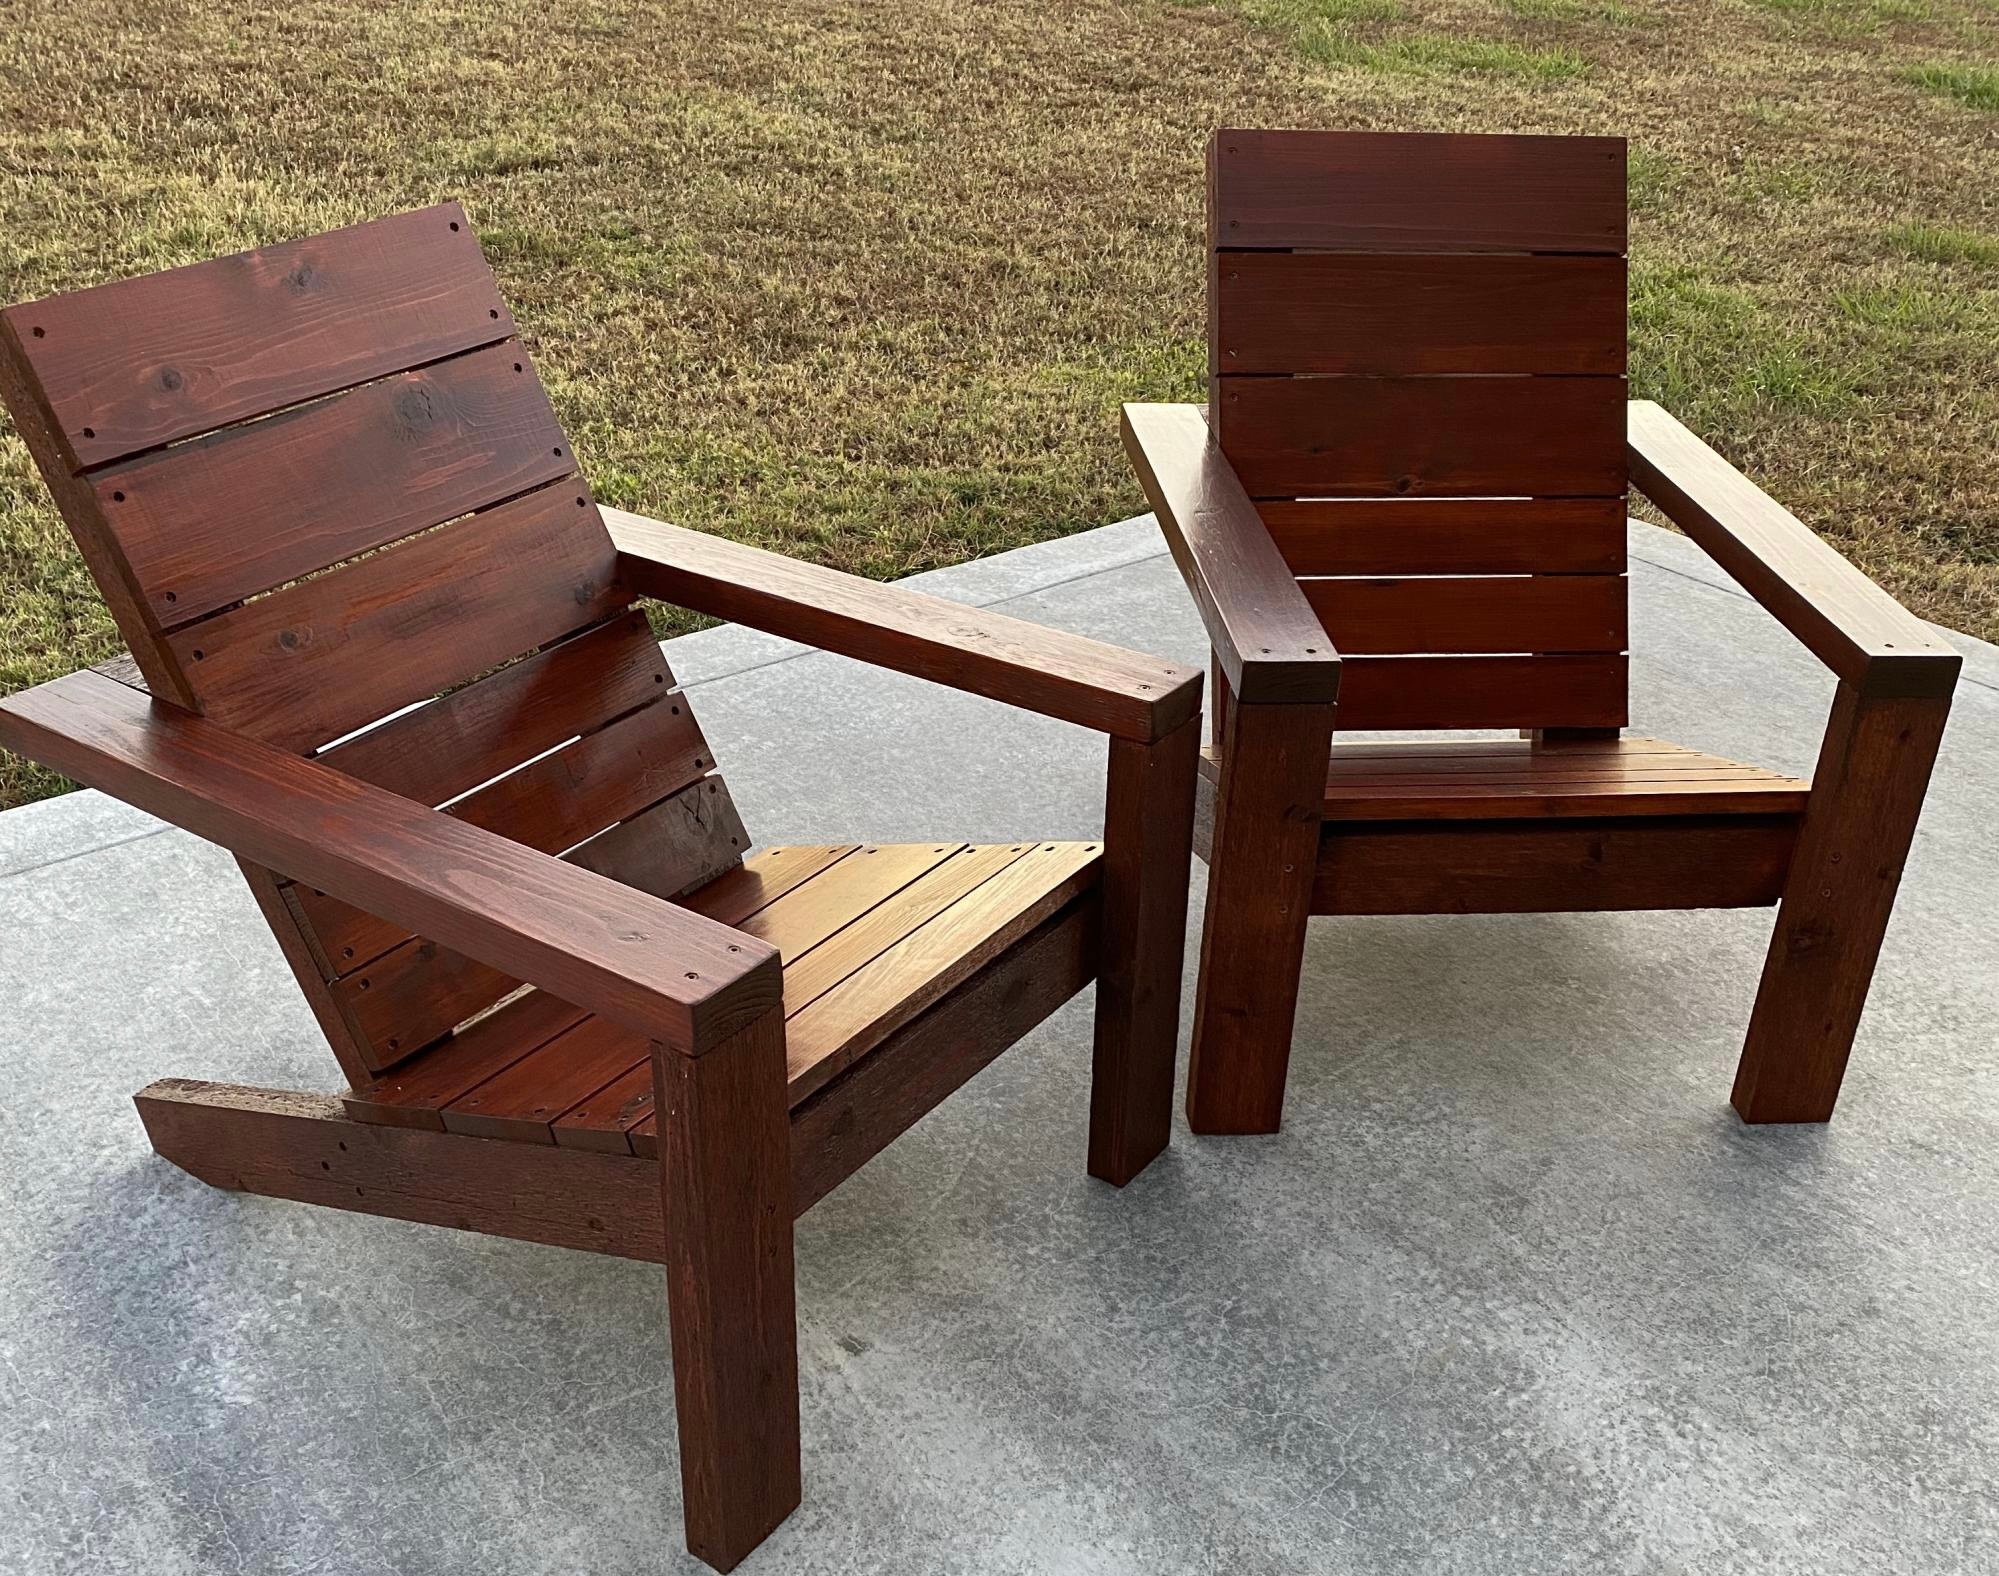
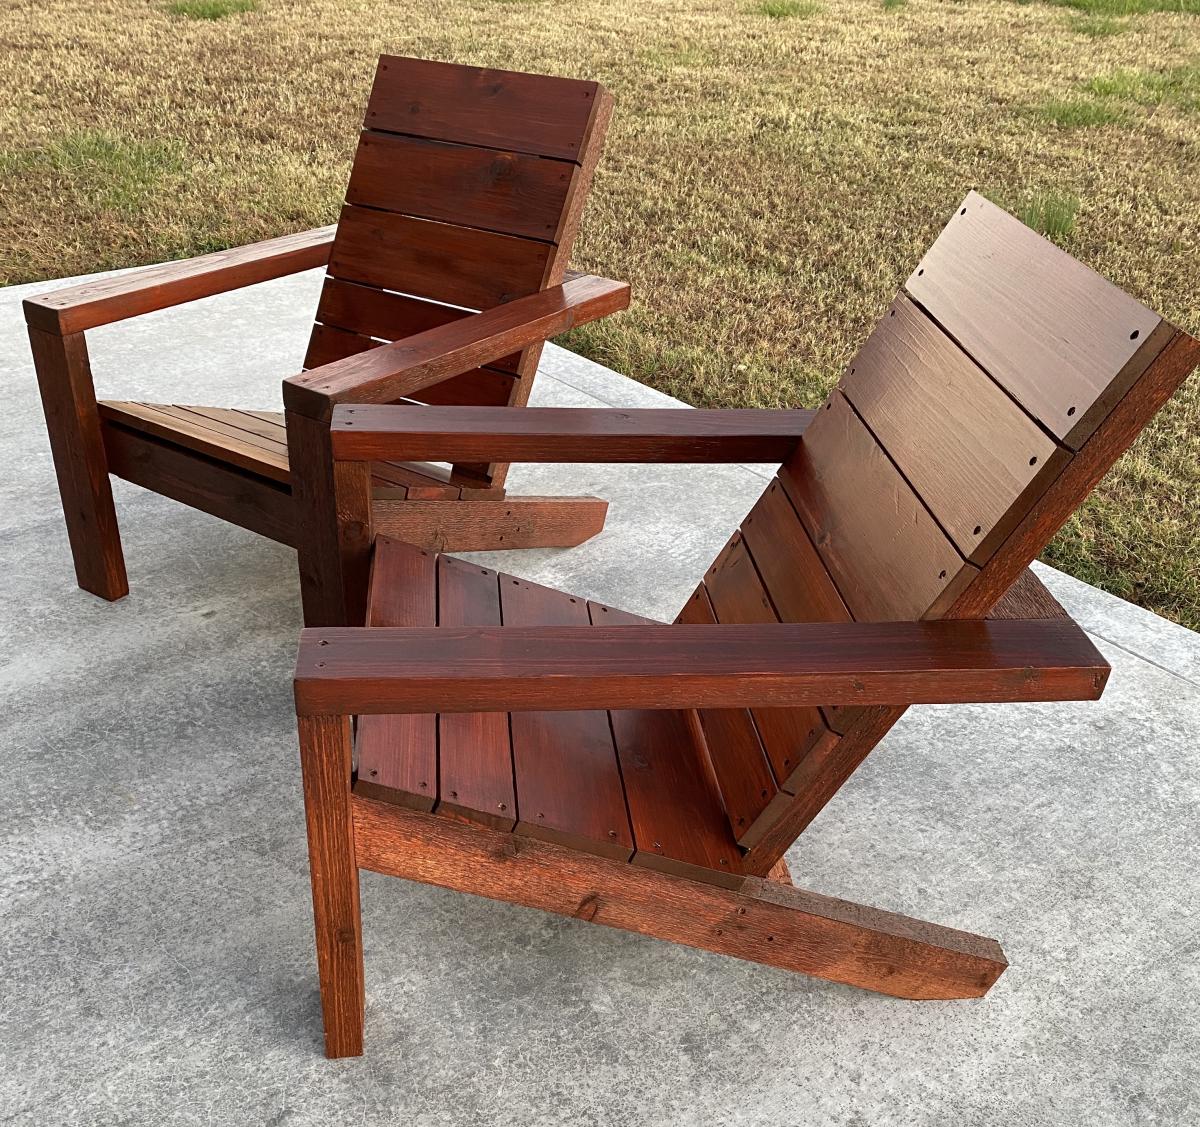
Decided to build this nesting chair for setting around the camp fire. I modified several plans to get the fit I needed. The legs are built from 3/4 select pine and the slats are from cedar fence pickets. Finally got to use my new planer for this project. - Roger Clark, Minnesota
Sat, 06/21/2025 - 09:42
Please share your plans with this chair, I’ve made several of these and for the life of me I hate them
The curve is wrong. It hurts my back and I’m always tipping over.
Please, please please share your plans
[email protected]
I just got this shoe dresser finished up with a little Ana White inspiration. - Sherry McGuire on Facebook Community
2 person picnic table by Greg Lee
Wed, 06/18/2025 - 15:11
I found out about Katsubet Casino quite by accident - I was listening to a cybersports podcast, and in the middle of the episode there was an advertisement about platforms popular in Australia. I went in without any special expectations, chose a slot with retro graphics, and suddenly I got freespins with wilds, then multiplier x20. All this - literally in 10-15 minutes. Not a record, but it made the mood. Withdrew part of the winnings to my bank account - the money came the next morning. No “checks for a week” - as it happens with others.
Wed, 06/18/2025 - 15:24
After laughing through a comedy special, I was in the mood for more fun. Thought I’d try an online casino for some goofy entertainment. Black Bear Casino from Canada has a playful bear vibe and a massive game selection. The site’s mobile-friendly and has strong encryption. For real, it’s a hilarious way to keep the good vibes going with slots.
My very first build, the second one I made for my mom. - Tammy McMahon
I needed a fire wood storage plan that would be easy to follow and solid. I thought of Anna’s plans first and they did not disappoint. I went with cedar tone treated wood. - Darrin Garris https://www.facebook.com/Family-Tree-Woodworks-LLC-106813108467556/
My brother and I threw a party for my mom's 70th. We had the idea to do a taco bar. We needed to feed 40-50 people and I wanted a nice presentation so I built this. It kept everything fresh for hours with the ice packs under the trays. This set up would work great for any gathering with food!
My dream birdhouse condo made with the DIY Birdhouse from One Cedar Fence Picket Plans!
So happy with how these turned out!
Thanks Ana!
Sat, 06/21/2025 - 13:05
I’m not usually into gambling but my cousin dragged me along when we were in Montreal. He wanted to check out Casino de Montreal and I tagged along. Ended up actually liking the vibe—fancy but not too much. They got beginner tables and promos for new visitors. It felt very local and not tourist-trappy. For a casual player like me, it was a chill first casino experience.
Our favorite throne in town.
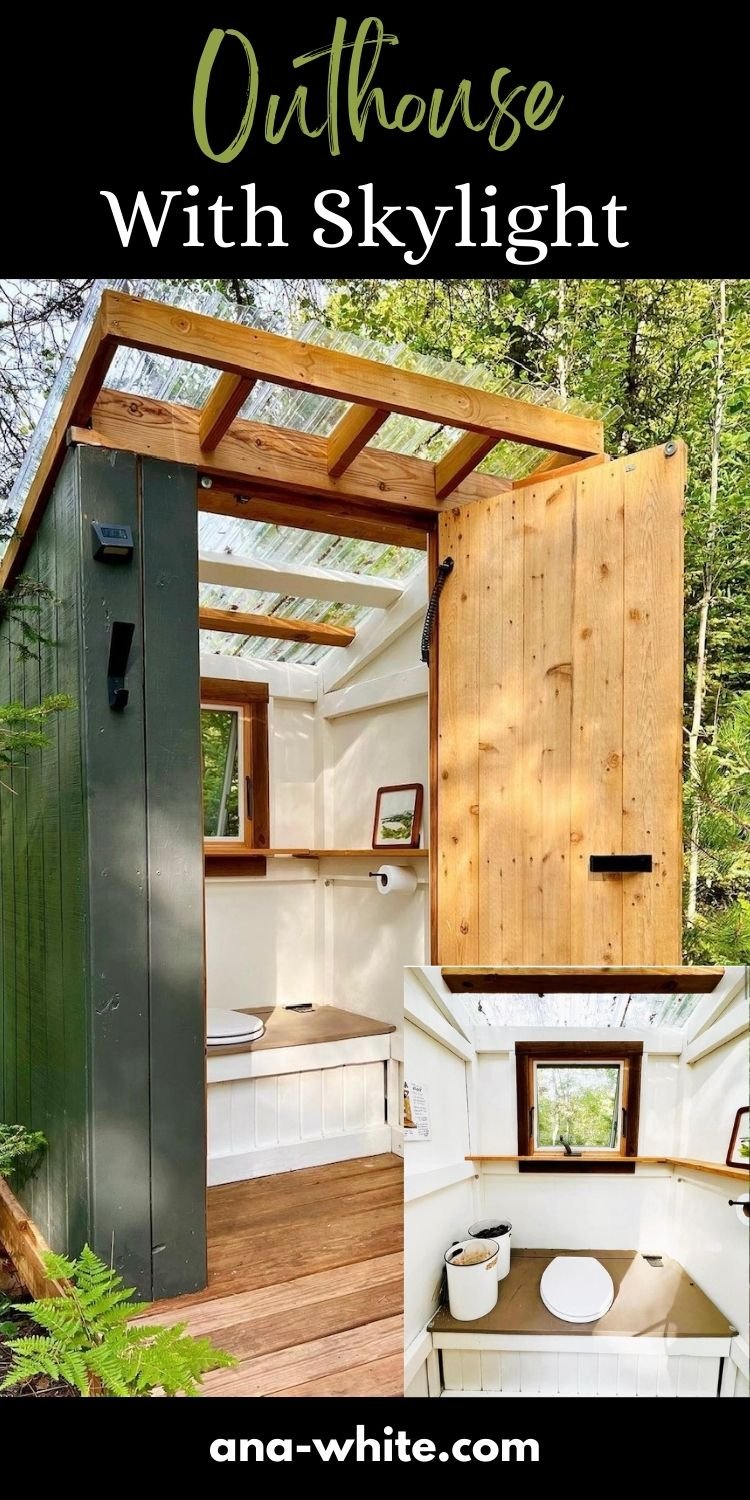
My daughter and I built the outhouse in the snow a few years ago. Once the TwoGa was named after the Stuga, the outhouse quickly became “The PooGa” (aka “The Ash-Hole “🤣). We use ash in the winter and sawdust in the summer, to keep away the stink, which works like a charm.
This is an adaptation to an Ana White outhouse design.
Fri, 08/04/2023 - 11:06
Love what you did here, the natural light and bright cheery interior, well done!
I built two of these a few years ago. They work both as an outdoor sofa and as a lounger. The versatility is great to make our small deck work in multiple ways. The cushions are camp pads ($20 each!) that I covered in outdoor fabric. Everything has held up very well. I did add a coat of solid color exterior stain in "wrought iron" by Benjamin Moore. Coordinating the color of all my outdoor furniture and adding more throw pillows has made my outdoor space feel like a fancy resort!
It is a merge of different ideas based on your plans. Thank you. Greetings from The Netherlands.
Irina Jacoub
OK, I think this build may be my biggest project yet! It is definitely the heaviest. With the strong winds we can get here in Florida we needed substantial outdoor furniture.
I did make some modifications along the way measurement-wise so the sofa would fit my front porch better. All in all, this took 2 full days. I built the sofa first, stained it the next day and then decided (due to trying to get stain in all the nooks and crannies) to stain the chair pieces first before putting it together.
I am so happy with the results and so far, almost a year later, this furniture looks great and hasn't moved an inch in any of the thunderstorms we've had! Thank you Ana!!
I saw this project on YouTube under Arbor Pergola Swing. It did not mention any specific detailed plans or cut list but it was enough to get me started. I began with (2) 10' 6" x 6" post. buried each 24" and cemented. I cut the post tops at 83" from ground line. The rafter consist of (2) 10' 2"x 6". I used the leftovers of the 6" x 6" post tops in the middle of my rafters to hang the swing from with 1/2 " eye bolt. Then I used (9) 2" x 2 " x 8' and cut each at 36" to finish off the top and (2) 2x6x8 for the 4 rafter supports. I drew out the designs of the rafters and top ends free hand and at made a template for the cuts with s jigsaw.
The entire cost including hardware minus the swing was $170. My wife had purchased the swing last Fall at a clearance for $40 brand new.
We’ve owned this open gazebo for a few years and thought how nice it would be if it were enclosed, so i framed in the base using deck boards and wood siding, built a screen door and framed it. Added outdoor shades and furniture, and a TV of course. The blinds hold in the heat of the gas fire pit on chilly evenings. We live in MN and now we can enjoy our screen gazebo 3 seasons. Fred Vollbrecht
Great Plan! Loved how easy it was to build and how little the cost was.
Tue, 07/28/2020 - 09:52
Did you use decking screws or pocket holes for the visible portion of the couch?
Sun, 08/01/2021 - 18:40
Looks amazing! What method did you use (pocket holes, dowels, deck screws, etc) to join the visible portions like the arms?
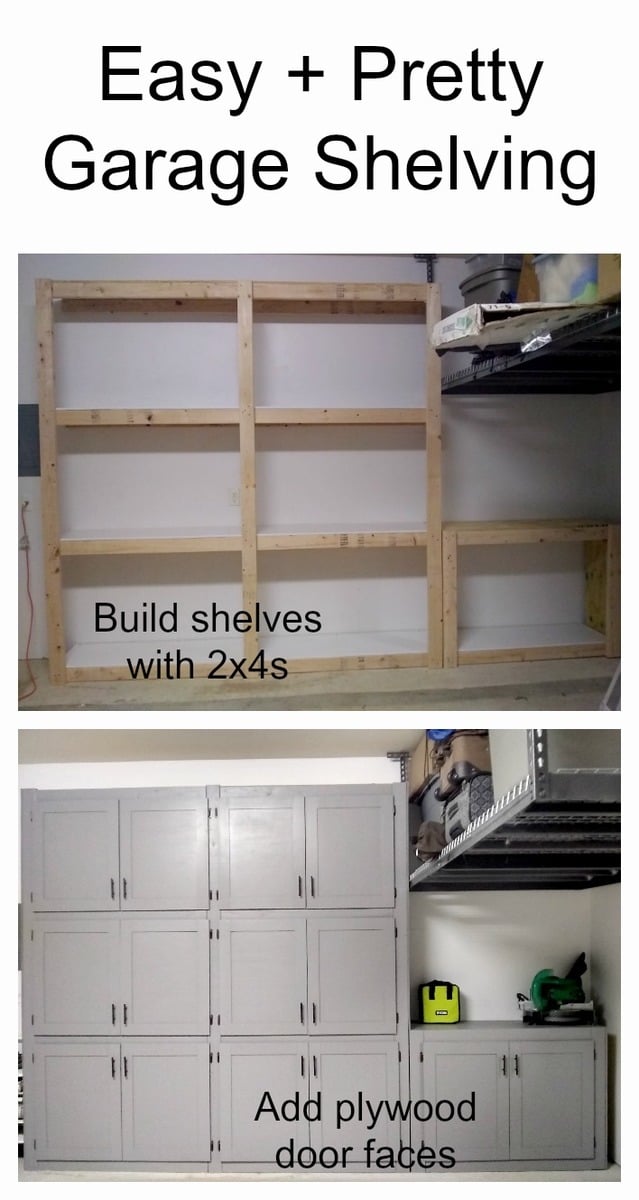
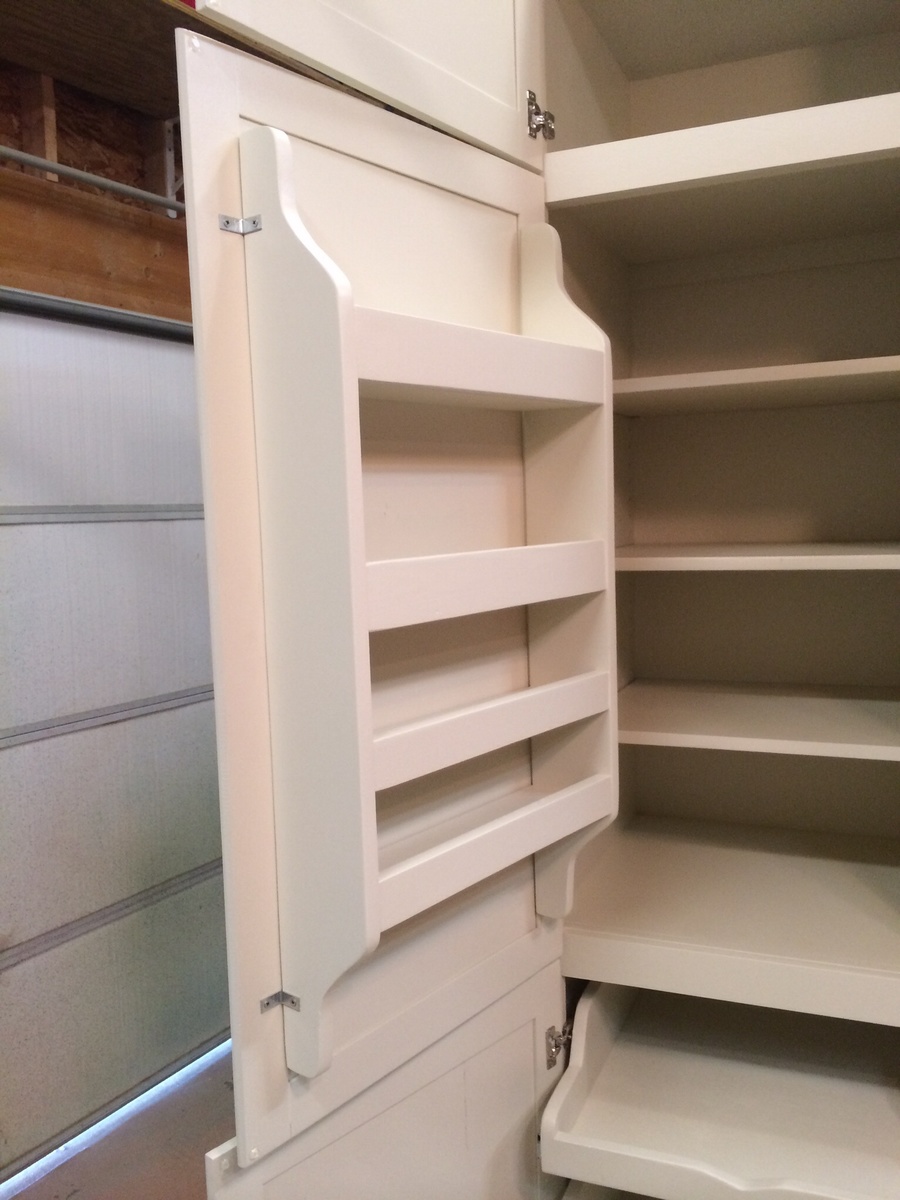
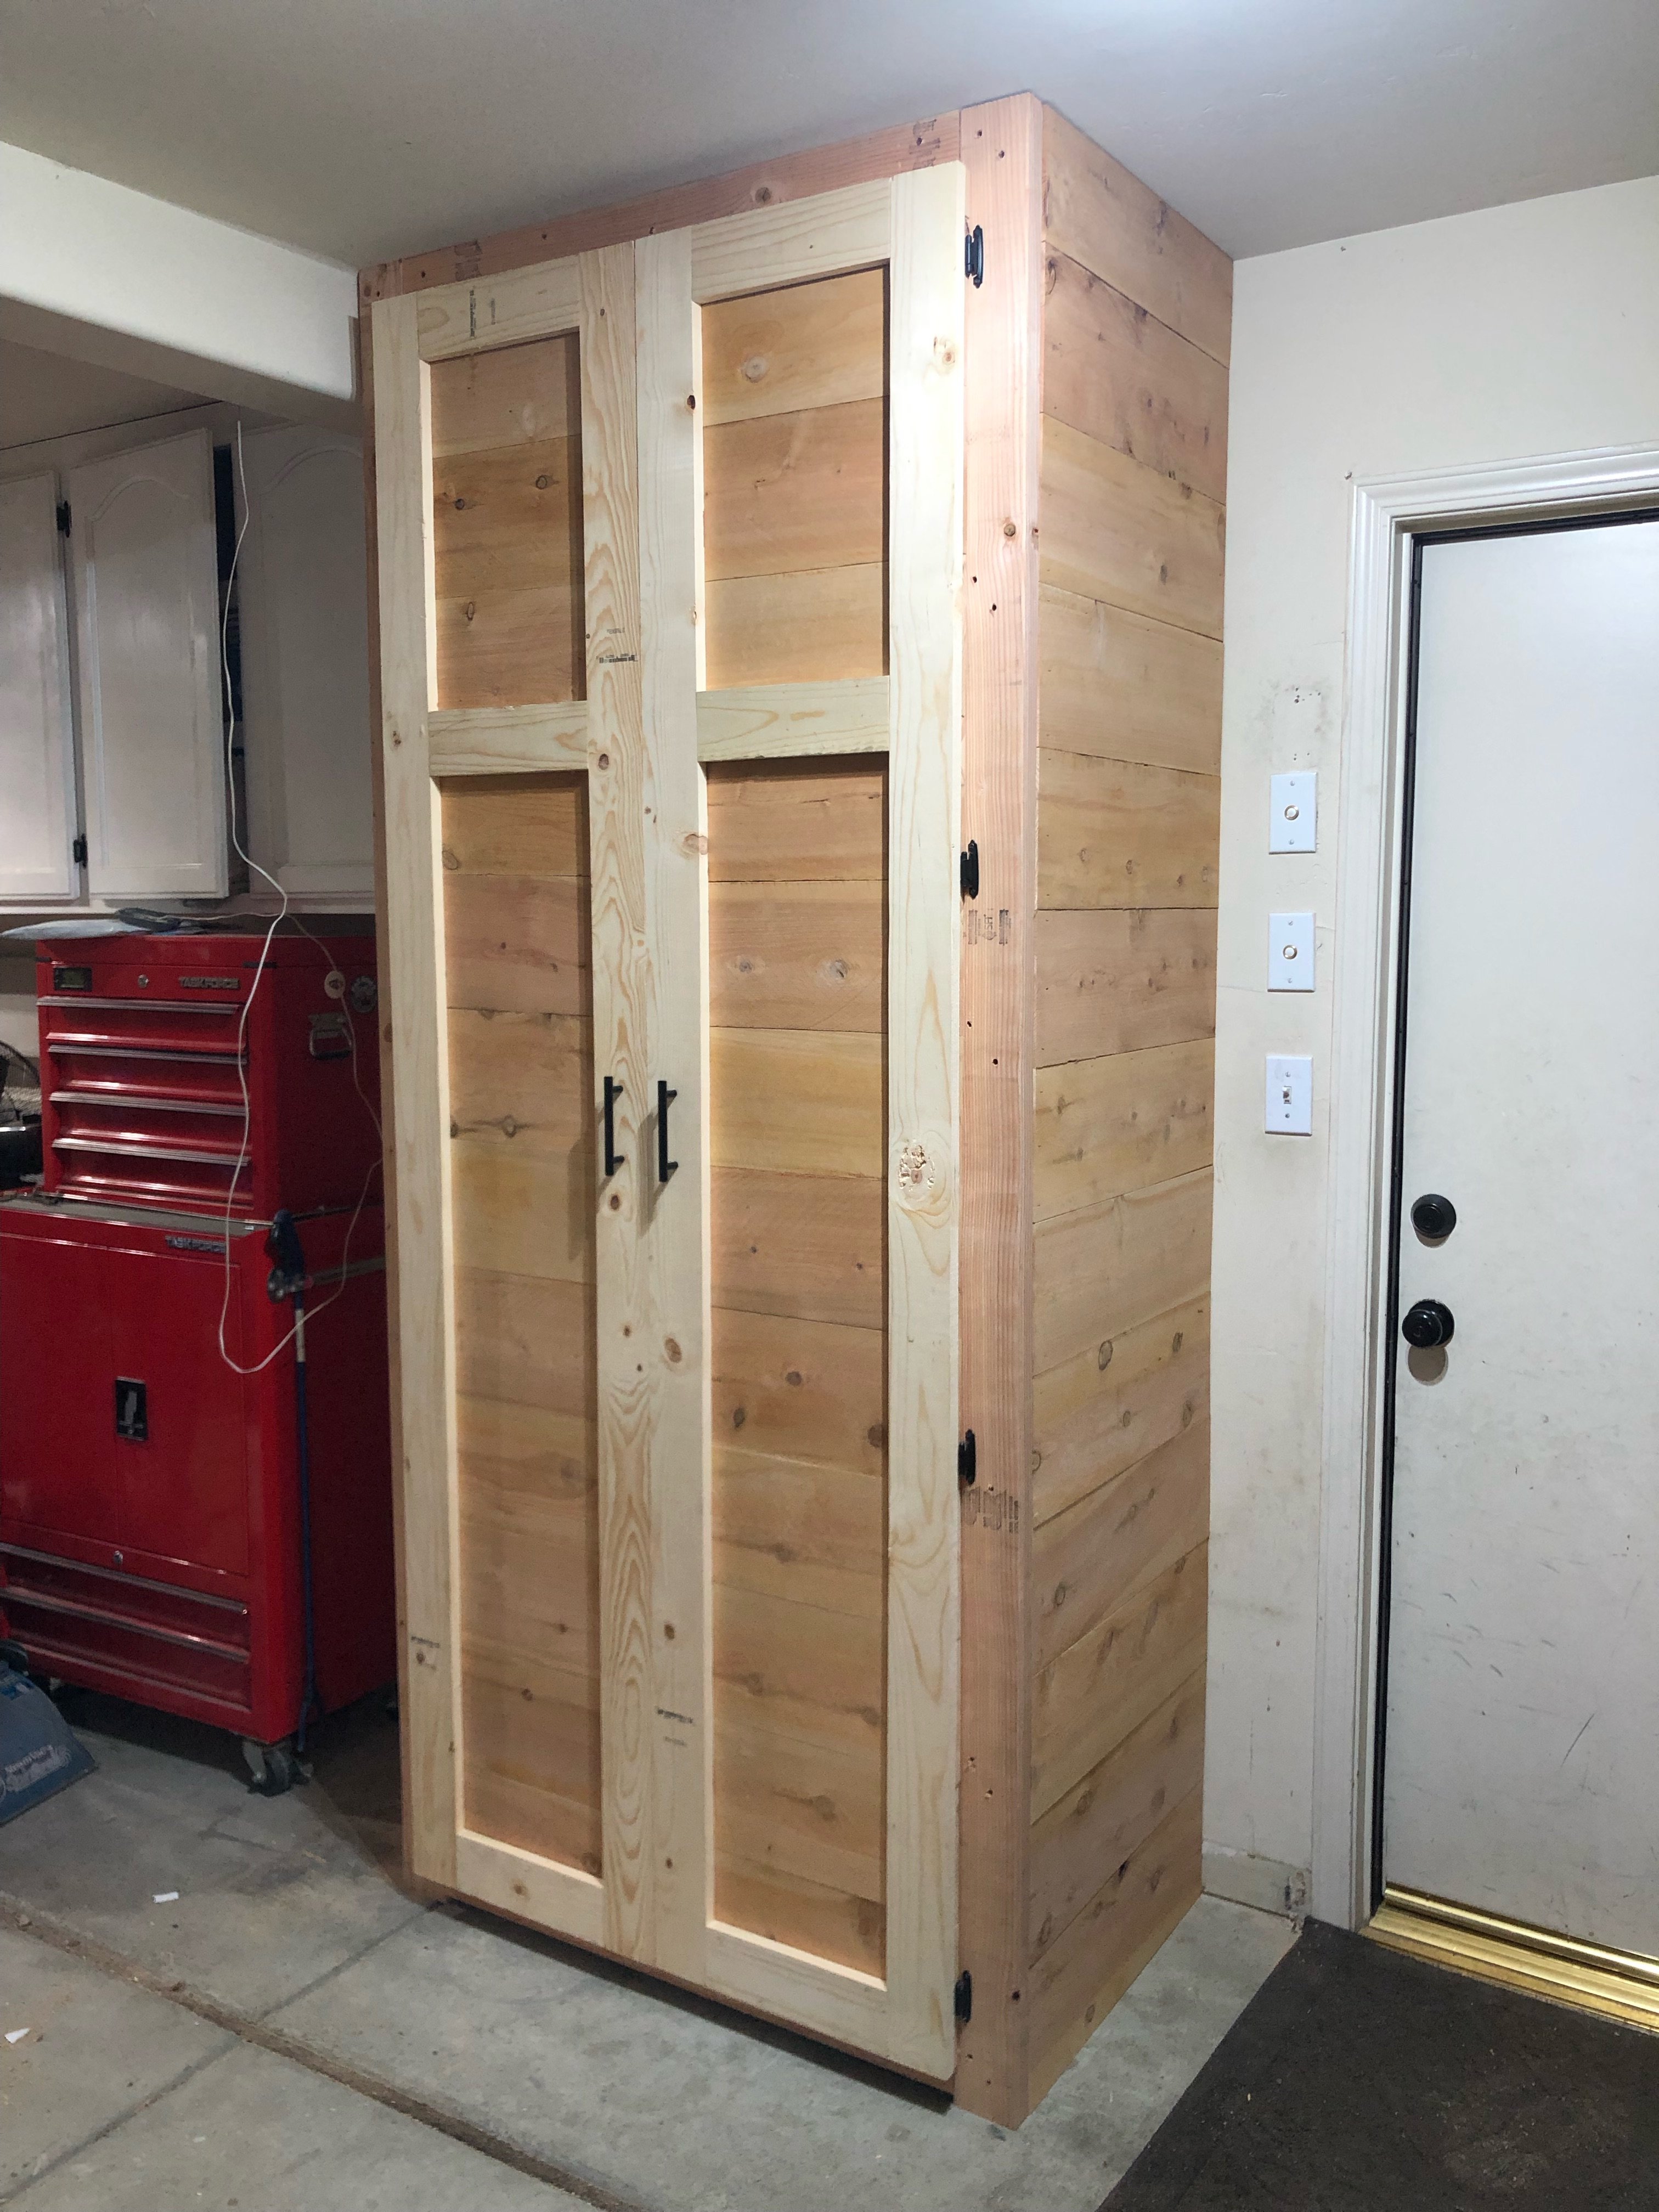
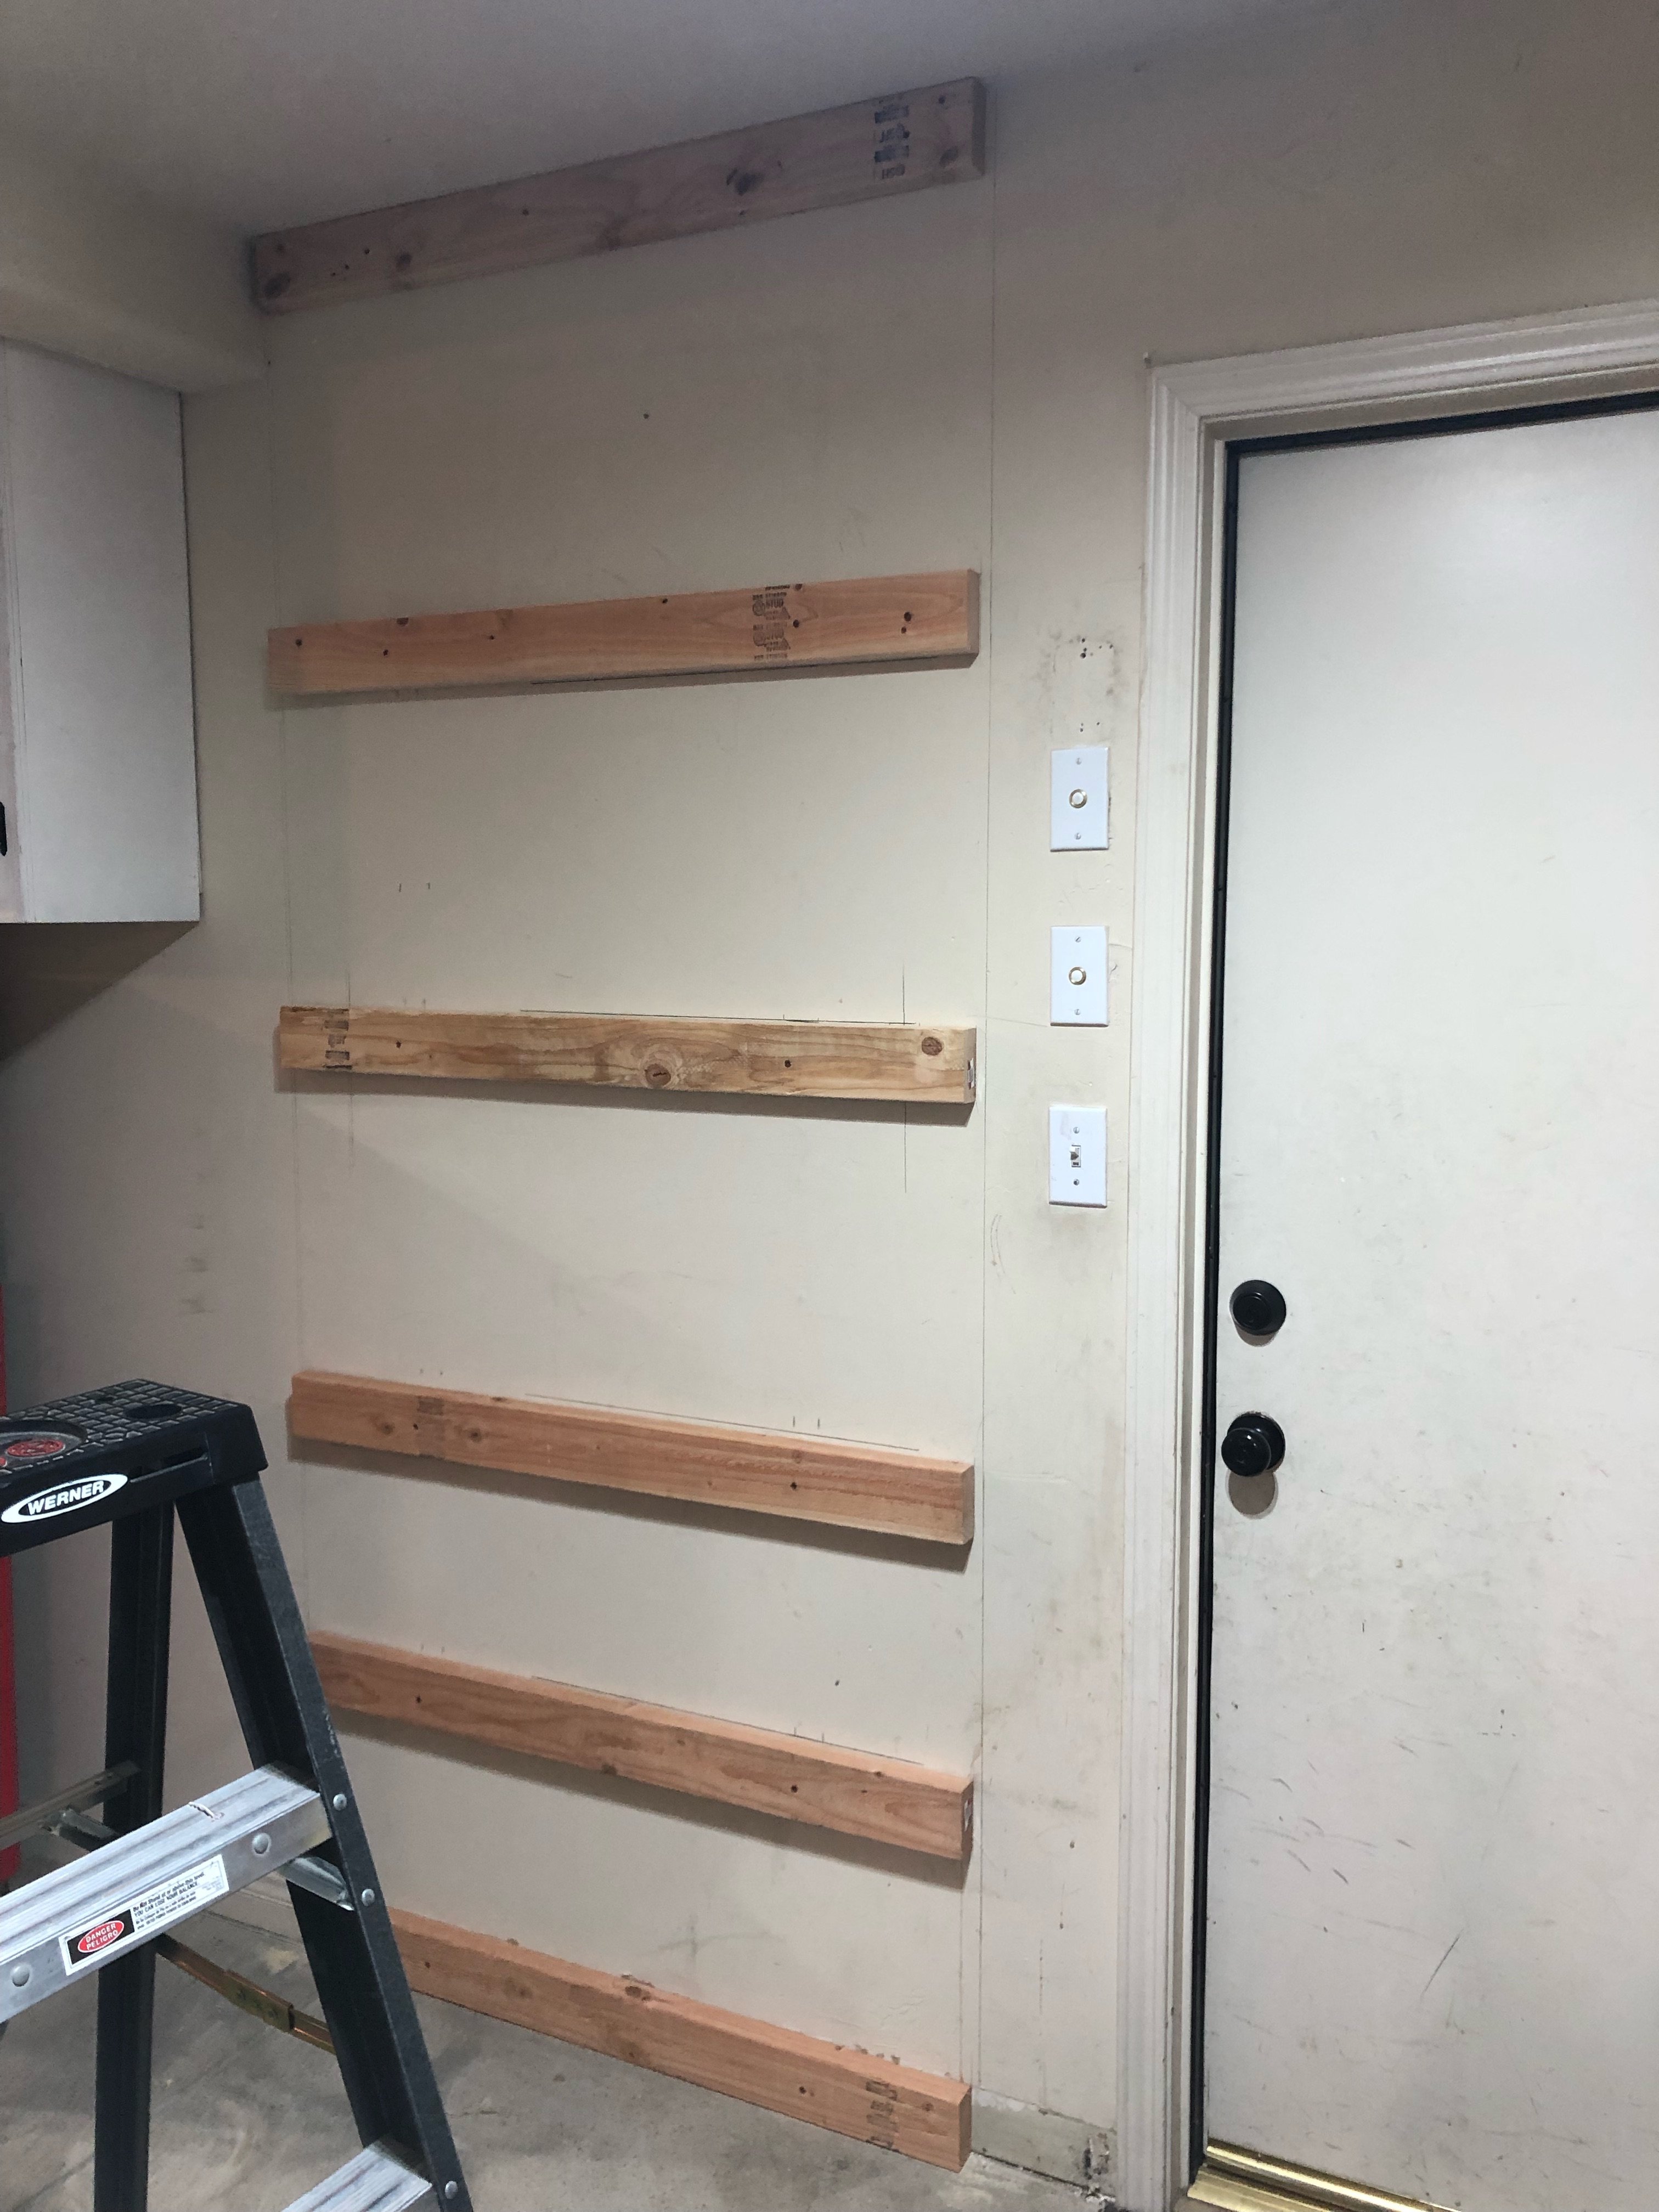
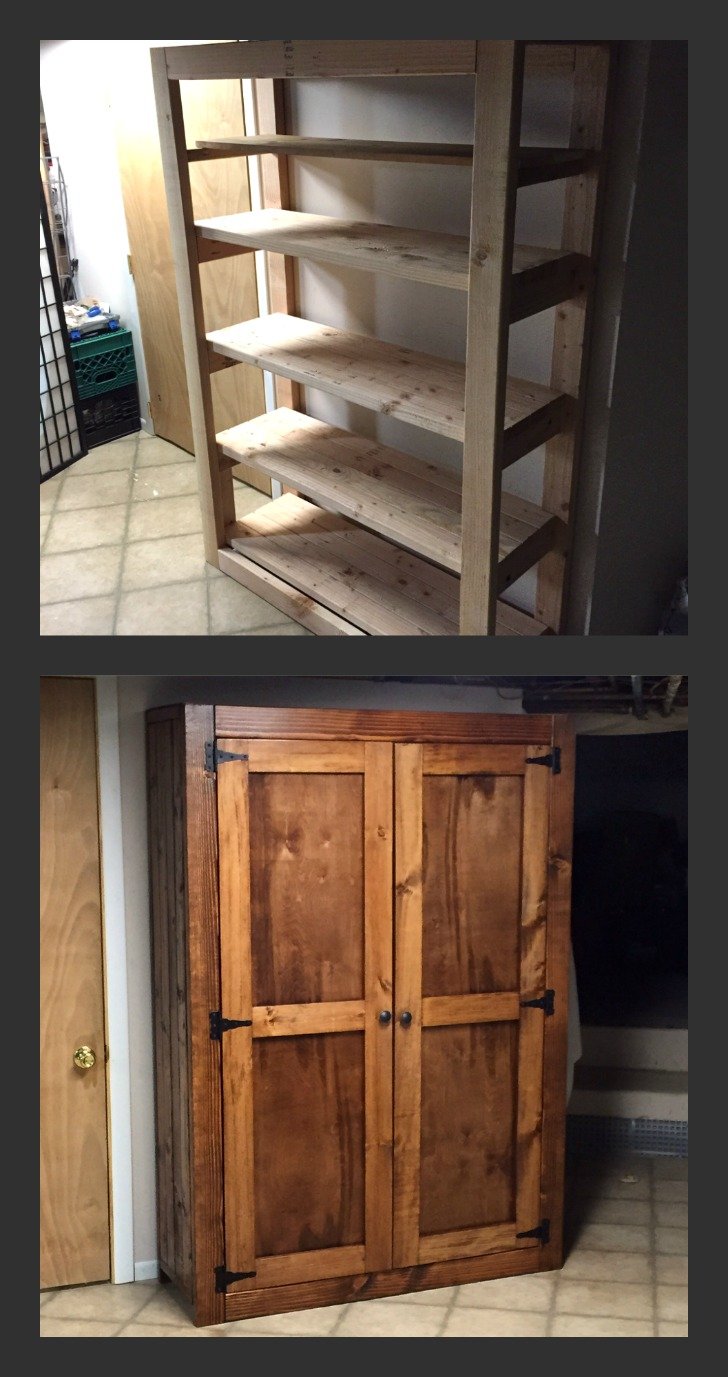
Anything is possible when you put your mind to it. This is my 4th DIY furniture project. First time working on cabinet/doors. Installing them straight was the biggest challenge. The side of the pantry is actually four 2x4's. I measured the frame so tightly that I had to use a hammer to bang in the fourth 2x4 on each wall, also adding a distressed look in the process. The pantry is very large, 48in wide and about 17 inches deep. Our kitchen lacks storage space and we could use a little more space for food and also pots, pans etc. The staircase to our basement is off our kitchen, so I placed the pantry right at the bottom of the staircase for easy access. I am thrilled with how this came out considering the time and effort it took. Very gratifying. Build on!
Thu, 03/05/2015 - 06:24
I really love how the finished turned out. I need to build something like this too! My current pantry just isn't big enough for bulk shopping :)
Thu, 04/16/2020 - 10:55
Building this from your pictures as we speak! What type/thickness of wood did you use for the back panel and door panels??
Sat, 07/23/2016 - 18:21
I am thinking about building one but I am not sure if my skill level is up to this yet. I am going to attempt to build the Kentwood Bookshelf and see how that goes. I am remodeling my office and want real wood shelves instead of that pressed wood junk. Great job on your build. I love this website!
Sat, 01/13/2018 - 18:09
Hey Michael I really love the pantry and would love to make this exact one but there is not enough info on the sizes and what all you used for all the wood. If you have time I would greatly appreciate it if you could give us some more info thank you
Thu, 01/09/2020 - 06:19
Is the top of this a single piece of plywood. Pictures are a bit vague. Trying my hand with this
Wed, 04/28/2021 - 16:38
Love it! I am in need of one too. Can we get the plans for this pantry?
My father and I made this awesome poolside towel cabinet using the Benchmark Cabinet plans. A super easy 1 day build and it looks amazing on the patio. Bring on the pool weather!
I changed plan to make deeper. I also modified the bottom trim and top. I put a ball bearing soft door drawer guide on modern door so it can slide back and forth. I feel we need more modern plans on here but with a bit of creativity and using plans you can make anything. I have never built anything before. I love General Finishes Milk Paint in Snow White and I brushed rolled it on (sanded between 3 coats). It’s basically self leveling and leaves a nice matte finish. Used door glide in picture bought from homedepot in the 24 inch and that’s how wide door was and it was 36” tall. Door glide I only used one on top of the door not on bottom as well. Door piece of fiberboard with just strips glued on and quarters spacing them correct.
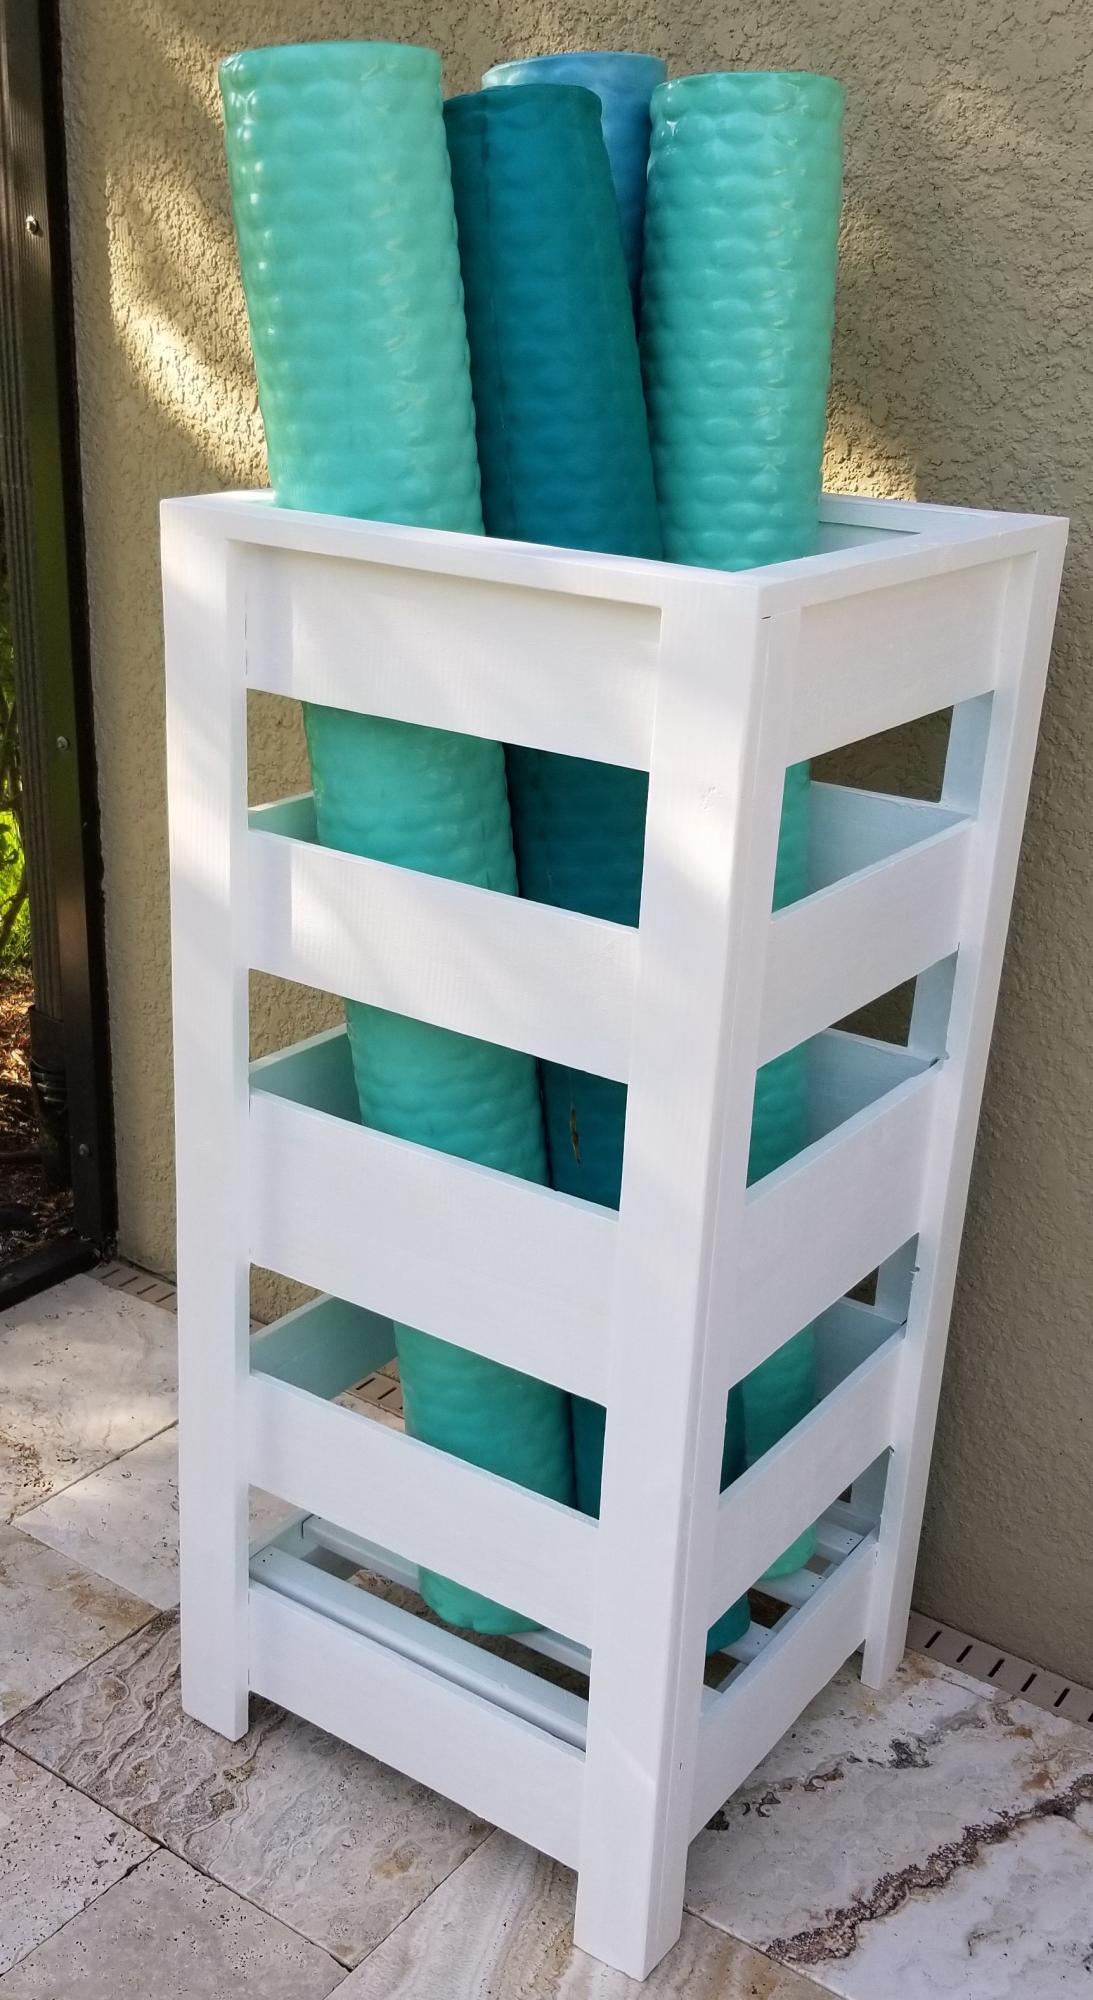
I modified the plans for the planter box to make a holder for Pool Noodles. I made it 40" tall and used 4-4" fence pickets and 1-5.5" fence pickets. I used a 4" spacer and the openings worked out perfect. I stained inside and out since it would show with 2 coats of the solid stain. It is perfect! Thank you so much for the inspiration and plans!
Mon, 06/06/2022 - 14:04
This is so smart and looks great too, thank you for sharing!