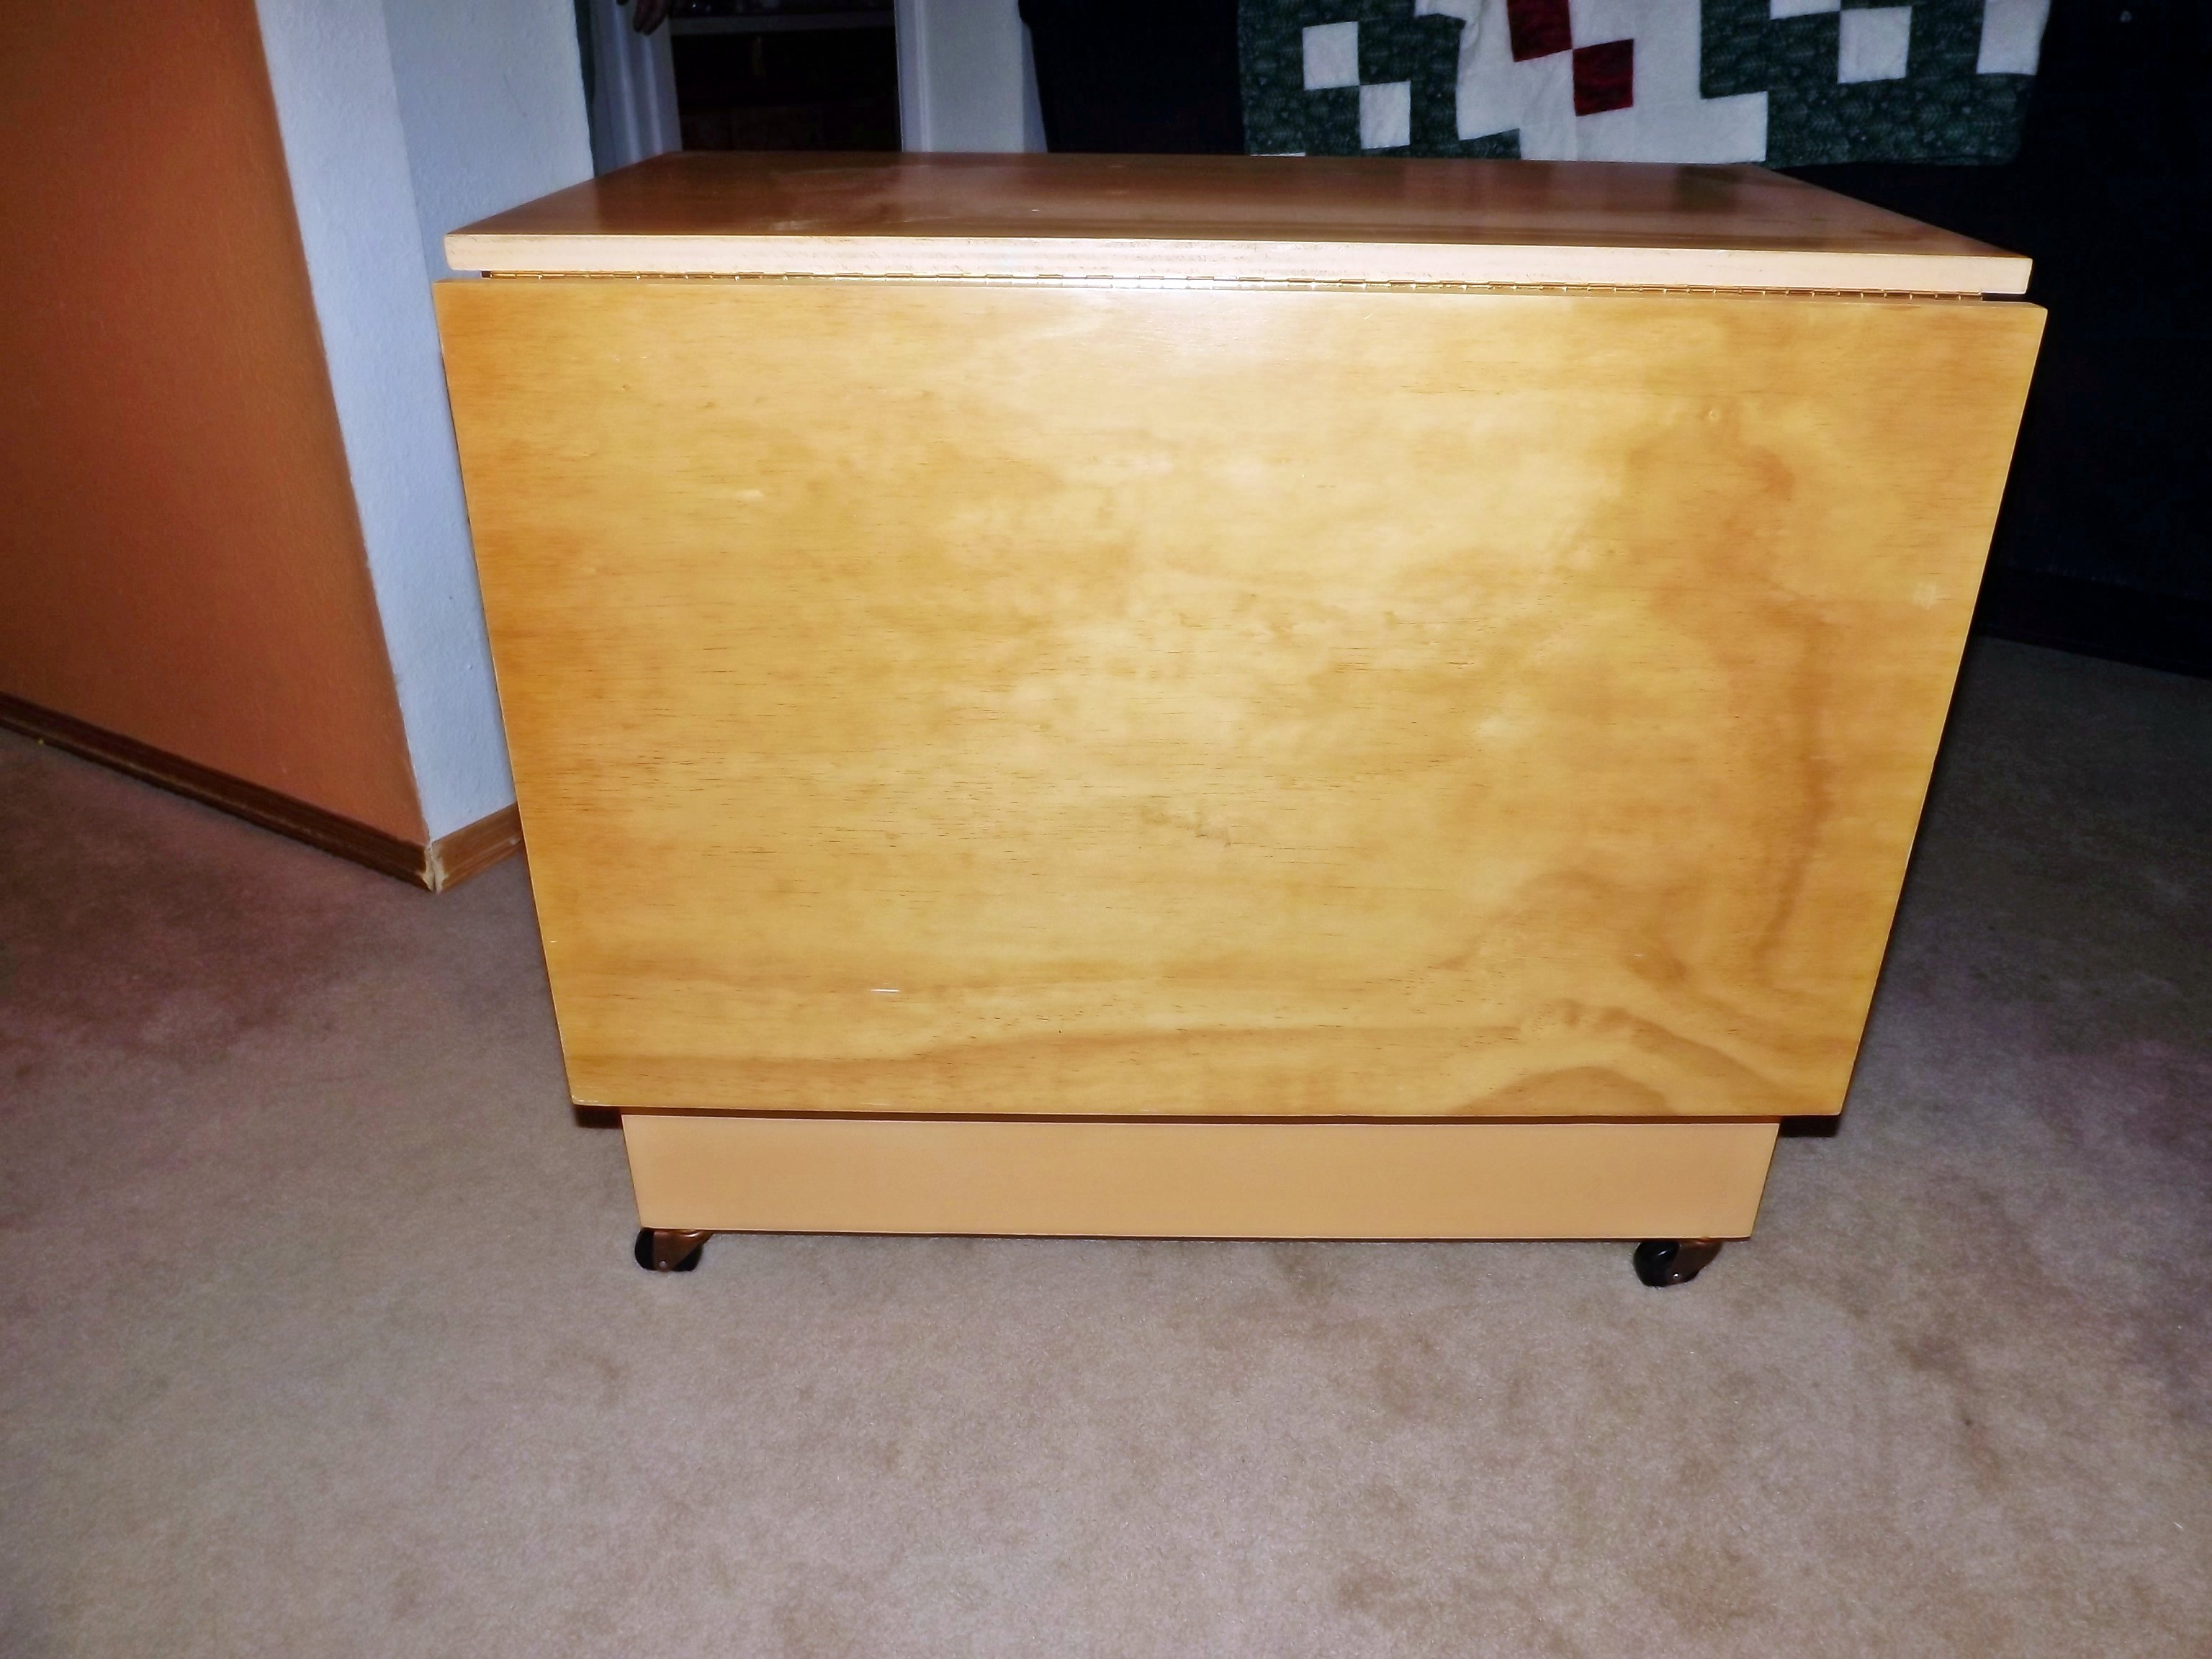
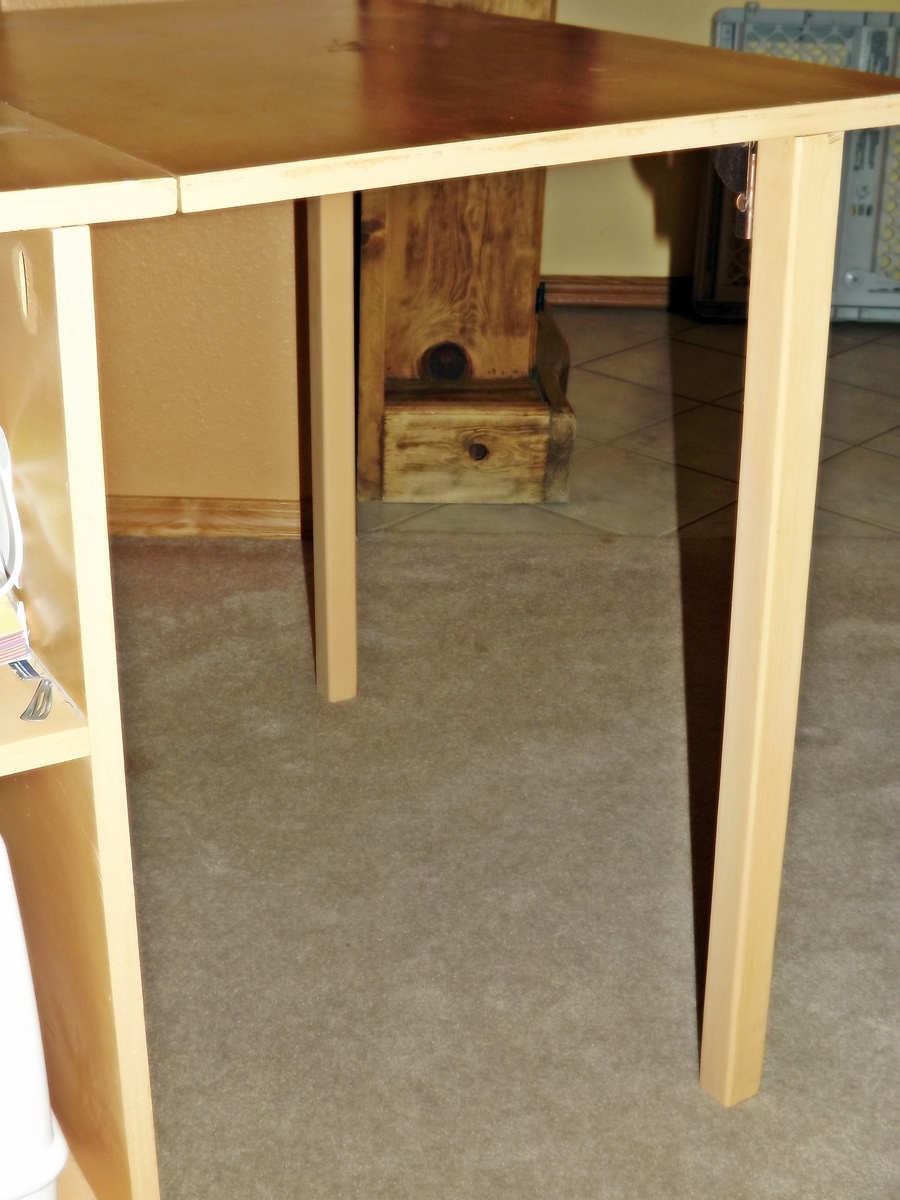
My daughter-in-law needed a compact sewing table, and this plan fit the bill perfectly! I did use 2 x 2 legs instead of 1 x 2s. This makes the table considerably more stable if you plan to use this table with your machine. If you do use the 2 x 2s for legs, you will need to widen your table top dimensions from 15 1/2" to 17" to accommodate the larger diameter of the legs. I also used a piano hinge for each drop leaf. They weren't much more expensive than the hinges listed in the plans, but again, they provide more stability (imho).
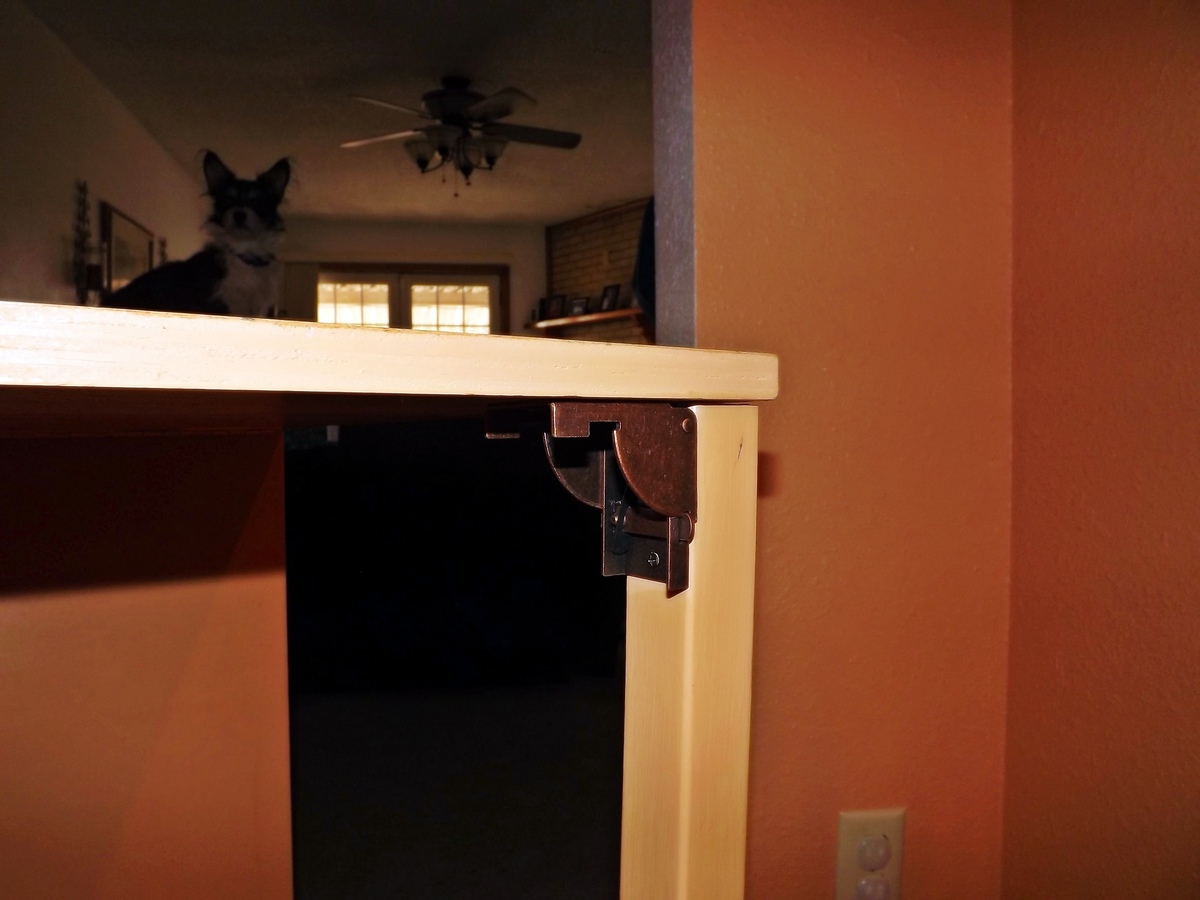
I wanted to show the locking mechanism for the legs in detail. I love these as they hold the legs in place when the drop leaf is down, and they pop into place when the leaf is in use. Called "folding leg fitting" it is part S-149L at $3.65 each at the following link:
http://www.hardwaretree.com/proddetail.php?prod=S-149L
When my daughter-in-law received her gift on Christmas Eve, she wouldn't even let me keep it for another day or two so I could touch-uppaint some spots...she loves it.
Thank you, Ana, for the wonderful plans!!
Estimated Cost
Around $75.00 not including stain and paint, which I had on hand.
Estimated Time Investment
Weekend Project (10-20 Hours)
Finish Used
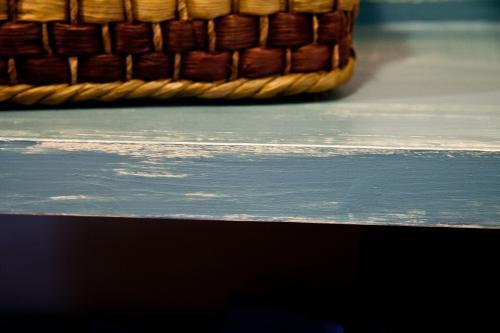
Top and leaves stained with pine; box and legs painted w/ semi-gloss wall paint from my daughter-in-law's house (can't tell you the color, but it's from the terracotta color family). Three coats of poly on stained top.
Recommended Skill Level
Beginner


Comments
moosmani
Fri, 04/05/2013 - 10:46
Looks great! I really,
Looks great! I really, really need to build one these. Are you happy with the way it works?