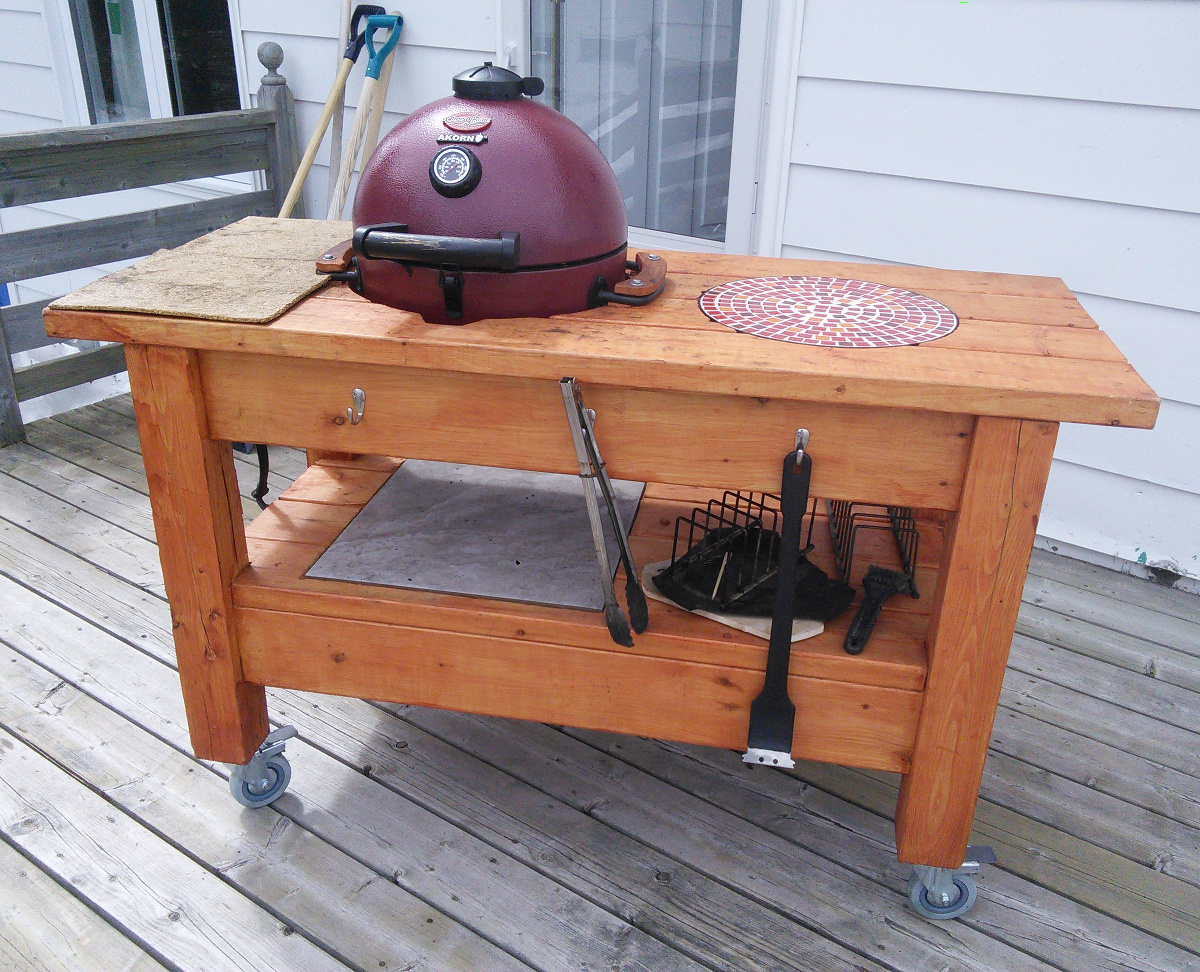
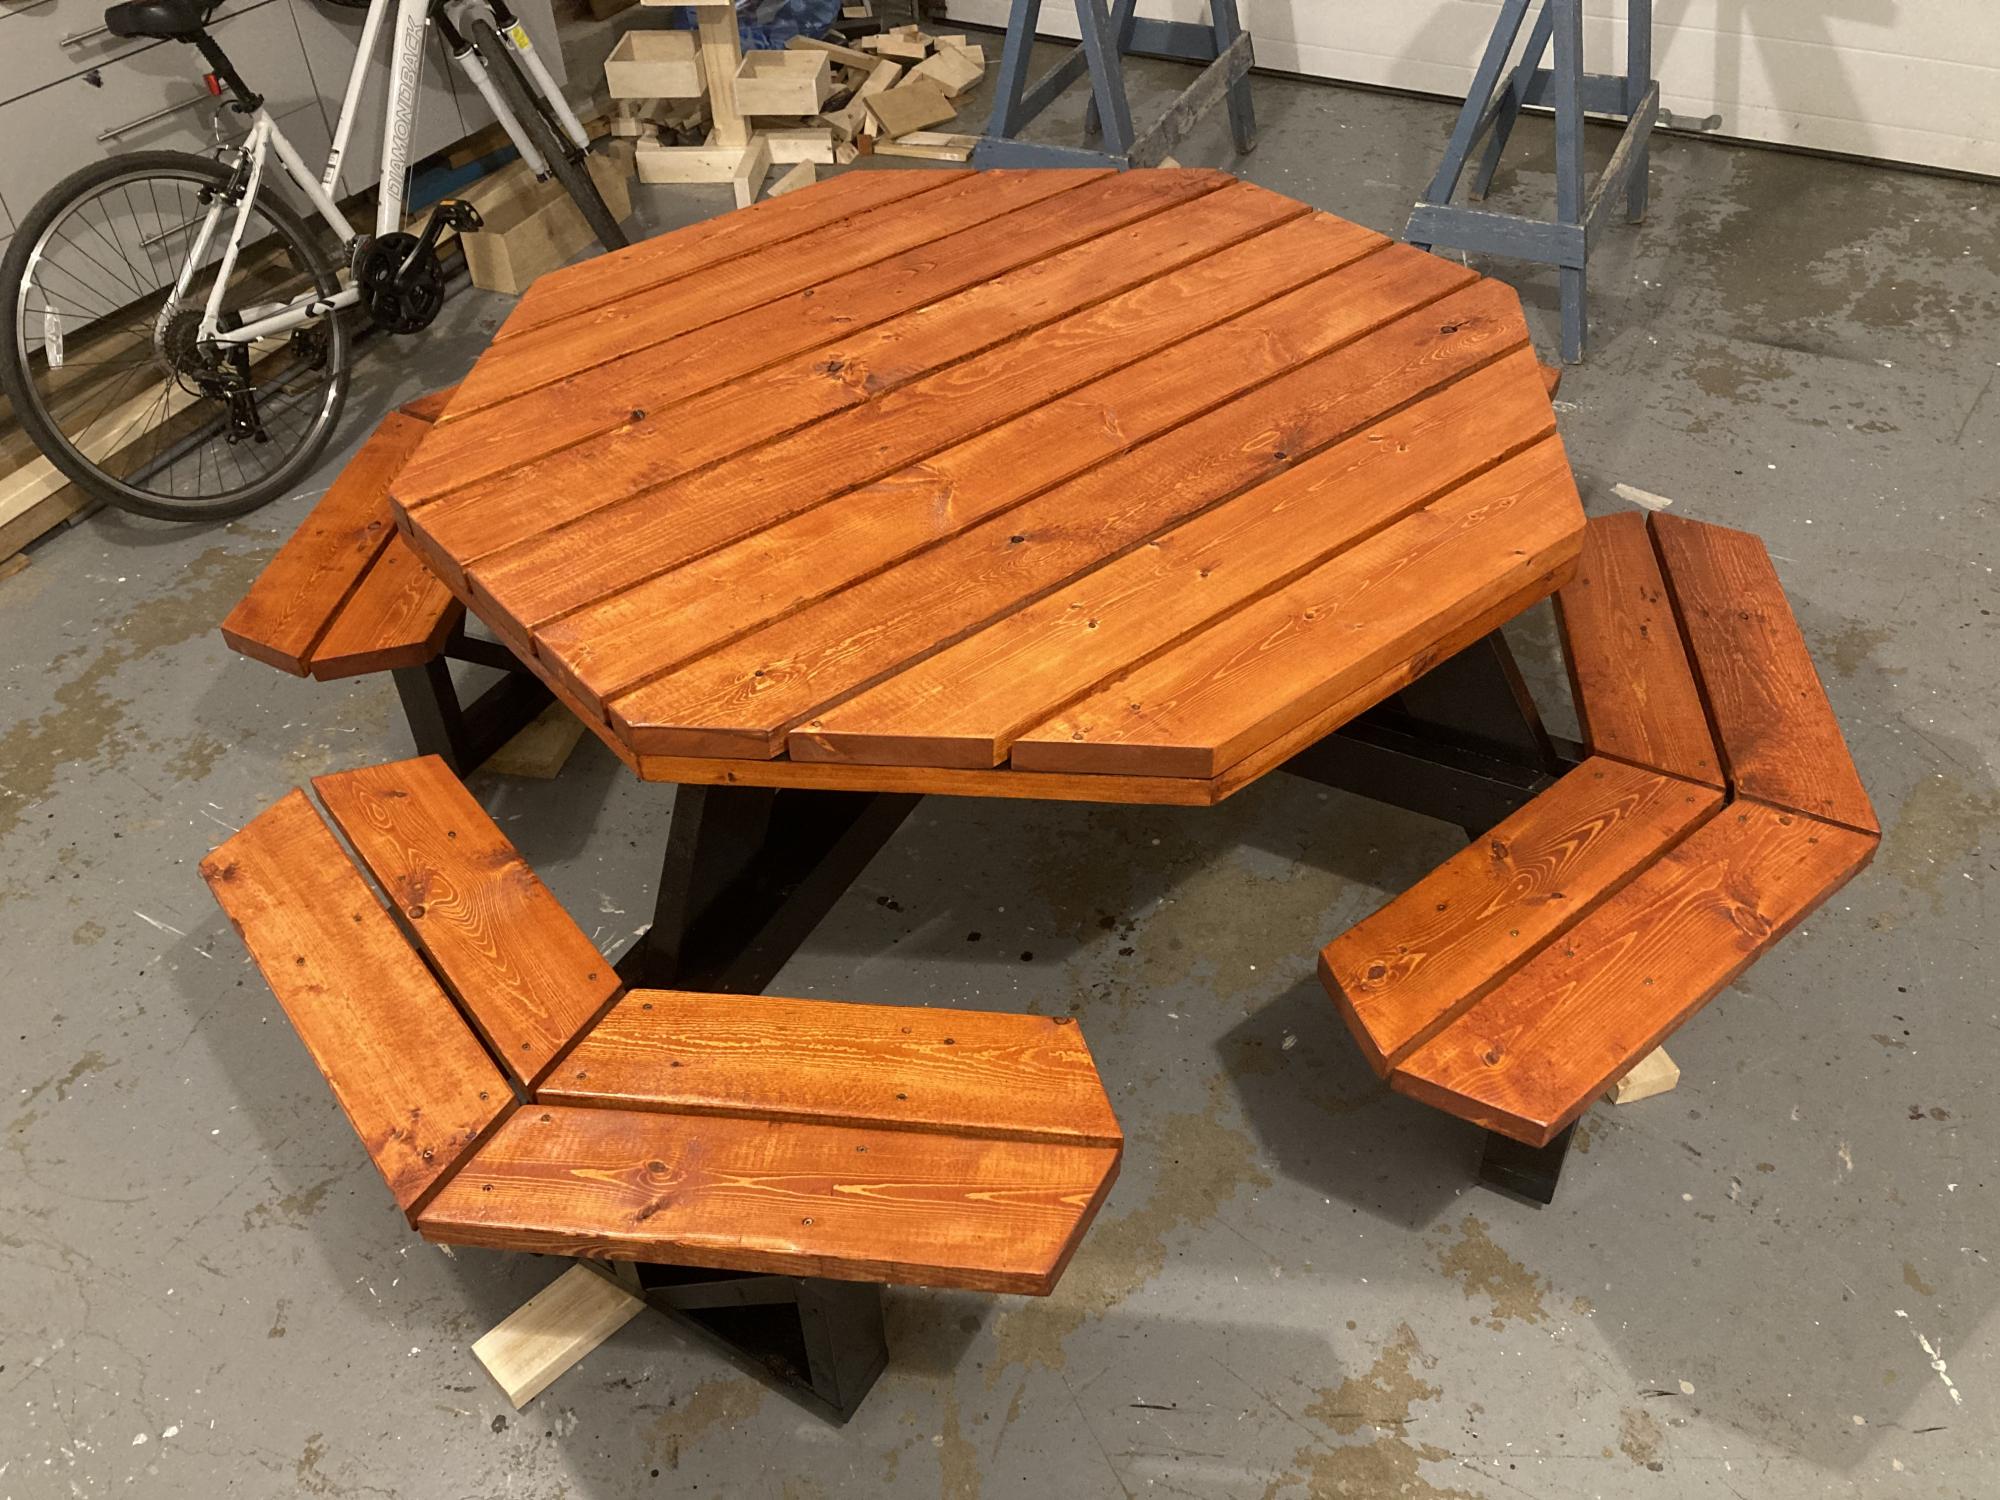
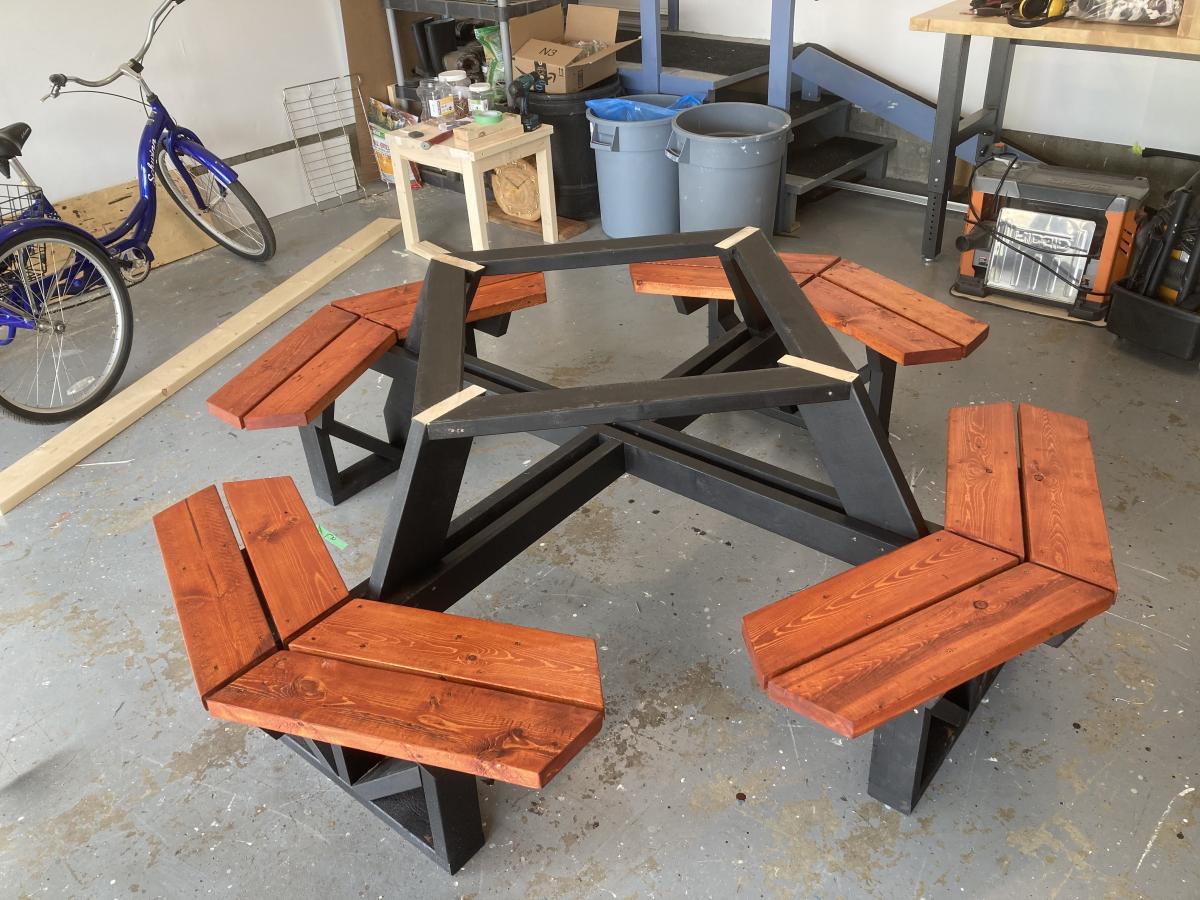
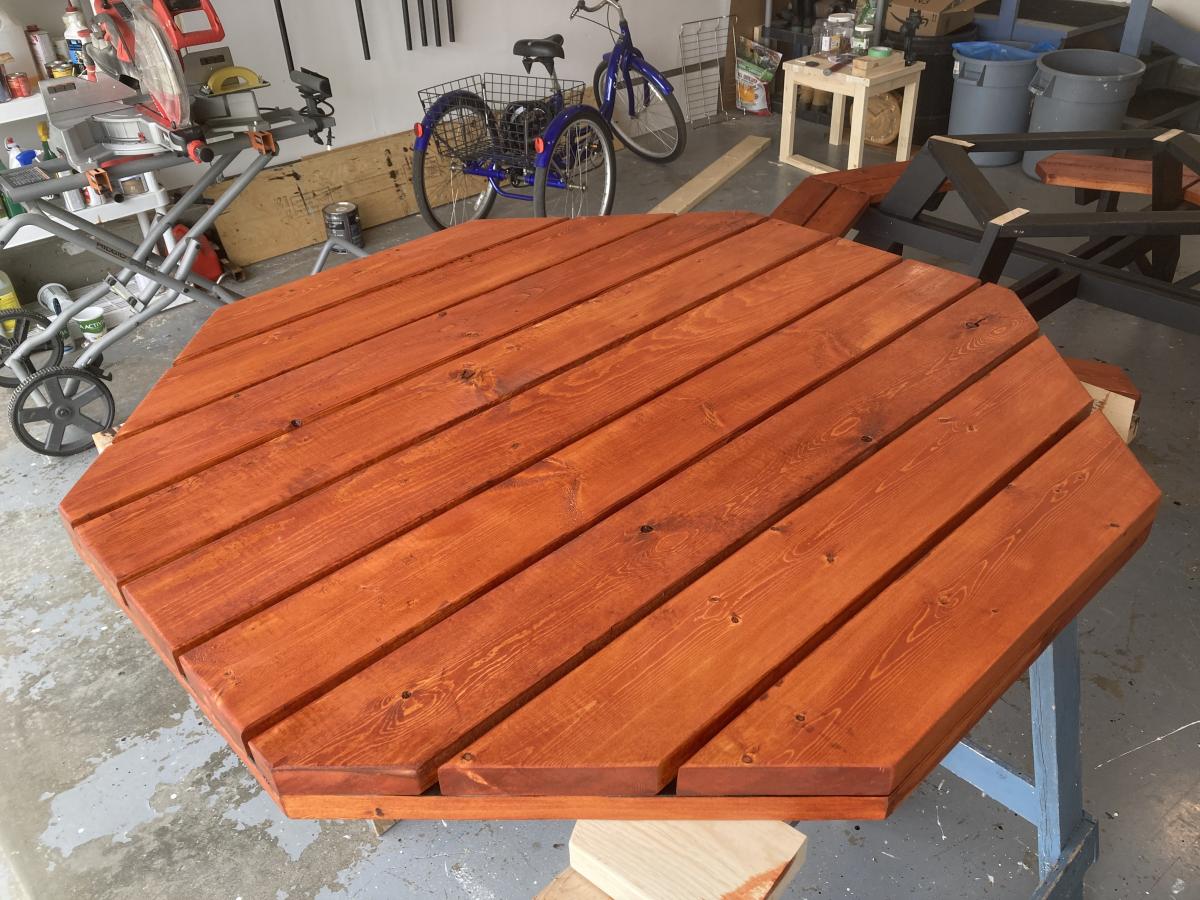
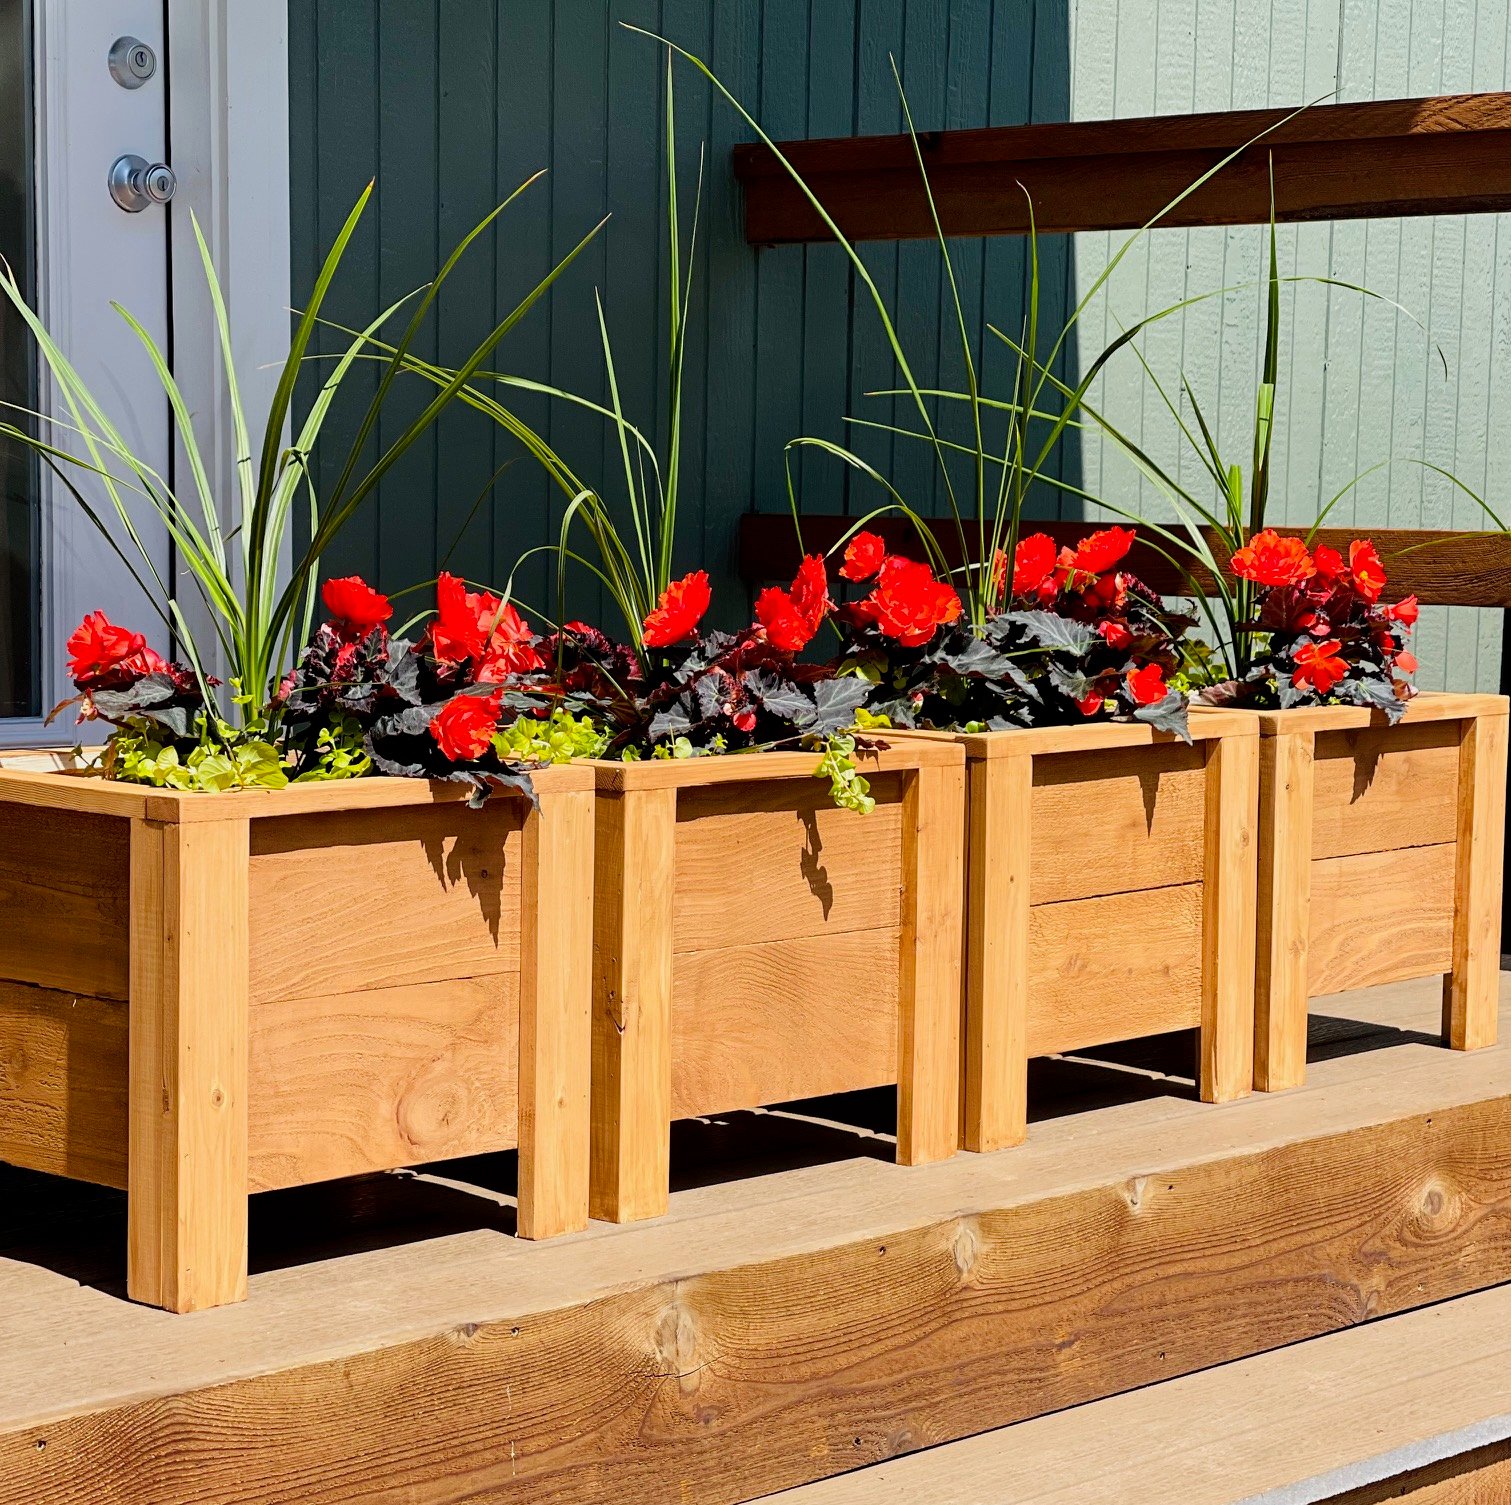
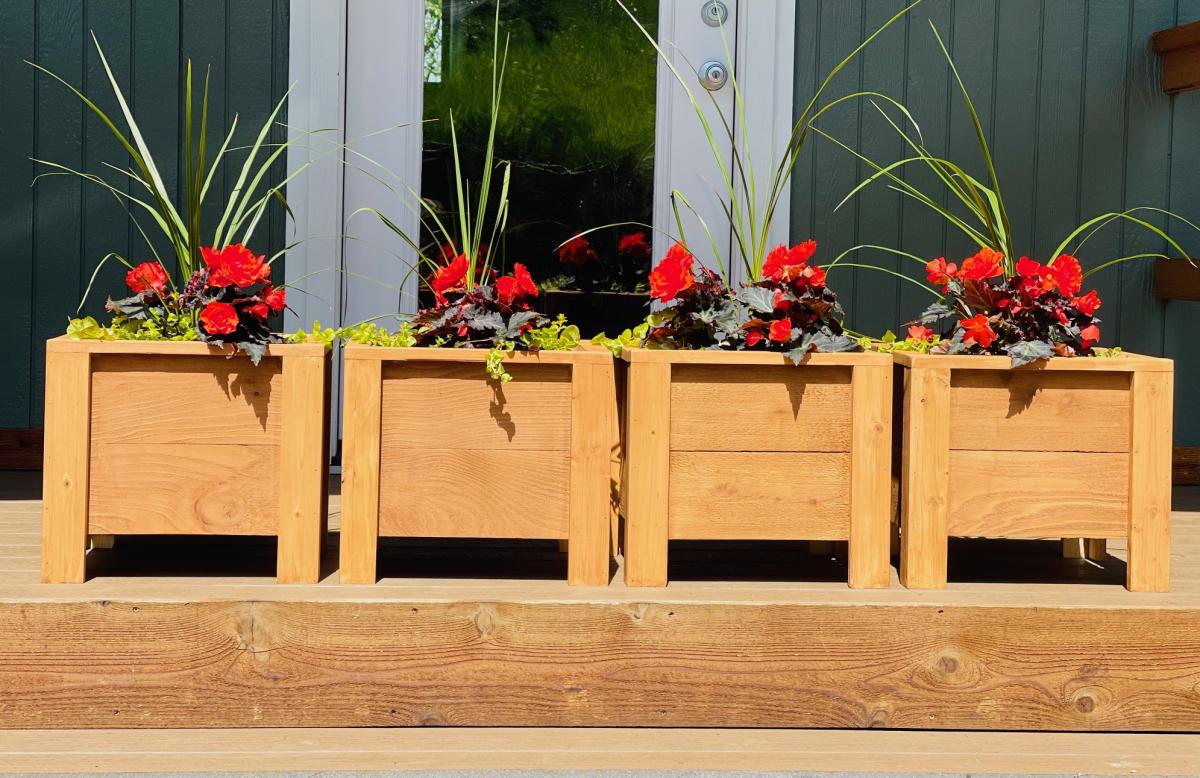
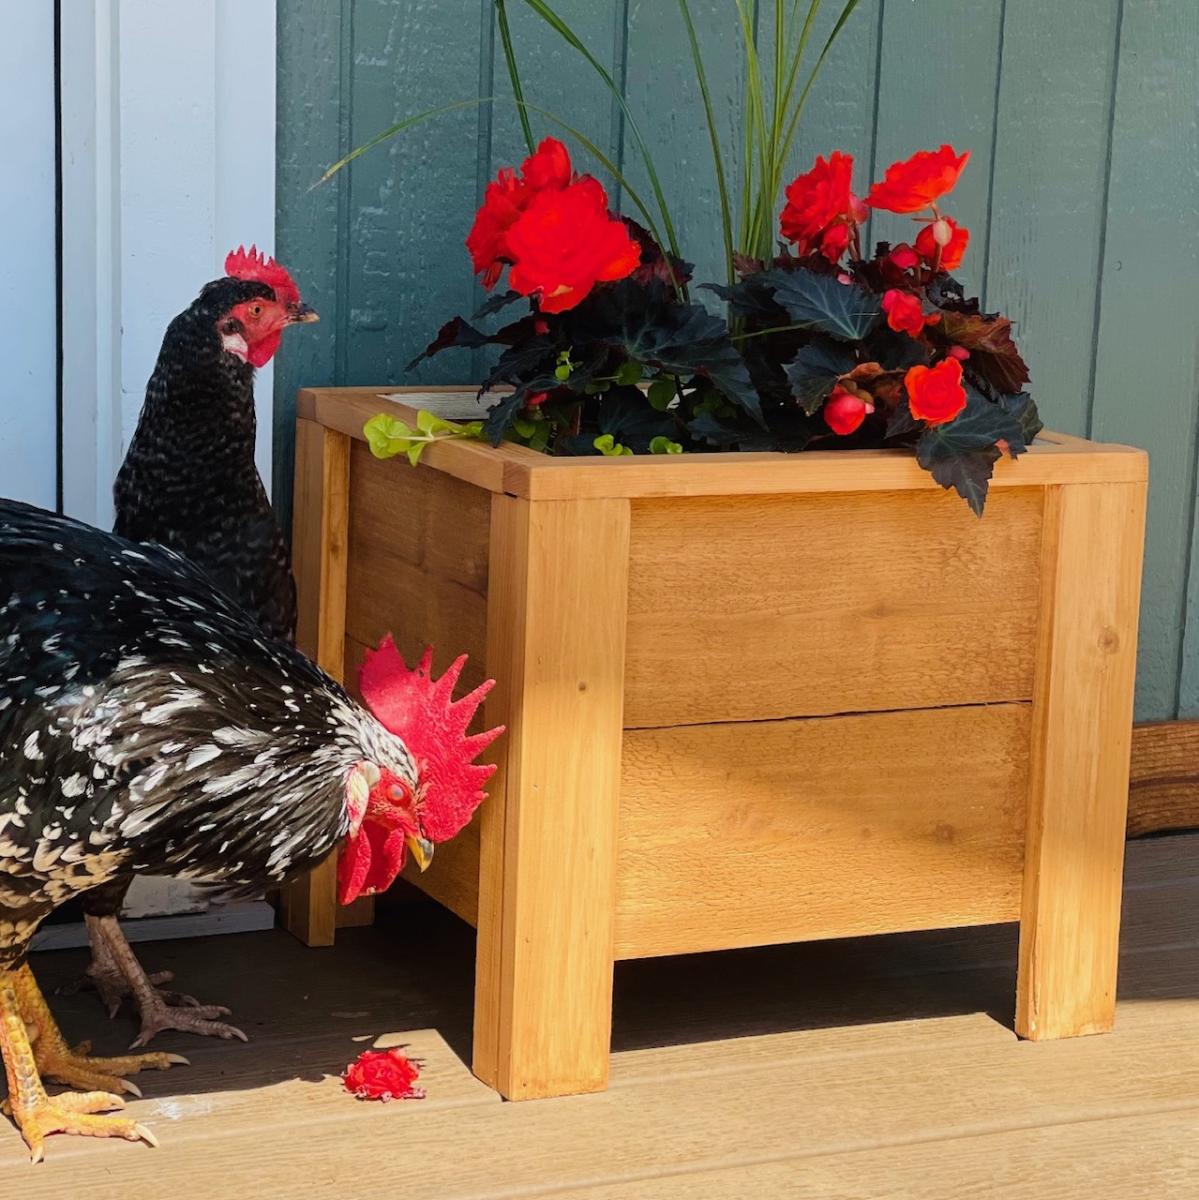
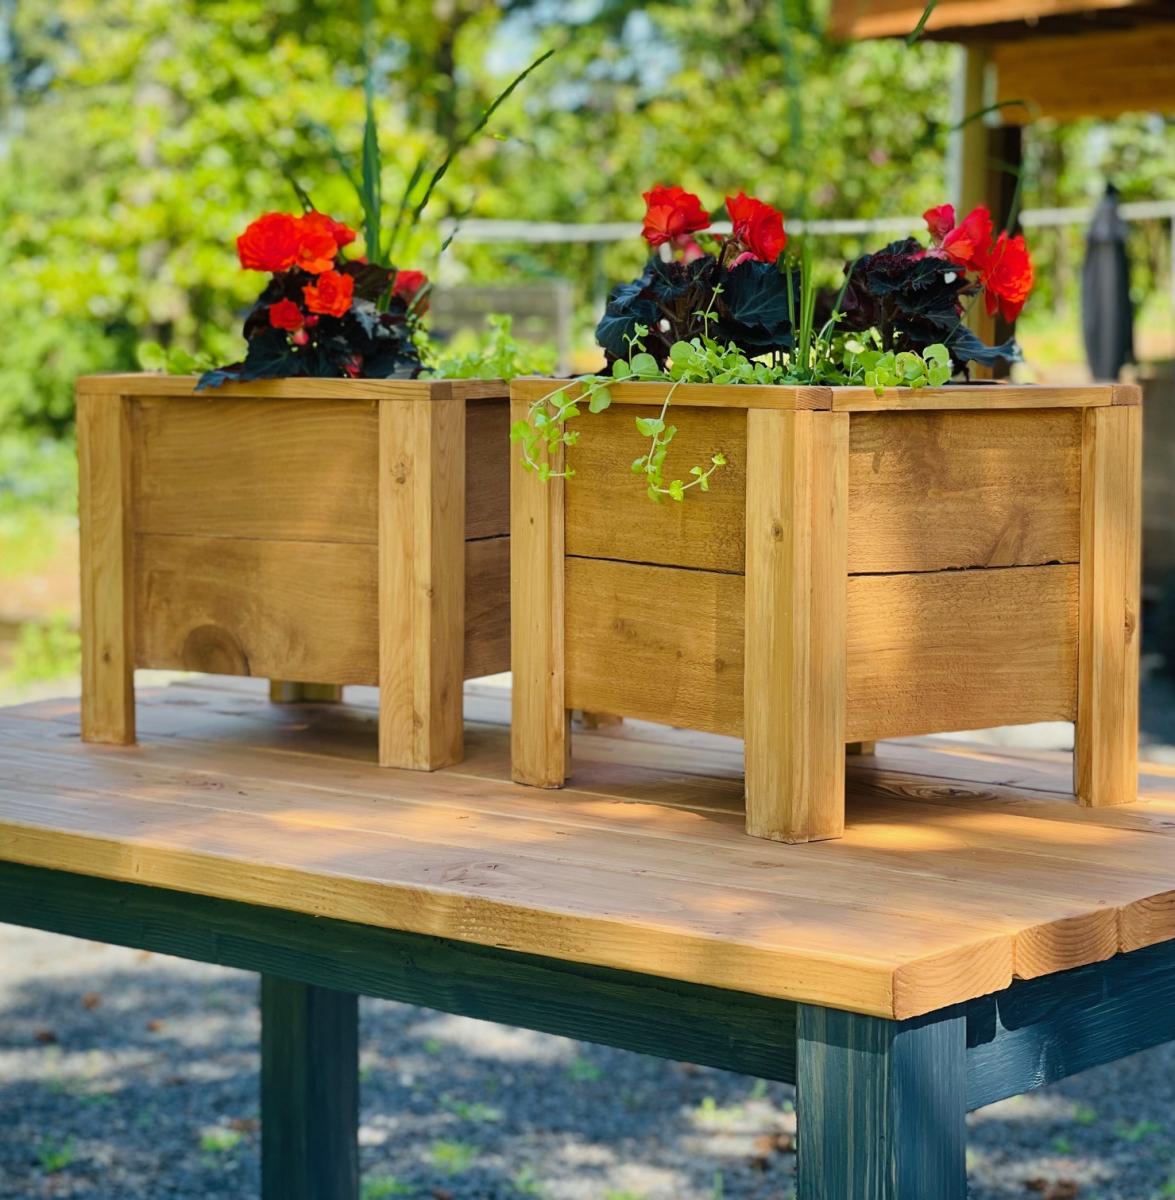
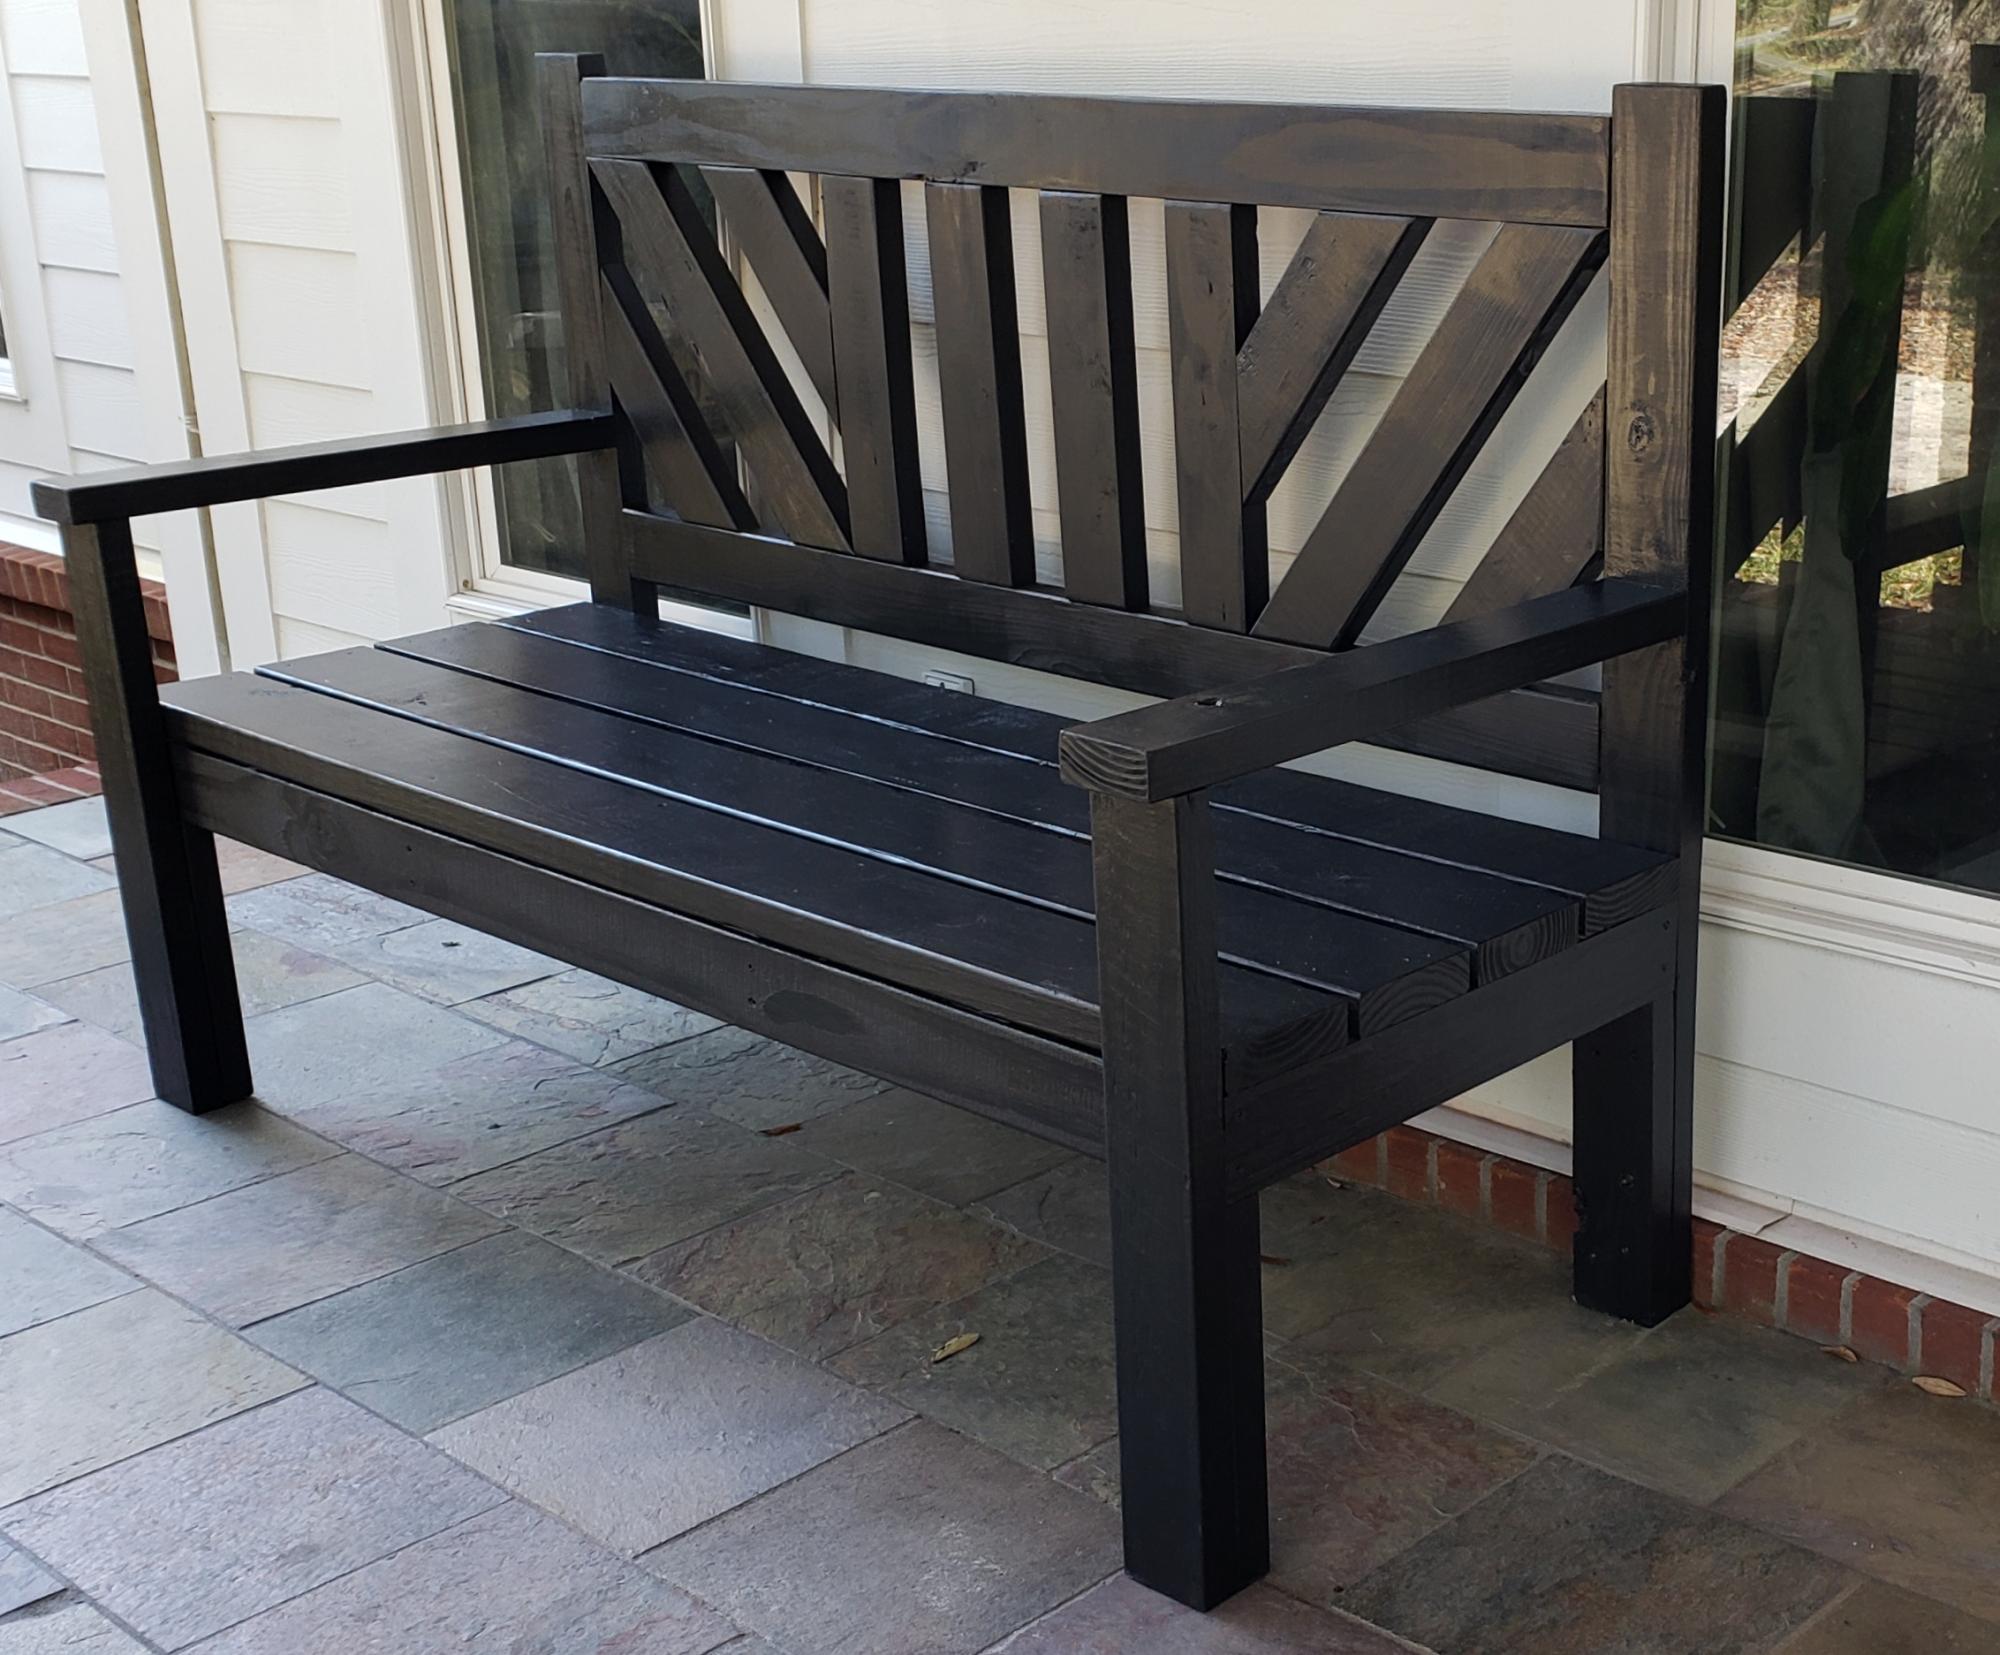
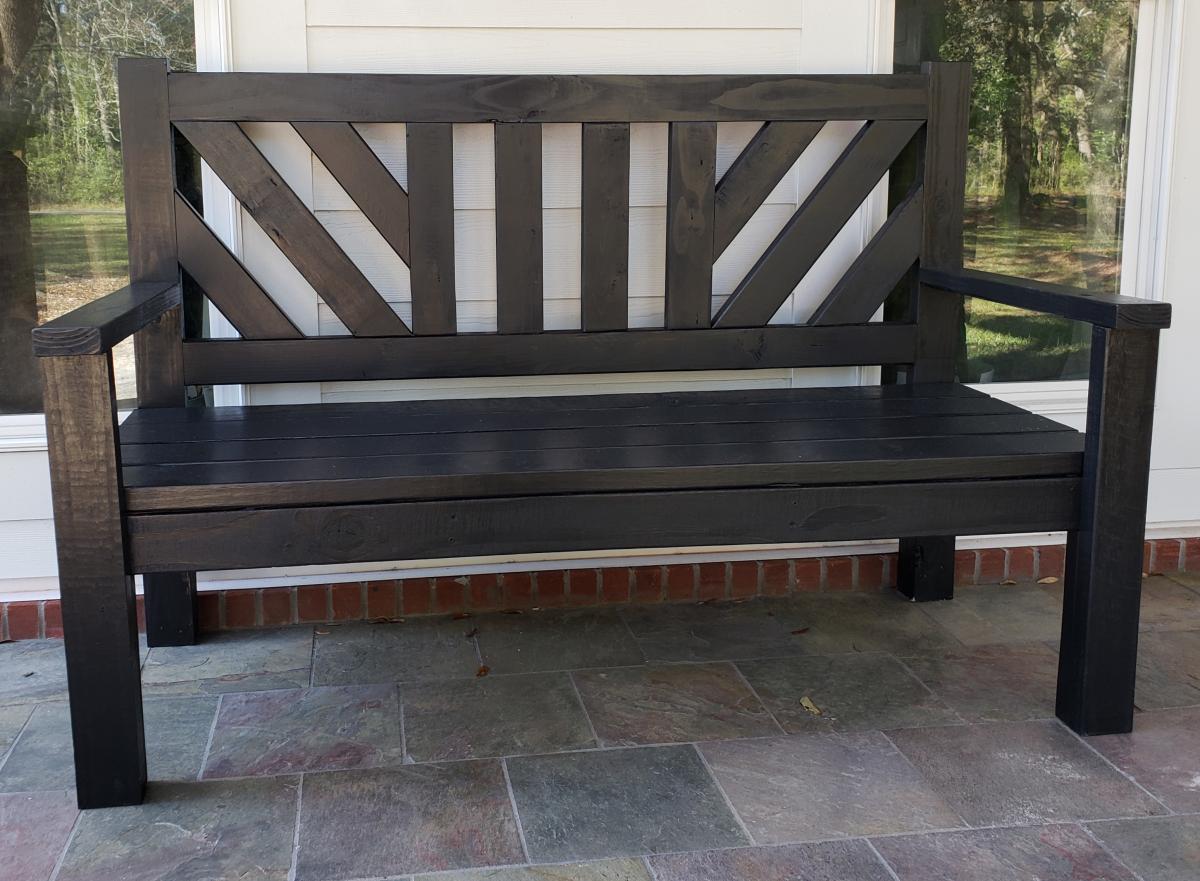
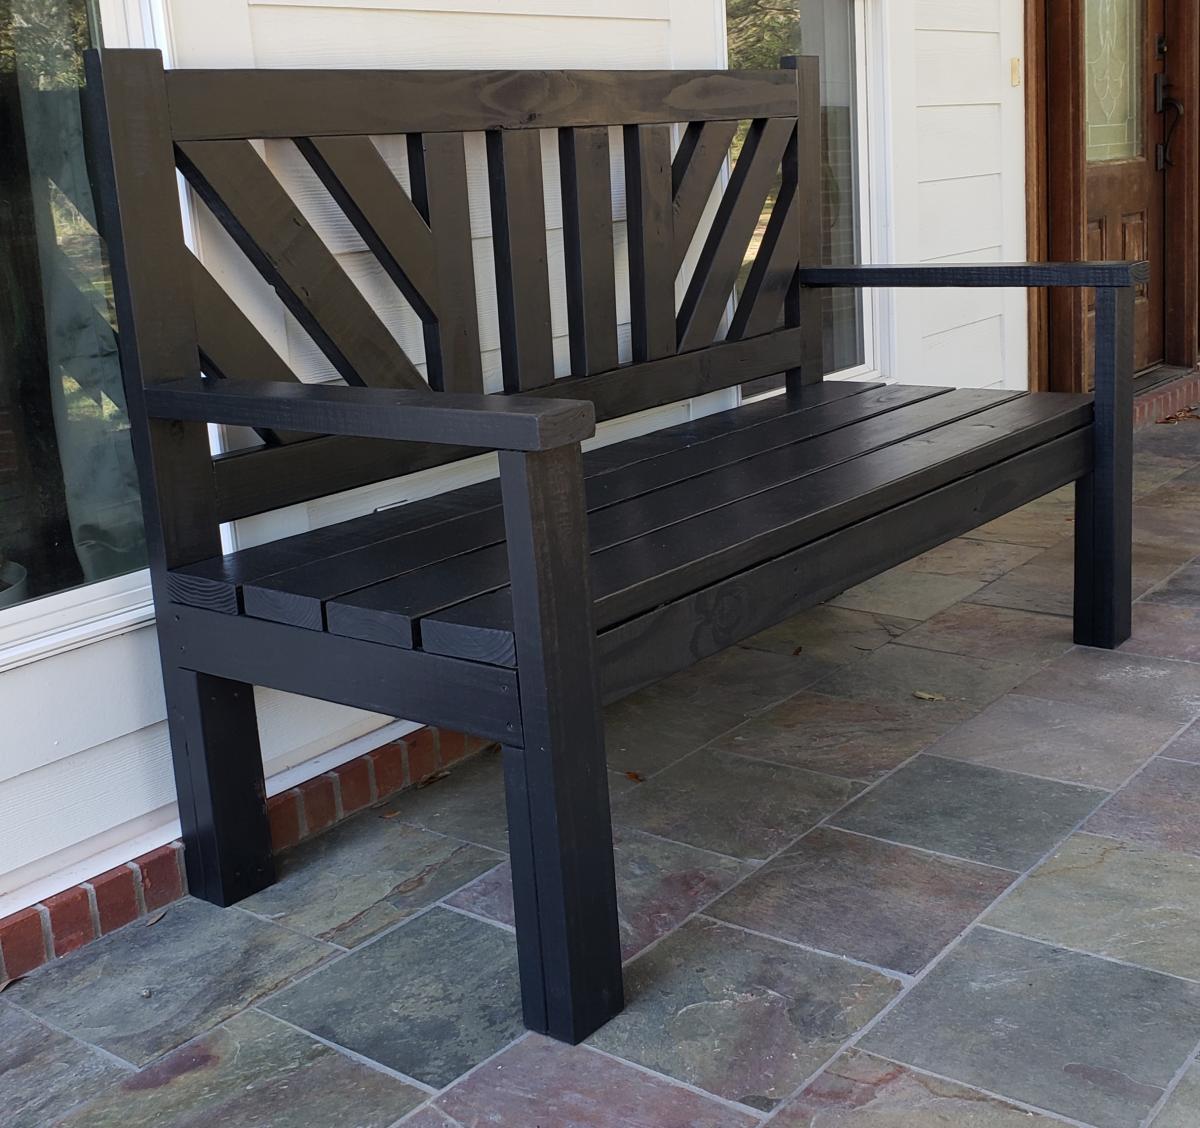
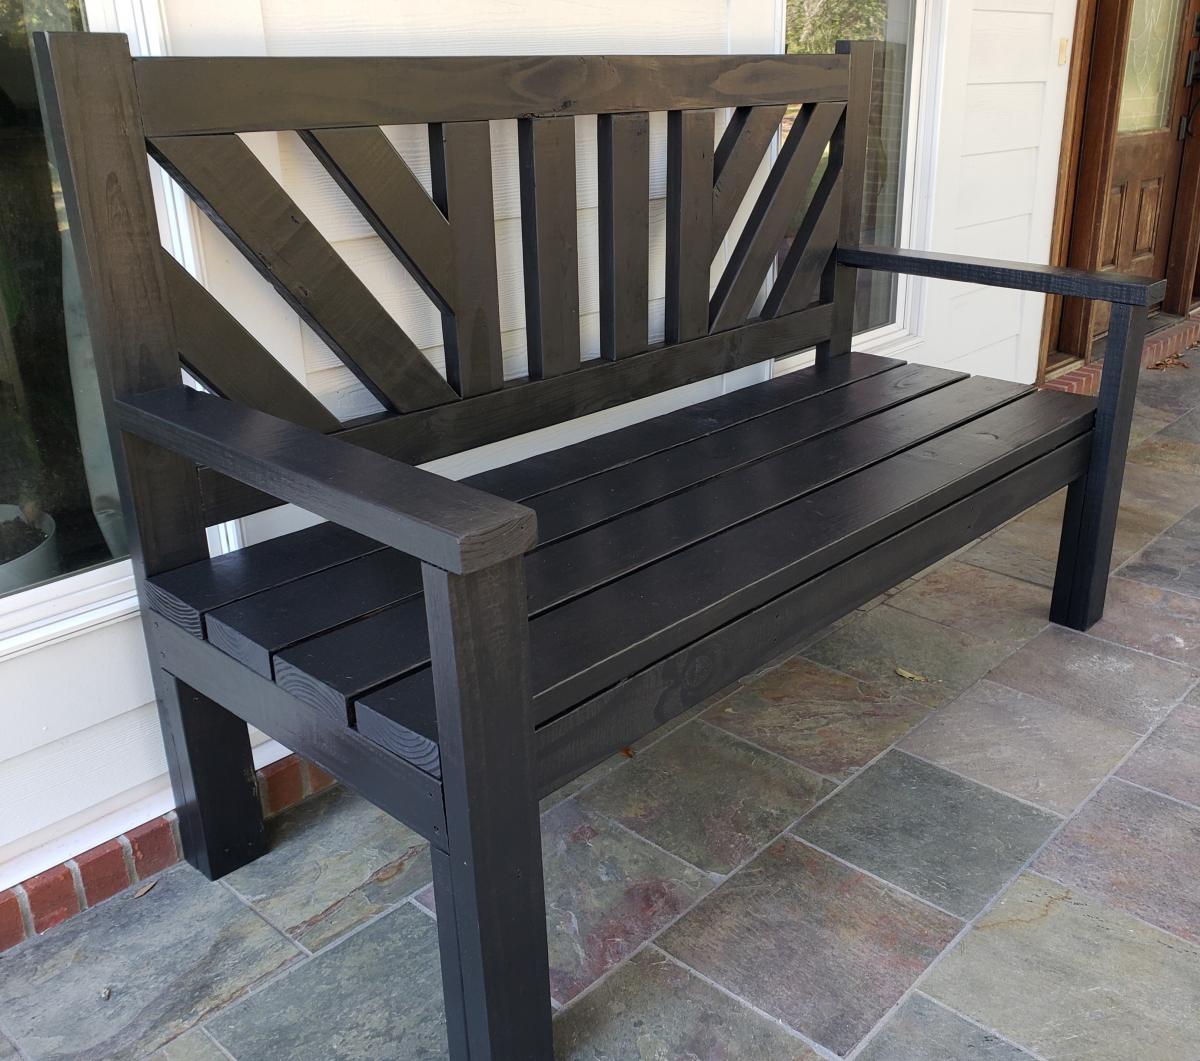
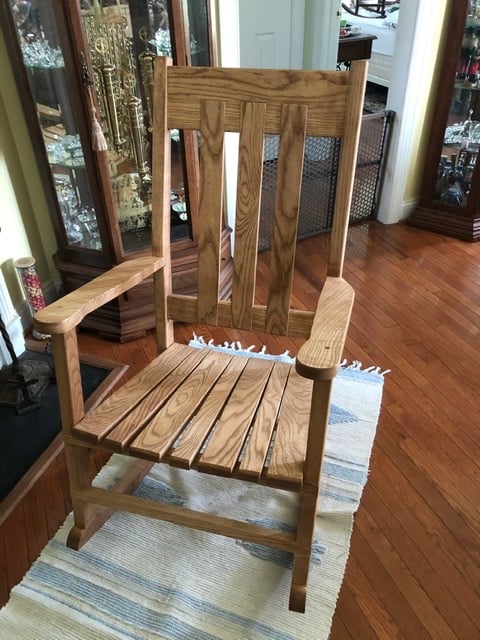
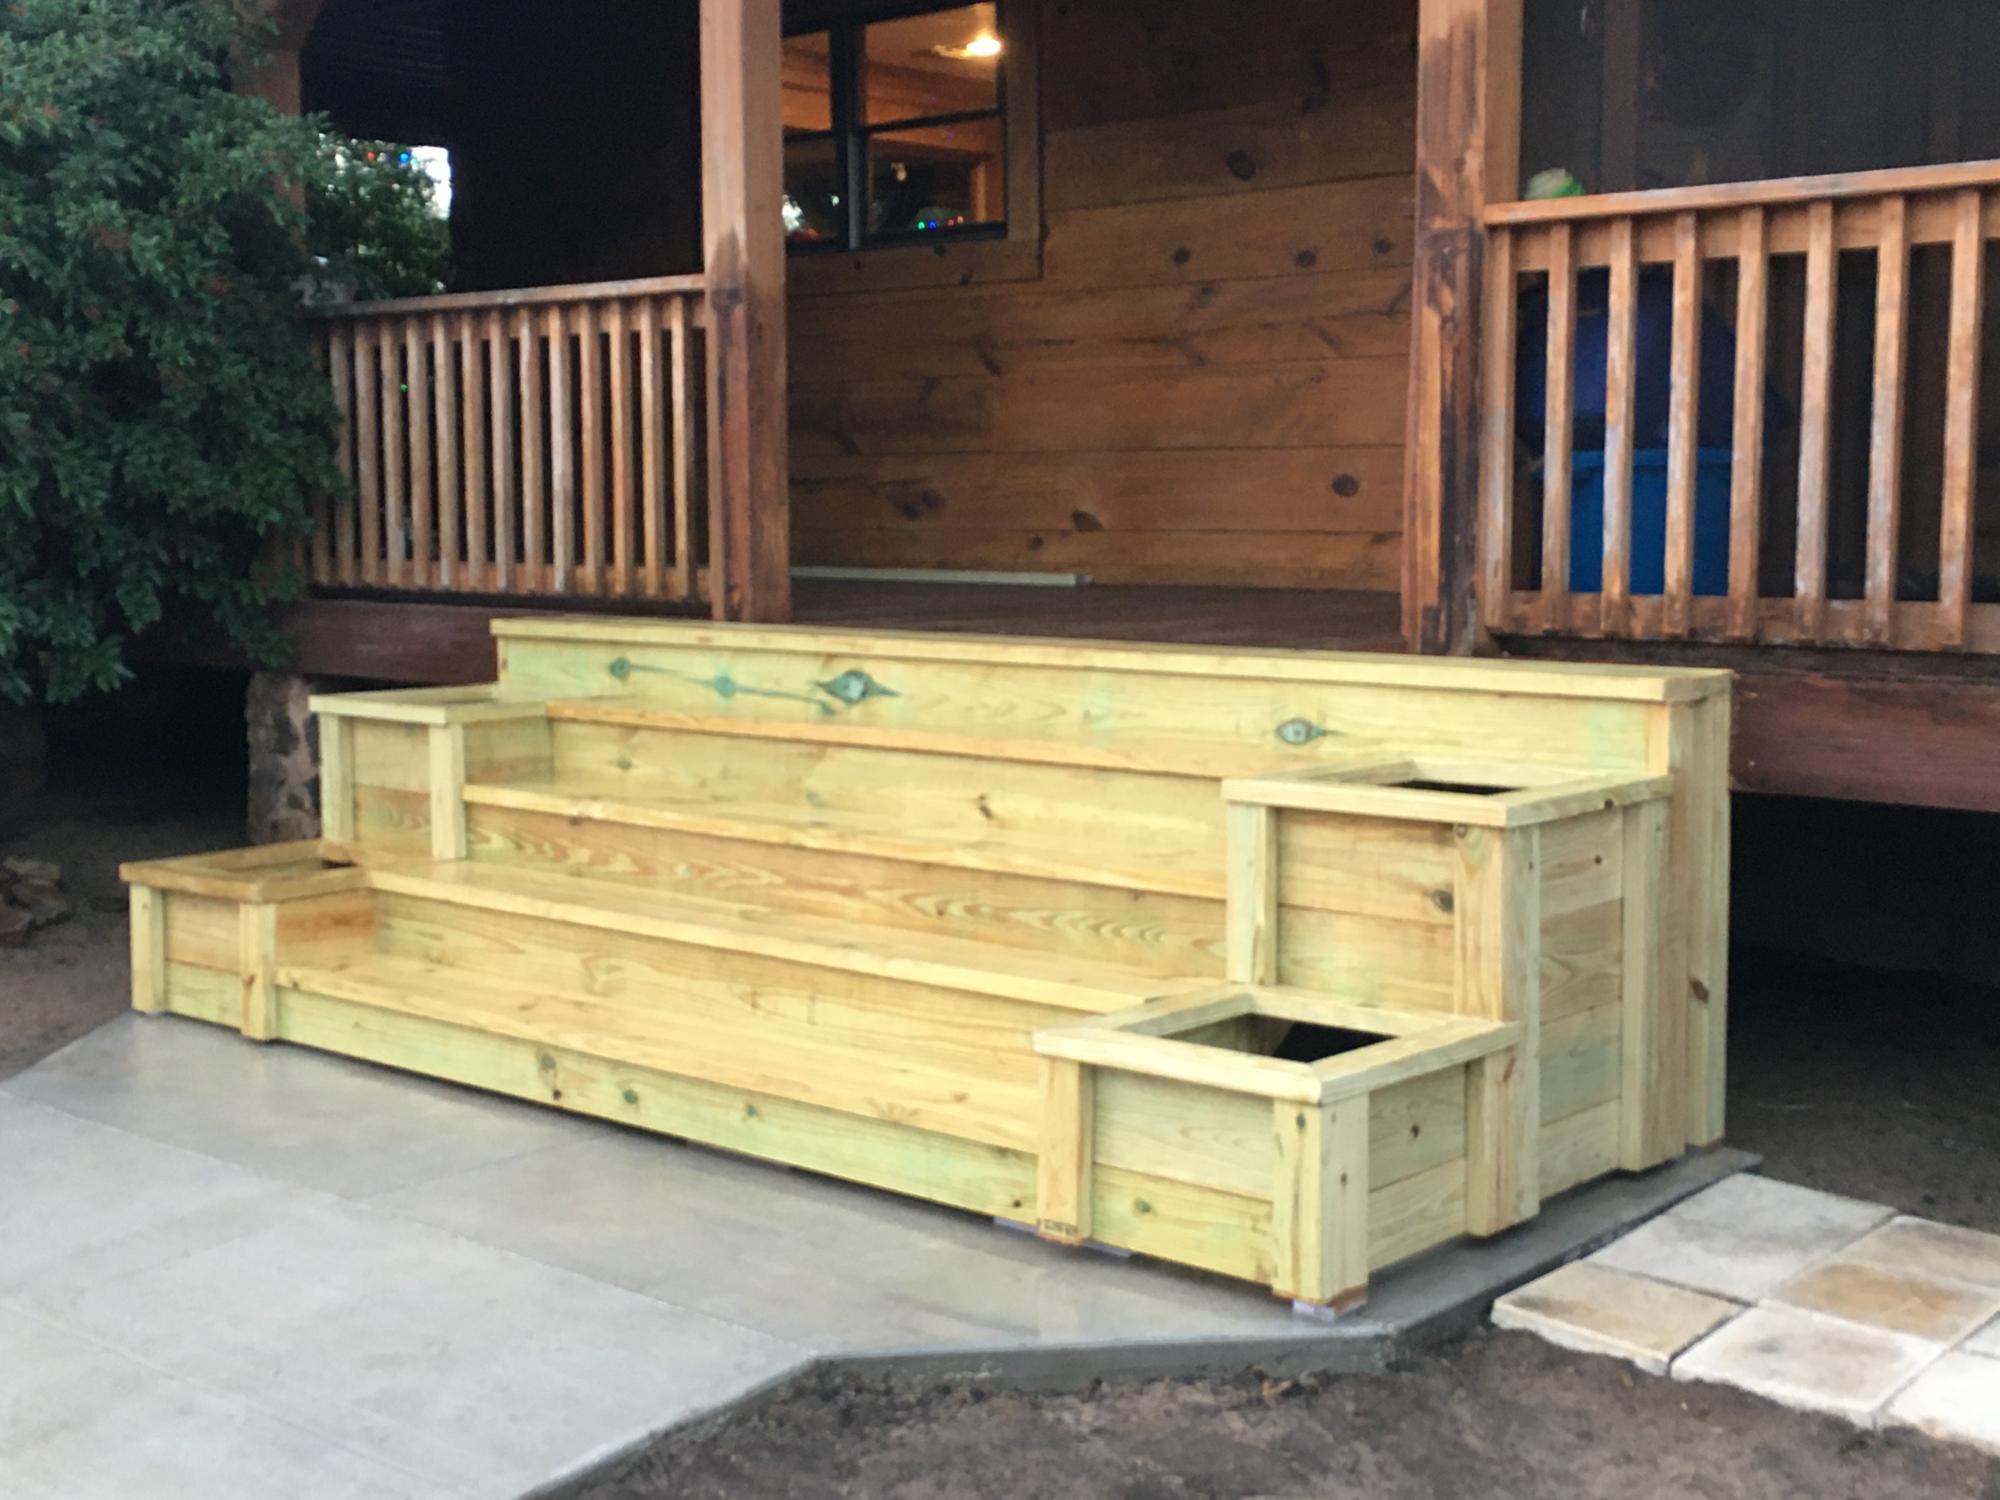
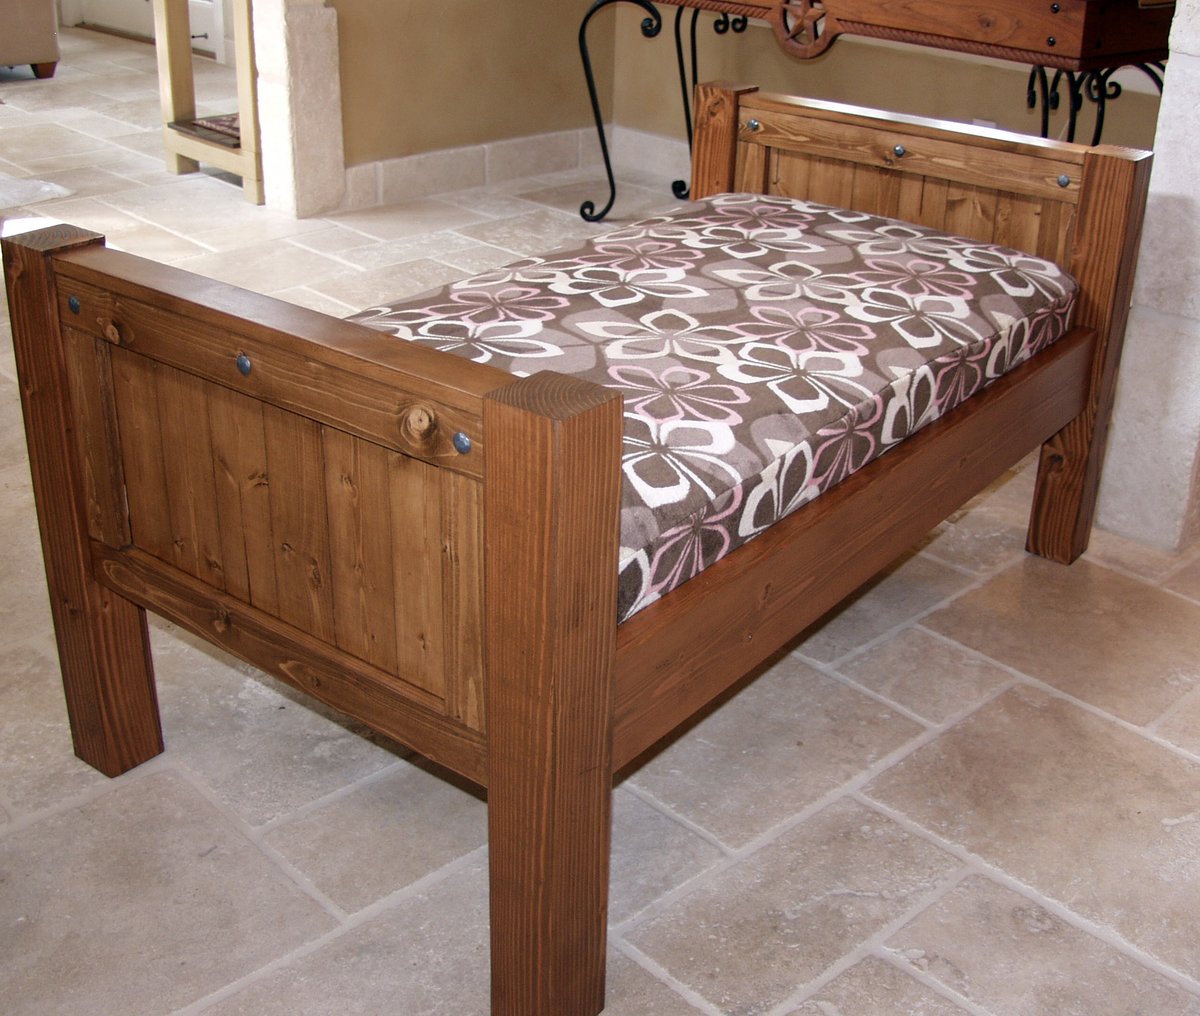
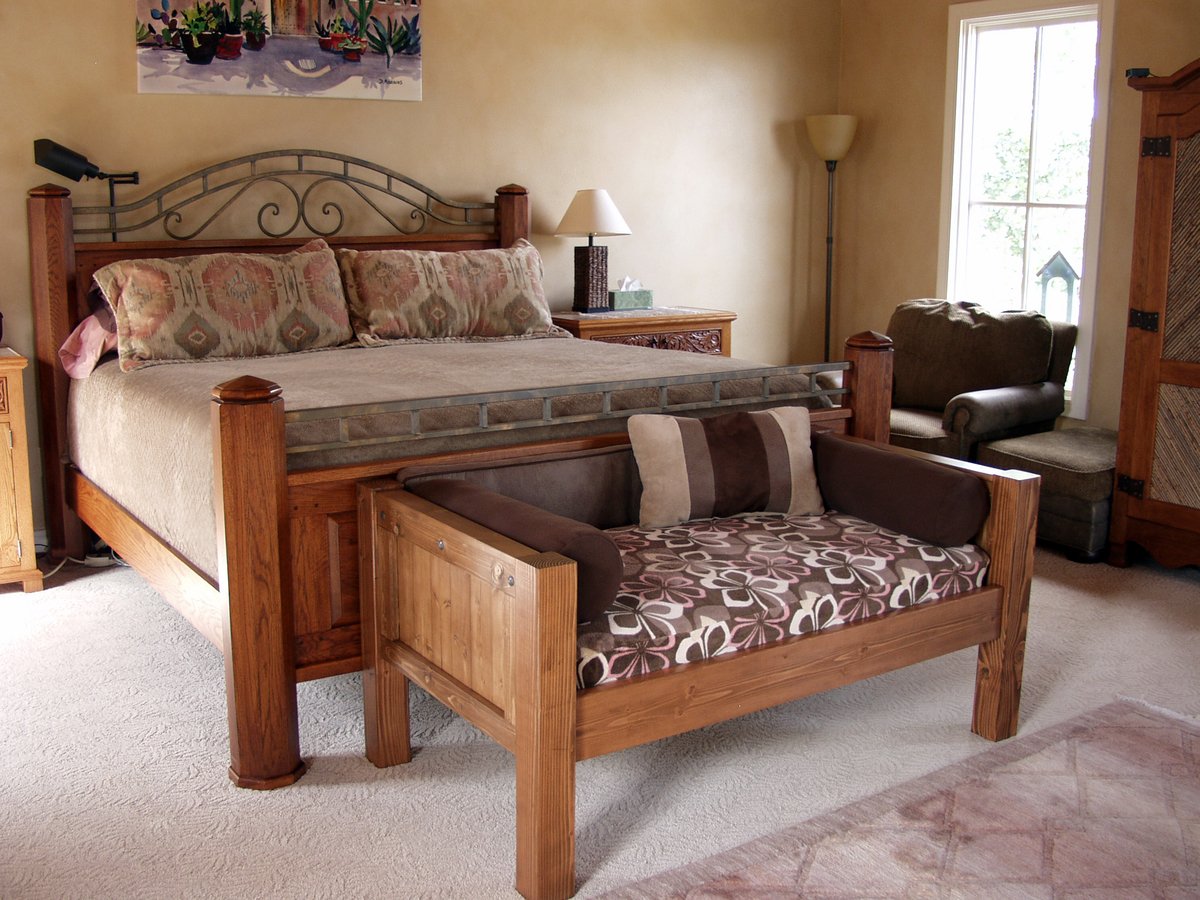
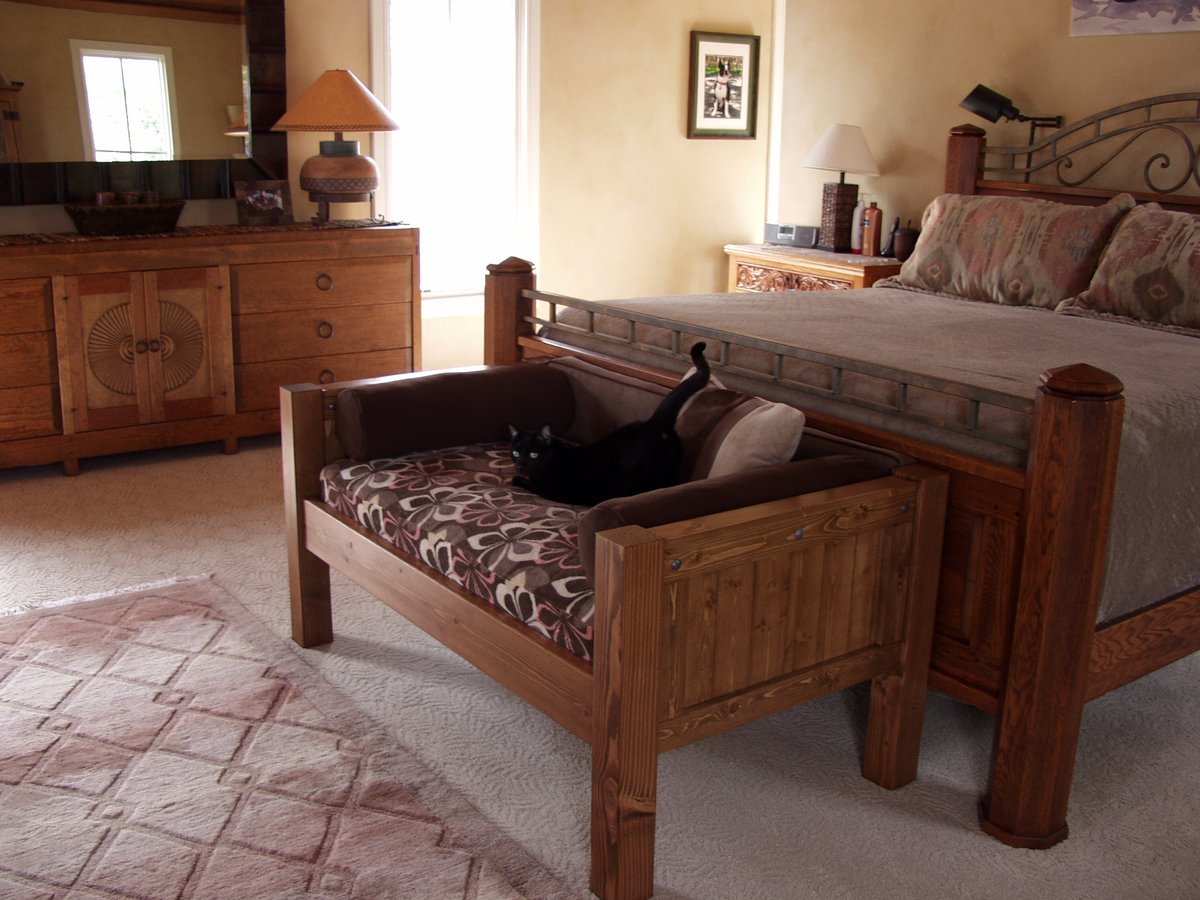
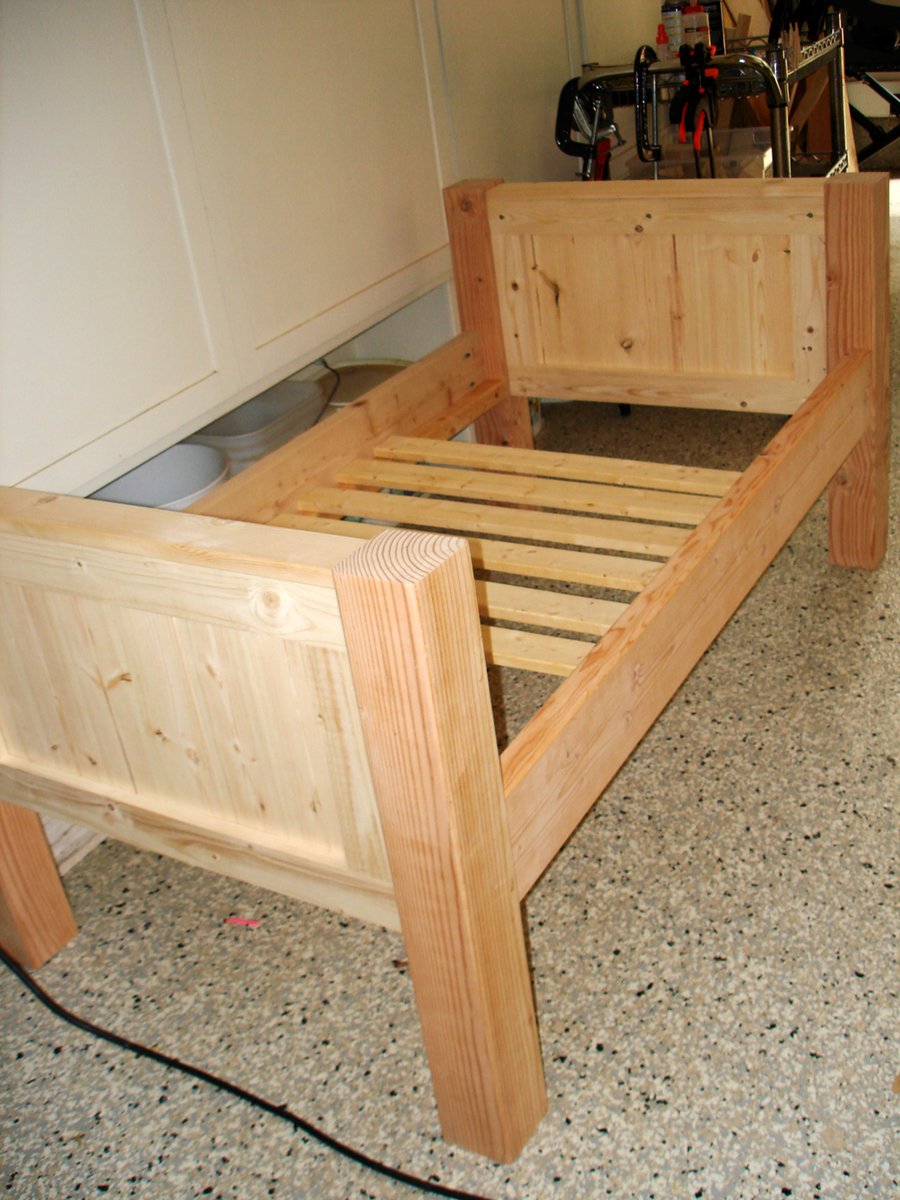
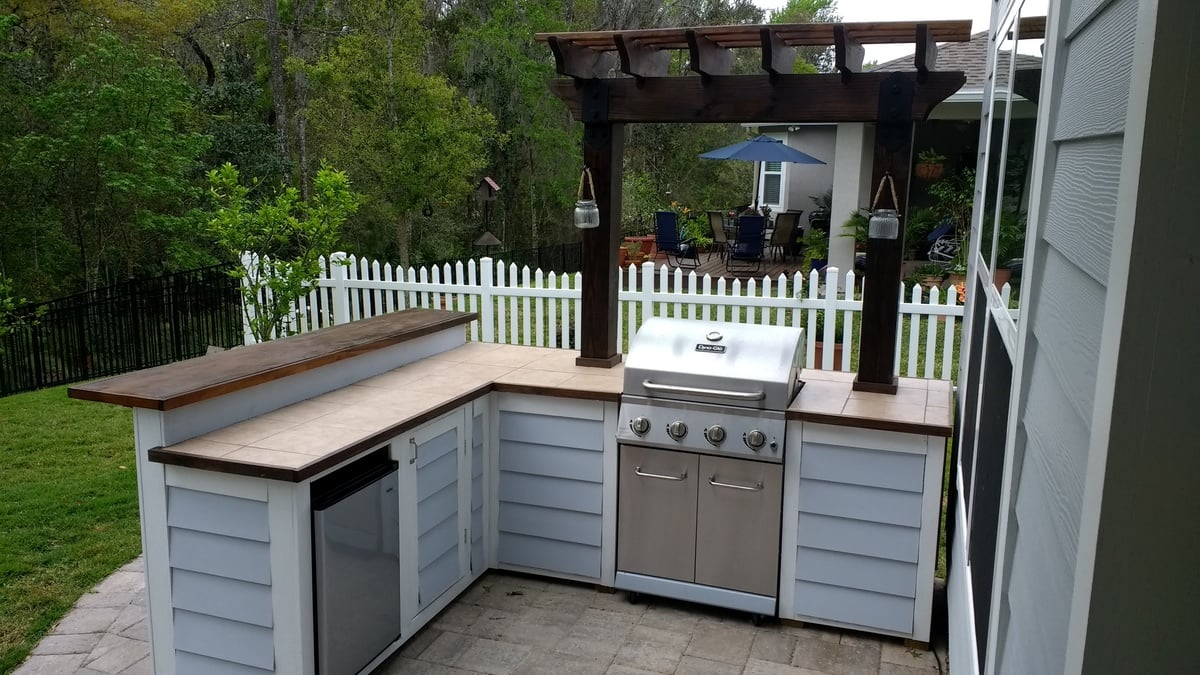
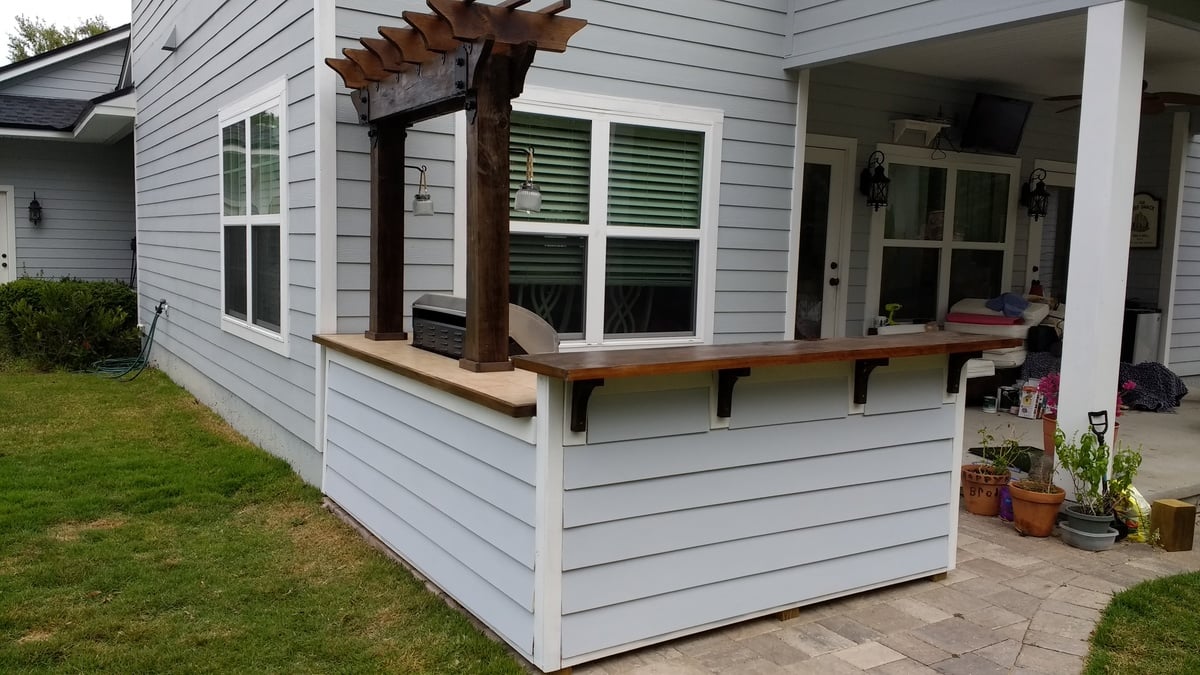
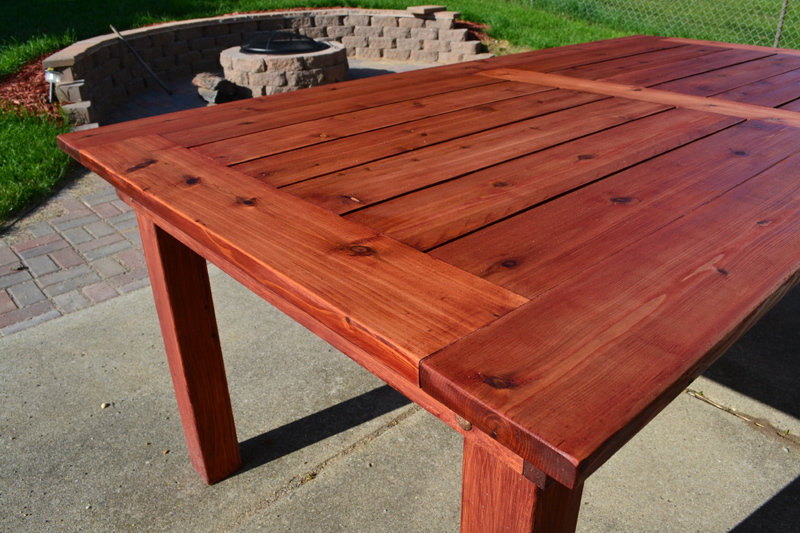
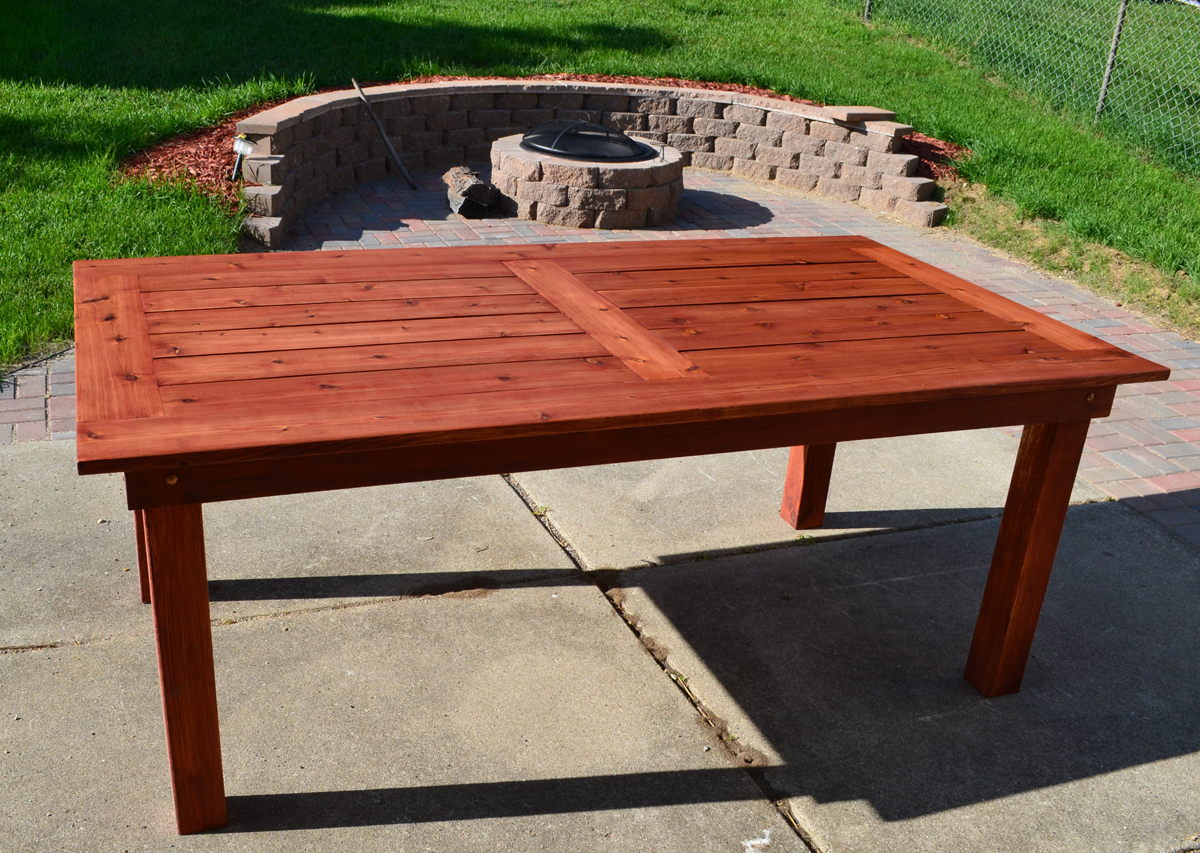
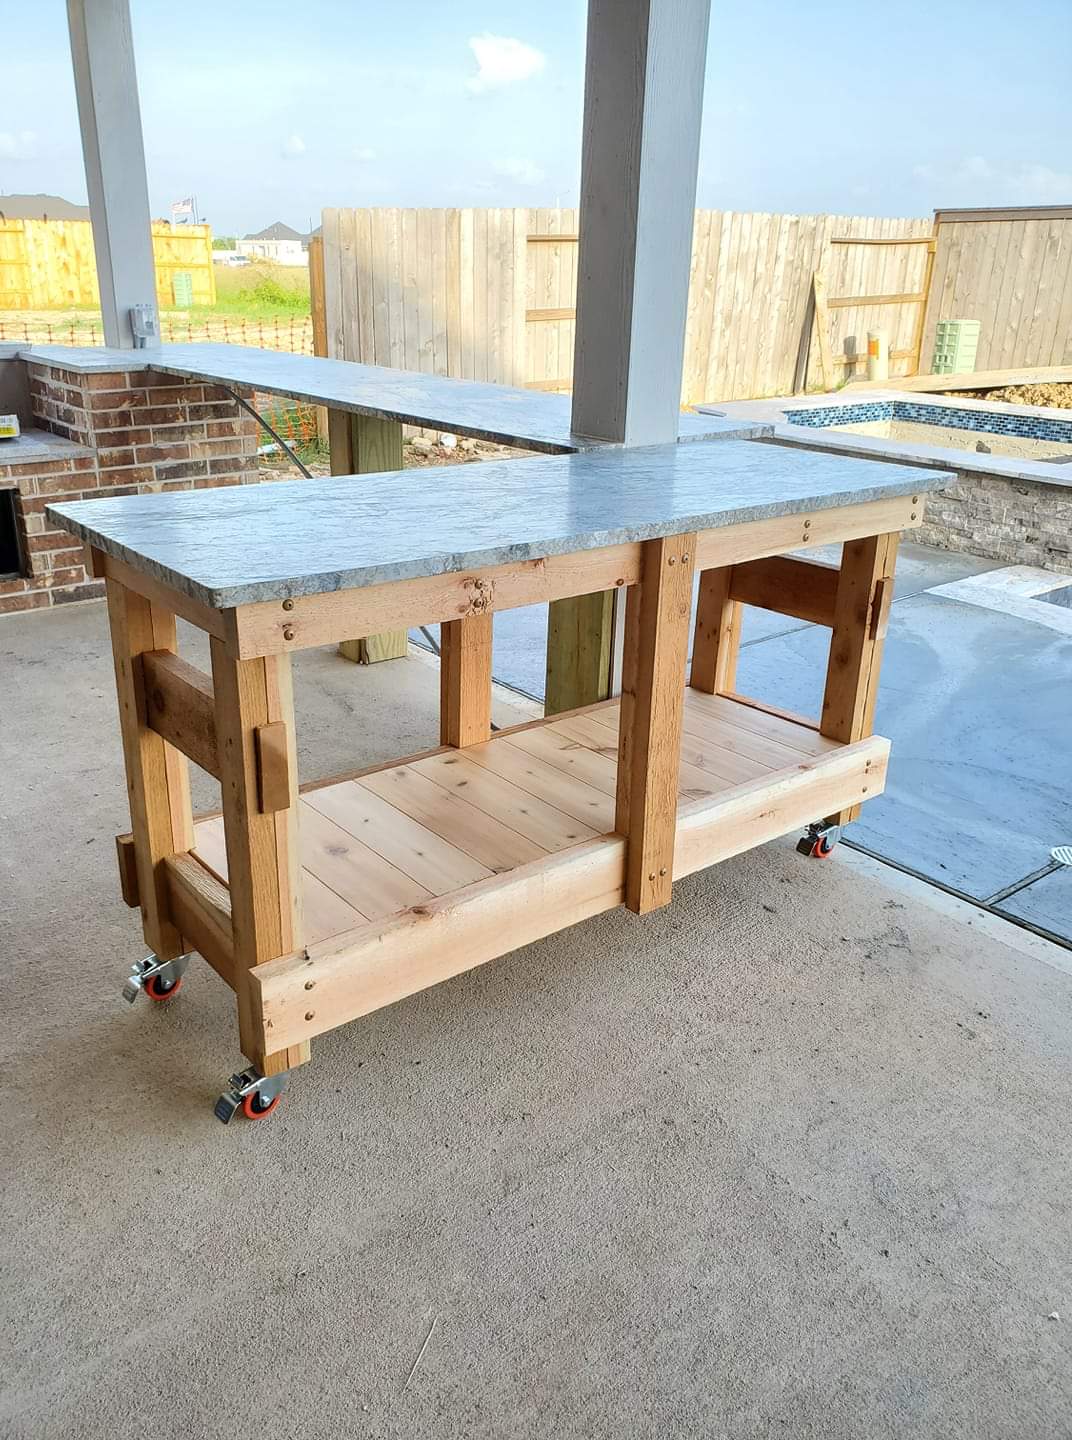
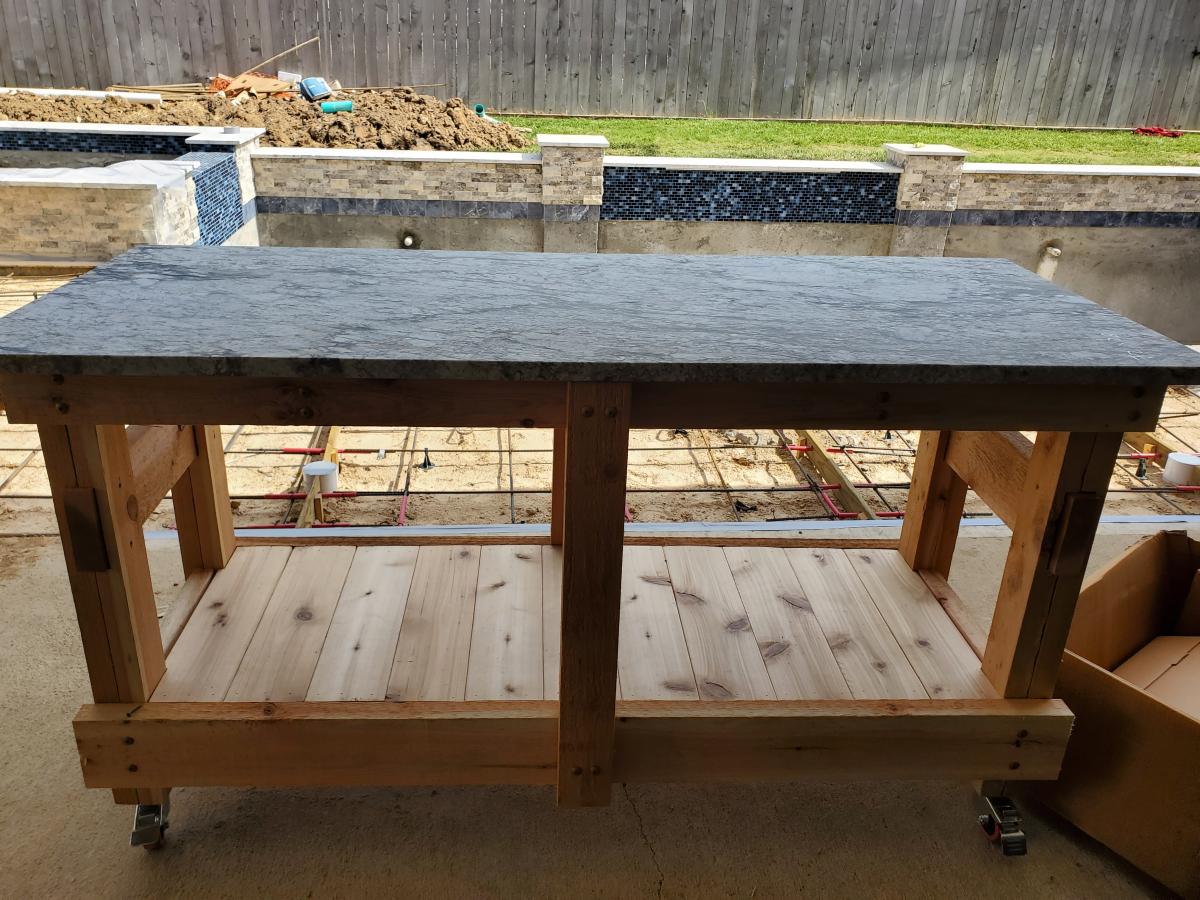
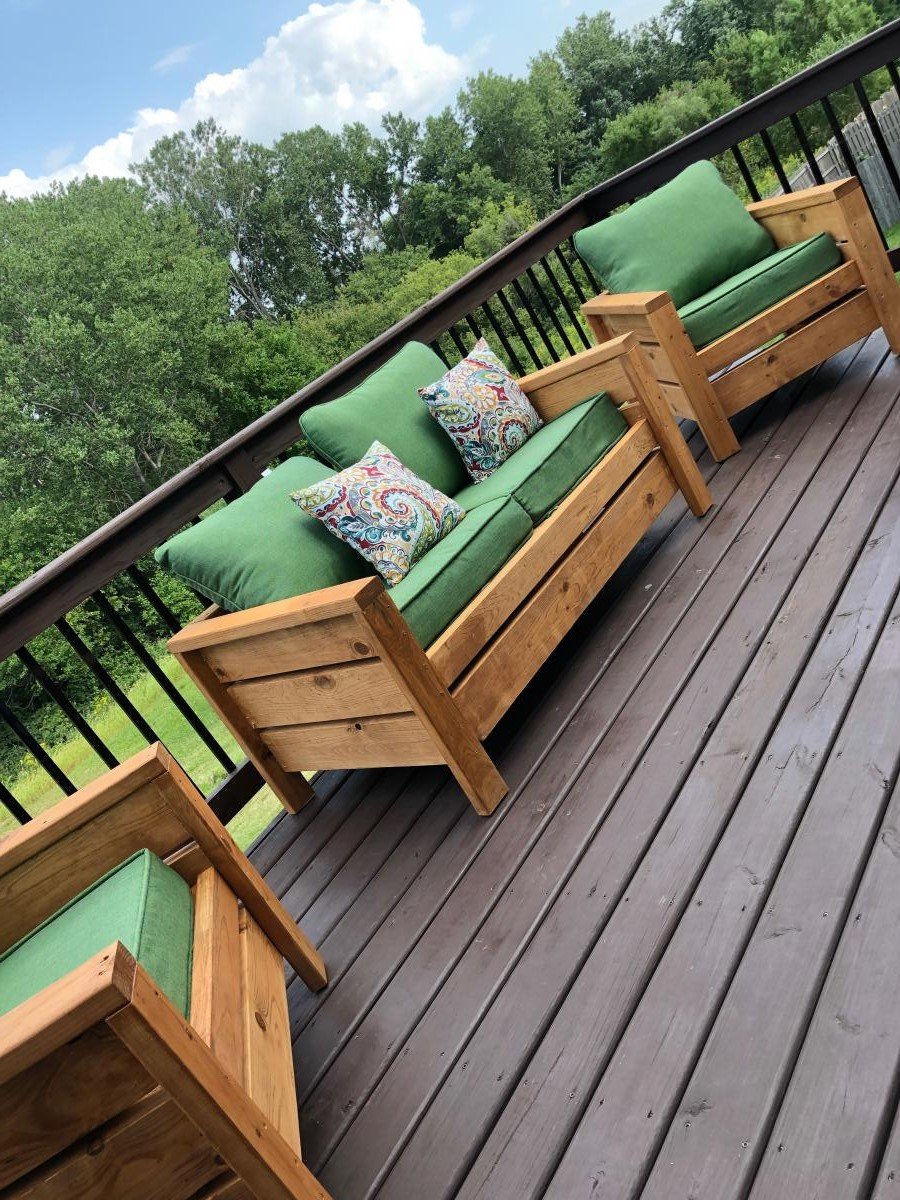
Modern Outdoor Patio Set
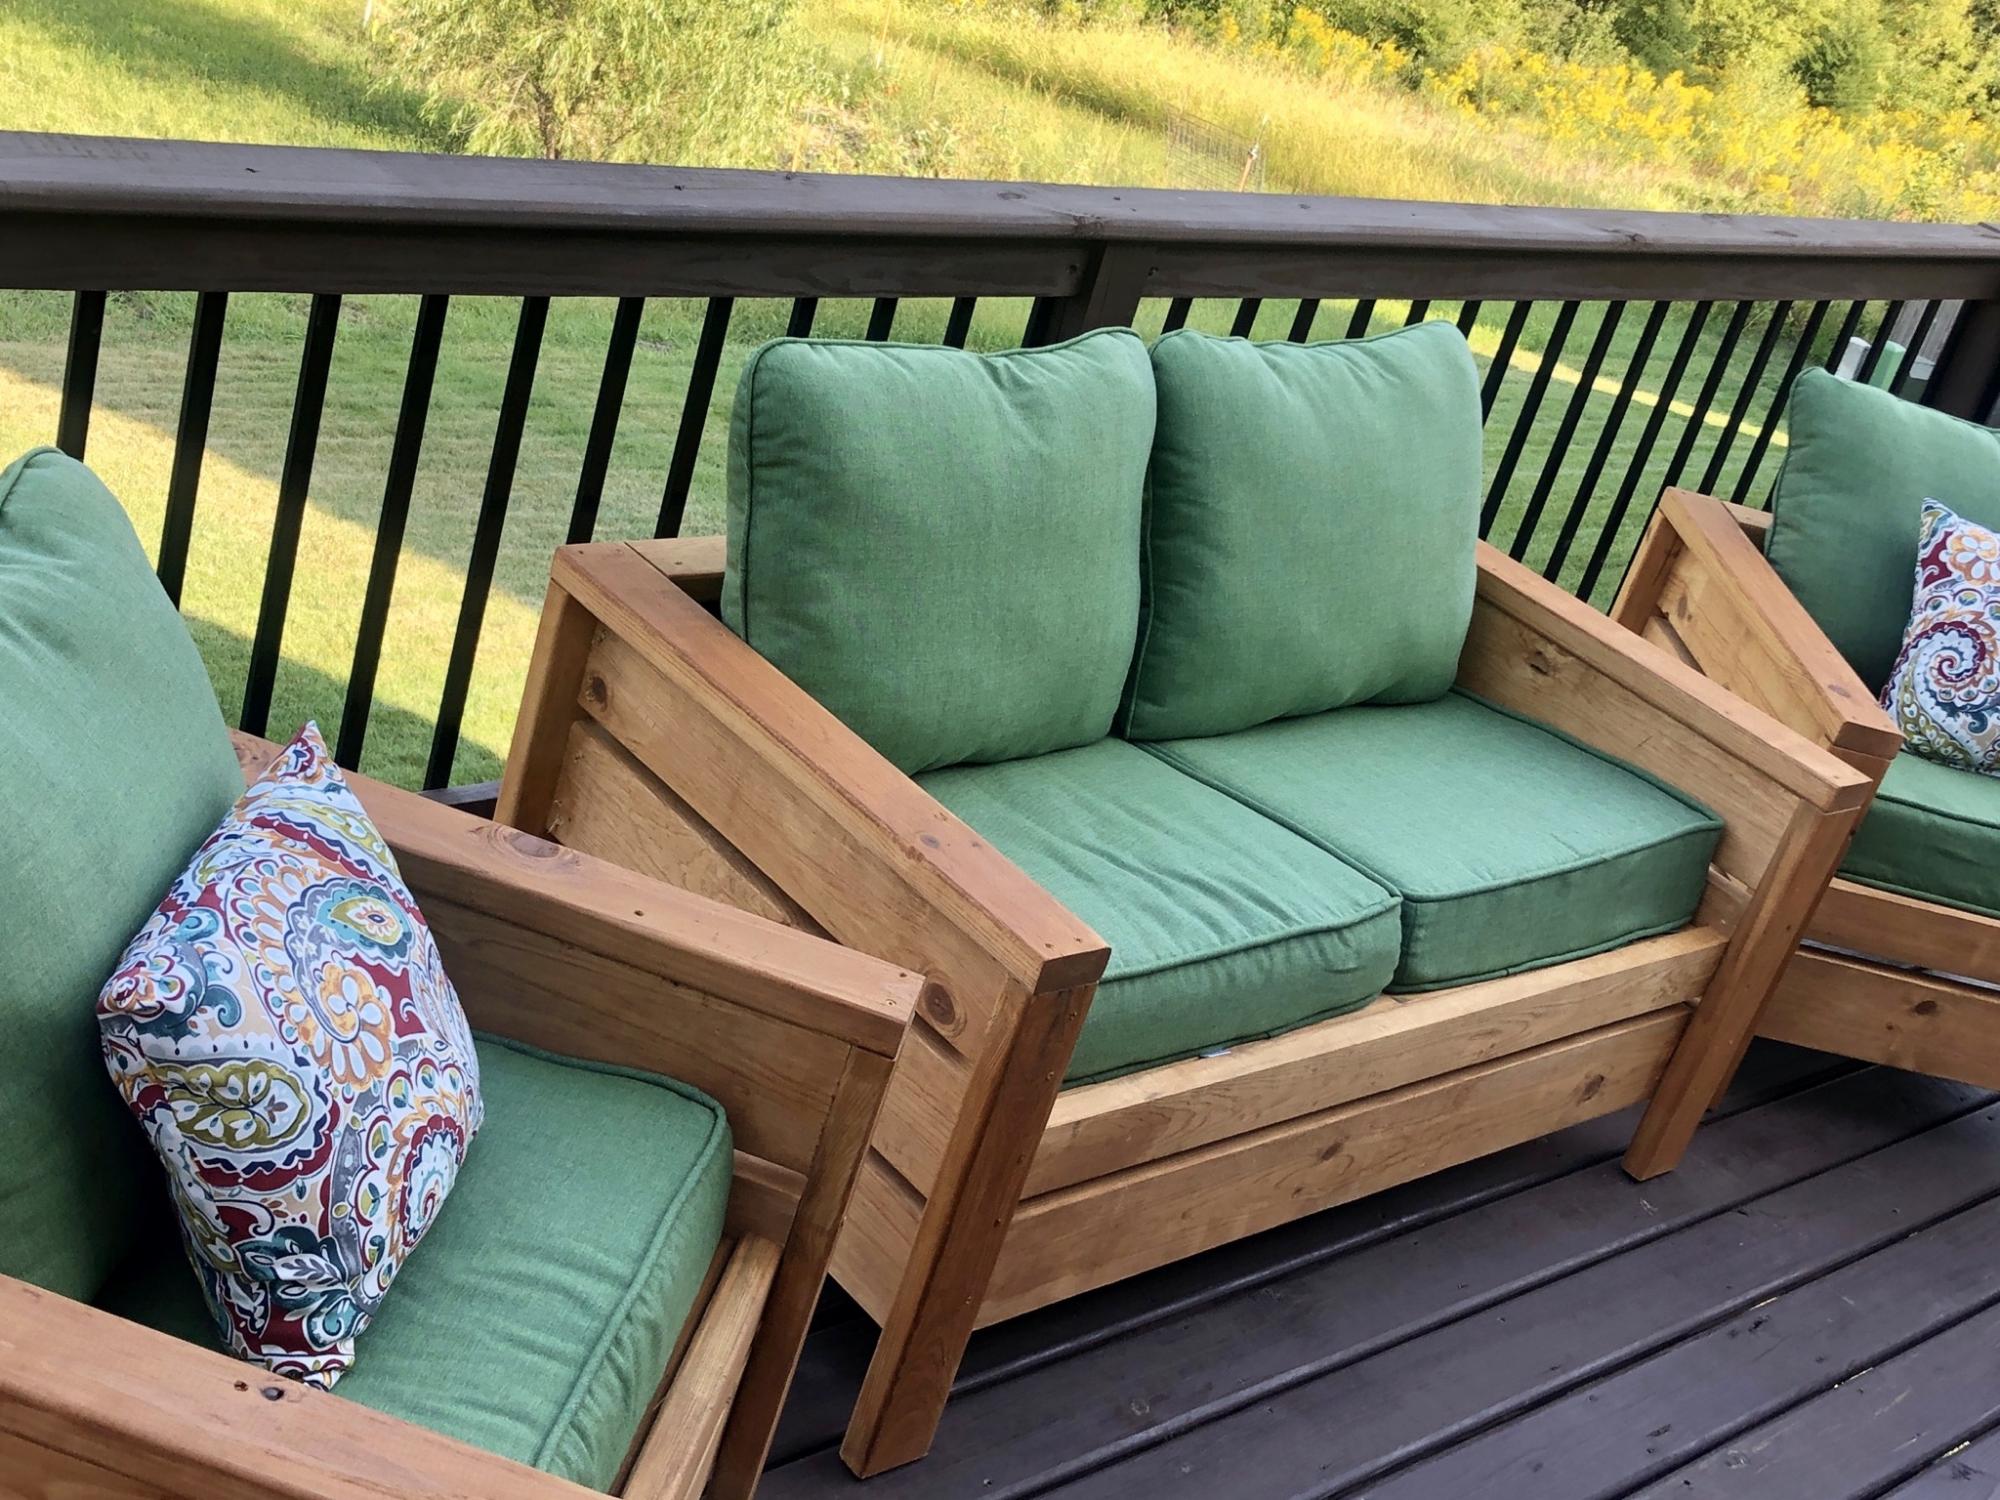
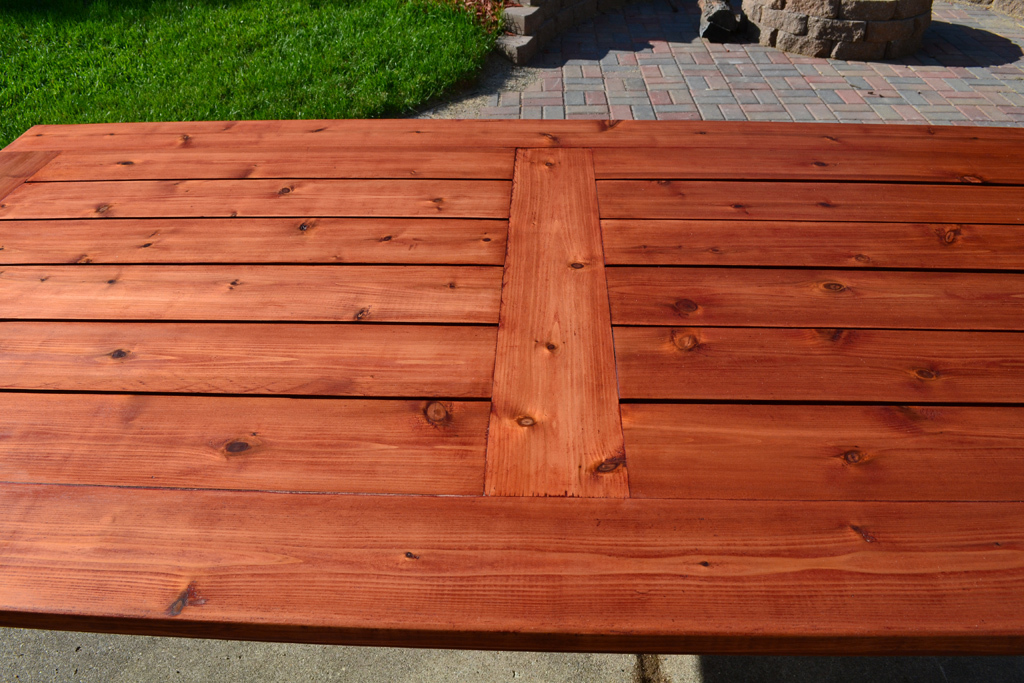
Built this over the weekend for my girlfriends sister. It was a great project and the whole family was able to work together on it, sanding and waterproofing it before assembling. The loveseat plans need a little tweaking. We ran ran the slats the same direction as the chair plans call for so we added a middle support for extra stability. We also pitched the seating down towards the back by 5* to make a more natural sitting position.
Built from Plan(s)
Estimated Cost
$300
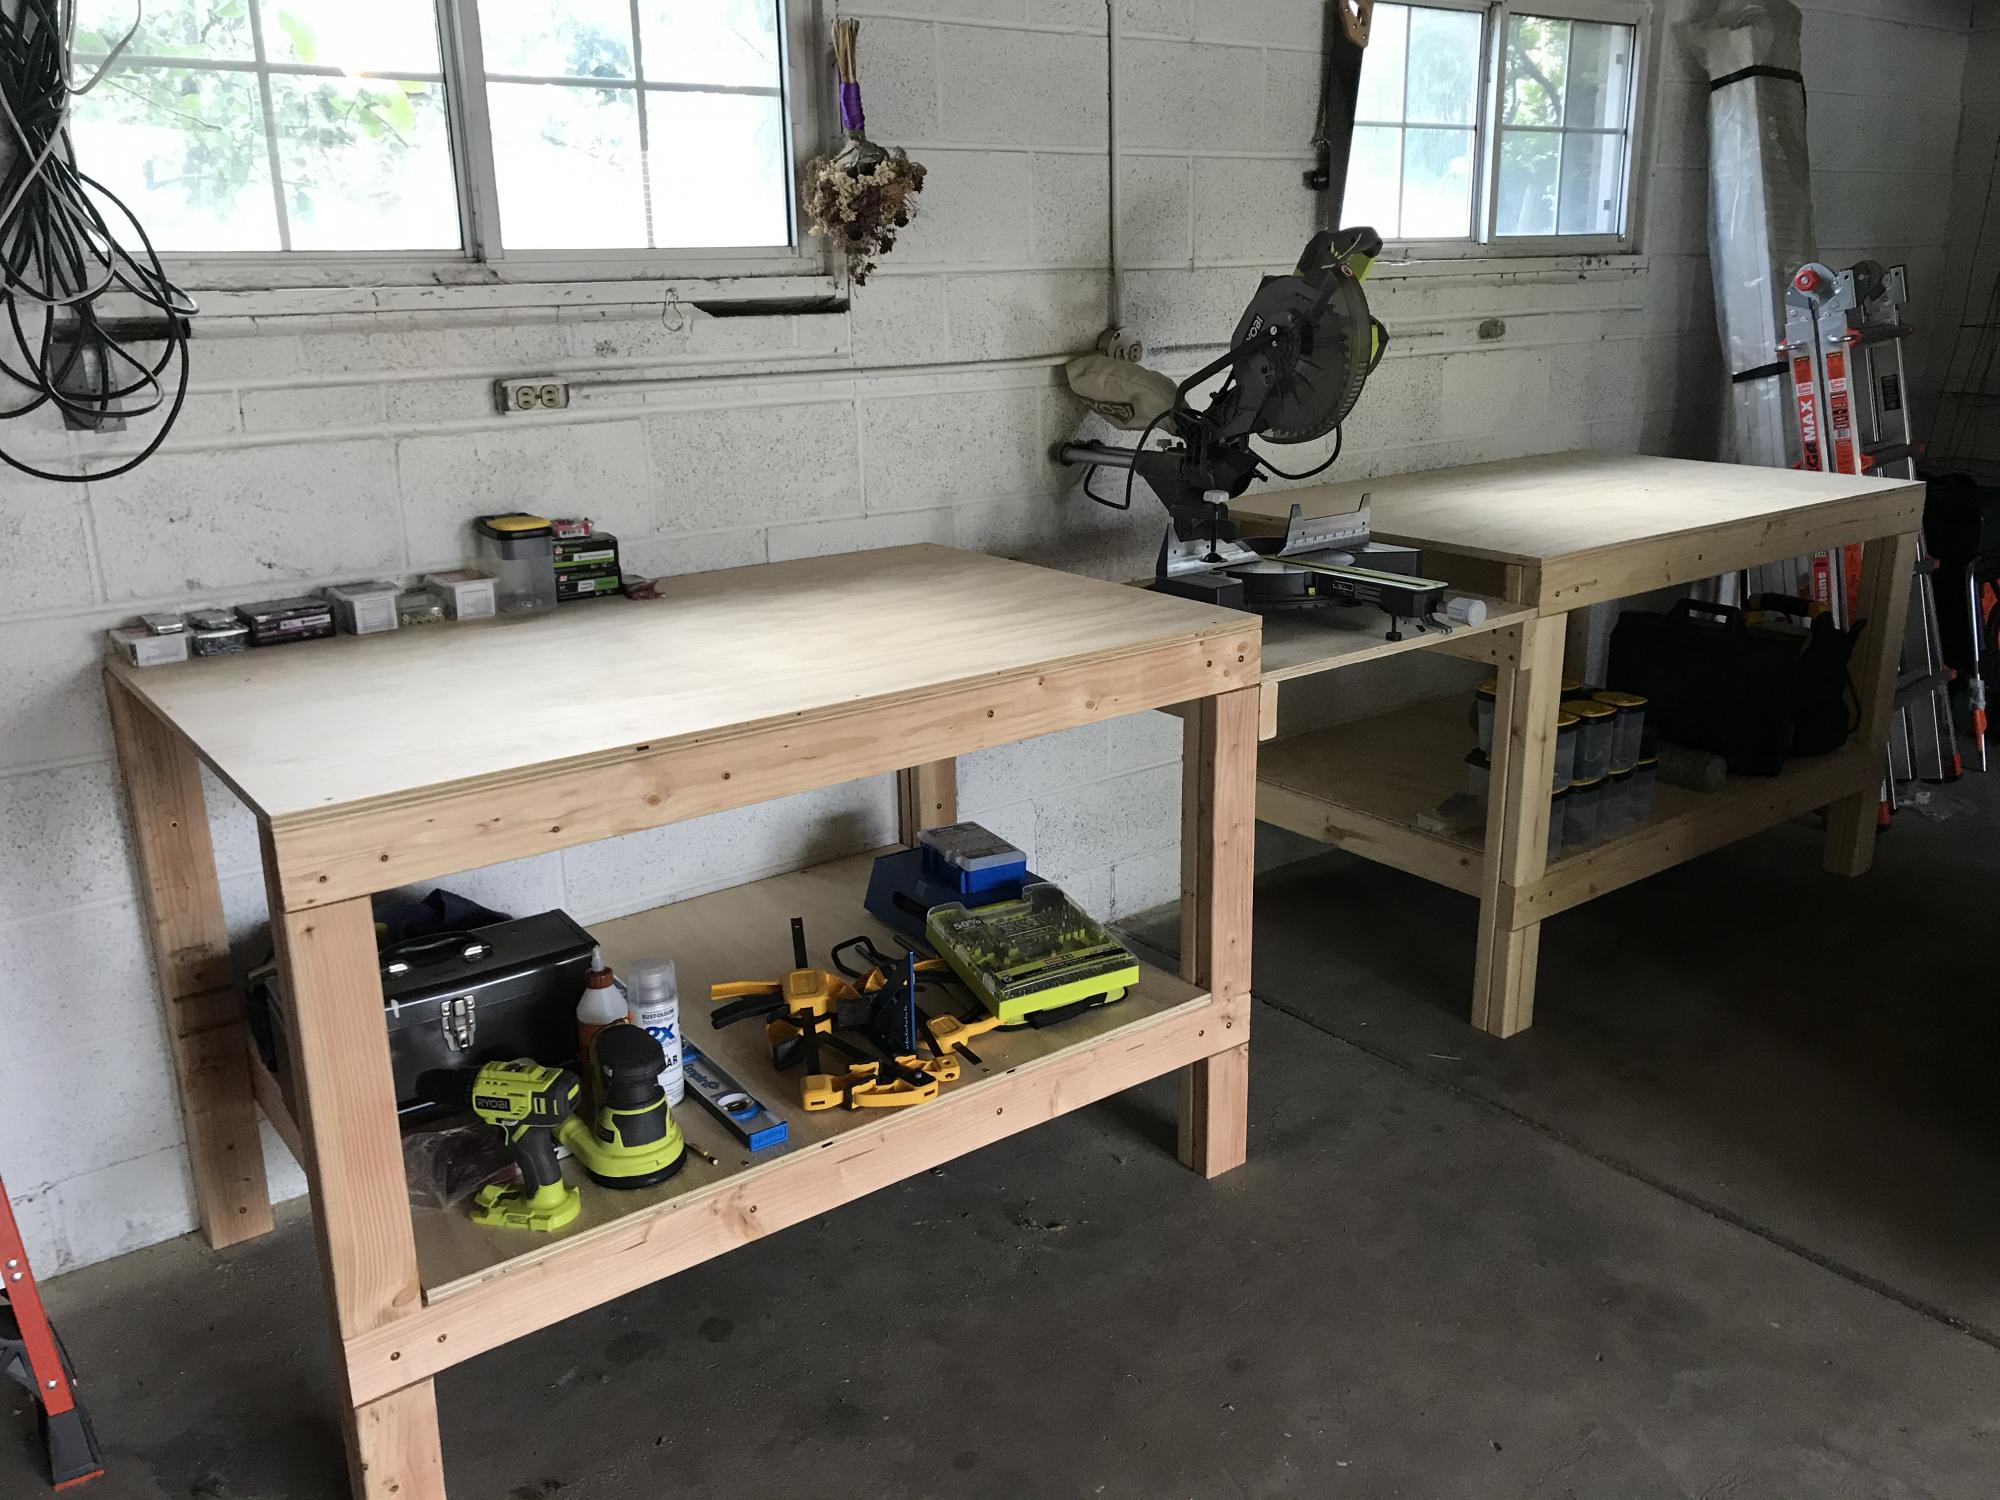
Estimated Time Investment
Weekend Project (10-20 Hours)
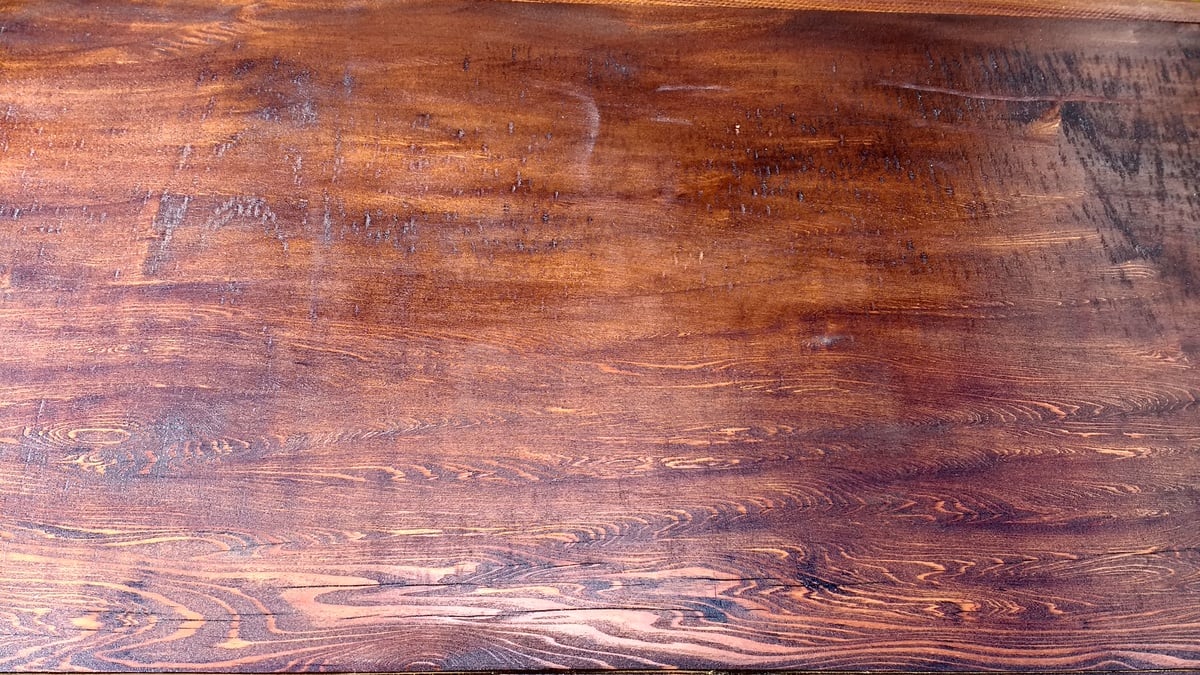
Finish Used
Behr Cedar Natural Tone Waterproofing Stain and Sealer
Recommended Skill Level
Beginner