Barbecue/BBQ Quick Built-in

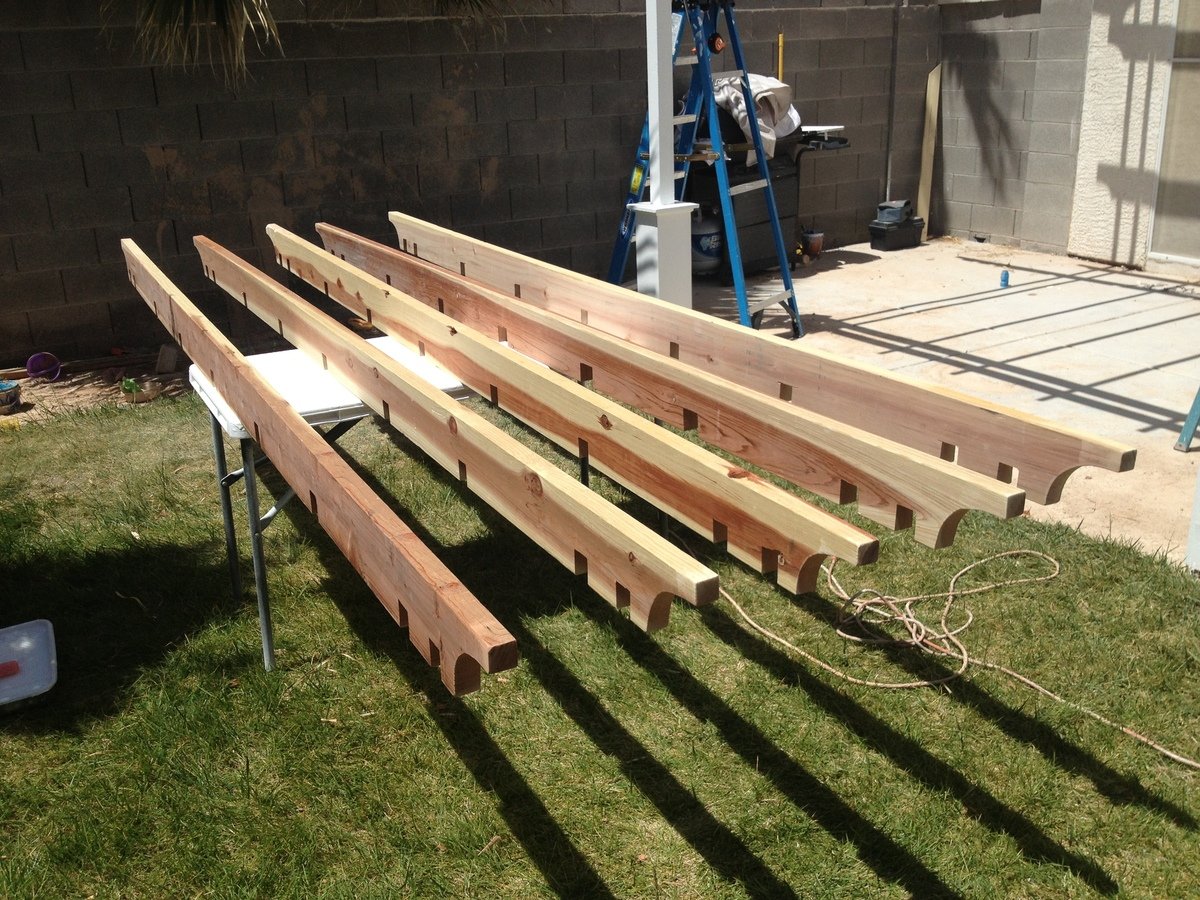
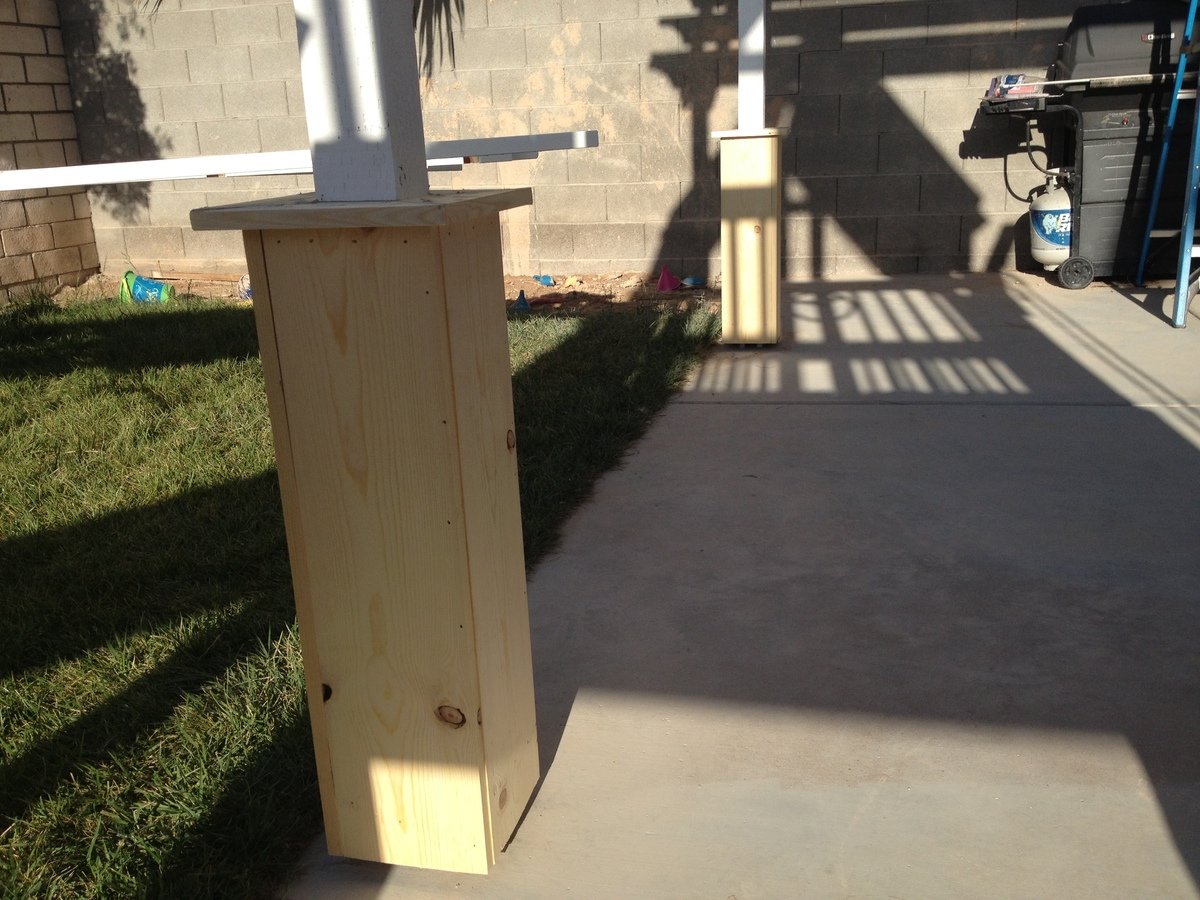
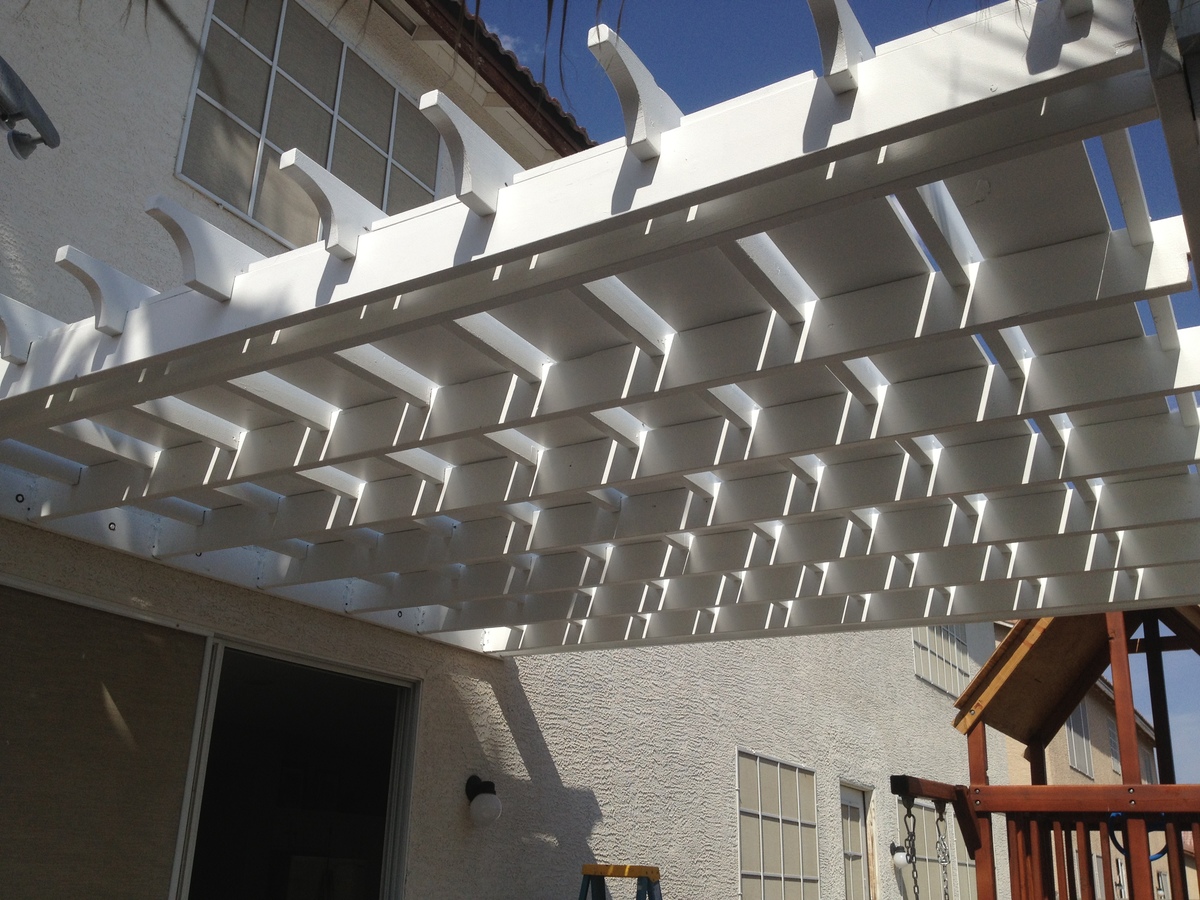
This was just a standard BBQ with an attached folding table. I used a combo of Ana's plans to add a little character and style to the BBQ and it made a huge difference in not only the BBQ, but also the backyard.

This was just a standard BBQ with an attached folding table. I used a combo of Ana's plans to add a little character and style to the BBQ and it made a huge difference in not only the BBQ, but also the backyard.
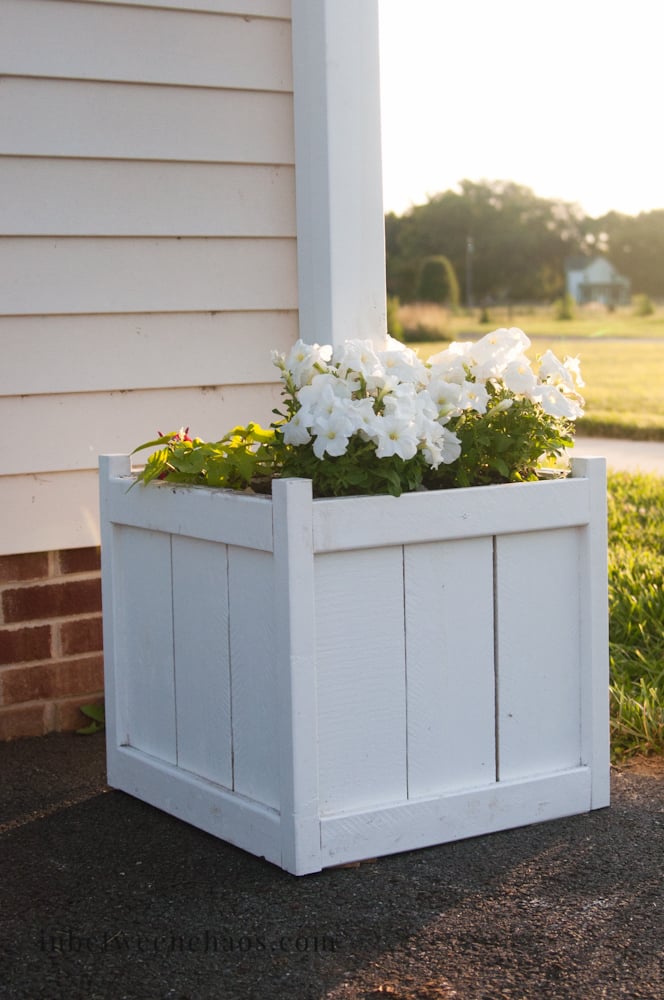
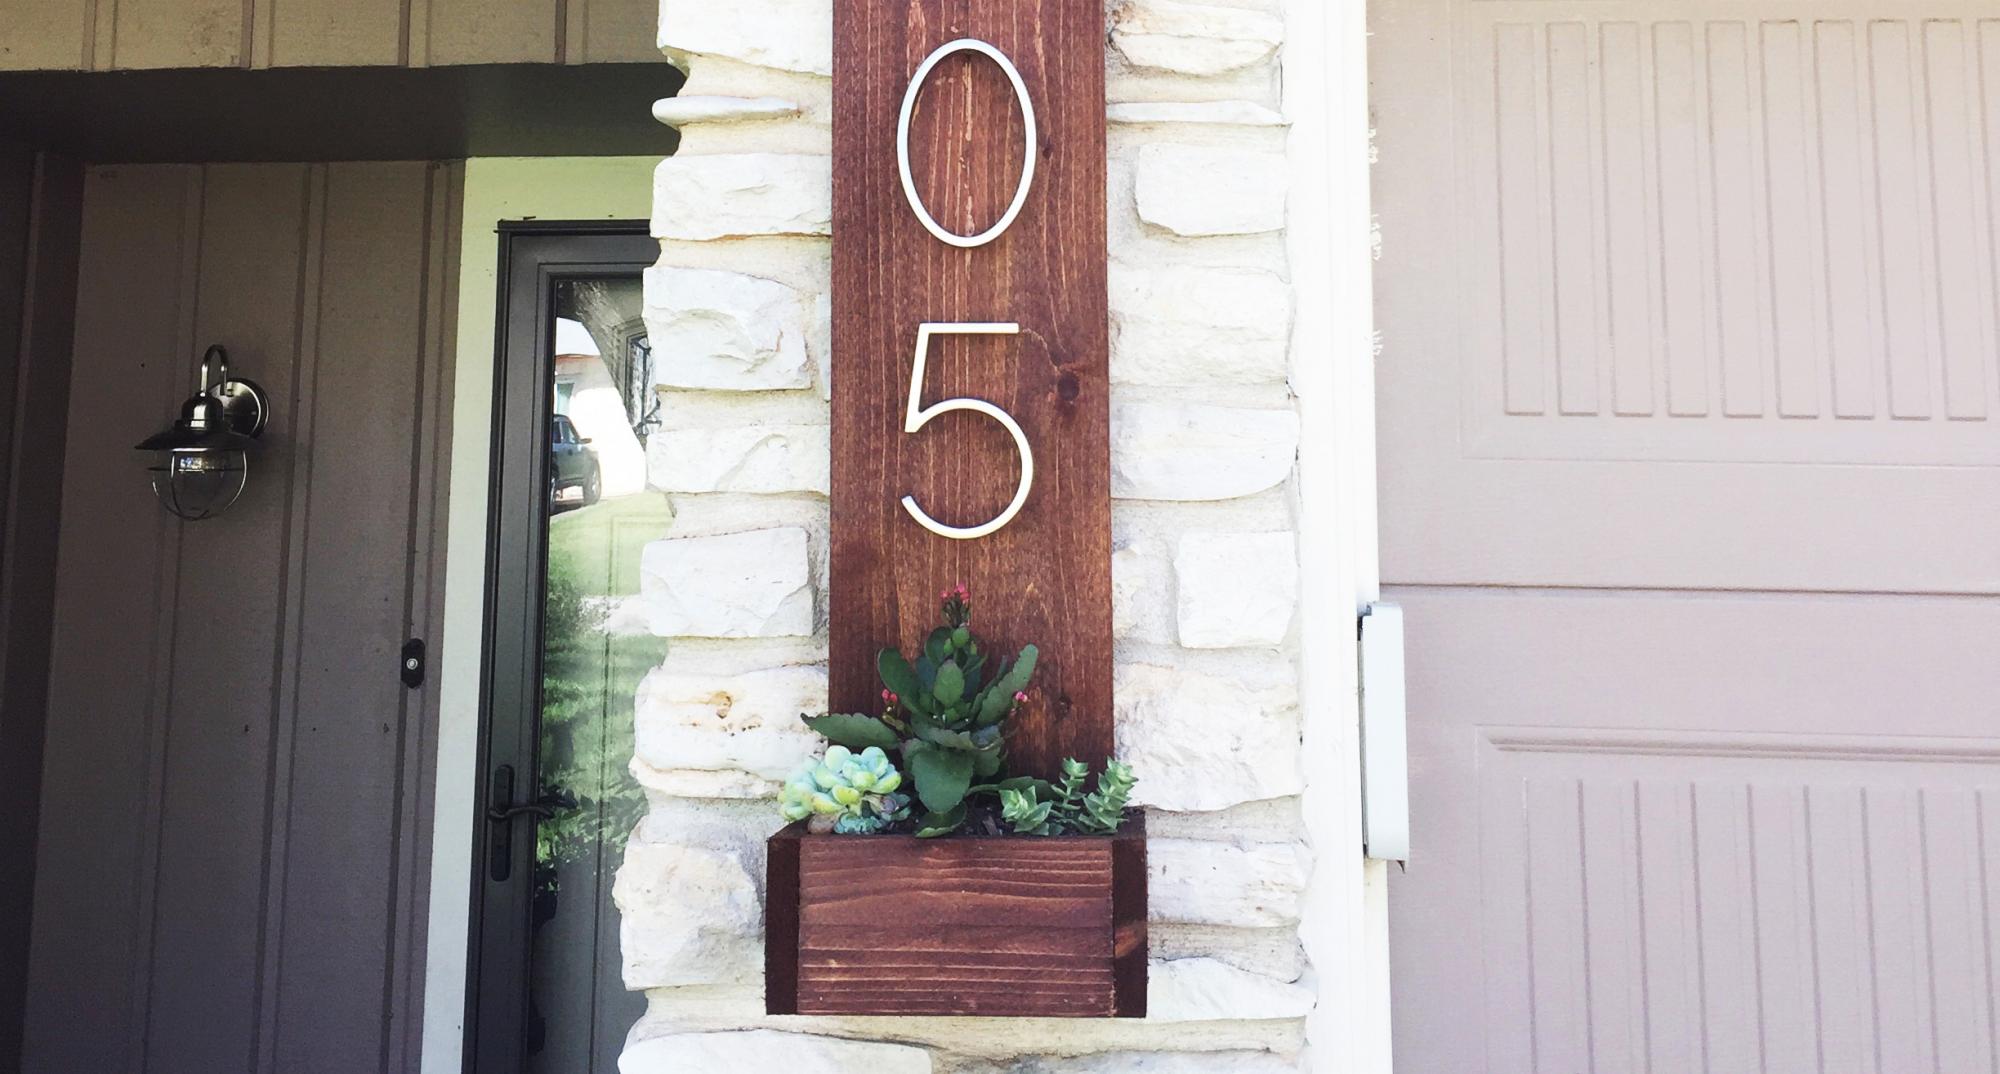
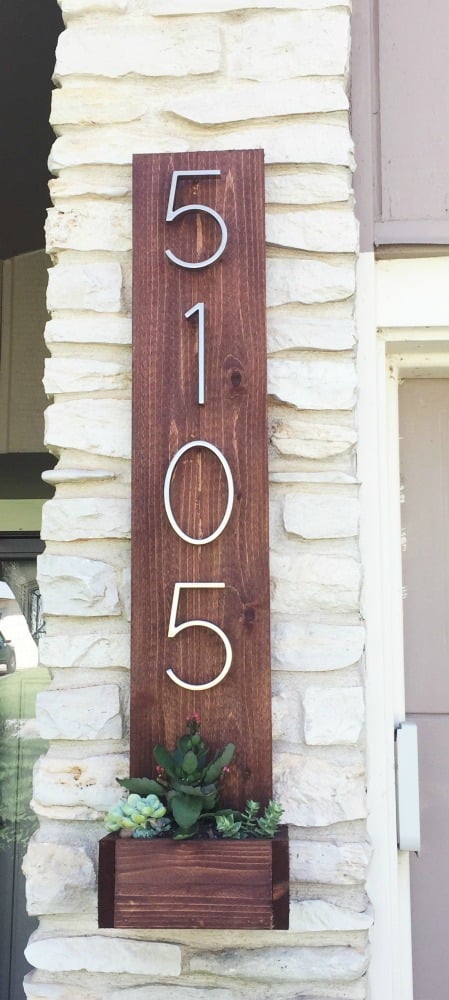
I've been wanting to build this plan for quite some time! Took me about 2 hours to build and 1 hour to finish. Giving these as gifts for Mother's Day! Total cost was about $15 per planter. I scaled down the design after I found the plants I wanted to put in them. Ana has the best and easiest plans!
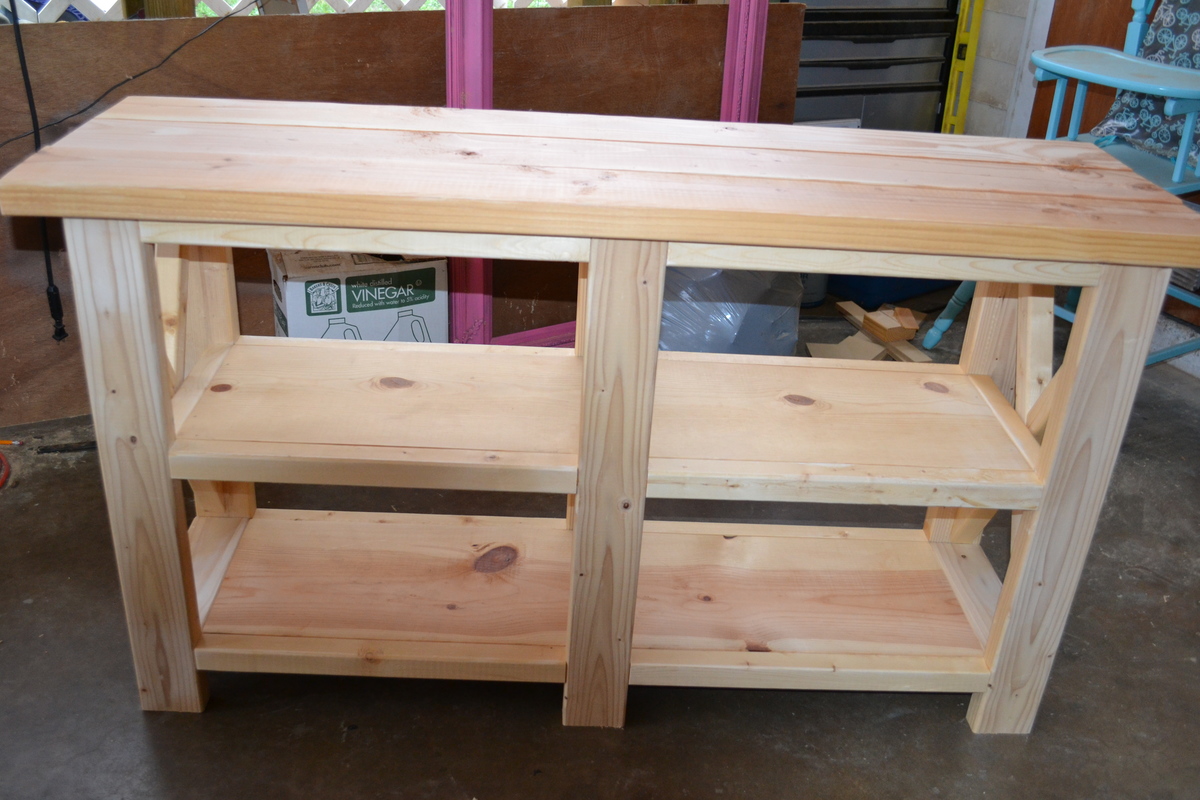
Modern Console Table
The modern console table was my second Ana White project. The console table went together very nice and was an enjoyable build. We used the table as a memorial for our family member no longer with us. As always, thank you Ana for the great plans! simply the best.
Thank you so much! The plans were fantastic! - Kyle in Nebraska @kkreimers
Hubby used the Barn Door Cabinet plans from Ana White. Built to specifications for a mini-refrigerator.
Back Woods Designs on Facebook
We needed to add a table to our outdoor living space. This was a super easy build, I opted for a 2x4 top and I built it to match the height of my deck railing so it could be moved around and slid into a corner and used where needed. It also provides a nice tabletop space while we use our blackstone or grill to set food items on as we cook. Overall we are very happy with this sturdy outdoor table that only took about 1 hour to build! This plan was very easy to modify for the exact size that we wanted.
We’ve owned this open gazebo for a few years and thought how nice it would be if it were enclosed, so i framed in the base using deck boards and wood siding, built a screen door and framed it. Added outdoor shades and furniture, and a TV of course. The blinds hold in the heat of the gas fire pit on chilly evenings. We live in MN and now we can enjoy our screen gazebo 3 seasons. Fred Vollbrecht
I have been wanting garage cabinets for a long time but couldn't afford them. When I saw these shelves I knew it would be easy to add side panels and create doors for the sections. The size is 8'x8' with the 4'x3' under the ceiling rack. I put a 2"x4" in the middle to divide each section, measured and cut doors from 5mm lauran plywood. I also cut the stiles and rails from the same material to give it interest but mainly to make it thicker to avoid warping as much as possible. I added 2"x4" to create a facing for the doors to rest on. Also used overlay hinges to simplify the hanging as much as possible. I was able to follow the design plan and the only thing I did was add a shelf at the bottom. The cleats were definitely not necessary, it's very sturdy.
Making the doors
The first thing is to learn how to measure for cabinet doors. There are plenty of sites and YouTube videos showing how to correctly measure. If you are doing the same type of doors like I have, with no middle divider, then be sure to pay attention how to correctly measure for those instead of a single door.
The easiest way to make the doors will be getting 1/2 in sanded plywood and use a table saw to cut each door to size. Skip the shaker style trim and put the hardware on and be done. Make sure the hinges will be able to hold the weight of the door.
Unfortunately, I didn't have a table saw but I did have a router and a jig saw, and found a great video on YouTube on how to use a router to cut straight edges without a table saw. I measured out one door and used that outline to cut two identical doors. It turned out that each section was slightly a different width so I had to do two at a time. However, if you have a circular saw you can rig it to make a table saw and make a guide to rip the doors. It all depends on what tools you have available to you.
I have a compact plunge saw and was able to cut the 3 inch strips for the shaker style with it. Honestly, that was the most tedious part and most time consuming by far. That also had to do with the fact that because the plywood is only 5mm thick I cut strips for both the front and the back to make it over 1/2 inch thick to help minimize warping and give the hinges something to grab.
I used the miter saw to cut the stiles and rails to size and a 23 gauge nailer with 1/2 nails and glue to get them on the door. I glued and nailed the front and the back of each side at the same time because the nails are a bit longer than two pieces of plywood. I then turned it over and nailed the other side. The great thing about using a 23 gauge is that I didn't have to fill any holes because they are so small you can hardly see them at all.
The last thing is to use your sander to ensure all of the pieces are even. I used a 60 grit and then followed it with a 220 where needed.
If you want to avoid cutting the strips but still want to have the shaker style, Home Depot sells 1/4 thick Polystyrene flat moulding that will add vertially no weight to the door but the cost can easily add up if you have a lot of doors.
Lastly, if you are wondering why I got such thin plywood that ended up creating more work. The reason is because I wanted to save money on hardware and I didn't trust the inexpensive hinges I got off eBay would hold a heavy door for many years.
Wed, 06/19/2019 - 13:20
What kind of paint did you use? Looks really nice, the whole thing!
Thu, 07/18/2019 - 10:28
This is amazing! Thank you for sharing so much detail on your project too.
Wed, 06/10/2020 - 13:14
Can we get detailed plan of how you made this from the start to end like a material list and cut list.
My father and I made this awesome poolside towel cabinet using the Benchmark Cabinet plans. A super easy 1 day build and it looks amazing on the patio. Bring on the pool weather!
I didn't make any changes , his orginal design was great. Hope these pictures help others. I tried to link to the modified-simple-outdoor-dining-table but wasn't able too.
Sun, 04/27/2014 - 14:06
Found the plans "modified-simple-outdoor-dining-table" and I built it. Very nice table, I posted more pcitures to help others
Sun, 04/27/2014 - 14:06
Found the plans "modified-simple-outdoor-dining-table" and I built it. Very nice table, I posted more pcitures to help others
Built the mud kitchen using Ana’s plans with some alterations my daughter wanted. Loved this build and hoping my grandson loves it too!! - Jennifer Ellis Facebook Community
Planters build by Urban Wood Solutions
Fri, 03/31/2023 - 04:23
These are incredible. They look a little deeper, and would be good for vegetables. How deep are they?
Great for a small flock of 5 or less.
My first Ana White project. My friend Shelley and I are RN's, and she got me hooked on woodworking. I started with cushions from Lowes ( in the sizes that you recommended)to see if I loved the sectional for a few years. I loved it so much I decided to have custom Sunbrella fabric ones made. Even though the custom ones were more expensive, it has been worth it. They go perfect with my California Mission style home. Now I want to add the armless one and make it a U-shape. I did add a piece at the bottom back of each sofa to hold the cushions in. The seat cushions would slide out the back when sitting on the sofa. I made the coffee table to match. Our family loves it!
"When space is limited, every corner has to work hard. I turned our garage entry into a functional mudroom by making every space a storage solution—without sacrificing style." - The DIY Records
This was a great last minute Christmas gift. Took me a little over two hours. Made completely out if pallet wood.
Sun, 12/26/2021 - 13:19
It looks great, I'm sure the recipient loved it! Thanks for sharing:)
This was my first project from Ana's web site. I modified the table by expanding the trim of the stretcher to the outsides and adding a shelf. I also added an additional shelf in the middle. I cut the apron for the top down to two inches, and an inch a half for the lower two shelves. I distressed each piece of wood individually by hitting it with a bag of nails and various other things.
Sat, 11/12/2011 - 07:31
I am literally I the middle of buildig the sectional and all of a sudden it says I
am not authorized to get into that page. Any information?
Sat, 11/12/2011 - 20:03
And what a fun project, whacking it with nails and such to distress. Did you feel de-stressed afterward?
It looks great.
Tue, 11/15/2011 - 09:25
I could have given the table a little bit more of my stress. Unfortunately I couldnt swing the bag too hard, because the nails would rip right through it and fly all over the place. Maybe next time i'll use a pillow cause and swing a little harder.
Thu, 11/17/2011 - 10:14
This has become me new favorite site to visit. My to do list is a mile long and covers almost every room in the house. My wife thanks you!
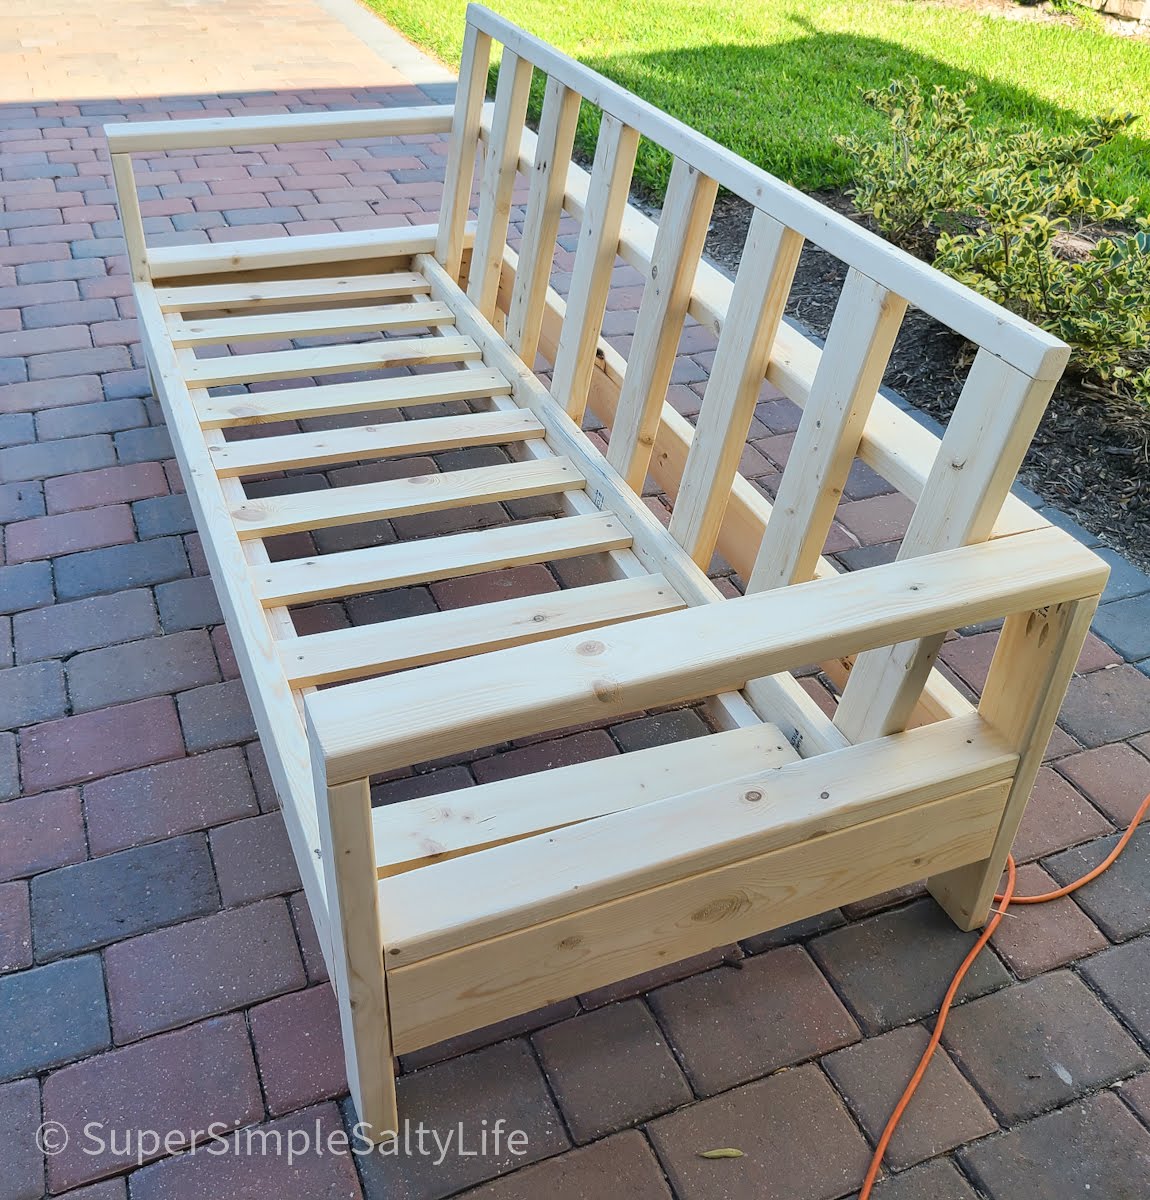
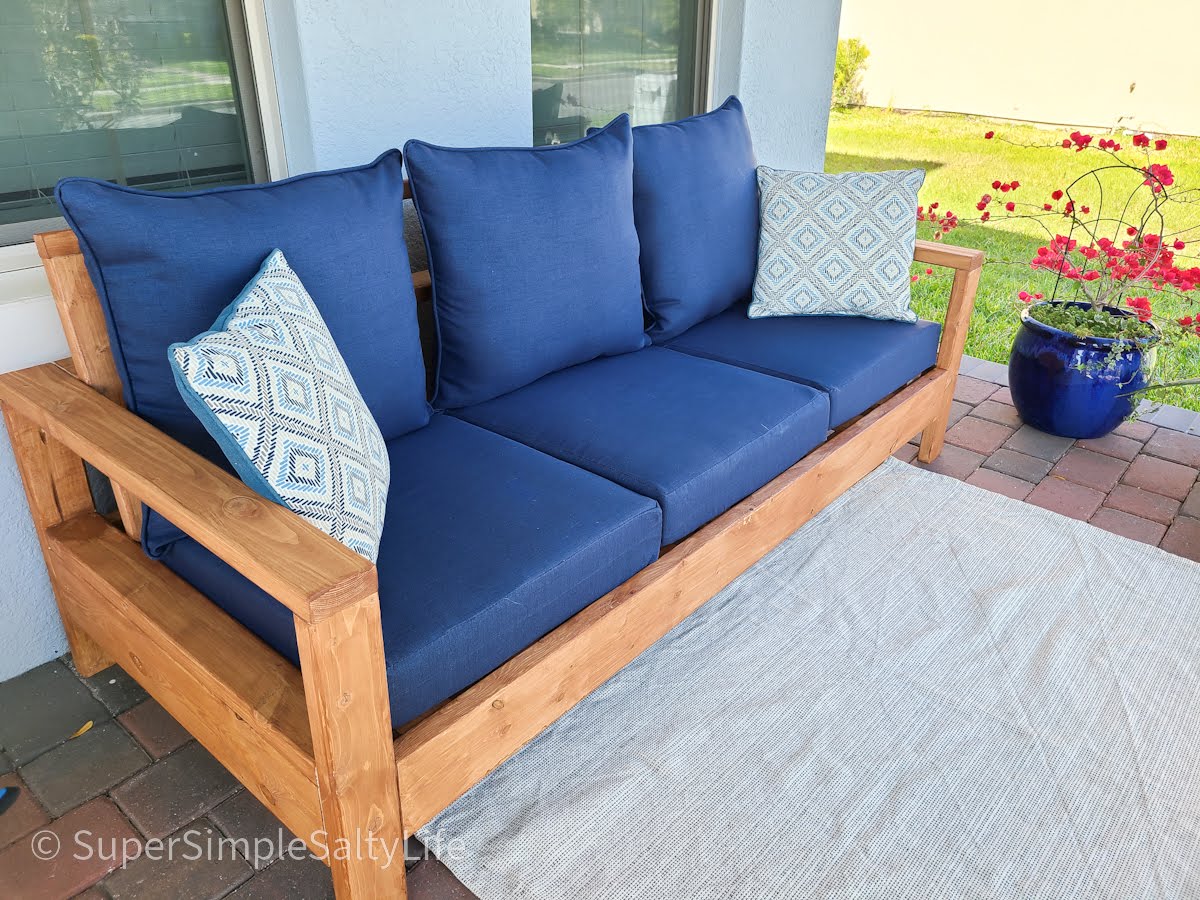
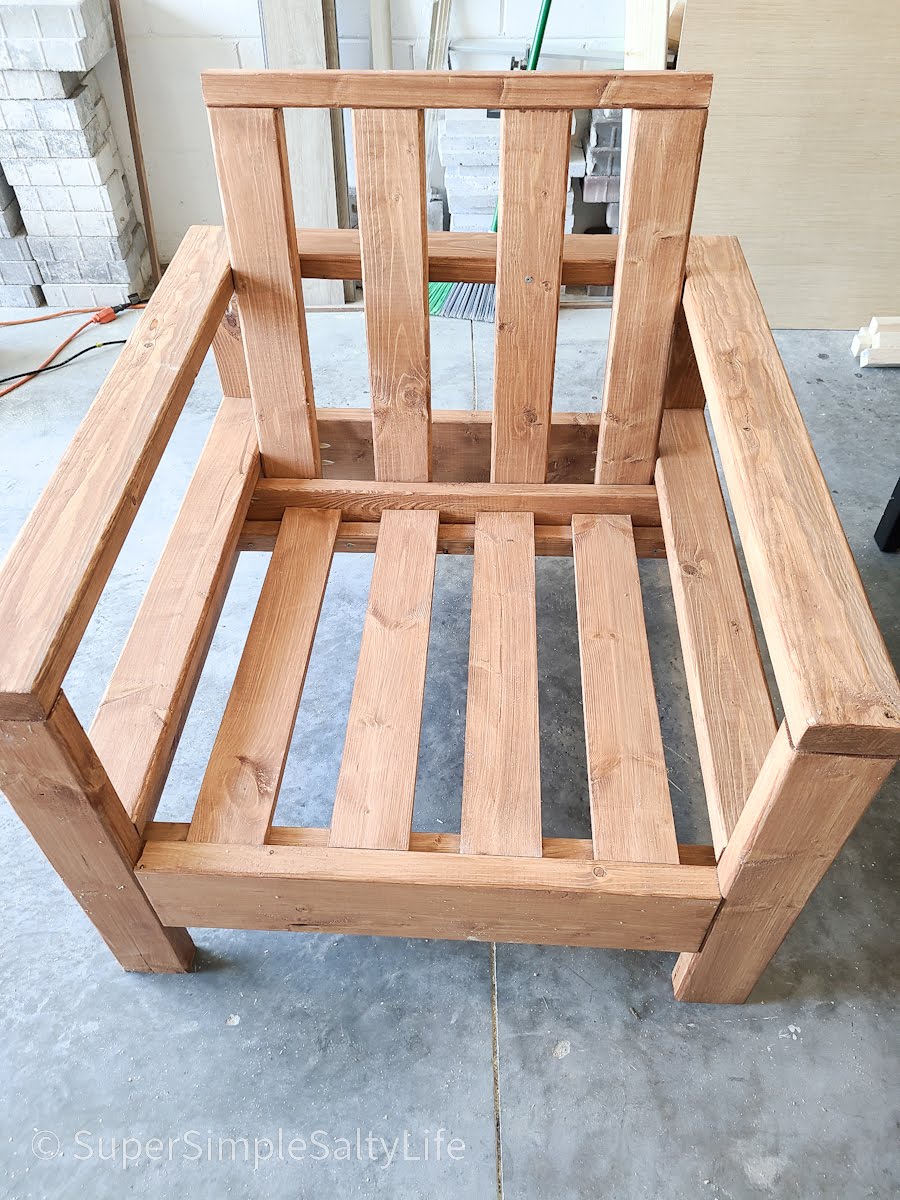
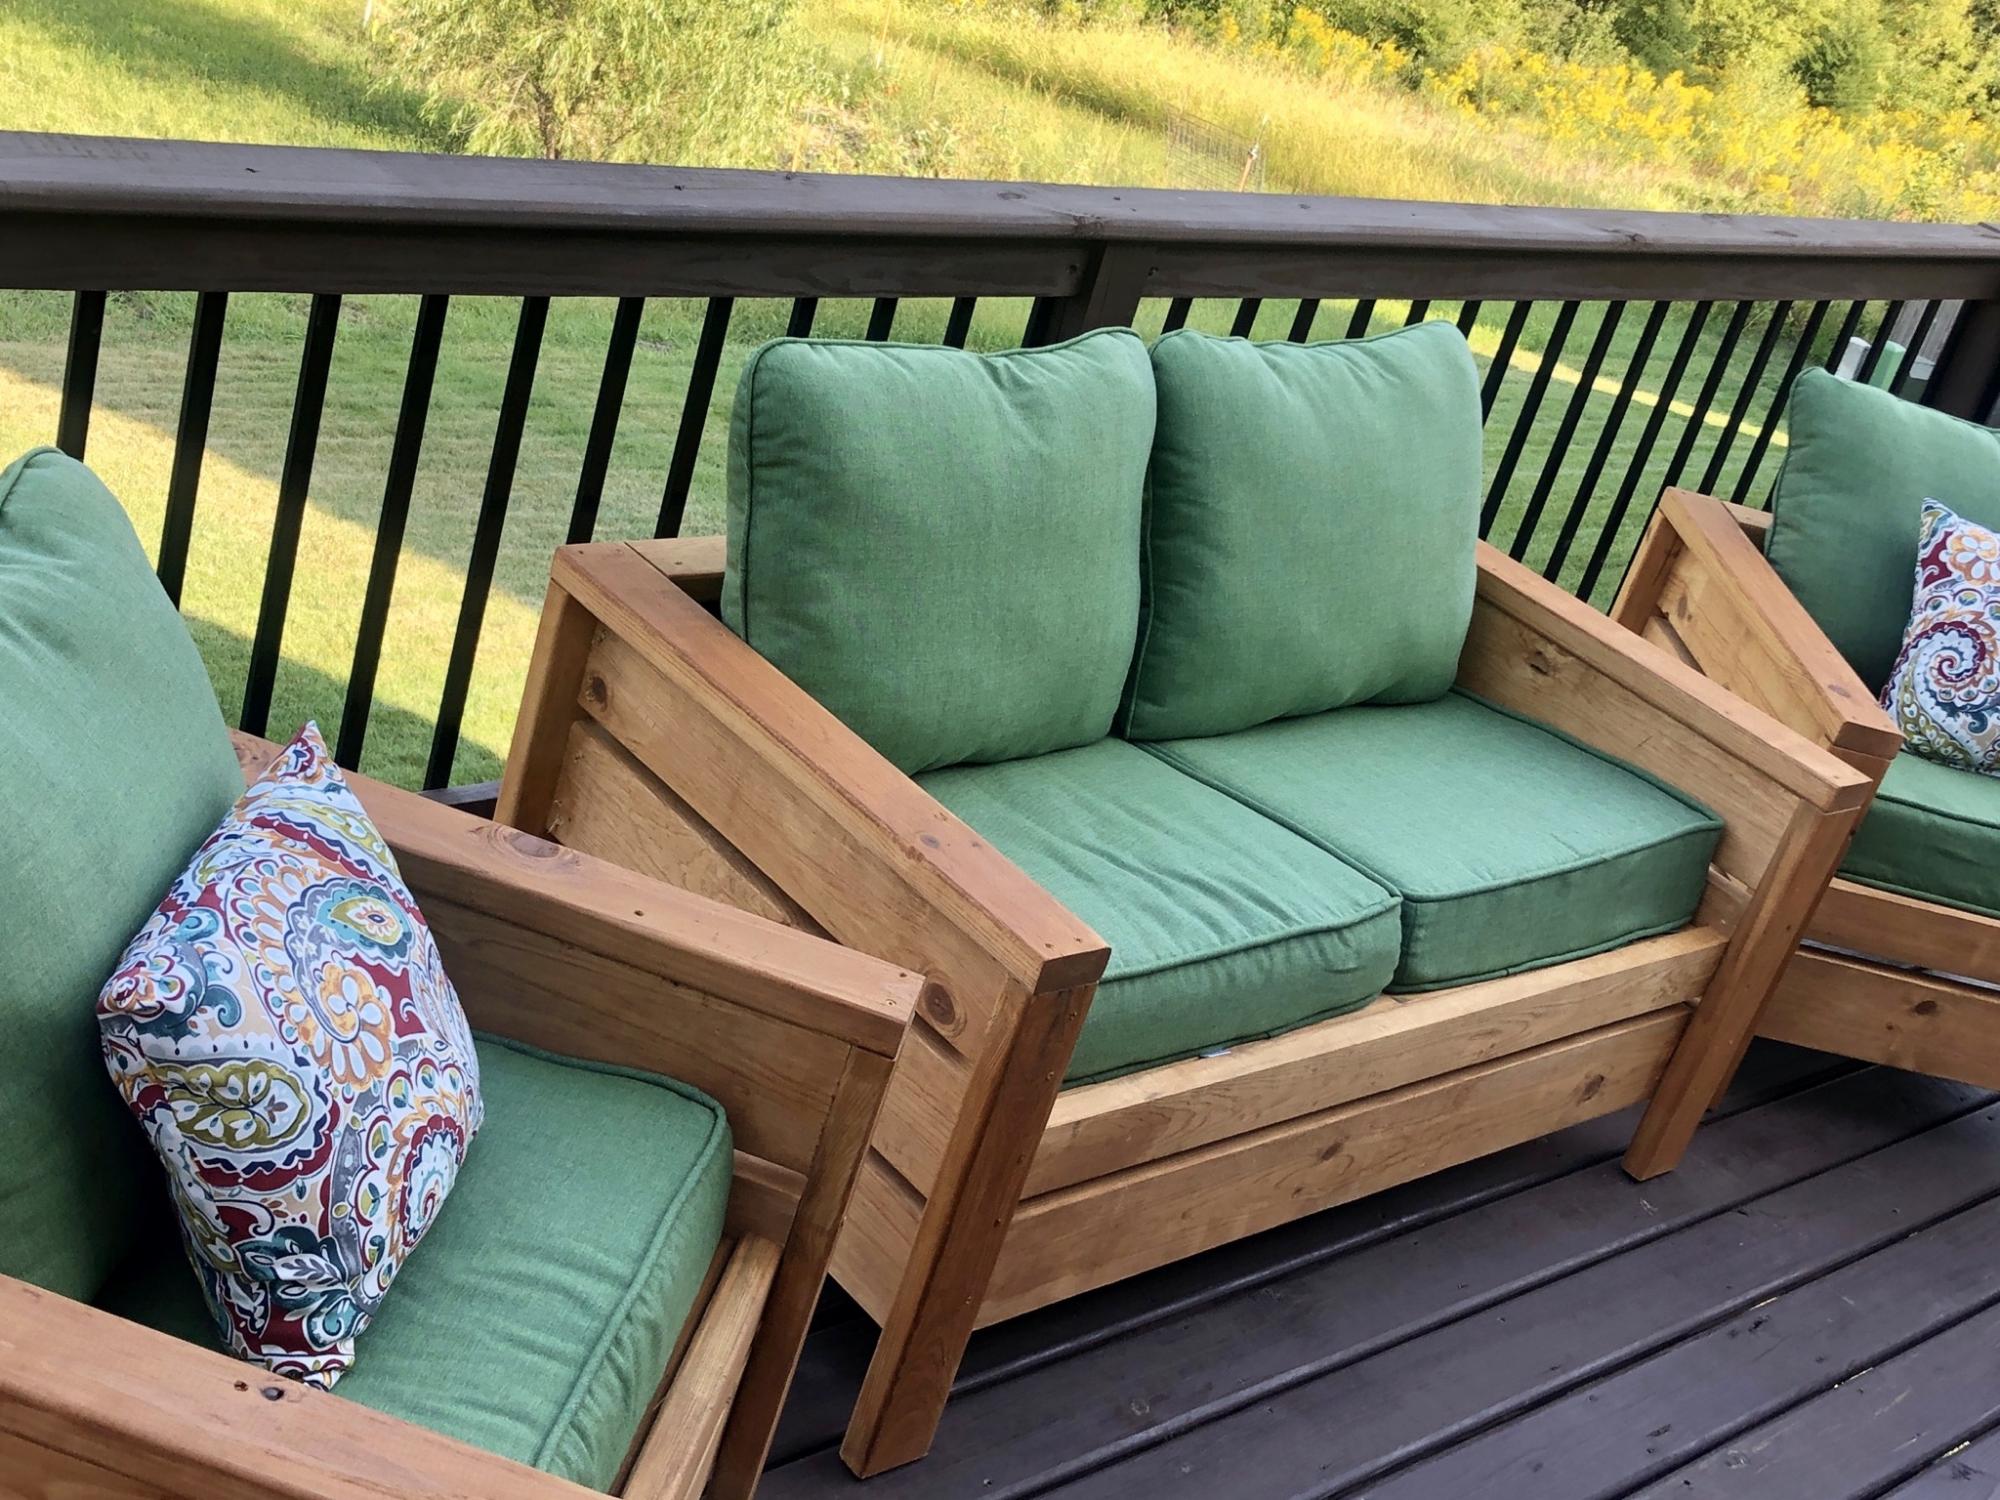
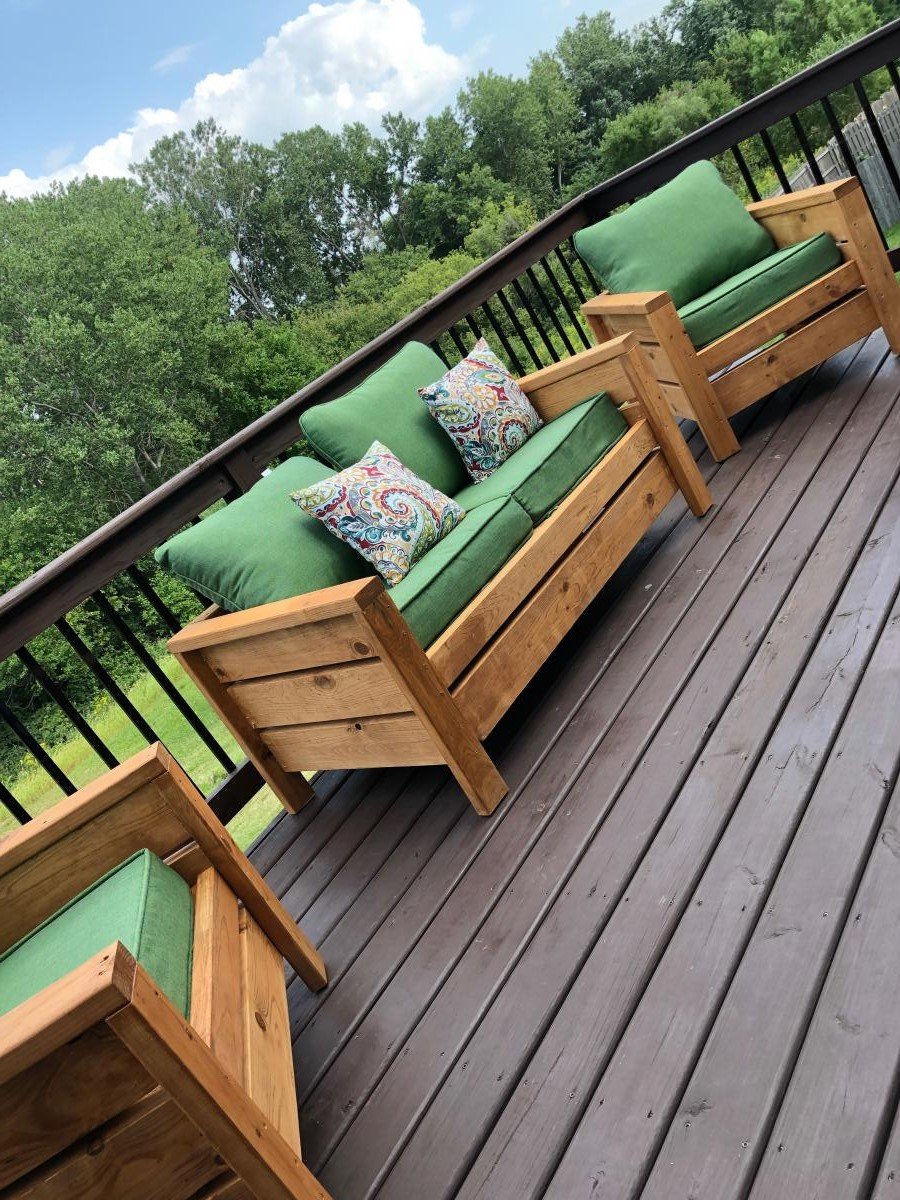
OK, I think this build may be my biggest project yet! It is definitely the heaviest. With the strong winds we can get here in Florida we needed substantial outdoor furniture.
I did make some modifications along the way measurement-wise so the sofa would fit my front porch better. All in all, this took 2 full days. I built the sofa first, stained it the next day and then decided (due to trying to get stain in all the nooks and crannies) to stain the chair pieces first before putting it together.
I am so happy with the results and so far, almost a year later, this furniture looks great and hasn't moved an inch in any of the thunderstorms we've had! Thank you Ana!!
Modifications to the simple outdoor table plan thanks to Finn’s dad.
I made these two Ana White outdoor end tables for my patio. Next up will be the matching coffee table
Sun, 01/29/2023 - 16:04
Thanks for sharing, they will be a nice outdoor additon!
Comments
mdwstgrl
Mon, 05/23/2016 - 12:29
BBQ Built In
Hello: Very interested in which plans you used to build the BBQ Built In. Thank you.
[email protected]
Wed, 06/08/2016 - 09:22
BARBECUE/BBQ QUICK BUILT-IN
Hello dbryant1977, please share the plans. Also, what's brand/model of BBQ? Very nice.
cmsorensen604
Sun, 05/05/2019 - 07:33
bbq surround
How do I get the plans for this
kobej9
Thu, 04/09/2020 - 18:27
This is my guess on the…
This is my guess on the plans used! https://www.ana-white.com/woodworking-projects/diy-grill-island-featuri…
TruTalesFeats
Mon, 06/03/2019 - 06:45
Barbecue/BBQ Quick Built-in
Please, which plans did you use for this?
bprice89
Fri, 08/30/2019 - 09:50
Are there plans for this…
Are there plans for this project or at least some pictures from while you were building it?
joany515
Mon, 03/16/2020 - 14:55
Built in BBQ
Would definitely like plans for this :)
kobej9
Thu, 04/09/2020 - 18:27
This is my guess on the…
This is my guess on the plans used! https://www.ana-white.com/woodworking-projects/diy-grill-island-featuri…
dchil23
Wed, 04/22/2020 - 15:52
Can you provide us with the…
Can you provide us with the plans for this? I would love to build one.
Angie Jester
Mon, 03/04/2024 - 14:49
Can you provide us with the plans for this?
Hello: Very interested in which plans you used to build the BBQ Built In. Thank you.