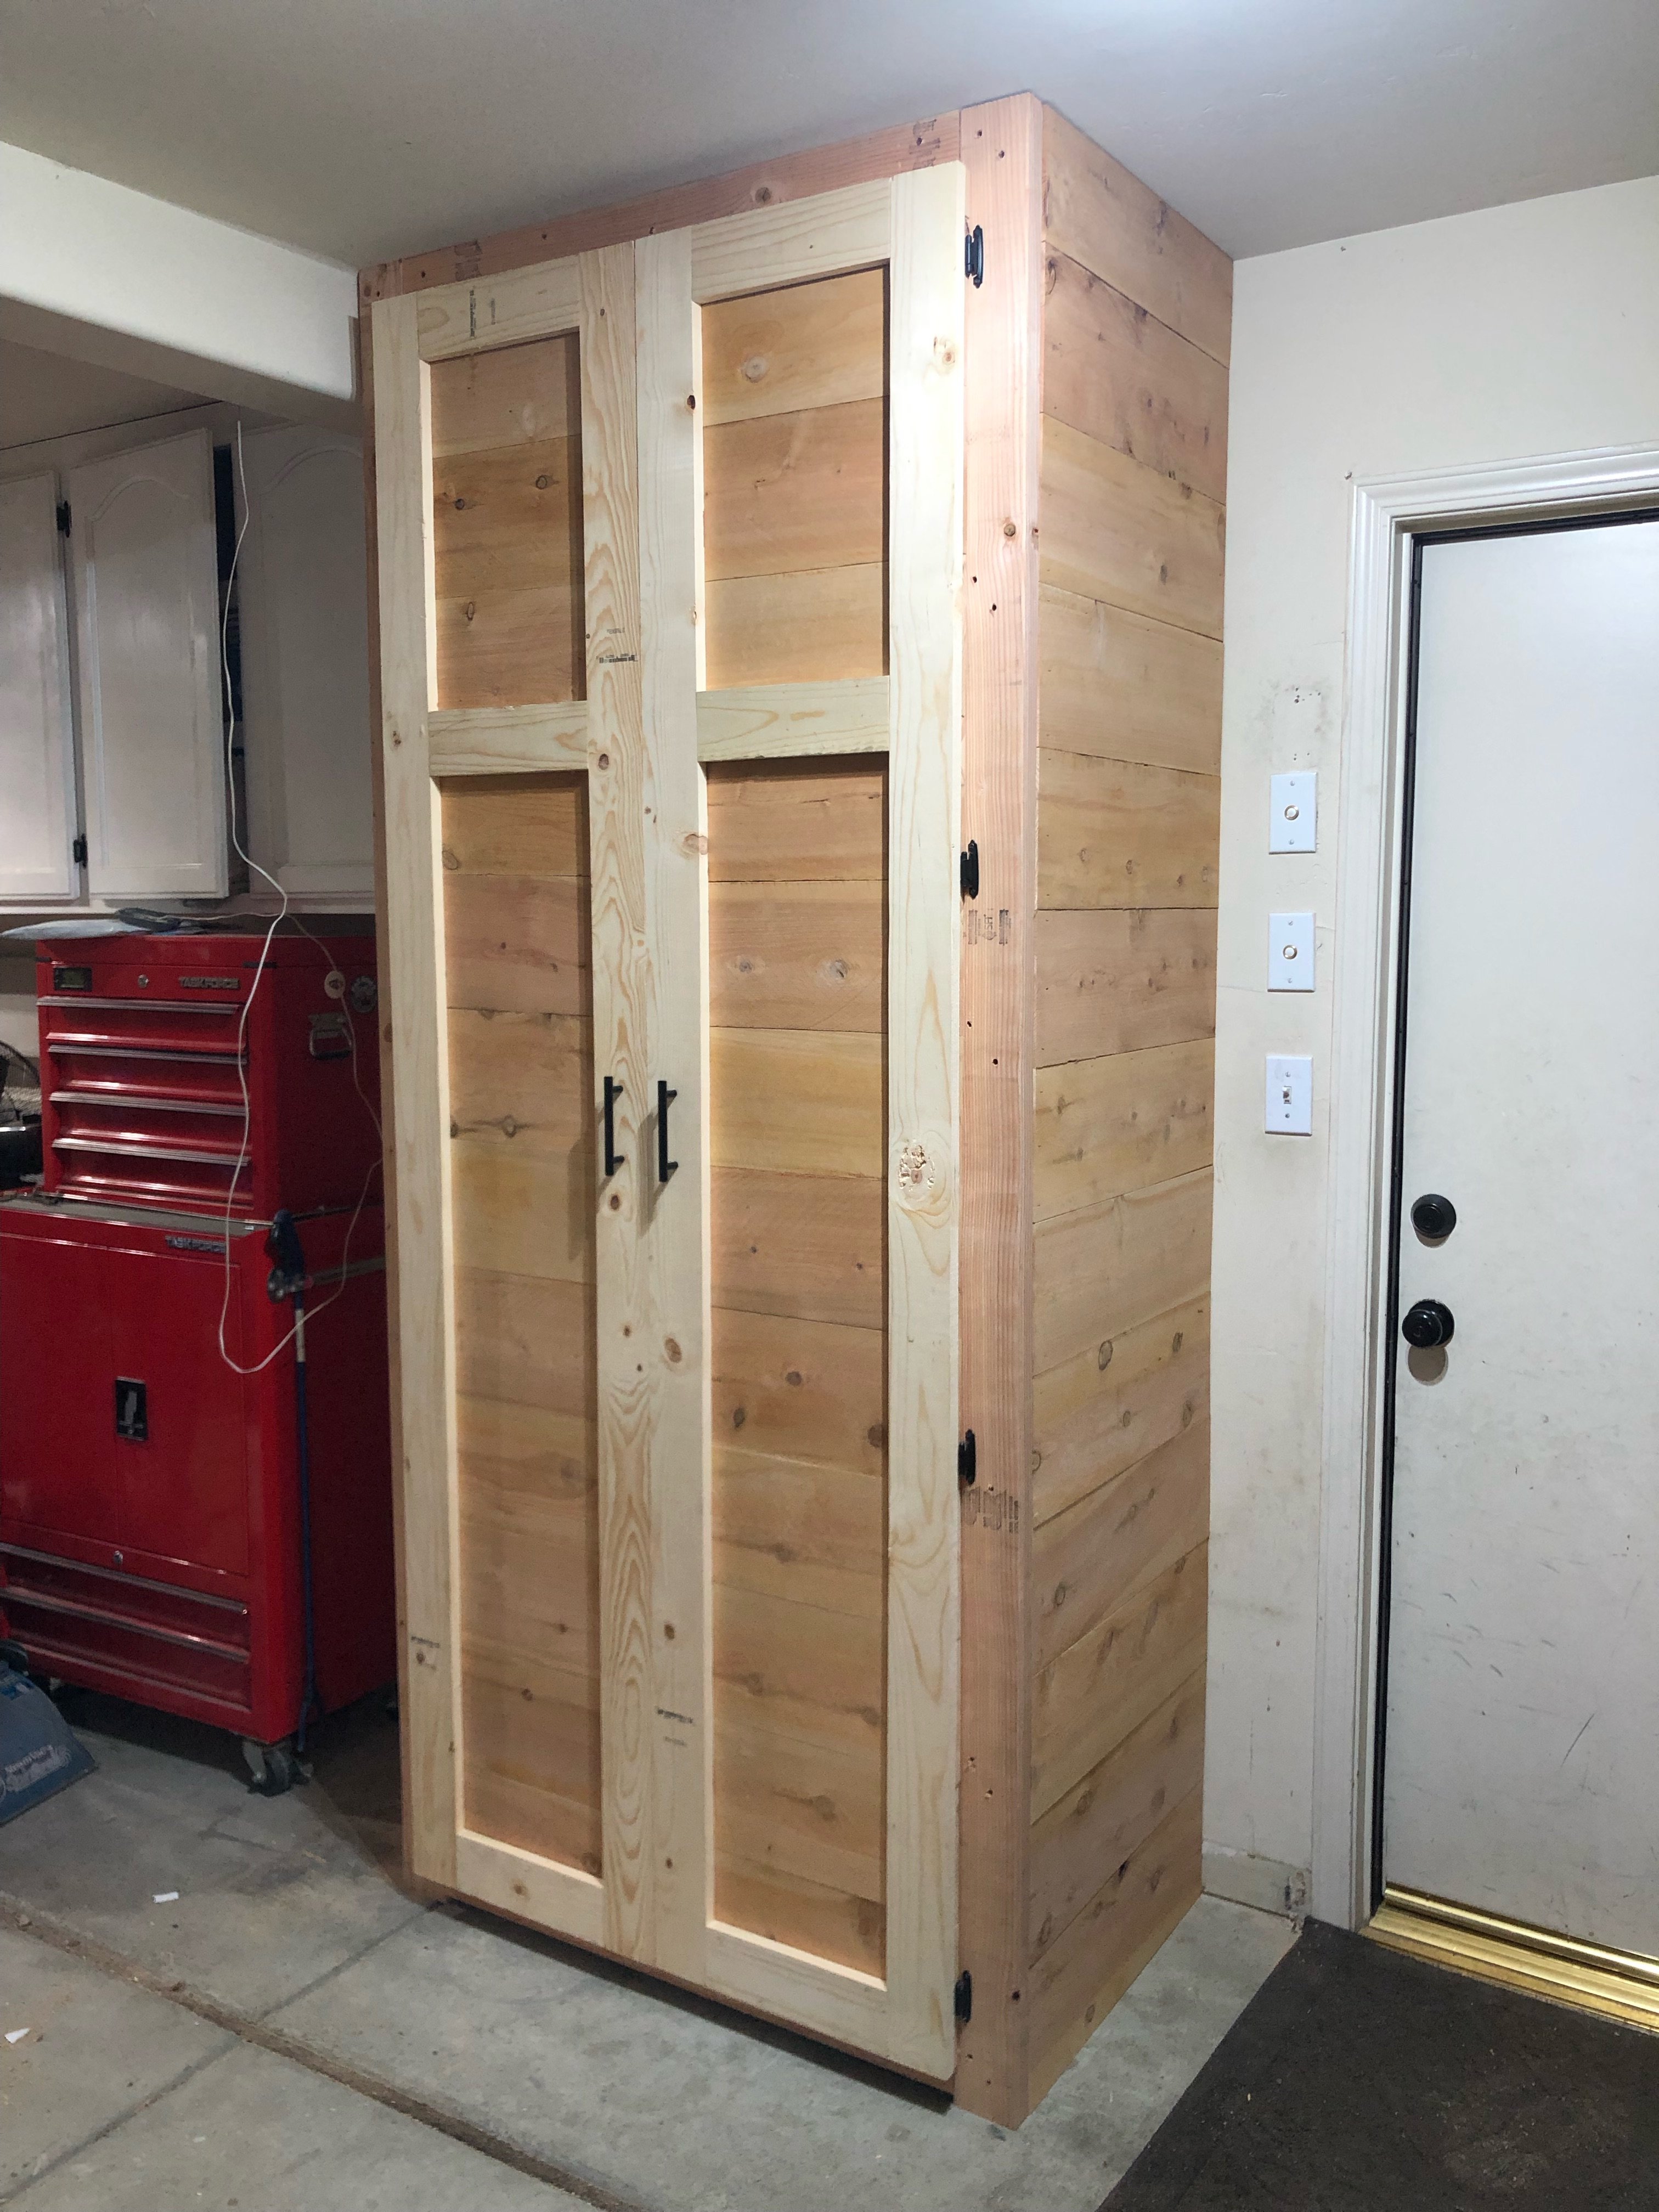
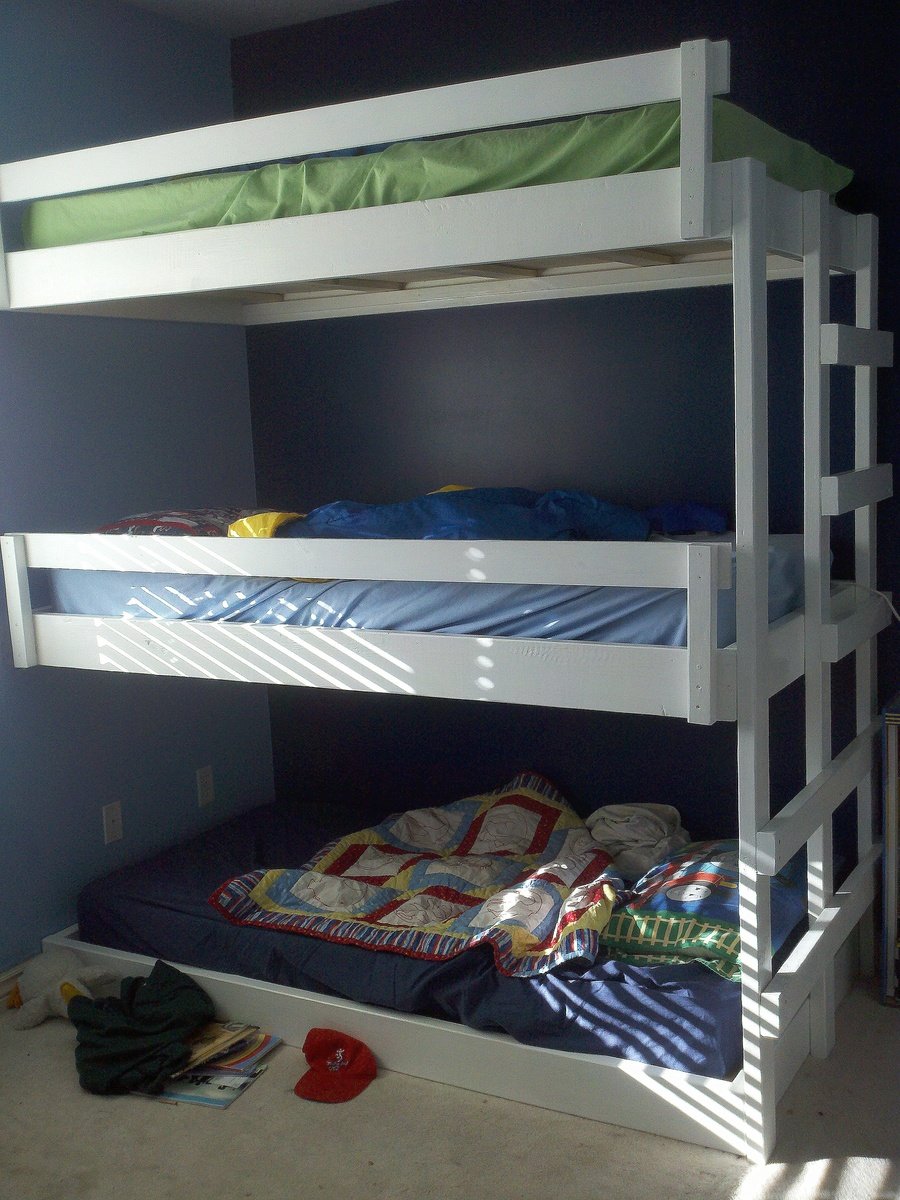
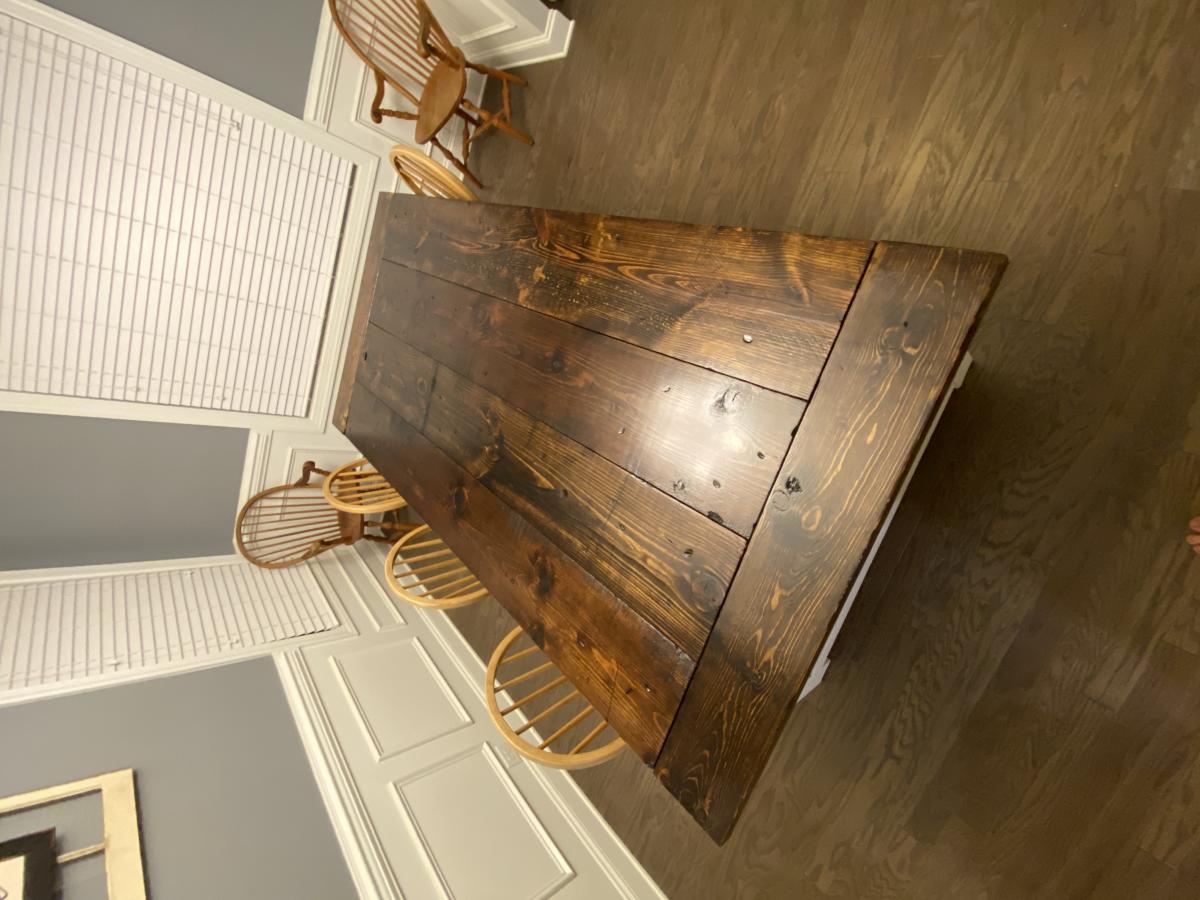
Pet Kennel
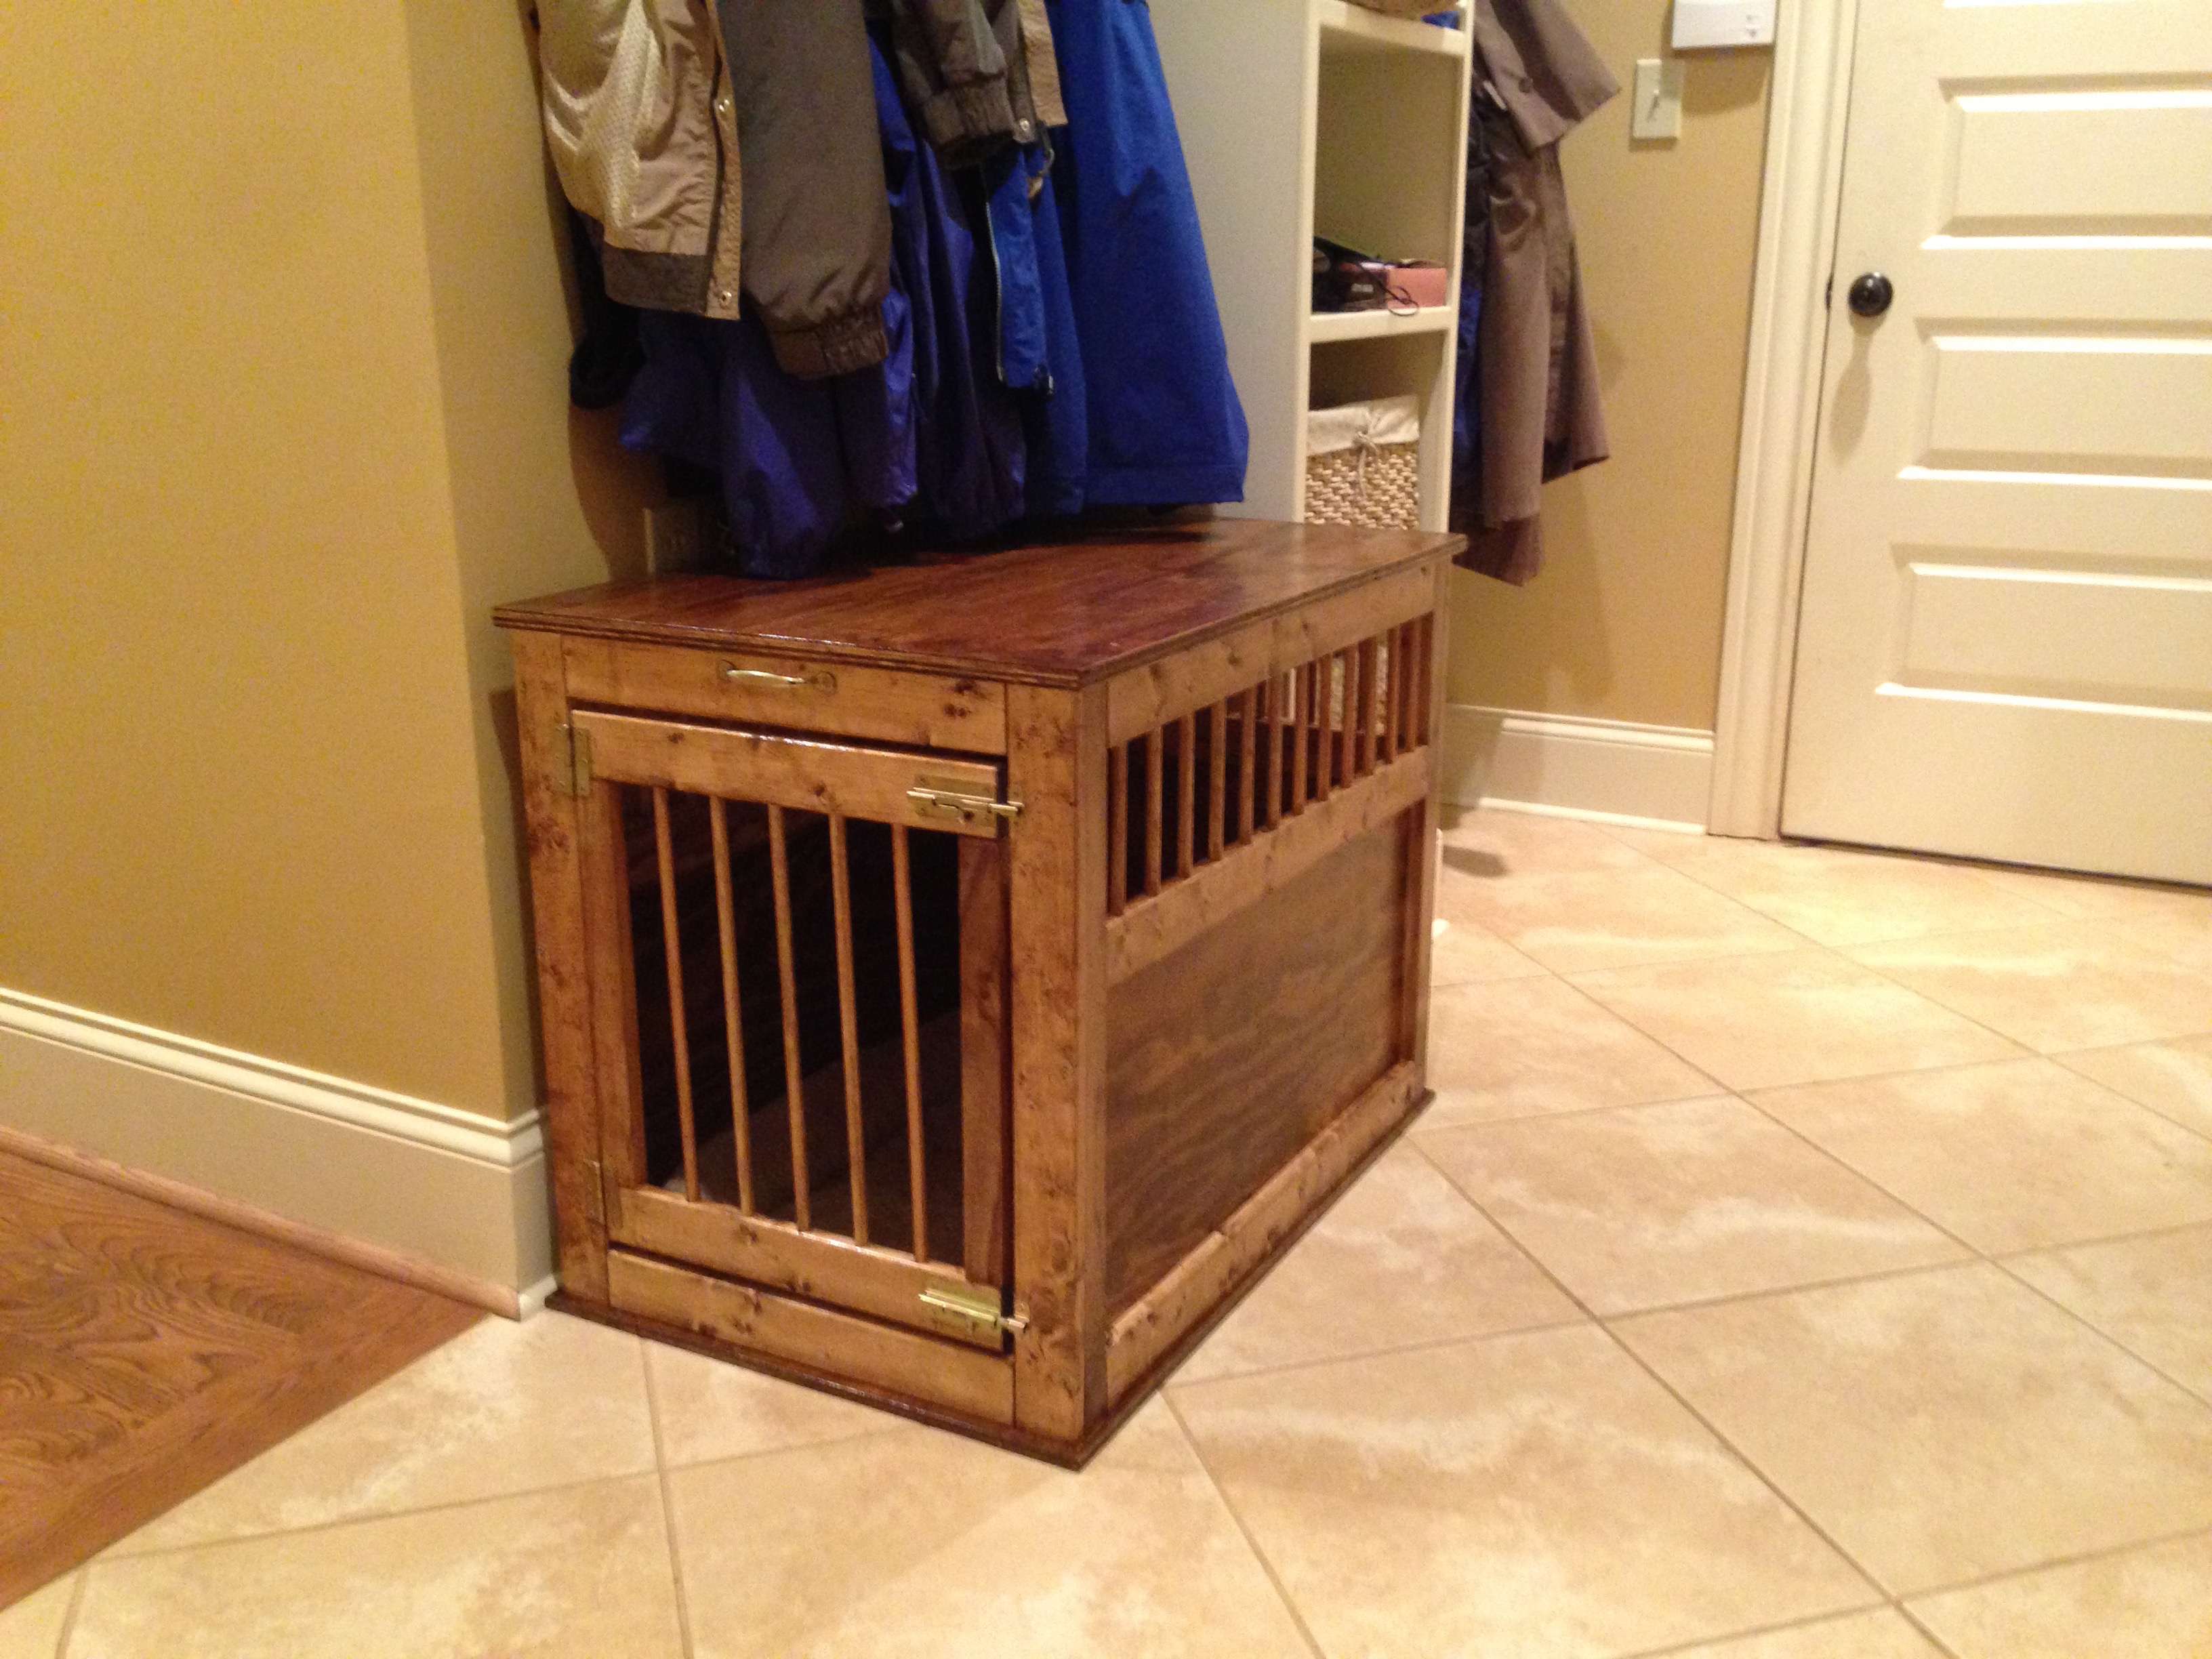
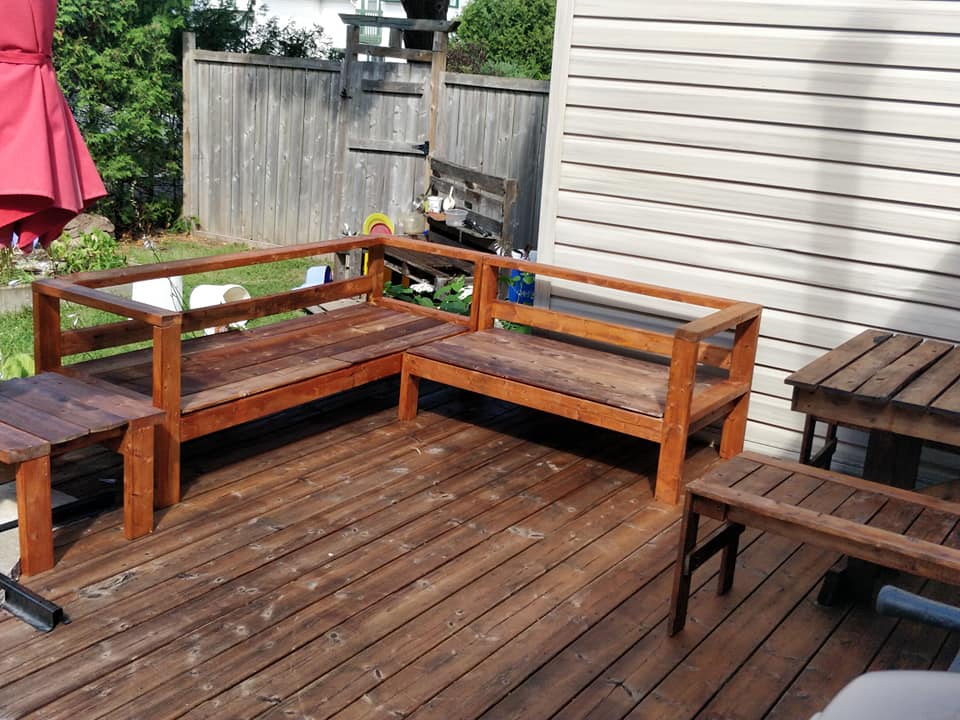
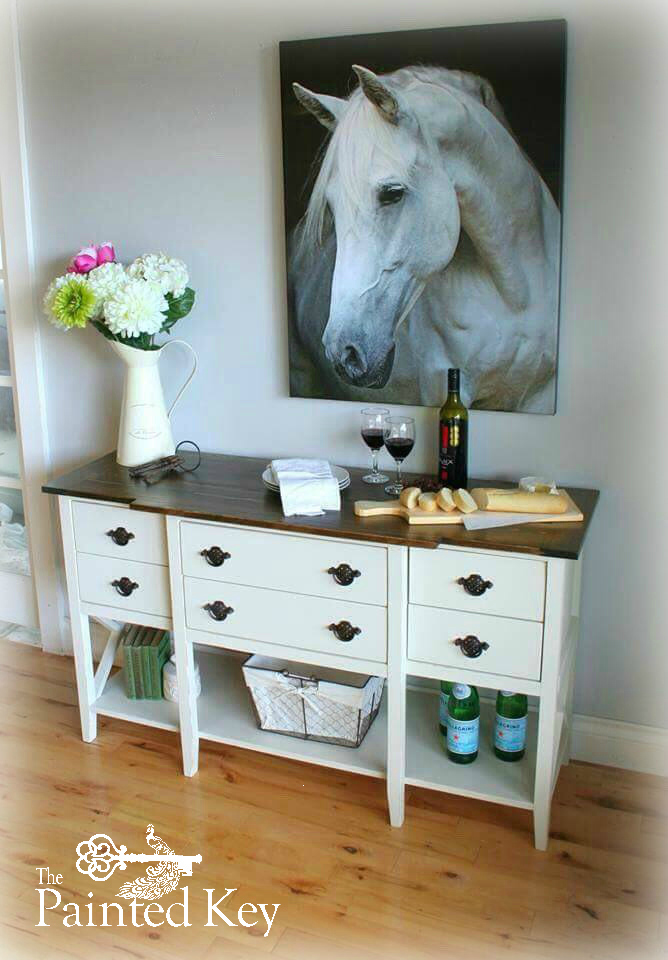
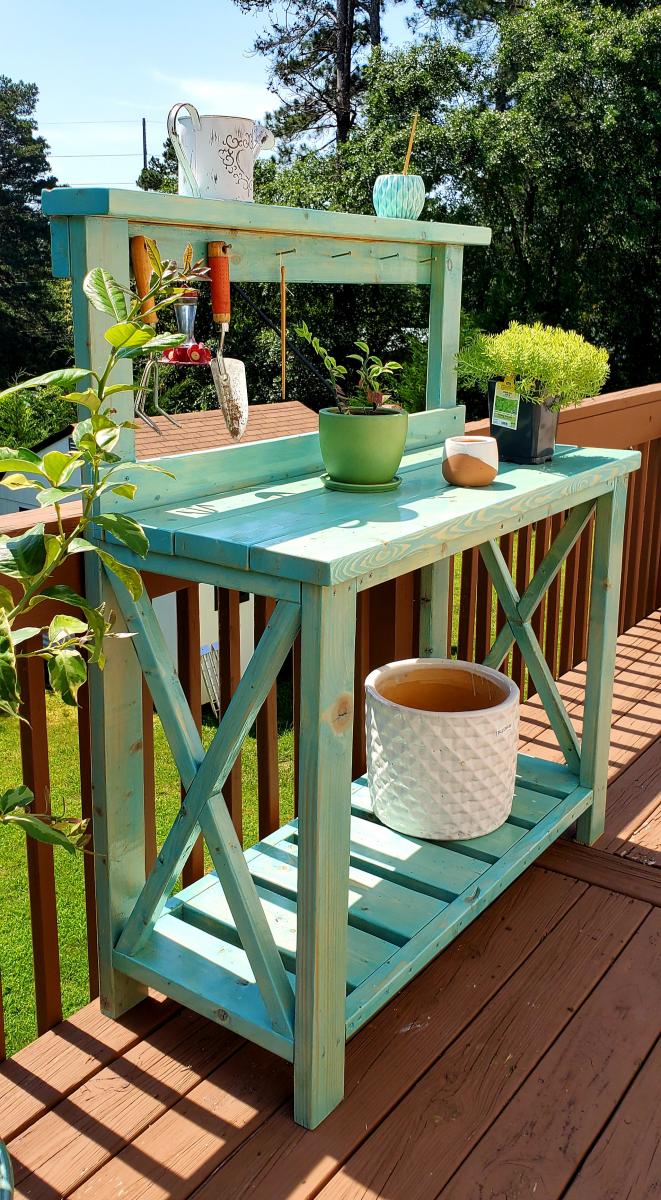
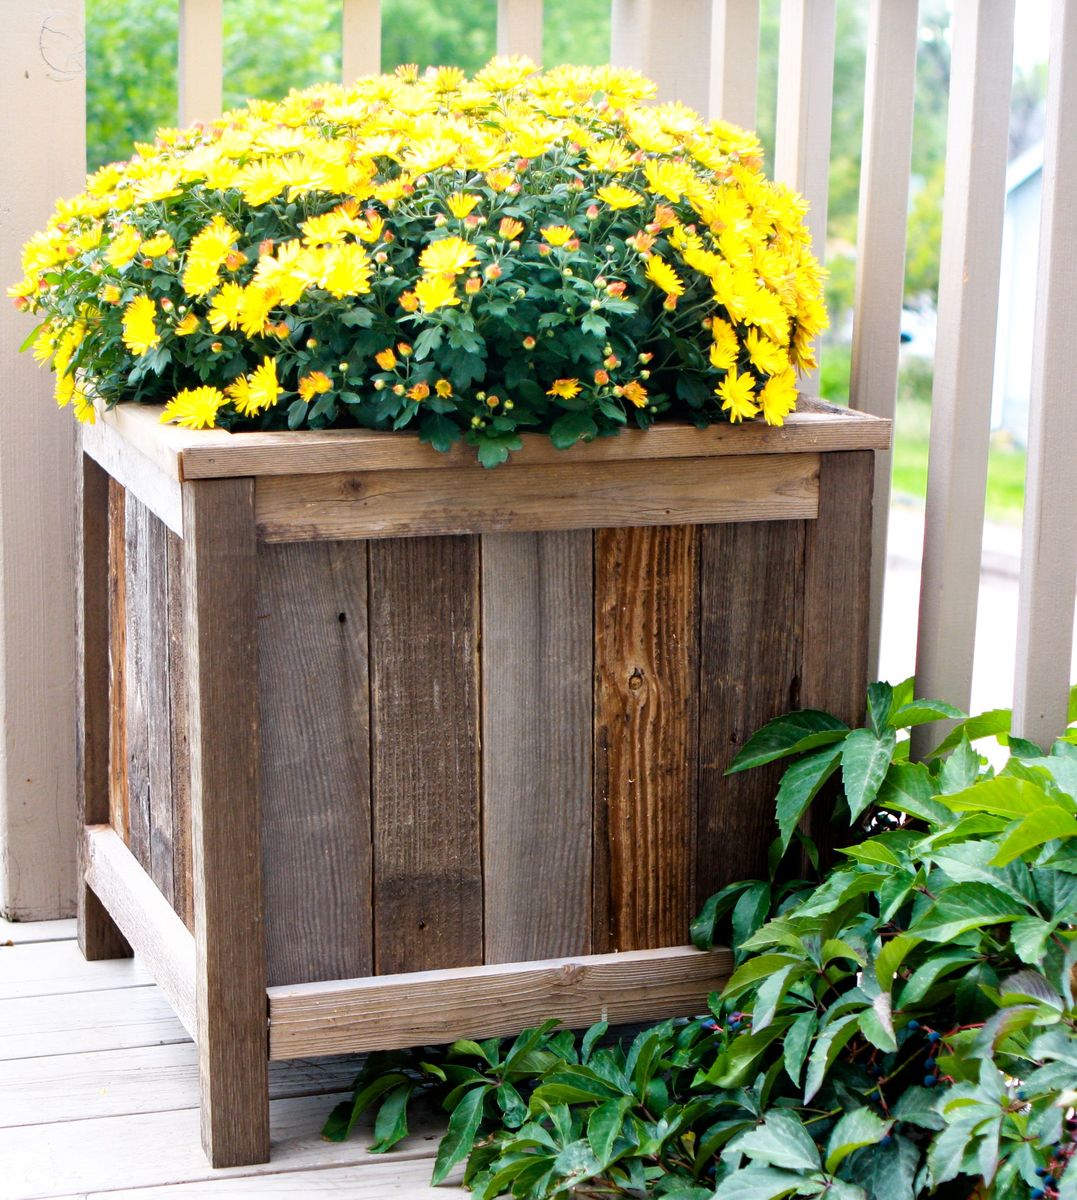
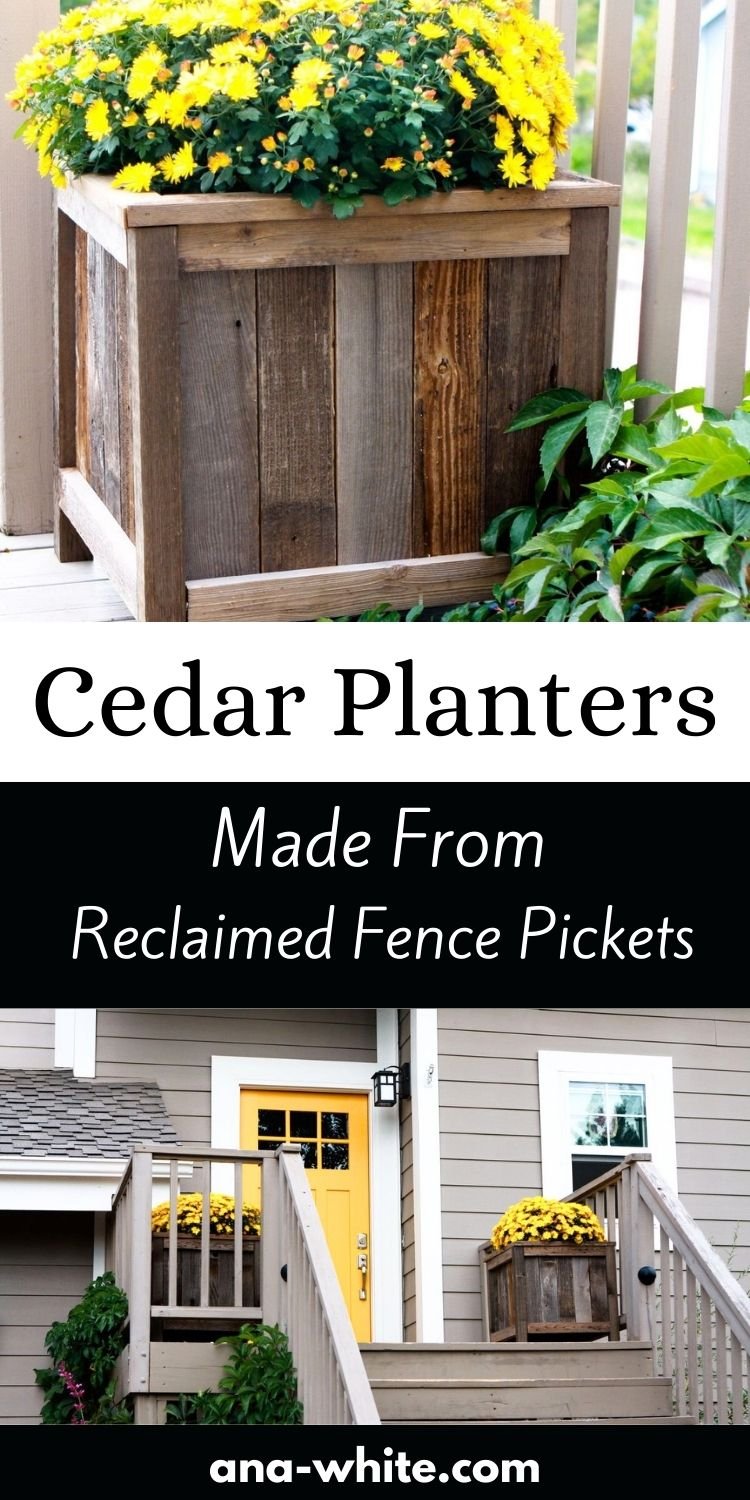
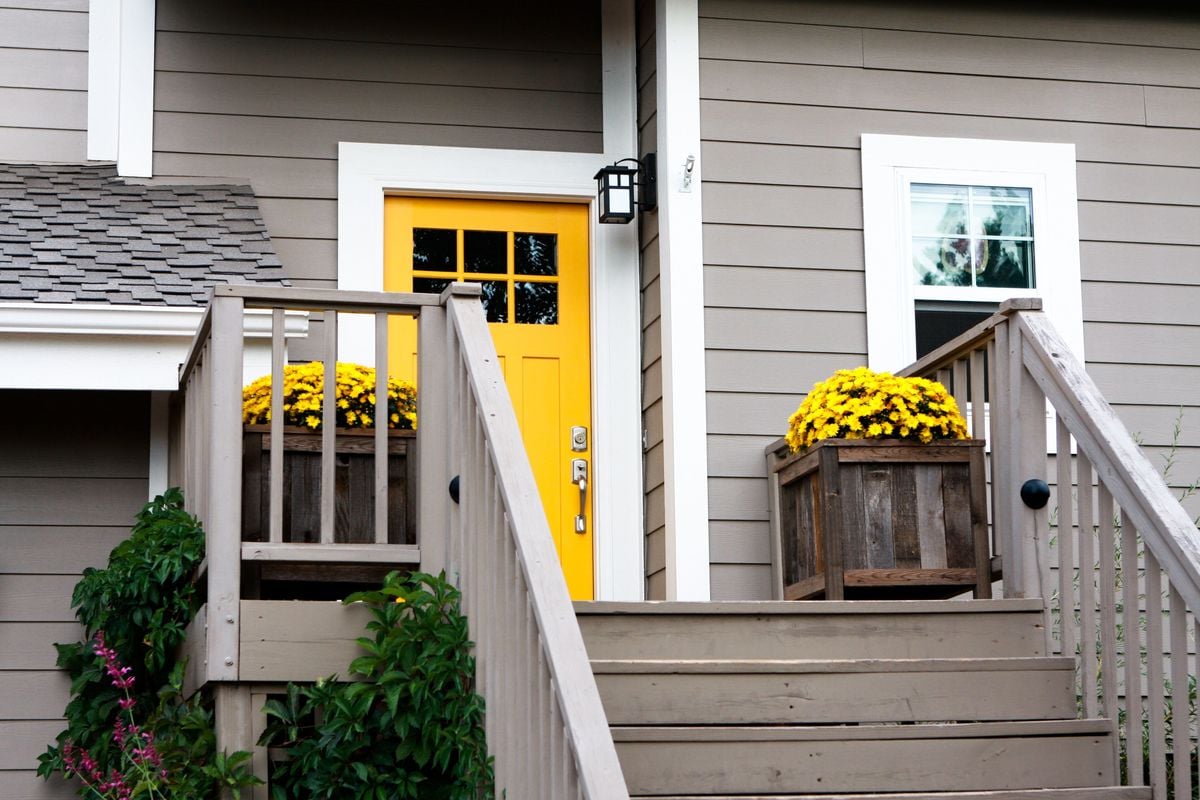
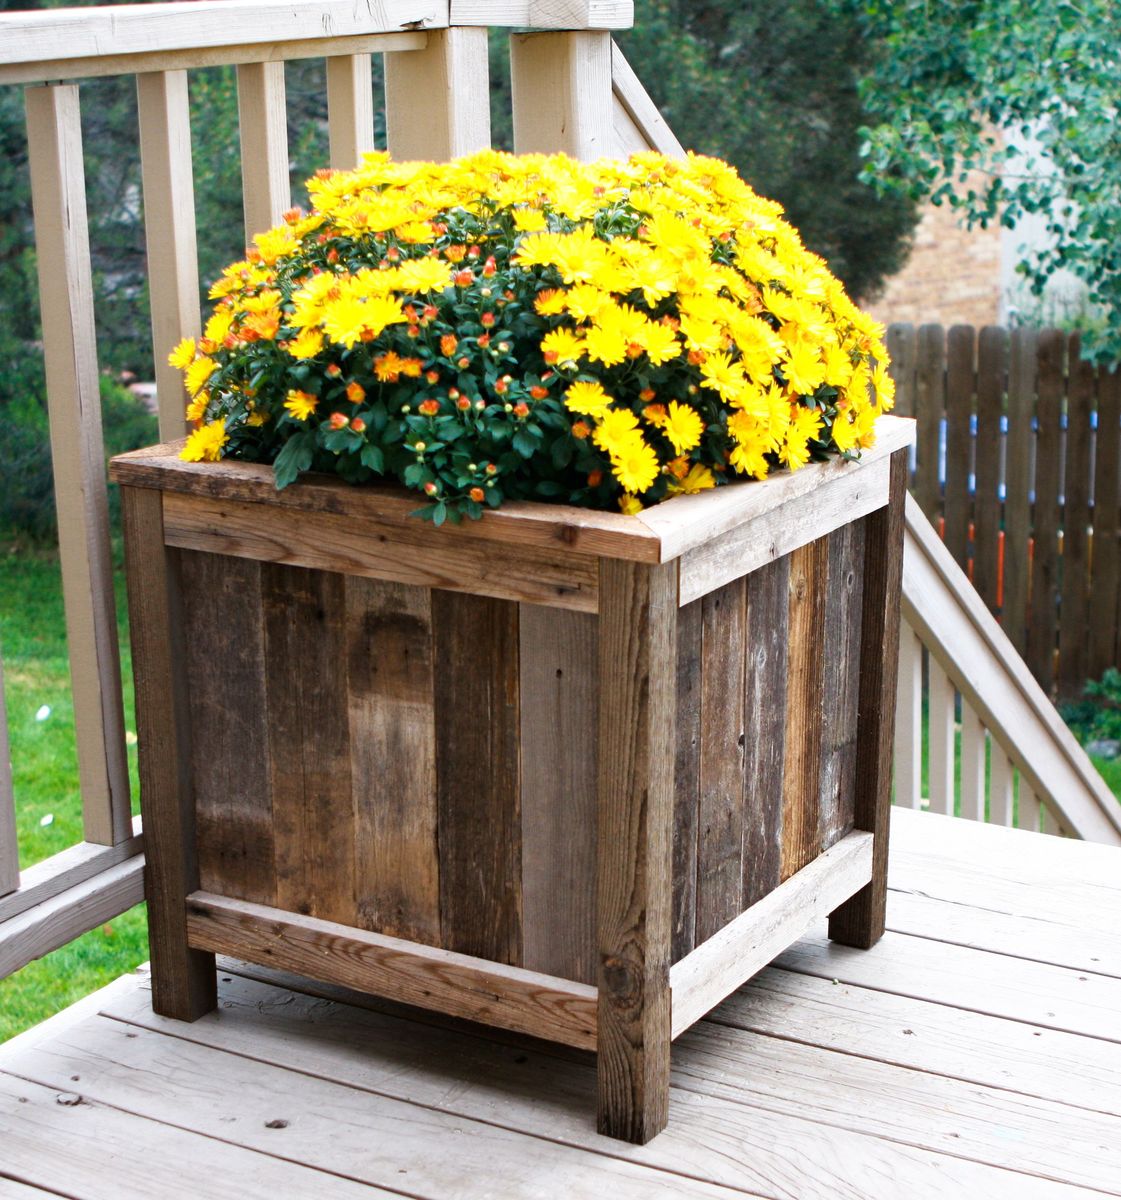
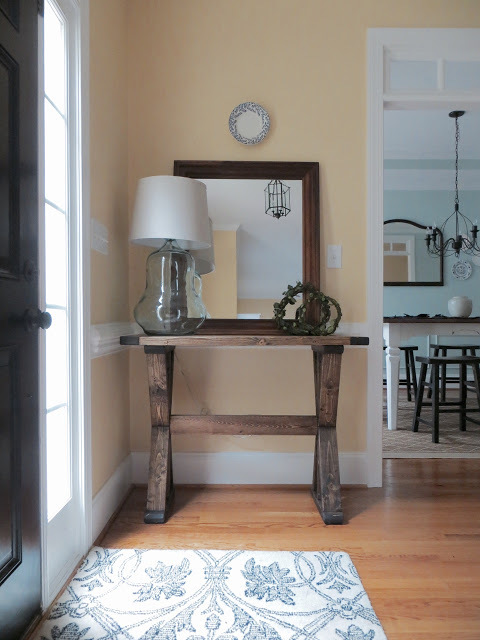
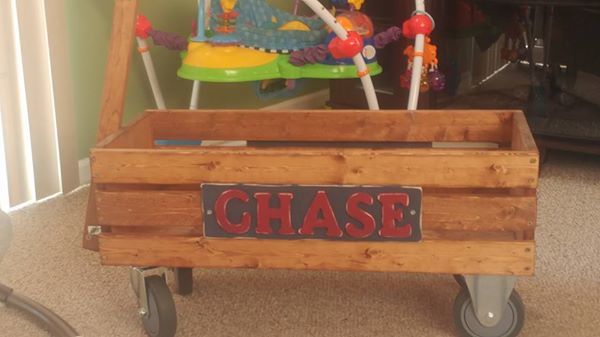
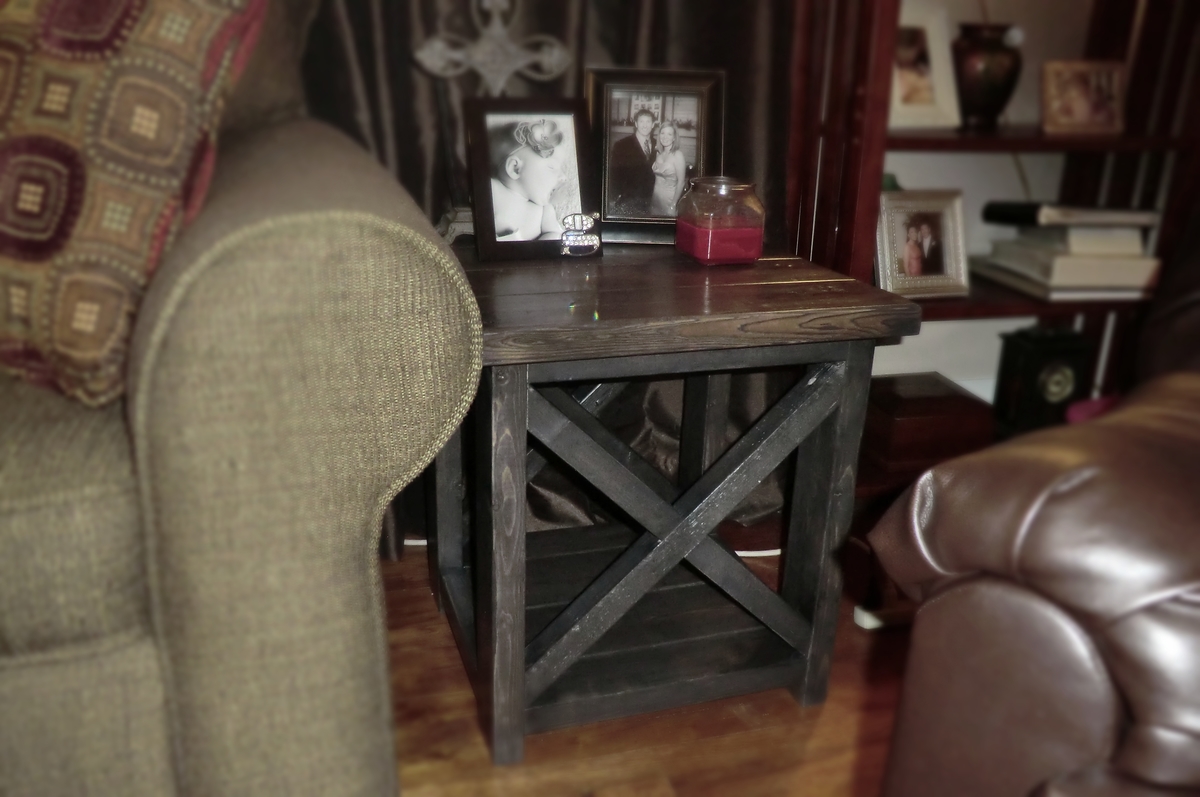
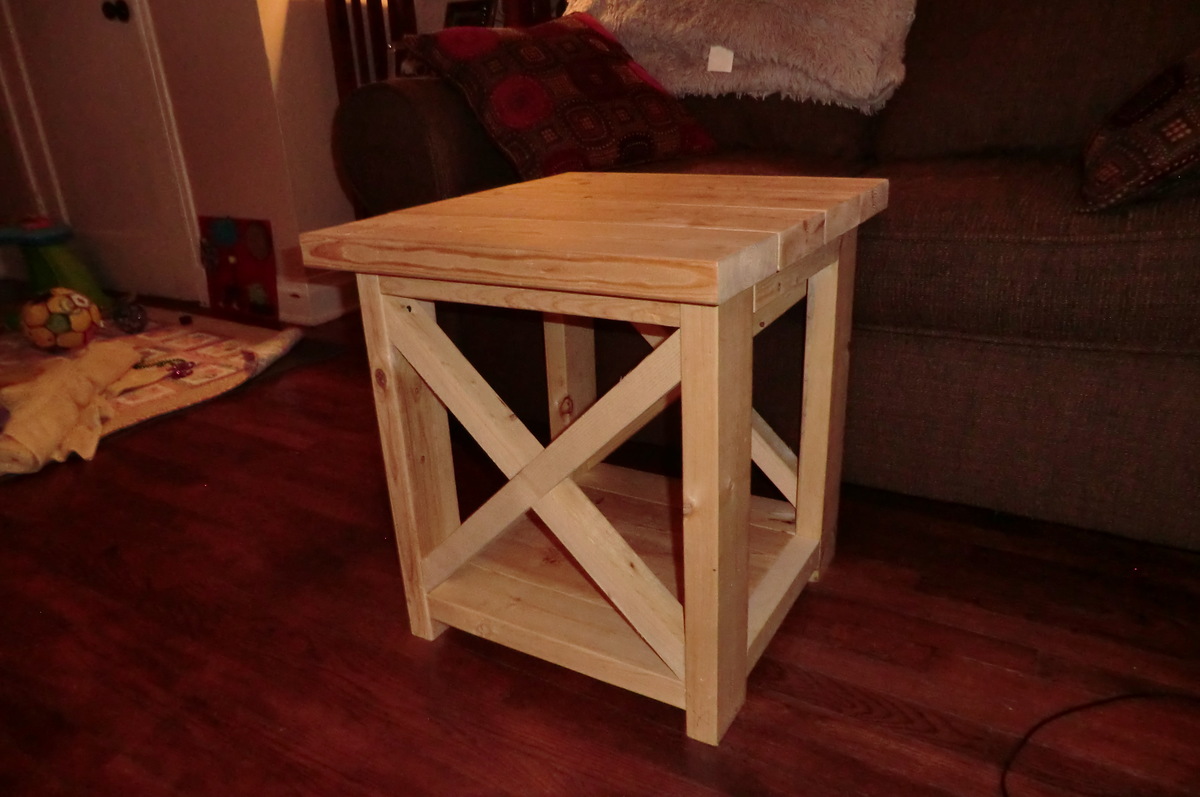
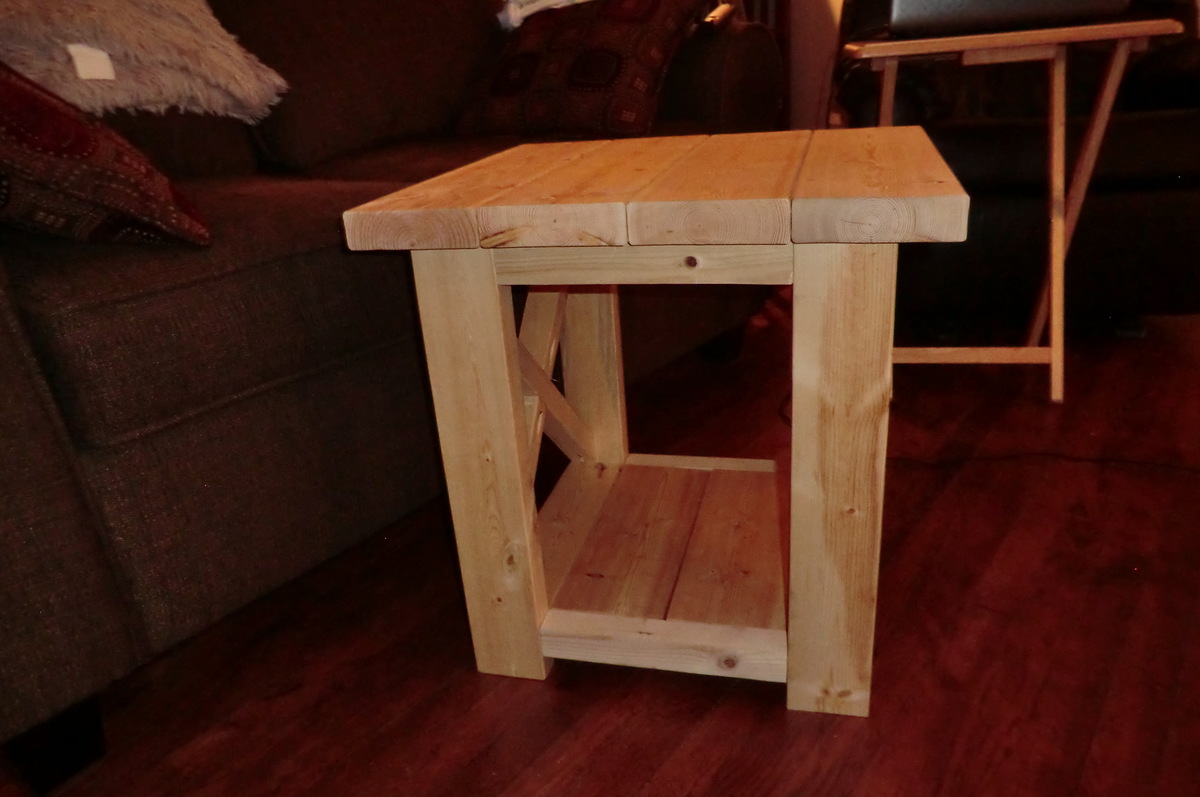
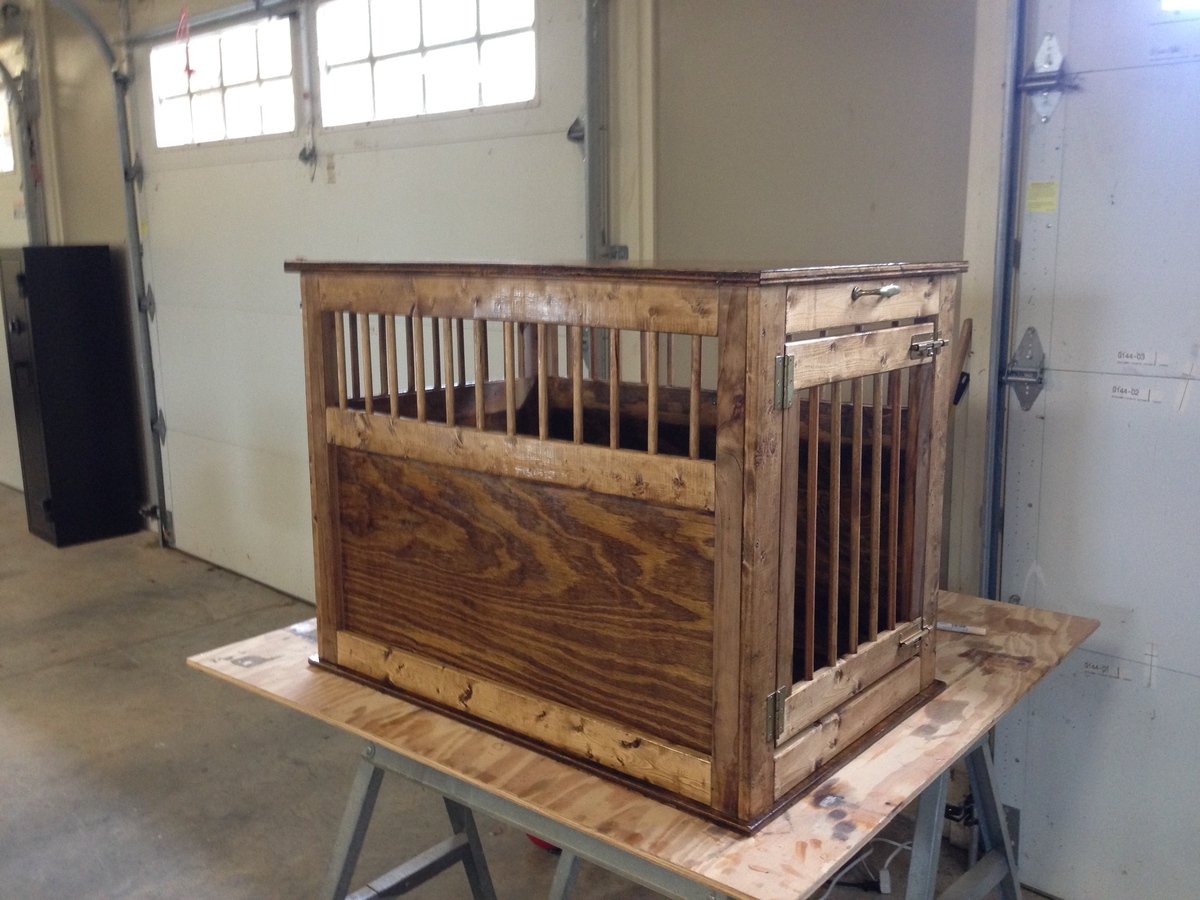
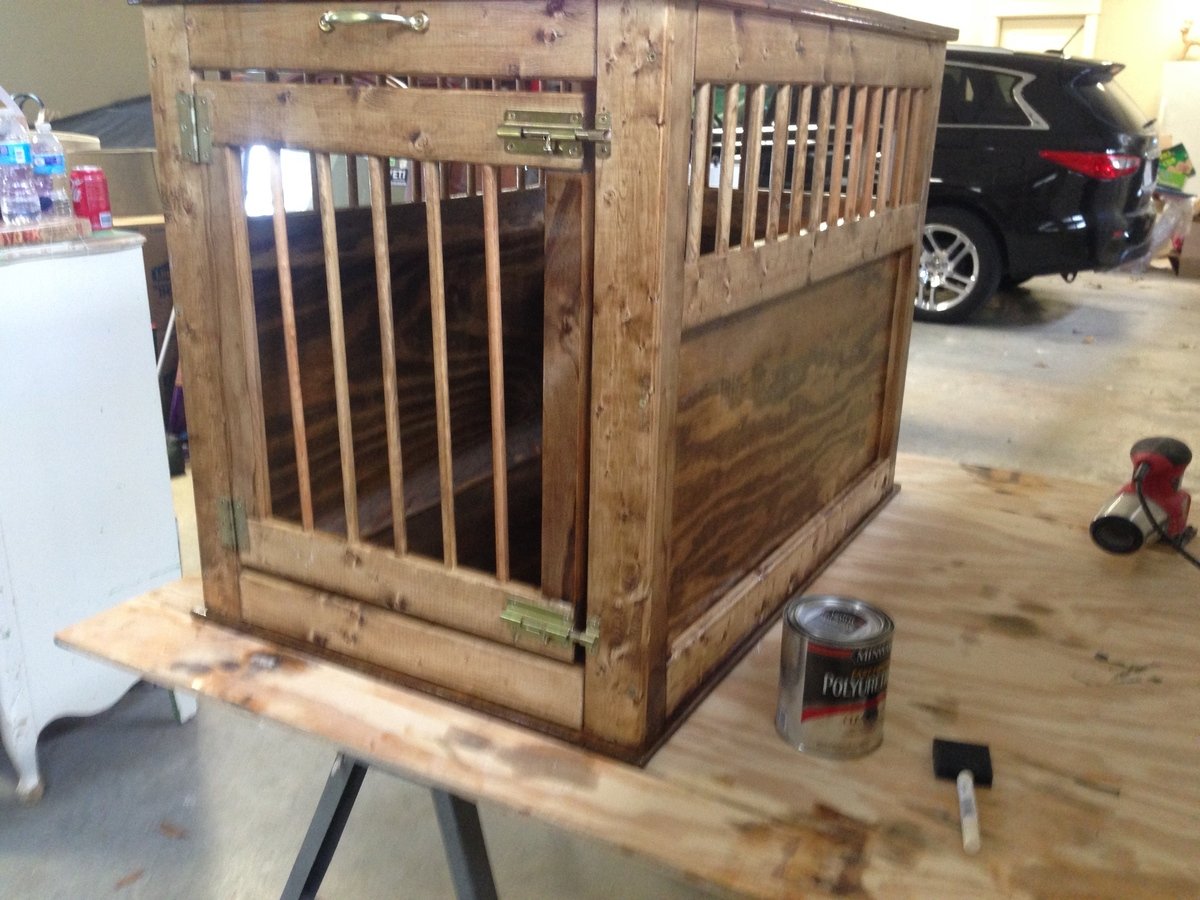
This is my first post. I have used a few of the plans off of here before but I thought this one turned out really well and wanted to share. I used dowel rods to give it a more open feel and think it looks good. My dog loves it! Thanks.
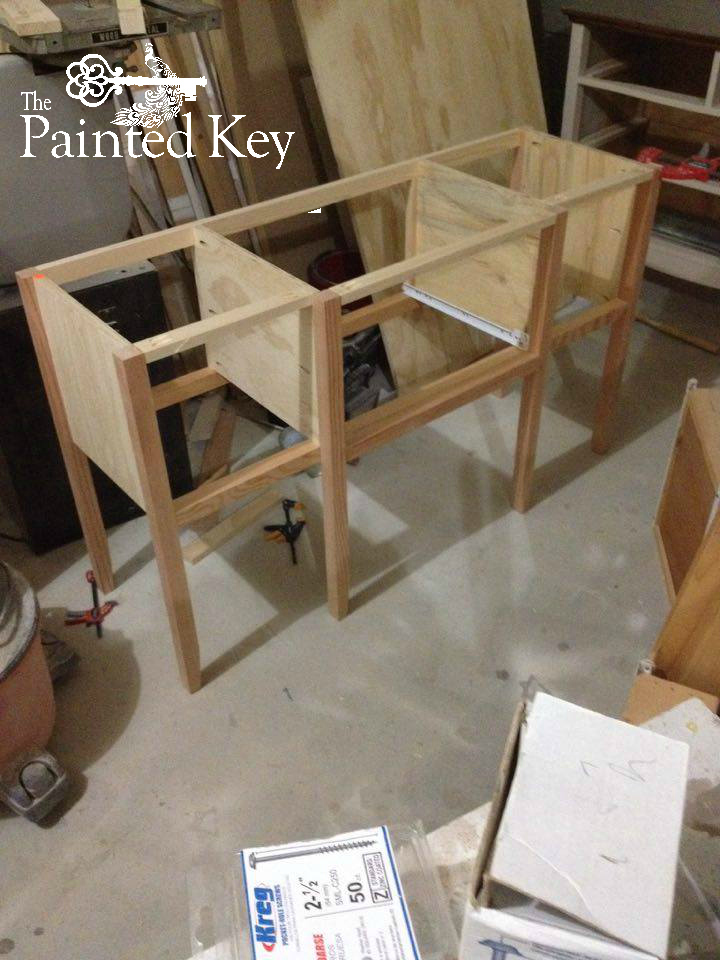
Built from Plan(s)
Estimated Time Investment
Day Project (6-9 Hours)
Finish Used
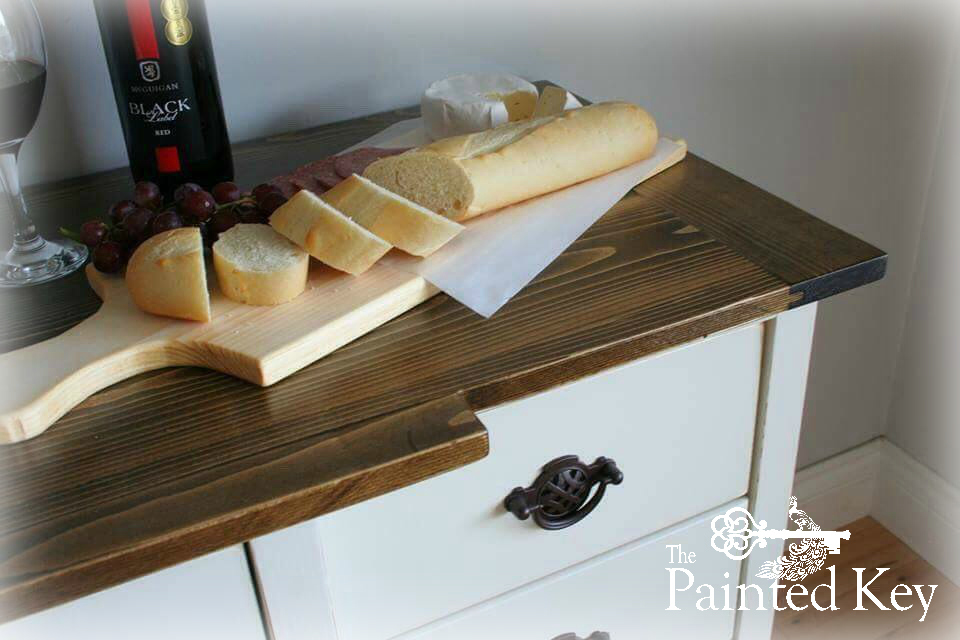
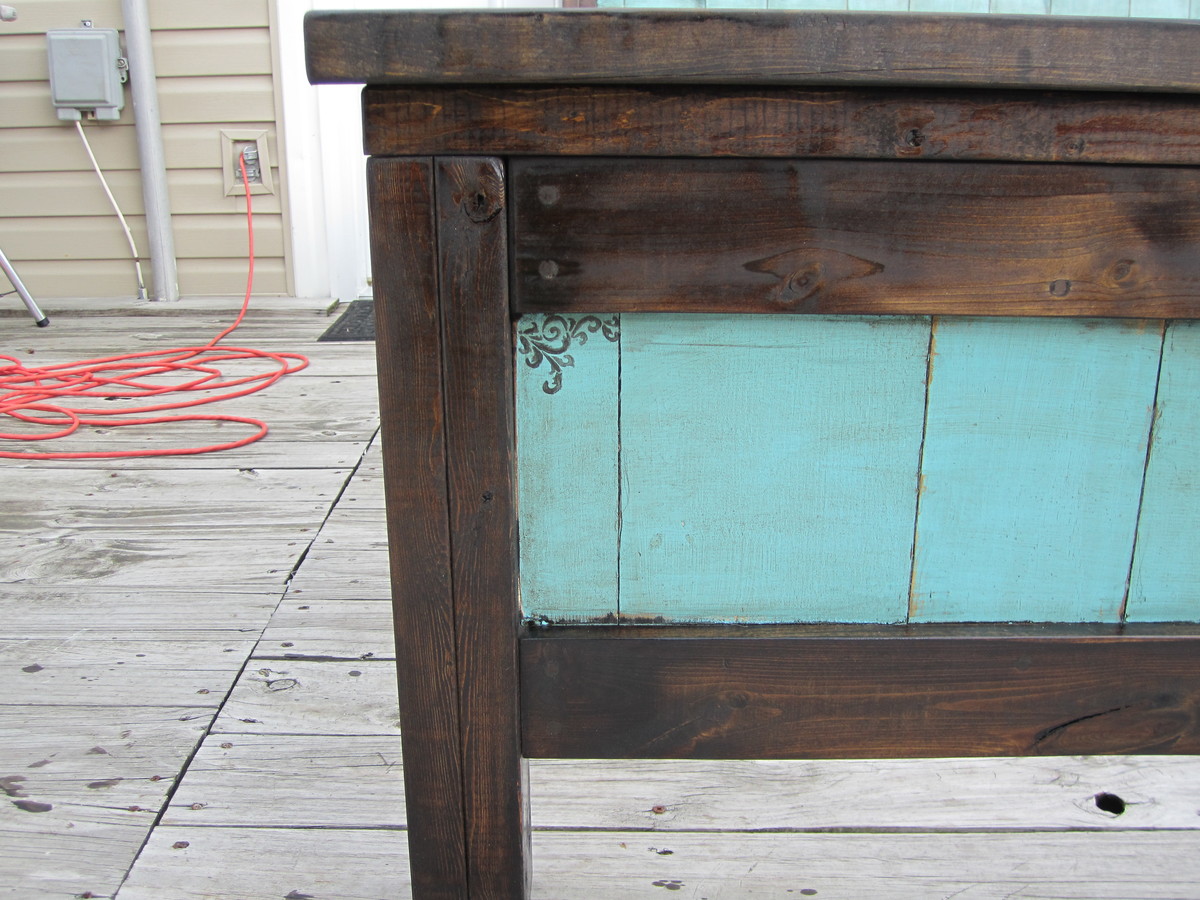
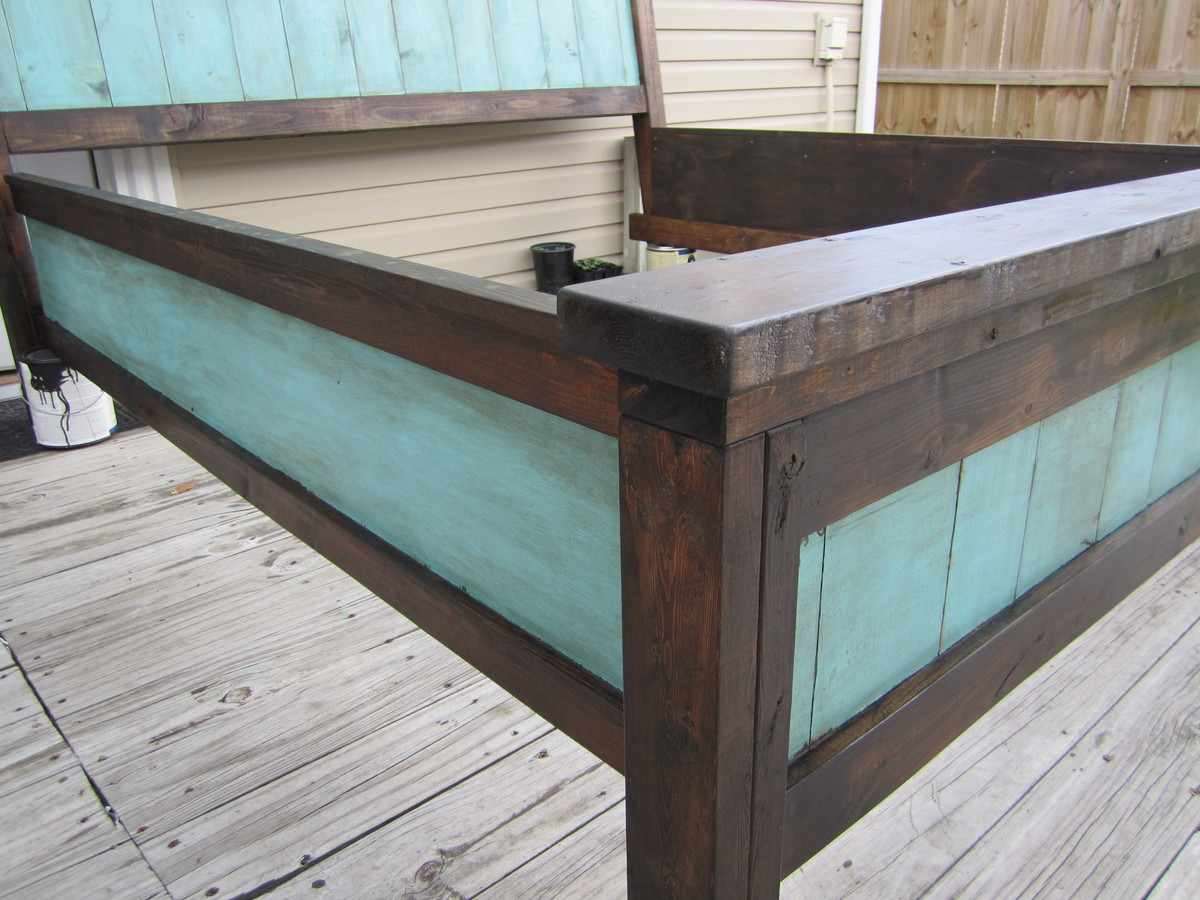
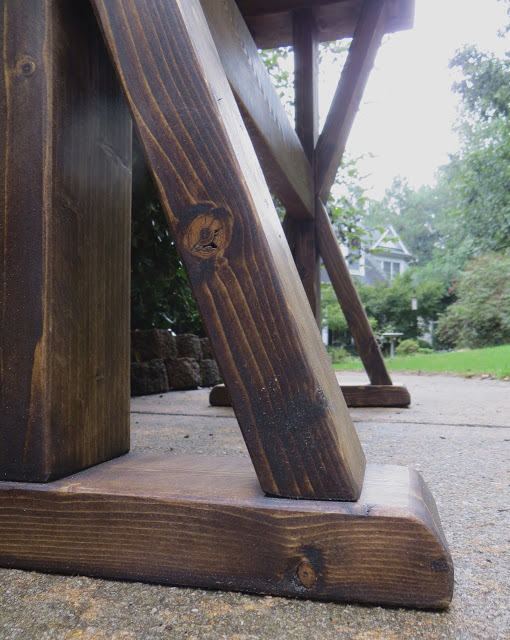
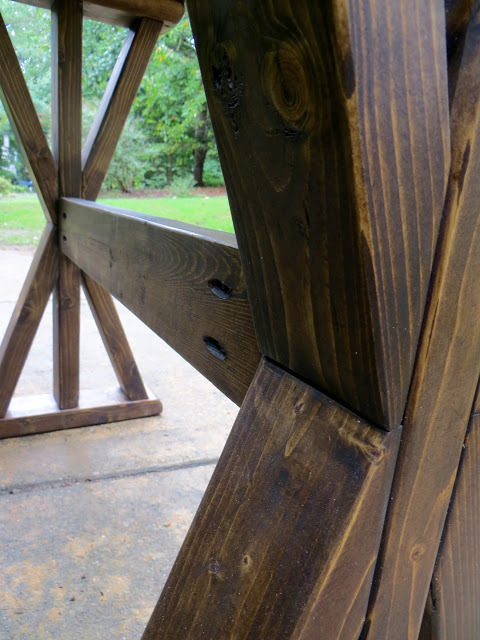
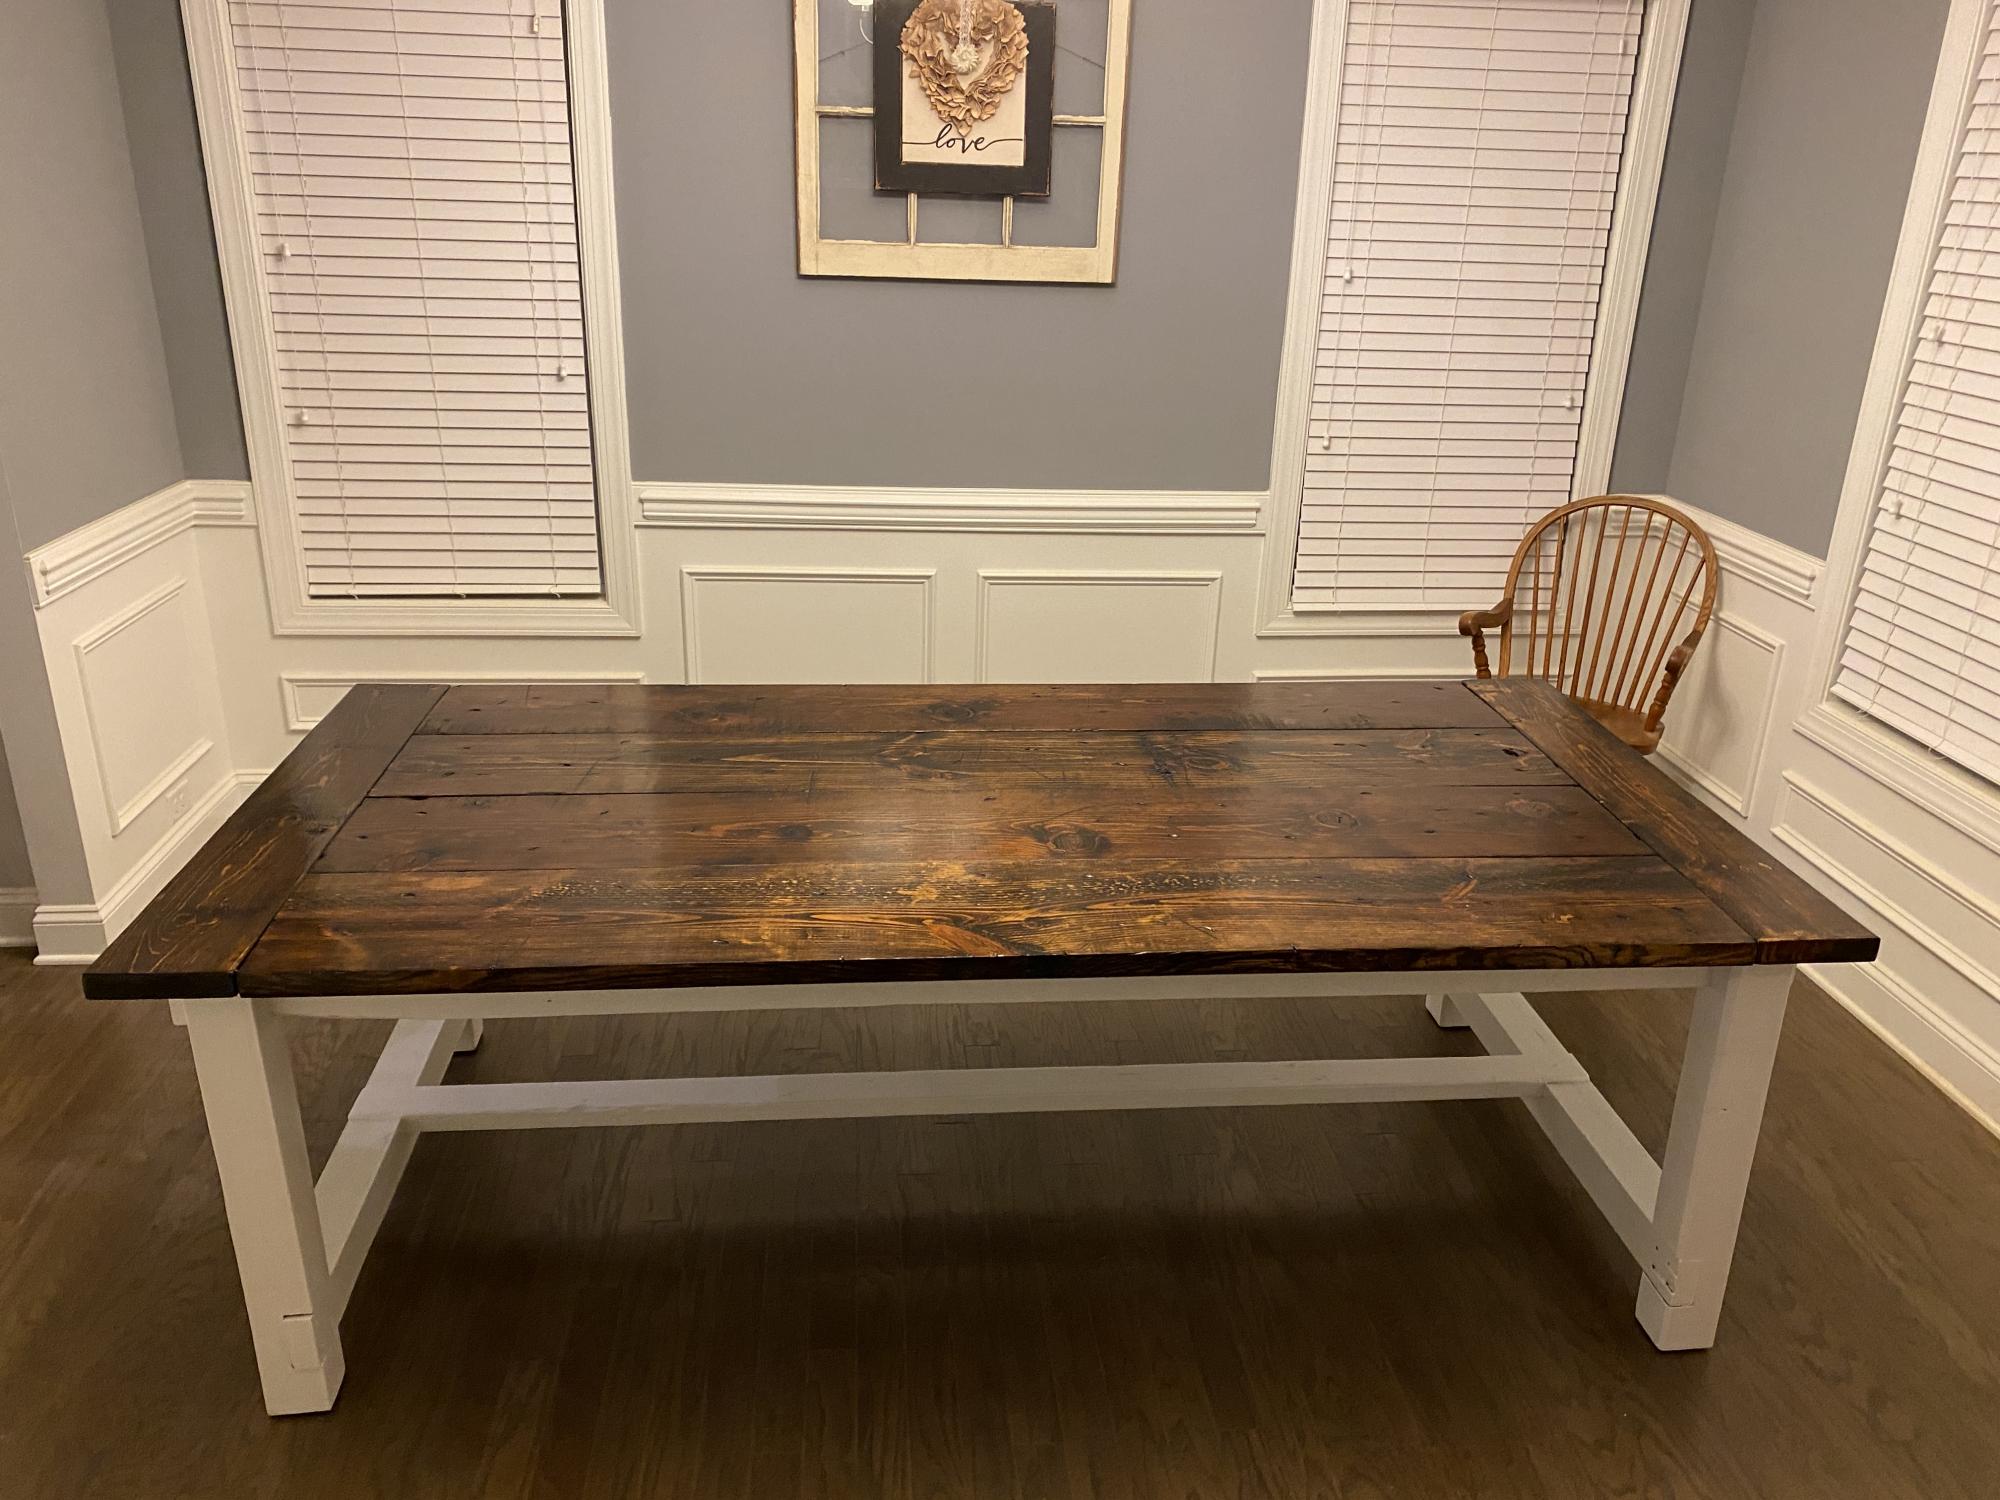
Minwax special walnut stain and polyurethane
Recommended Skill Level
Beginner