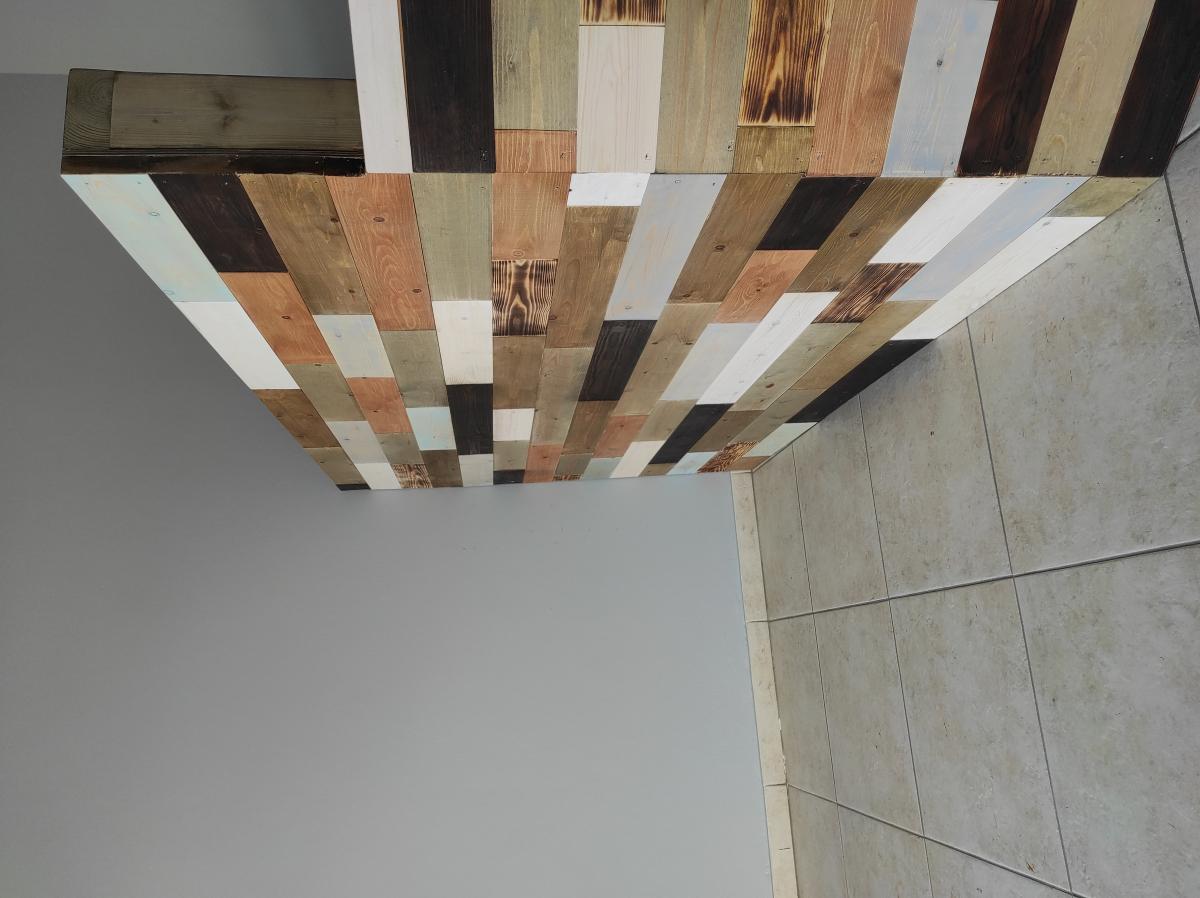
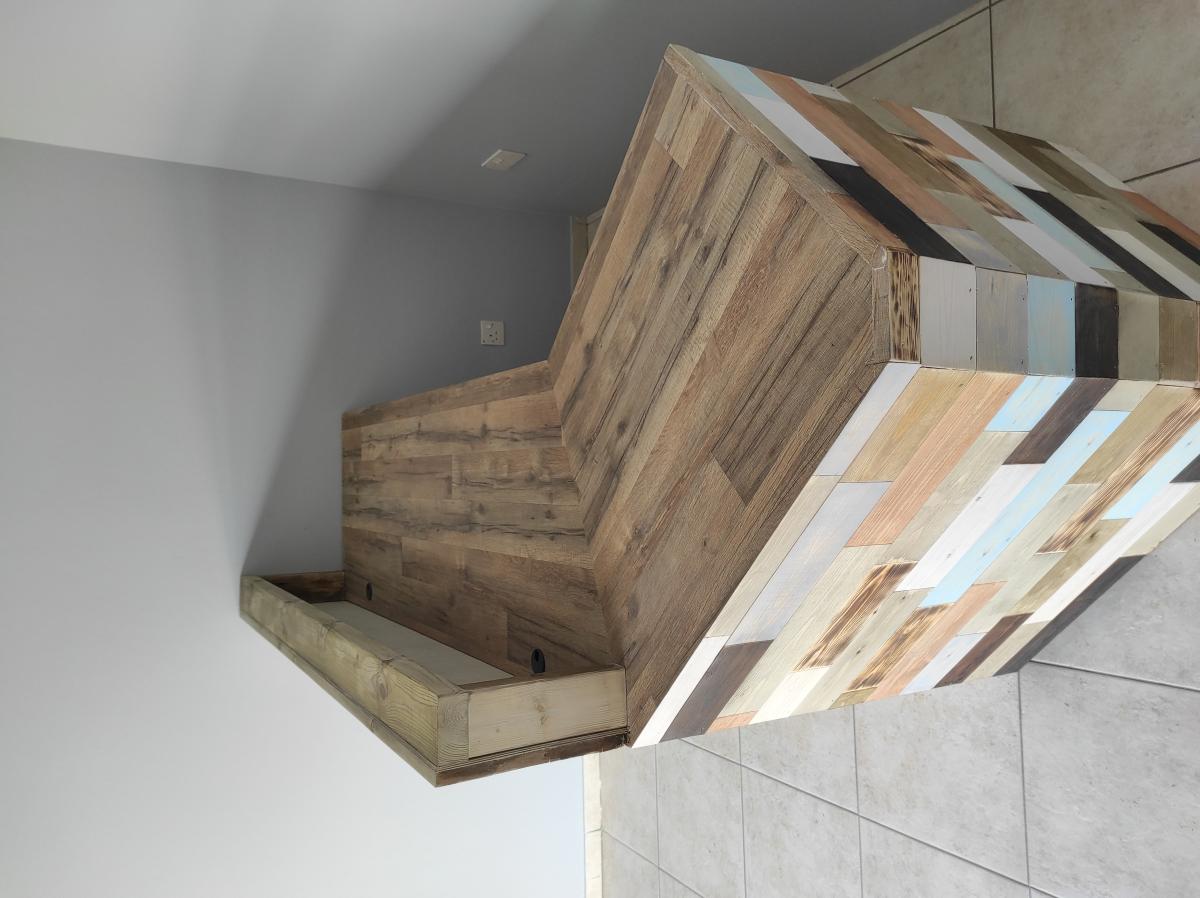
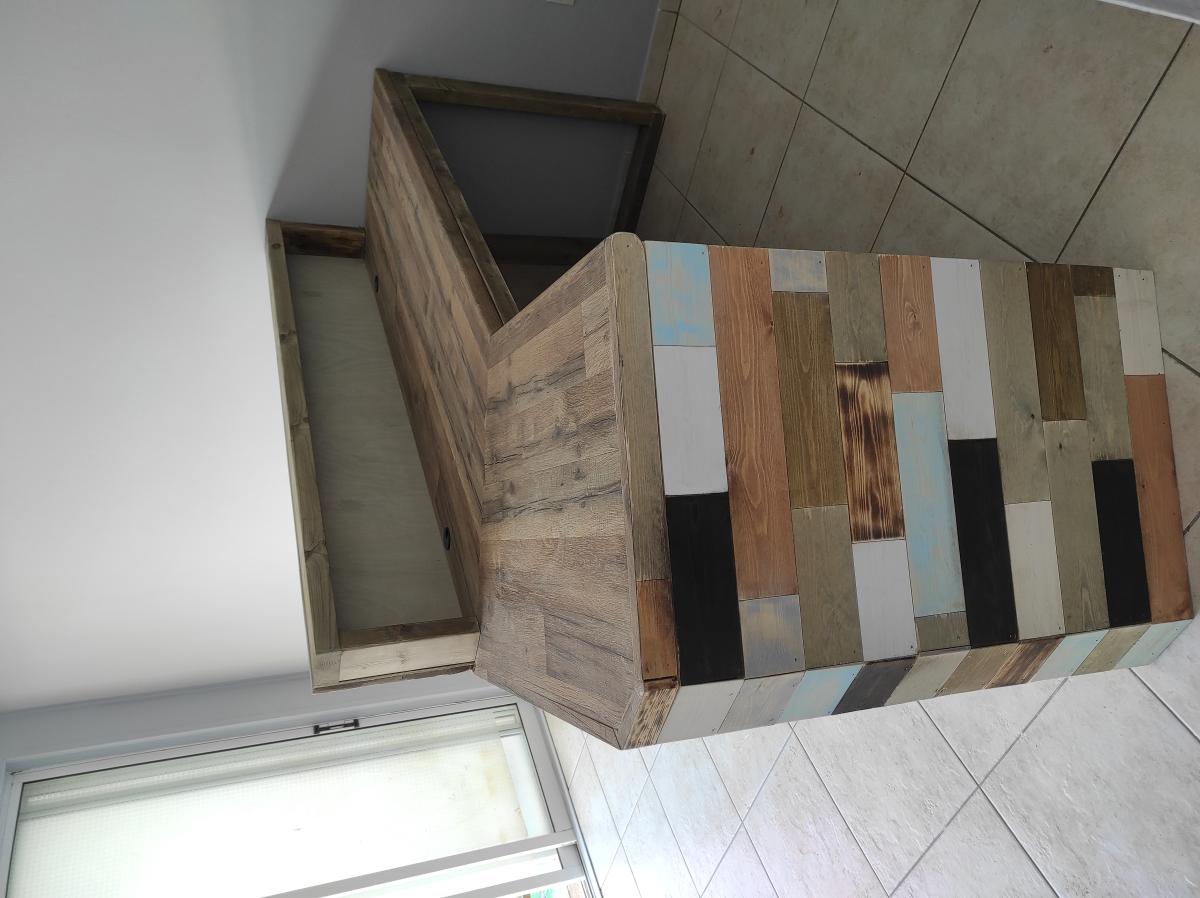
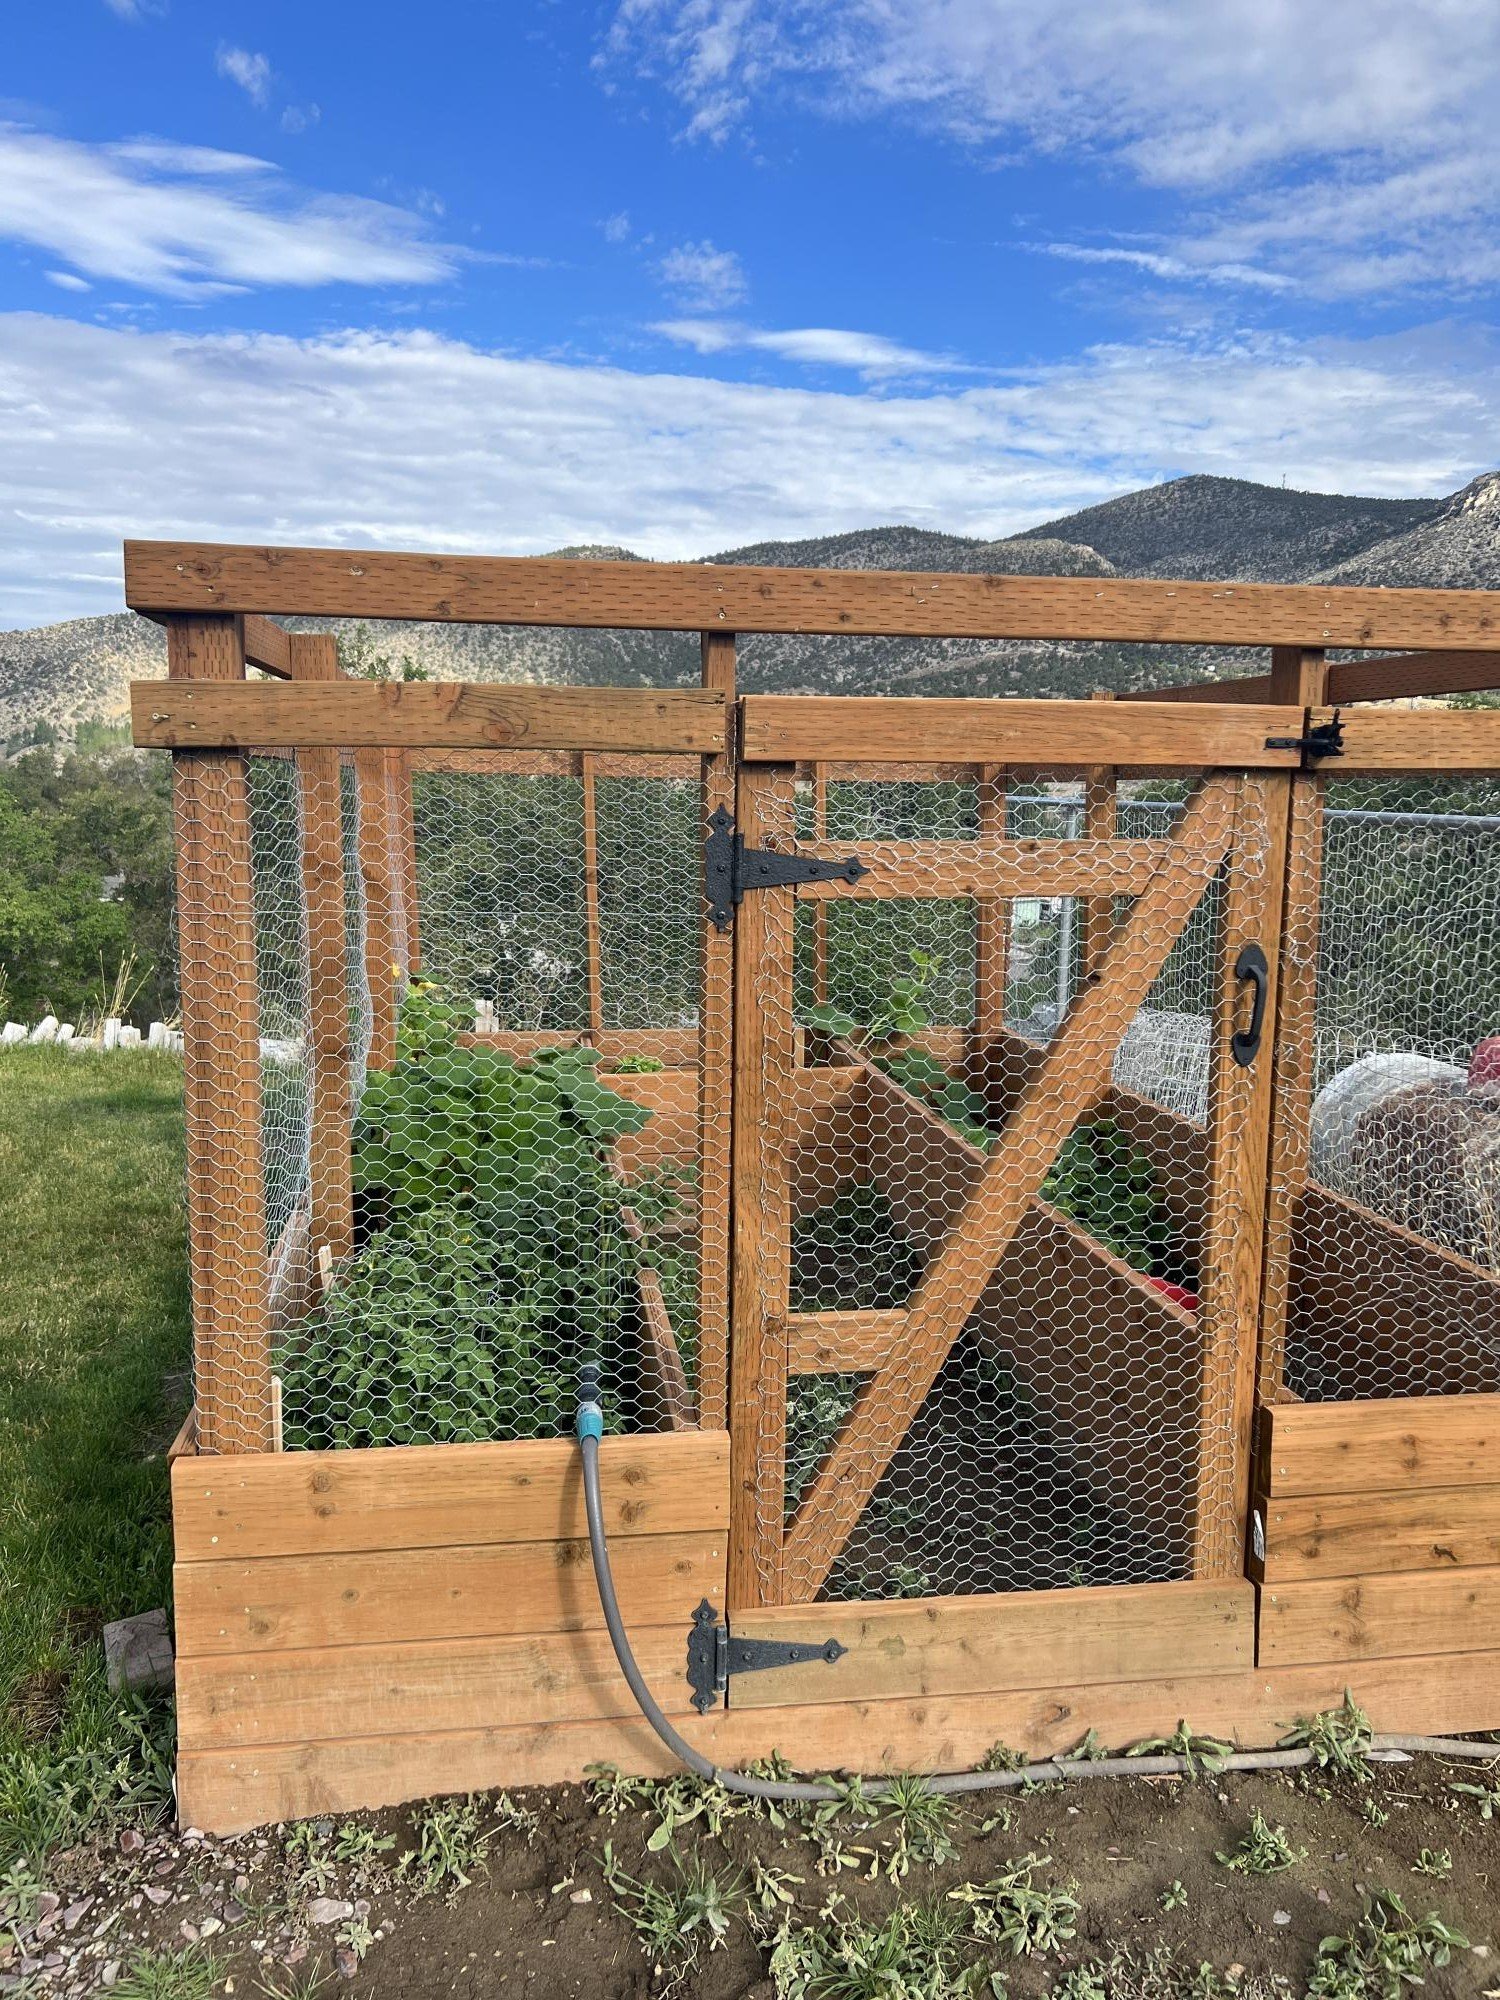
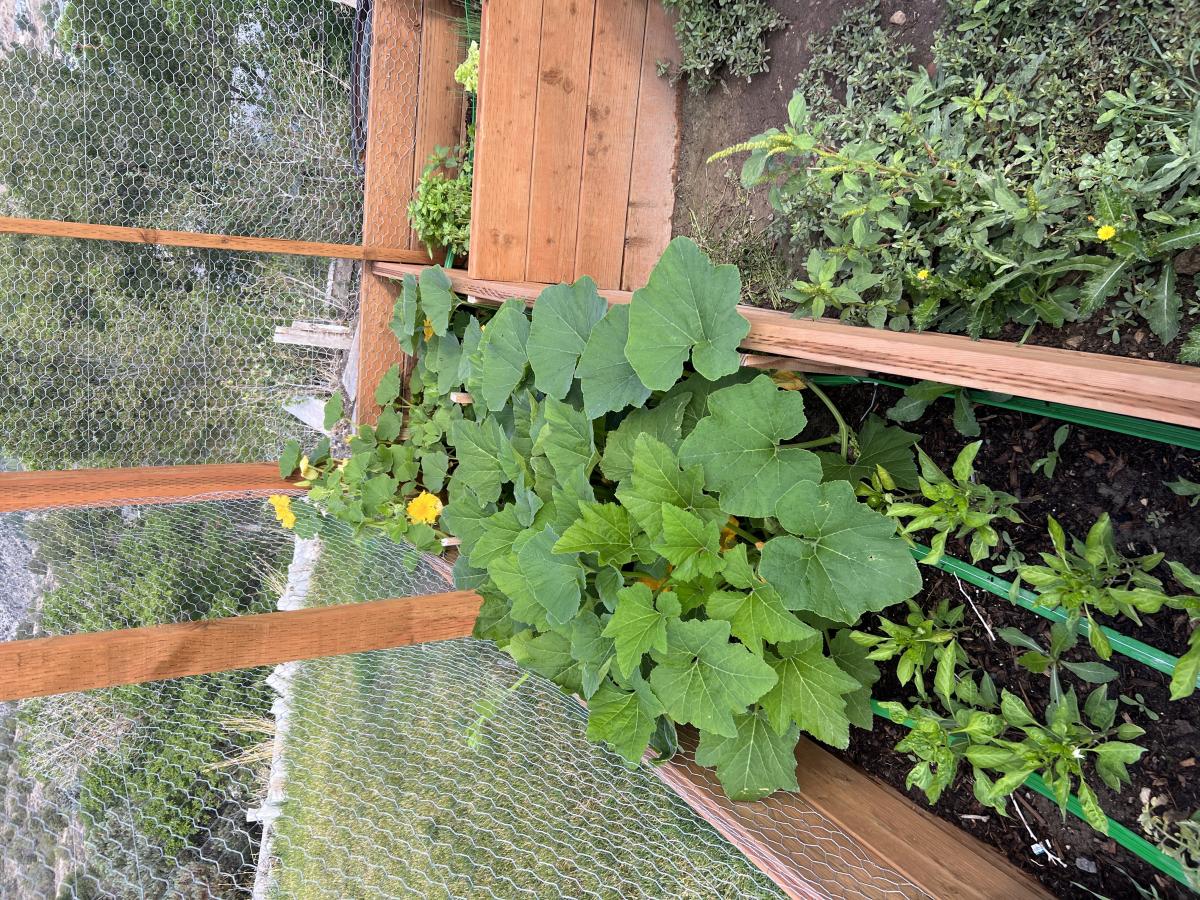
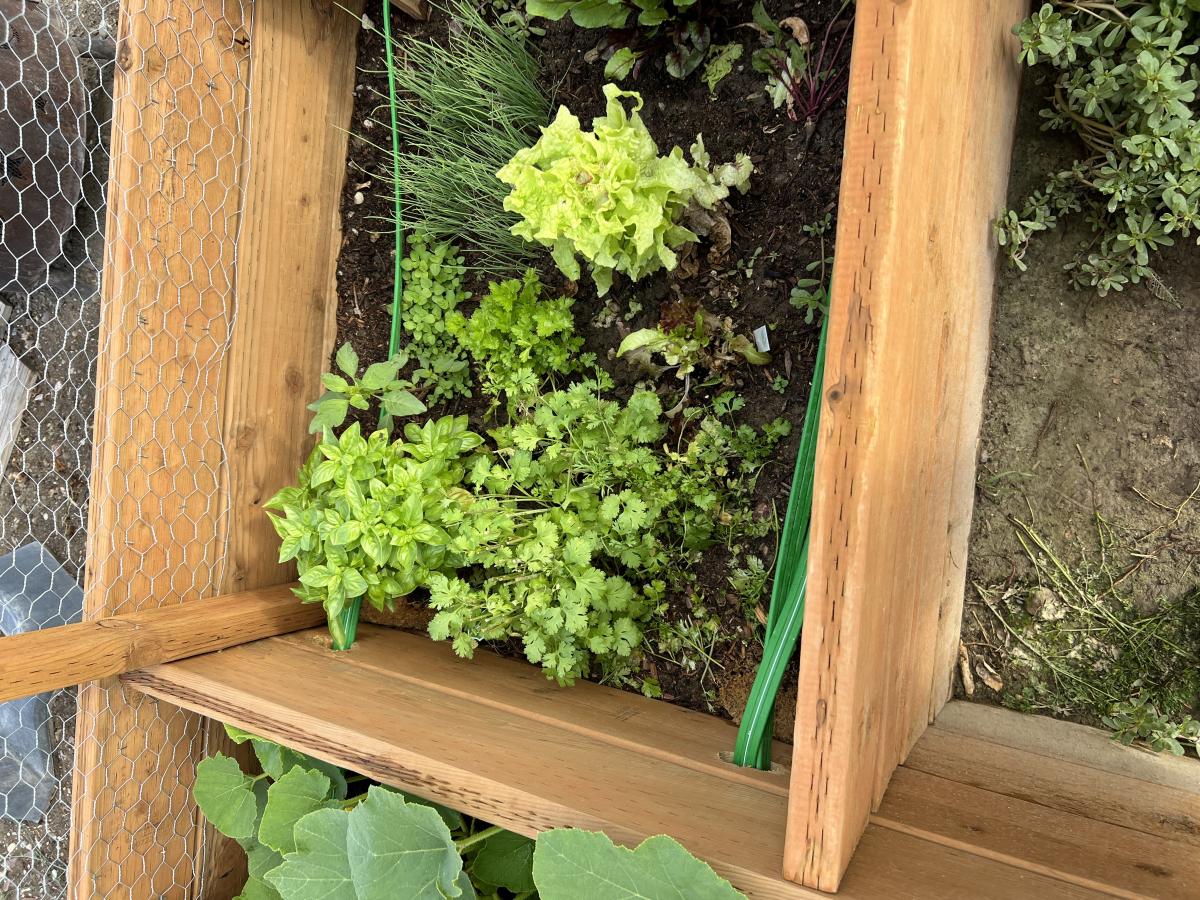
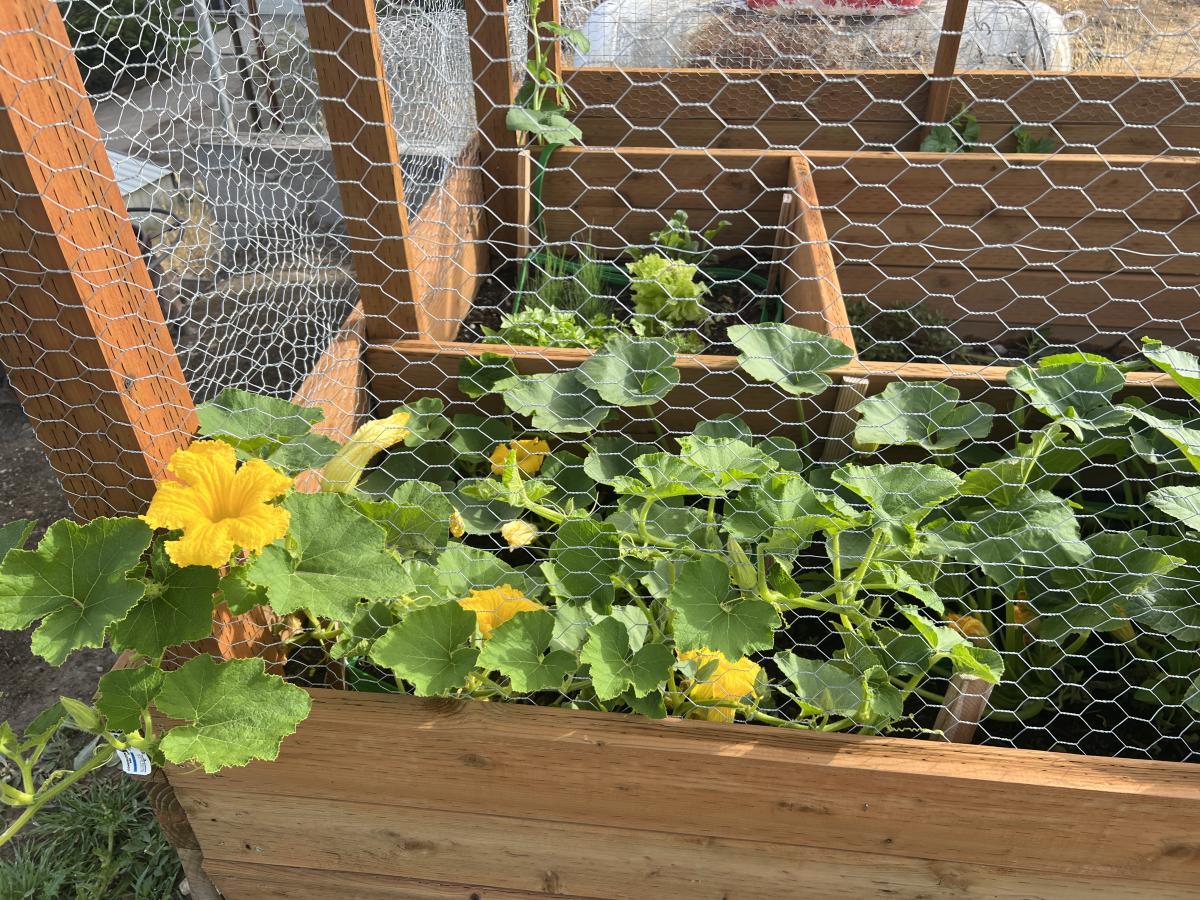
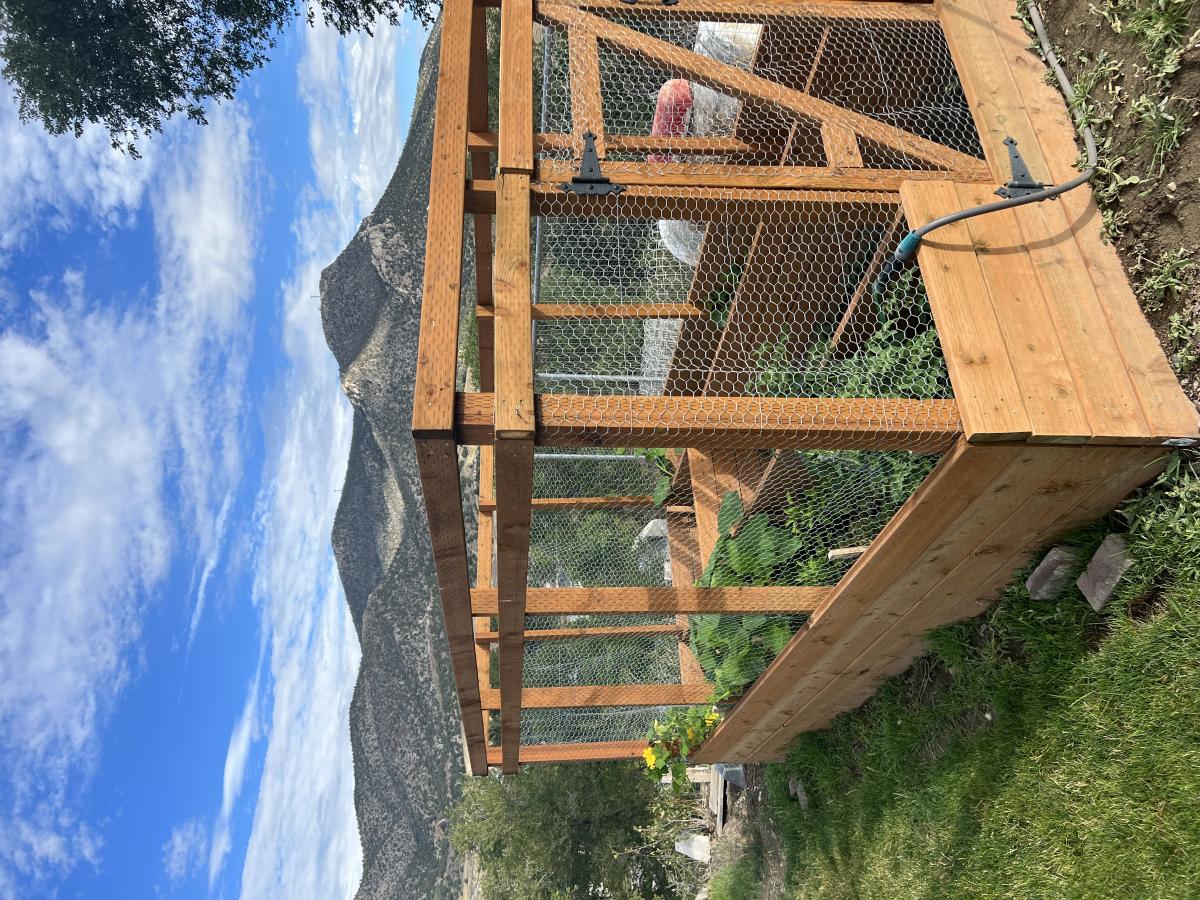
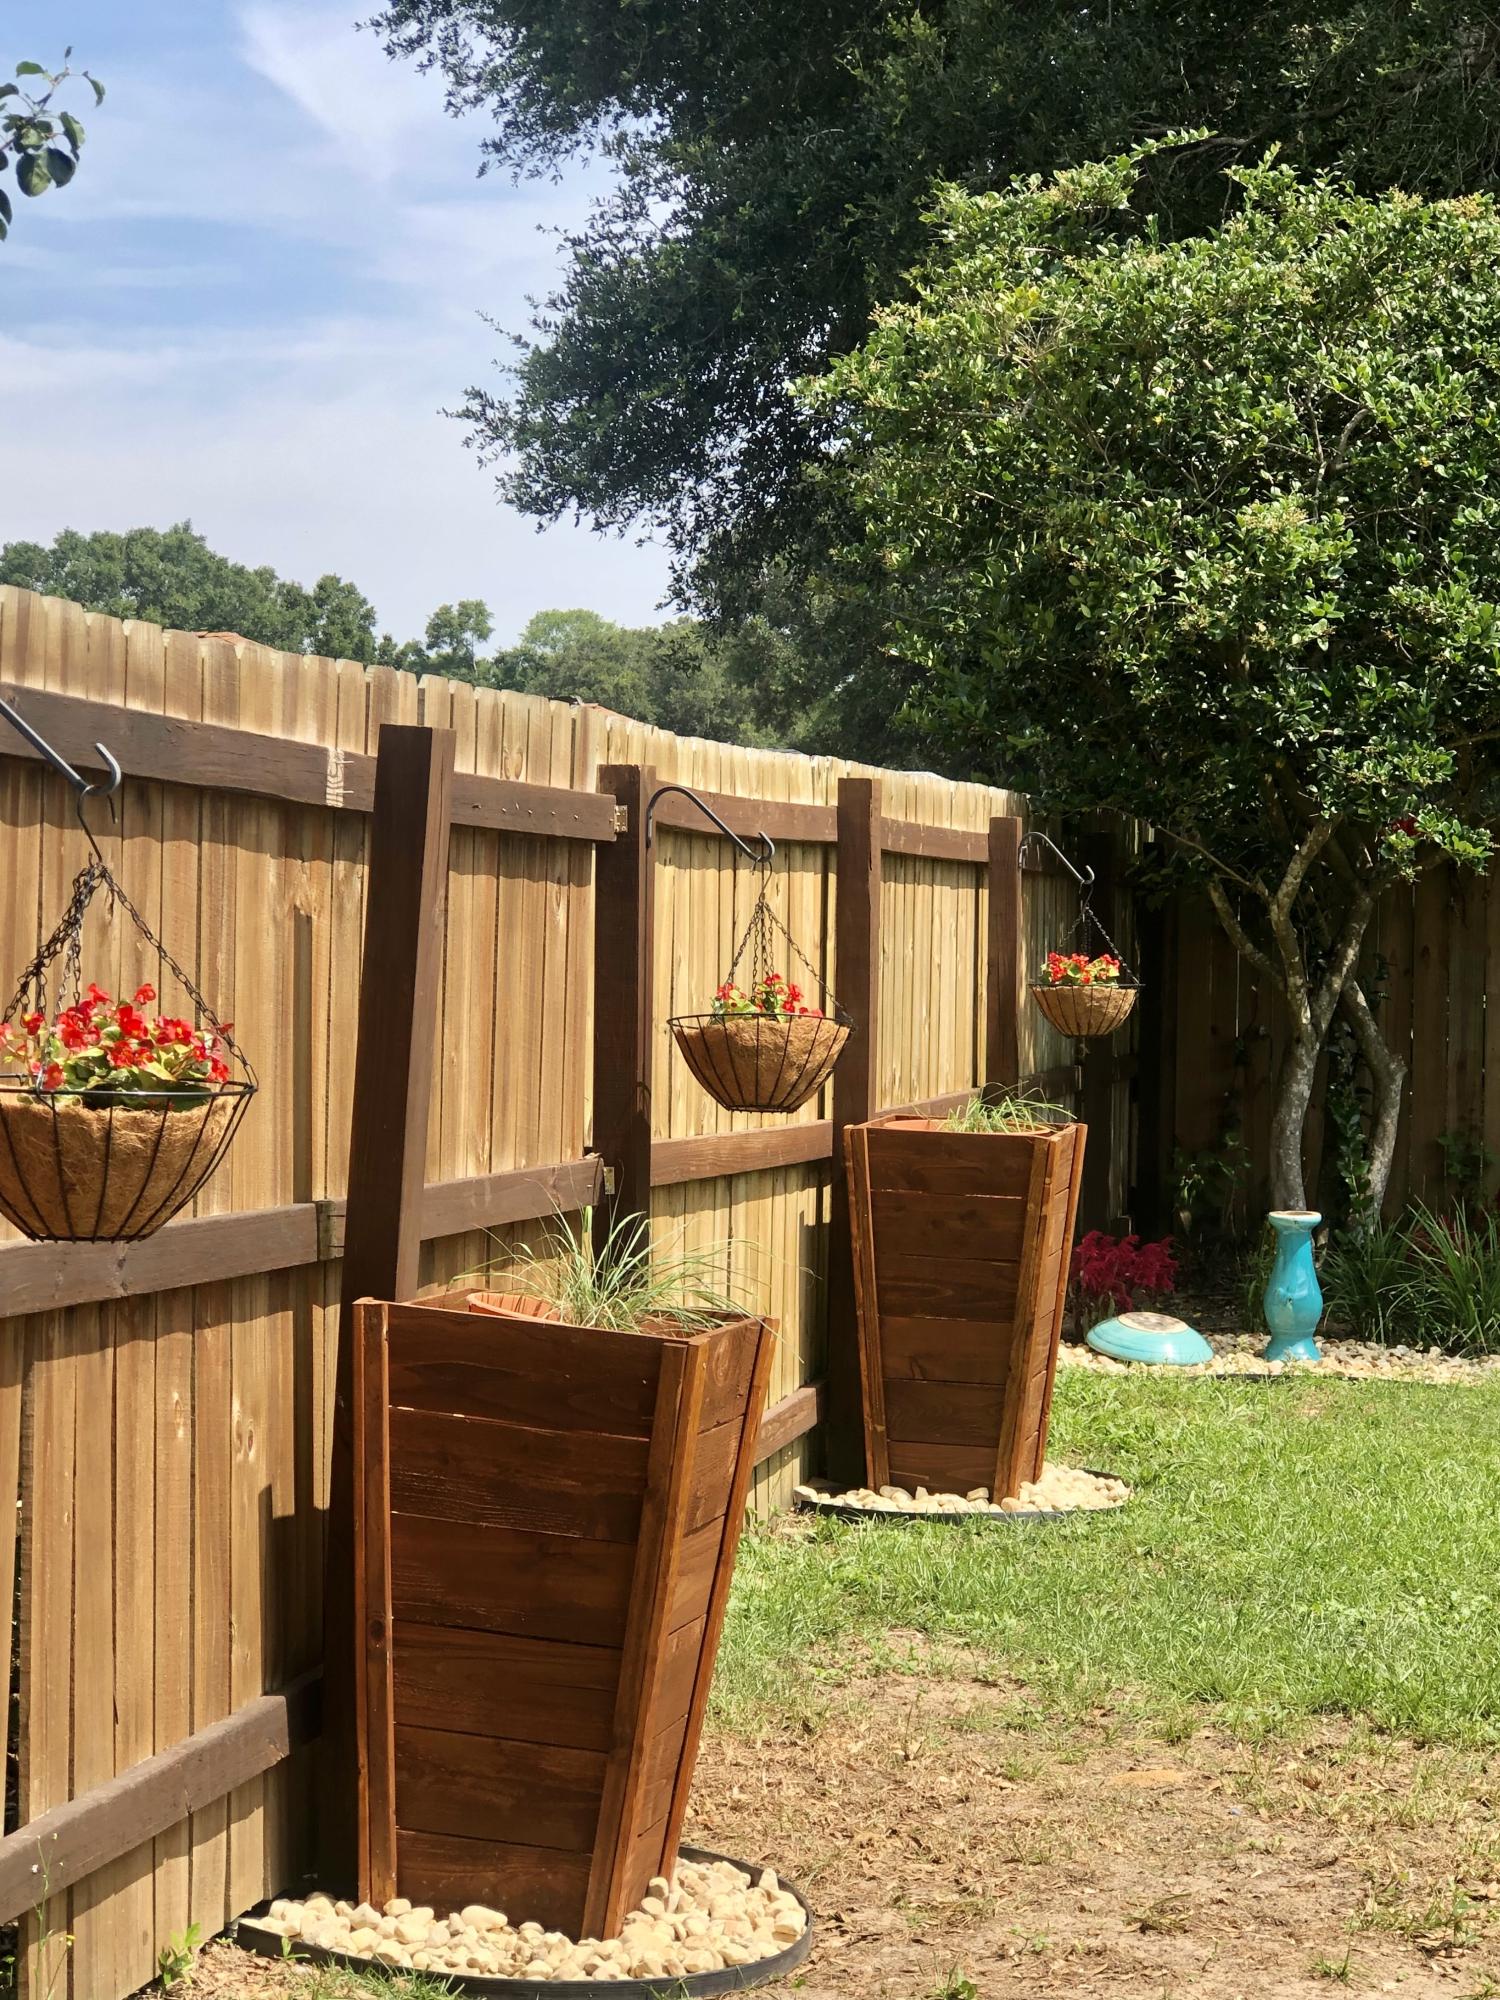
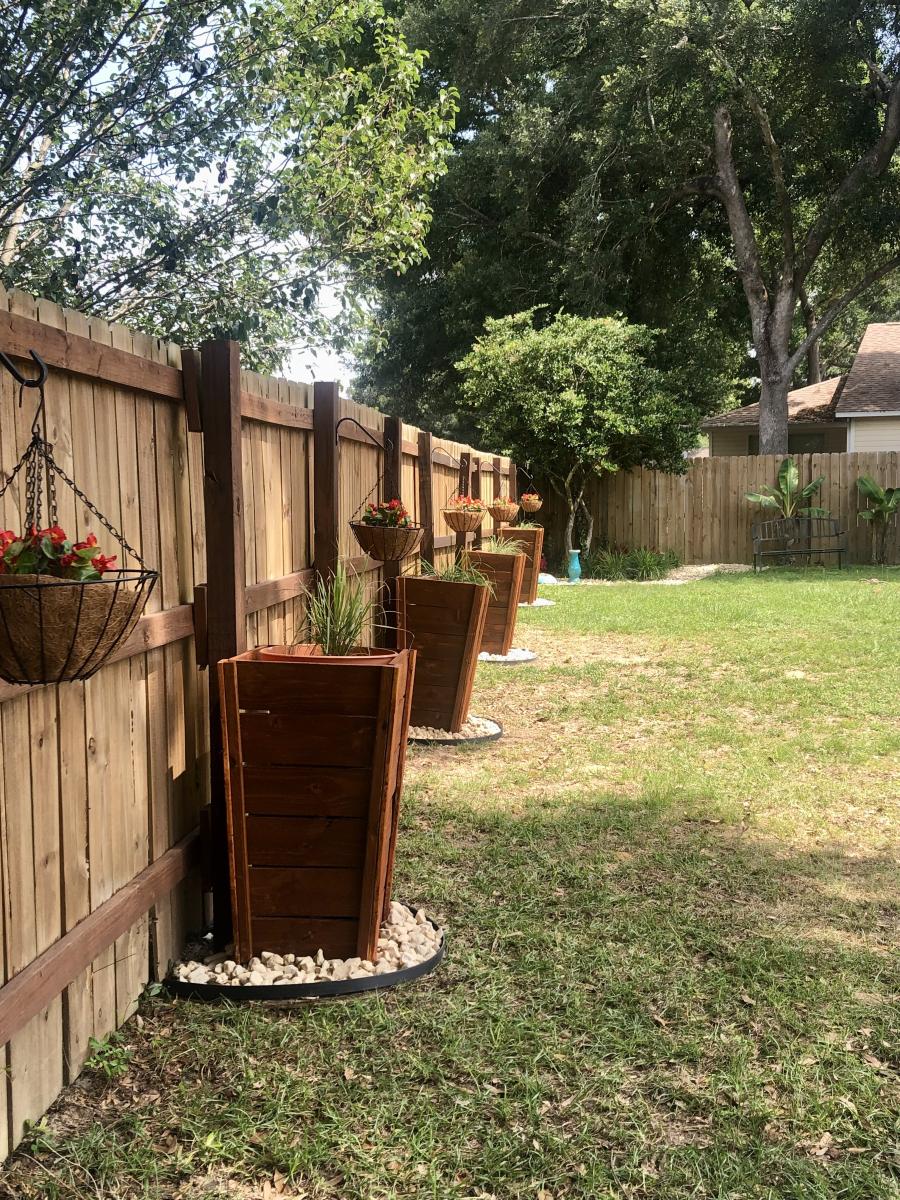
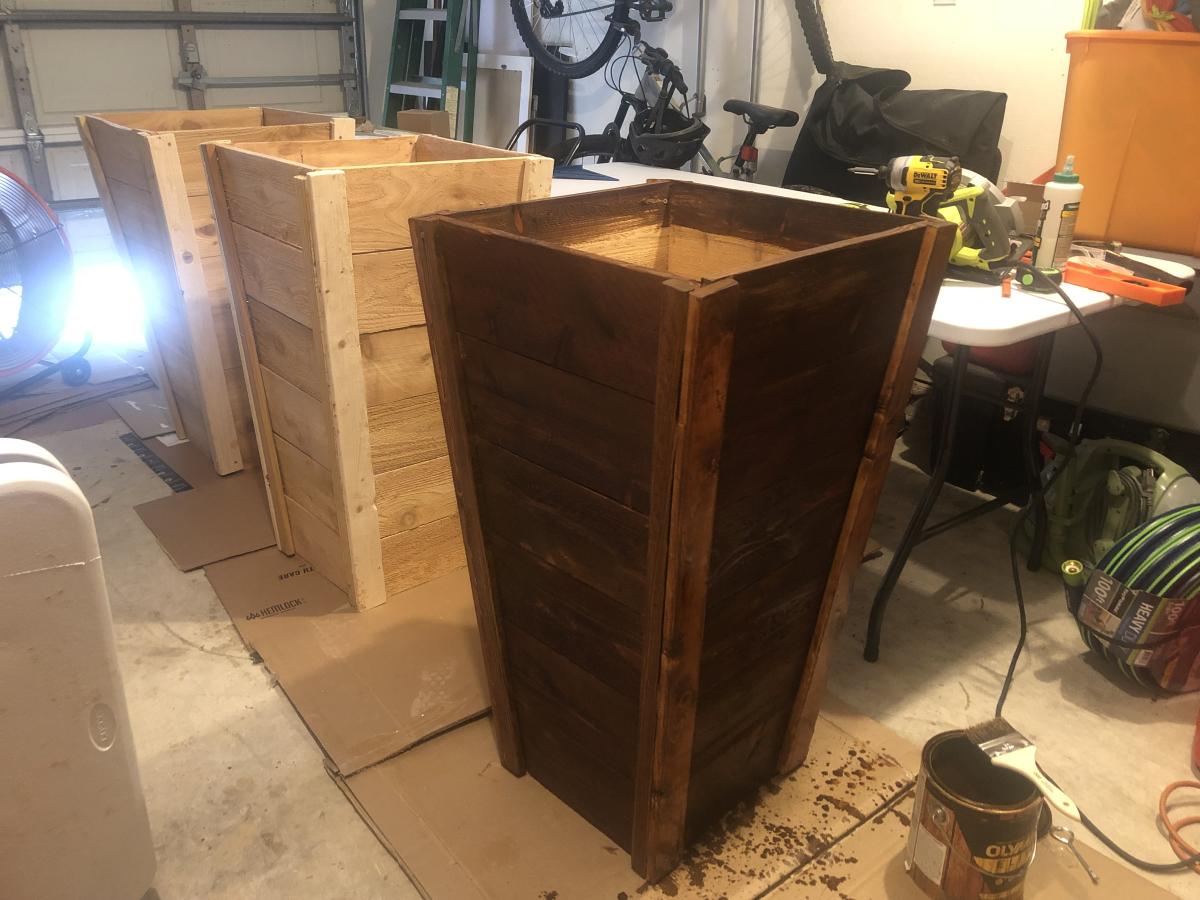
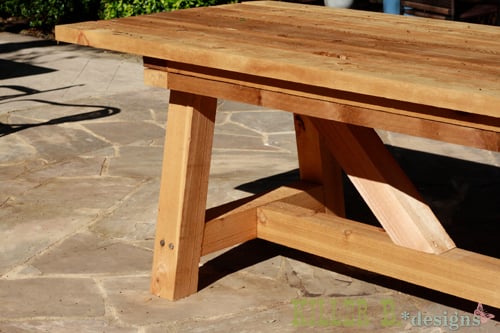
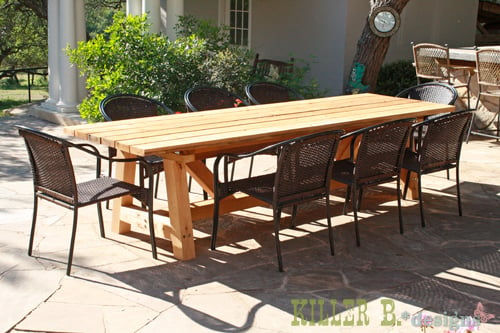
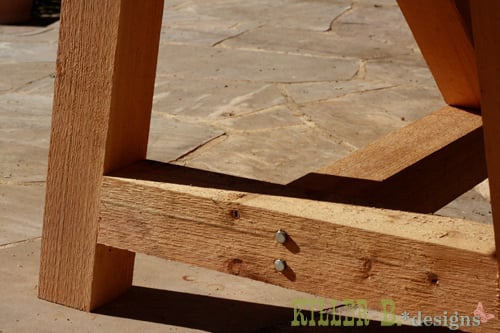
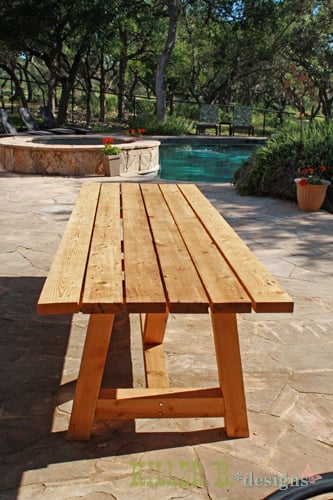
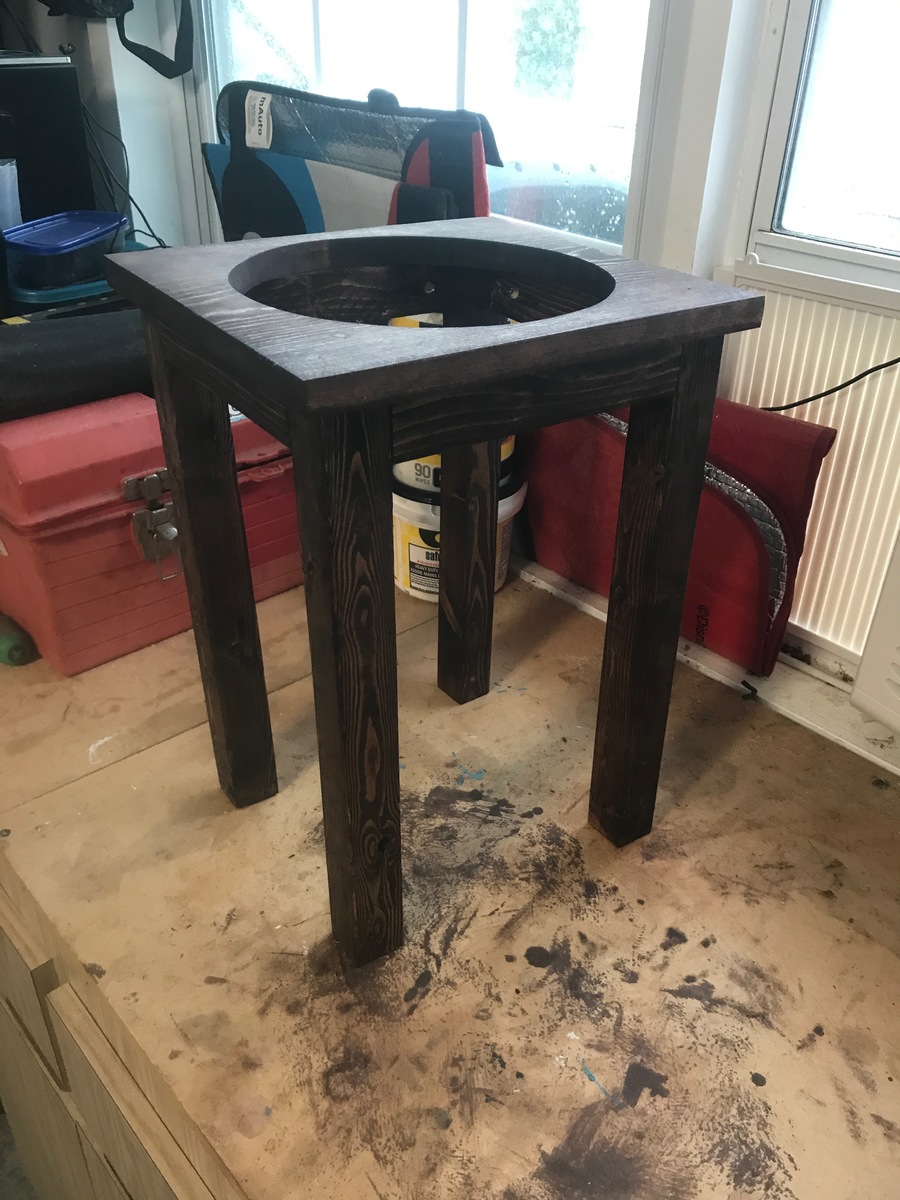
Garden Boxes
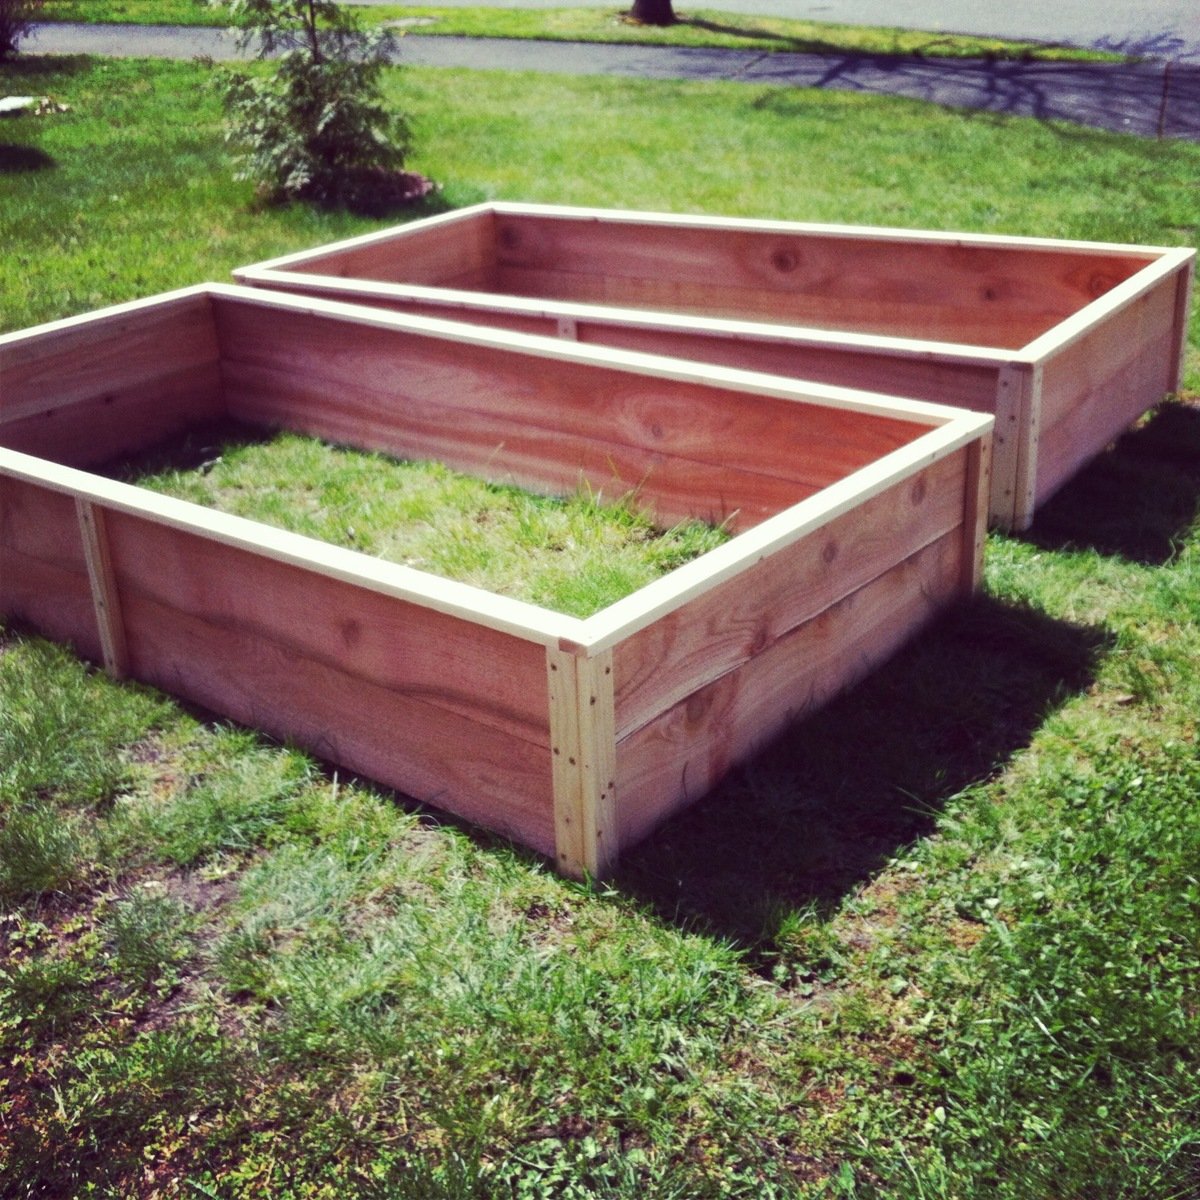
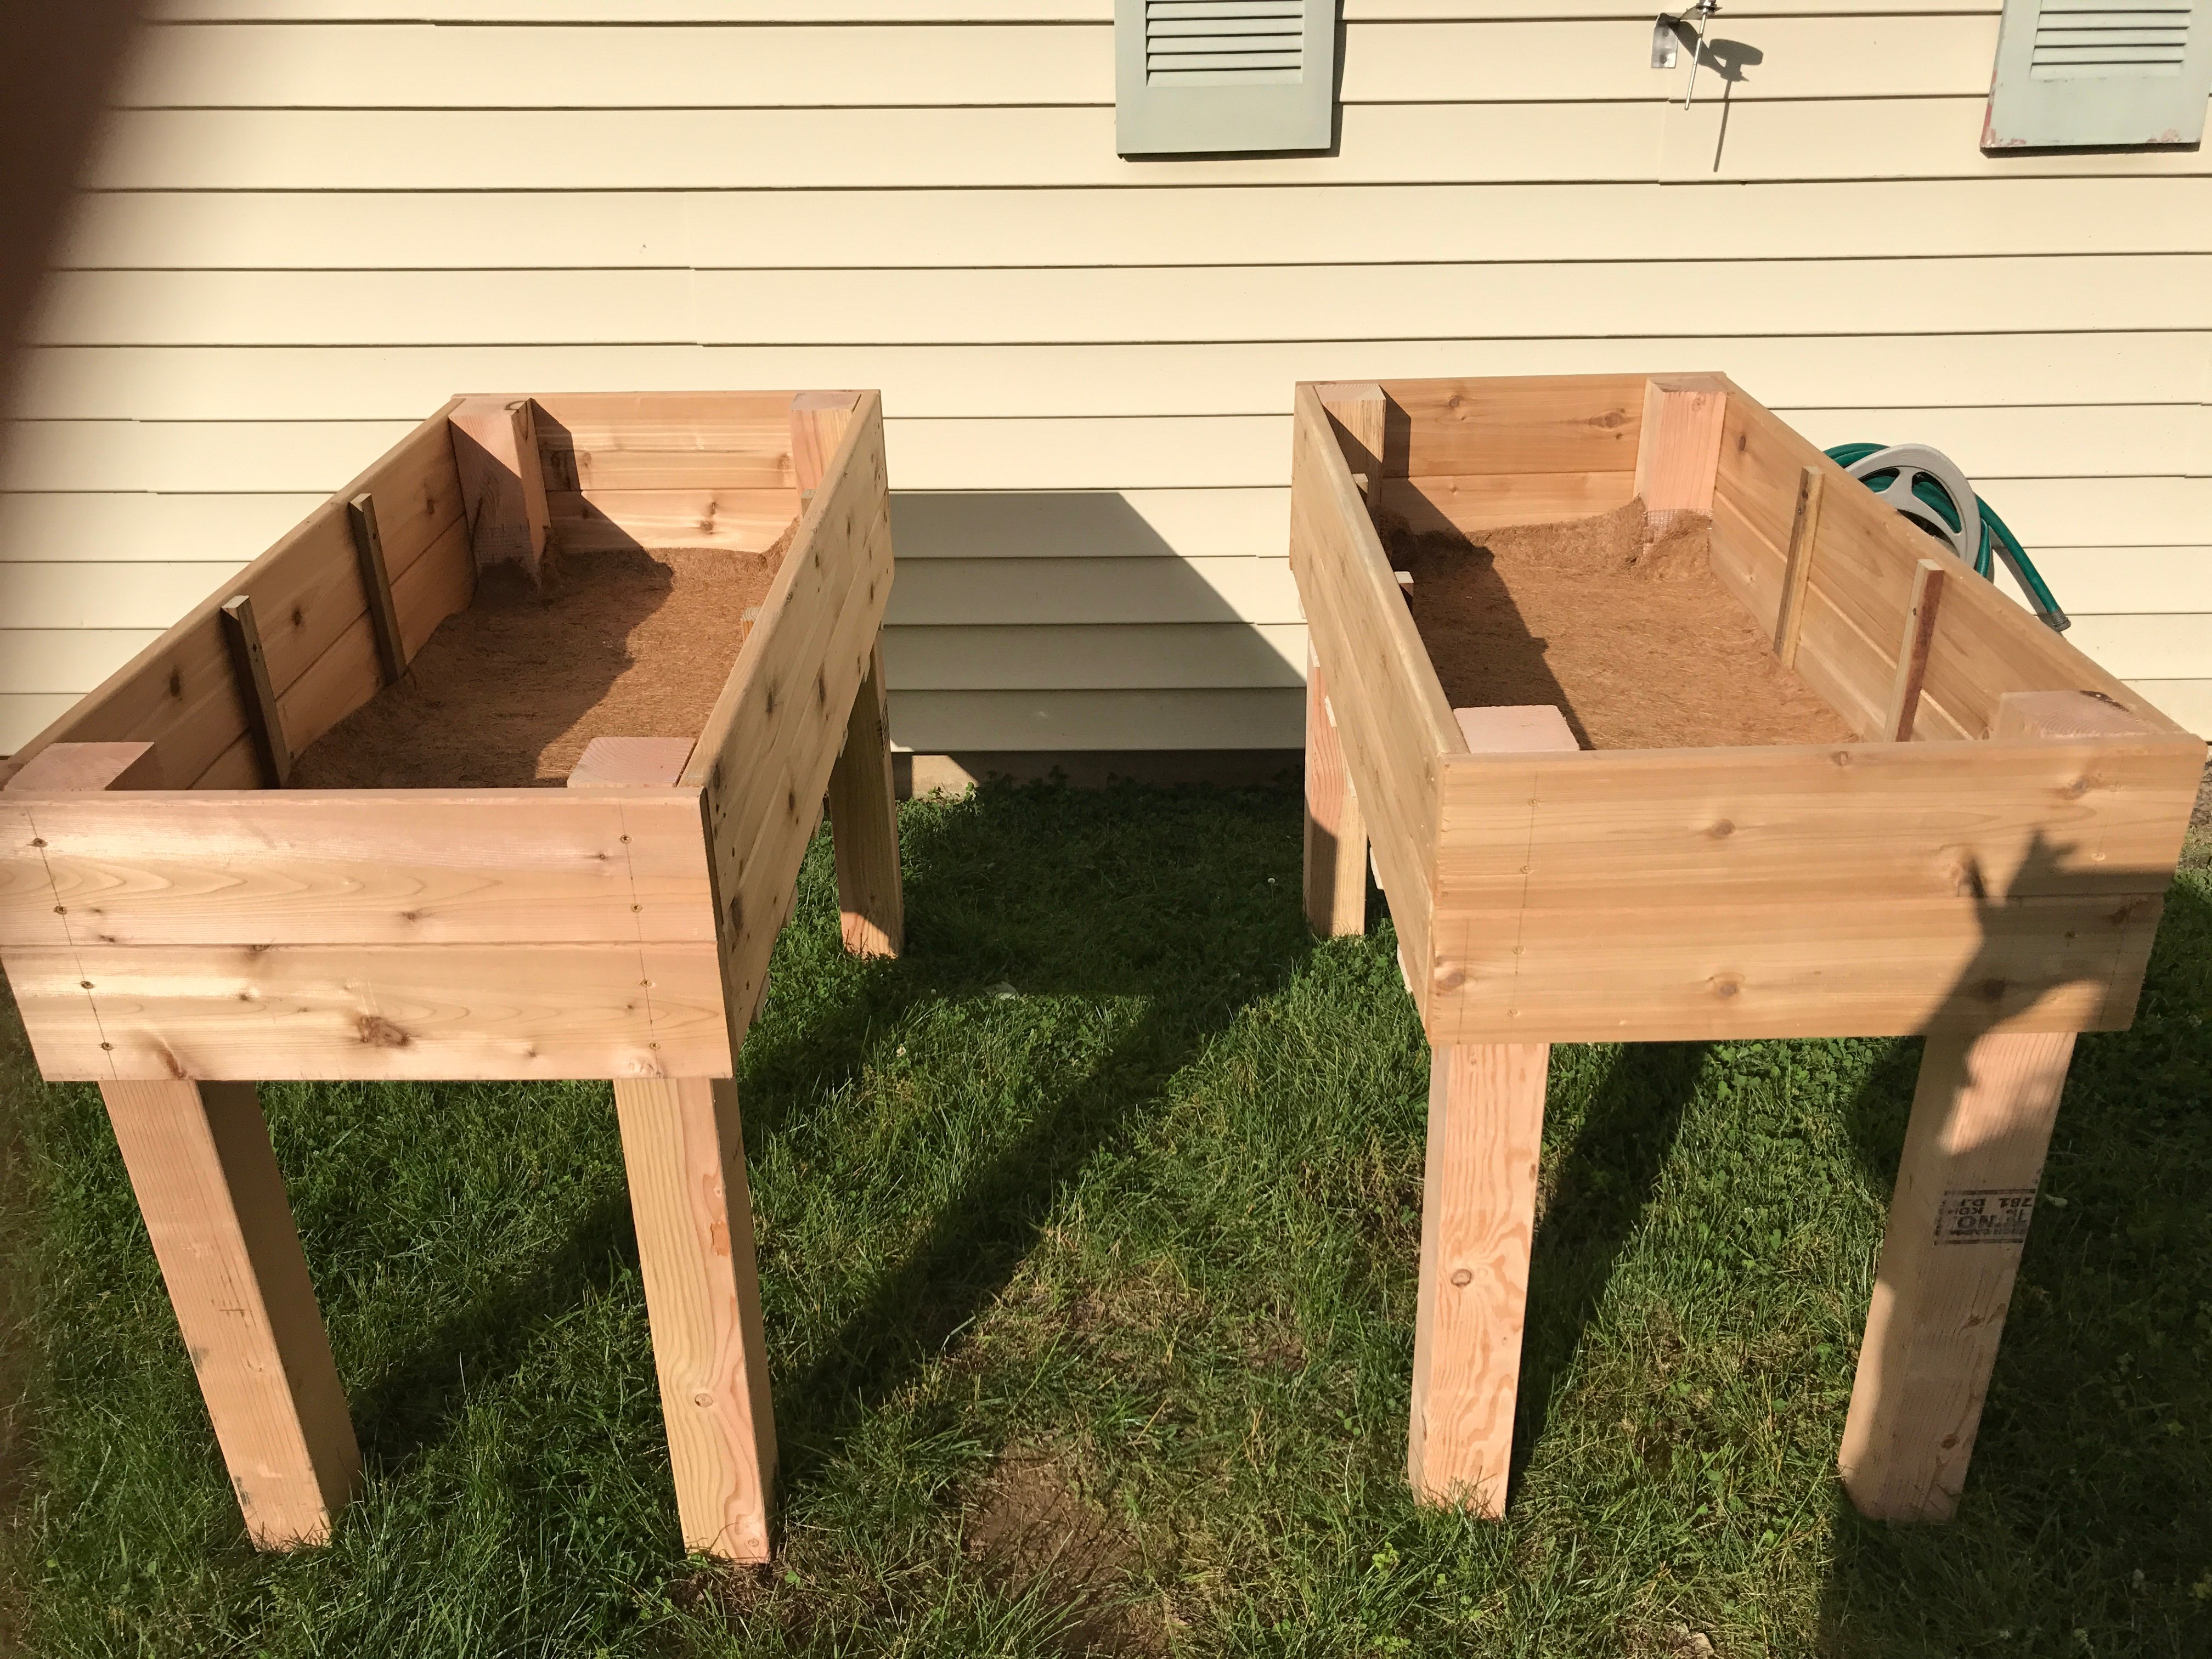
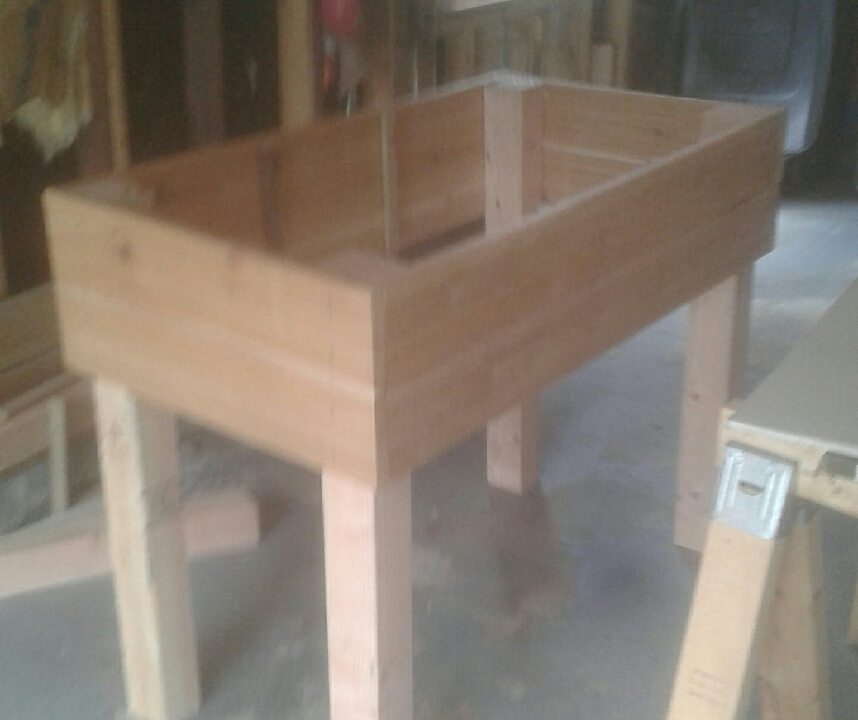
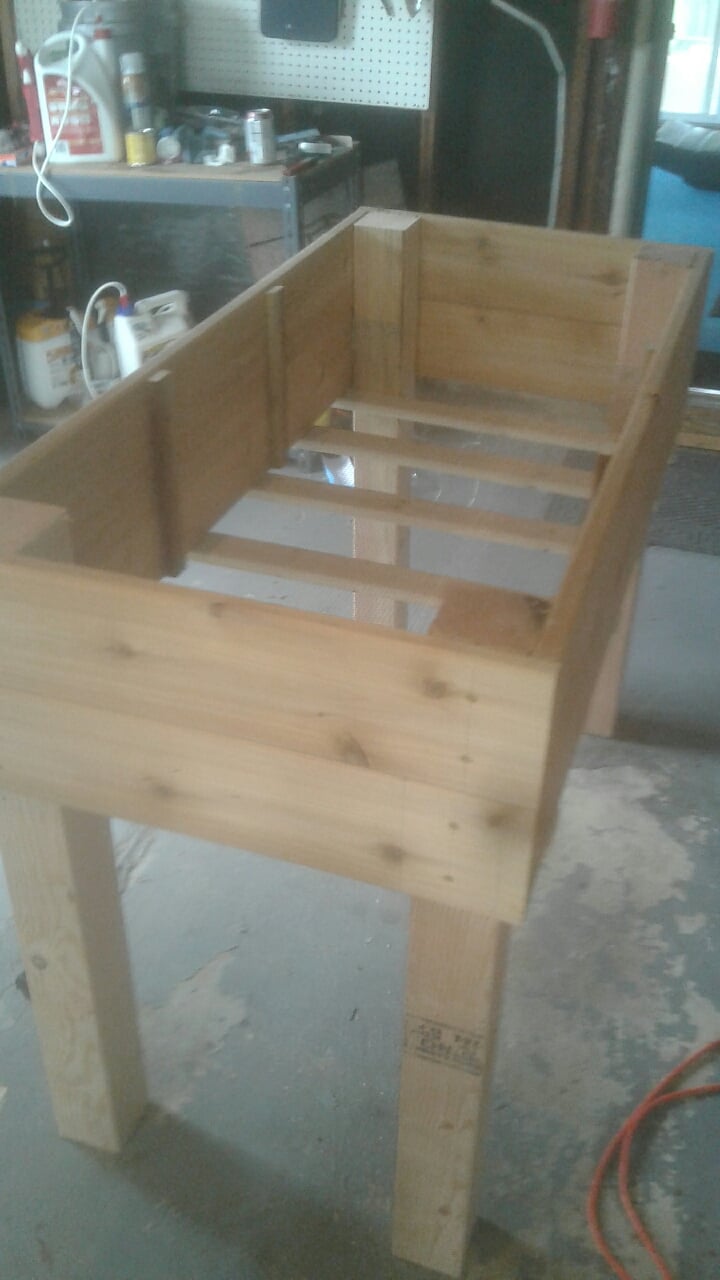
Made 4 of these garden boxes for the side of the house. I love how they turned out and it was easy to change the size of boxes just by changing the side lengths. I love the trim on the top. It makes them look so much more finished. Can't wait to fill them.
Built from Plan(s)
Estimated Time Investment
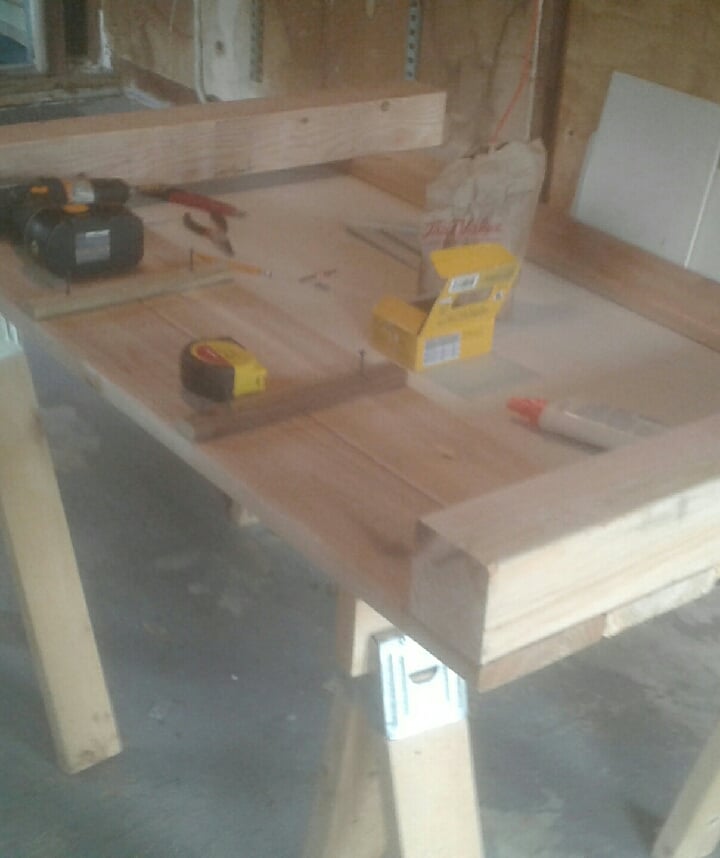
Day Project (6-9 Hours)
Finish Used
I didn't bother with the wood glue step but am sure they'll be fine. Also I couldn't find any 1" screws. But the 1.75" screws worked fine.
Recommended Skill Level
Beginner