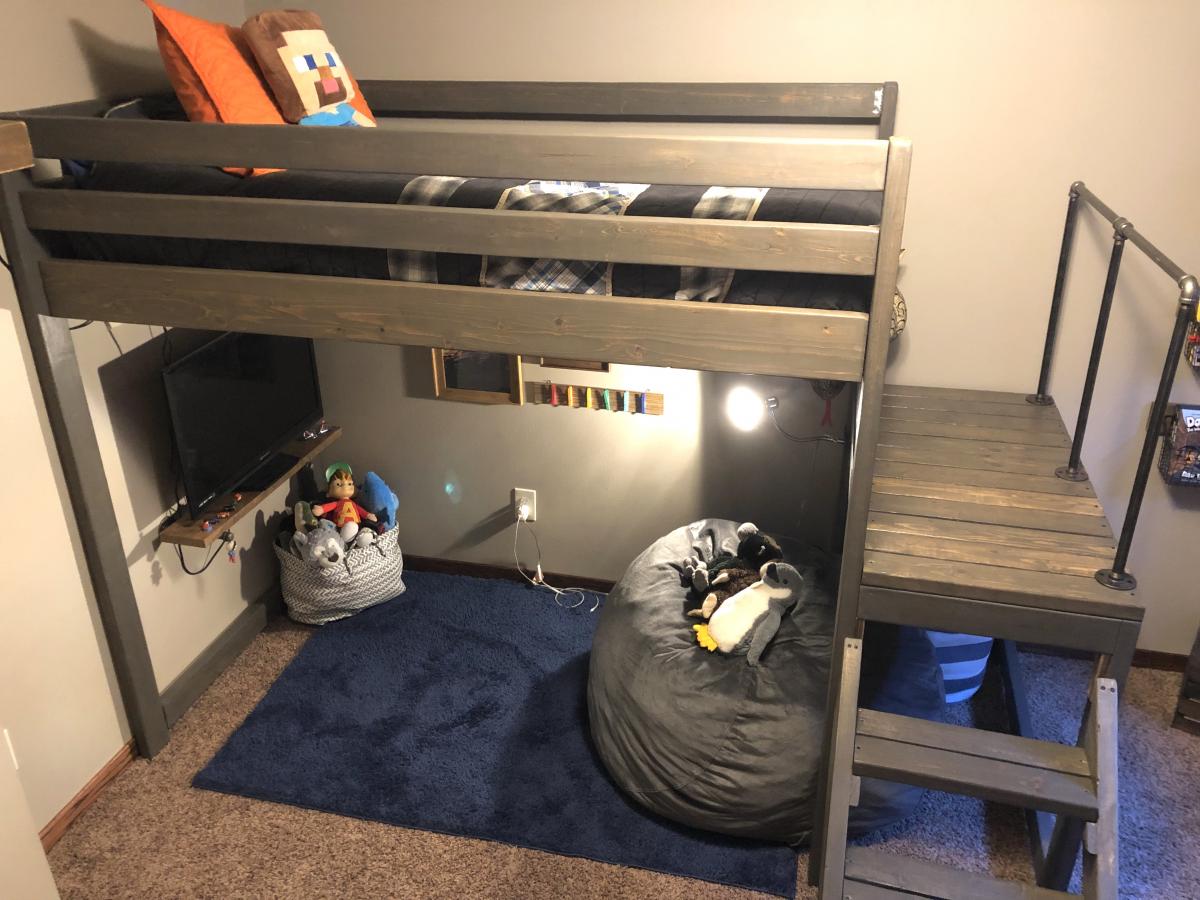
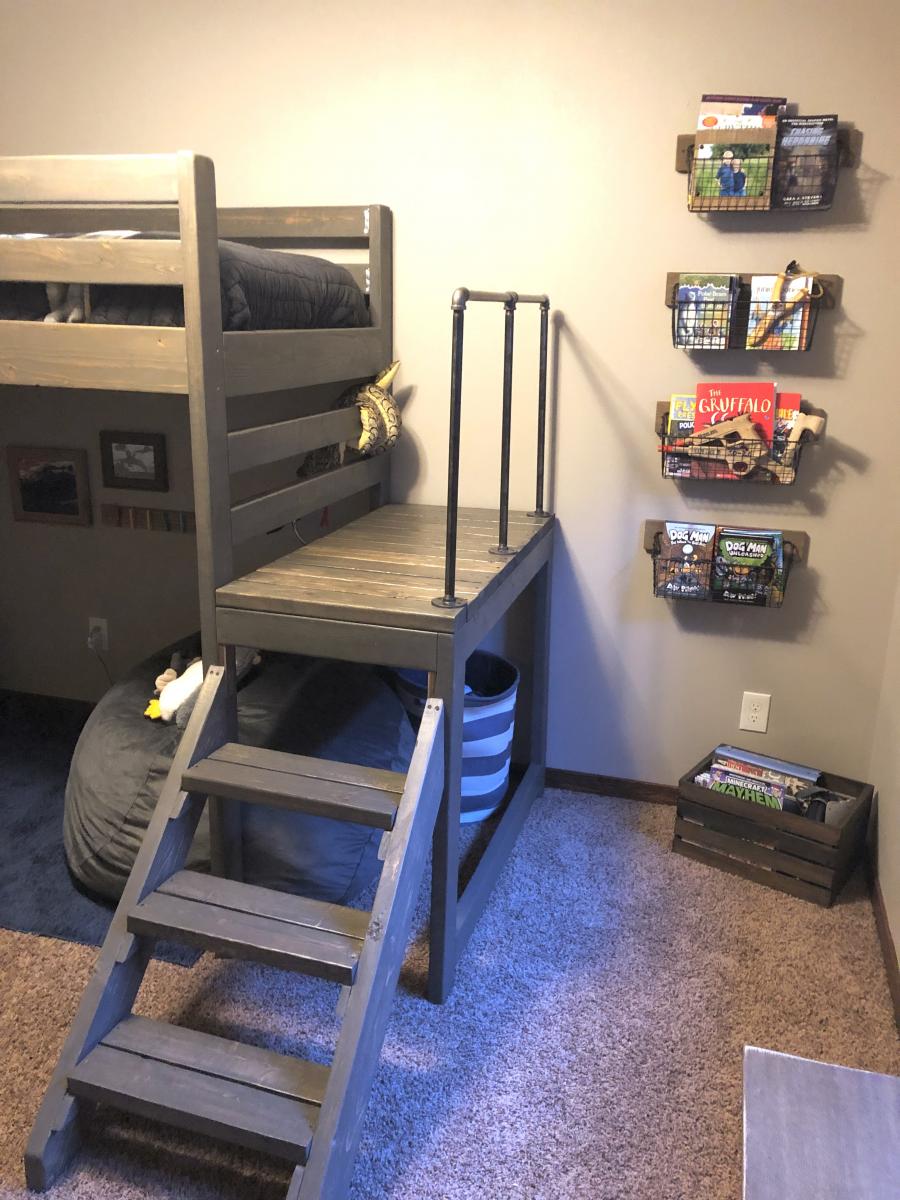
Community Brag Posts

Basement Play Gym

Submitted by Anonymous (not verified) on Fri, 01/08/2021 - 05:51

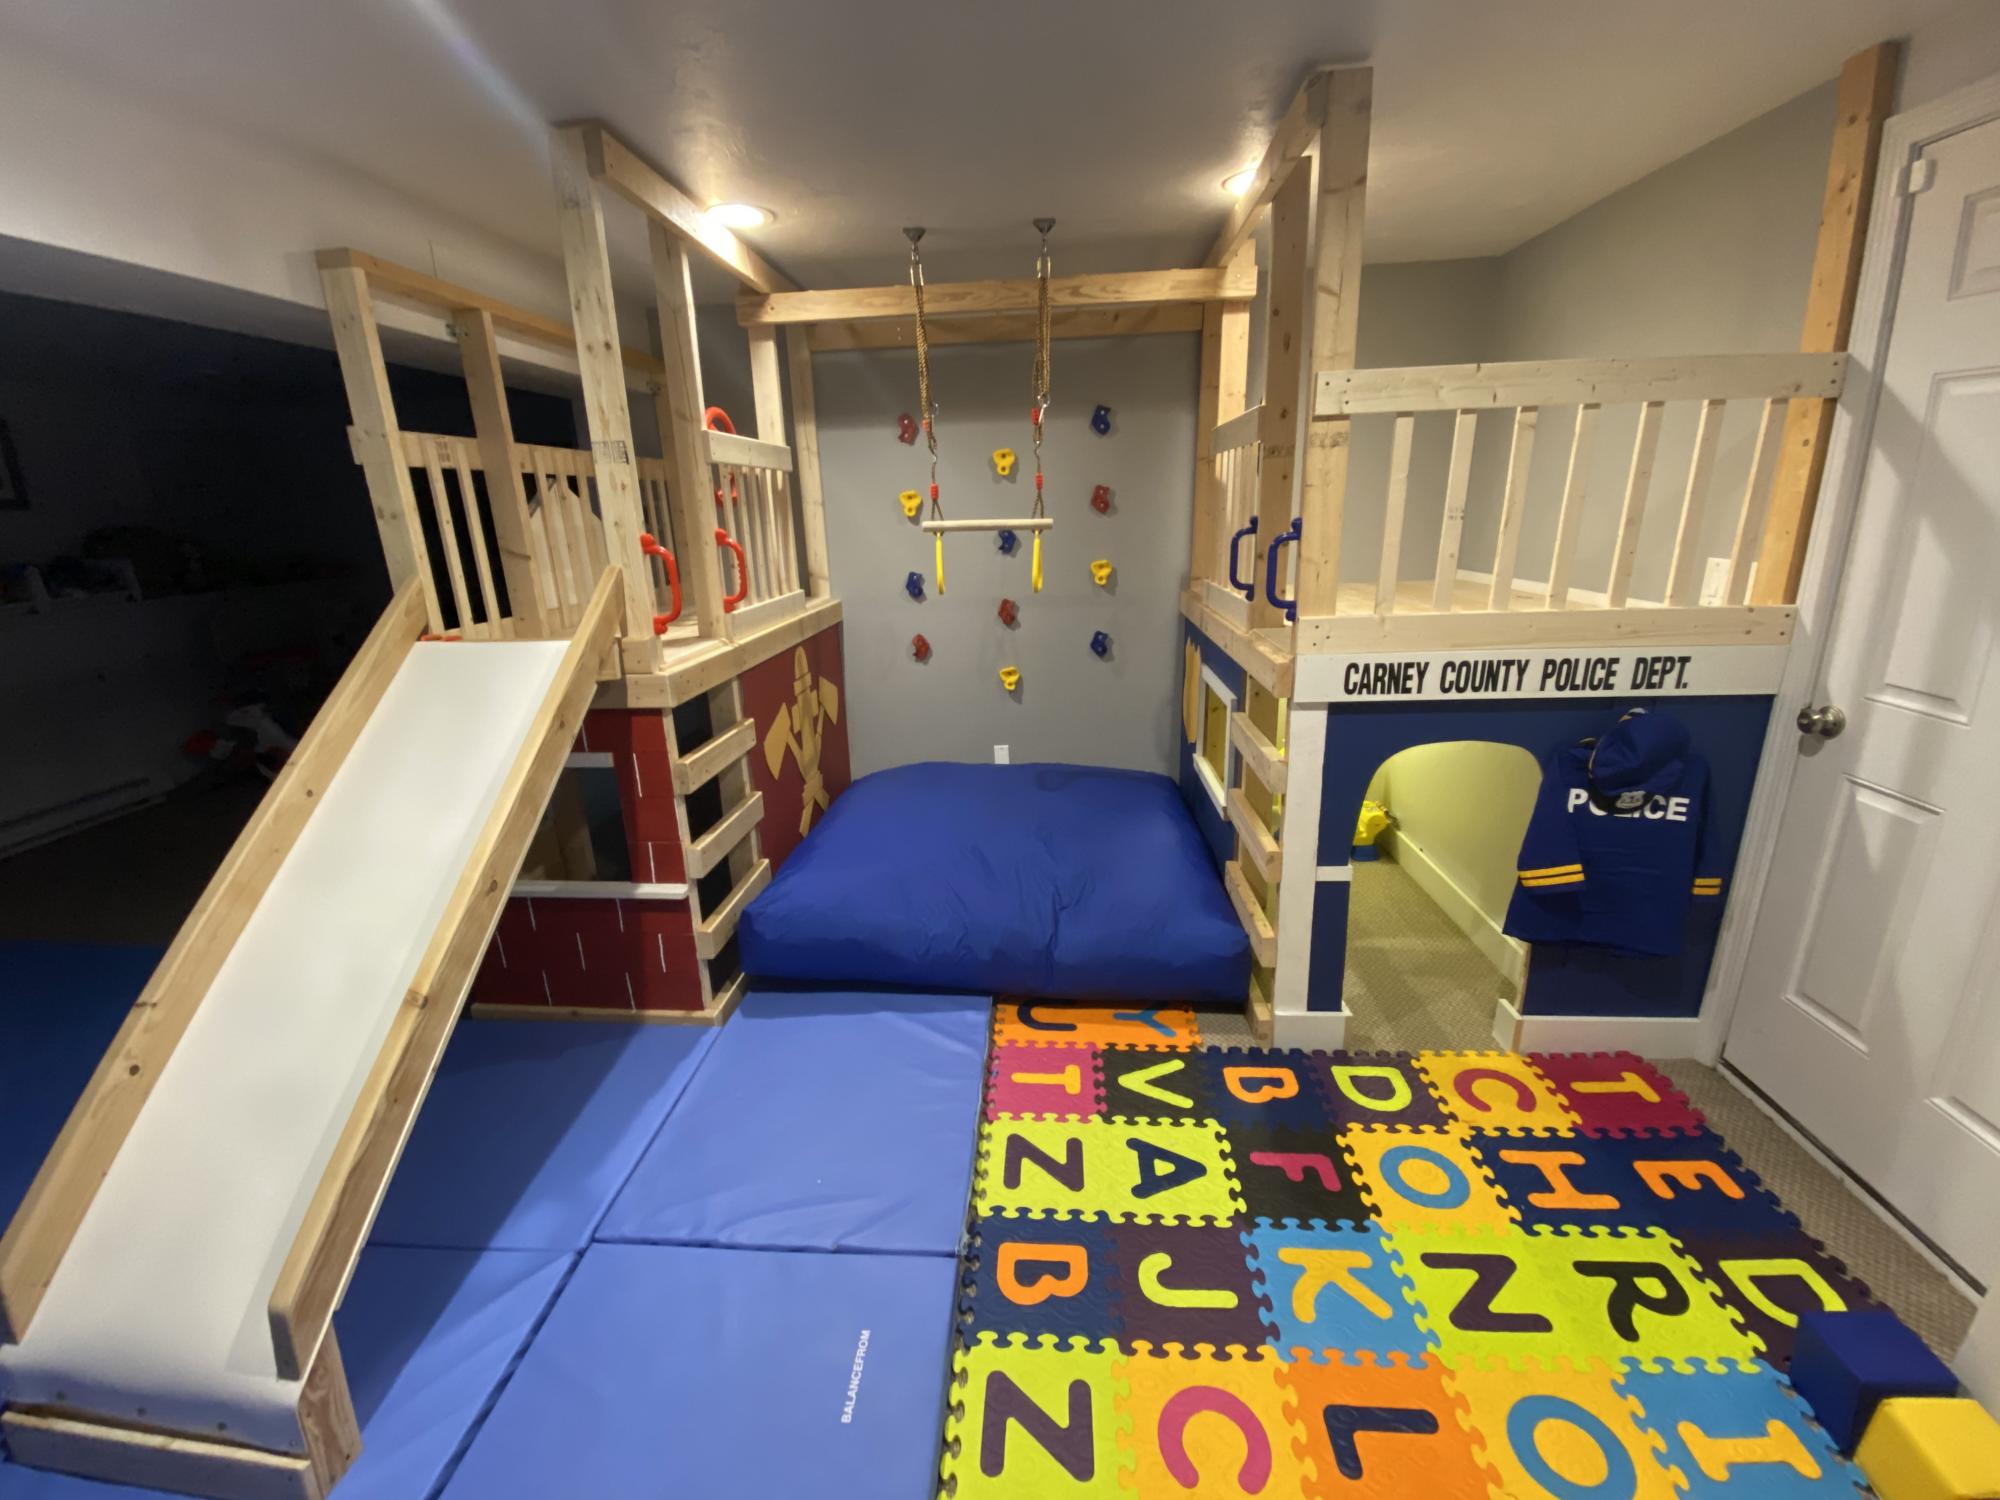
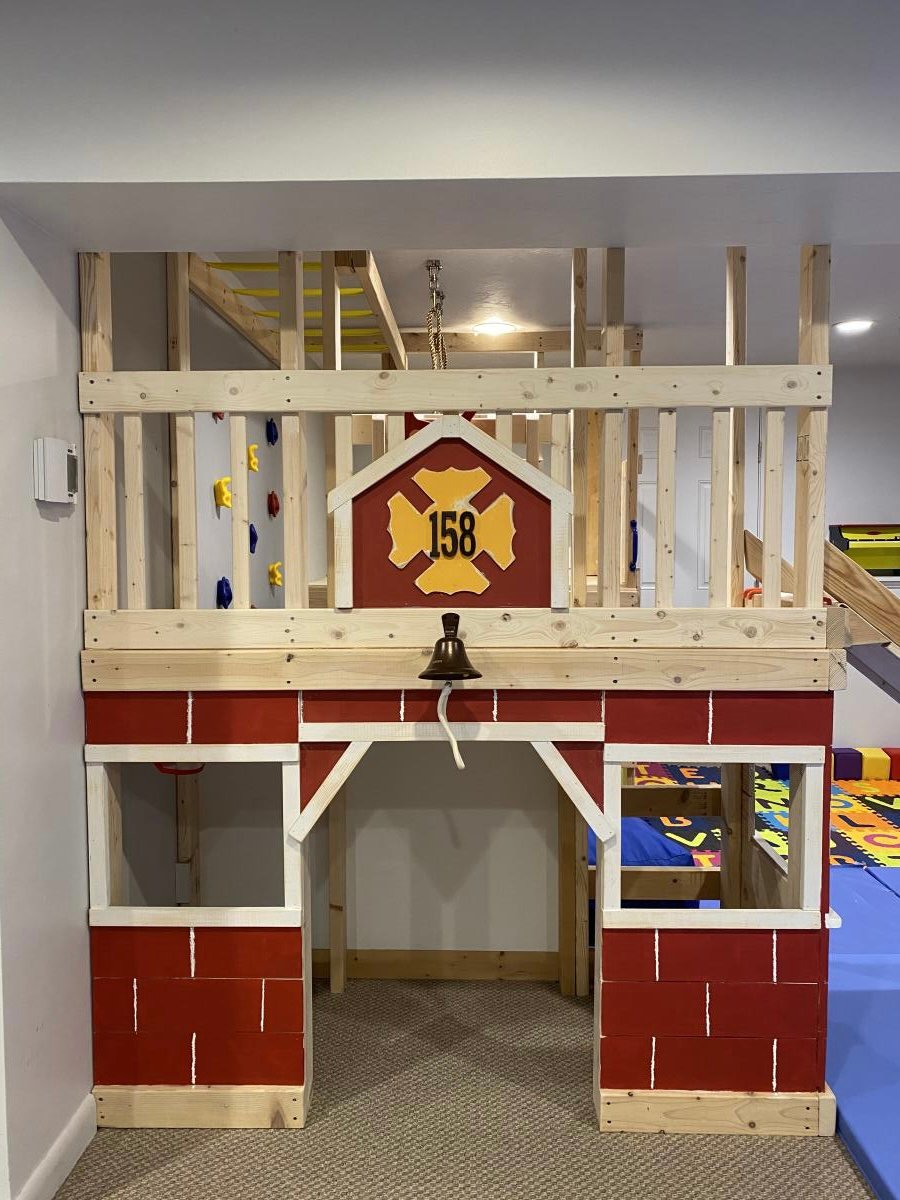
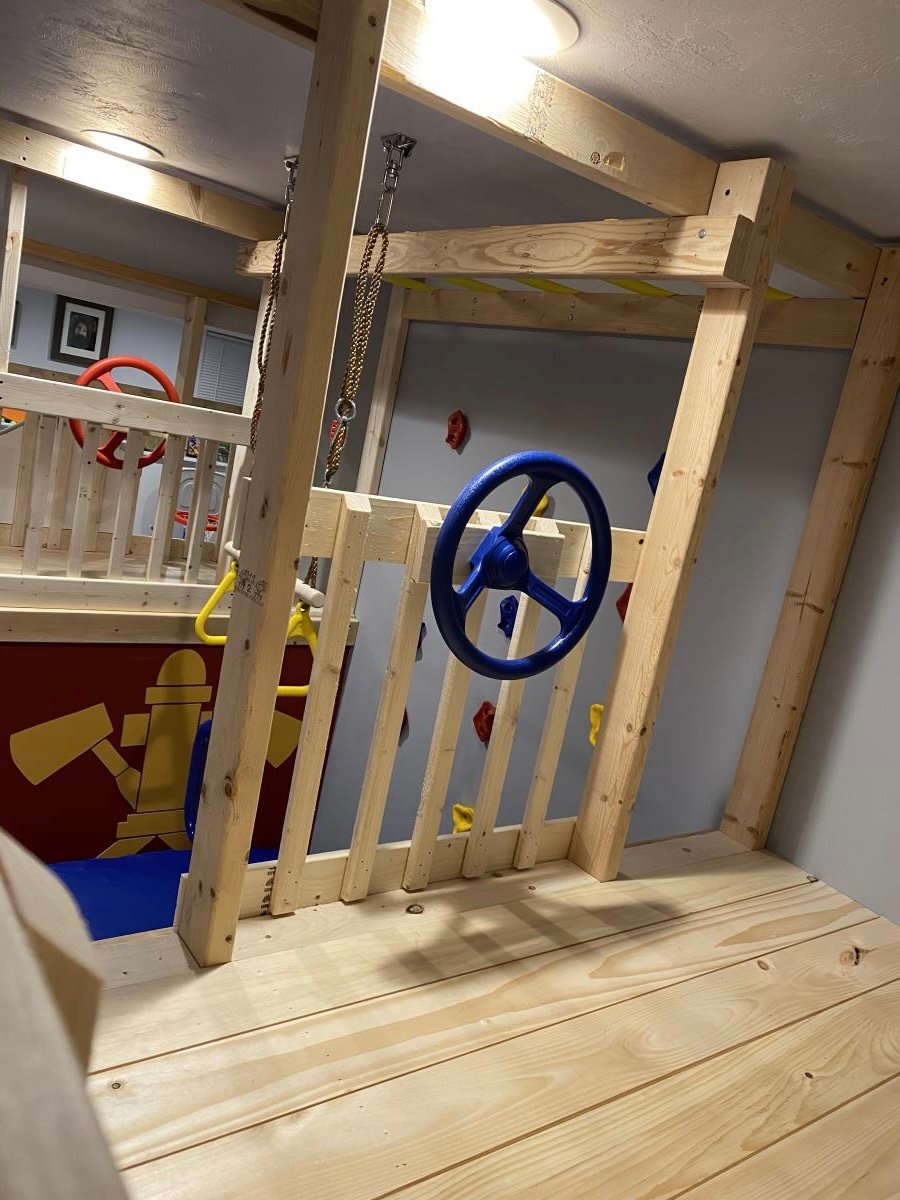
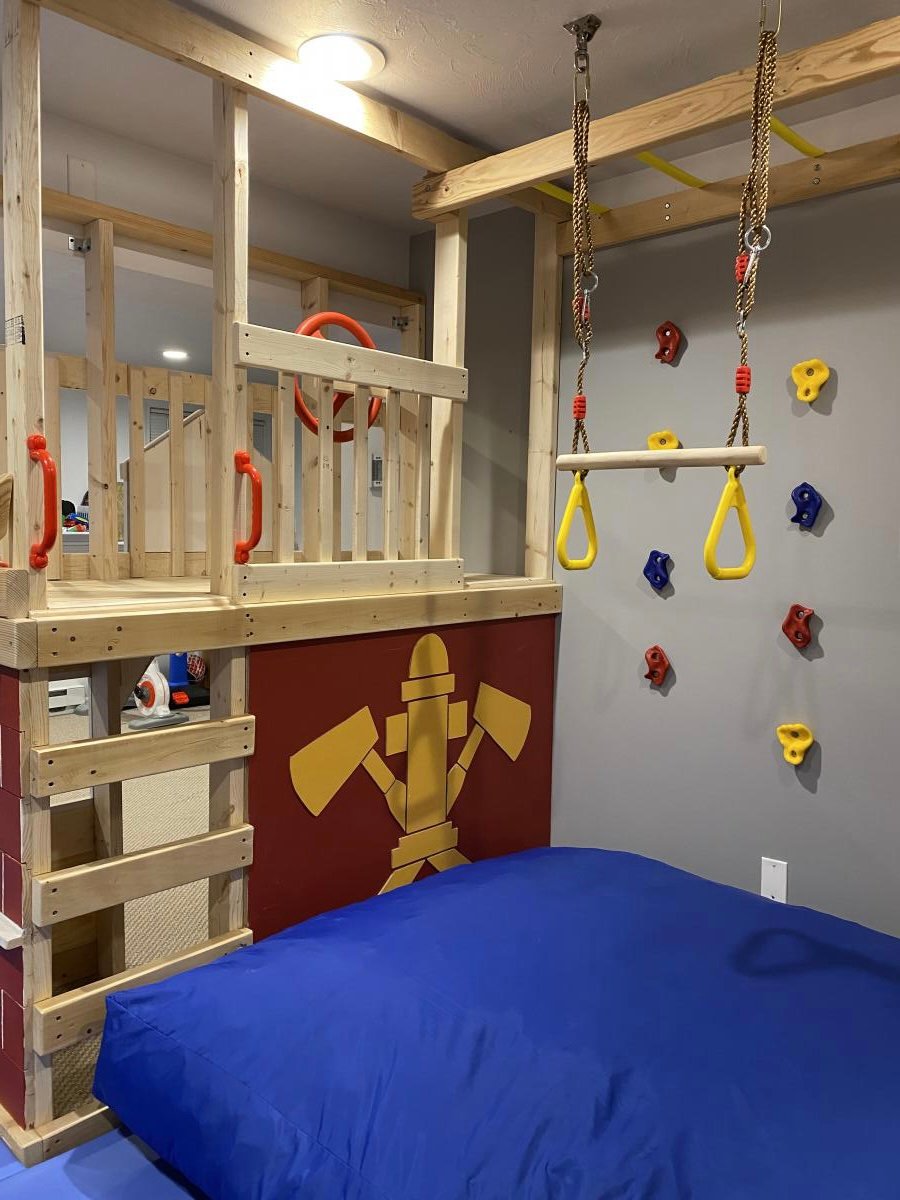
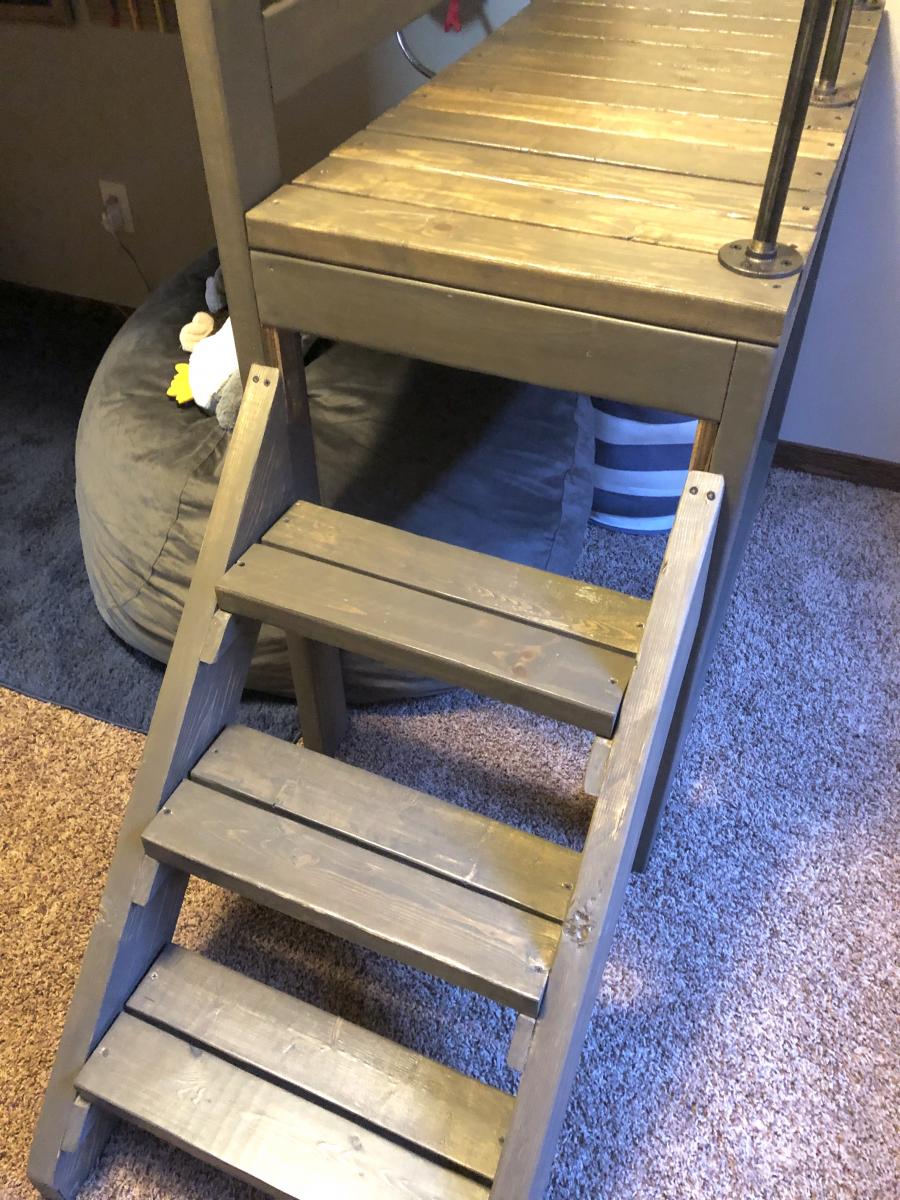
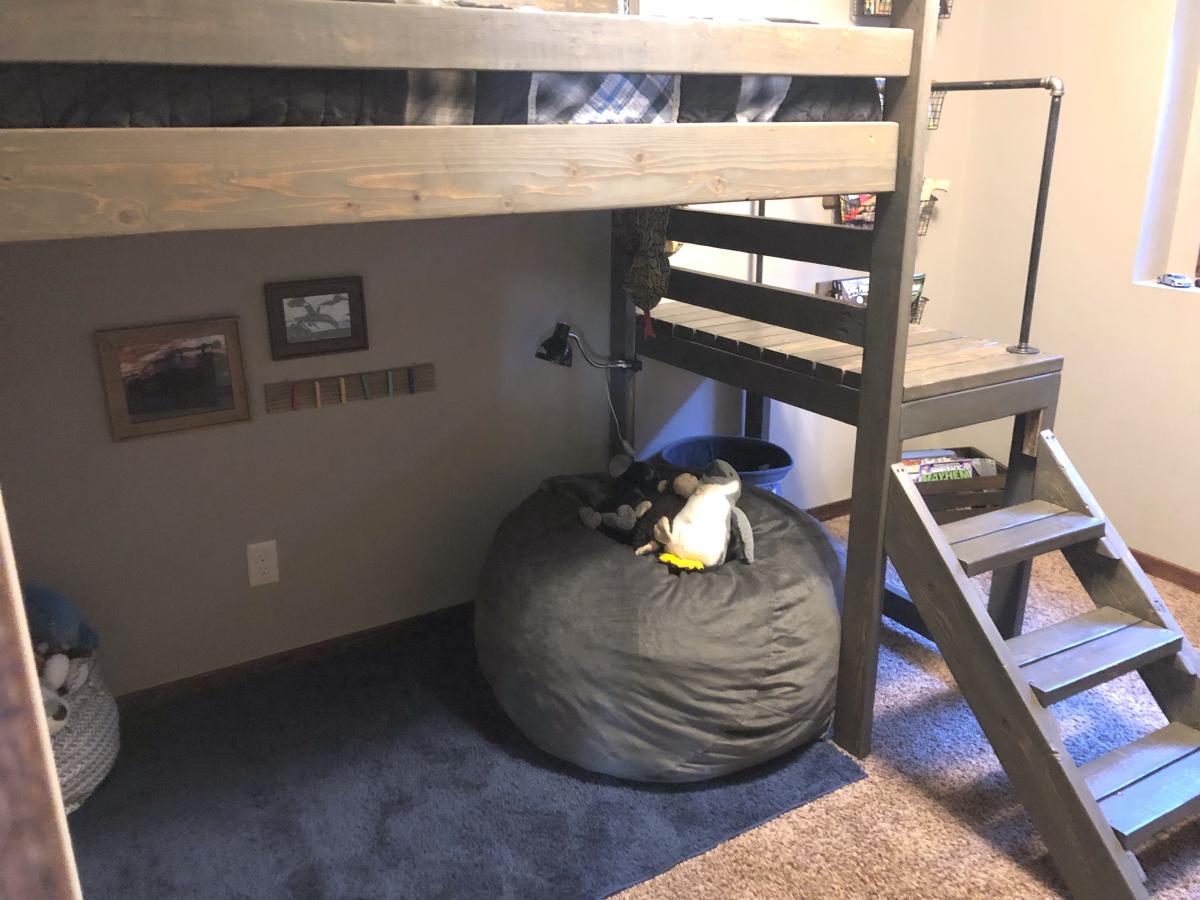
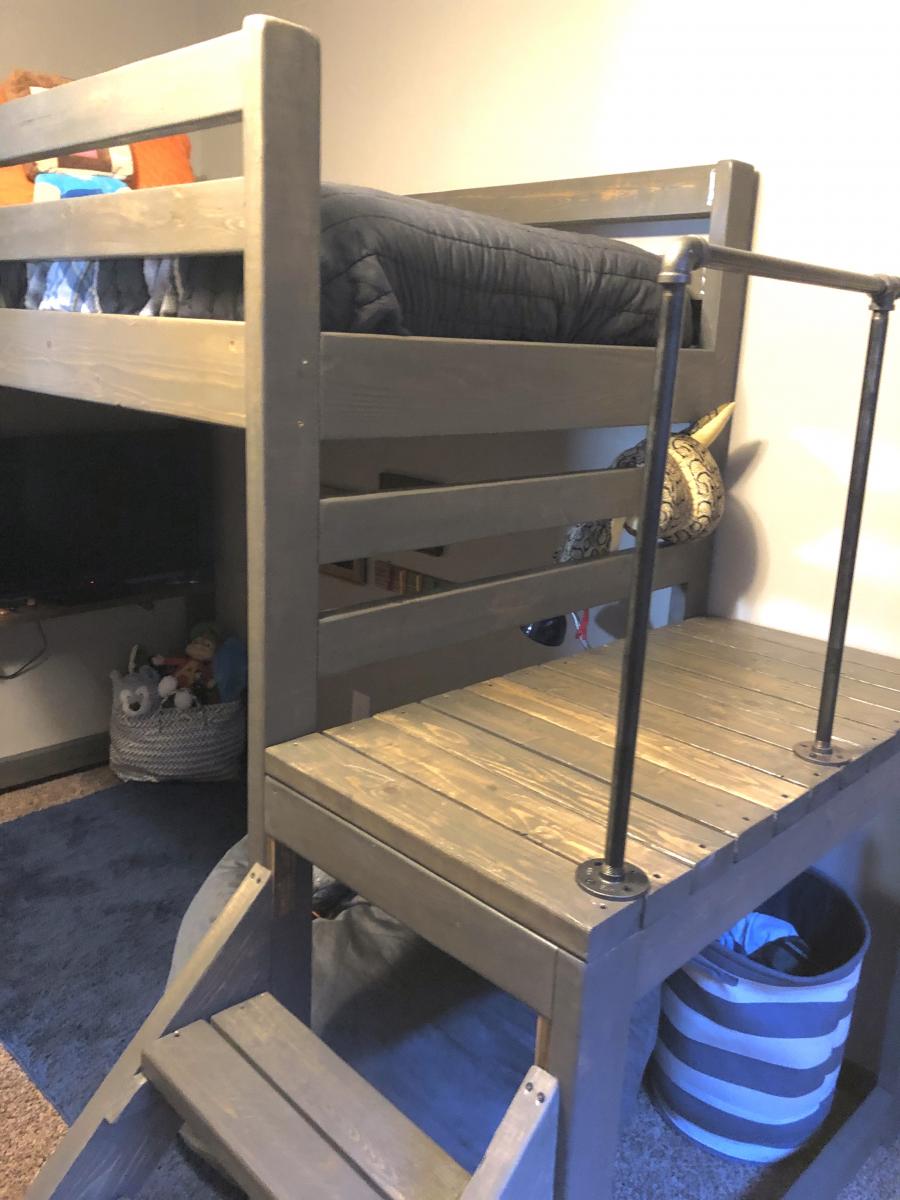
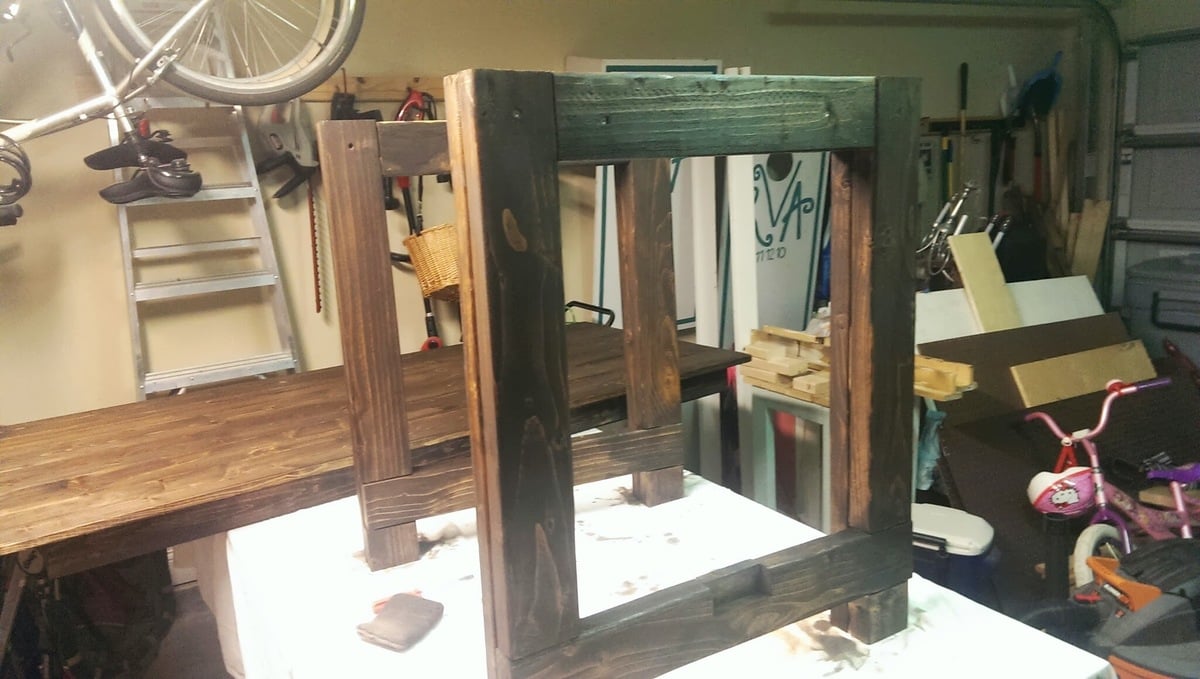
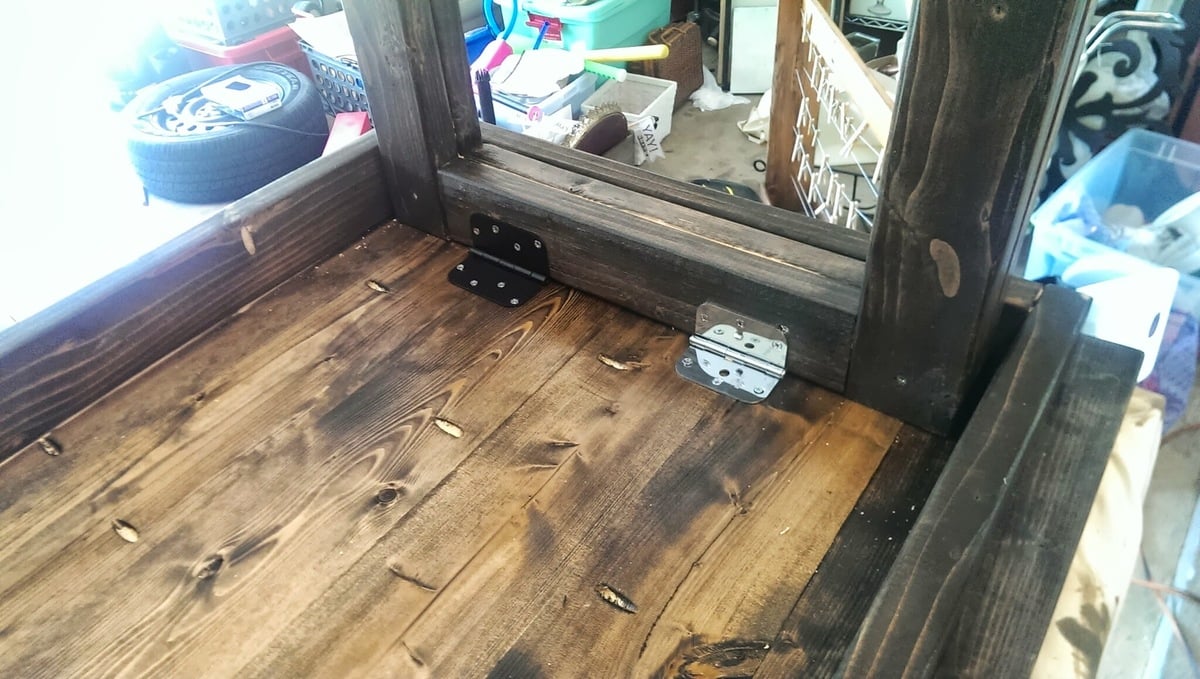
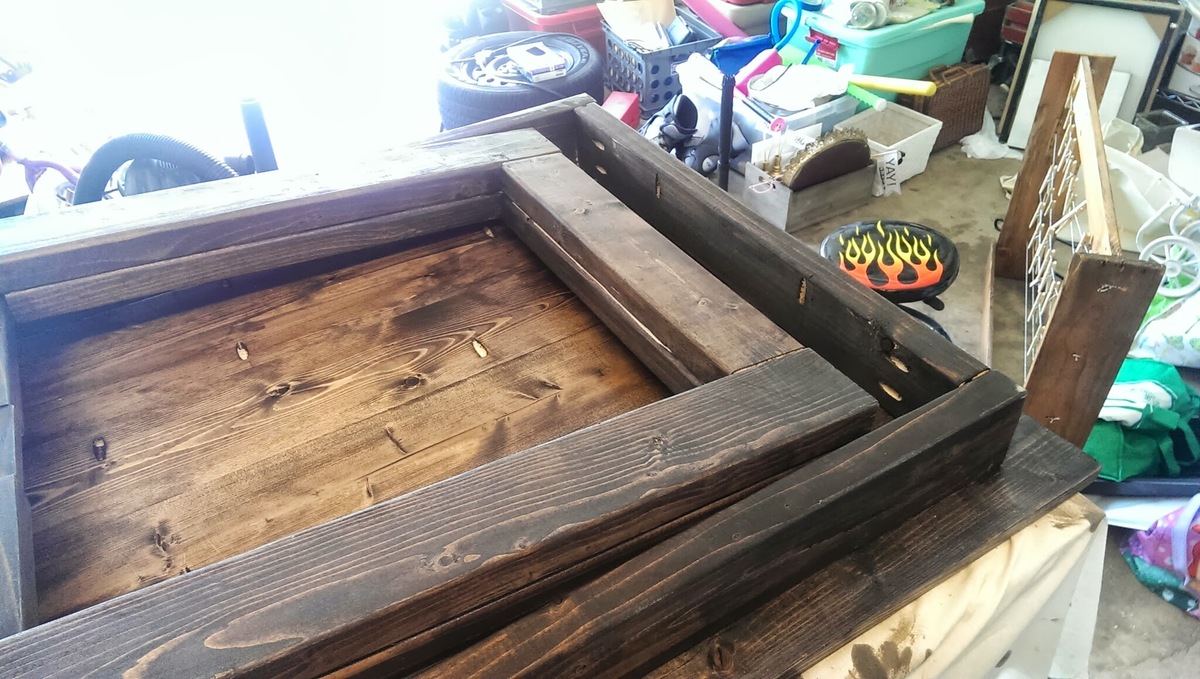
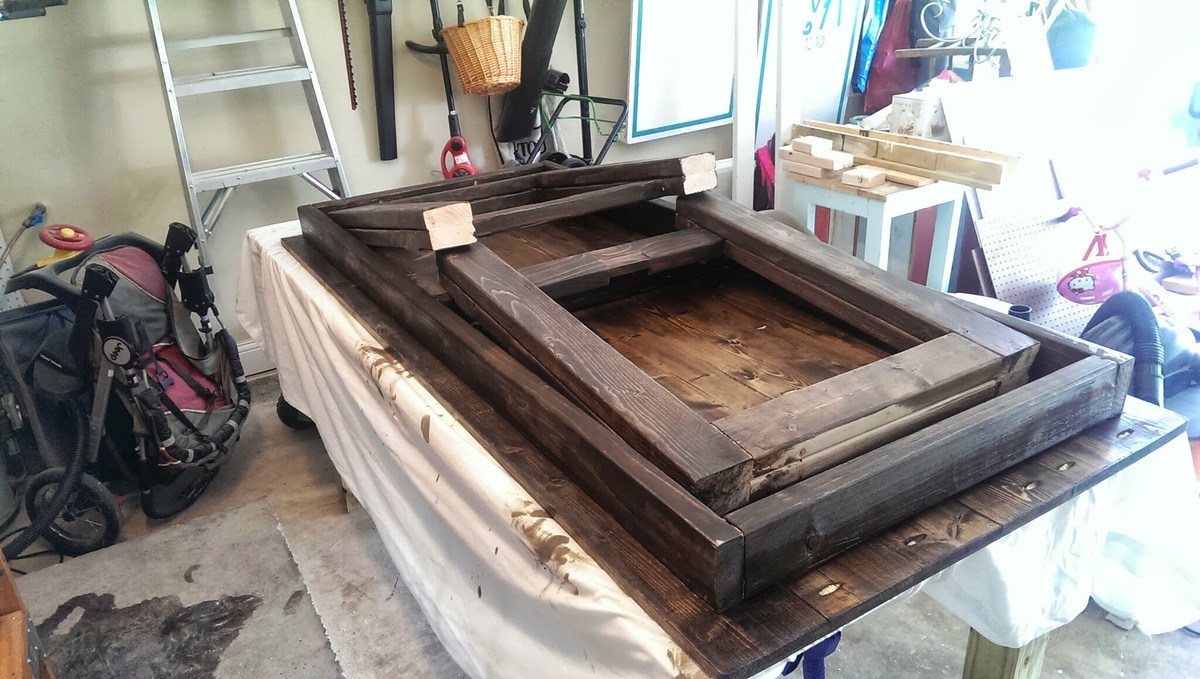
With Christmas approaching and the realization that my three young boys had way too much “stuff”, I enrolled the help of my dad to build this amazing basement play area. When I found Ana’s plans for the play gym with monkey bars, I knew we were in business. I modified the design to fit our space and we were off. Such a fun build and my boys absolutely love spending time down there. Thanks so much for your continued inspiration and the confidence you give us mamas to build with the big boys, Ana!!

Estimated Cost
$1000
Estimated Time Investment
Week Long Project (20 Hours or More)
Recommended Skill Level
Intermediate

Comments

New Outdoor Kitchen!

Submitted by ColleenM on Wed, 07/06/2011 - 06:48

This is the new outdoor kitchen I had been working on - finally finished! It was inspired from the kitchen island plans - I like the slats, and thought they would work well outdoors for air flow and water drainage. I worked around the existing grill, and it is all modular, so it can be moved if necessary (such as painting or treating the deck). It includes cupboards underneath the bar, dorm fridge and sink with storage under the countertop. The cooler stand raises the cooler up to 'user' level (no more bending!). Because I'm an avid recycler - most of the products used were recycled items. All told (not including the already purchased grill) - this kitchen cost me a total of approximately $95.00 (I had a lot of the materials already). This project took me approximately 5 weeks working on it part-time after hours. I built one cabinet at a time, then the countertops.

Built from Plan(s)
Estimated Cost
$95.00
Estimated Time Investment
Week Long Project (20 Hours or More)
Finish Used
I used the same paint I used on the house - an exterior Behr latex stain.
Recommended Skill Level
Intermediate

Comments

kmatt55

Wed, 07/06/2011 - 17:29

This looks really awesome Colleen! I was thinking about putting a sink like that on my deck. What kind of finish did you use for the countertops? Would you please post more pictures of it? Great job!

ColleenM

Thu, 07/07/2011 - 04:42

Thanks Kmatt & Viola...I'll try and get some more pictures up asap. For the bar top and countertop I used tile, and treated the grout lines many times with a waterproofer. Both tile and grout were purchased at our local ReStore - a total of 20 cents a piece for the tile, grout was $3. Not bad for a countertop!

mamafiona

Wed, 07/20/2011 - 11:48

Wow, this is really amazing! This is just what we need for our new deck - something modular and not too expensive to build. Do you have any more pics? I'd love to see what the area in front of the grill looks like. Very, very nice work.

Guest (not verified)

Mon, 03/05/2012 - 10:54

Hi, I was wondering if you have the plans for the kitchen around the bbq grill, i would love to make this for my husband for his birthday.

Guest (not verified)

Mon, 04/09/2012 - 18:38

Hi, this is great. Is there anyway you can post pics of the front of the bar where the sink is and especially the bbq, I want to build around my existing bbq grill but dont know how. thank you so much.

Chicken Coop with run

Submitted by Anonymous (not verified) on Sun, 01/31/2016 - 19:36

It took a while to come together and made several modifications but it is a great coop and was a major selling point of the house when we were relocated.  I had added a main tray under the roosts and a door to srape the poop out.  This made keeping the coop clean very easy.  

Built from Plan(s)
Estimated Cost
$800
Estimated Time Investment
Week Long Project (20 Hours or More)
Finish Used
Chicken Coop
Recommended Skill Level
Intermediate

Camp Loft Bed

Submitted by MommaBlue on Tue, 10/08/2019 - 10:58

I built this bed for my 8 year old son's room "face lift." His only request was to have a place to hang out, but being his room was so small, that was a struggle! The loft bed allowed us to make a cozy little hangout - the poor guy can't get rid of his siblings now!

I added a few extra inches to the height of the Camp Loft plan, I also added the pipe hand rail for additional safety and give his room a little older boy vibe! It was a very easy build, the staining/sealing took the longest. The stairs make it much easier to change sheets and getting up and down for those of us who aren't 8 year olds :).

Estimated Time Investment
Day Project (6-9 Hours)
Finish Used
I used a mixture of Varathane Weathered Gray and Minwax Special Walnut. It is about 3/4 Gray and 1/4 Walnut.
Recommended Skill Level
Beginner

Square Picnic Table Project

This was a great summer project. The table looks great and it was any easy build. Doesn’t get any better than this. I added a hole in the center of the table for my umbrella and used the longer screws for more frame stability.

Built from Plan(s)
Estimated Cost
$200.00
Estimated Time Investment
Day Project (6-9 Hours)
Finish Used
Used semi transparent cedar tone stain. Lightly sanded edges and surfaces. Applied stain with a brush before assembly.

Comments

Seasonal And Holiday

Playhouse kitchen from Modern Vertical Slat Top Console

Submitted by LauraLaura on Mon, 05/27/2013 - 17:21

I've been looking for a simple design for a consol table that I could easily modify to fit in my kids' club house. This one fit the bill perfectly! I also happen to have a pile of 2x4s left over from a closet demo, so I wanted to use those up. I basically built 2 of the consol tables, letting the 2 outer-most horizontal beams extend across and 25.5 inch space and connect the two consols. Then I put in a middle beam and that created the perfect space to set some catering pans in it. Also, I only had 2x4s so I used those for all the pieces, making the gaps a little wider than the original design. And lastly, because I didn't quite have enough wood, I shortened the vertical beams. If you look at the picture, all of this will make more sense! Thanks for the inspiration and direction! ps - I have no idea how to rotate the photos. Sorry!

Estimated Time Investment
Afternoon Project (3-6 Hours)
Finish Used
none yet, but I think I need to paint it or something so it doesn't rot outside.
Recommended Skill Level
Starter Project

Foldable Farmhouse Table 2

I recently published my first foldable farmhouse table last week here: http://ana-white.com/2013/06/foldable-farmhouse-table The first one I made was very heavy because I used 2x6 tops and 4x4 legs. I decided to make another one that would be lighter and easier to transport. The plans are basically the same just instead I used 1x6 for the top and put 2x4s together for the legs. I also shorted the length by about a foot. The only issue with making the table shorter length is that the legs don't fold completely flush. You could easily make the legs short enough to fold flush, but then the table was a little too short from the ground up for us. The same as before I simply used kreg joints to join the top boards together. I then made a 2x4 frame and attached it to the bottom. I made each of the legs separately by joining 2x4s together and sanding everything down. Everything was stained before putting the legs on using Miniwax Dark walnut stain. I used 2 coats of Miniwax water based clear coat to seal it. A notch was cut out on each of the bottom 2x4 supports on the legs and I glued in a small piece of wood cut to size. These are so I can put in a 2x4 support board under the table so that the legs do not fold in on themselves when it is standing up. The legs are just attached using door hinges you can buy in packs in the hardware section. Be careful when screwing into the 1x6 top not to use too long of screws or else you will over screw and have them come through into your table top. Table design was by Amber Veatch Designs and photographed by Andi Mans Photography

Estimated Cost
120.00
Estimated Time Investment
Day Project (6-9 Hours)
Finish Used
Sand to finish and then used Miniax dark walnut stain followed by Miniwax water based clear coat.
Recommended Skill Level
Beginner

Comments

Freddyflis

Tue, 07/07/2015 - 06:41

We have built something very similar and we have a good bit of wobble at the top, even though the stretcher down the center of the table is holding solid in there and secred with clasps. Were thinking of some sort of sliding pin into the top of the leg to the apron. Anyone run into this before?

Seasonal And Holiday

Our new pantry

We bought a vacation home that has such a small kitchen. I knew we needed more storage. So I checked out Ana's plans and made this bad boy based on the Simplest Armoire plans.

The home is in the mountain/lakes area of northern New Hampshire, so I wanted to bring the outside colors in. I used Valspar Cabin Red paint and the Valspar Antiquing glaze over the top after distressing it a bit.

Built from Plan(s)
Estimated Cost
$200 +
Estimated Time Investment
Weekend Project (10-20 Hours)
Finish Used
Valspar Cabin Red paint
Valspar Antiquing glaze
Recommended Skill Level
Beginner

King Shiplap Headboard.

The Beauty Queen described a headboard with shiplap and sort of cottage style. I modified the Ana White plan to fit my needs and the wife’s taste. I used the preprimed shiplap and 1x material from the big box store so it was a little more expensive but still very reasonable. Then I made side tables. 

Estimated Cost
$100
Estimated Time Investment
Afternoon Project (3-6 Hours)
Finish Used
Marquee Semi-gloss enamel in antique white
Recommended Skill Level
Beginner

Doll Pram Love!

Submitted by Anonymous (not verified) on Tue, 12/25/2018 - 18:40

This was a fun build!  It was my first time to use the jigsaw, so my sweet hubby showed me the ropes!  Such a great project and my little girl absolutely loves it.

Built from Plan(s)
Estimated Time Investment
Afternoon Project (3-6 Hours)
Finish Used
Eggshell paint - random sample I had on hand
Recommended Skill Level
Beginner

Comments

Workbench modified with casters

Submitted by ogie287 on Tue, 04/02/2019 - 20:06

I love this workbench! I added casters so I can move it around the garage, outside, wherever it's needed. I just took 4 inches off the bottom of the legs. My hubby is admiring my handy work and planning on making one for himself.

Estimated Cost
$130
Estimated Time Investment
Afternoon Project (3-6 Hours)
Finish Used
None
Recommended Skill Level
Beginner

Comments

JBeecher

Wed, 01/25/2023 - 14:31

Love this with the casters! So beautiful. I'm new here and wondering at what point you took 4 inches off the legs. Did you build the table and then just cut off the legs? Or did you adjust the measurements of the cuts? Thanks in advance! :)

JimCoz516

Mon, 01/30/2023 - 02:32

The overall height of a 4-inch caster wheel is a little over 5 inches with the mounting bracket, so that also needs to be taken in to consideration. 2nd photo shows the overall dimensions, but to me the bracket and brake area appear to be a bit more than 1.03 inches. https://amzn.to/3DkMKzB
I think the best bet would be to have and measure the overall wheel height, prior to measuring and cutting the lumber.

Modern Farm Bench

Submitted by jackkatie on Mon, 11/28/2011 - 11:52

I was looking to make my foyer a bit more kid friendly while still being coze and practical. I came across the modern farm bench plans, and I knew it was the perfect fit!

I have done a few other plans, but all with help. This project I started around 9 pm (after bedtime) one night, and by 11:30, it was completely built and stained. My son was climbing all over it by the next morning :)

I love it - I think it adds the perfect bit of rustic charm to my foyer, while still giving my little guy a sturdy spot to get his shoes/coat on. I have since added baskets underneath for winter storage.

This will definitely not be my last build! Thanks Ana!

Built from Plan(s)
Estimated Time Investment
Afternoon Project (3-6 Hours)
Finish Used
I stained using a mixture of both Kona and Dark Walnut stain from Rustoleum. It definitely wasn't a science - just slopped a little of each on, waited about 3 minutes, and wiped off.

I love the finish - rustic, but not too "country". The dark Kona stain definitely highlights the knots and grooves of the wood!
Recommended Skill Level
Beginner

Kitchen Cabinets

Submitted by Anonymous (not verified) on Wed, 10/02/2019 - 21:30

I followed the kitchen cabinet building plans to build all new upper cabinets up to my ceiling. I built all new drawers with soft close drawer slides also and built the refrigerator enclosure cabinet.I did the entire remodel myself including the new doors out of MdF.

Finish Used
Emerald urethane paint
BIN Shellac Primer

Comments

Ana White

Tue, 11/05/2019 - 10:41

We are so thrilled to let you know your entry WON the Best Brag contest!  There were many amazing entries, and it was tough to choose.

Look out for an email from us shortly!

DIY Pergola

Submitted by Anonymous (not verified) on Fri, 06/30/2023 - 11:15

I built this pergola in 3 days and added mason jar solar lights.

Vonda Jones

Built from Plan(s)

$1.18 Bird Feeder

Submitted by jaime19861 on Mon, 05/26/2014 - 11:11

I have been trying to attract more birds. I built and put up some more birdhouses, added a bird bath, and wanted to add some more feeders. I found this quick and easy plan and I had to build it.

This took me less than an hour to build. I bought my picket from Menards when it was on sale for $1.18. That's not a bad price for a bird feeder!

You can see the steps I took to build this on my blog.
http://jaimeofalltrades.blogspot.com/2014/05/make-bird-feeder-for-under…

Built from Plan(s)
Estimated Cost
2.00
Estimated Time Investment
An Hour or Two (0-2 Hours)
Recommended Skill Level
Starter Project

Comments

jessehawks

Sun, 03/01/2020 - 17:05

I can tell just from looking at this wood it was treated with a copper based chemical (note the green/blue blotches) while cedar is a good natural resistant wood these can sometimes be treated a well check for those greenish blotches around the Heartwood lines, chemical won't penetrate the tree sap in the wood and builds up along these lines. *I've worked in the pressure treated industry as a chemical tech for 3 years, and industry as a whole for more than 7.

Back