Laundry Basket Cabinet
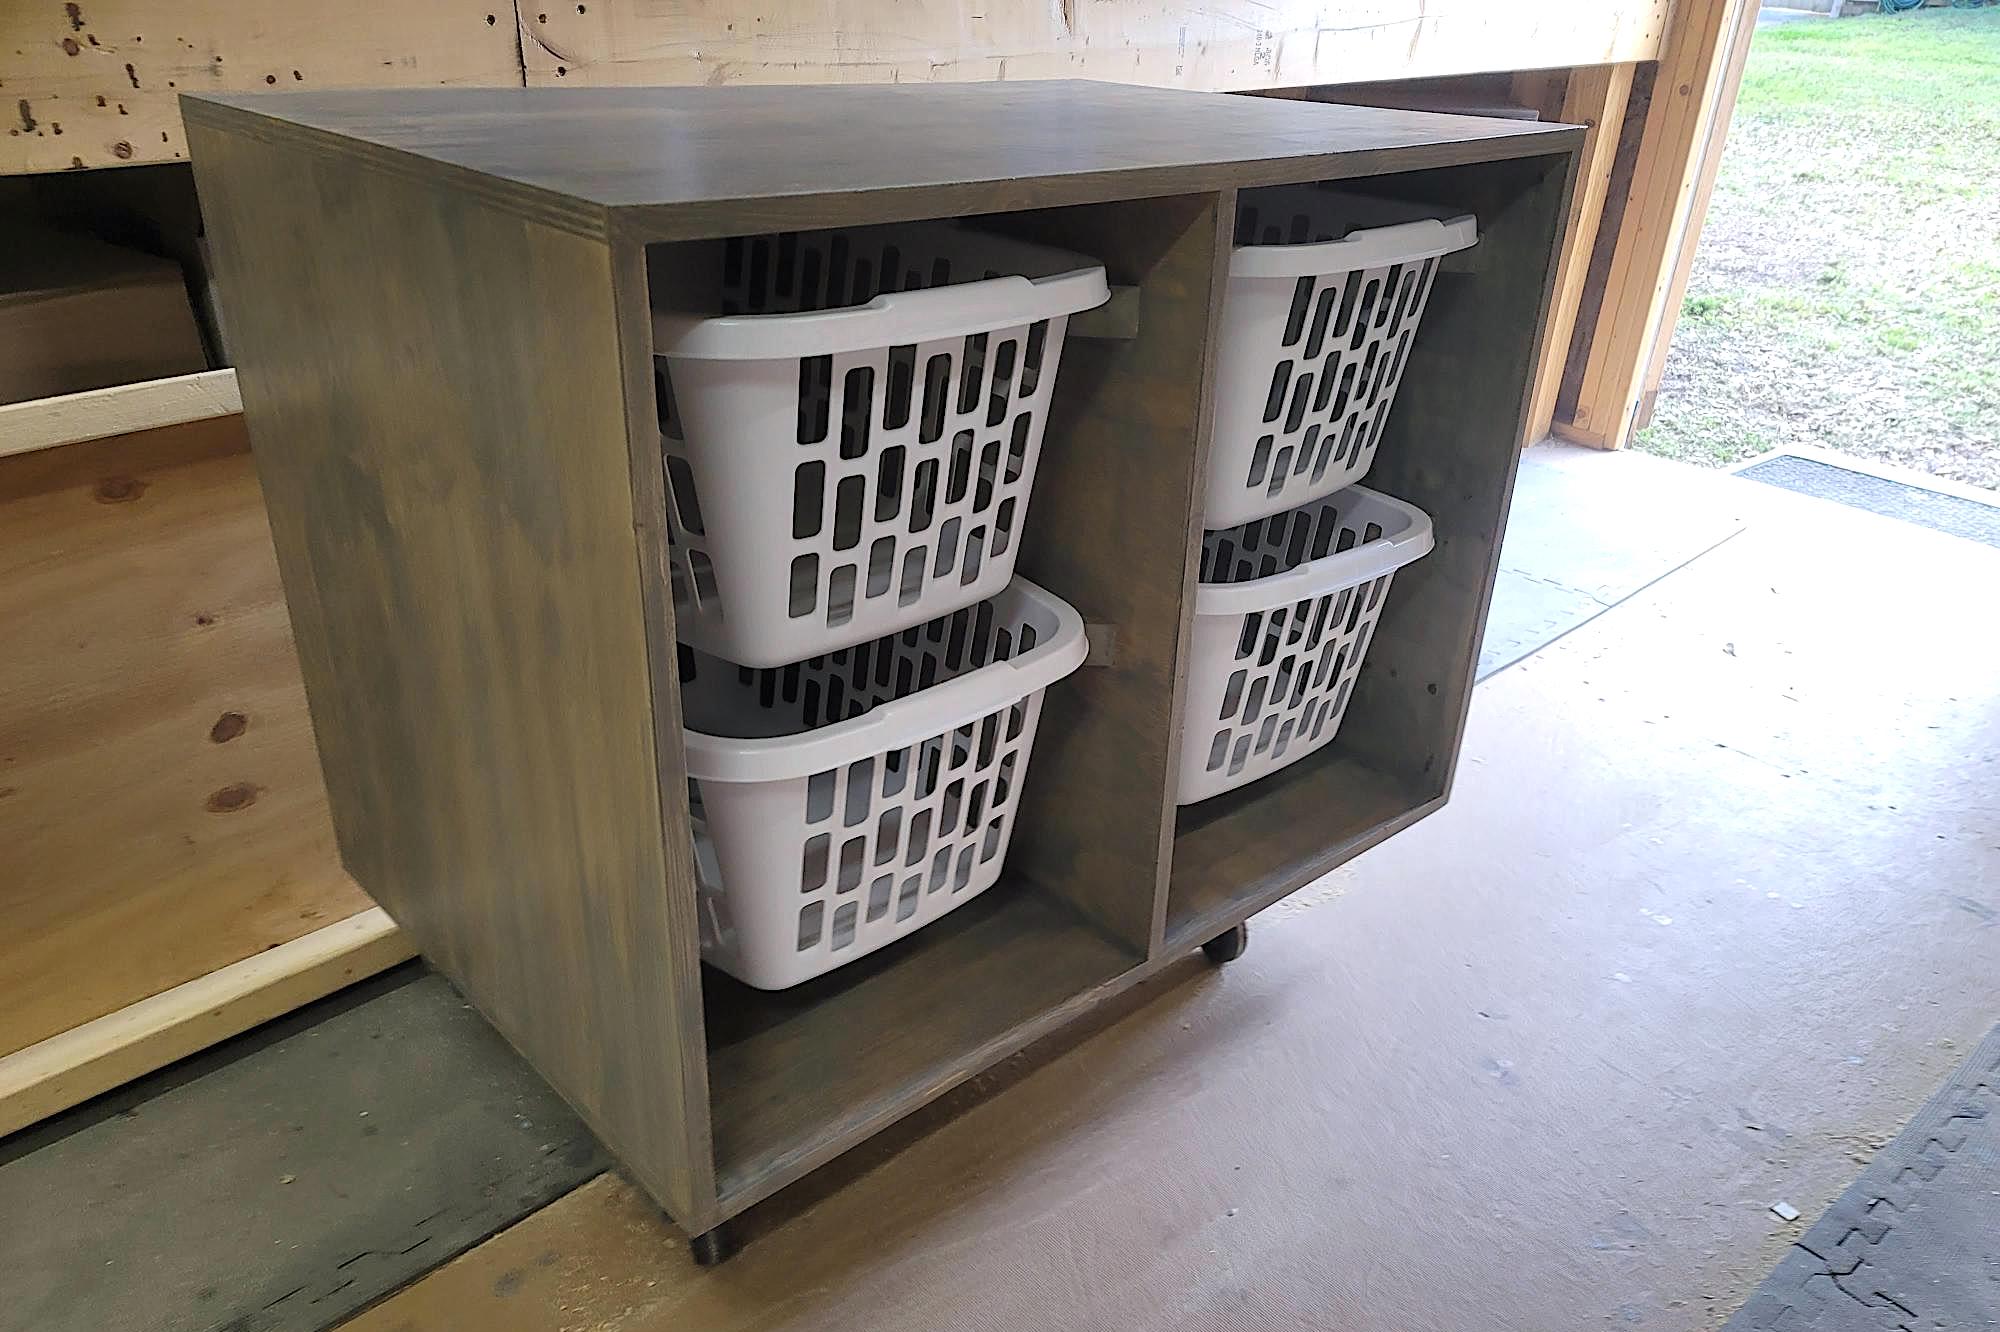
Laundry Basket Cabinet!
by Bob
Built from Plan(s)
Laundry Basket Cabinet!
by Bob
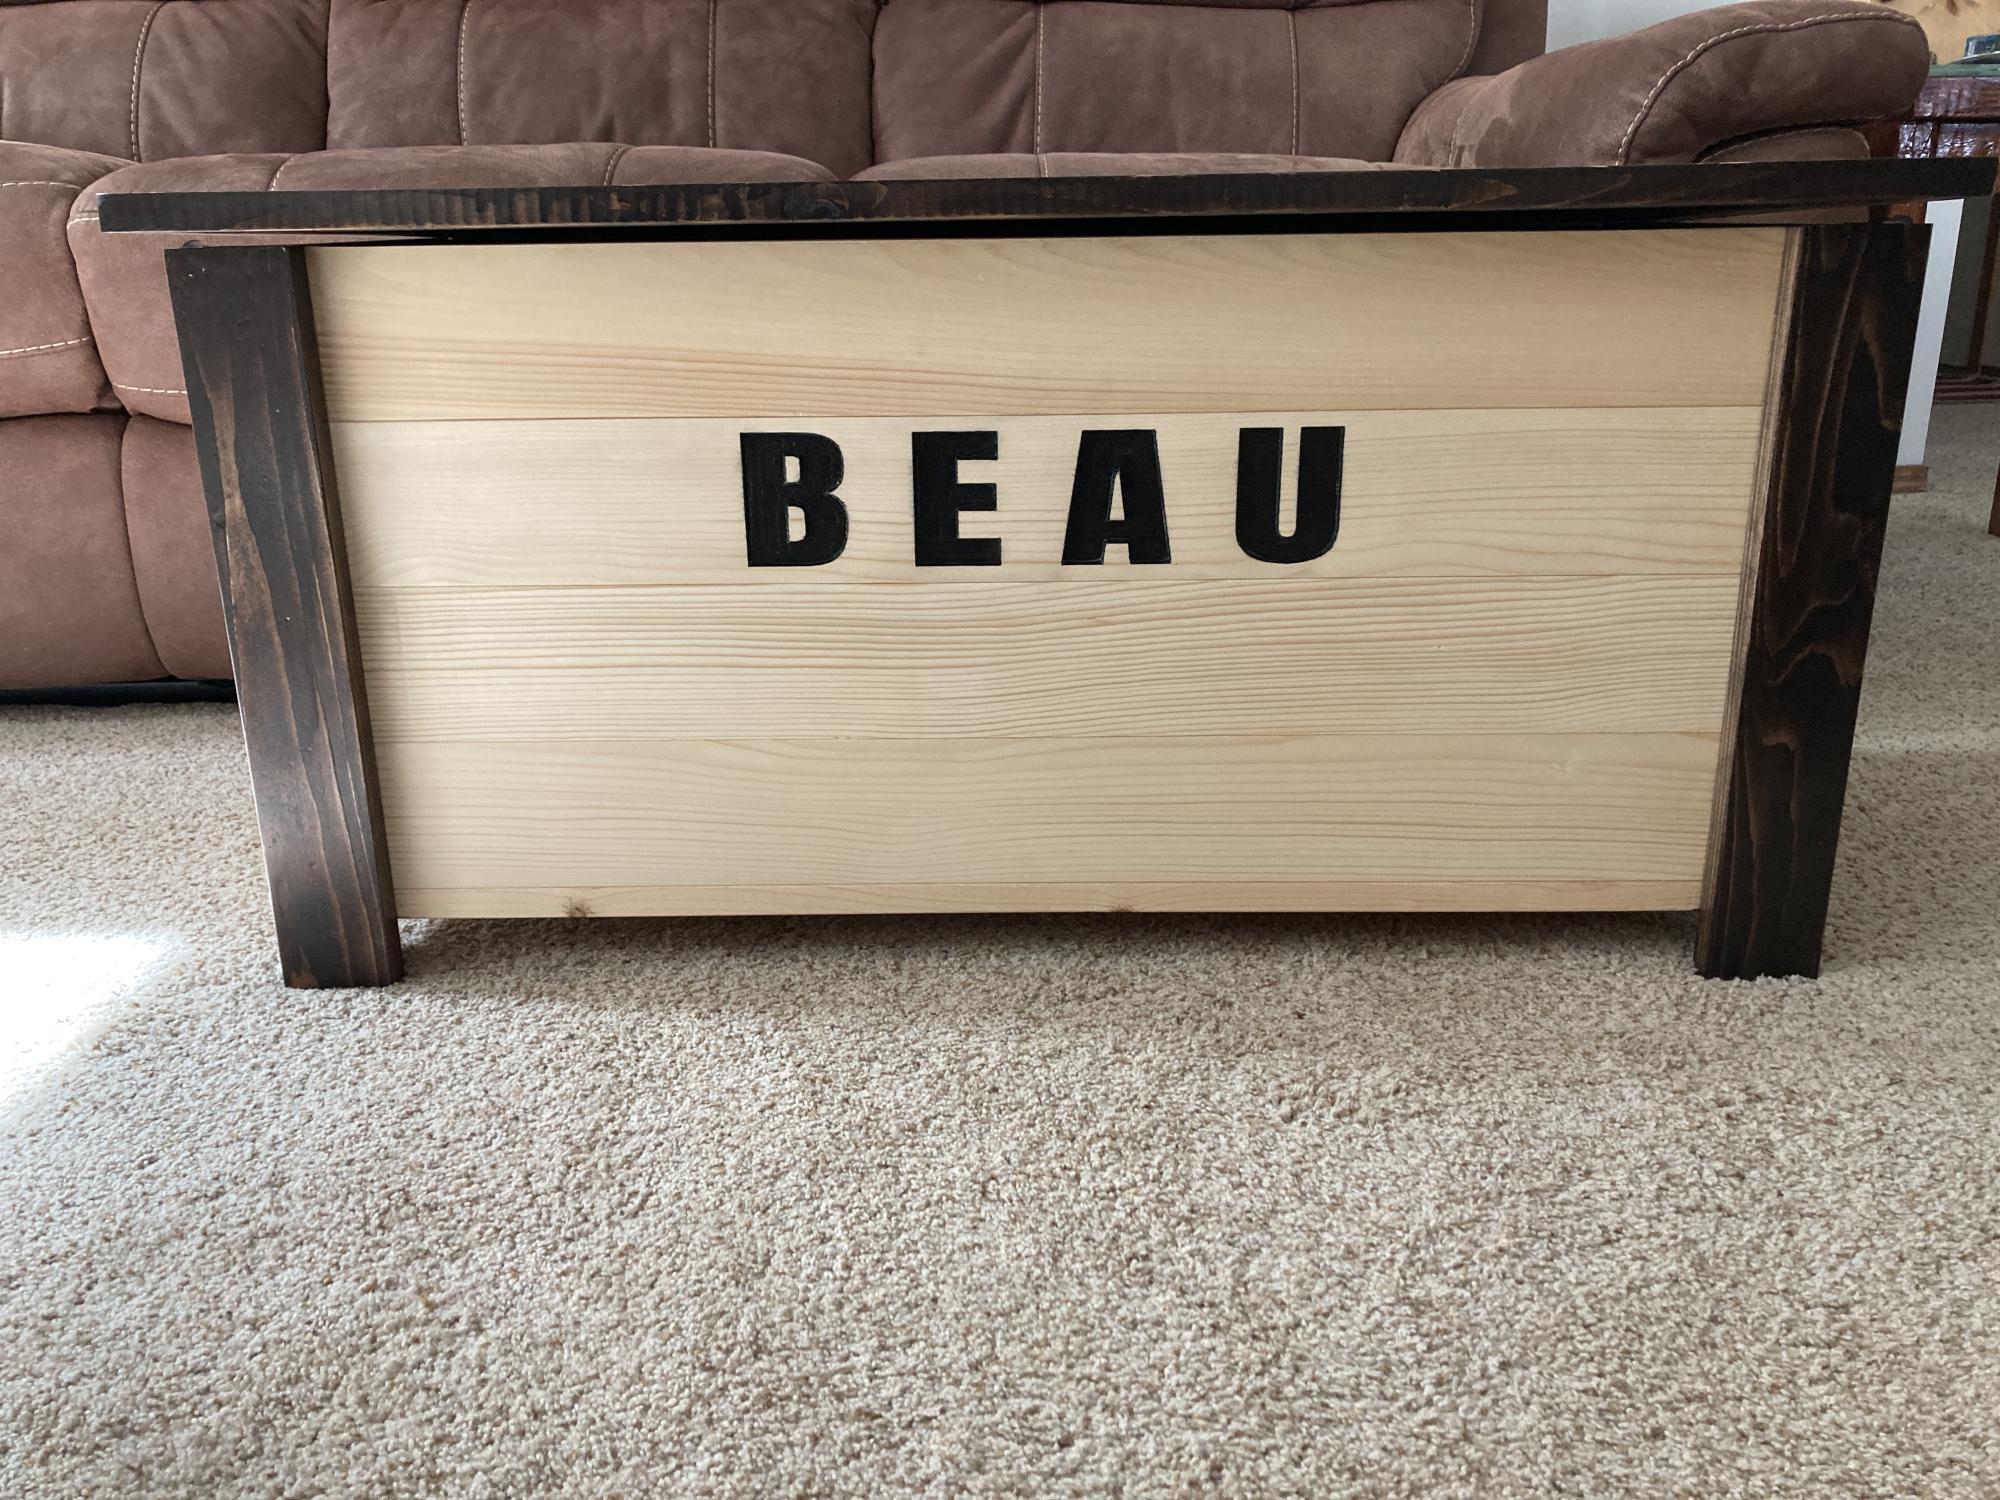
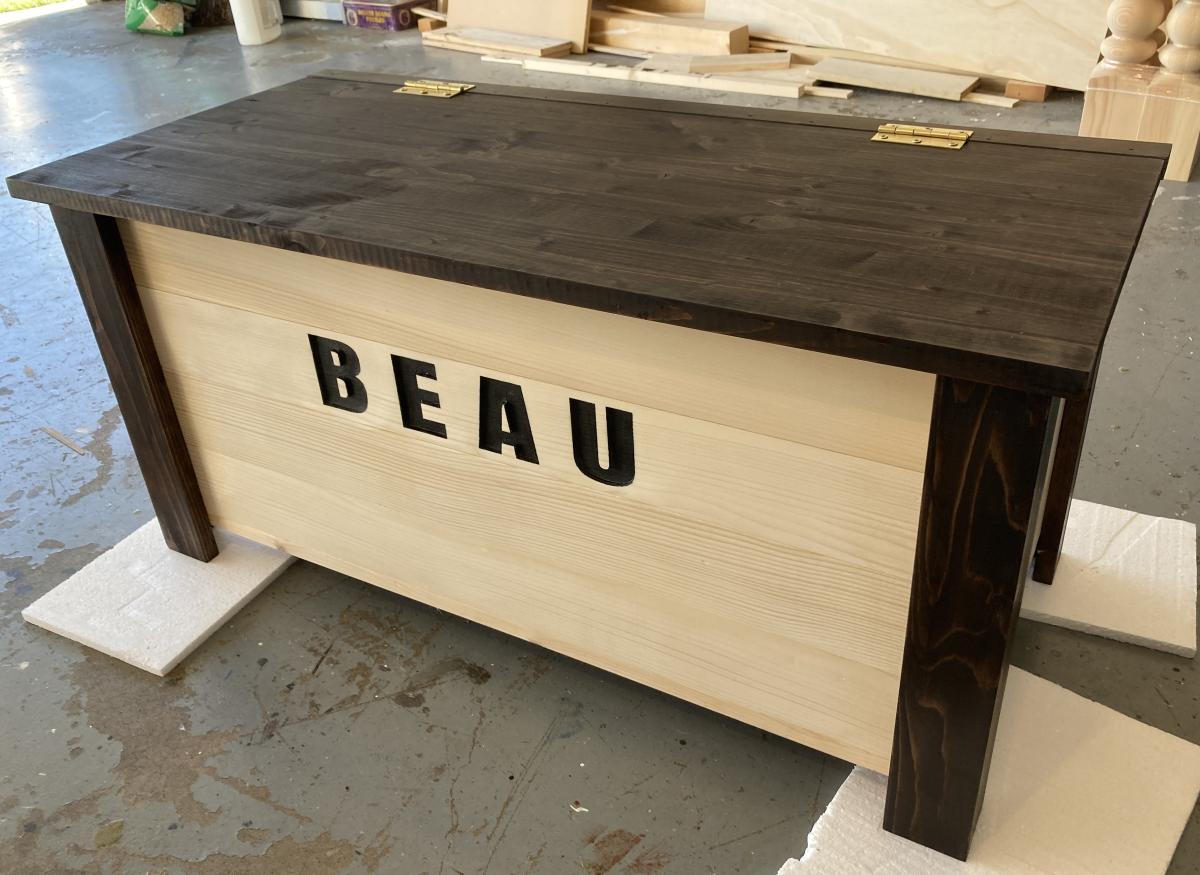
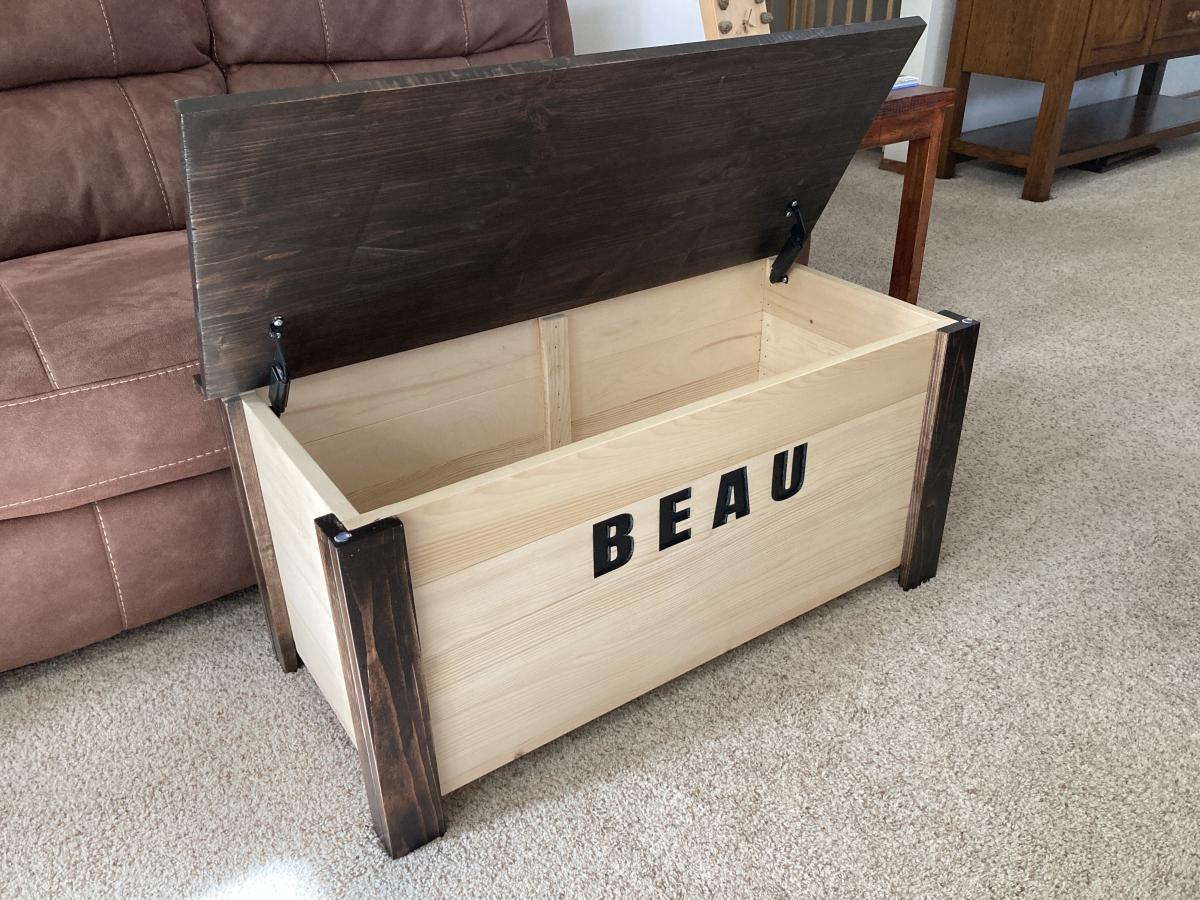
My second build from Ana's toy box plan. I had my son use his CNC machine to carve boy's name into the front. Depth of the letters is about 0.25". Looks really good.
I built this for my mom's guest room. She watched my kids and I worked in the garage.. couldn't have been a better vacation! :)
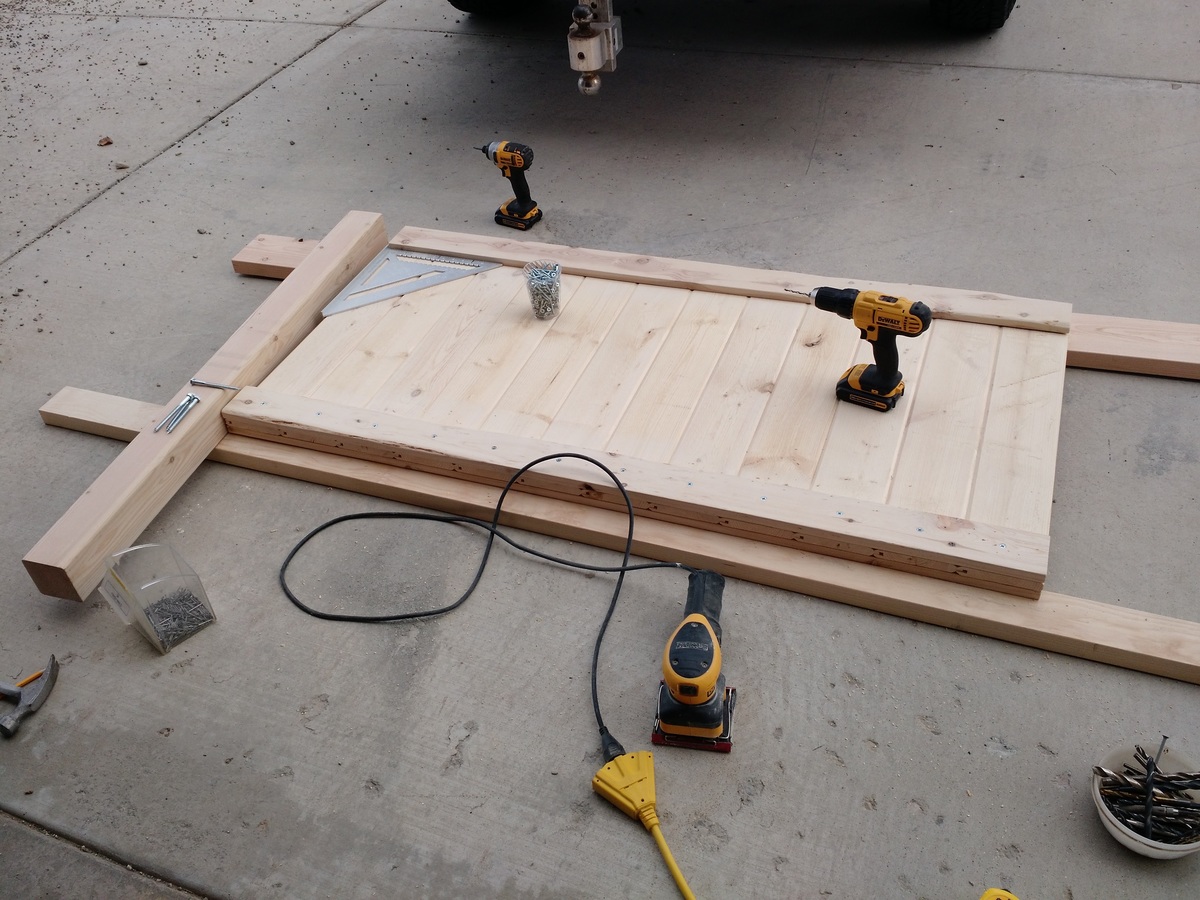
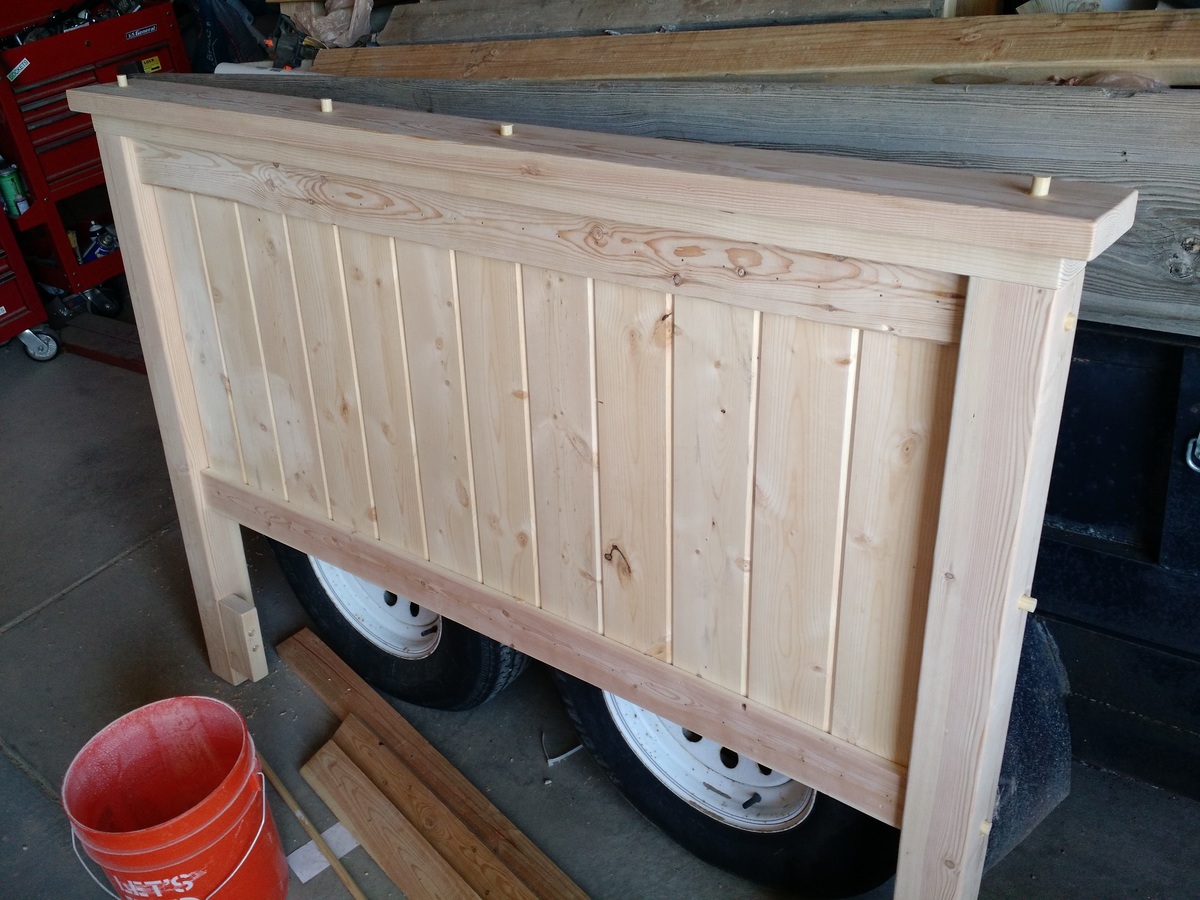
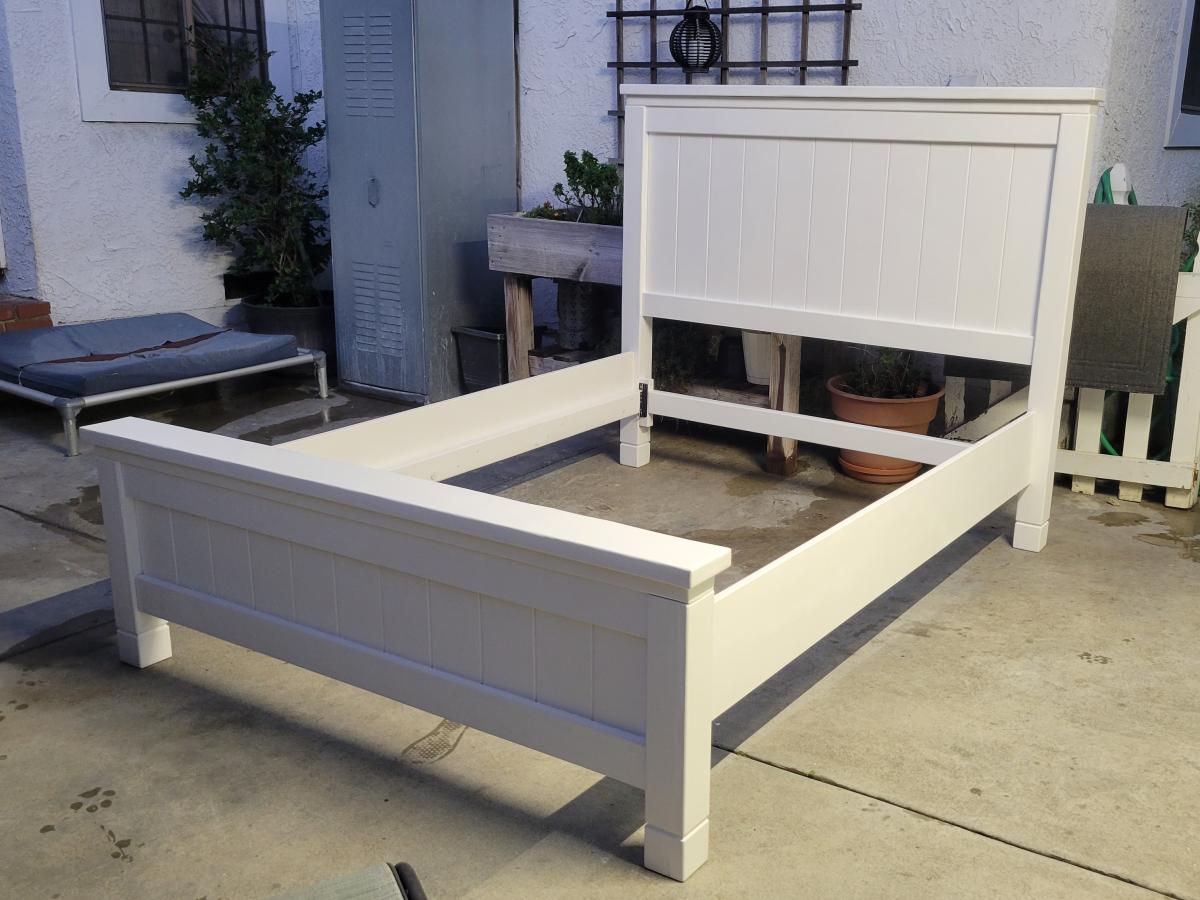
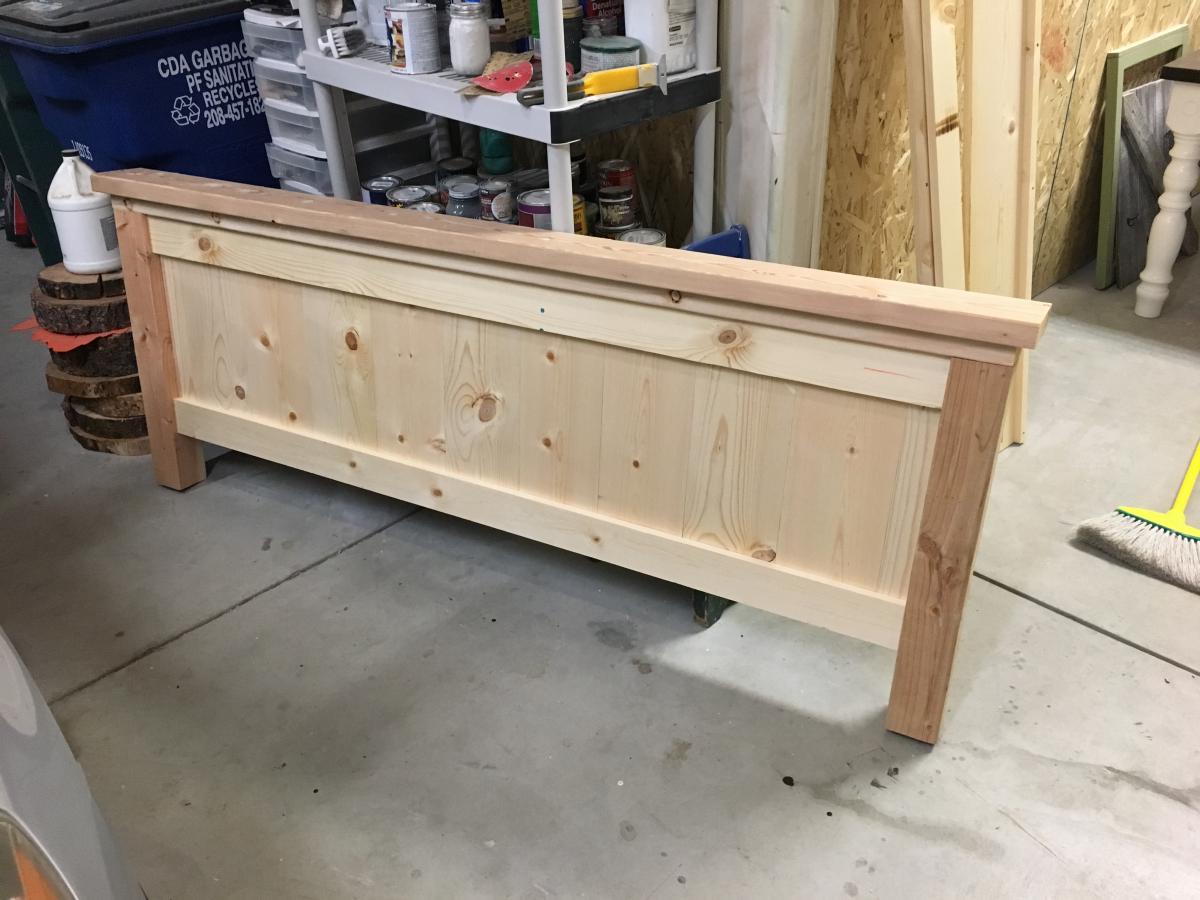
I used 6" (finished size 5") tongue and groove boards for the panel, shorter posts and screwed main structure pieces together using 5-1/2" lag bolts and plugging with 3/4" dowel pieces. I added woodedn blocks at the bottom of posts for attaching metal bed frame.
My dad didn't have any pipe clamps so I ended up using a wratcheting strap! HA! Use what you can and save money! :)
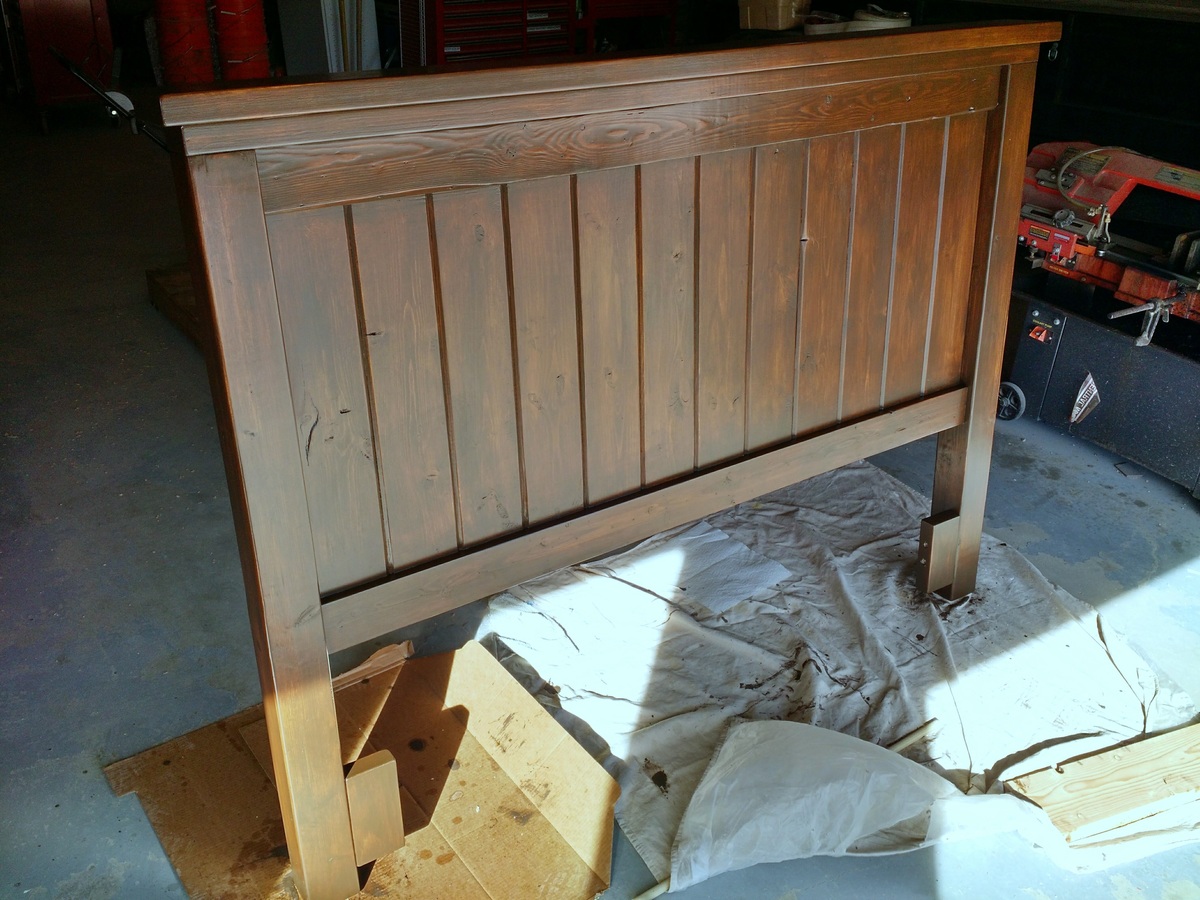
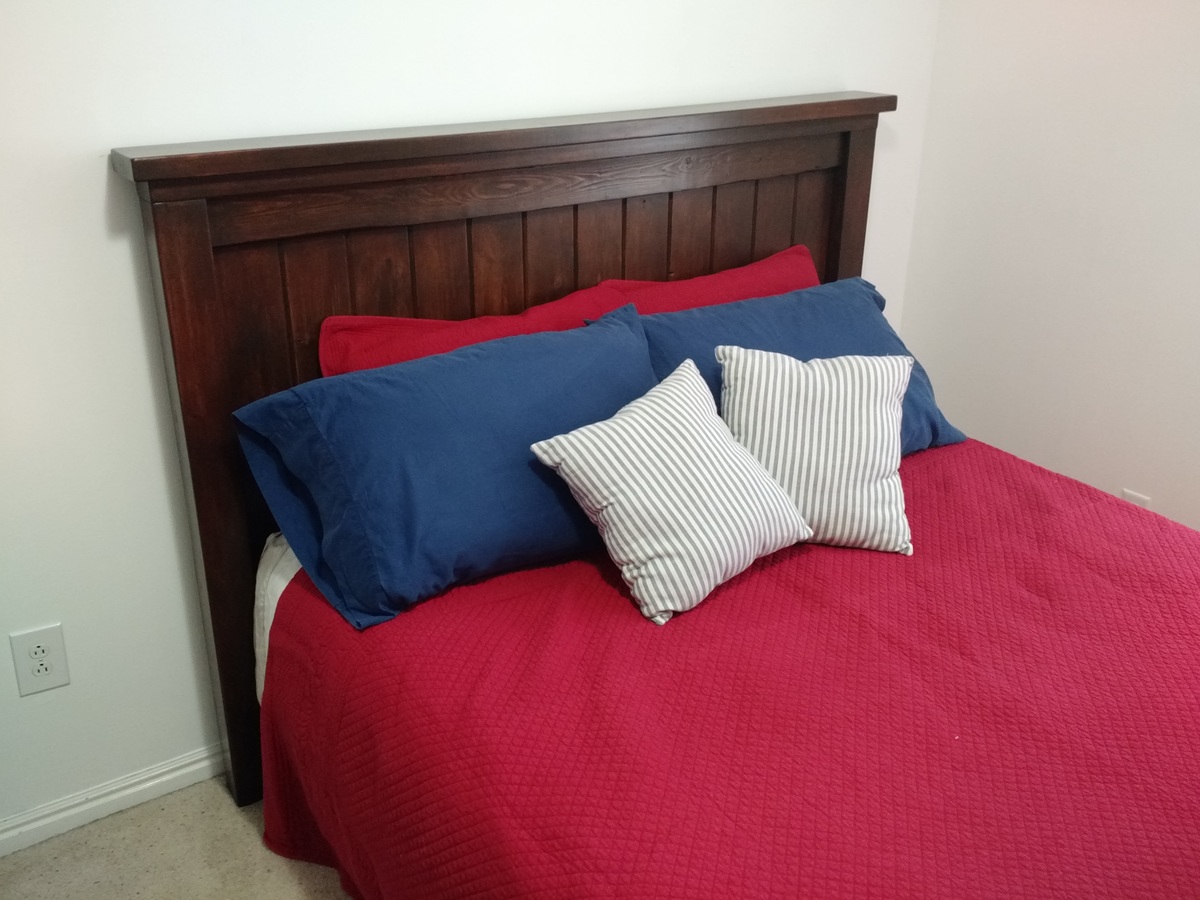
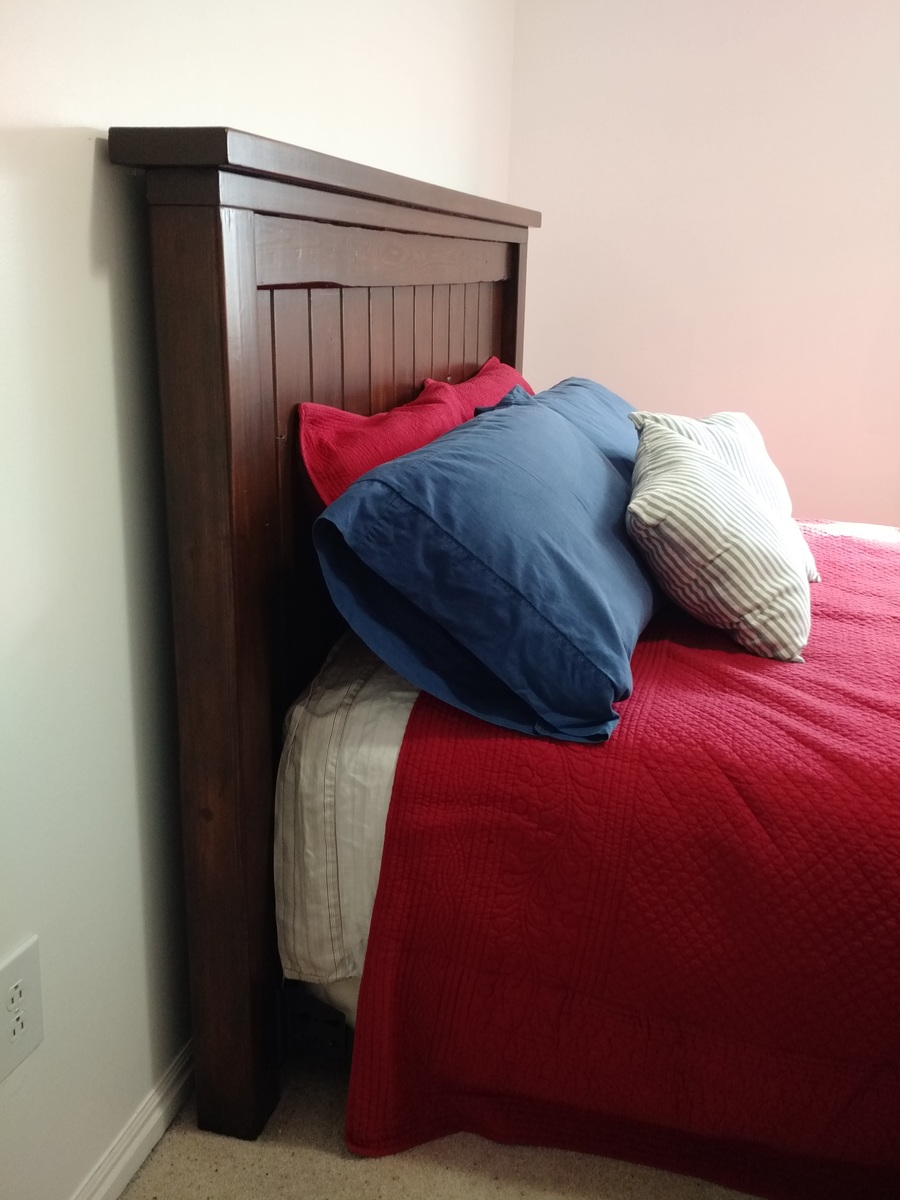
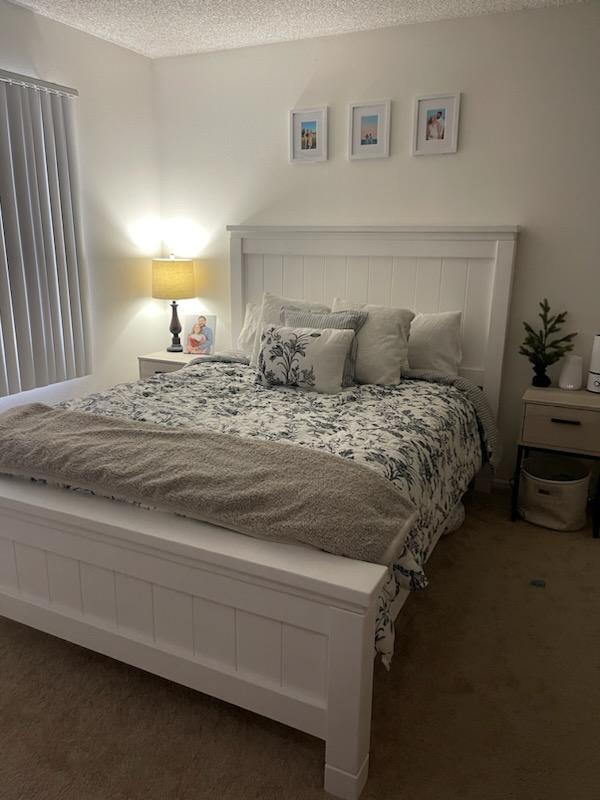
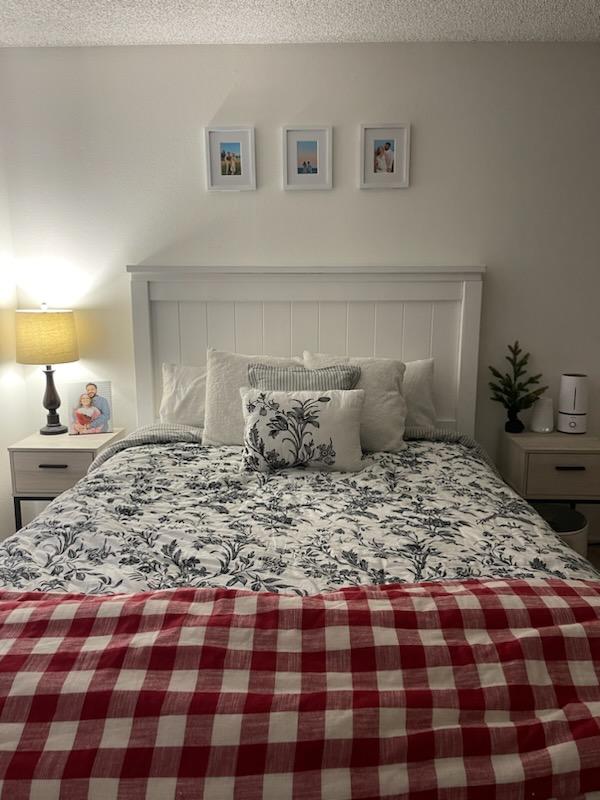
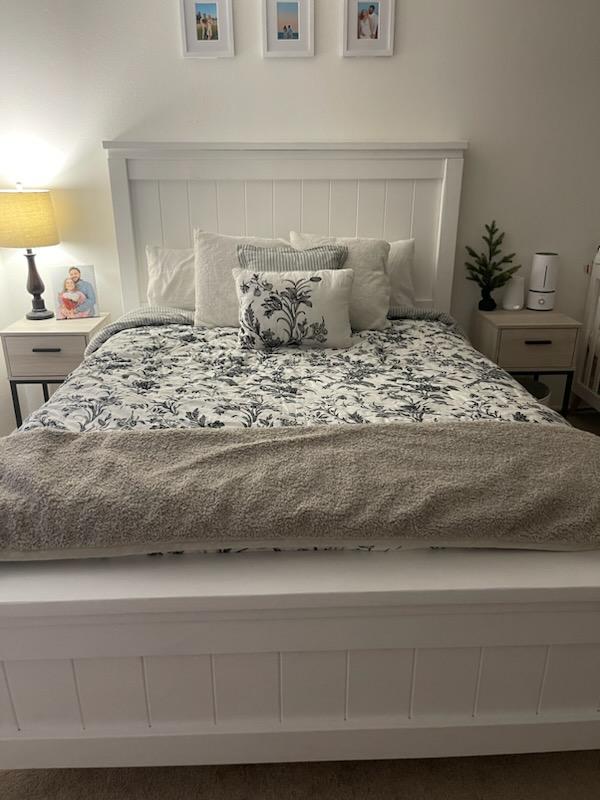
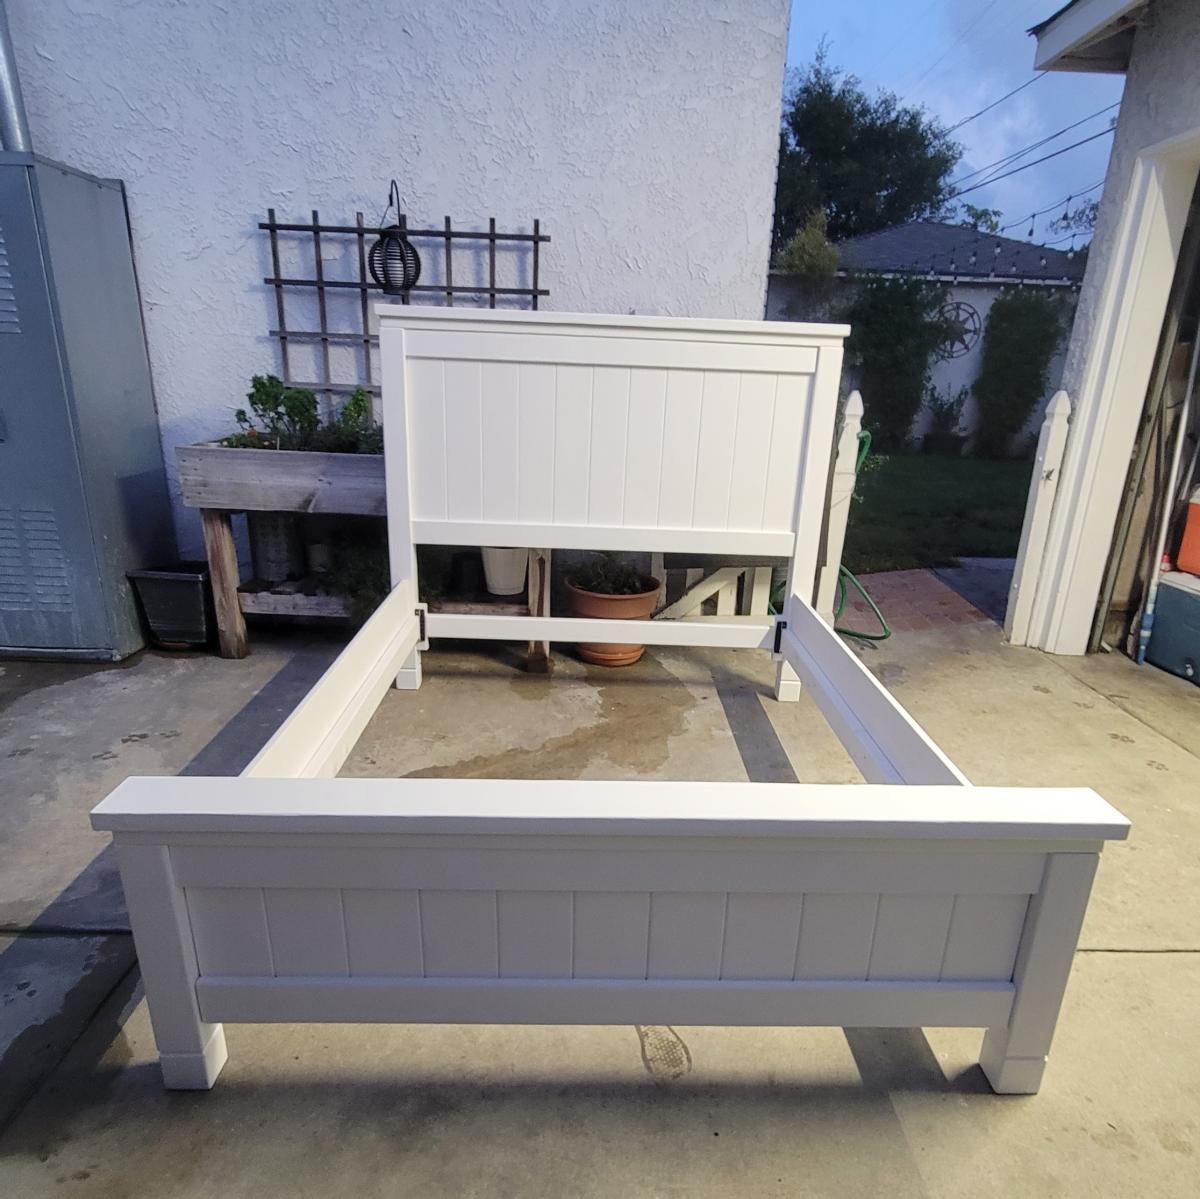
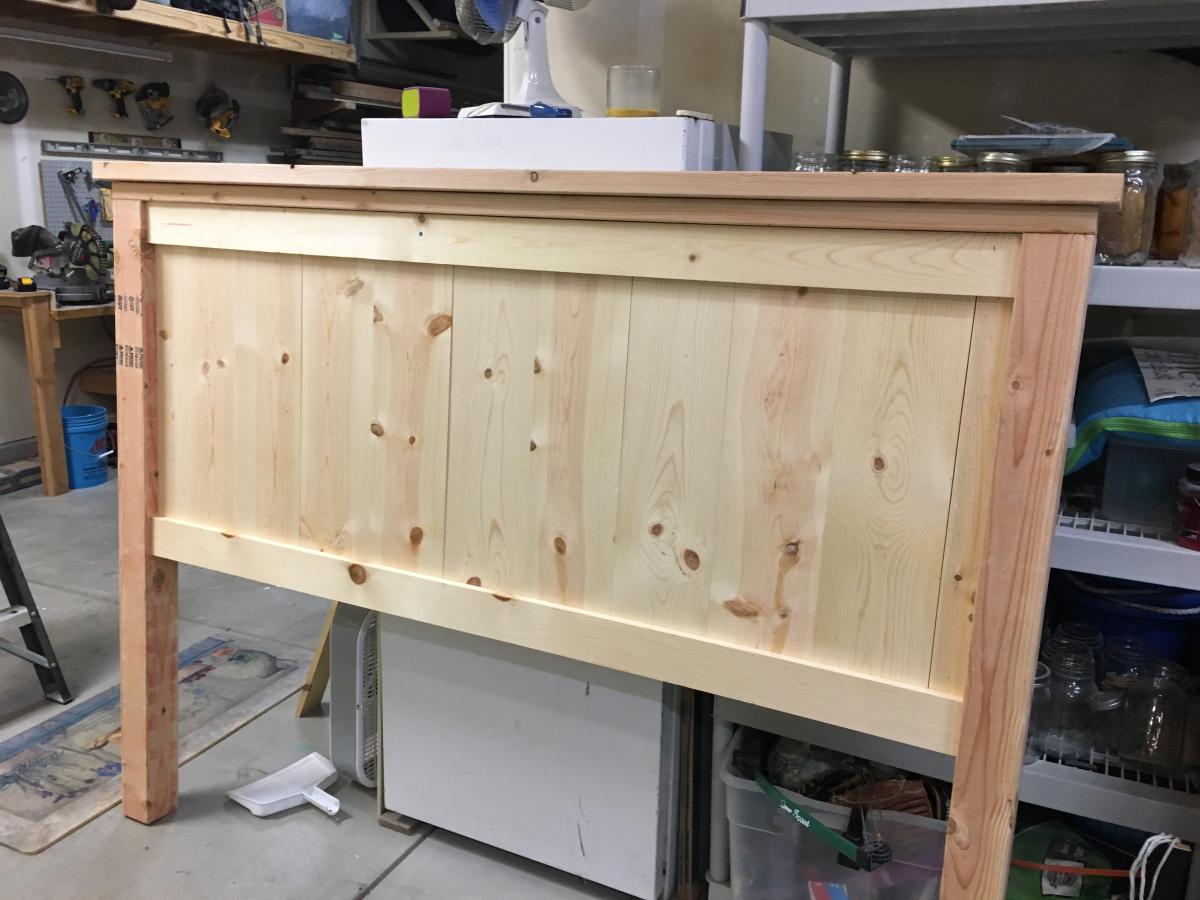
I built this bed as a modified farmhouse bed. I chose to have a solid wood headboard instead of having a slotted look as it fit better in the decor of our home. I purchased a bed rail kit from Rockler so that I could remove the rails without removing any screws. (http://www.rockler.com/product.cfm?page=5783) It was a relatively easy project considering my skill set was very low when starting! http://www.lifewithfingerprints.com/2010/09/labor-of-love.html
Wed, 08/17/2011 - 14:03
Very beautiful! I dream to build the farmhouse bed. The finish is awesome in black.
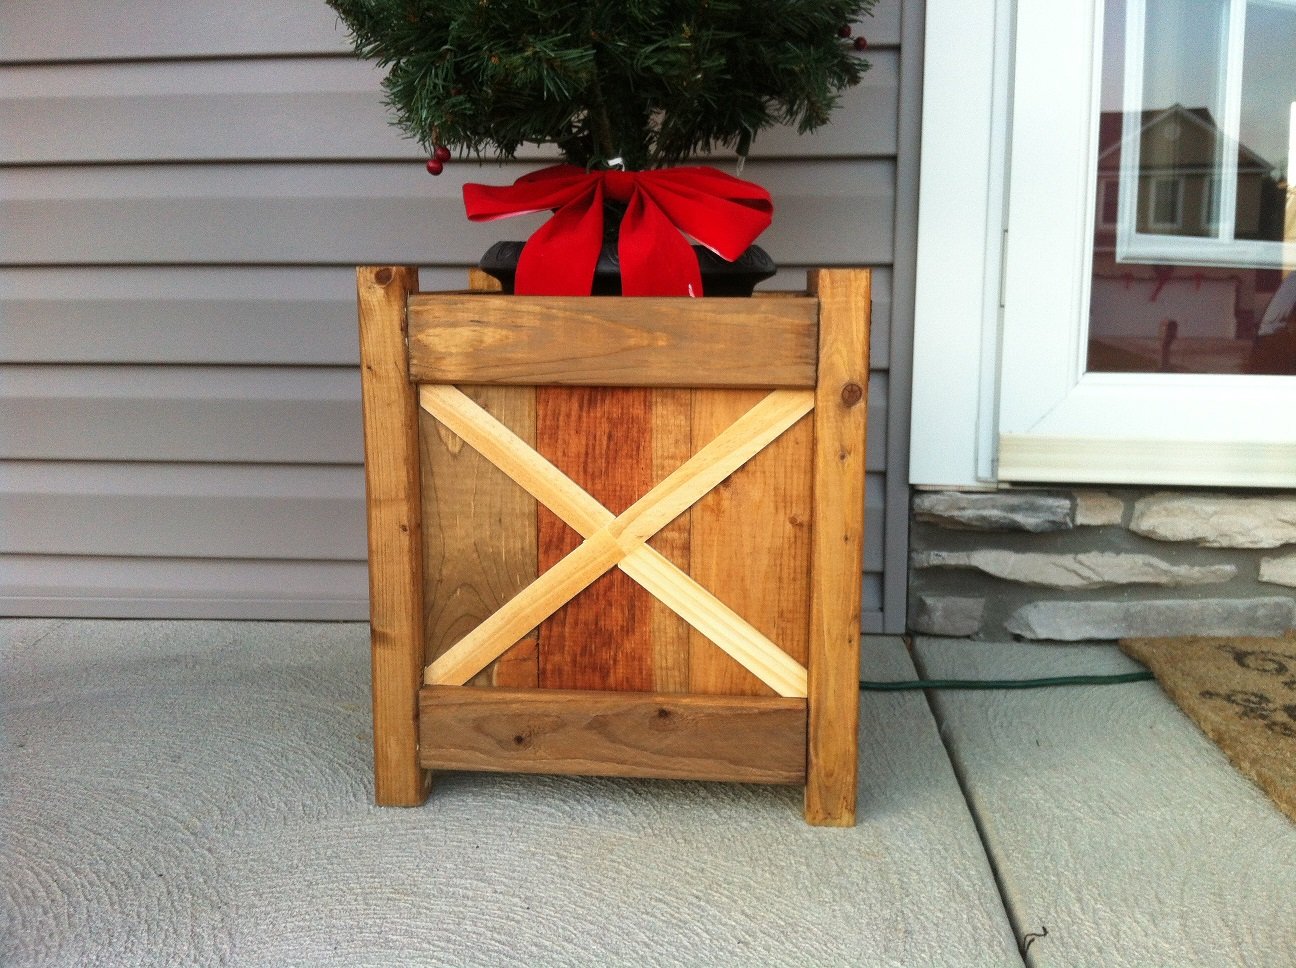
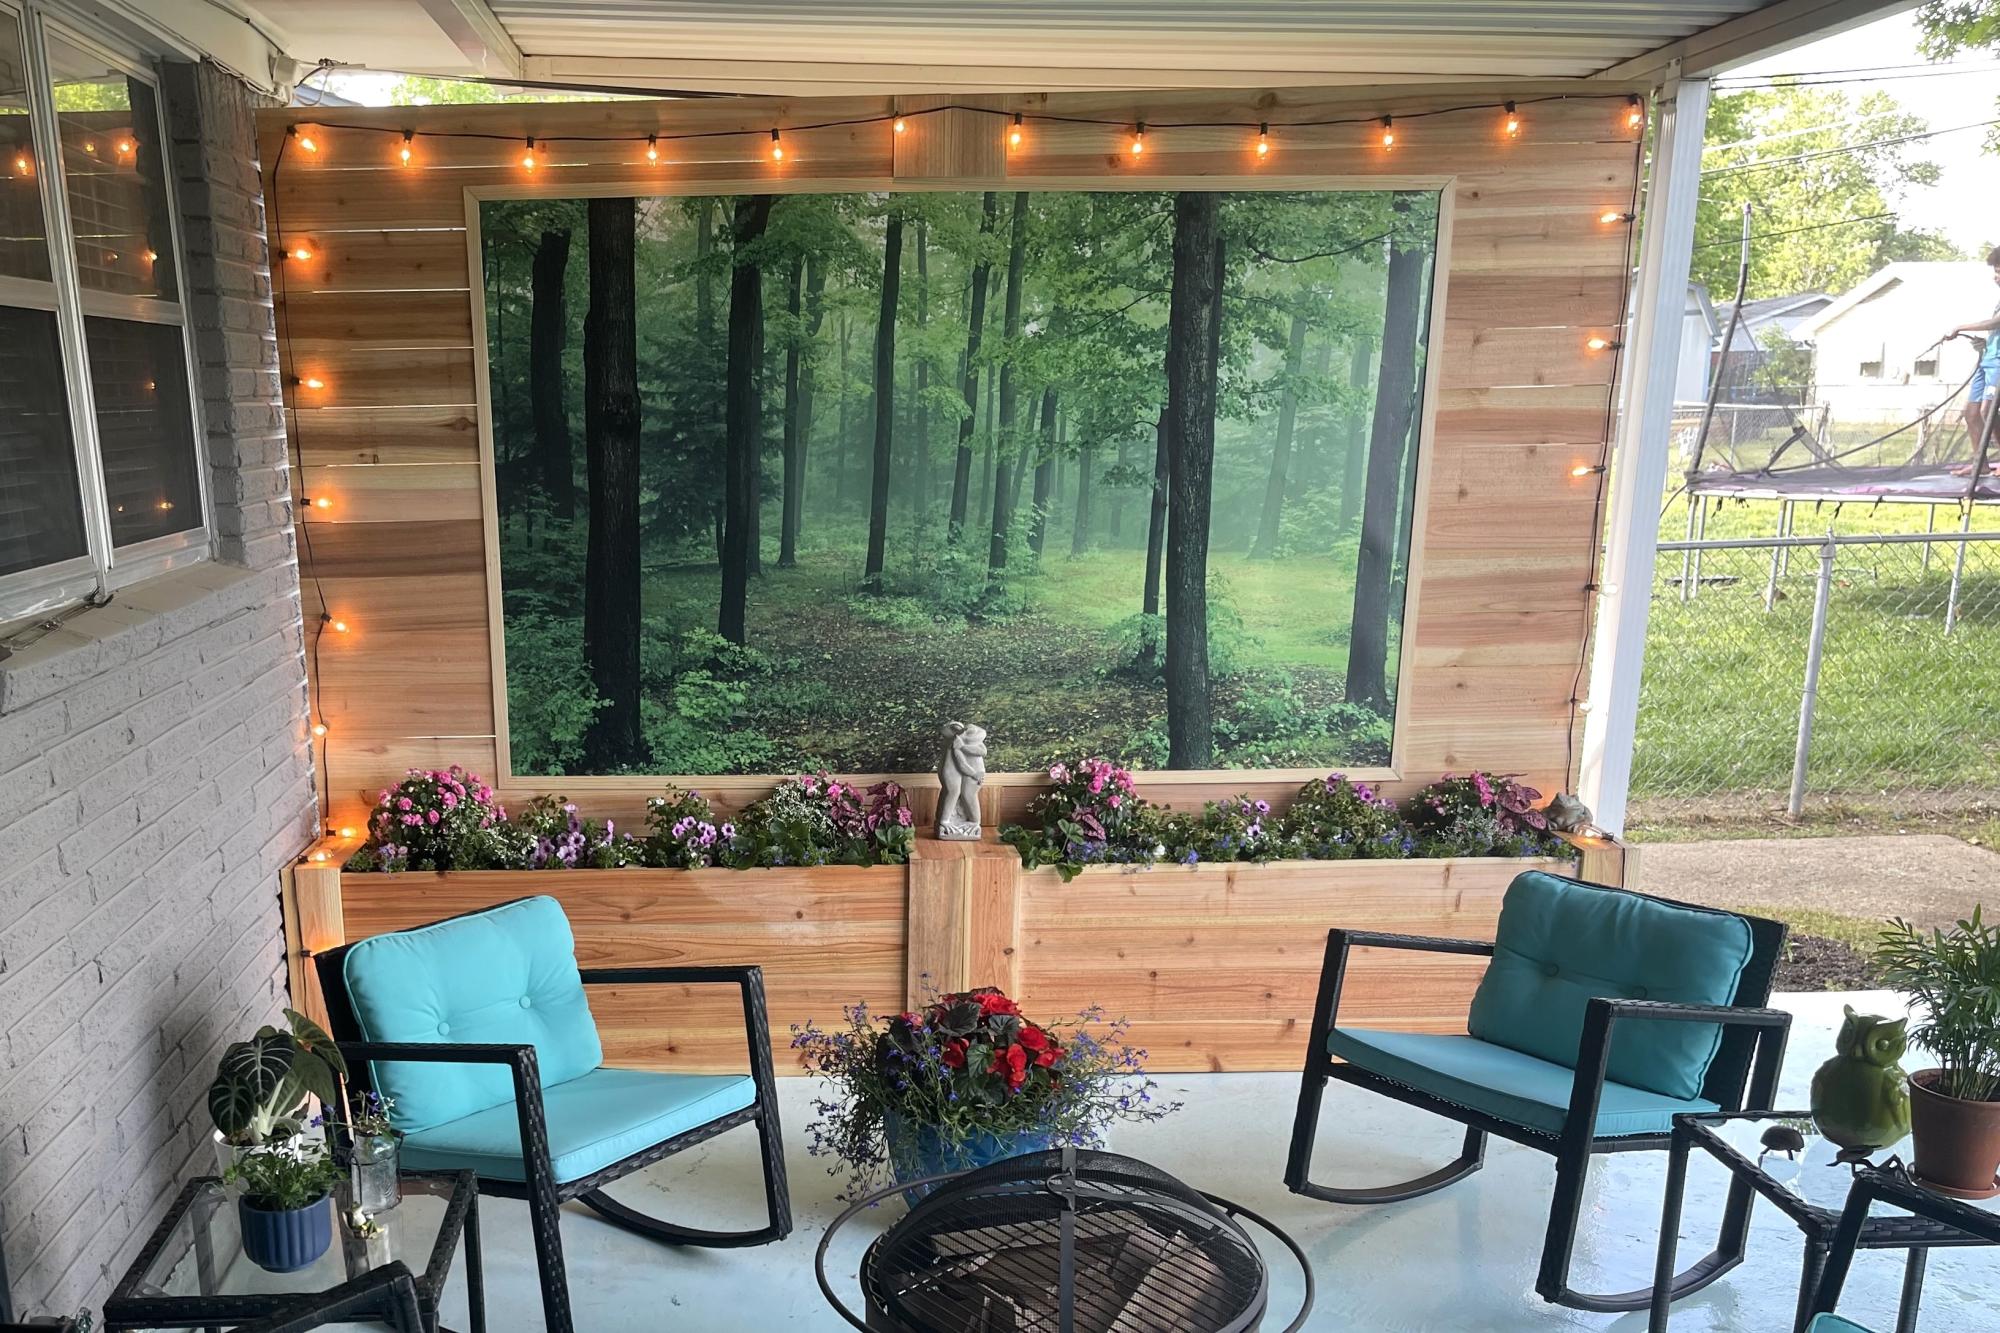
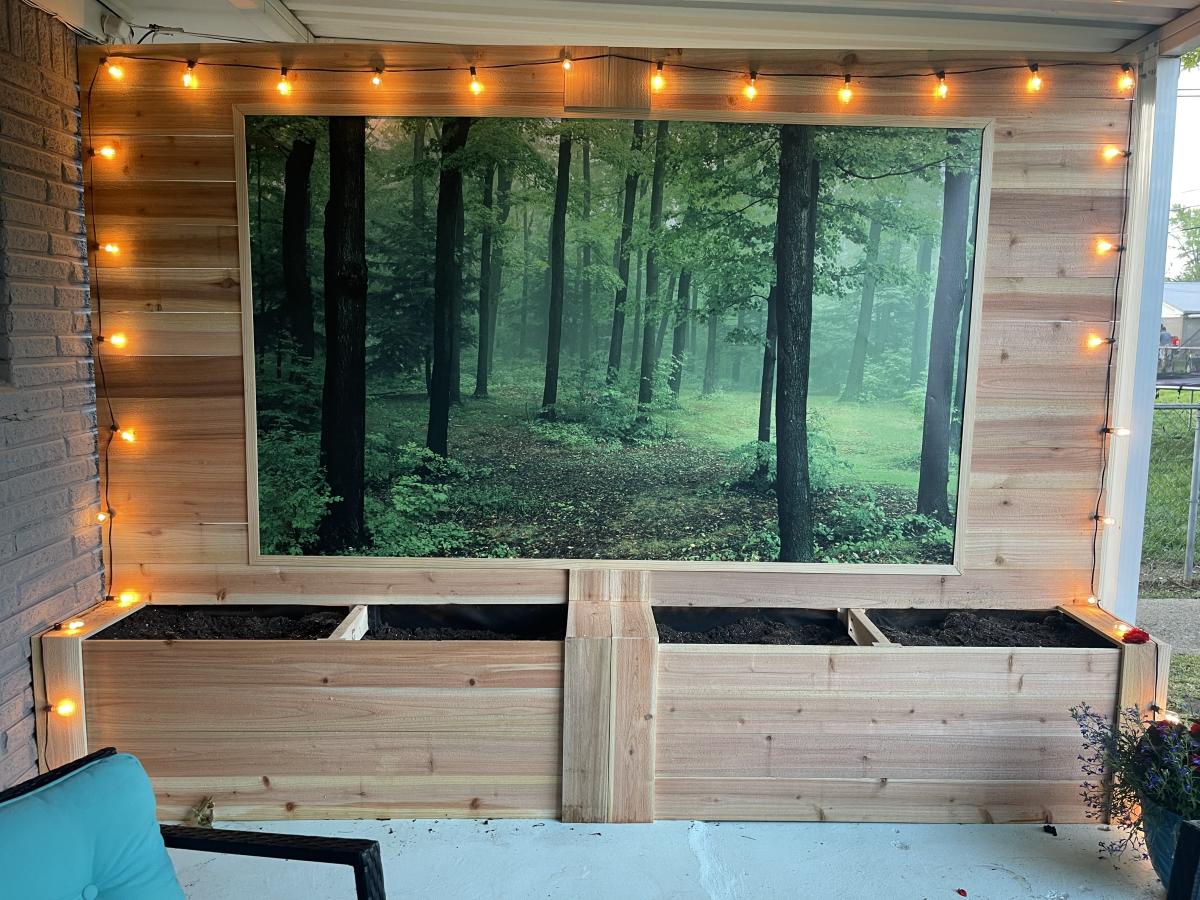
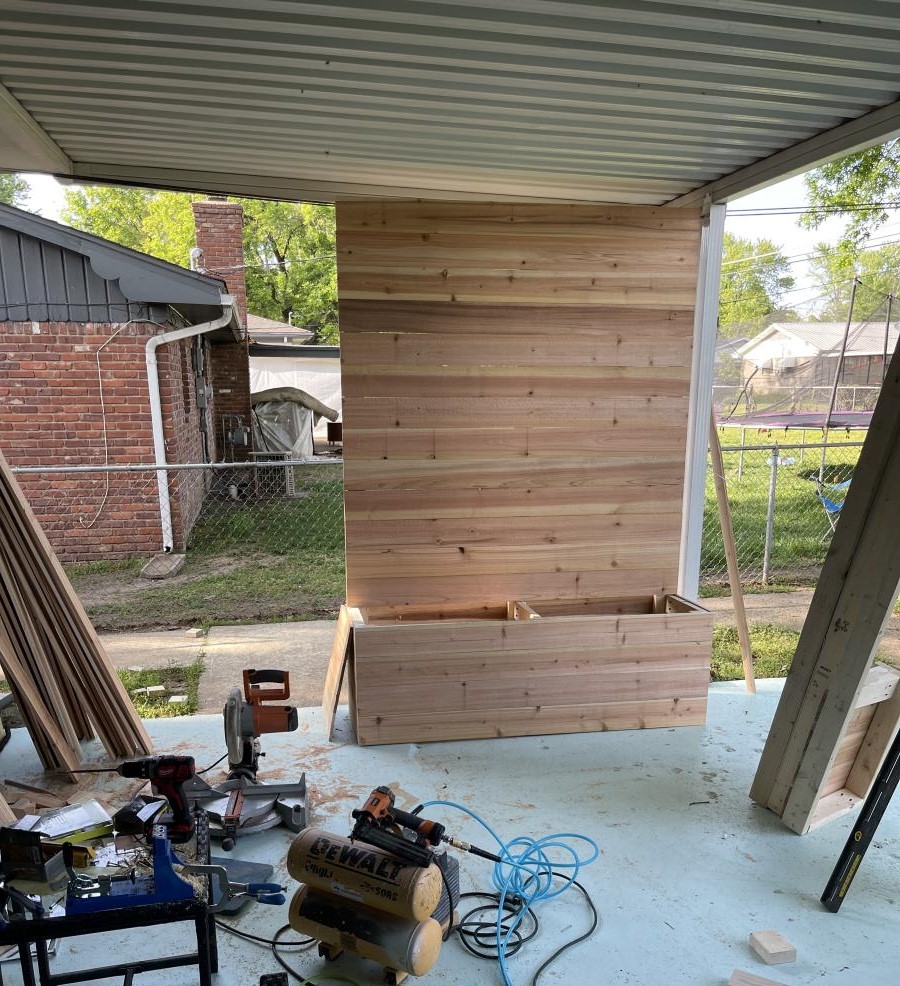
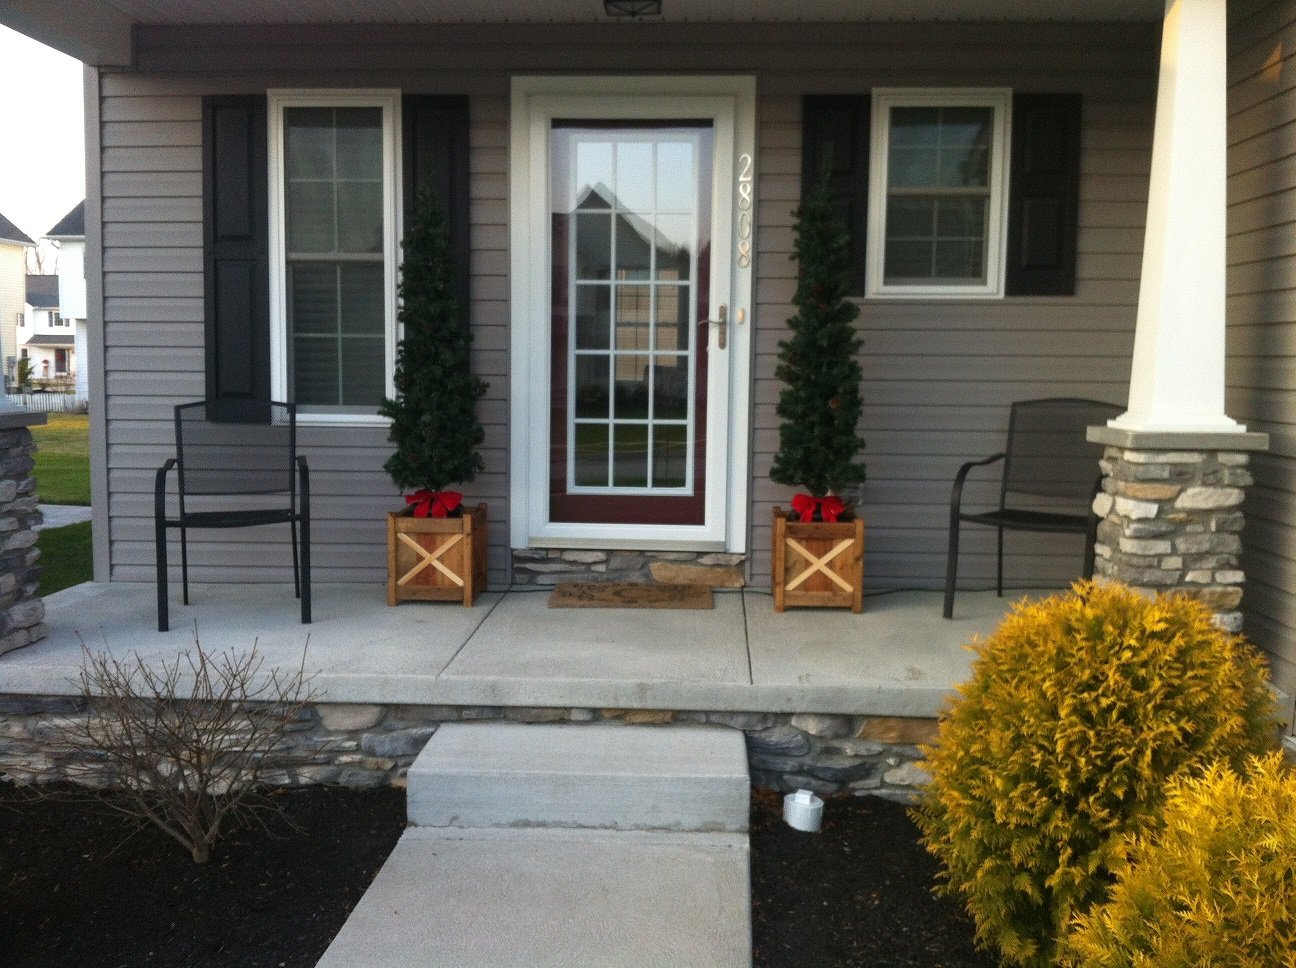
I built these out of necessity to keep my tipsy Christmas decorations from blowing over. The last couple years I spent a lot of time picking these trees up off the ground. I like how they turned out and were relatively easy to build.
I was excited I got to use my Kreg Jig for the first time, which looked more difficult to use than it actually was. Although these are cedar planters I used all pine from big box orange. Some leftover from the farmhouse queen bed I built and the rest I purchased.
The finish didn't turn out as grey as I would have hoped using the steel wool and vinegar, but I still like the aged look. I added the "x" detail in the front afterward and instead of staining my wife thought it looked better natural. Either way I would have been happy. I will be able to use these year round in some capacity.
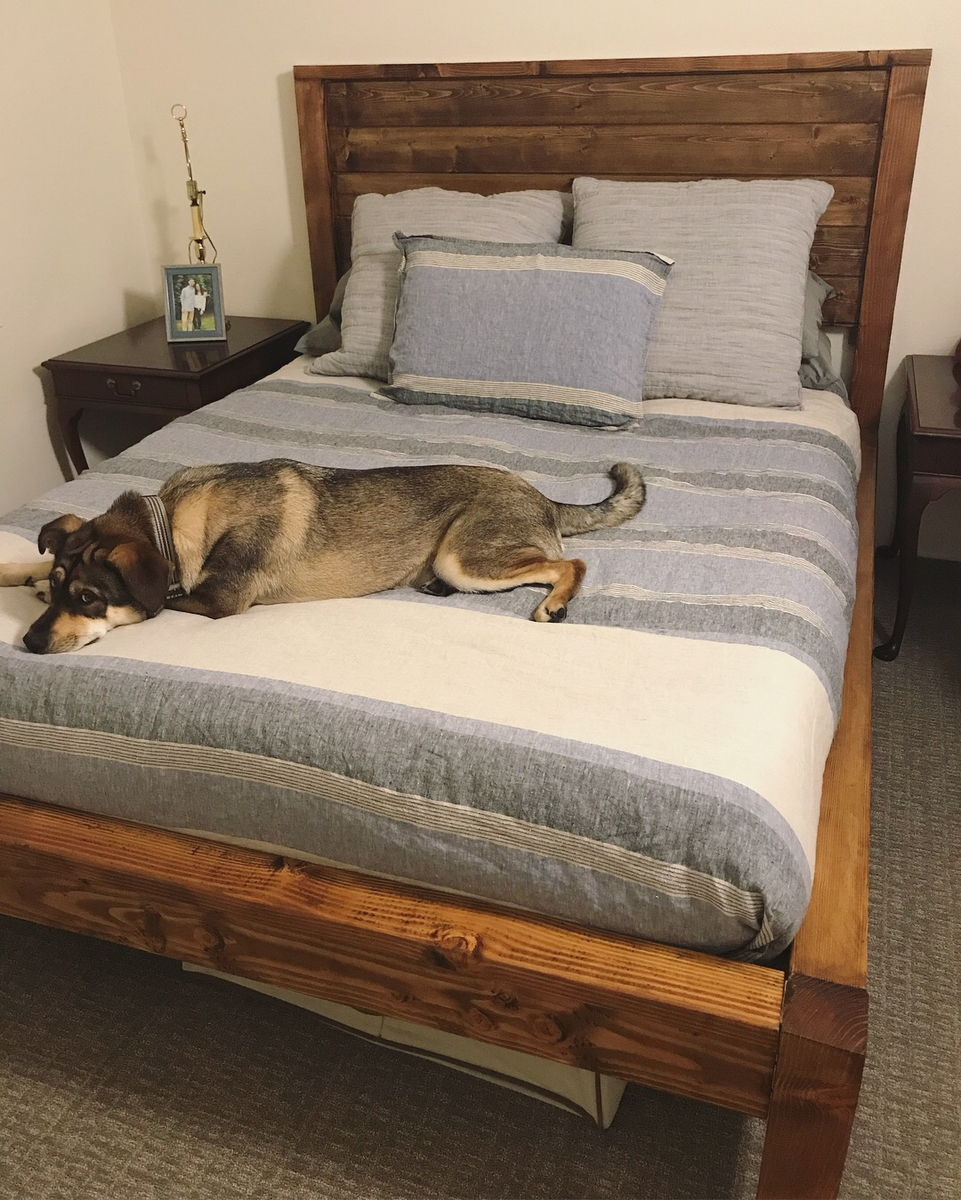
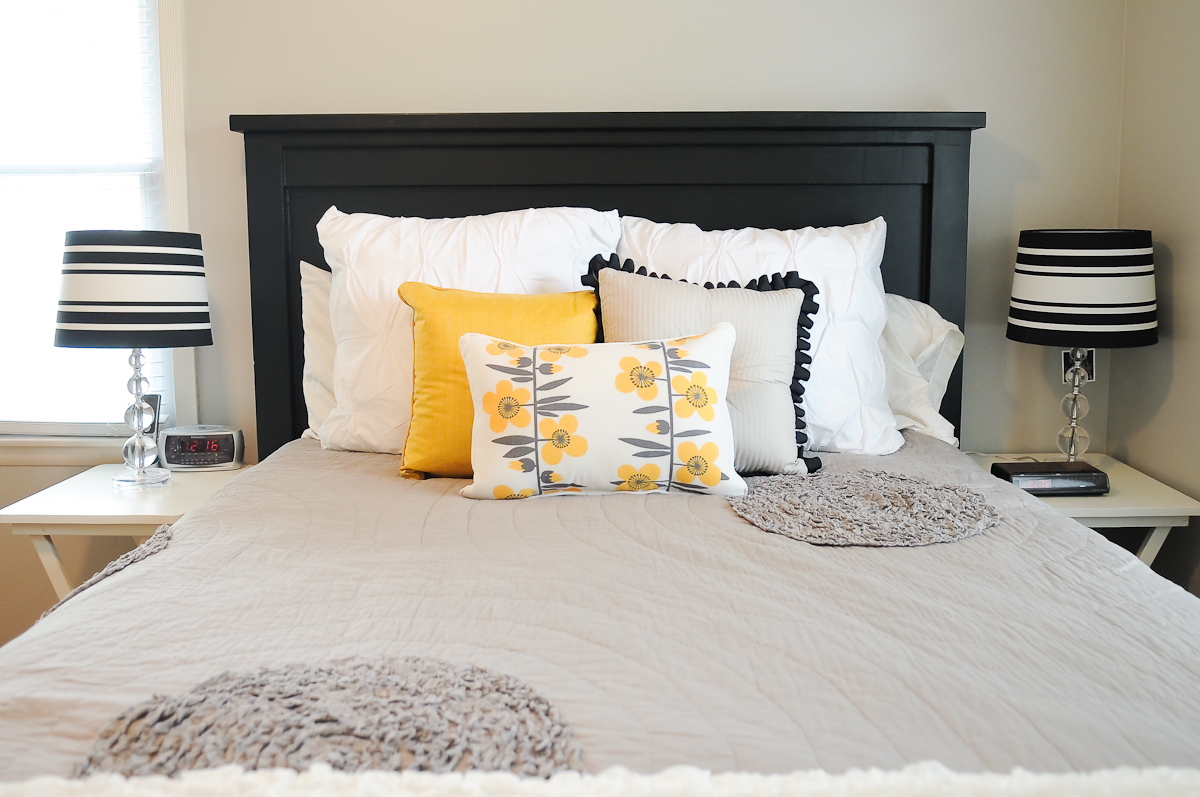
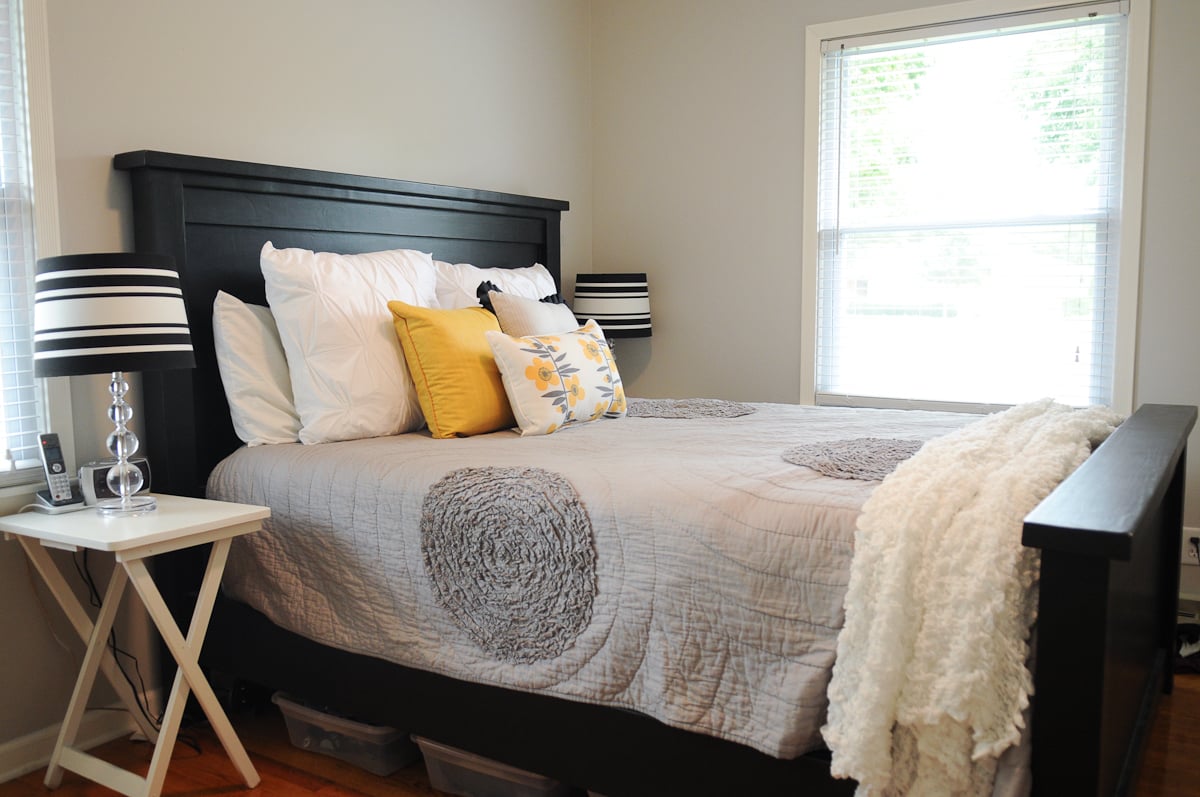
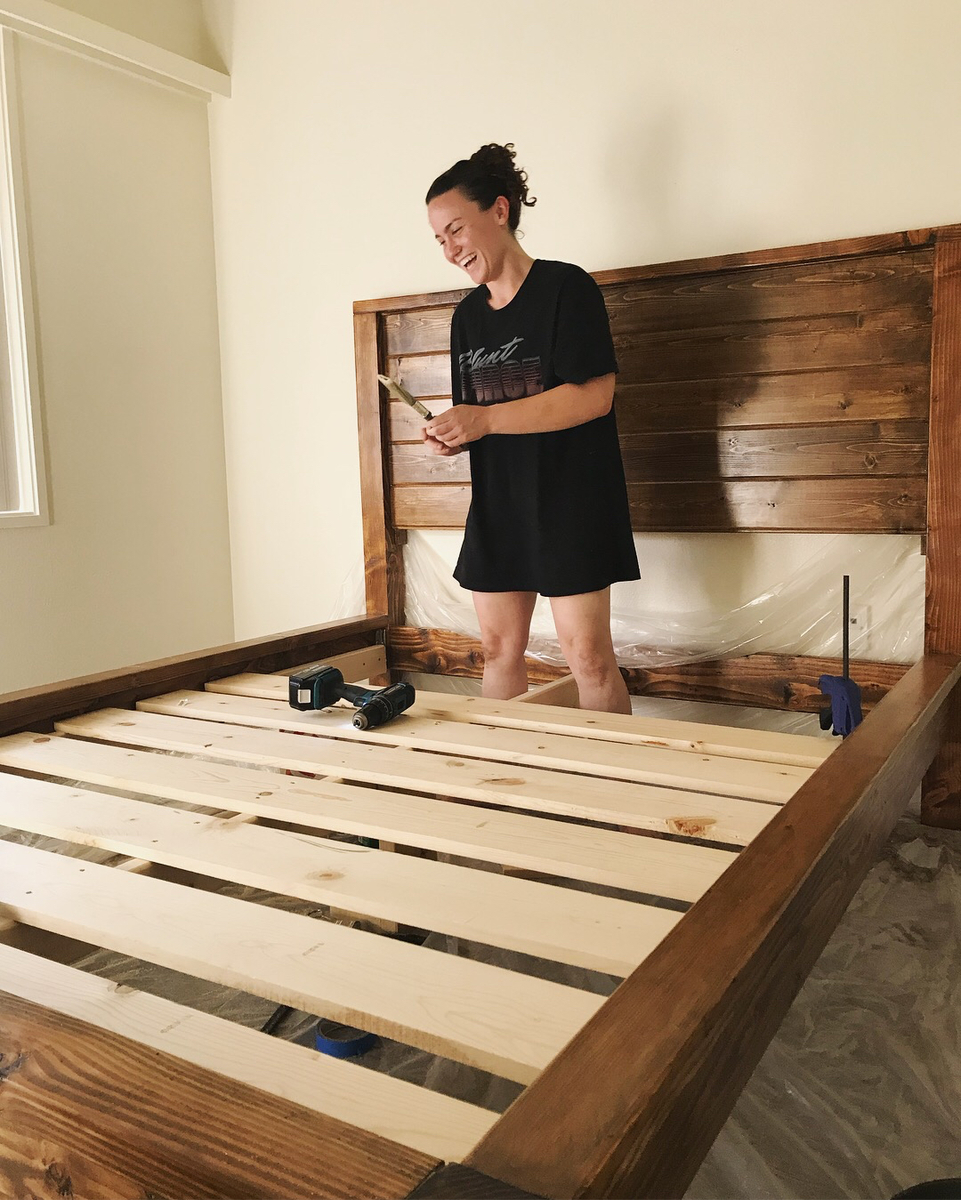
This was my first BIG project. I worked on it for a few hours every day for a few weeks. The most tedious part was sanding, but that is because I wanted to go the cheap way and got my wood from HD. I also did this (mostly) by myself, but having a partner definitely would have made the process go faster (especially for attaching the side rails to the headboard/footboard). I used bed rail brackets to make things easy when I move. I also made the bed a little higher than Ana's plan because I wanted a lot of under-bed storage.
Have questions!? Just ask! This was such a rewarding project :)
Thank you so much for the plans. We enjoyed building it. We love it!!!
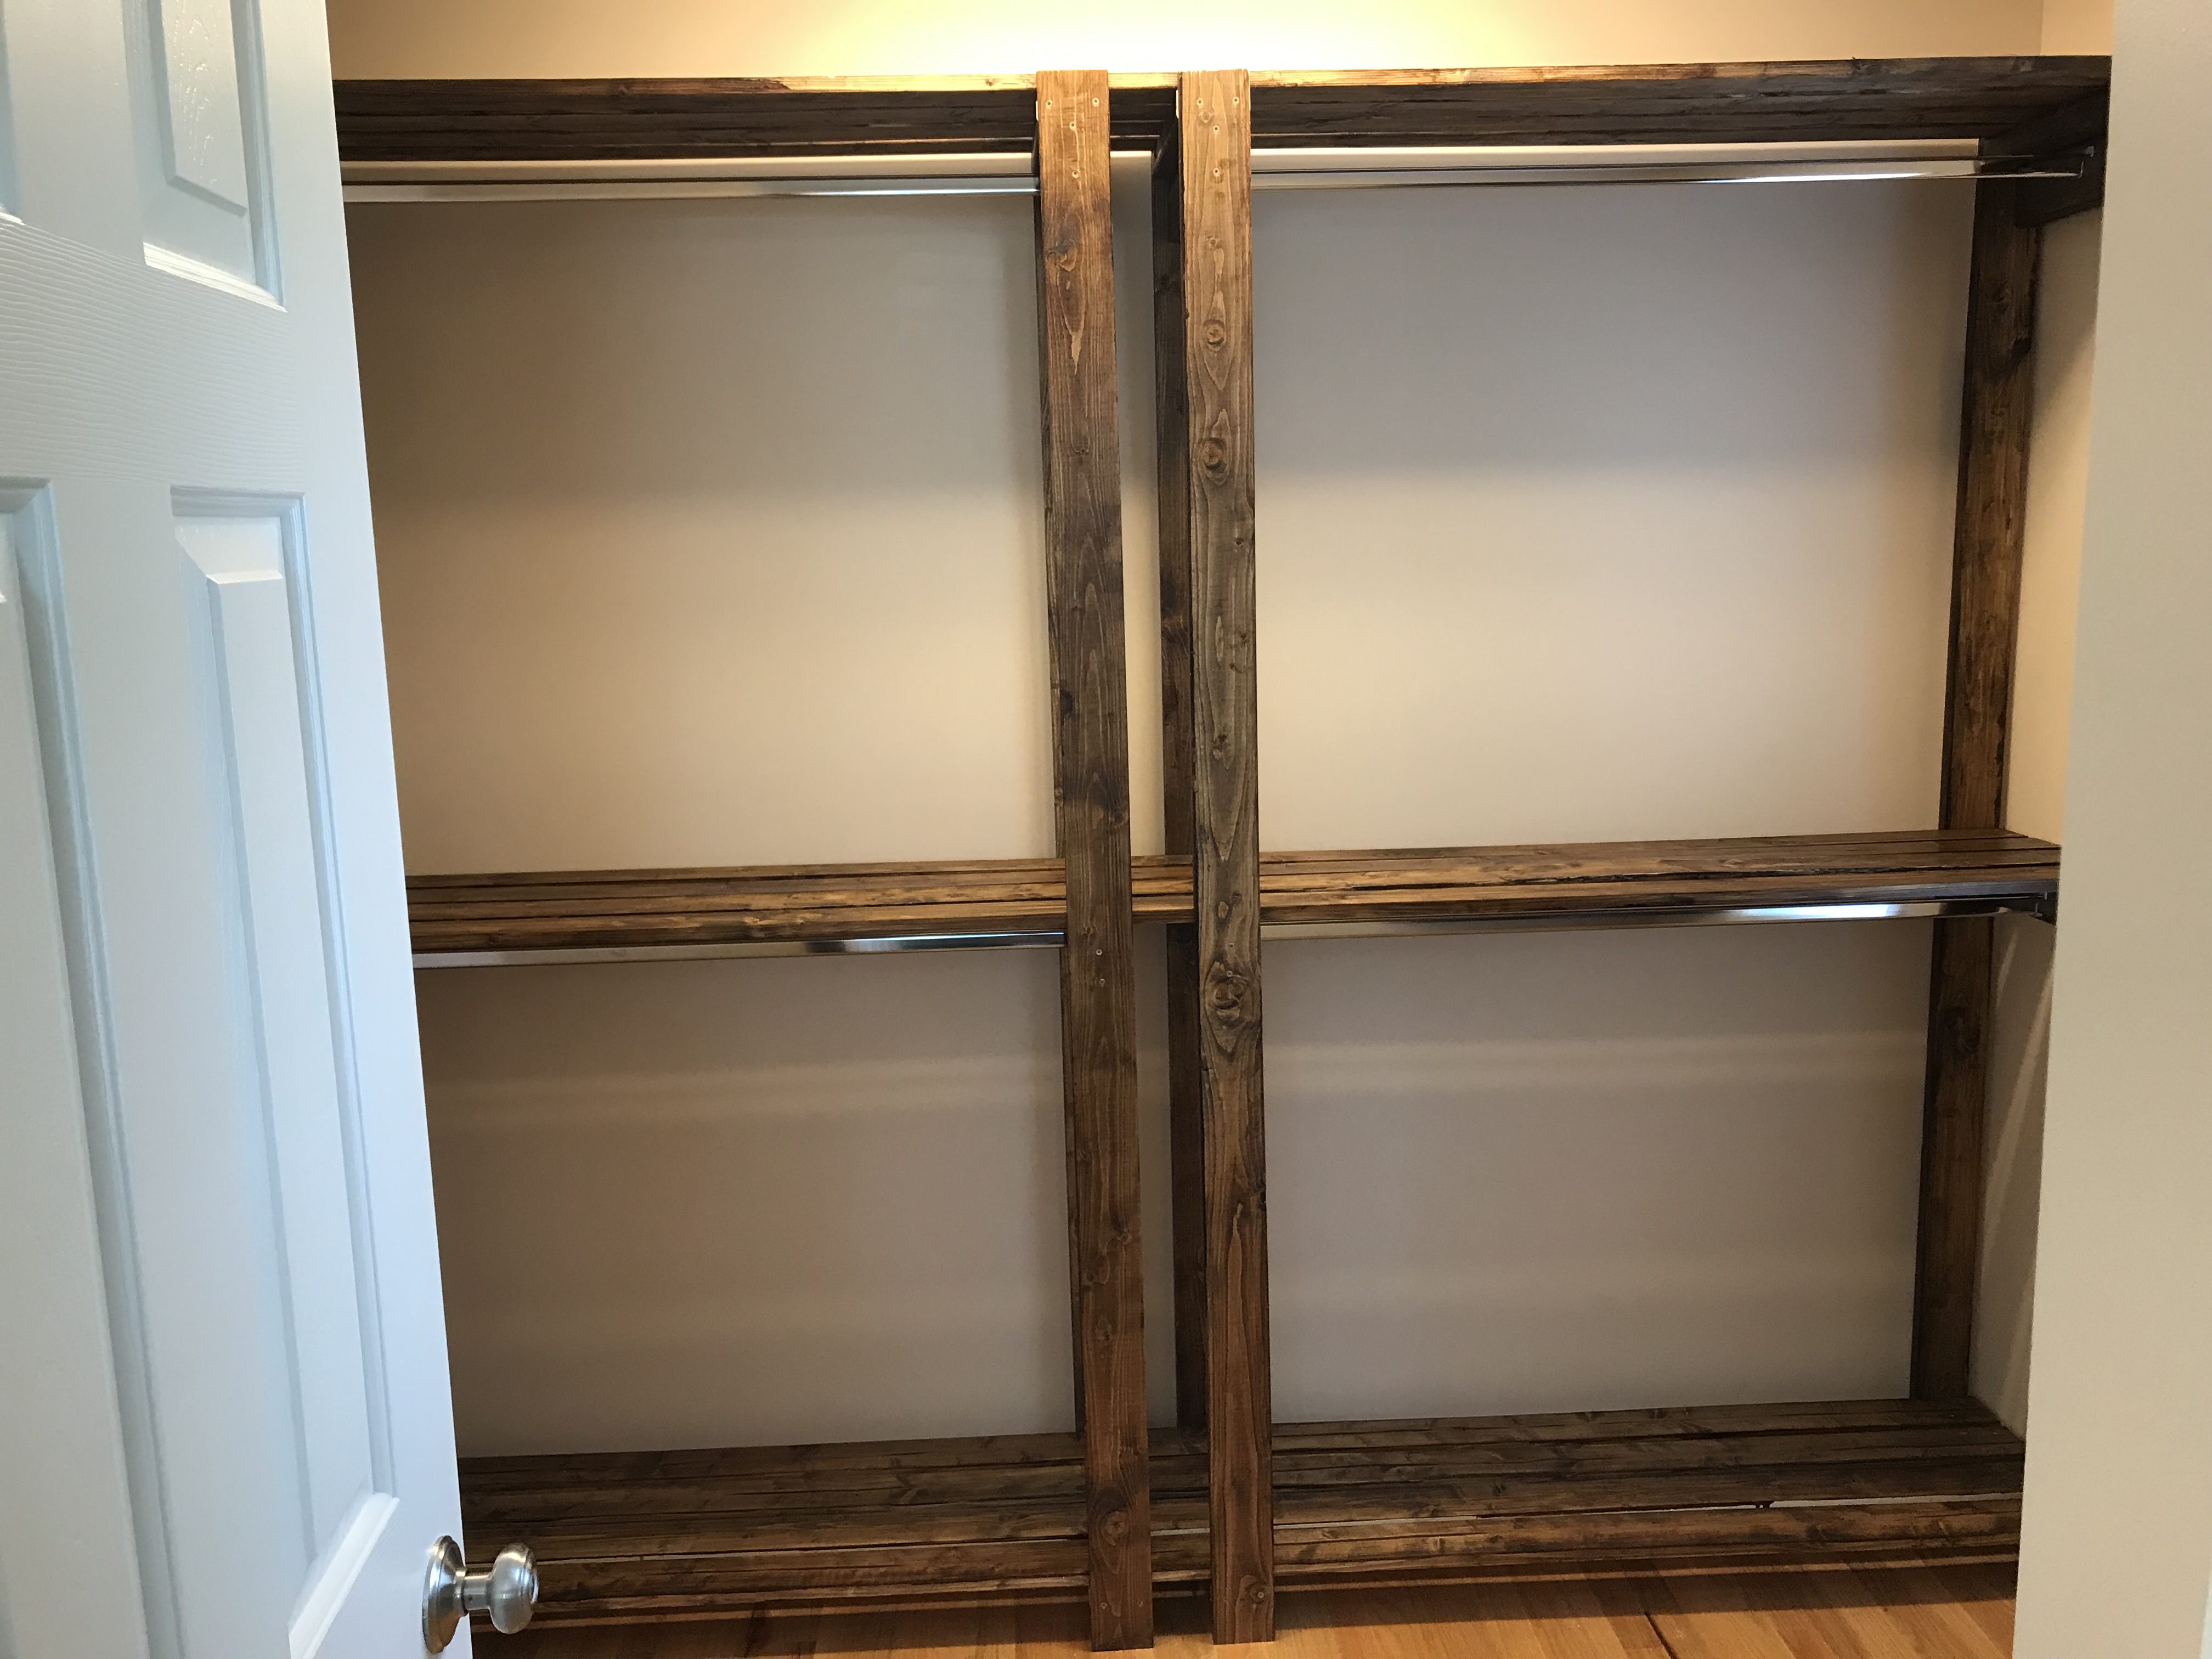
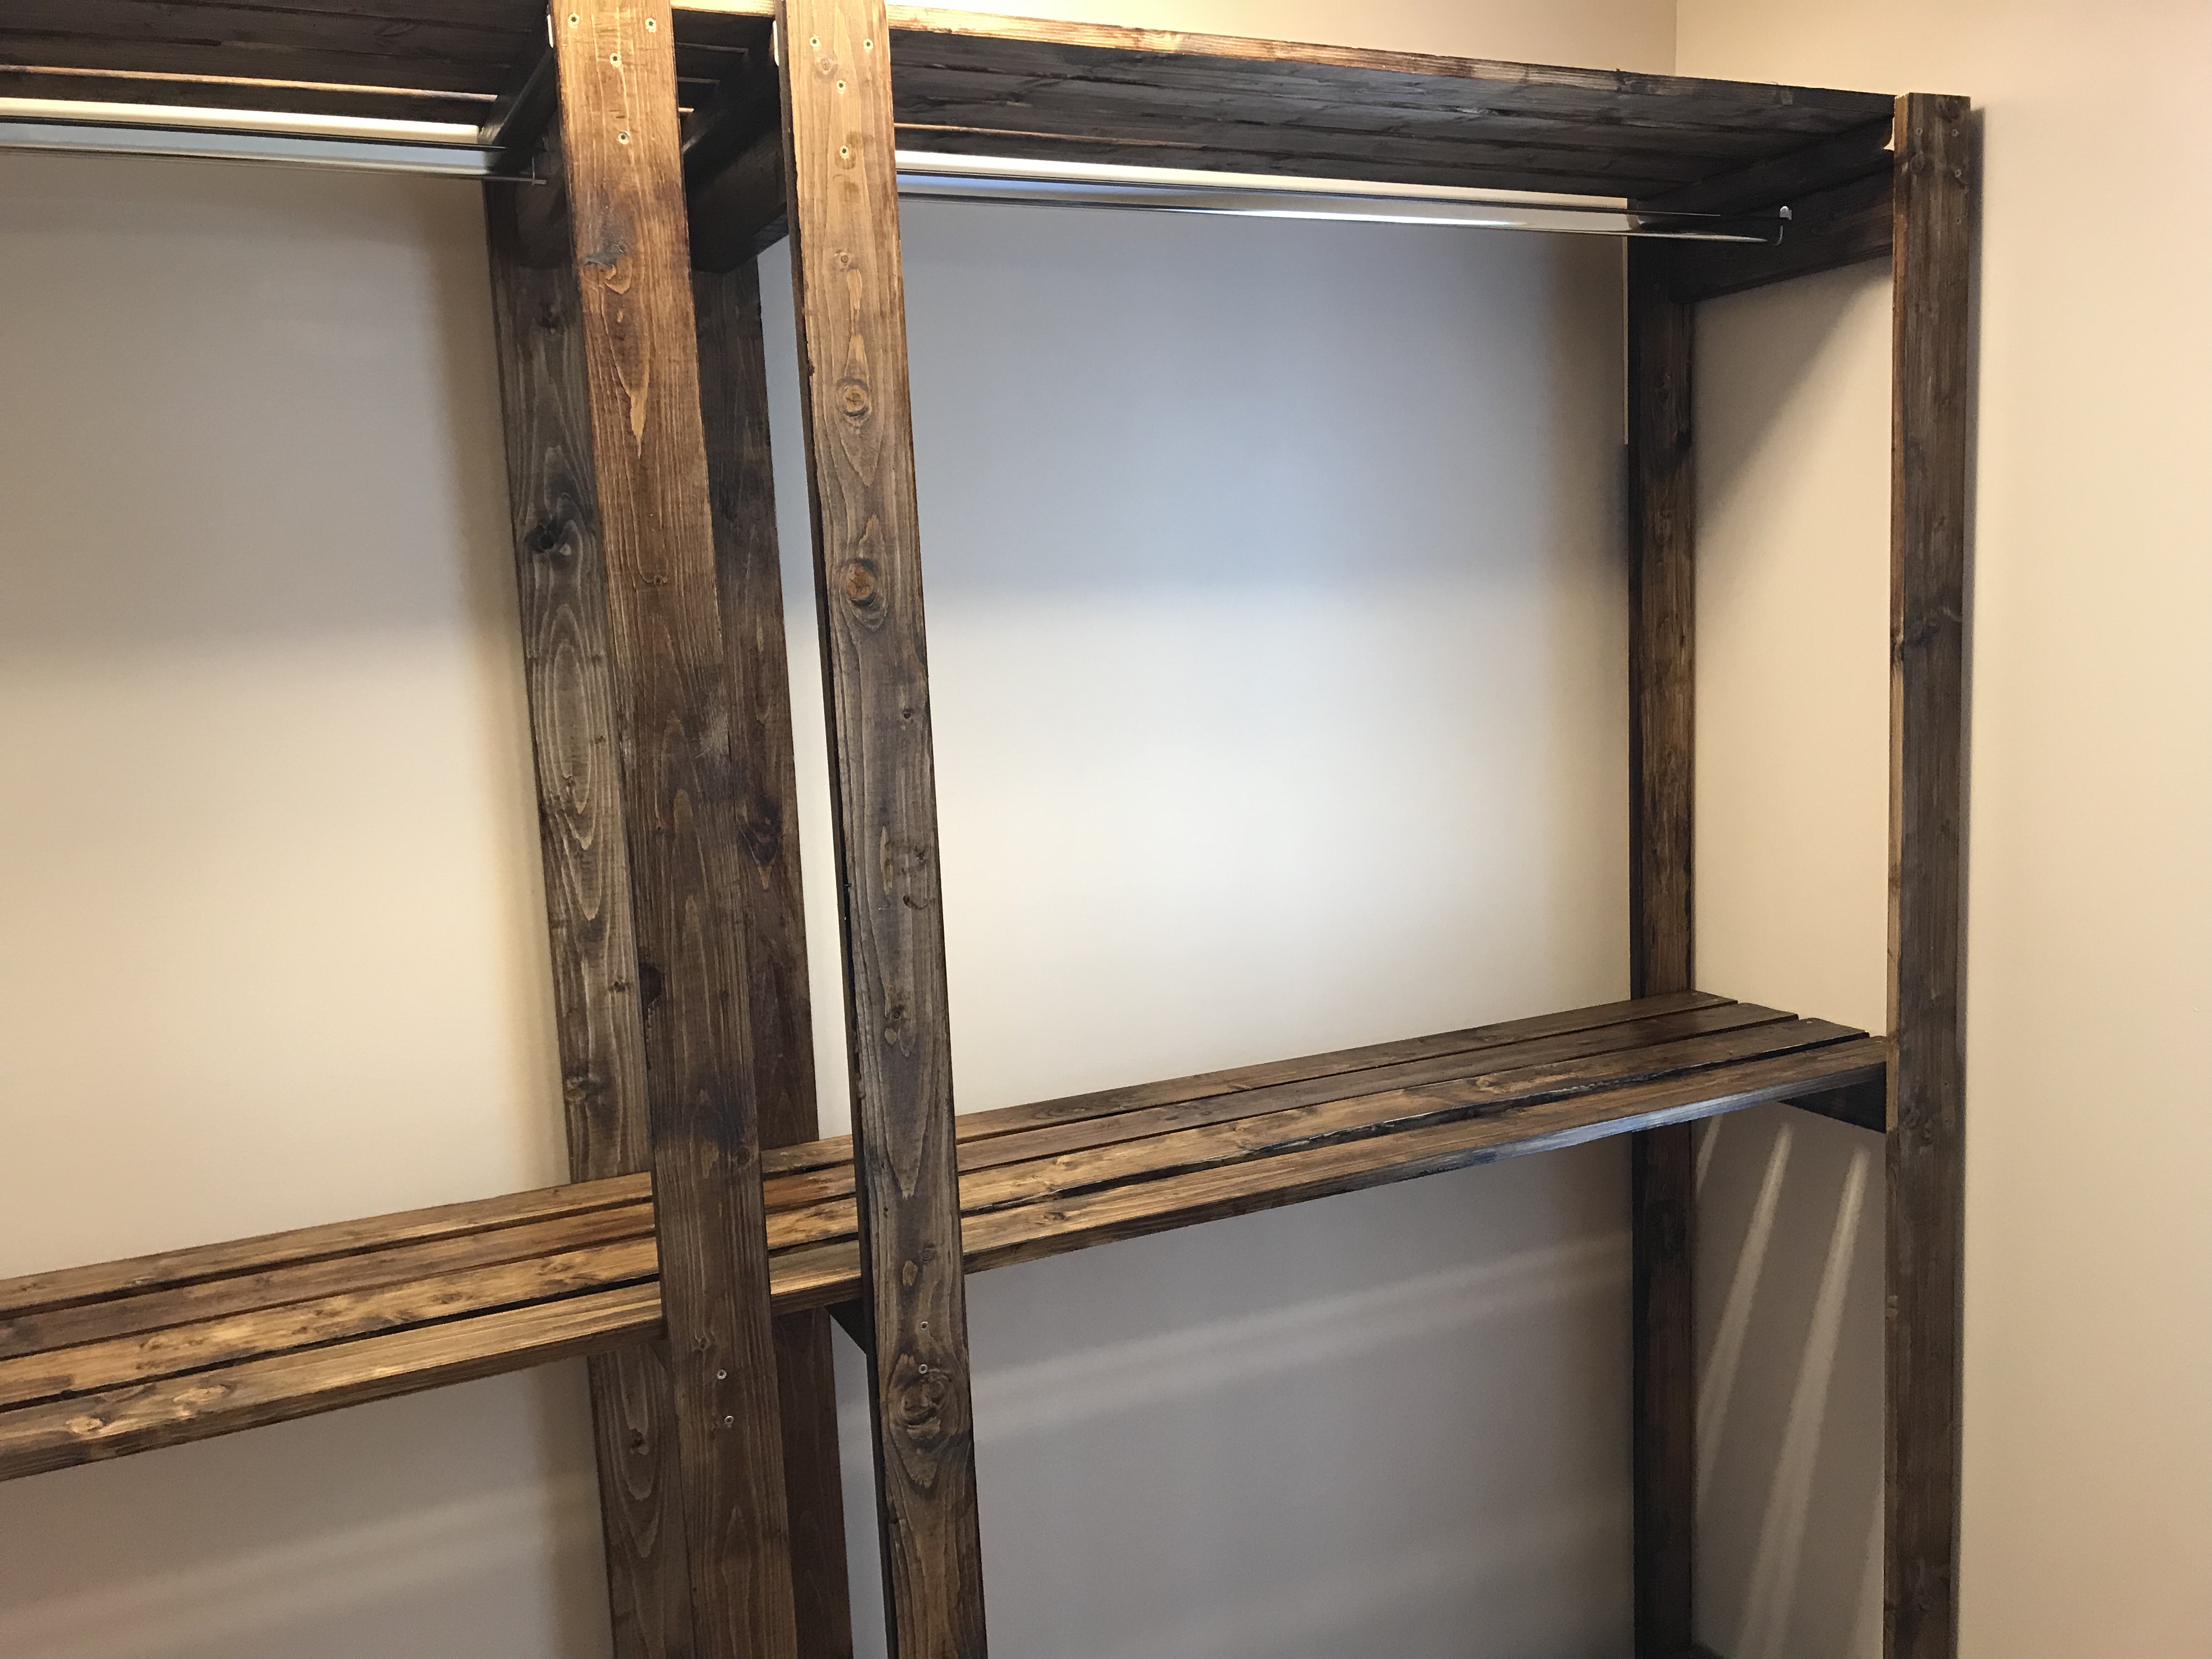
After being "so done" with the original closet that came with the home, I decided to rip out all the wire shelving and make a custom closet out of 1x4s and 2x4s. I pre-stained all the boards and cut to custom lengths. I kept the integrity height for the shelves of 42" and 84". Instead of using galvanized pipe, I used Halefe Premium Oval closet rods. In the end, I have a very stout closet and a much better use of space.
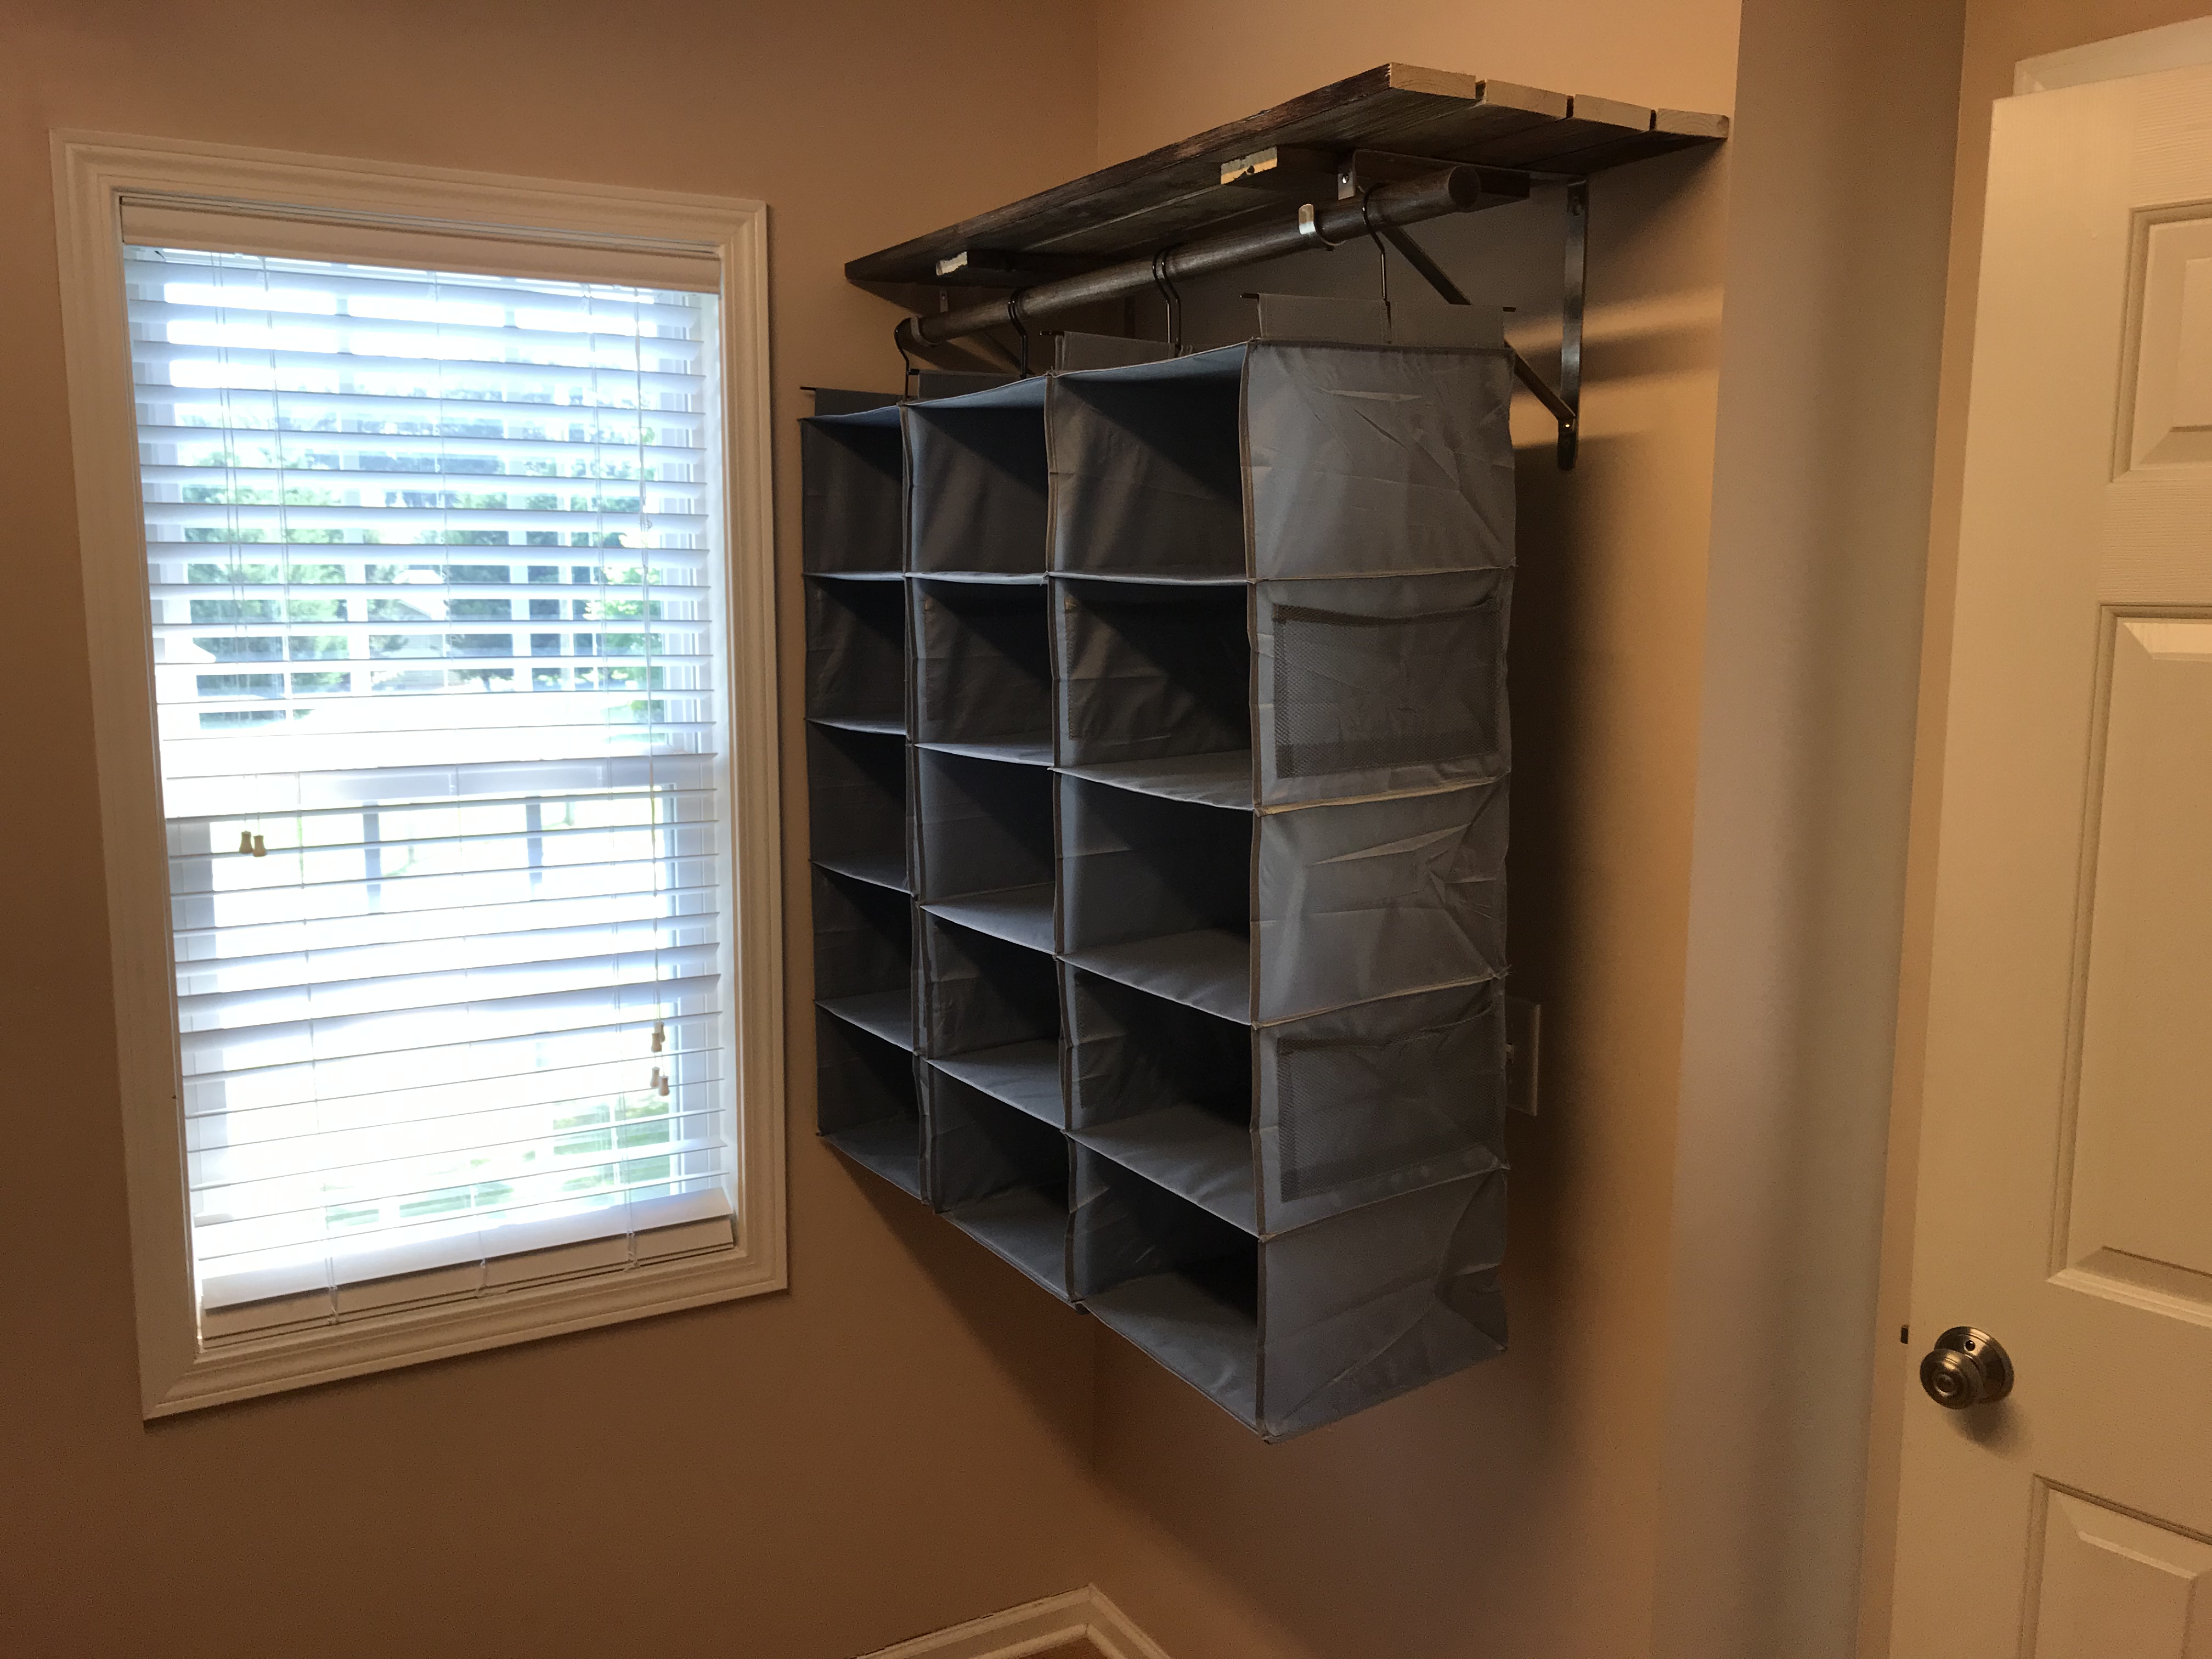
For the small shelf beside the window, I used 1x4s cut to custom length. Under the hanging shelves, there will be a shoe rack.
I am a newbie to wood working and was inspired by Ana's Farmhouse bed frame. I built this for my newly married daughter and she is so happy with it. It's very sturdy and has plenty of storage underneath. The instructions, buy & cut lists were super easy to follow. I can't wait to build the Extra Wide Dresser next.

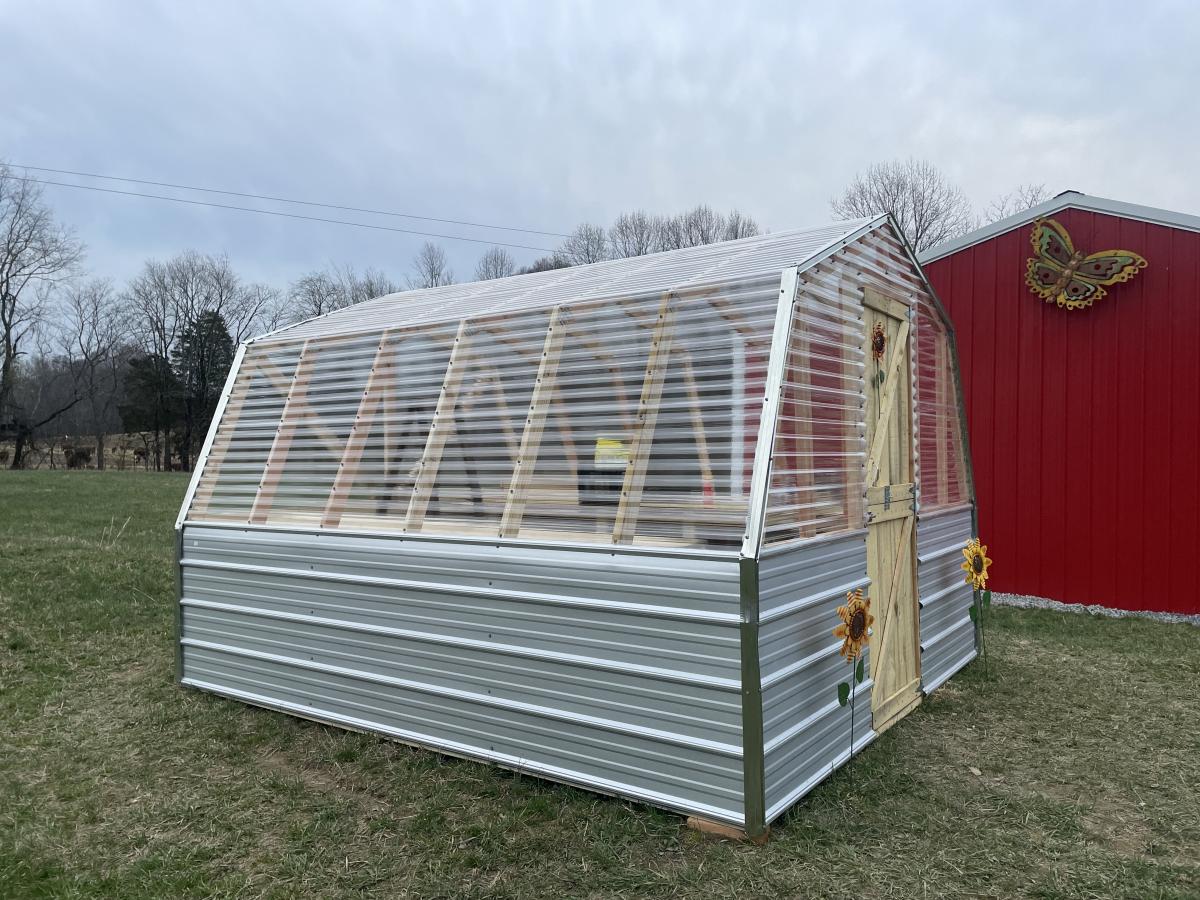
It took a while to come together and made several modifications but it is a great coop and was a major selling point of the house when we were relocated. I had added a main tray under the roosts and a door to srape the poop out. This made keeping the coop clean very easy.

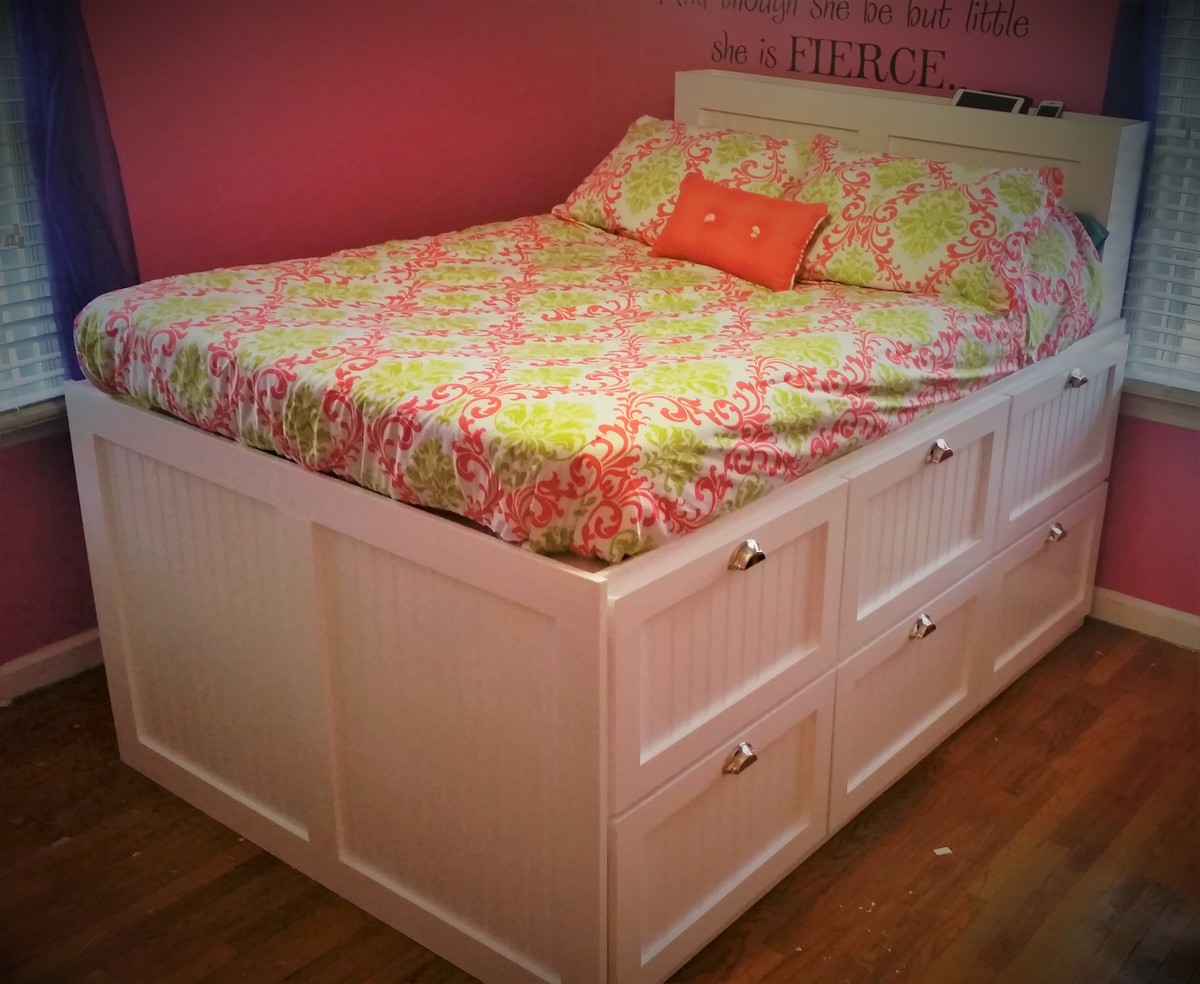
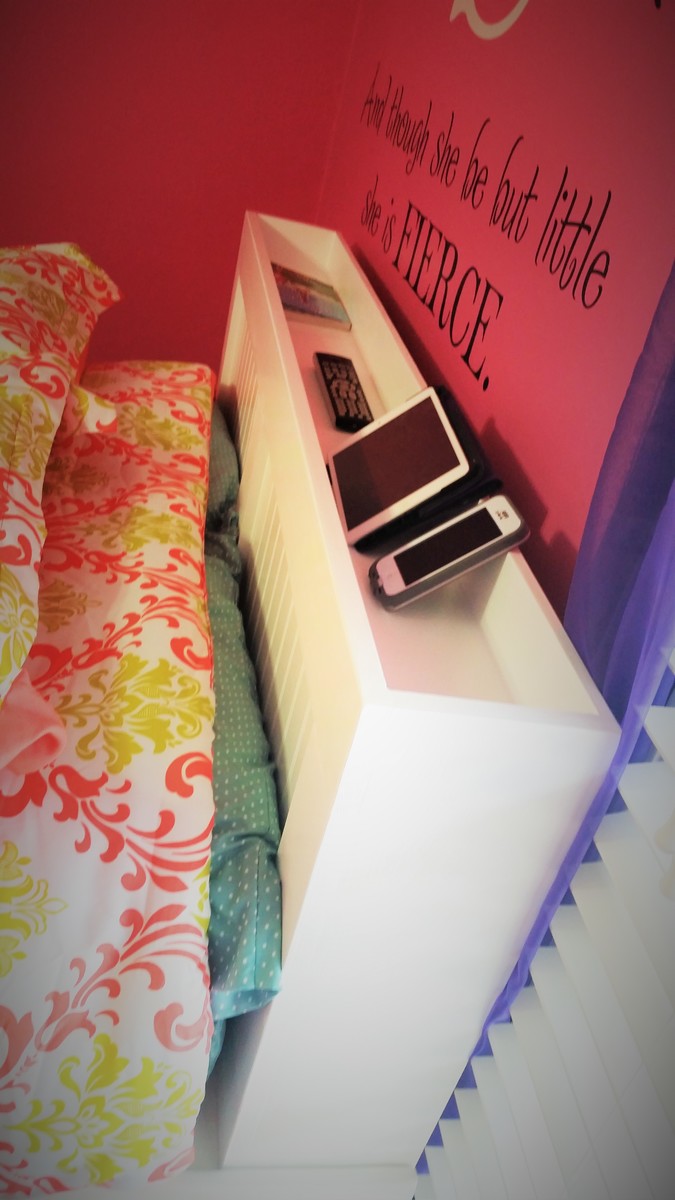
It was time to upgrade our daughter's bed to something bigger. I have always loved the idea of platform beds and went searching the Ana White site for ideas. Needless to say, I made several modifications to allow for a huge amount of storage. The bed is designed to fit up to a queen mattress, but we went with full size since her room is a bit tight. Each drawer is 24"x24"x12" deep and mounted on 100 lbs. full extension slides. This allowed us to eliminate both dressers in her bedroom plus the hamper since one of the drawers is now for dirty clothes. I built this as two 80" cabinets and used a 3/4" plywood spacer to bridge the gap. What you can't see is the six 24"x24"x12" cubbies on the far side of the bed which allowed us to remove her bookcase and toy box. Once in place, I measured and built the footboard panel with 1x4 dimensional pine and beadboard and it is attached with screws from inside the cabinet. The headboard was last as I wanted to give her a shelf for her chargers, remote, phine, ipad, etc. This allowed us to remove her nightstand. Her small bedroom feels much larger now that this is the only piece of furniture she needs once I get her tv mounted on the wall.
Wed, 04/12/2017 - 07:16
I want to make double the storage as you have done but am curious how tall your bed is from floor to mattress?

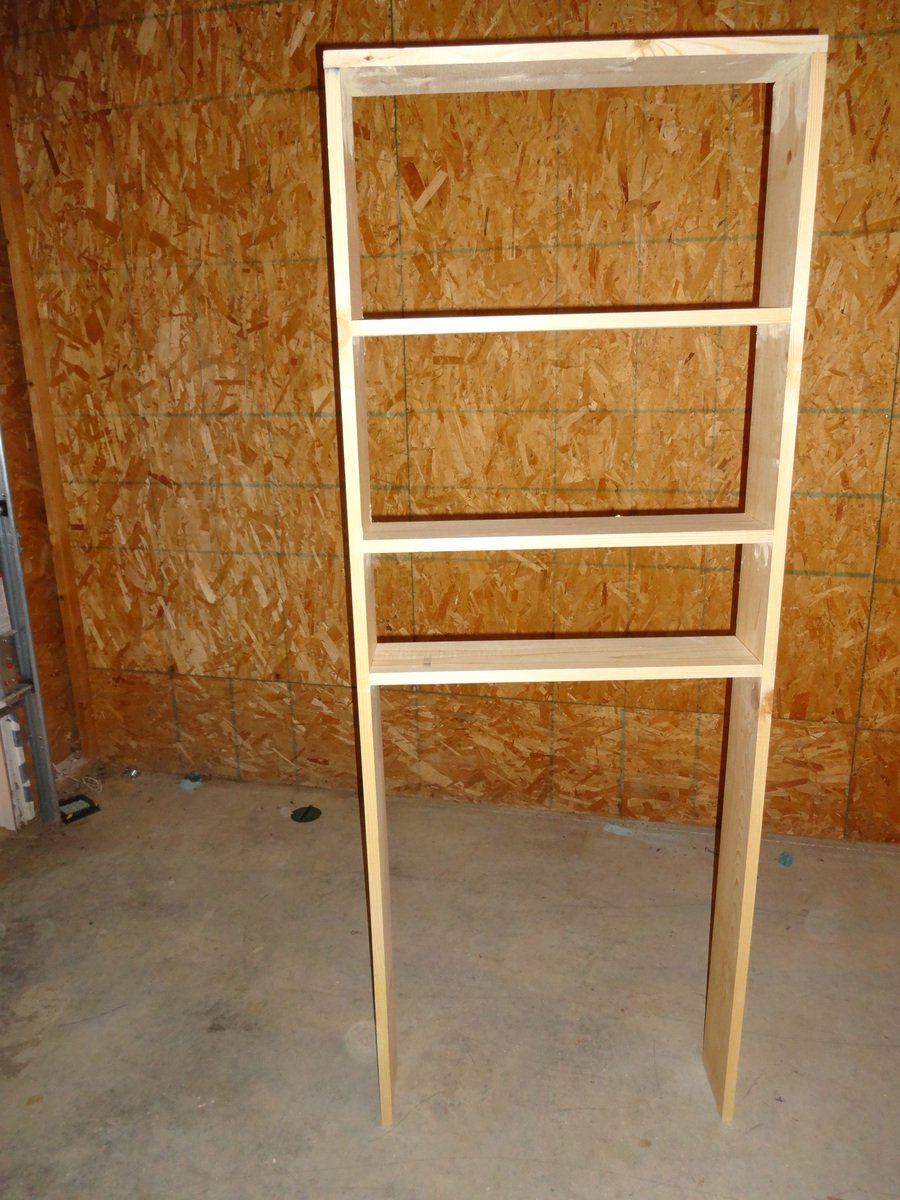
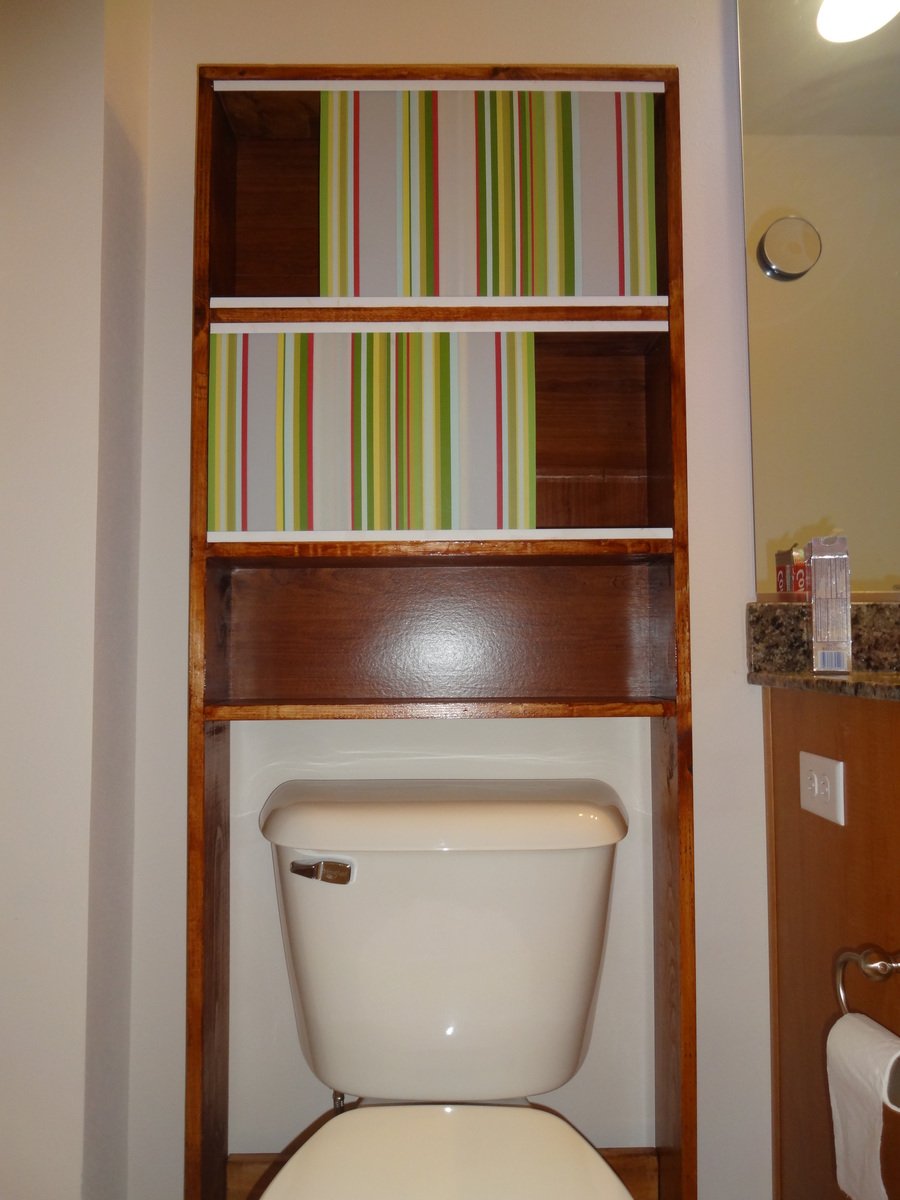
I recently discovered your blog and got really inspired. After building a couple of beginner projects following your plans, i started to think about making something that can be used as medicine cabinet and does not take much space. Came up with the idea for this over the toilet storage rack.
My goal was to recycle/reuse some of the stuff that was sitting in my garage.
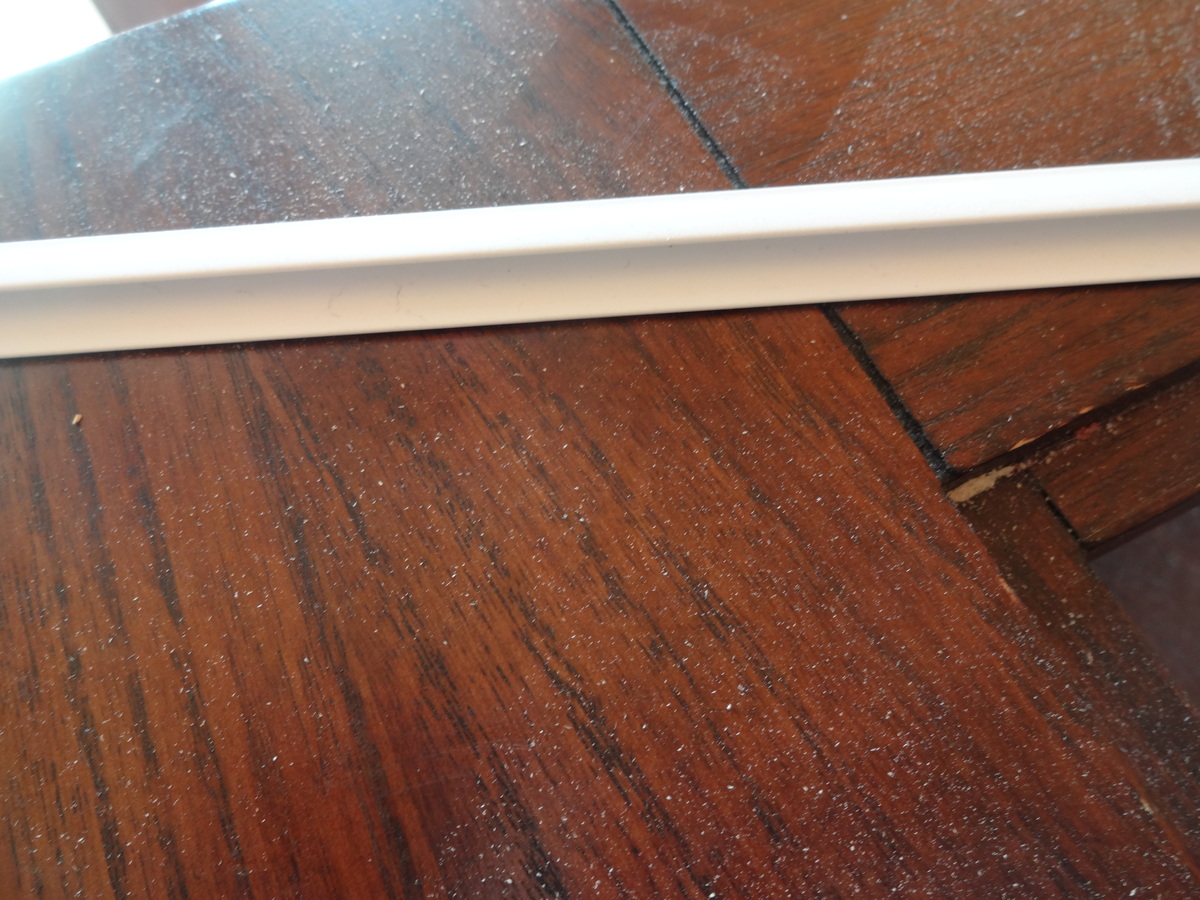
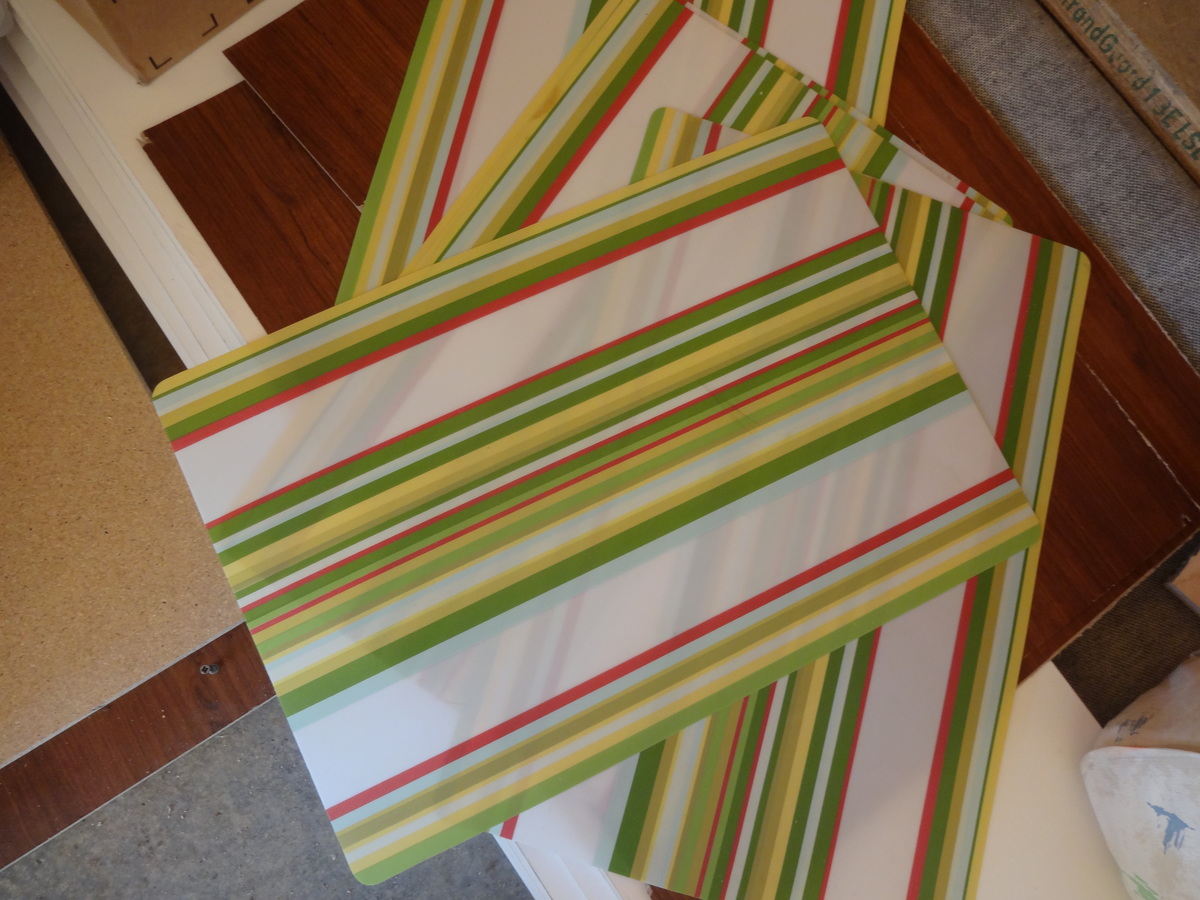
Started with building a frame using 1x6s (24 inch for shelves and 72 inch height). Used plastic table mats were used as sliding windows. Found a PVC trim (8 ft) for $2 at lowes that has been used as the rails/track for the windows. The back is piece of cardbord that was scrap from an old broken ikea bookshelf.
I am pretty happy that i recycled some stuff and made this in less than $15.

Tue, 12/01/2020 - 14:20
Did you do anything to the bottoms of the legs to prevent wet floors from wicking into the wood? I am wanting to build something similar to replace a particle board cabinet-in-a-box because the particle board did soak up water and get ruined. What I'd REALLY like are metal end caps with an adjustable foot (like you put at the bottom of a table leg) but I can't find a combination of the two anywhere.
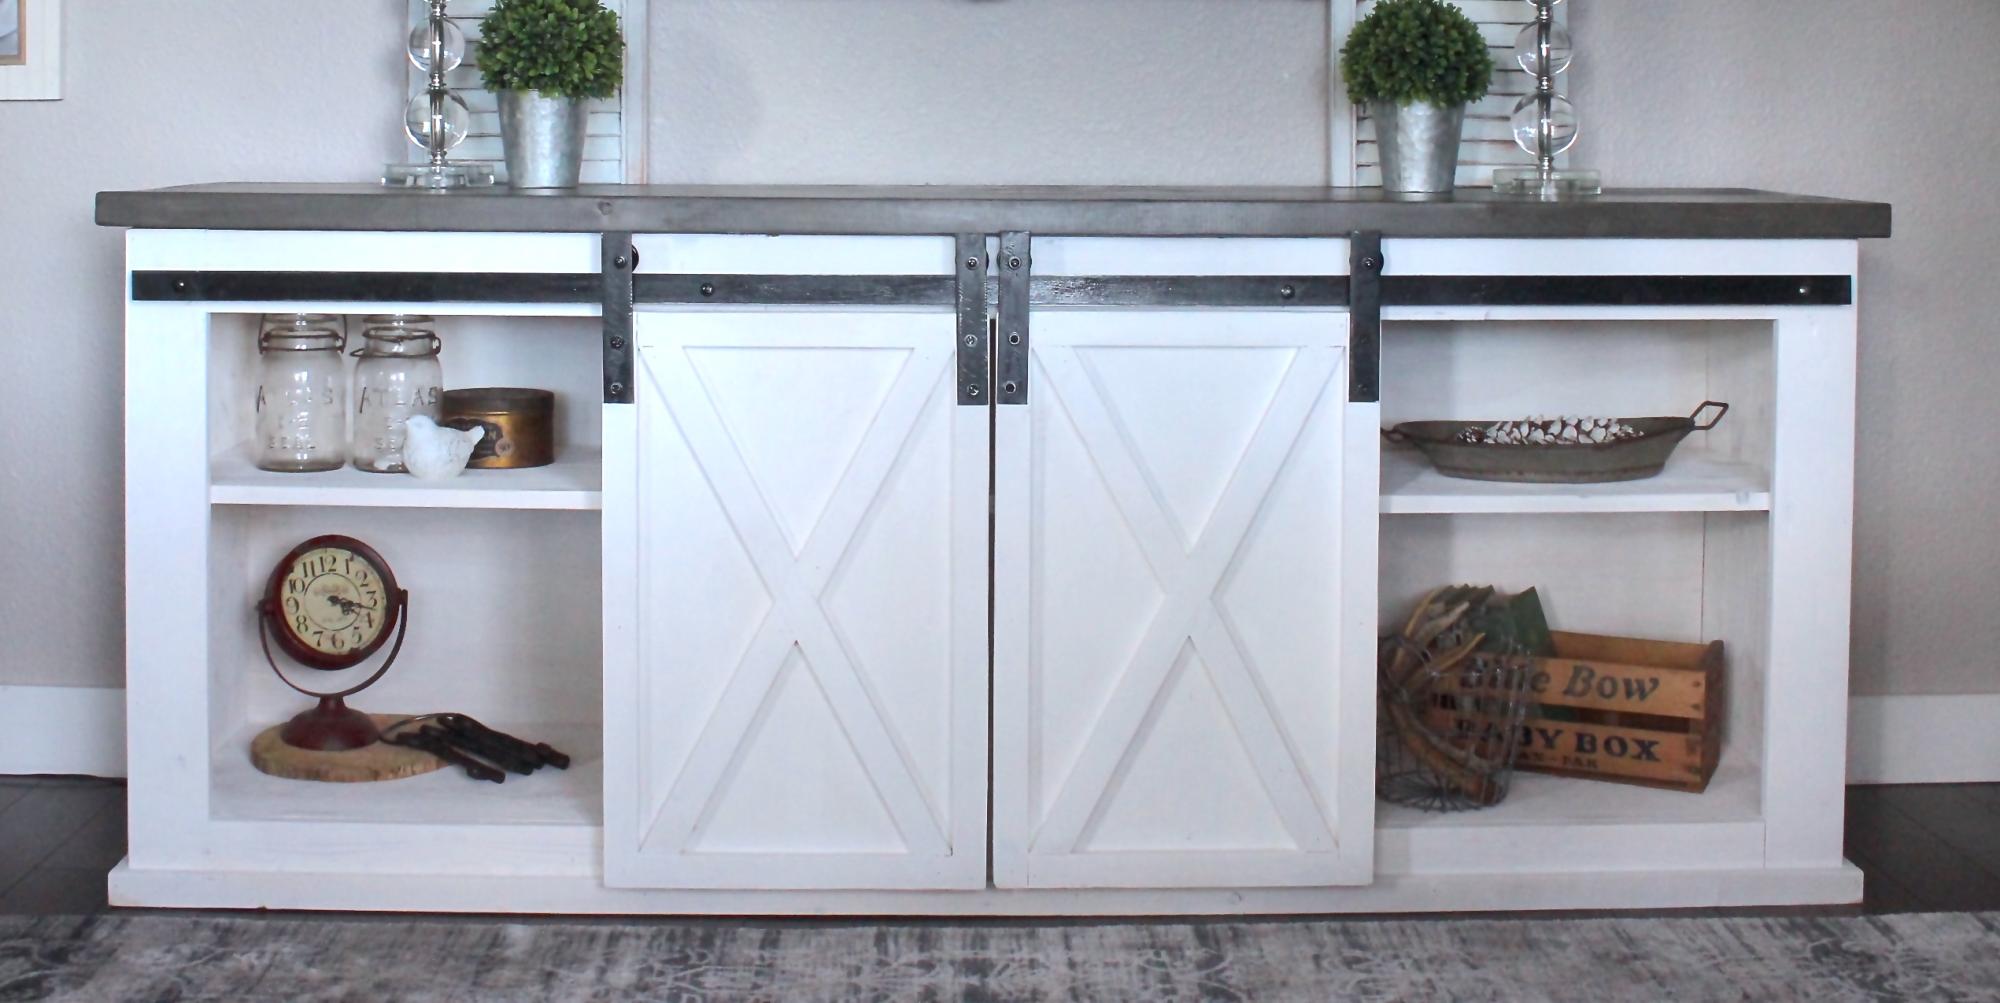
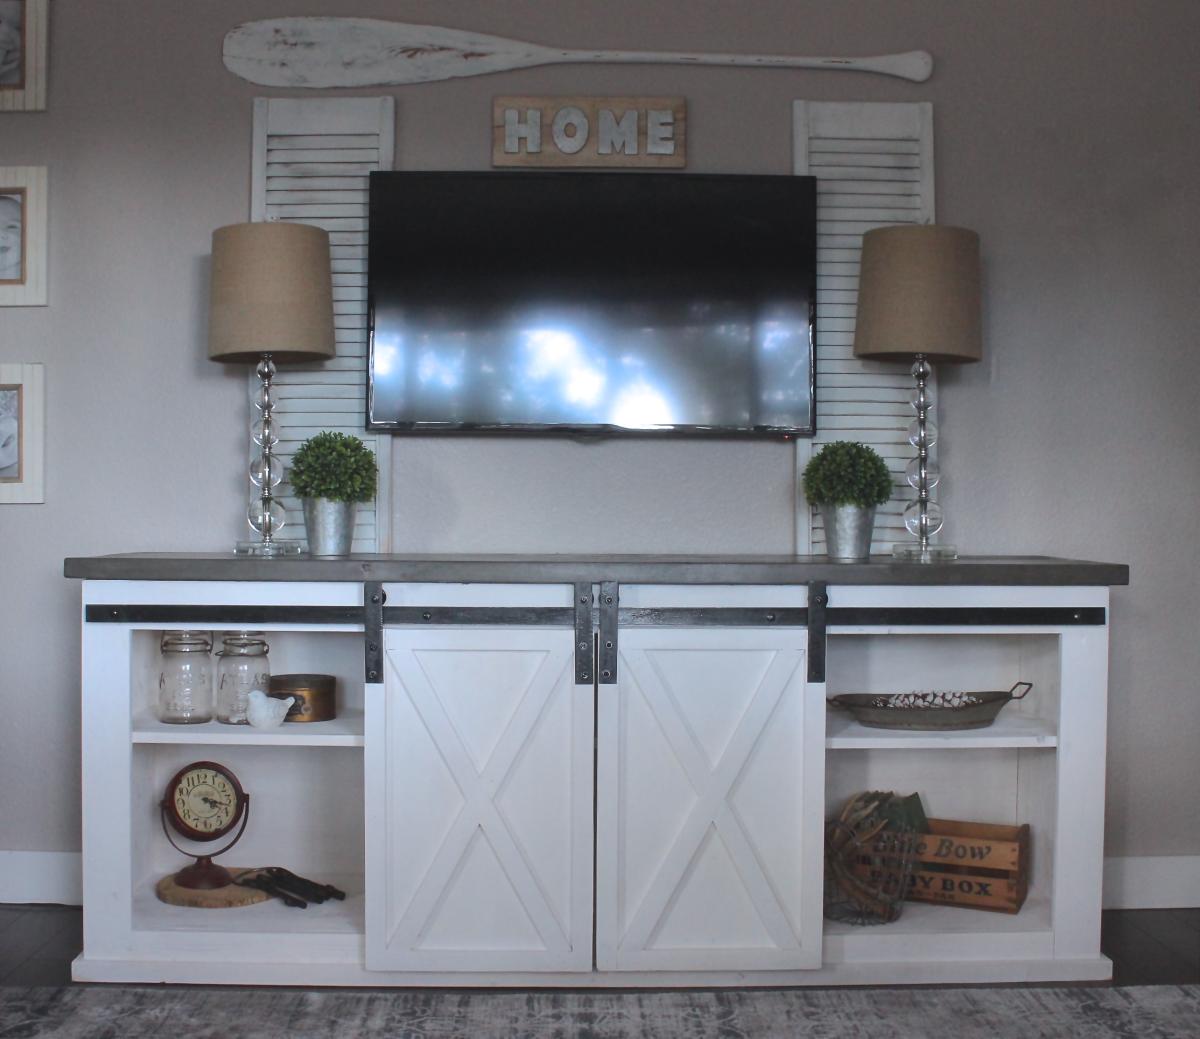
We wanted to build this piece for so long, but couldn't find 1/2" metal anywhere. Mind you, we live in a pretty small town. We finally just decided to use 1/8" Metal, which works just fine in my opinion. We followed the rest of the tutorial, but I find that they don't go over how to install the metal at all. That needs a tutorial all on its own. We improvised with what we had here in our small town. We ideally wanted to find old metal, but that didn't happen. So we bought new steel, spray painted it & then beat it up so it looked more vintage.
I'd say hanging the barn doors & the track is the longest part for sure.

Fri, 11/04/2016 - 10:08
Very nice! Love the top!
Can you give some details as to your magical mix of stain for "Beachwood" ?
Thank you!
Sat, 09/02/2017 - 12:16
Does anyone know what minwax mixture was used for the Beachwood on the top piece?

Fun weekend project to build together. We are loving the fresh look to our master bedroom.
This was one heck of a project LOL! But I am so pleased with the results!!
Wed, 02/29/2012 - 13:34
It looks awesome. I really like the built in look!!!
Mon, 07/23/2012 - 19:37
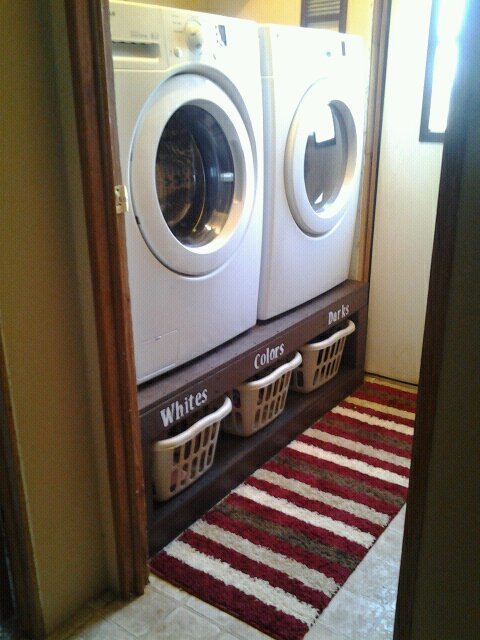
My husband just built us one of these for our laundry room, take a look!!
http://glamorousbride.blogspot.com/2012/07/making-most-of-your-space-la…
- Fotini
Mon, 07/23/2012 - 19:38
My husband just made us one of these!! Take a look :)
http://glamorousbride.blogspot.com/2012/07/making-most-of-your-space-la…
- Fotini
Mon, 09/03/2012 - 15:06
This excites me!! :) Such a great idea - practical, and yet pretty!
Sun, 09/23/2012 - 08:03
My washer will shake on the metal pedestals. Will it shake on this one?
Mon, 12/31/2012 - 19:01
My husband just finished one similar to this for me today-total cost about $65.....Thank you for the fabulous & frugal idea!!
Wed, 06/19/2013 - 11:33
Do you have the plans posted for the washer dryer pedestals?
Sat, 11/07/2015 - 07:47
Please help me find out where to get plan specifics, new here
Sat, 11/07/2015 - 10:54
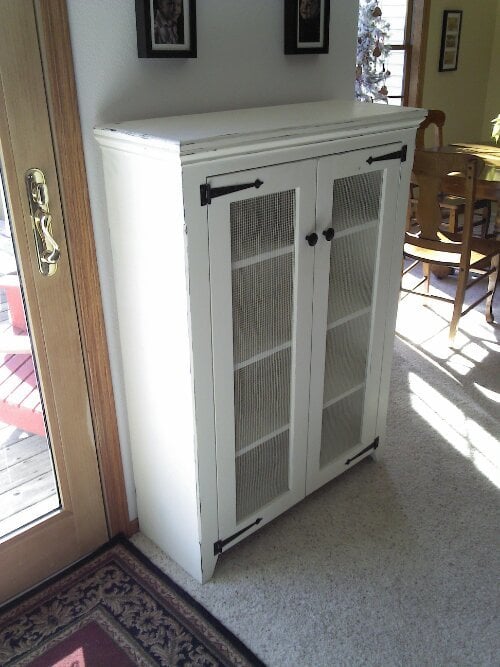
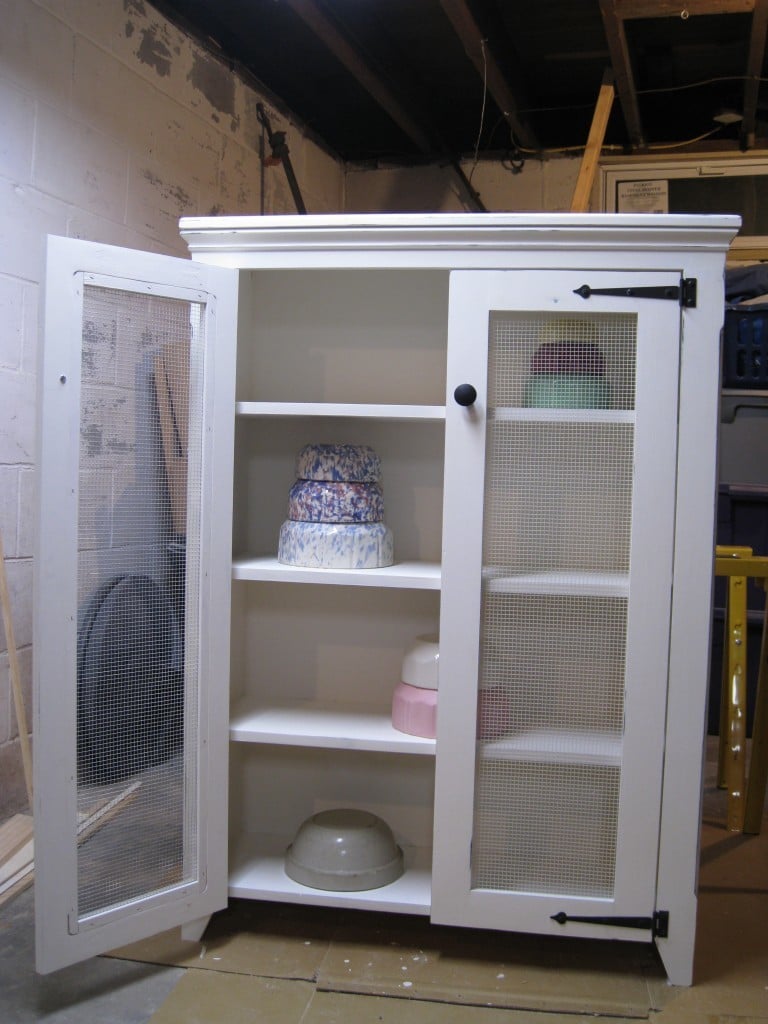
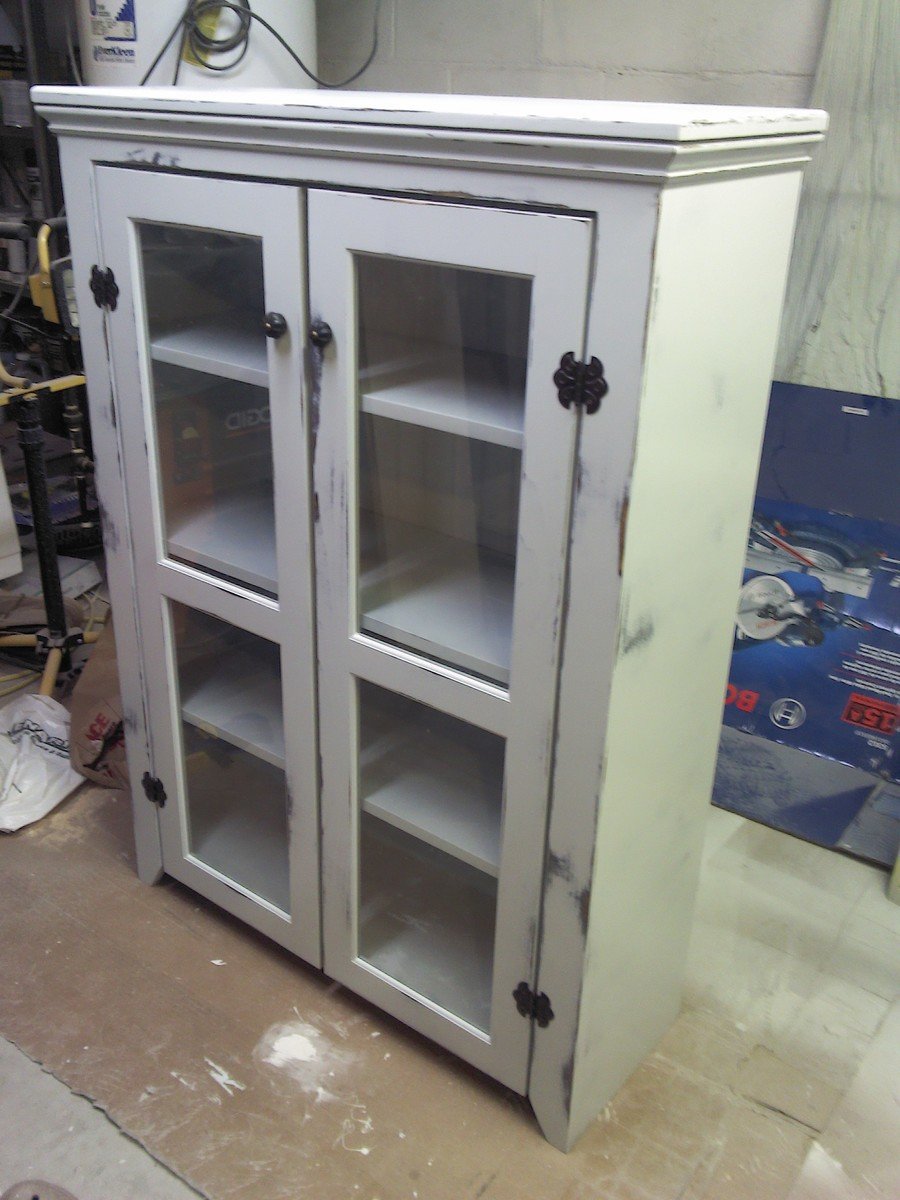
I have built several of these Jelly Cupboards since the plans came out. Everyone really likes them, and they are super fast and easy to build. The last one had glass doors that turned out pretty well. I like to use plywood beadboard on the back to give it a little more character. I also like to use 'hardware cloth' for the mesh type doors (found at farm stores). It usually has openings about 1/8" or less but not as tight as screen, which looks perfect.
Edit: For hardware part numbers and sources please see: http://grvland.com/wordpress/2012/02/07/jelly-cupboard-project/

Tue, 12/31/2013 - 00:51
Really lovely work! I scoured a couple of those pretty butterfly hinges by pure luck a while back, and I know where to find more...but those strap hinges! Where did you get them? I can't seem to find them for a decent price (Ohio).
Tue, 12/31/2013 - 07:15
The strap hinges are from Acorn Manufacturing. I had to order them because I could not find anything like them locally. For some reason I can not post links in the comments, but the sources are linked on my blog, grvland dot com (no spaces and a . obviously). Just search there for Jelly Cupboard and you will find the source links in the earlier of the two posts. I will also see if I can add a direct link above.
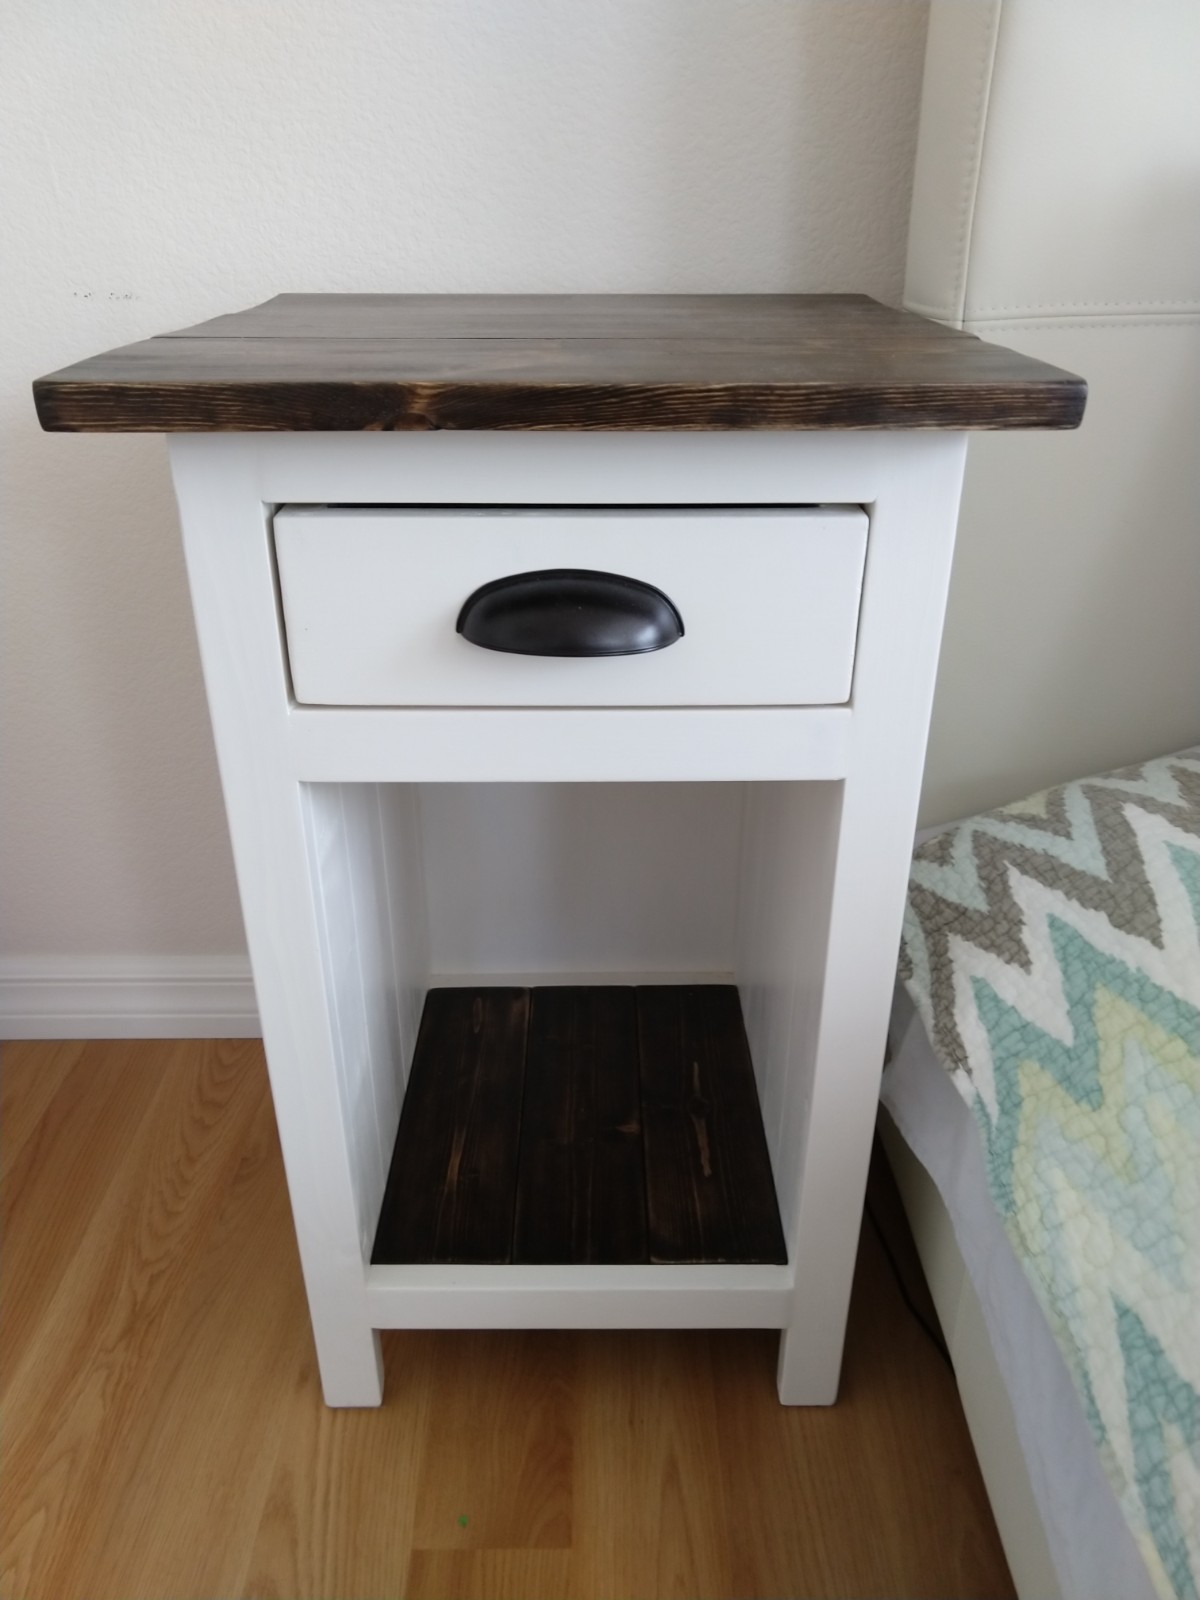
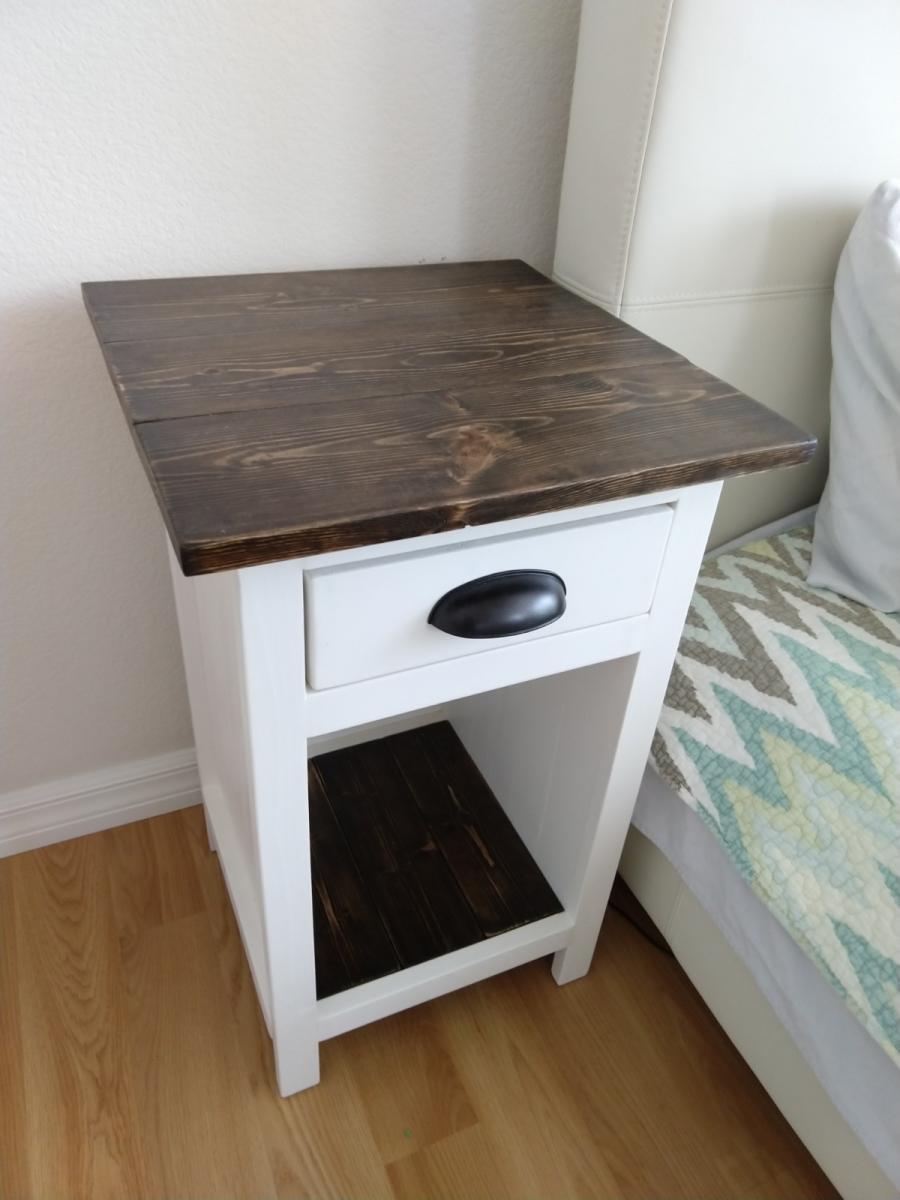
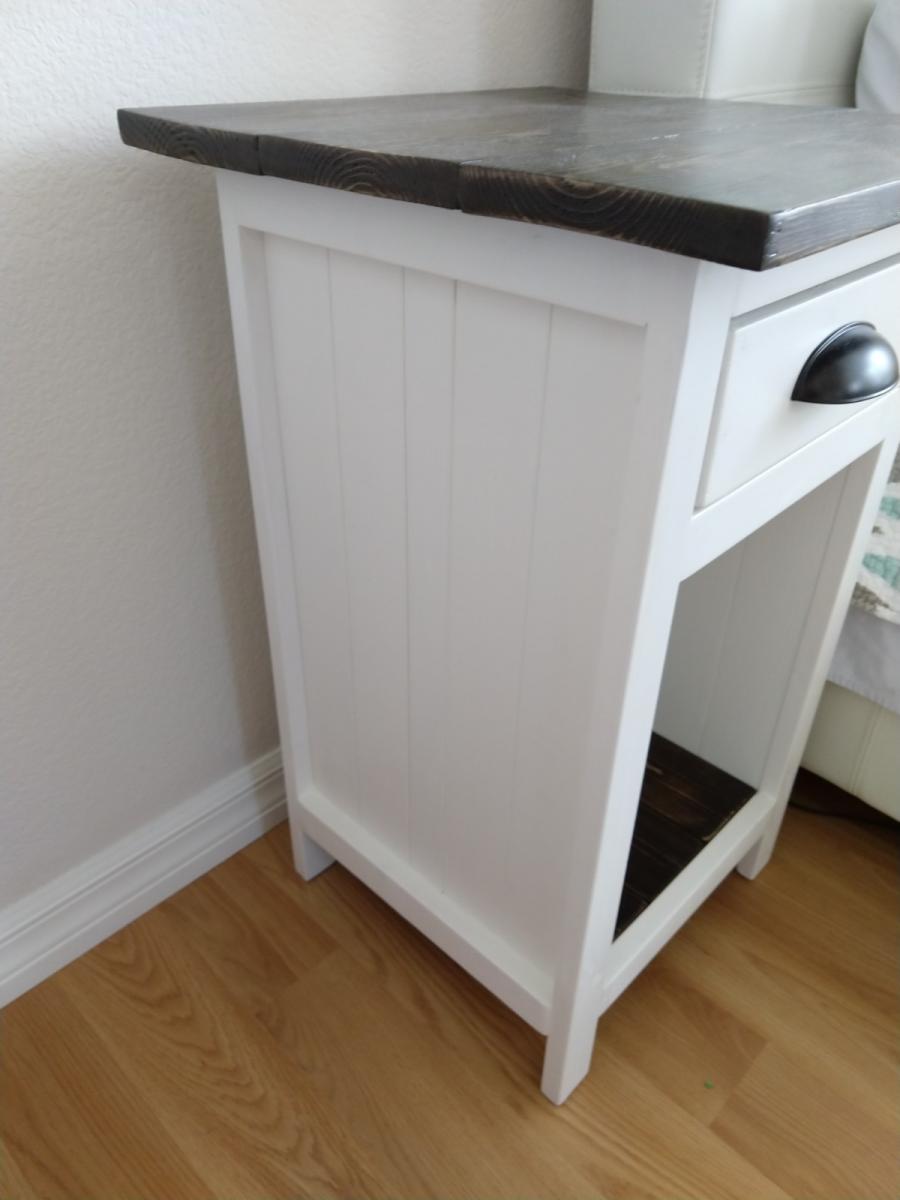
By far my favorite project! It was challenging combining two sets of plans, changing dimensions, and learning new skills all at the same time yet so, so, rewarding.
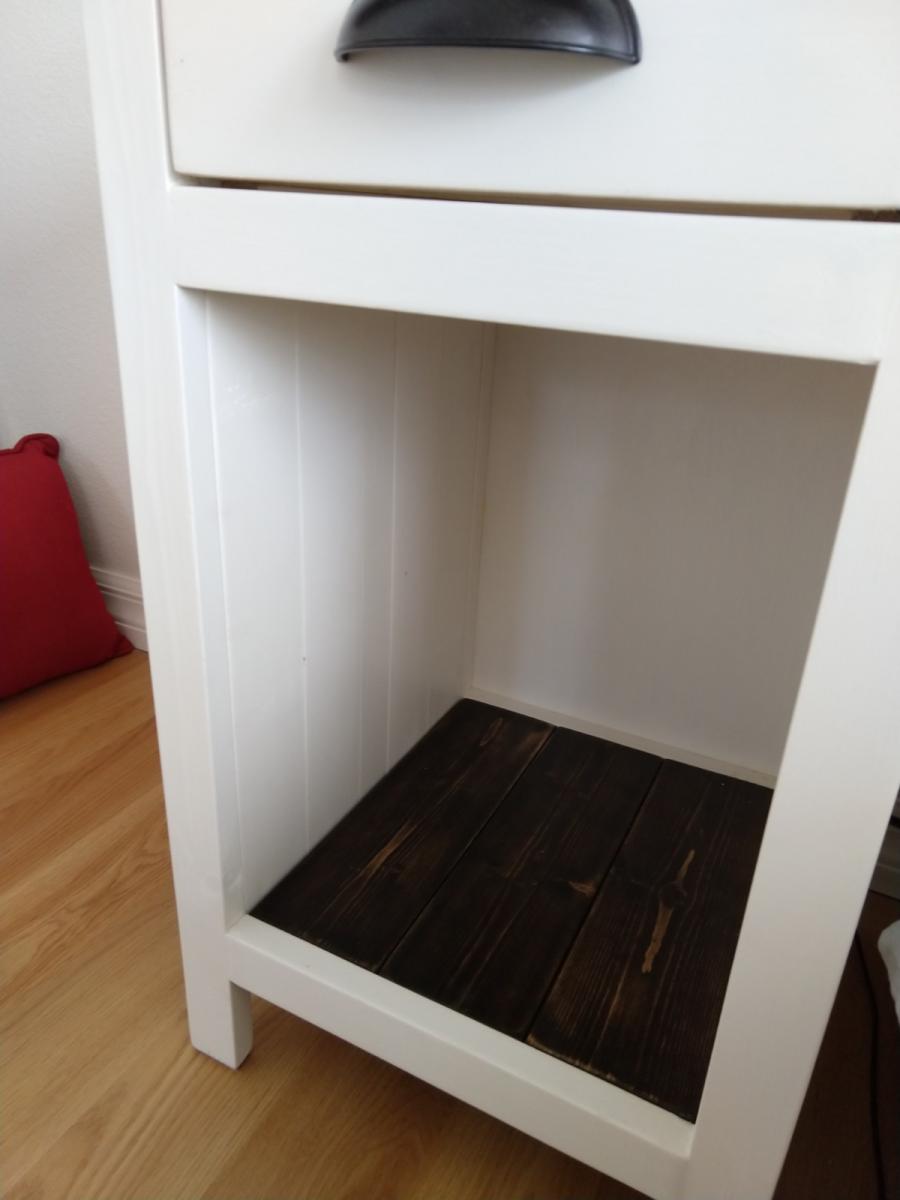
I loved the look of the Mini Farmhouse Bedside Tables but wanted to create a bookshelf as well so, I used the planks idea from the Planked Wood Bedside table plans to create solid sides, and a plywood backing for support and to hide lamp and phone cables.
I have a very low bed, so I shortened the height and made the top proportionate in size.
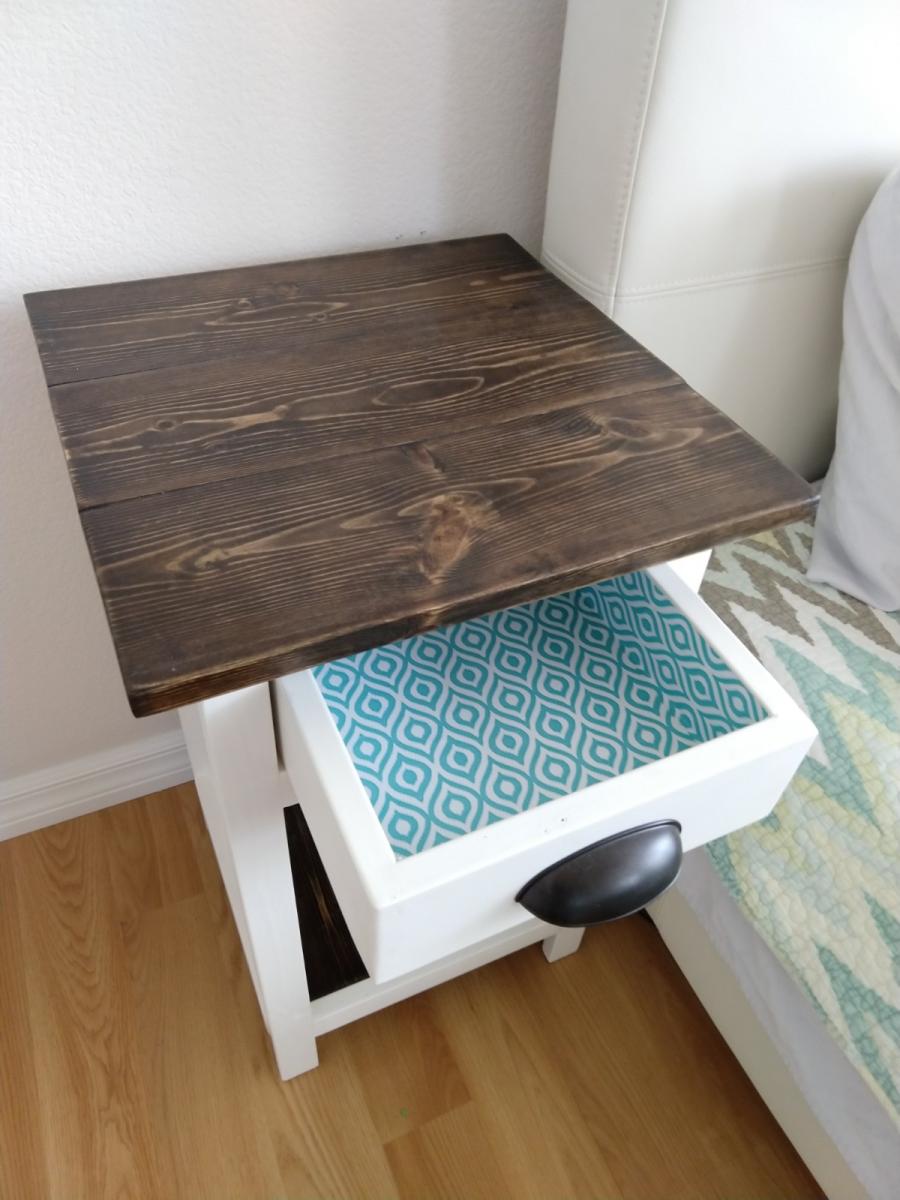
I used 1x6s for the top, 1x4s for the bottom shelf, 1x3s and a 1x2 for the side panels, 1x4s for the drawer, and 1x2s for the trim and a piece of 1/4" plywood for the backing.
I found that the drawer fell out when you pulled it too far so I added piece of wood between the drawer and the top to keep it from dropping as you pulled it out.
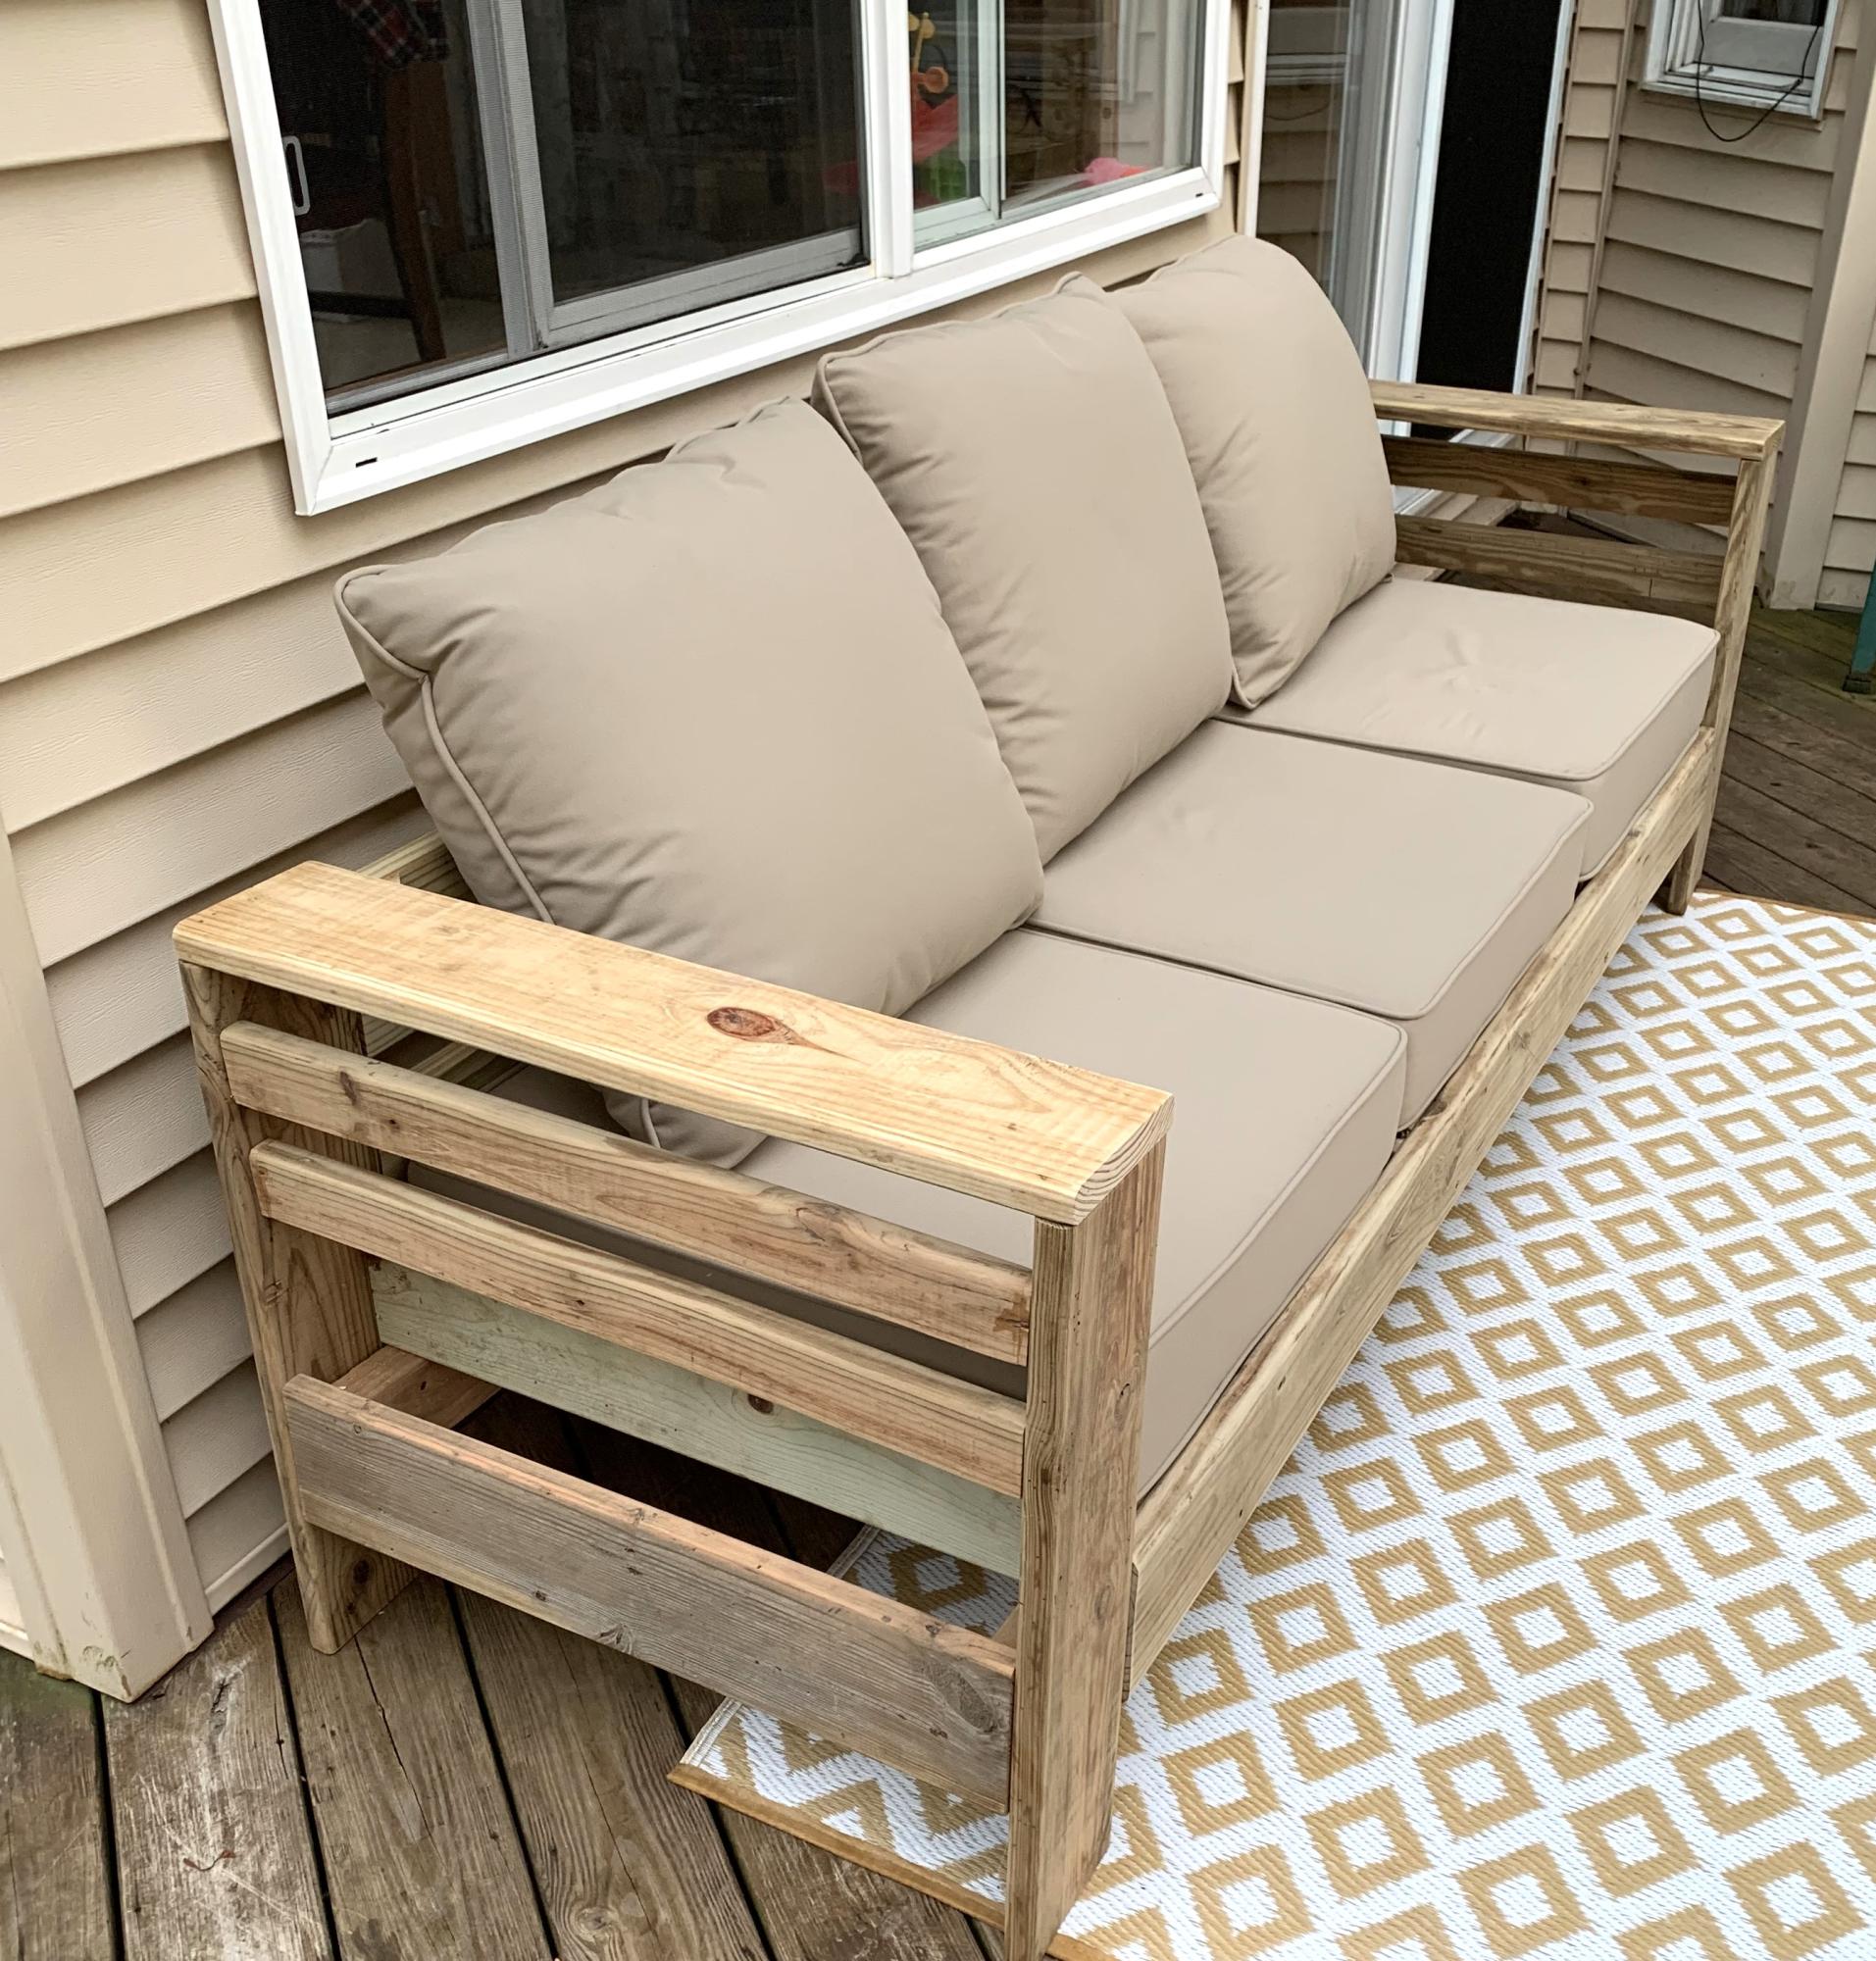
We had a small deck with many rotted boards. The contractor who demoed it, knowing my interest in diy projects, sorted out any usable boards. I loved the idea of an outdoor sofa, so altered your beautiful pattern to accommodate decking boards - I literally only had to purchase 2 boards for the entire project! I’m so thrilled with how it turned out! Thank you!!
Camey Brown
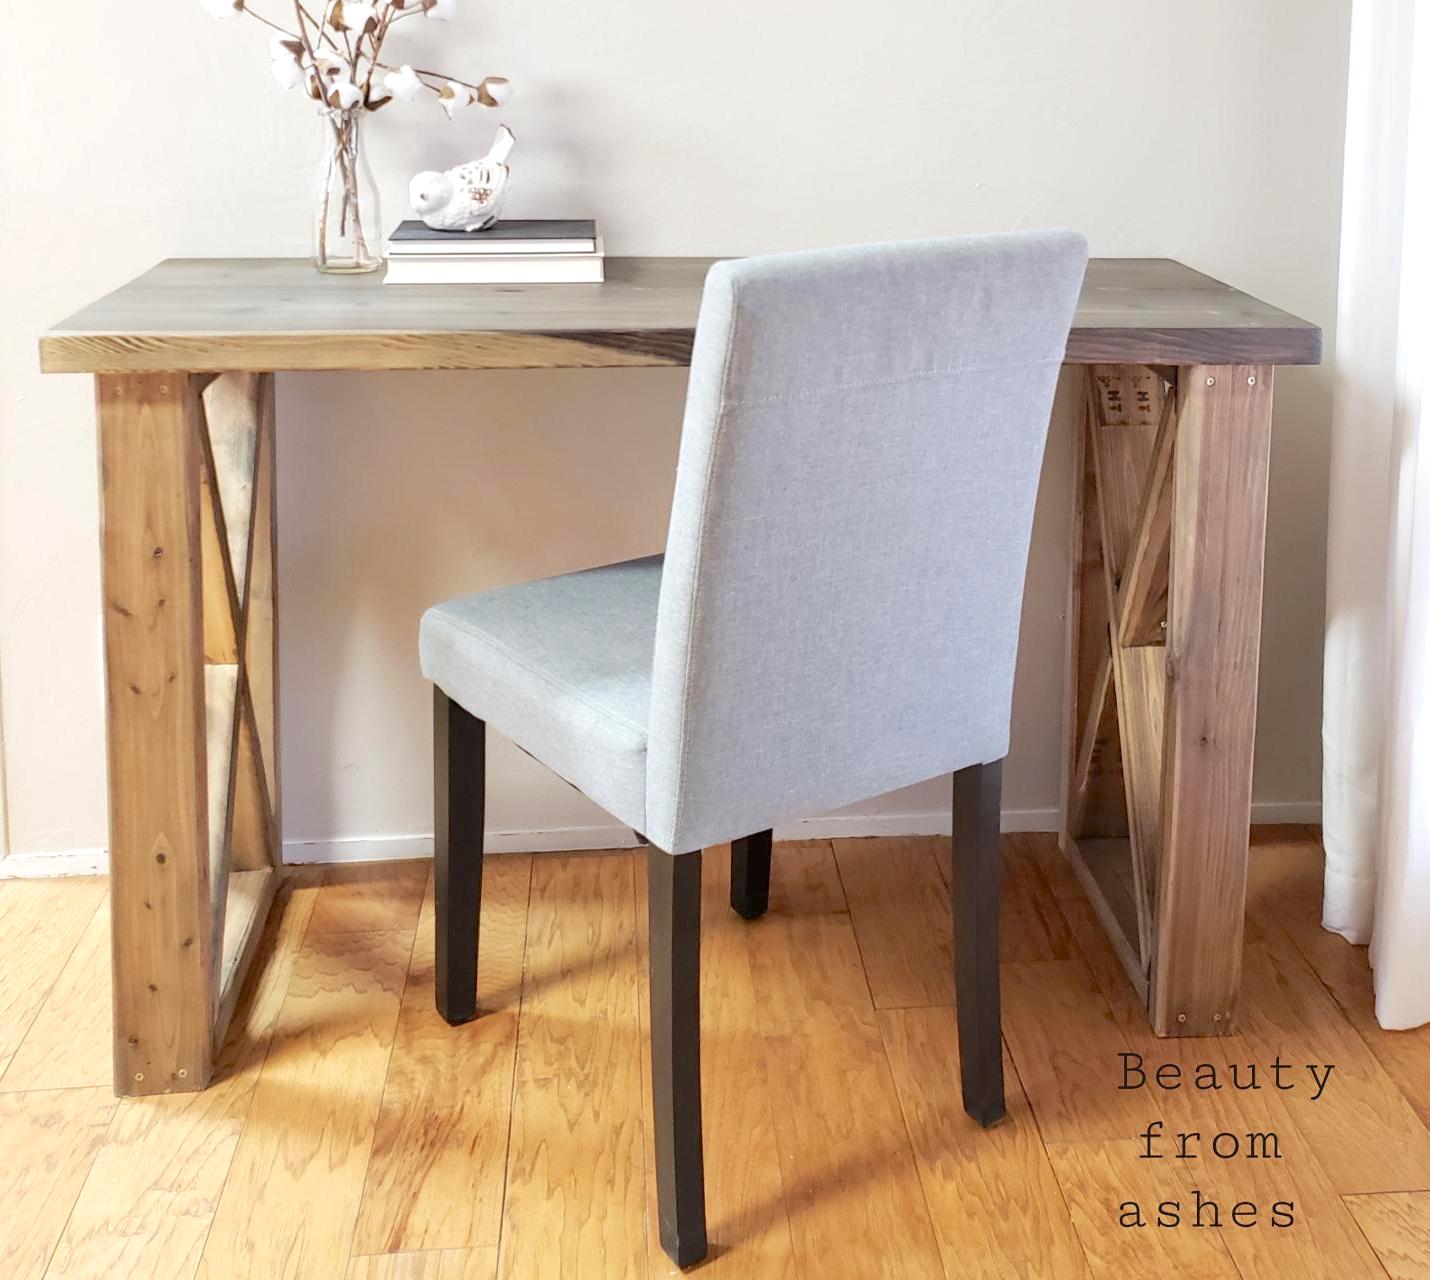
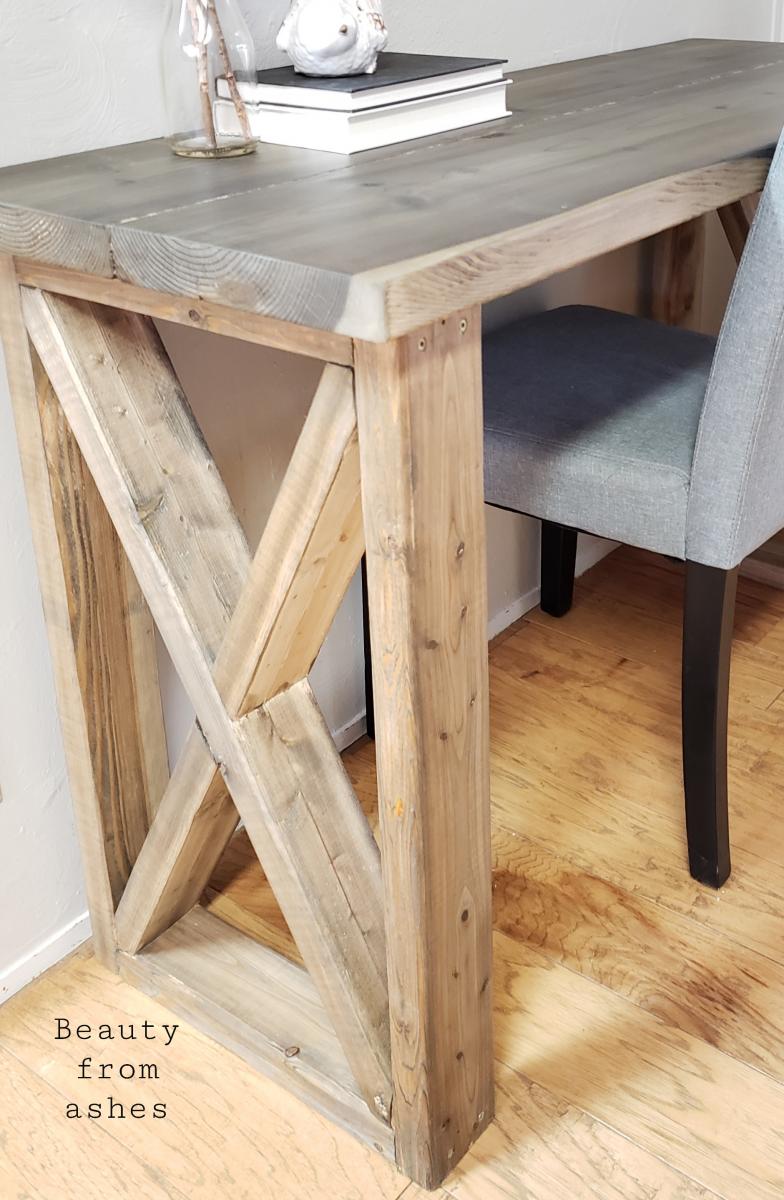
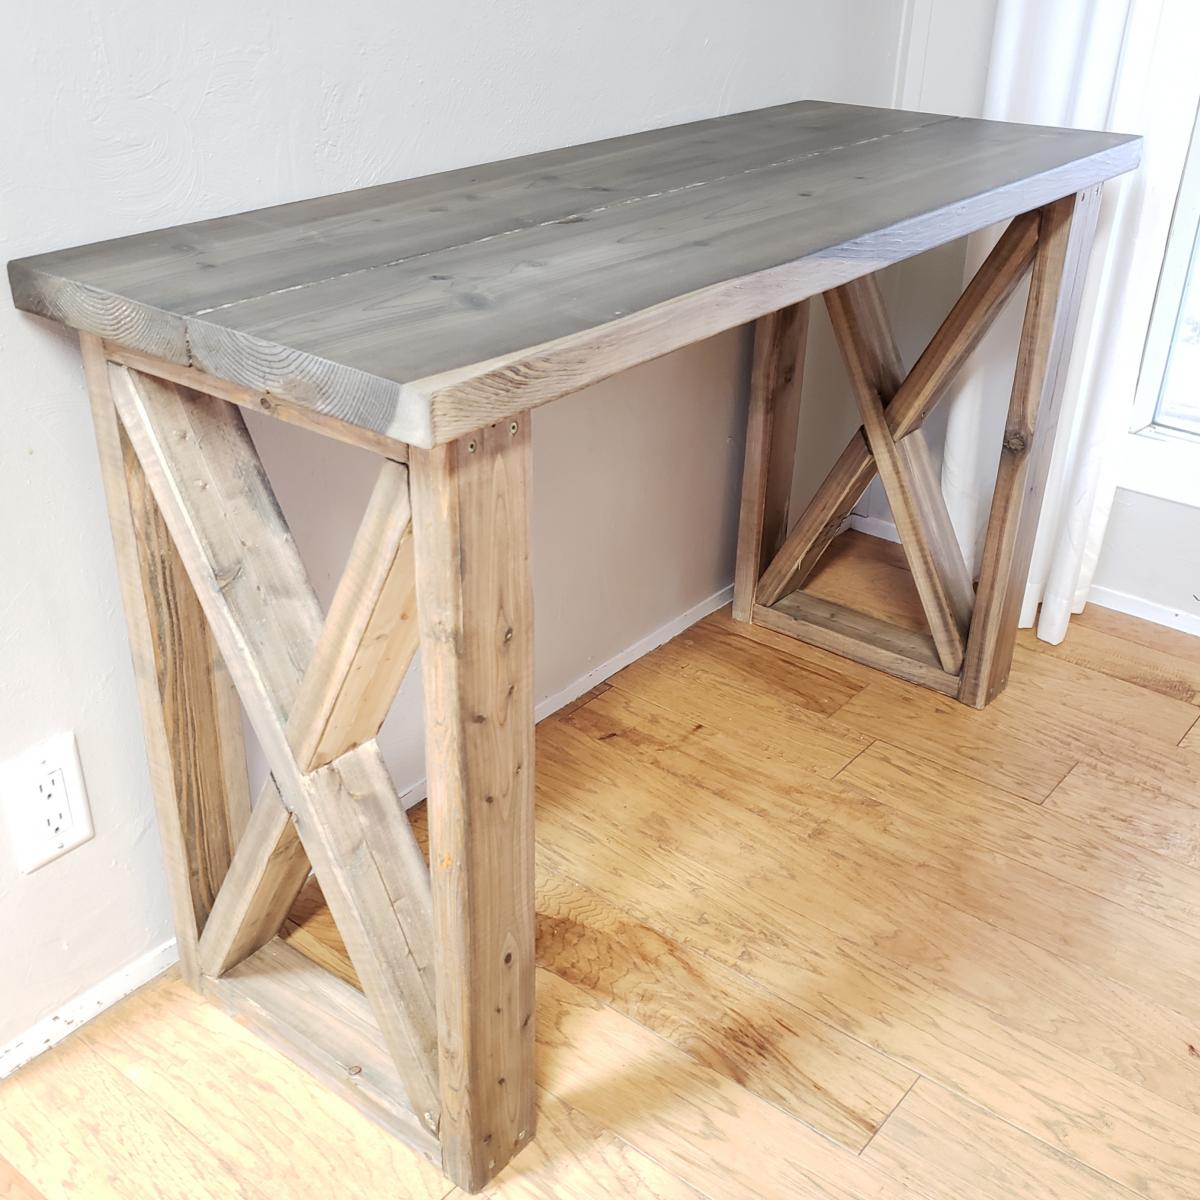
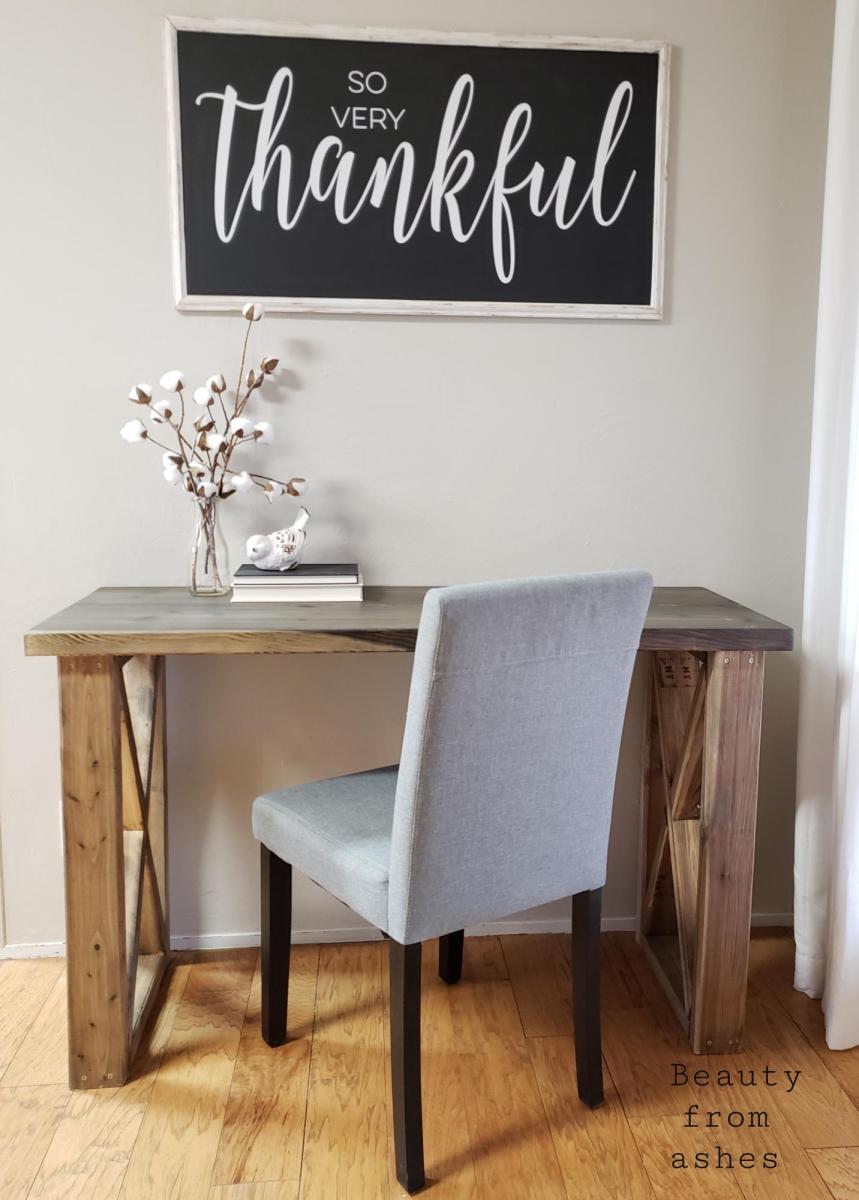
I built this table for my son to use as a "Lego building station" in his room. I made it narrower (18" deep) x 4' long to fit along three wall in his small room. I had some trouble chiseling out the piece for the "X" part to interlock and ended up just cutting the piece through like Anna does with her "$40 farmhouse coffee table", which worked well. I sanded and then stained using homemade vinegar and coffee stain and sealed with water based polyurethane in matte finish.
Thu, 07/09/2020 - 16:19
Hi what angel do I cut the wood to make the X shape on the 2 sides?

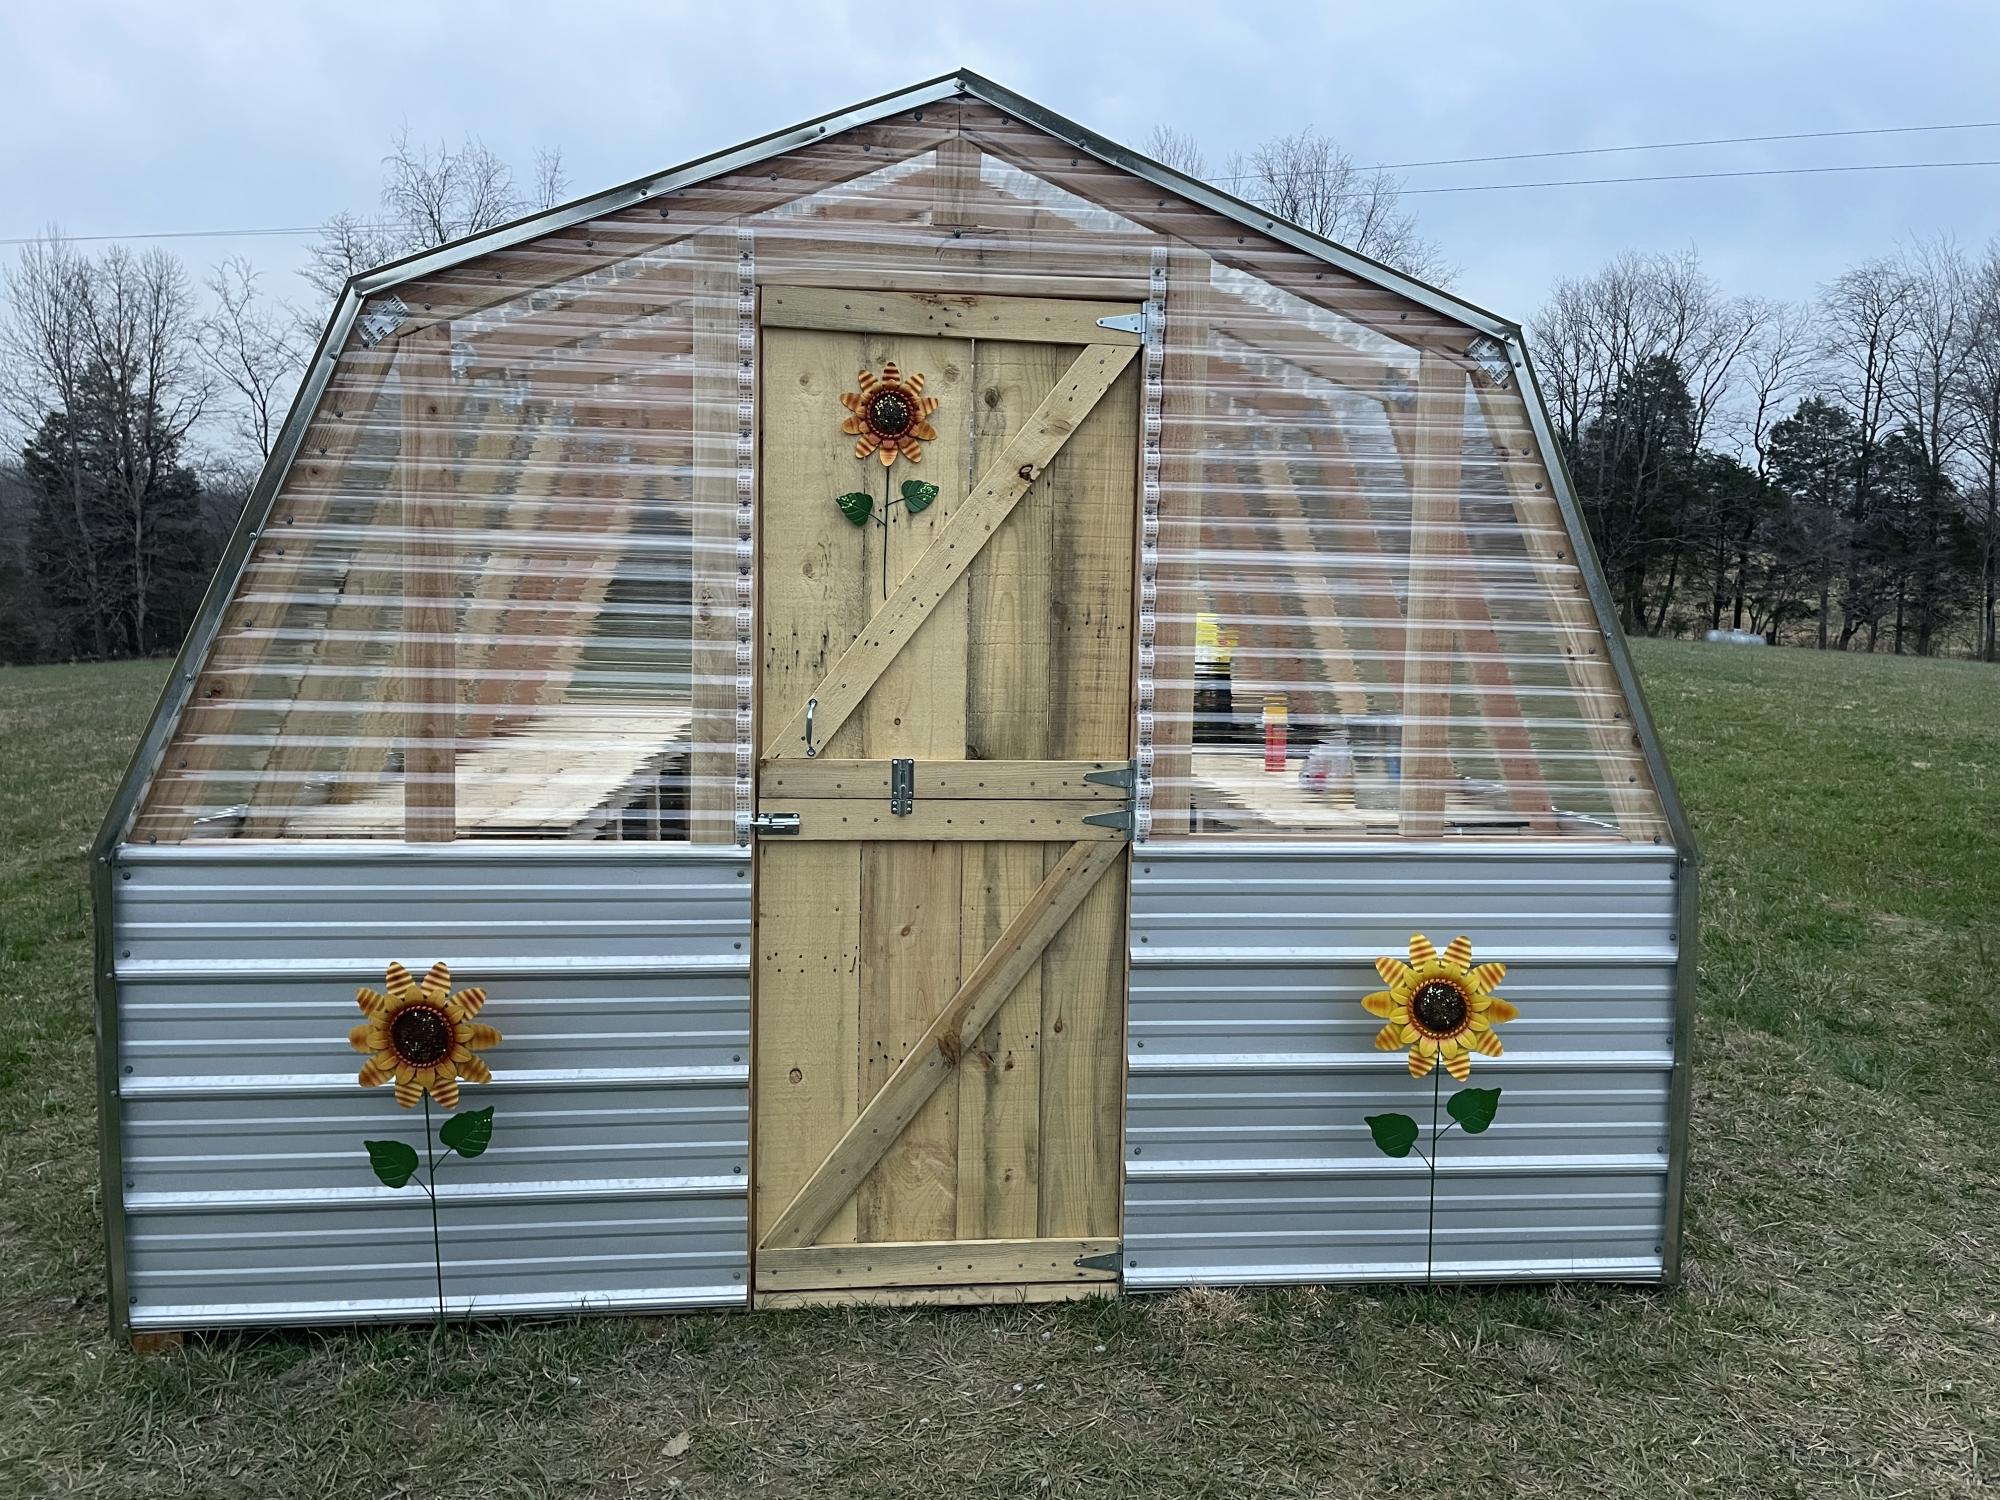
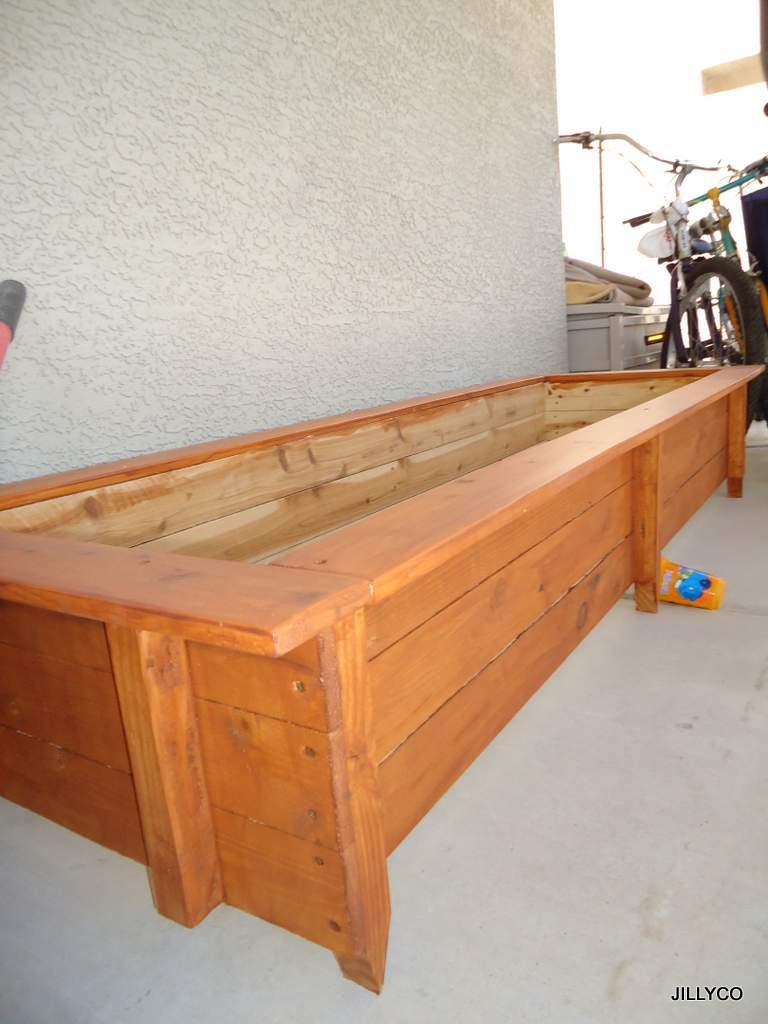
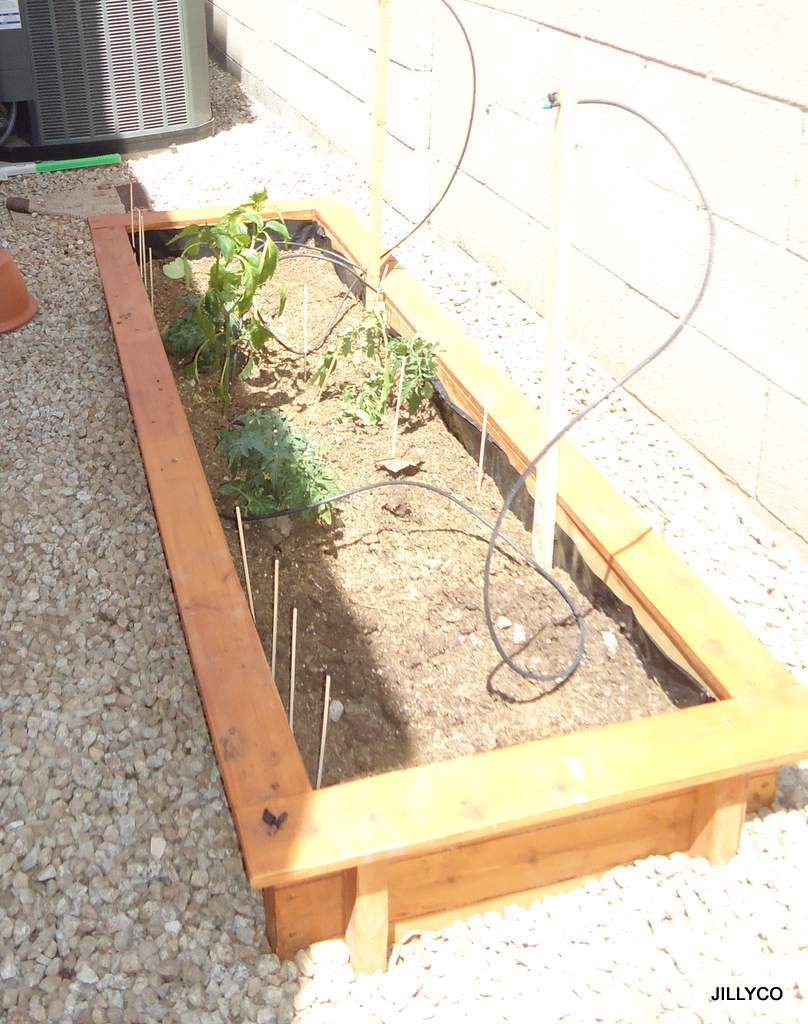
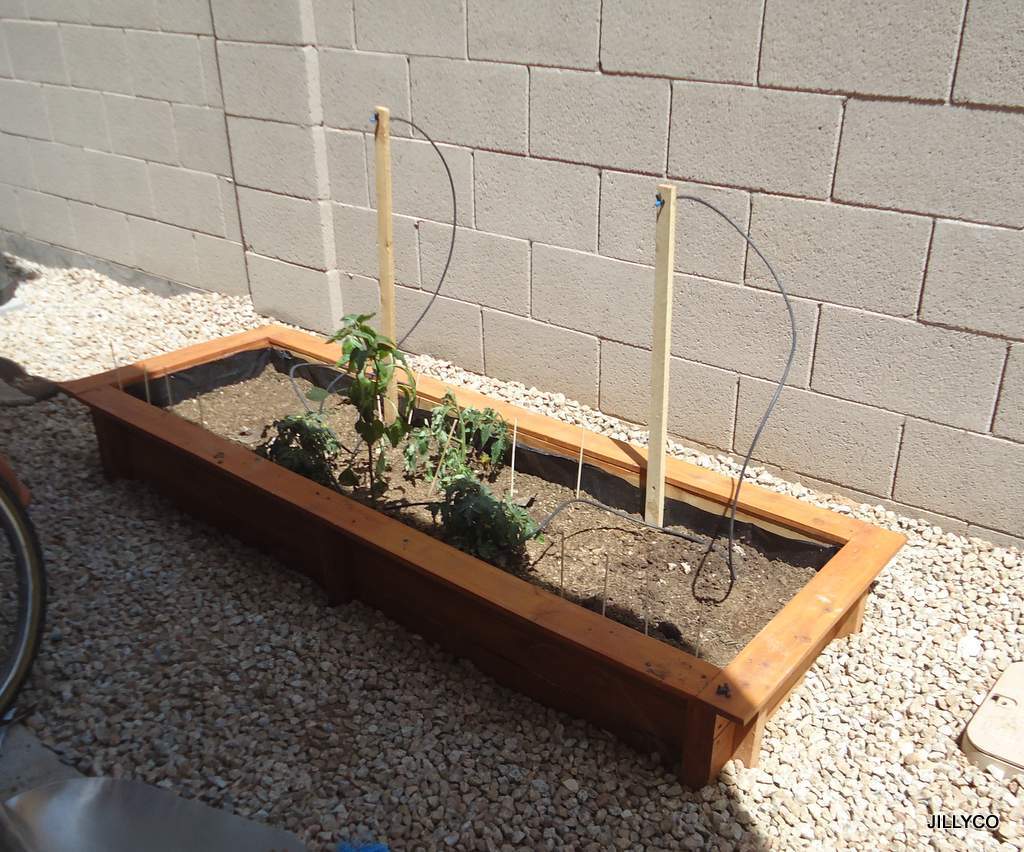
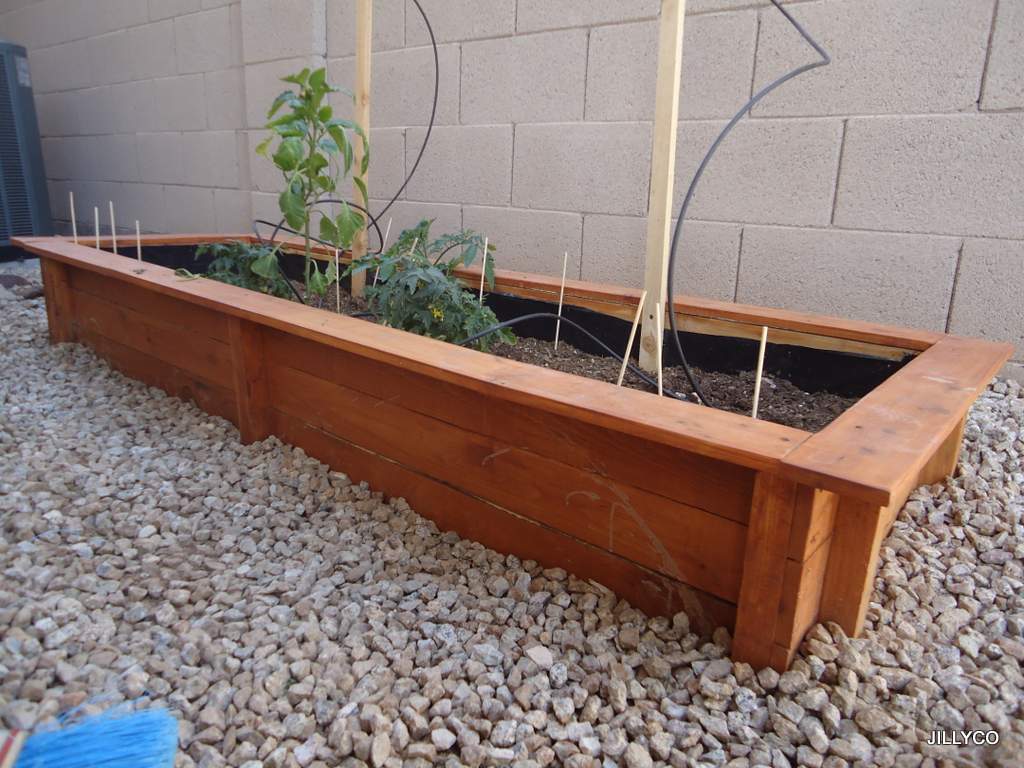
THANK YOU Ana's your plans are a life saver and pocket book saver as well. You make your plans so easy to follow and use. For my project I used the cedar fence pickets and redwood 2" x 2" stakes that where on sale at the orange box store for "6 pack bundle" for only $.50 each. All I can say is SCORE! ;') Since we live in Arizona I treated all the lumber with a outdoor weather proofing wood finish (Cedar Color), lined all the interior beds (only the Wood Sides) with 4 mil plastic to keep the cedar from absorbing all the water and wired mesh on the bottom of the garden prior to adding dirt. This keeps my local rabbits/other creatures from eating my roots from the bottom up. And I have my dog from the top side. We are already a 100 degrees here and we needed to get our seedlings in a garden asap. Thanks Again for the Plans, Ana! I will be making more of these garden boxes to come.
Thu, 08/08/2013 - 09:39
Love this! We are new to Phoenix - originally from the Midwest - and I really would like to add some raised beds to our backyard. I appreciate your comments on how you adapted these for the desert! May I ask what side of your house they are on? I'm thinking to put mine on the east side so they get morning sun, but not the scorching afternoon rays. Thanks for your AZ advice!