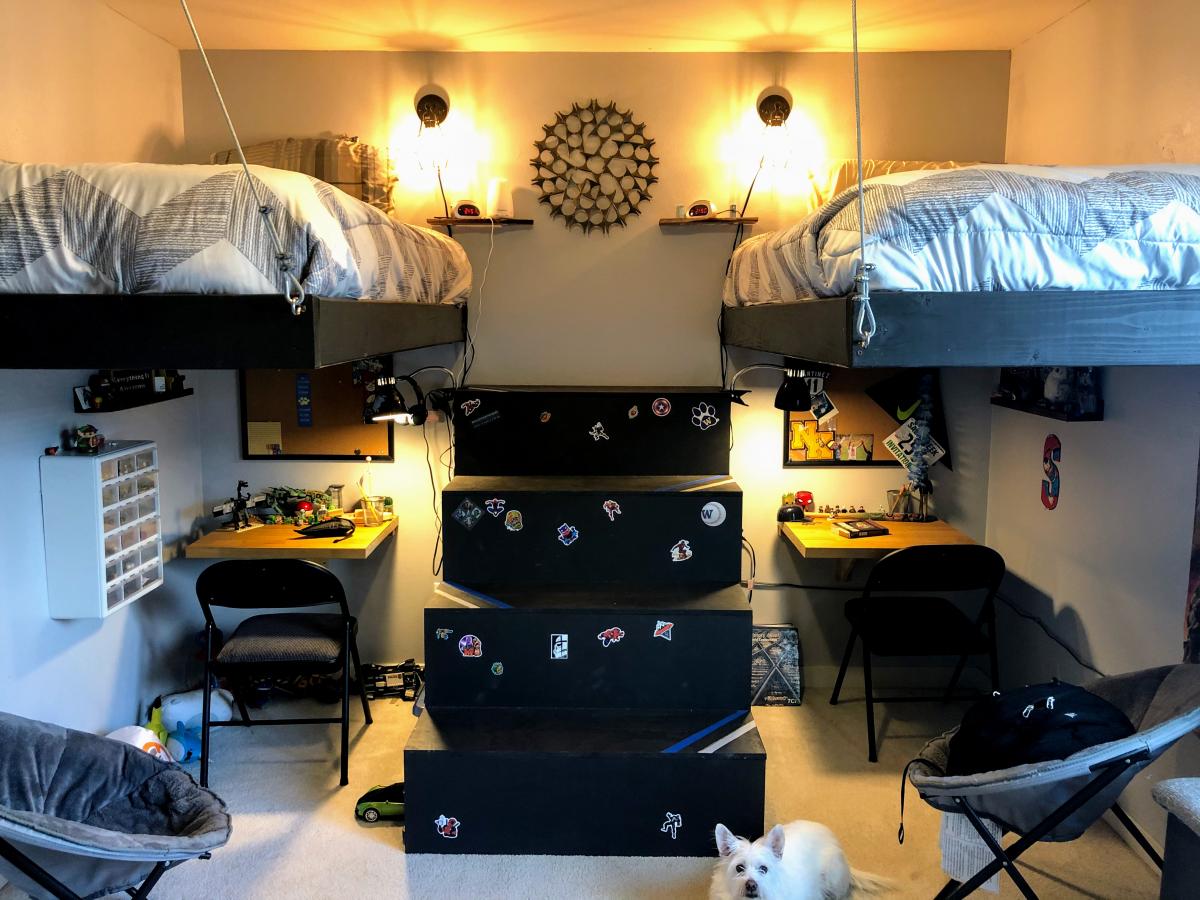
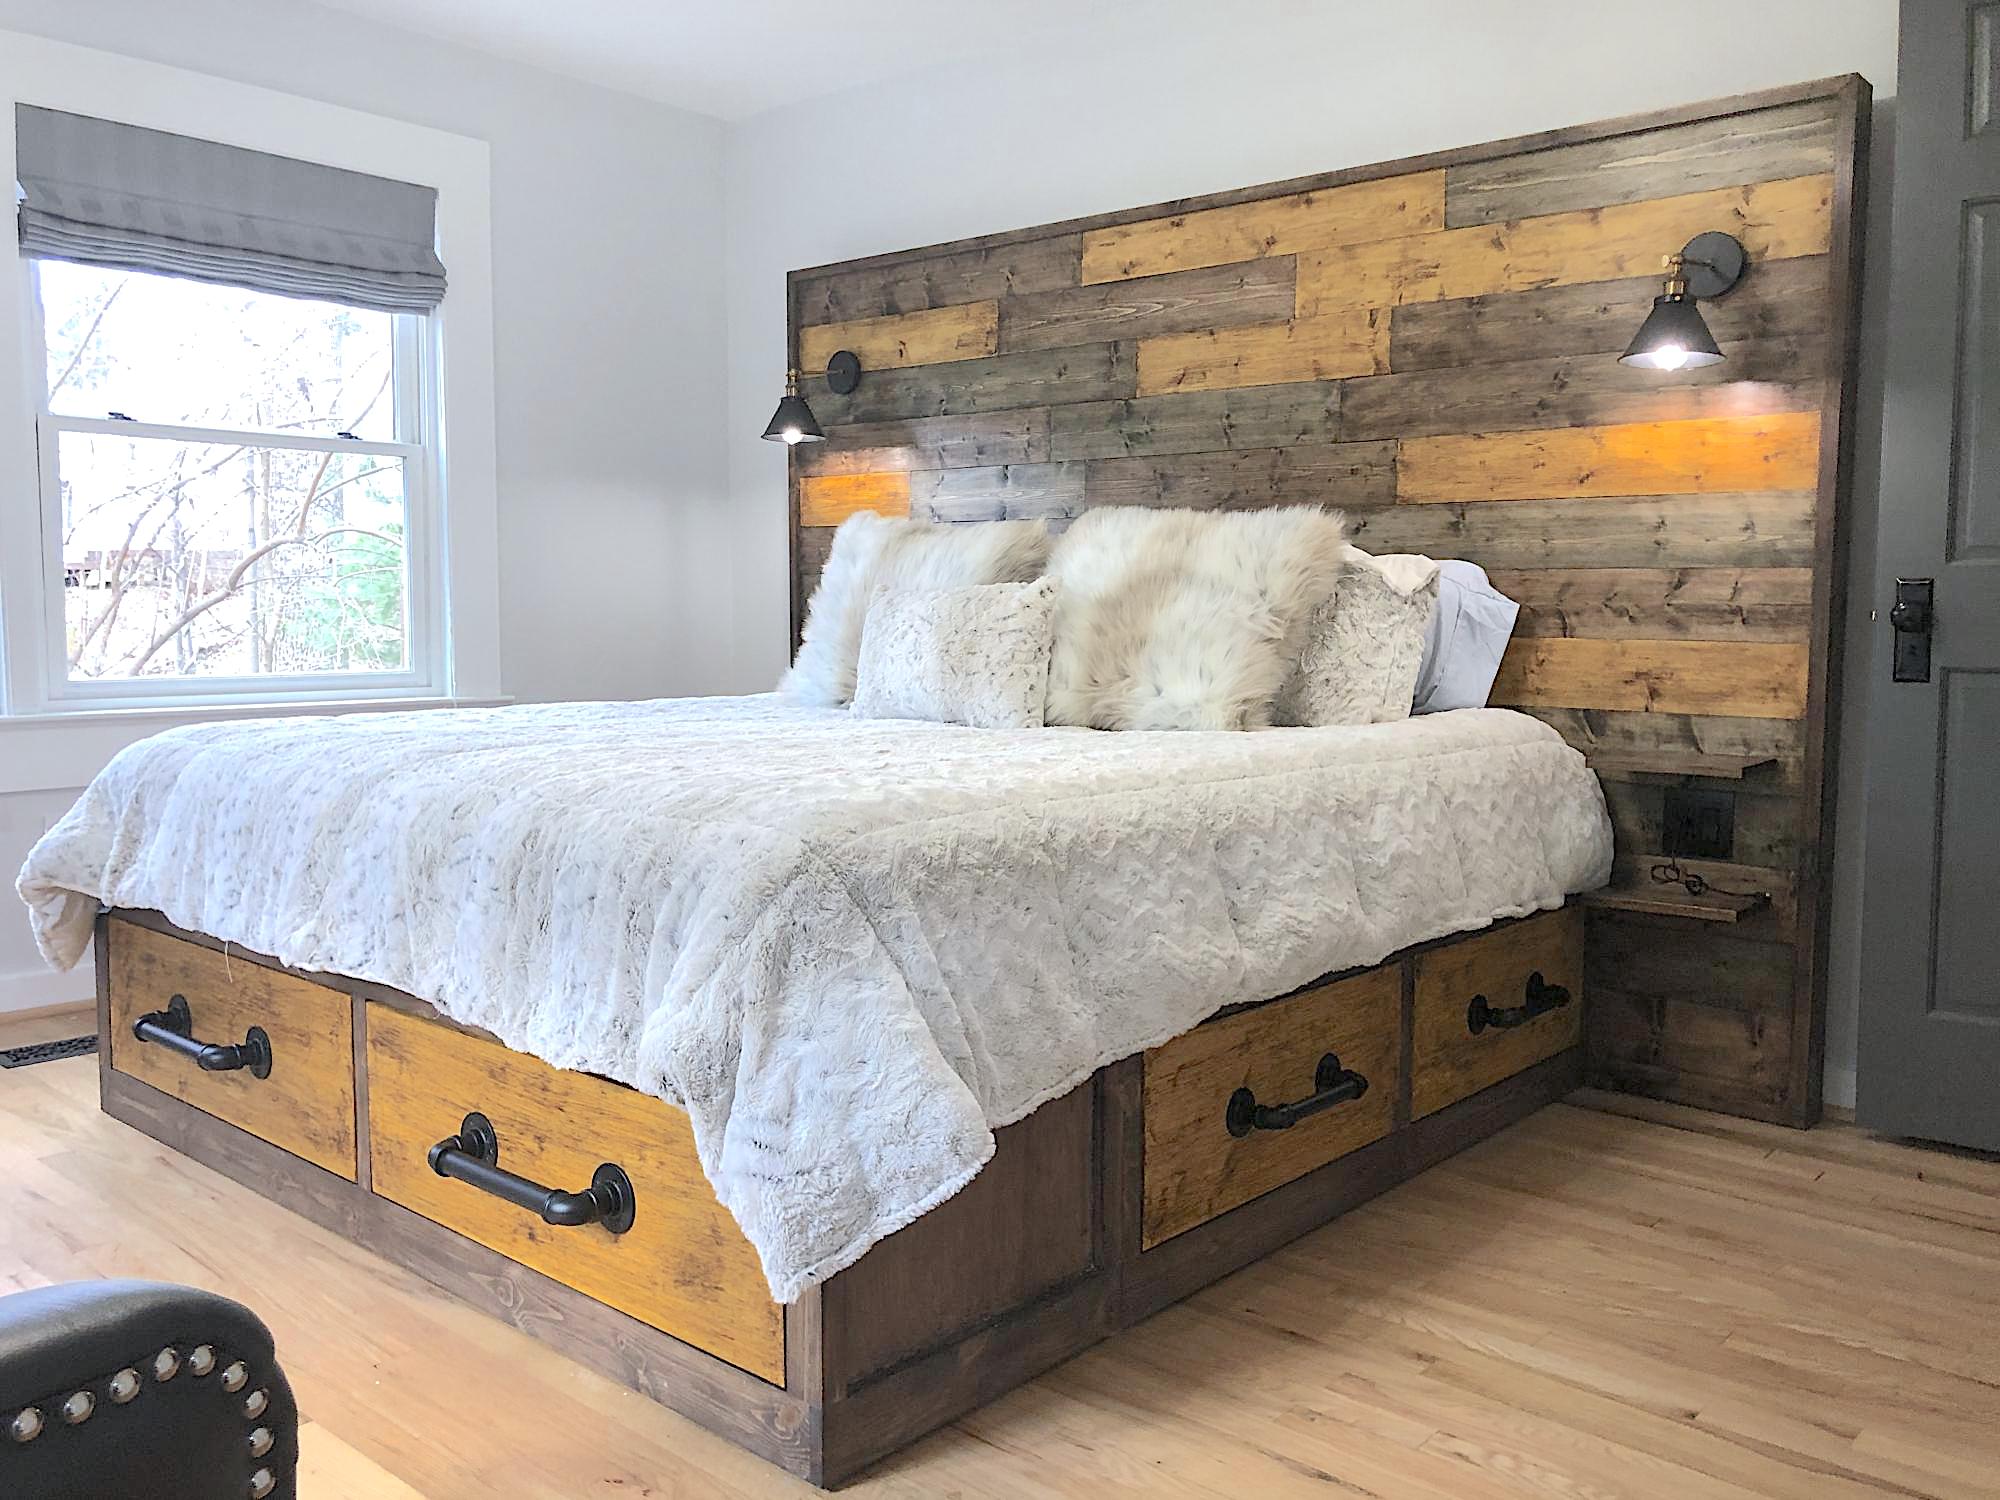
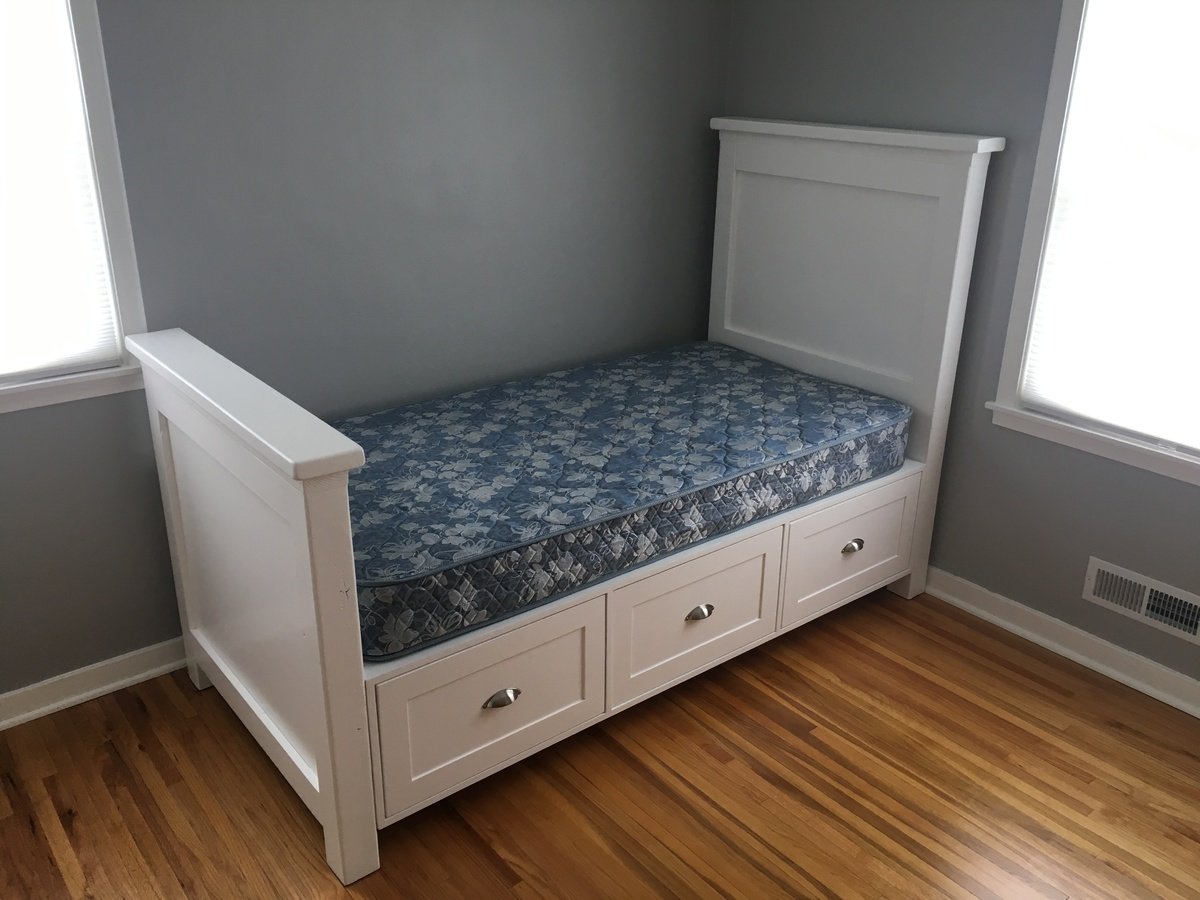
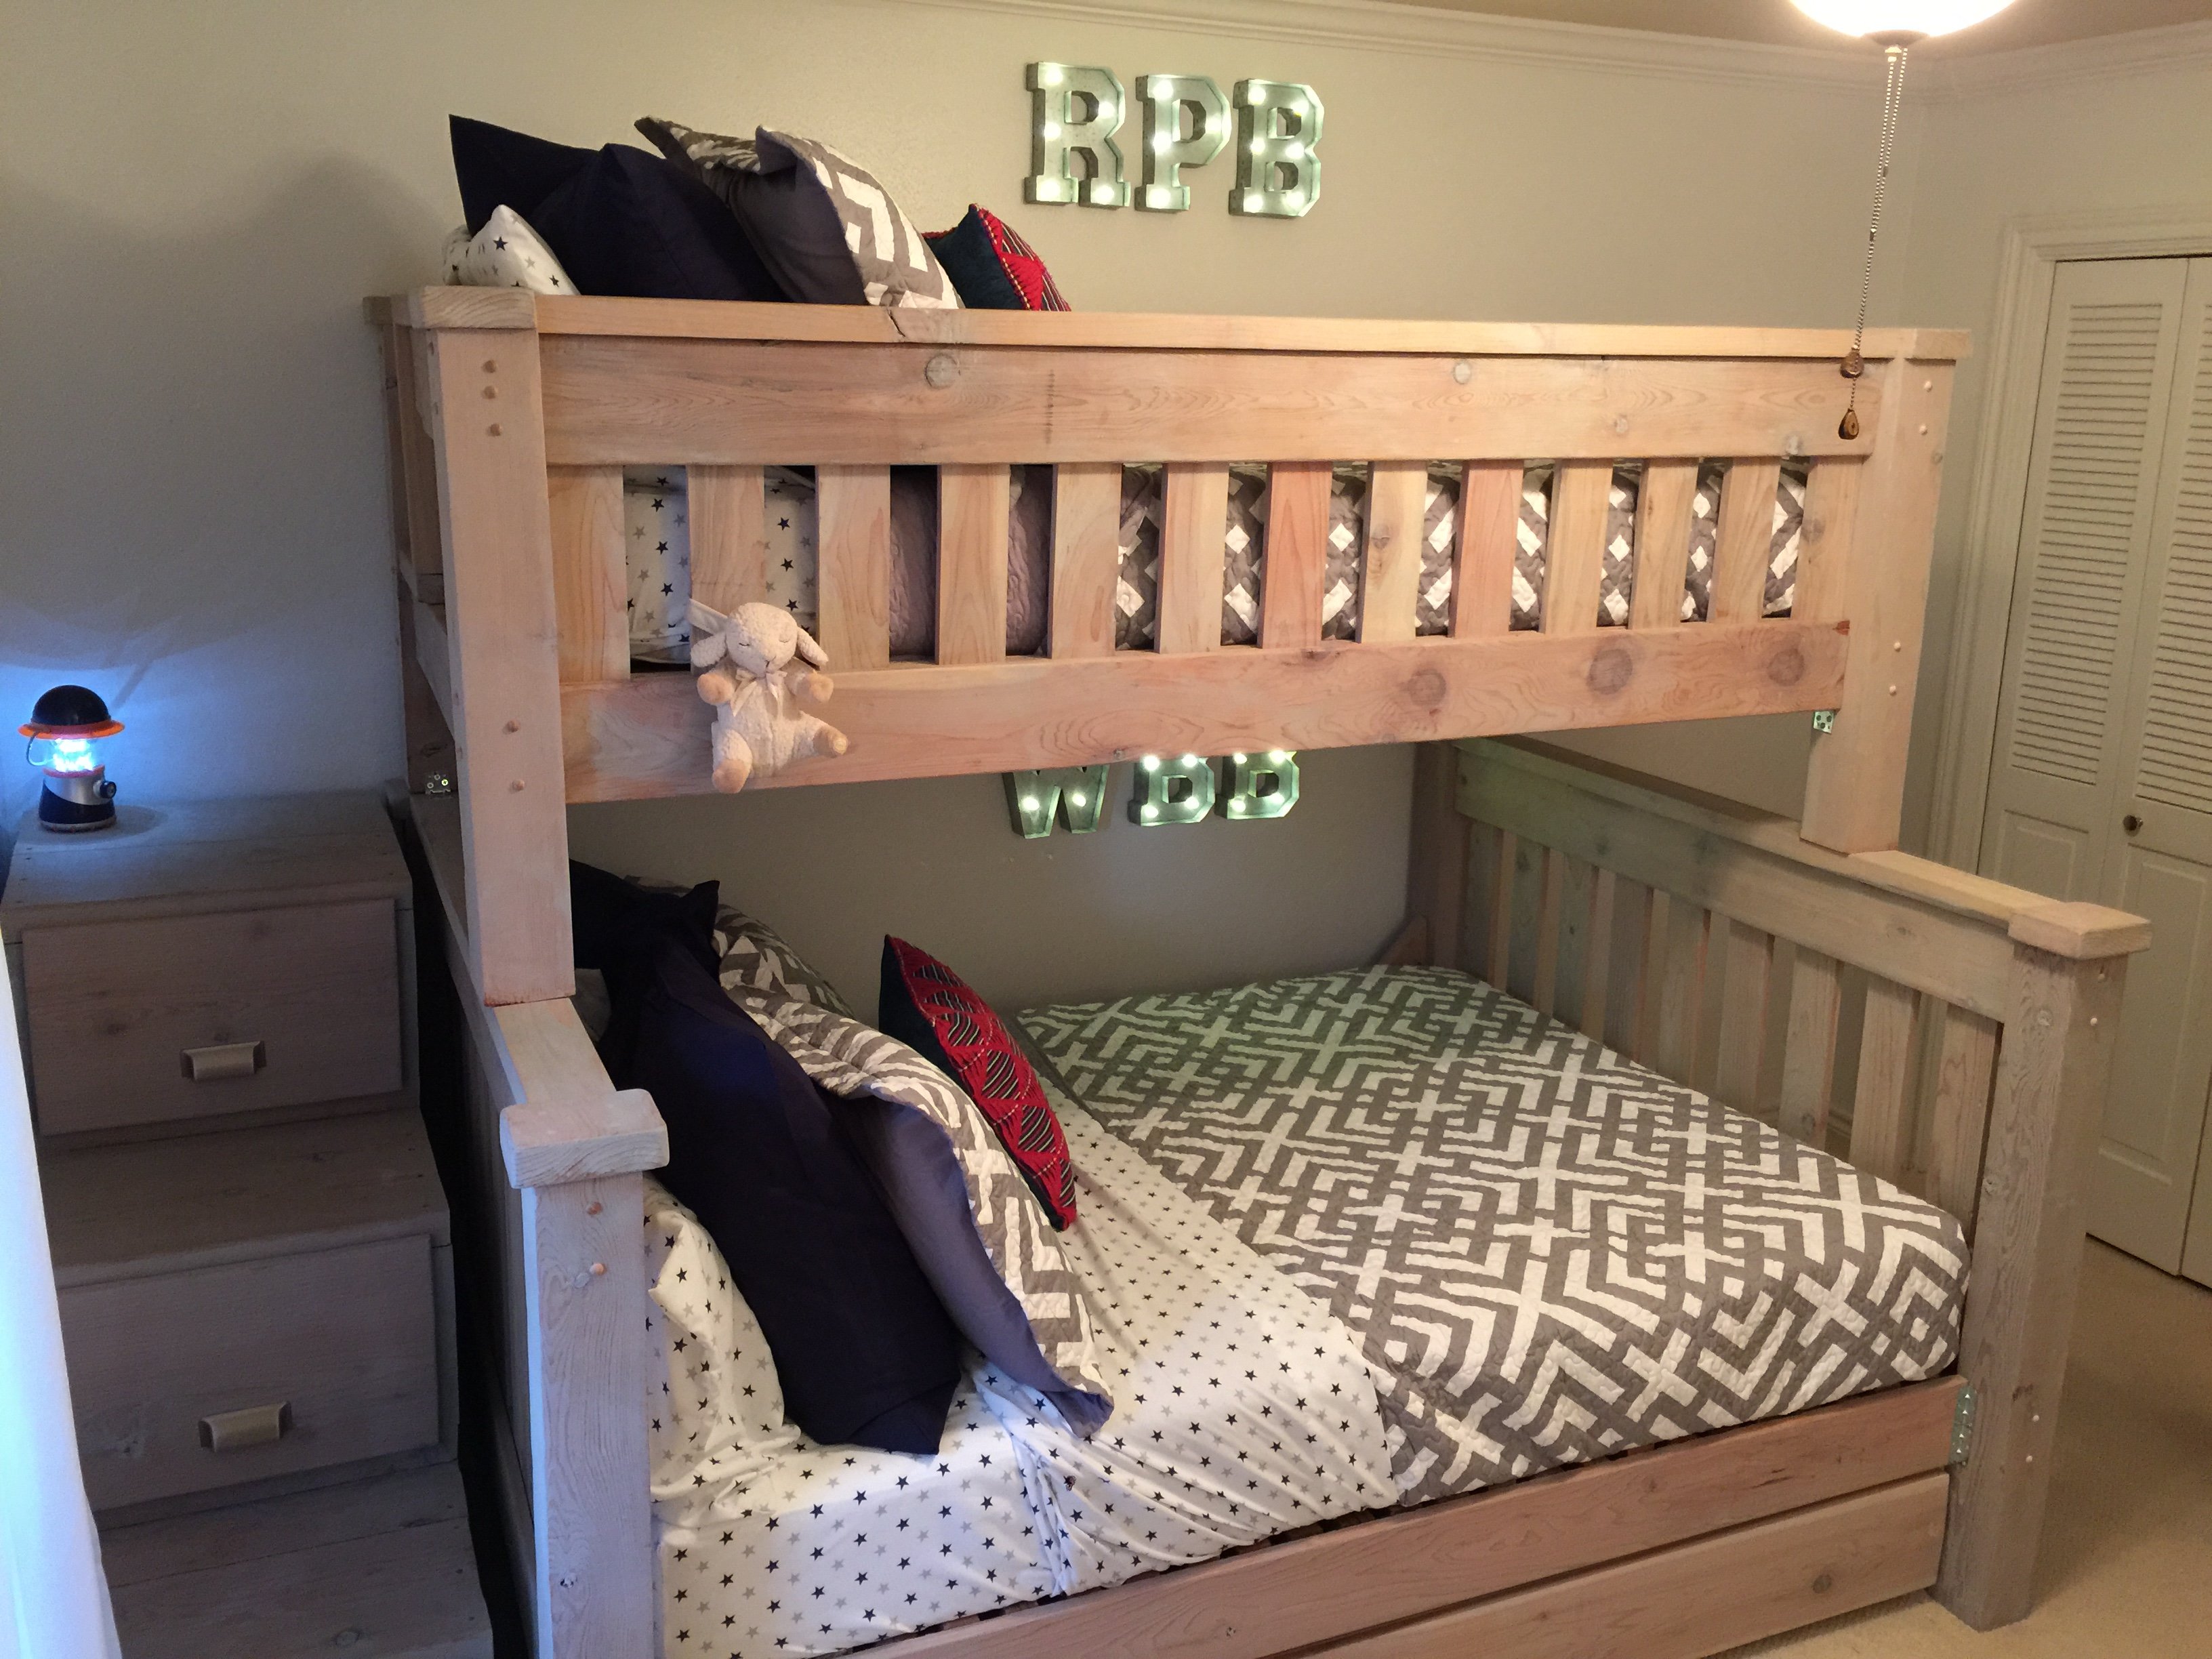
Boys room with Hanging Beds

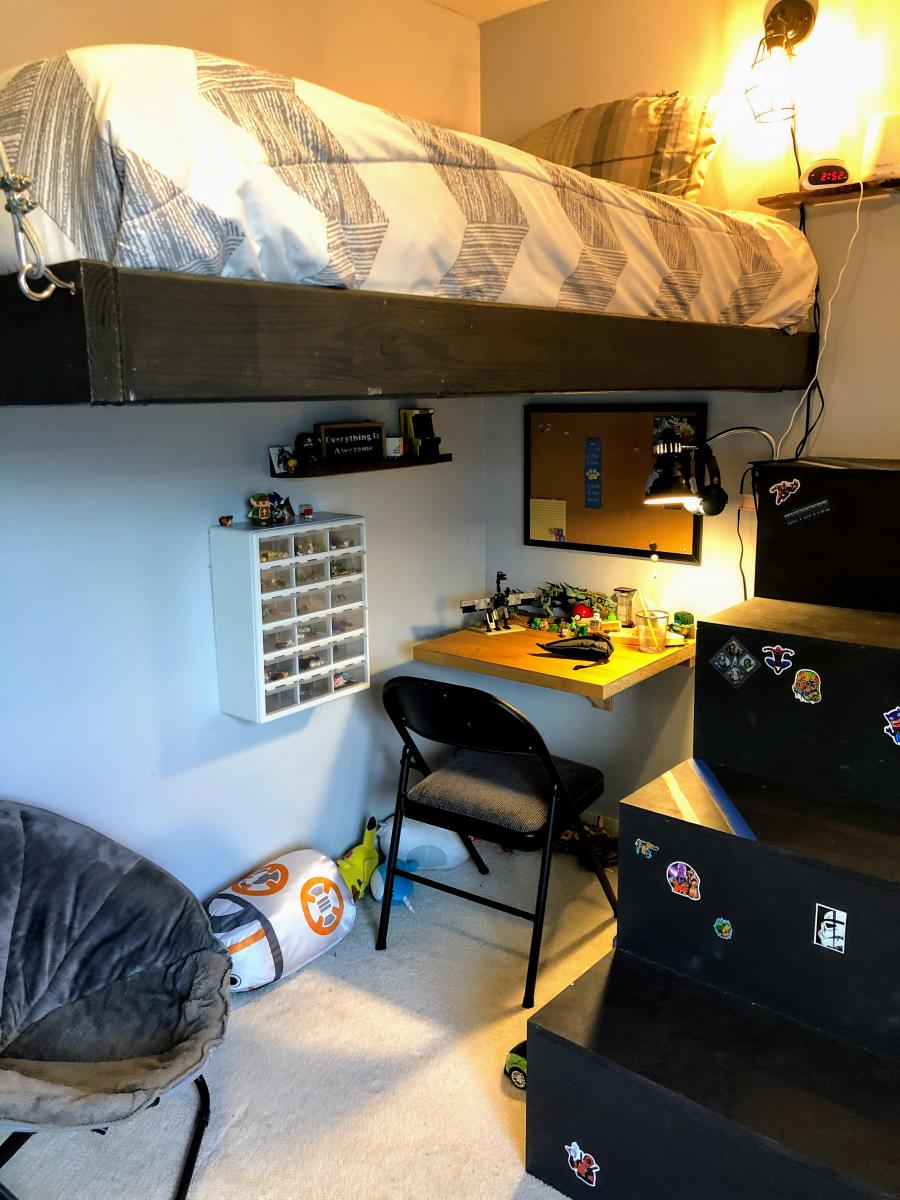
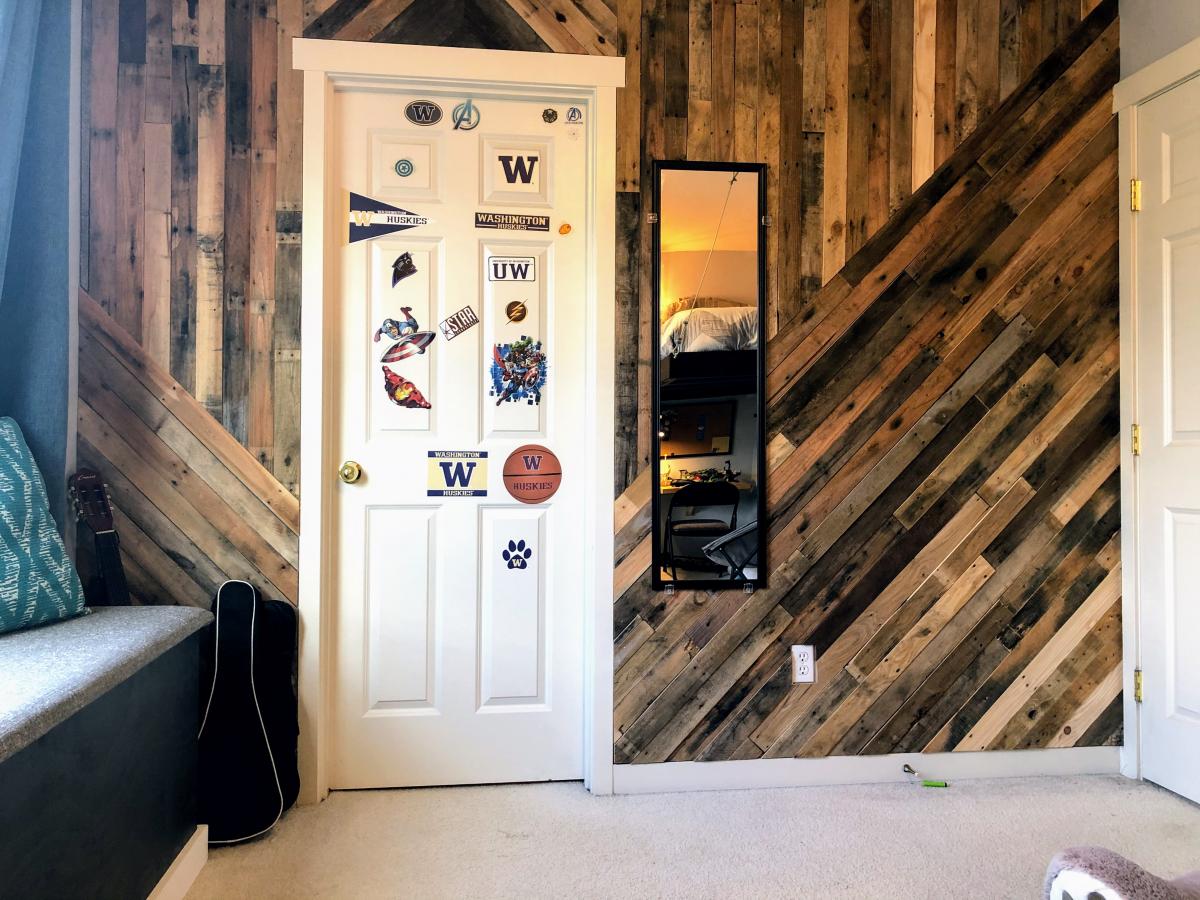
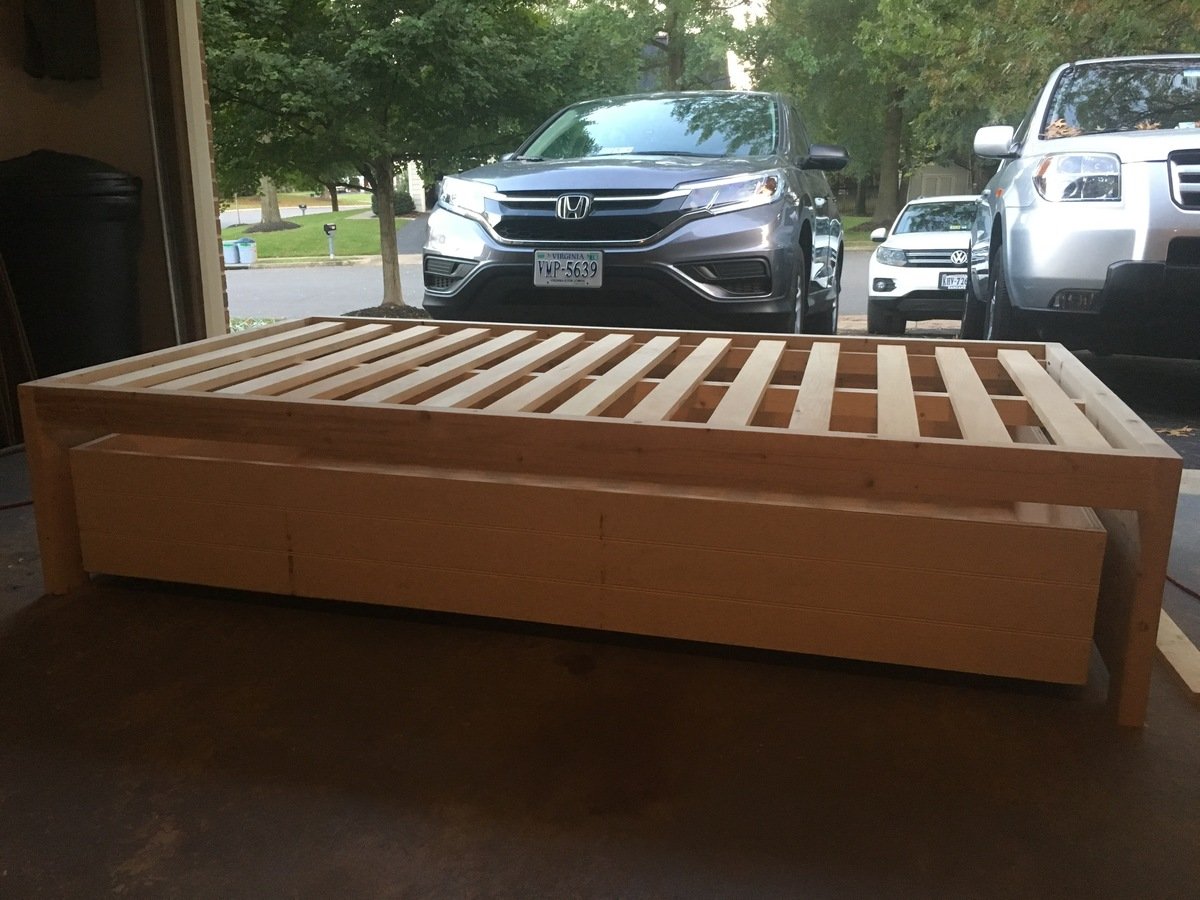
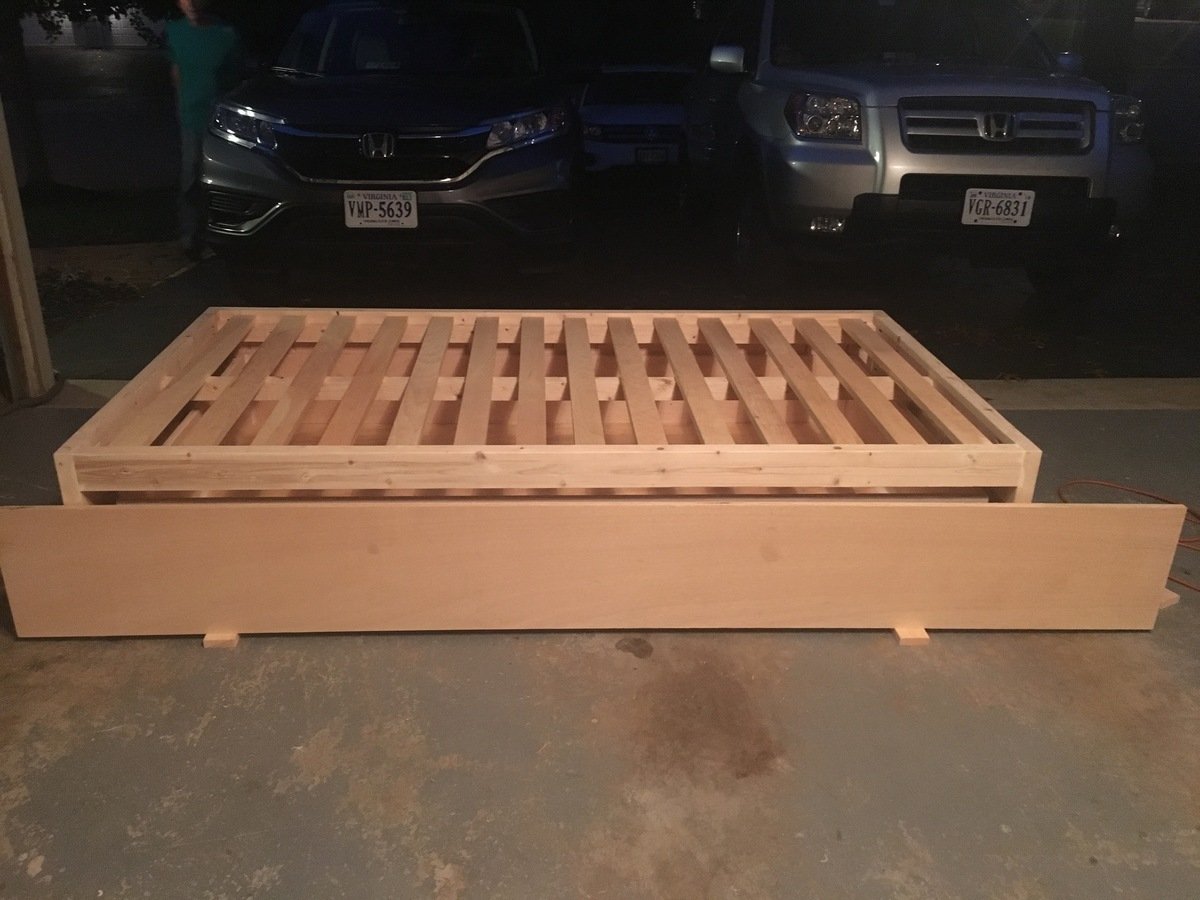
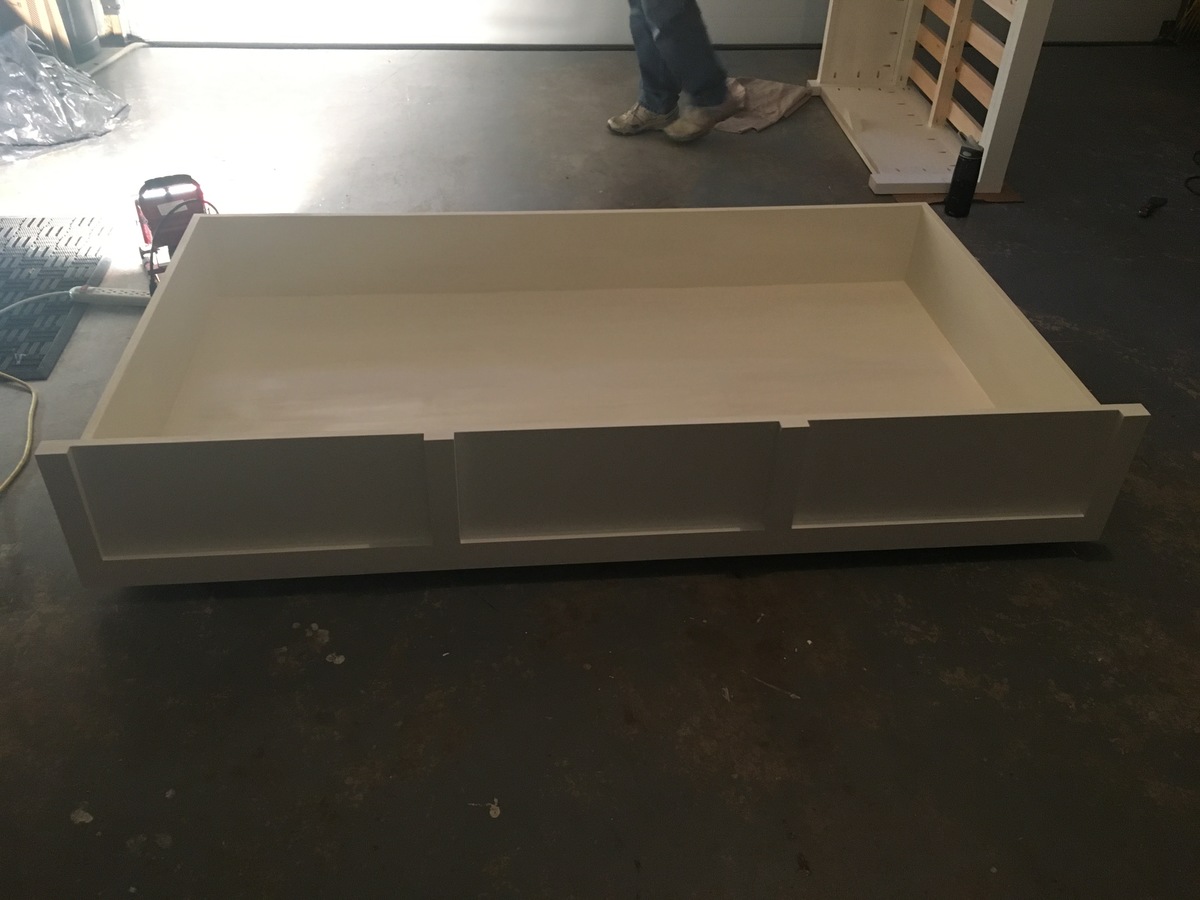
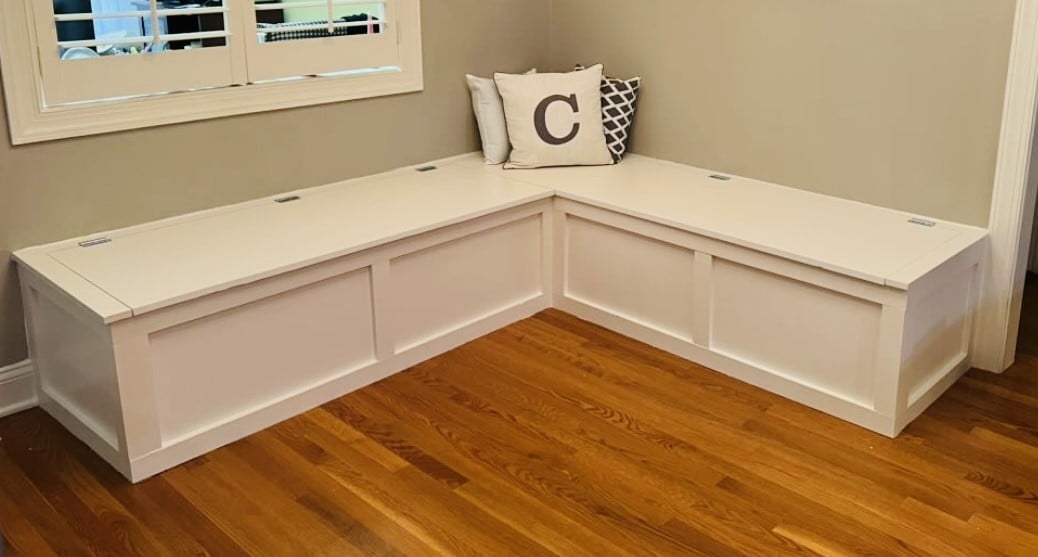
This is a room that we redid so that our two boys that shared the room could have a room that felt more age appropriate and allowed for better function. They have always had to share a room but have never had the space to have desks or much seating. So we hung both their beds from the wall and the ceiling allowing them to have some space under the beds for storage and a small desk. Having the beds up high keeps the area under the bed much cleaner. We also built a window seat for storage and used pallet wood to create a feature wall. The stairs between the beds also have storage accessible from both sides for books and toys. We did the same basic thing in the other boys room but had to do two sets of stairs because of the layout of the room. The stairs were built from a modified version of the Sweet Pea Garden Bunk Bed Stairs. http://ana-white.com/woodworking-projects/sweet-pea-bunk-bed. The beds we just basically took the legs off the beds we had and added braces in the corners.