Community Brag Posts

Ladder planter

Submitted by Anonymous (not verified) on Tue, 04/05/2016 - 15:26

Had a blast building this for my mother. Only problem now is everyone in my family wants one!

Estimated Cost
$20
Estimated Time Investment
Afternoon Project (3-6 Hours)
Recommended Skill Level
Beginner

Easy to Build Workbench

Submitted by Anonymous (not verified) on Thu, 08/17/2023 - 13:40

Easy to build workbench. I added an extra 2 1/2 inches (width) to the top plywood cut. This gave me a 1 1/4" lip to the front and back sides. I wanted to be able to clamp on all sides of the bench. Also added casters since I wanted to use this as an outdoor table for entertaining if needed and to simply have mobility with the bench. So far I love it!

Bed made to order - Twin XL

Submitted by kjoslyn78 on Sun, 12/22/2019 - 10:40

My daughter has a twin XL bed, which we had been unable to find a frame for since getting it. After 2 years of her mattress and box springs on the floor, this plan came out and a plan was hatched to get it made. The biggest change we needed to do different from the twin plans was to make the side rails and the side rail cleats 5" longer to accommodate the XL length. We also added a middle support to keep the side from bowing out, and the cleats are at the bottom of the siderails, as we are using a boxpsring and mattress. 

Estimated Cost
$110
Estimated Time Investment
Weekend Project (10-20 Hours)
Finish Used
I dont remember what we finished with, but the kid spilled half the can in the grass :)Photo is after sanding, and before finish
Recommended Skill Level
Beginner

Comments

amymarie02

Mon, 03/28/2022 - 09:47

Hi do you have the measurements and what to buy for this bed frame? We also have a twin xl mattess and cannot find a frame anywhere

Entry table using Cottage Media Table plans

Submitted by KelleighW on Wed, 04/18/2012 - 15:17

I used the Cottage Media coffee table plans and modified the length and height to suit for the space I needed. Ana's plans were super easy to follow and am pleased with the end result.

Estimated Cost
$100
Estimated Time Investment
Weekend Project (10-20 Hours)
Finish Used
Chocolate Walnut
Recommended Skill Level
Beginner

10 foot long Provence Table with 4x4's

My mom was looking for a new outdoor table, and asked me to come up with something. I found the link for these plans (http://www.thedesignconfidential.com/2011/04/free-diy-furniture-plans-t…) to knock off Restoration Hardware's $4000 Provence Beam outdoor table. Overall I liked the plan, with the chunkier look of the 4x4's. But there were a lot of errors in the diagrams, and the finished height is 34" which is ridiculously tall for a table. So we took it apart and cut the legs back down to change the finished height to 30". We chose rough-cut cedar for it's look and outdoor properties, not wanting to use treated lumber for a dining table. We couldn't find 2x10's like the plan, so we substituted seven 2x6's just like Ana's plan, but left a 1/2" gap in between so water can drain and not pool on top and rot the wood. Also, since we were working with 4x4's for the legs, we chose heavy duty lag bolts instead of screws to join them together. I love the finished look they give. Overall it's a sturdy, yet lightweight table that my mom loves and has already used for entertaining!

Built from Plan(s)
Estimated Cost
$230
Estimated Time Investment
Day Project (6-9 Hours)
Finish Used
outdoor sealer
Recommended Skill Level
Advanced

Comments

brookifer86

Wed, 04/25/2012 - 10:02

Thanks Brook! It was so much fun to build. I put my dad and husband to work while I was the "project manager" ;)

Shoe Rack Bench

This was my very first woodworking project. I definitely made some mistakes but nothing major, and I learned! This was really fun and straightforward. I’m very happy with the results. Plus it’s a very solid piece. It took me awhile because of the dry times for the stain and finish. Everything else was pretty quick, though. 
When staining, I just covered one side at a time and quickly wiped it away to get a more rustic look.

Built from Plan(s)
Estimated Cost
$35
Estimated Time Investment
Week Long Project (20 Hours or More)
Finish Used
Minwax Wood Finish - Penetrating Stain - Ebony 2718 - Apply and wipe away within a minute for the rustic look
Minwax Fast-Drying Polyurethane- Clear Satin - 2 coats
Recommended Skill Level
Beginner

Chestwick Queen Bed

Submitted by maw0130 on Tue, 06/05/2012 - 19:29

Built this as a platform bed for guest bedroom. Nice, sturdy bed.

Estimated Cost
150
Estimated Time Investment
Afternoon Project (3-6 Hours)
Finish Used
Stained
Recommended Skill Level
Beginner

Comments

Niki Maddux (not verified)

Sat, 09/29/2012 - 04:11

I Love this Bed. Would love king size dimensions. This is exactly what I have been looking for.

Dollhouse

Submitted by keribeth on Sat, 07/07/2012 - 05:46

I combined my favorite elements from three of Ana's dollhouse plans to make this dollhouse for my kids. My favorite part is the stairs, which I cut from a 2x4 with a miter saw. I made this project from start to finish in one day while the grandparents took the kids, and it was ready for Christmas morning! I made simple furniture for it, too, which you can see in the second picture.

Estimated Cost
~$20 (I used some scraps)
Estimated Time Investment
Day Project (6-9 Hours)
Finish Used
linseed oil
Recommended Skill Level
Intermediate

Comments

Jerika

Wed, 02/11/2015 - 06:35

Is there any way you could email me the plans you used for the furniture? or just individual pictures of the furniture? [email protected] (you may wanna copy and paste that people always get it wrong, haha).
I LOVE THIS

MissM

Wed, 07/10/2019 - 04:08

I know this is an oldie but if you have the finals plans I would love to see them!

What a great open dollhouse!

Simple Outdoor Table

Submitted by MrThompson on Sun, 08/14/2016 - 08:30

I was inspired by Handymommy's set, using the arm chairs instead of the standard ones, so thanks to you!

The wood I had was all rough cut 1 x 6's so I had to adjust the plans a bit.

Built from Plan(s)
Estimated Cost
$250
Estimated Time Investment
Week Long Project (20 Hours or More)
Finish Used
Helmsman clear gloss
Recommended Skill Level
Starter Project
Seasonal And Holiday

Garden bed with folding screens

Submitted by Kate_14 on Wed, 05/27/2020 - 09:39

I added folding screens to my garden bed to prevent my dog to go in it. It can also discourage hares, cats and other animals. The folding screens make it easy to work in your garden.

Estimated Time Investment
Day Project (6-9 Hours)
Finish Used
None
Recommended Skill Level
Beginner

Playset Addition

Submitted by Derek S on Wed, 06/10/2020 - 08:27

Decided our old play set needed an addition, landed on these plans of Ana's. Sat on them and mulled them over for months. Once the wife said something about adding on to it I made the purchases needed. Connected the two platforms with a bridge. I used 4"x4"x10' for the runners, same boards as the decking for the platform of the bridge(5/4"x6"), 2x4's and 1x4's for the railing. If you look at the 3rd photo, I had to chisel out the 4x4 post to get the 2"x6"x12" support to fit correctly. This should measure 2"x6"x13". Another change I made was to cut the bottom and top trim pieces longer on the front and back sections so that the trim would cover the framing of the gable end walls (see last photo). my son wanted windows so I faked in some windows with scrap 2x2's. I used 2x6's as supports from the 4x4's to the 2x6 framing (see photo 3) I added the monkey bars about a month before deciding to do the platform/deck and playhouse. The ladder is based loosely off of a couple of plans I found online. I was able to do all of this work myself except for the roof. Need my dads help to lift the plywood, he then helped me with the rest of the roof.

Estimated Cost
$1000
Estimated Time Investment
Week Long Project (20 Hours or More)
Finish Used
I used a dark wood stain fore the house, green exterior paint for the trim and white exterior paint for the interior of the house.
Recommended Skill Level
Intermediate
Seasonal And Holiday

Solid Maple Desk

Submitted by ccbuilder on Sun, 08/12/2012 - 14:29

This is a solid maple desk with two drawers finished with shellac and paste wax. I altered the plan by giving the desk and overhang, as well as changing the way the legs were built.

Built from Plan(s)
Estimated Cost
$250
Estimated Time Investment
Week Long Project (20 Hours or More)
Finish Used
Shellac and paste wax. I sanded until the surface was incredibly smooth and then used a high quality brush to apply the shellac.
Recommended Skill Level
Intermediate

Truss Shelves: Cheap Garage Storage

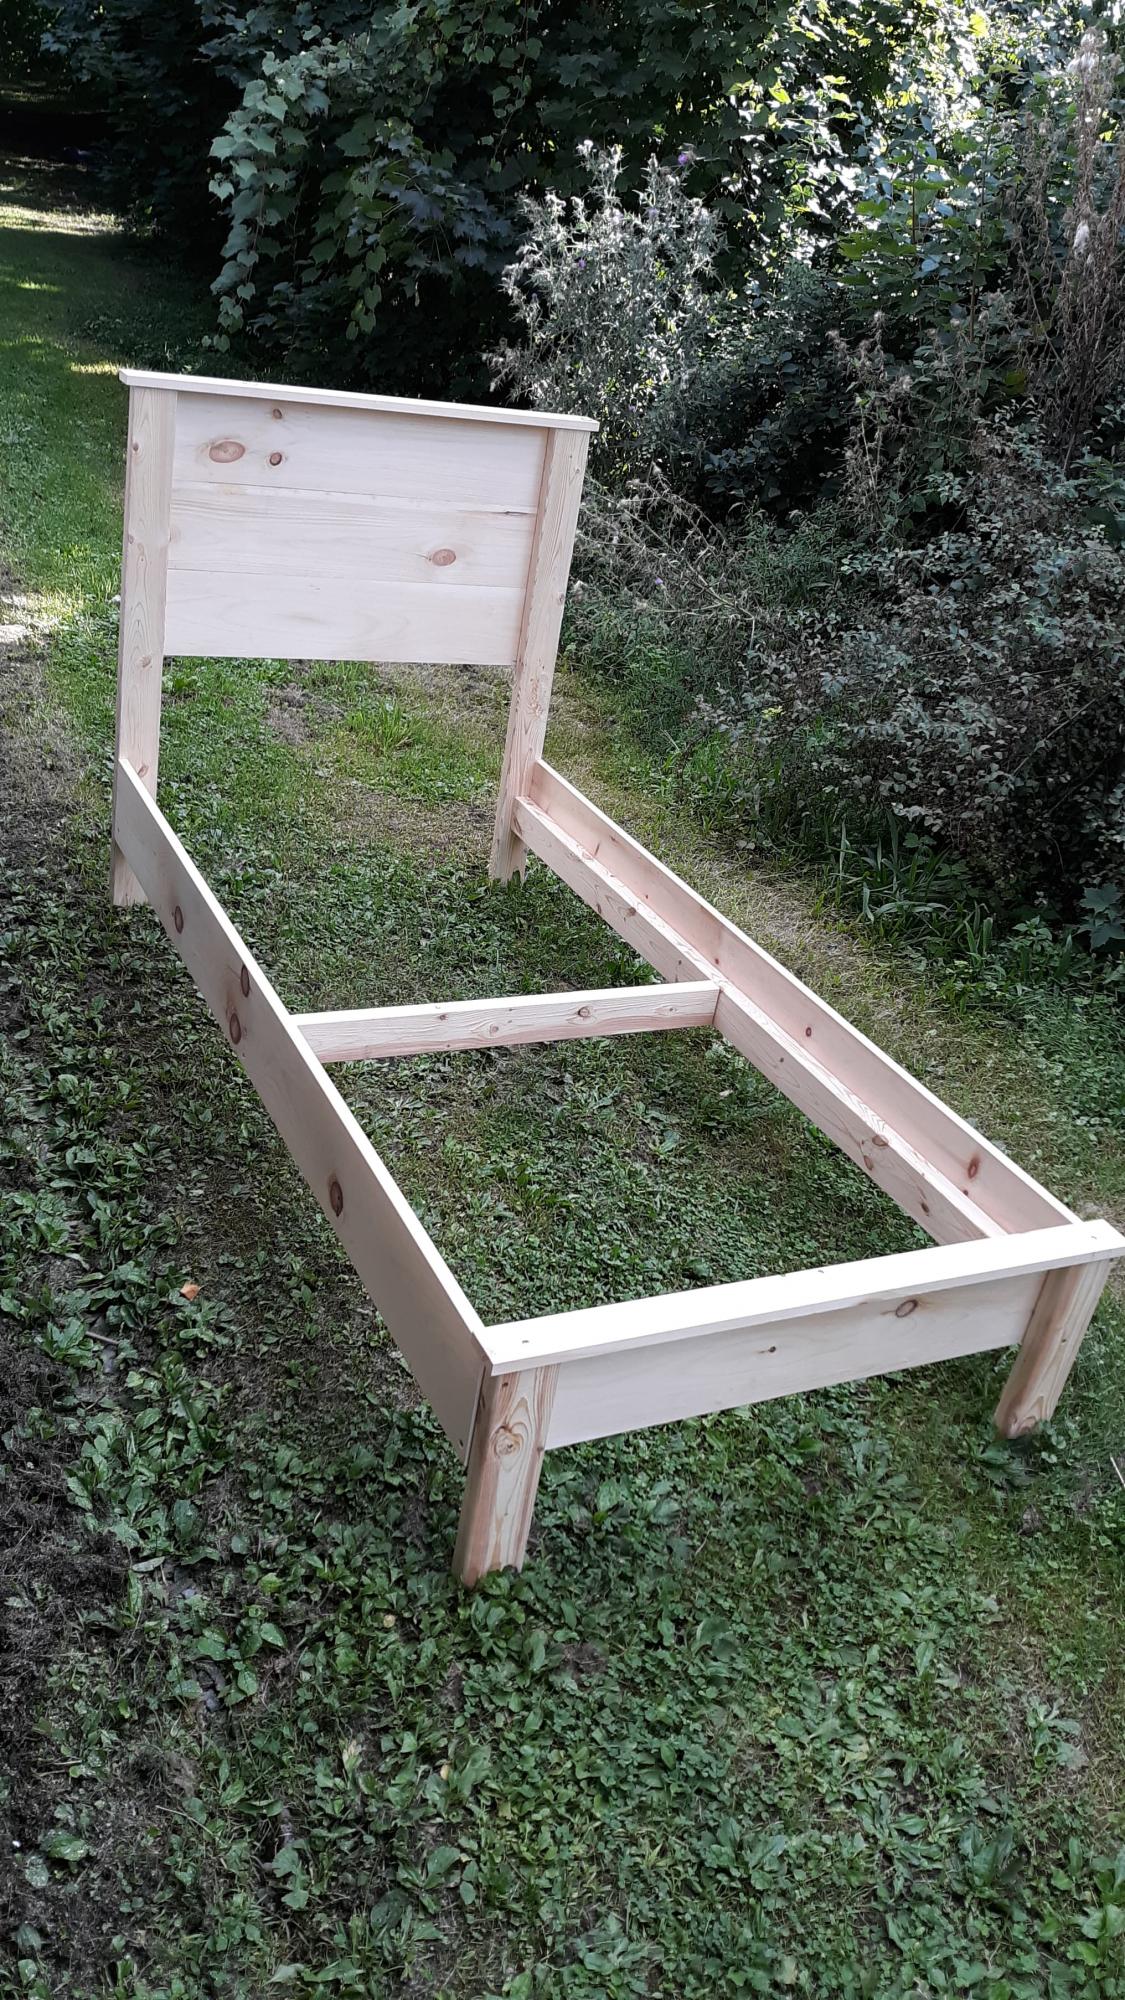
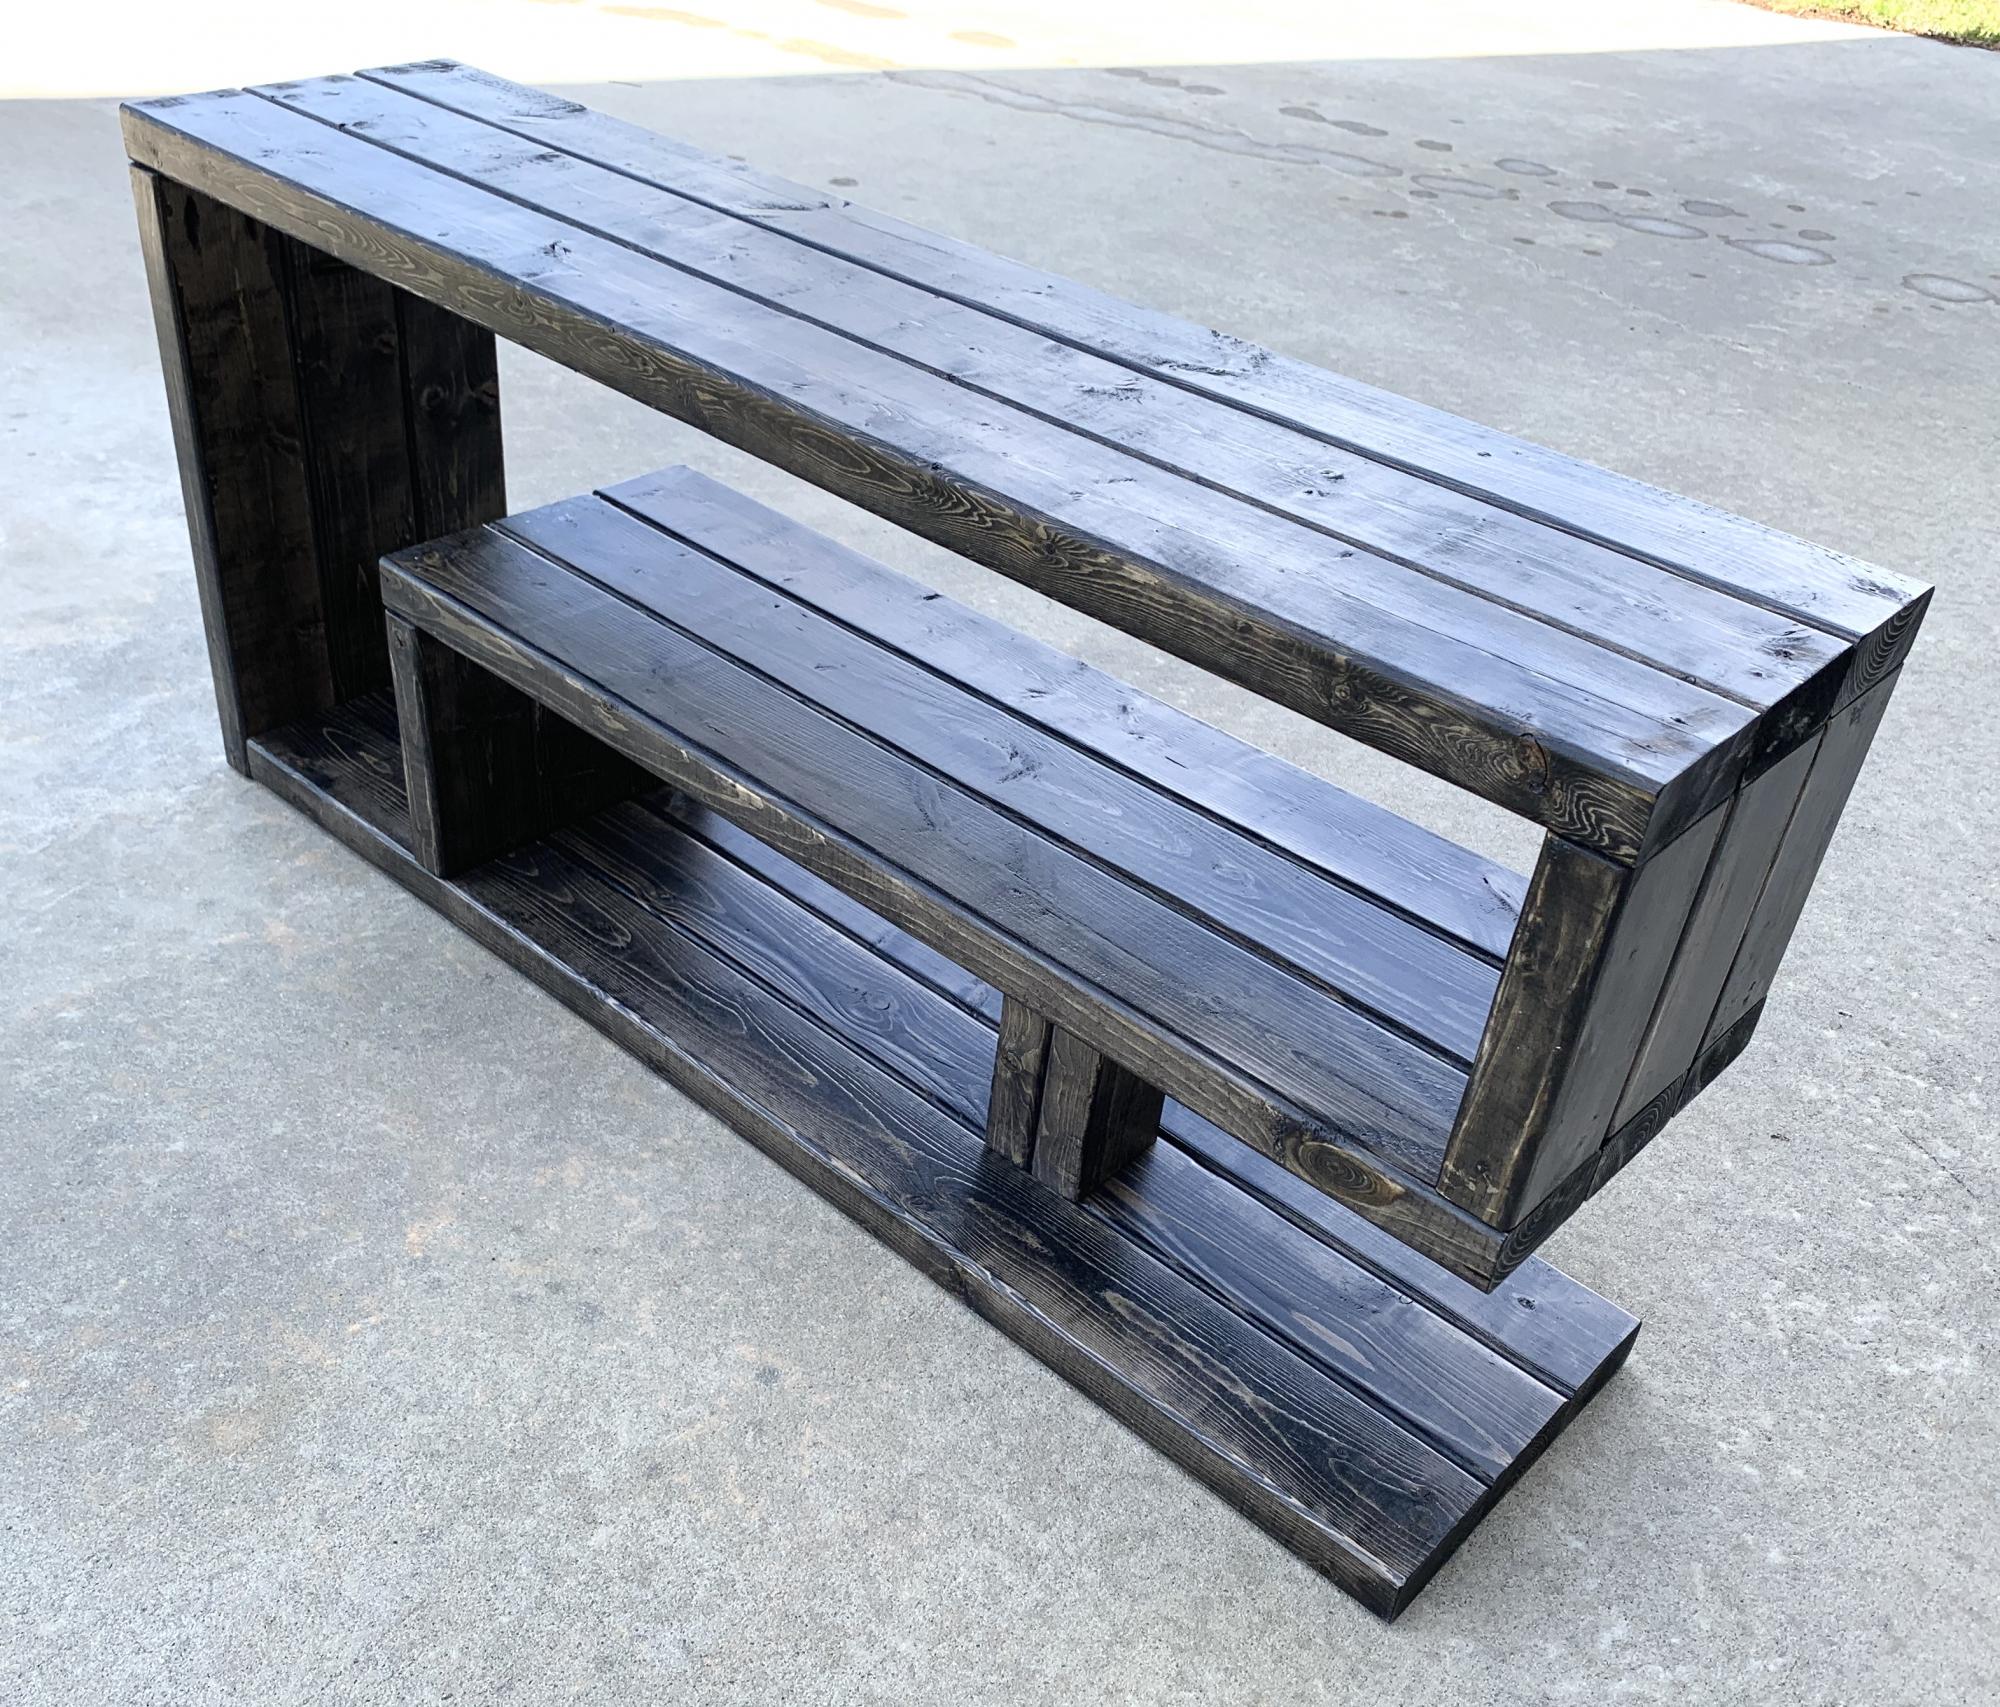
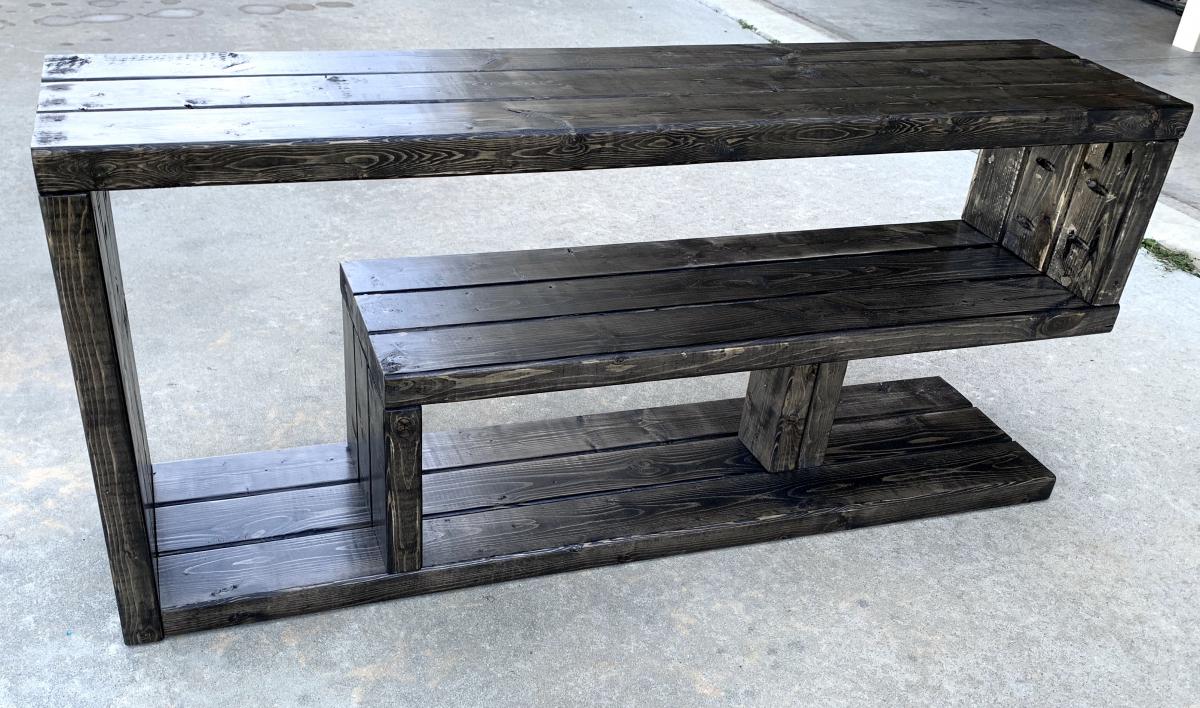
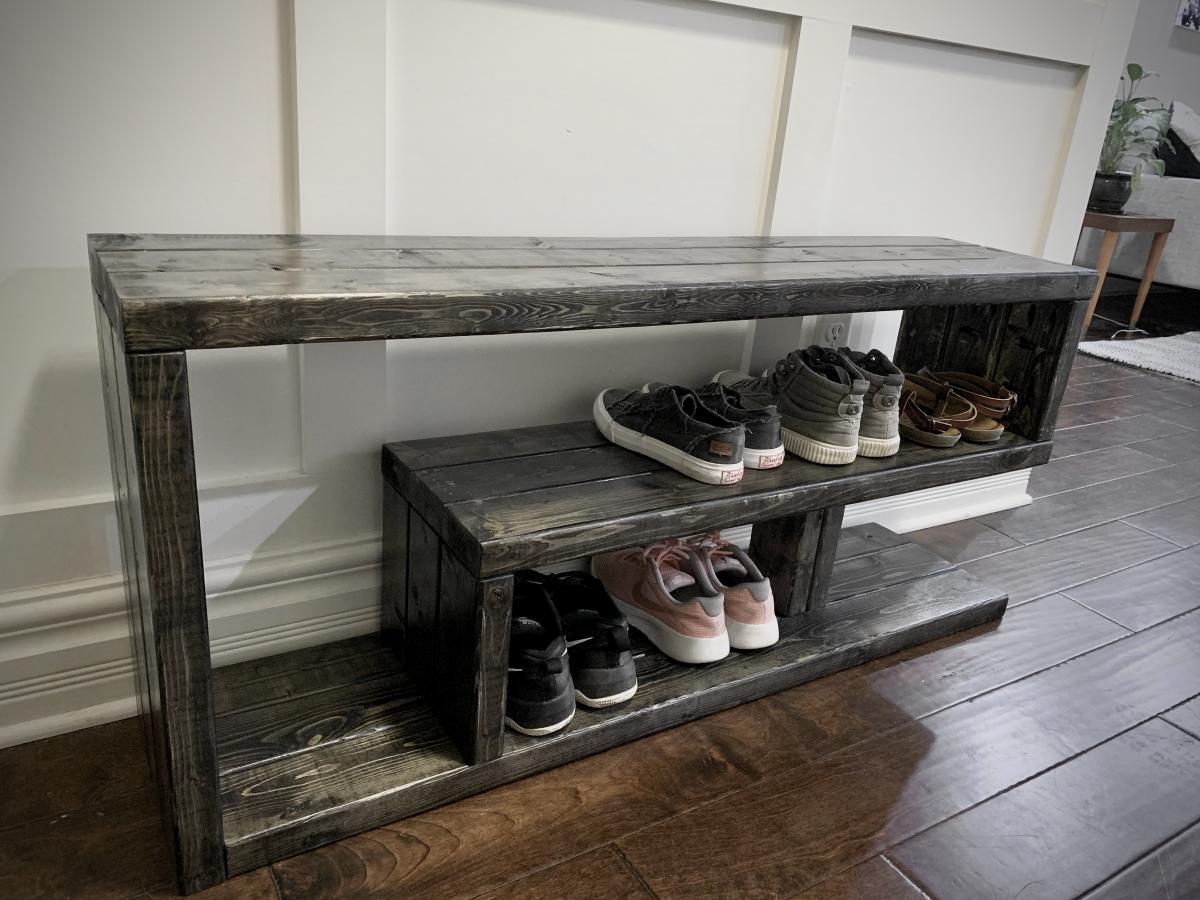
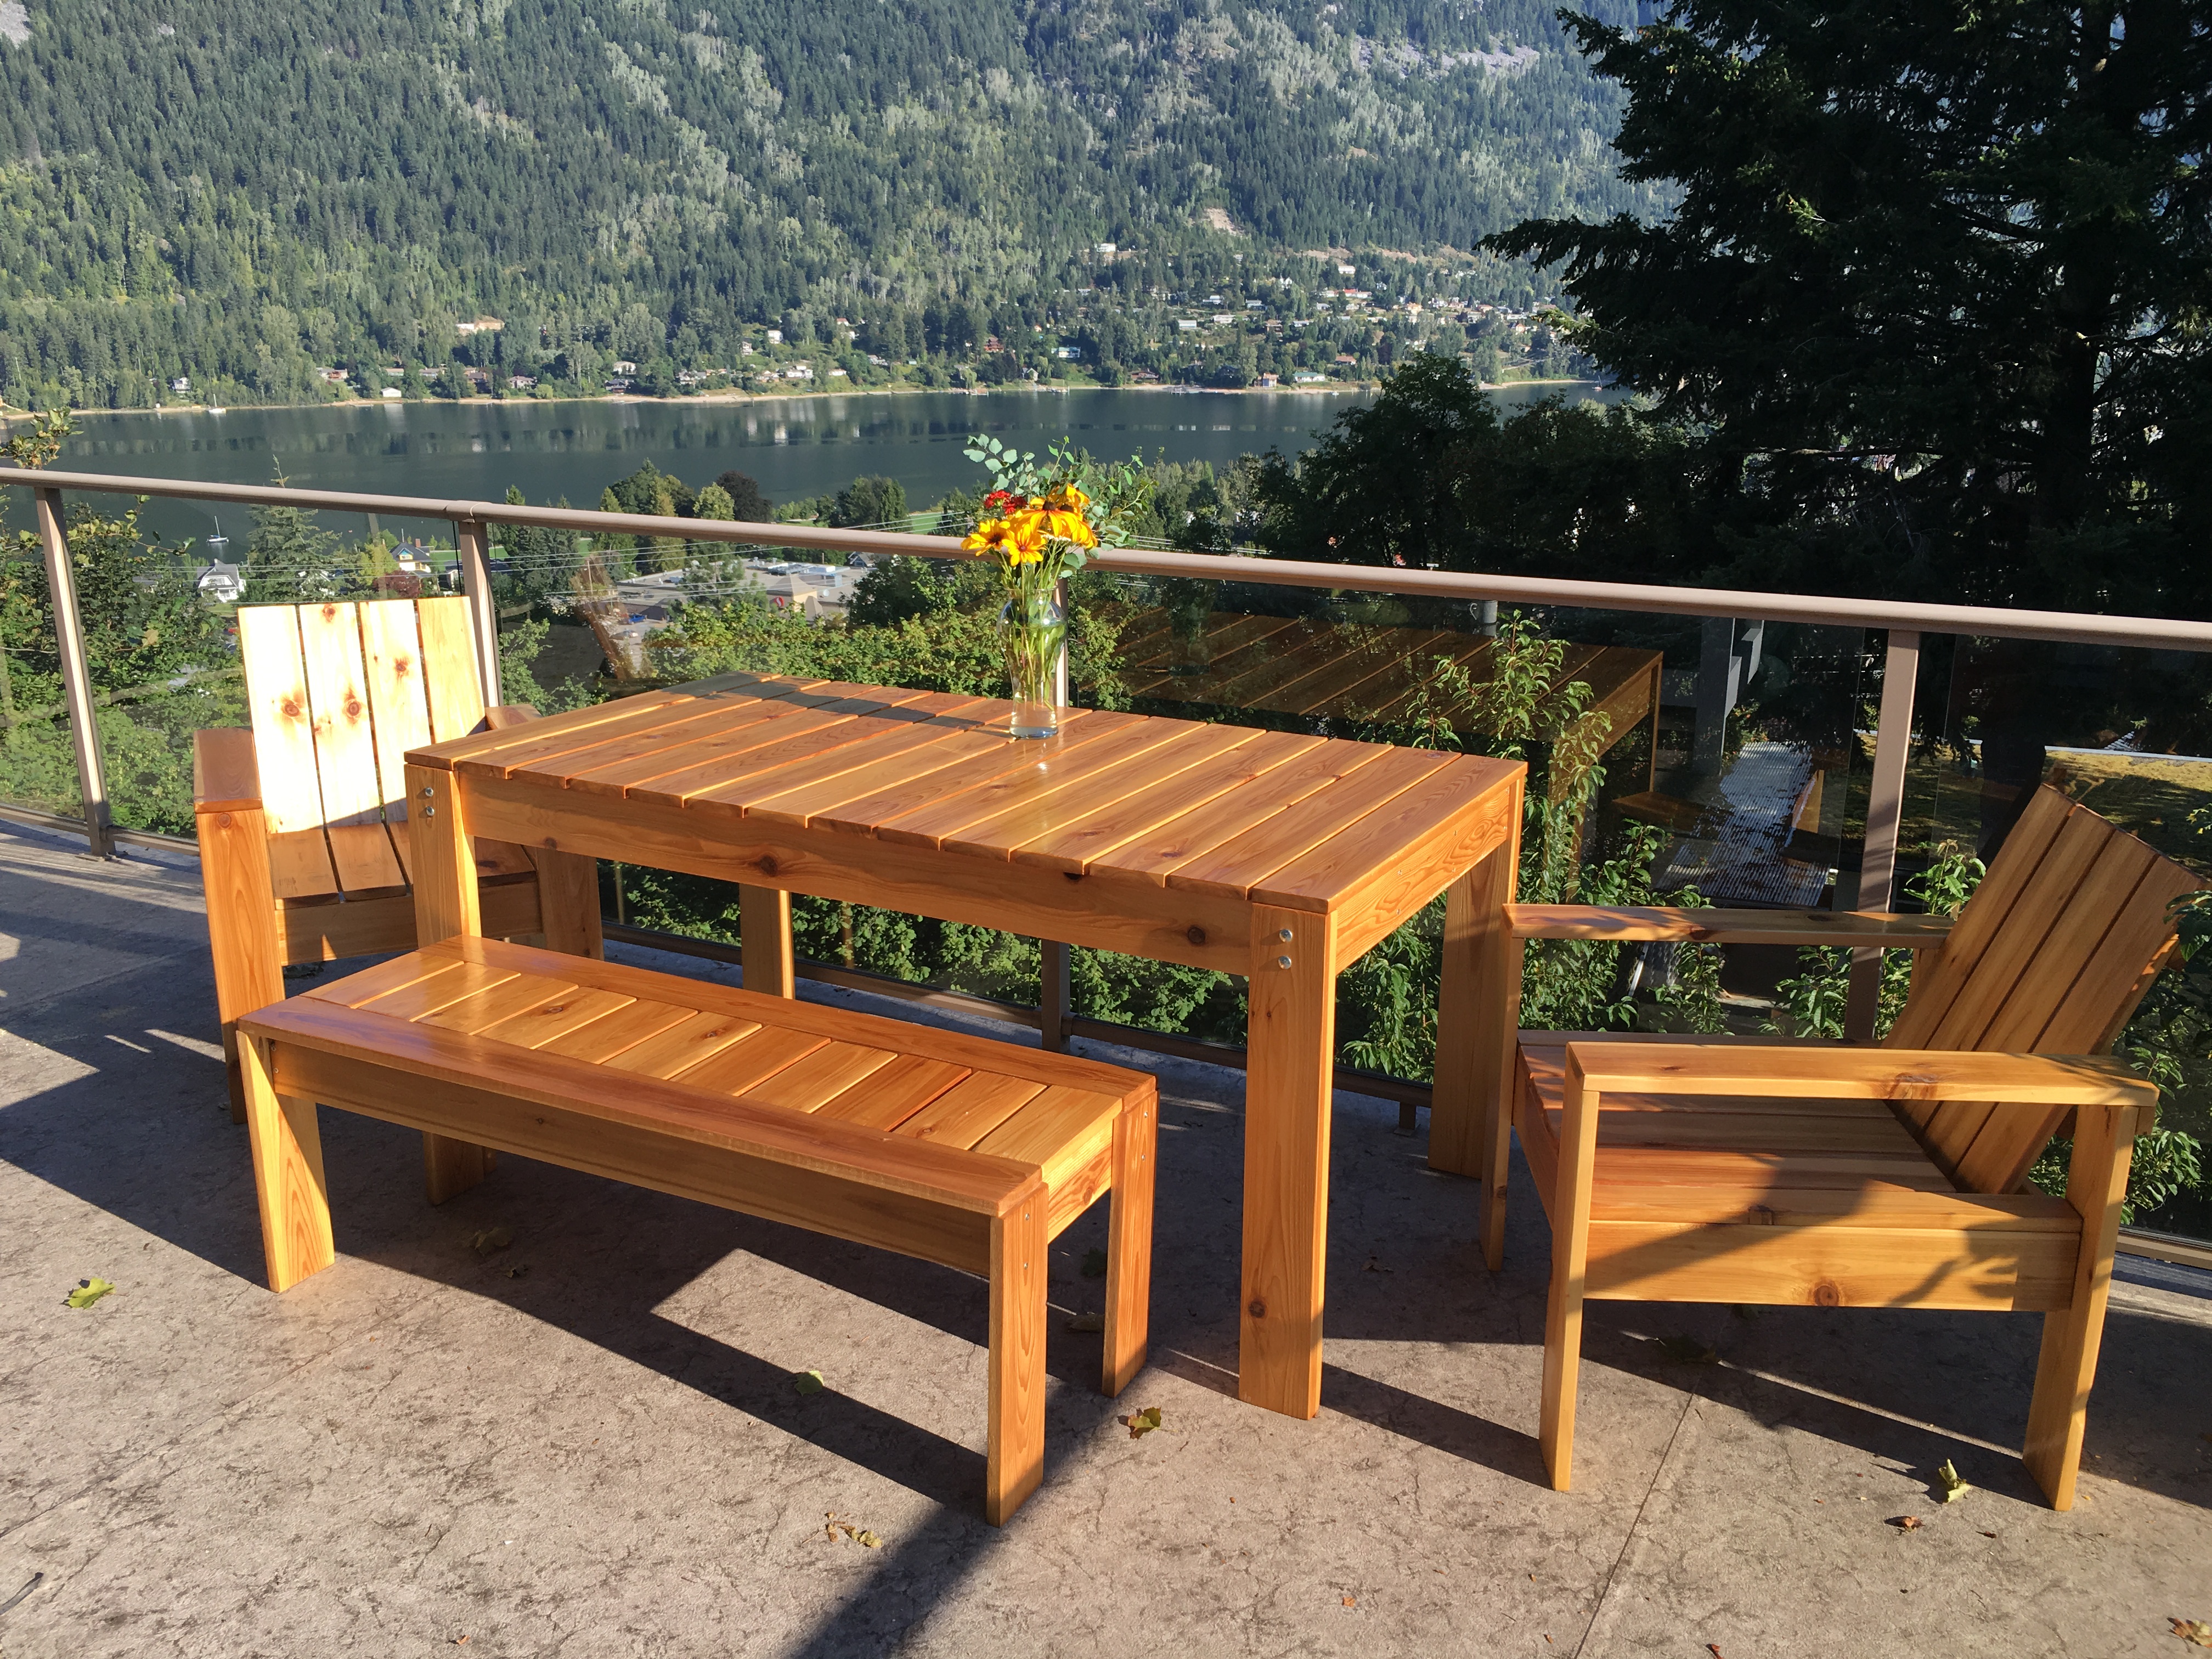
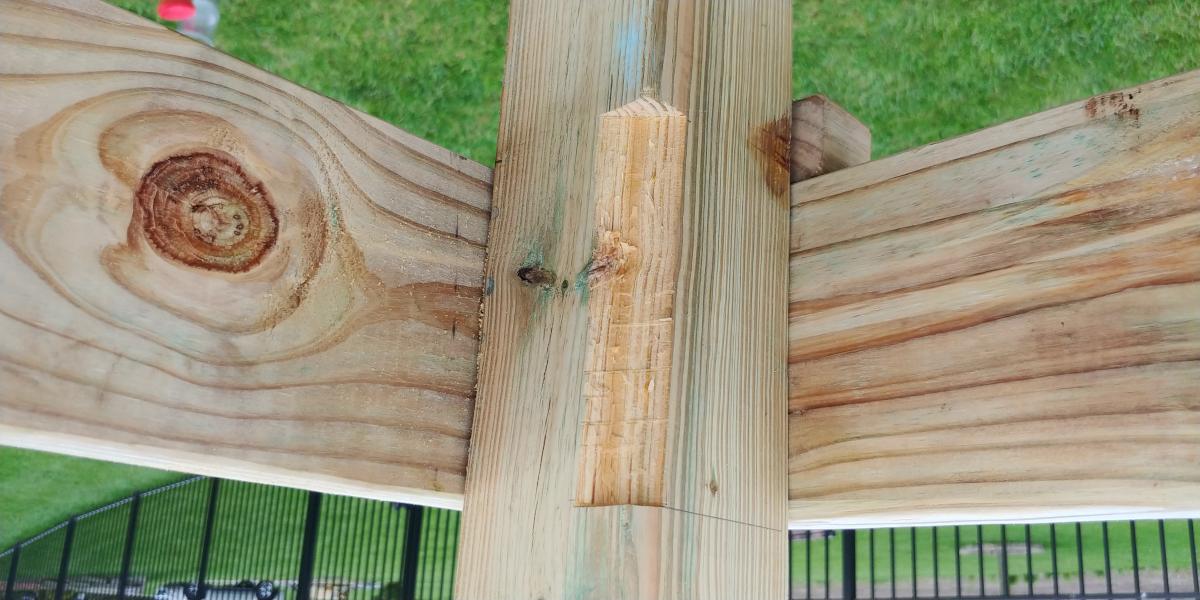
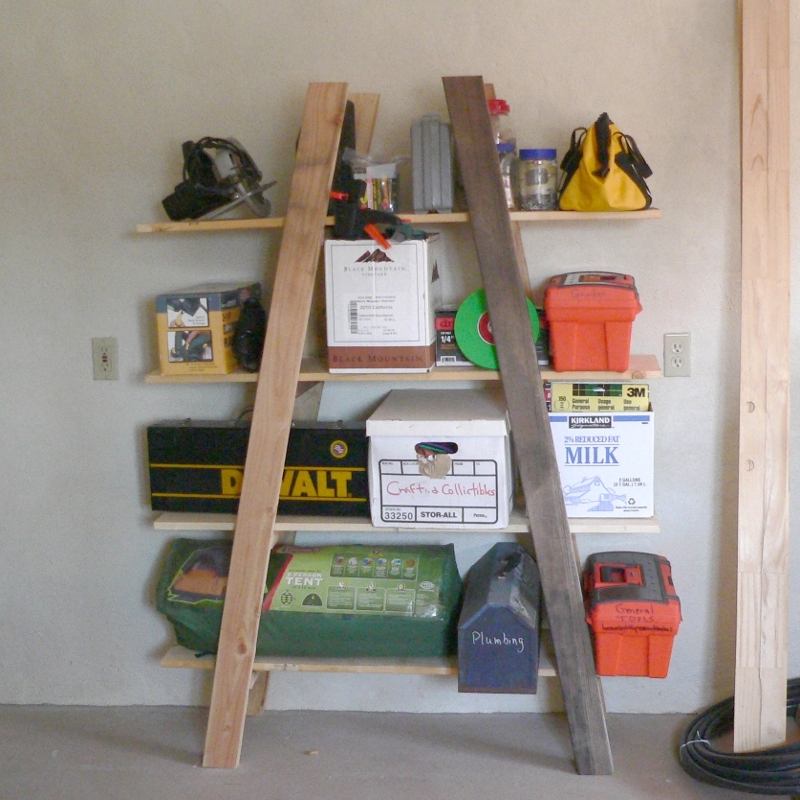
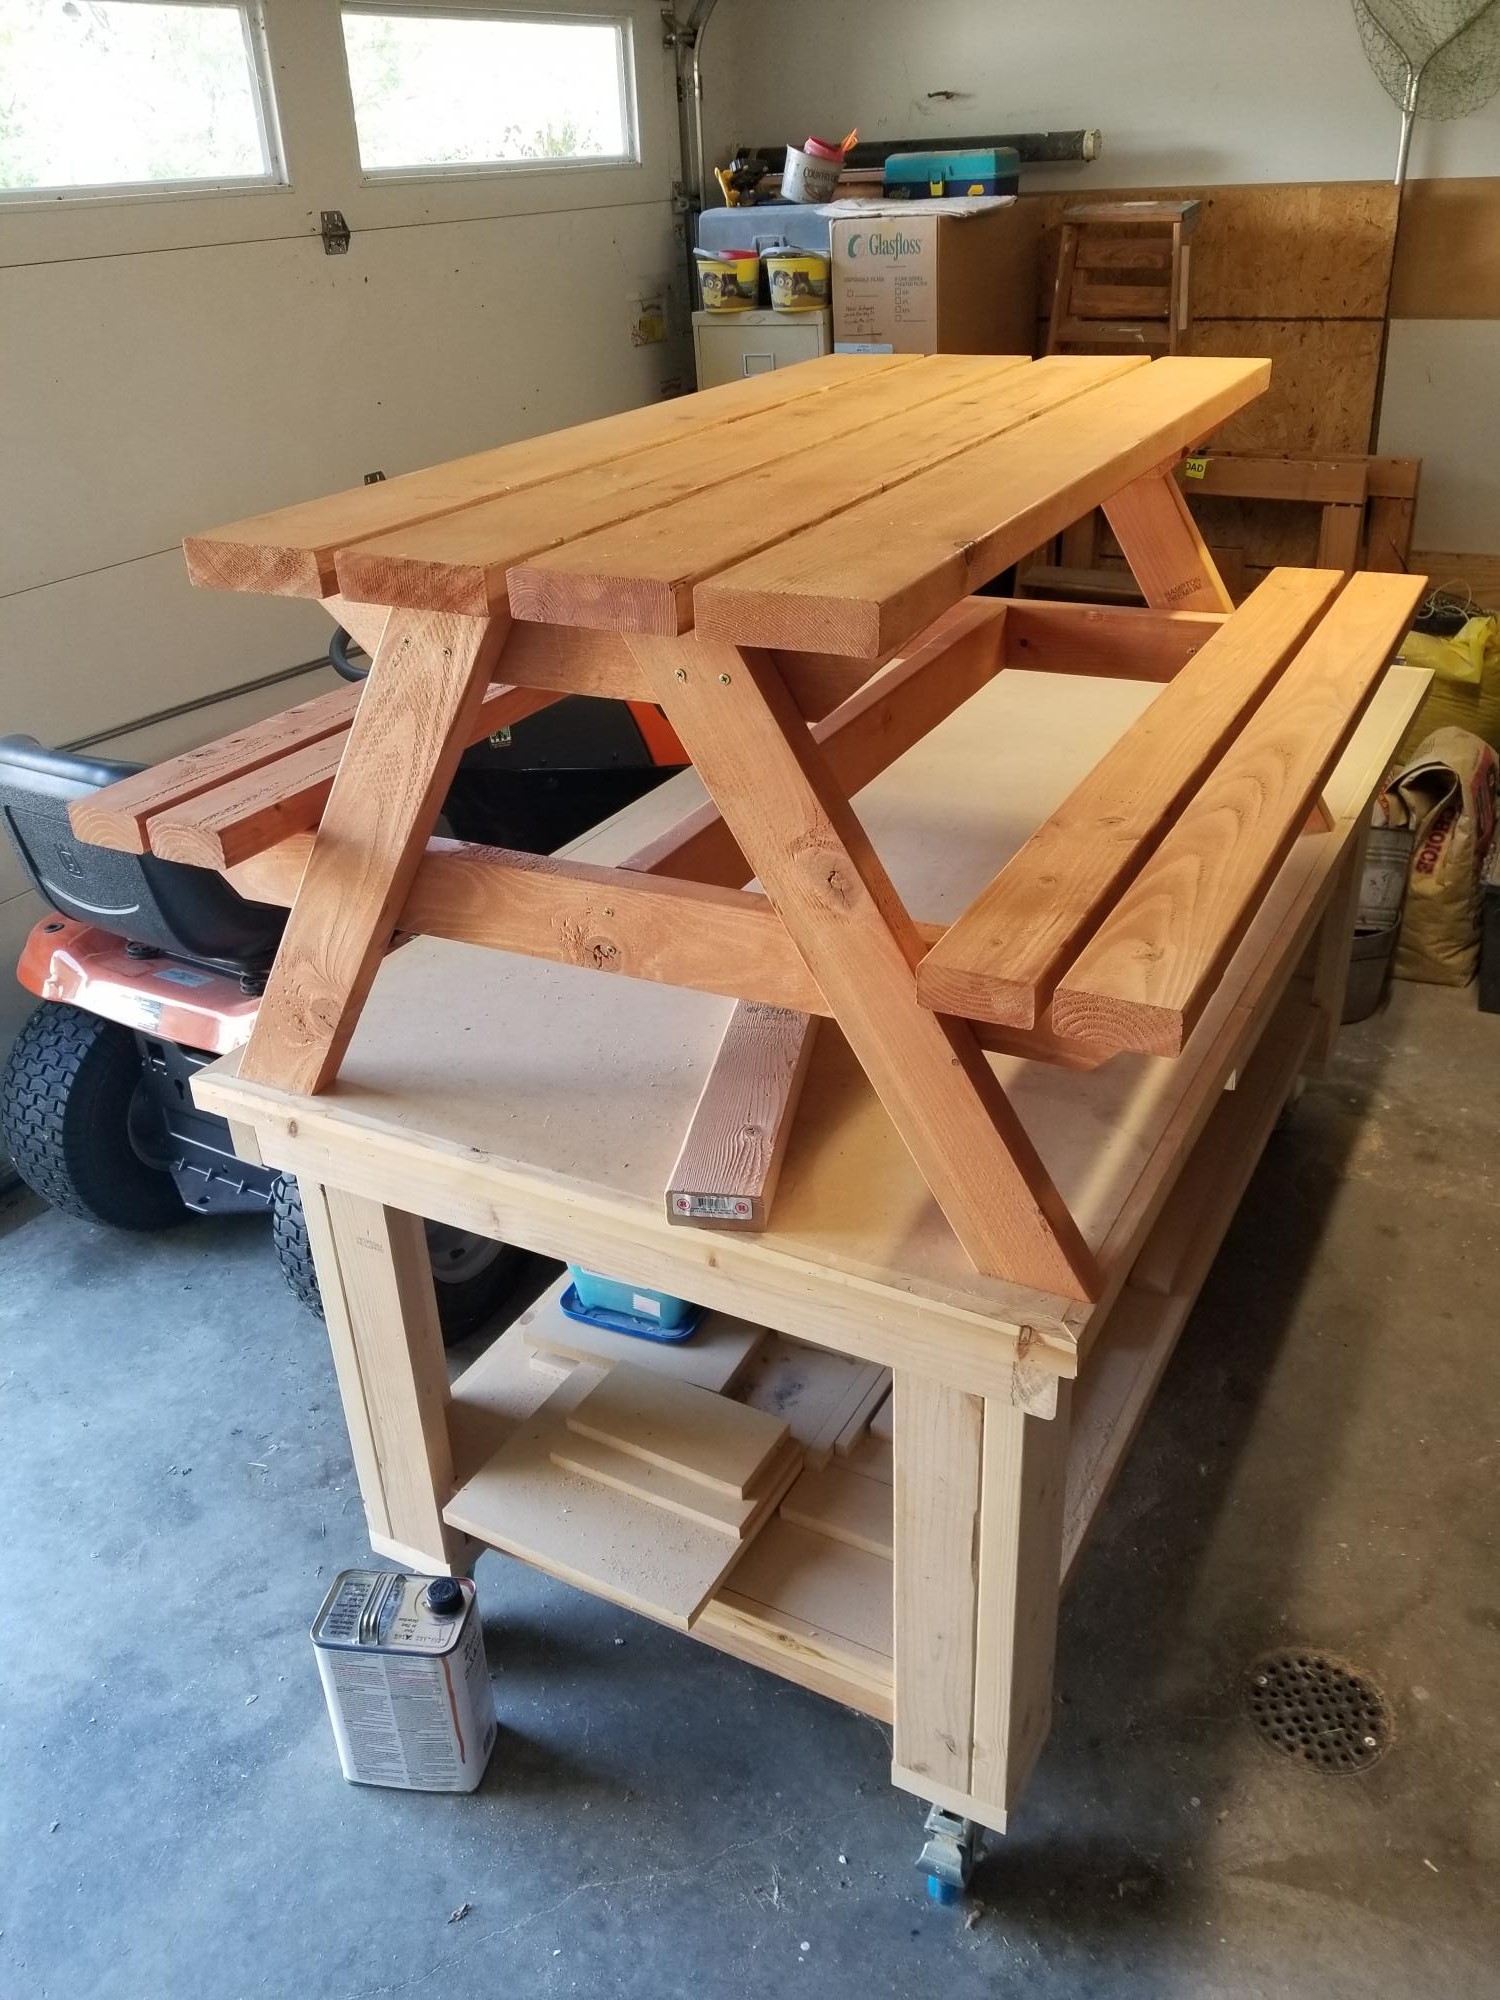
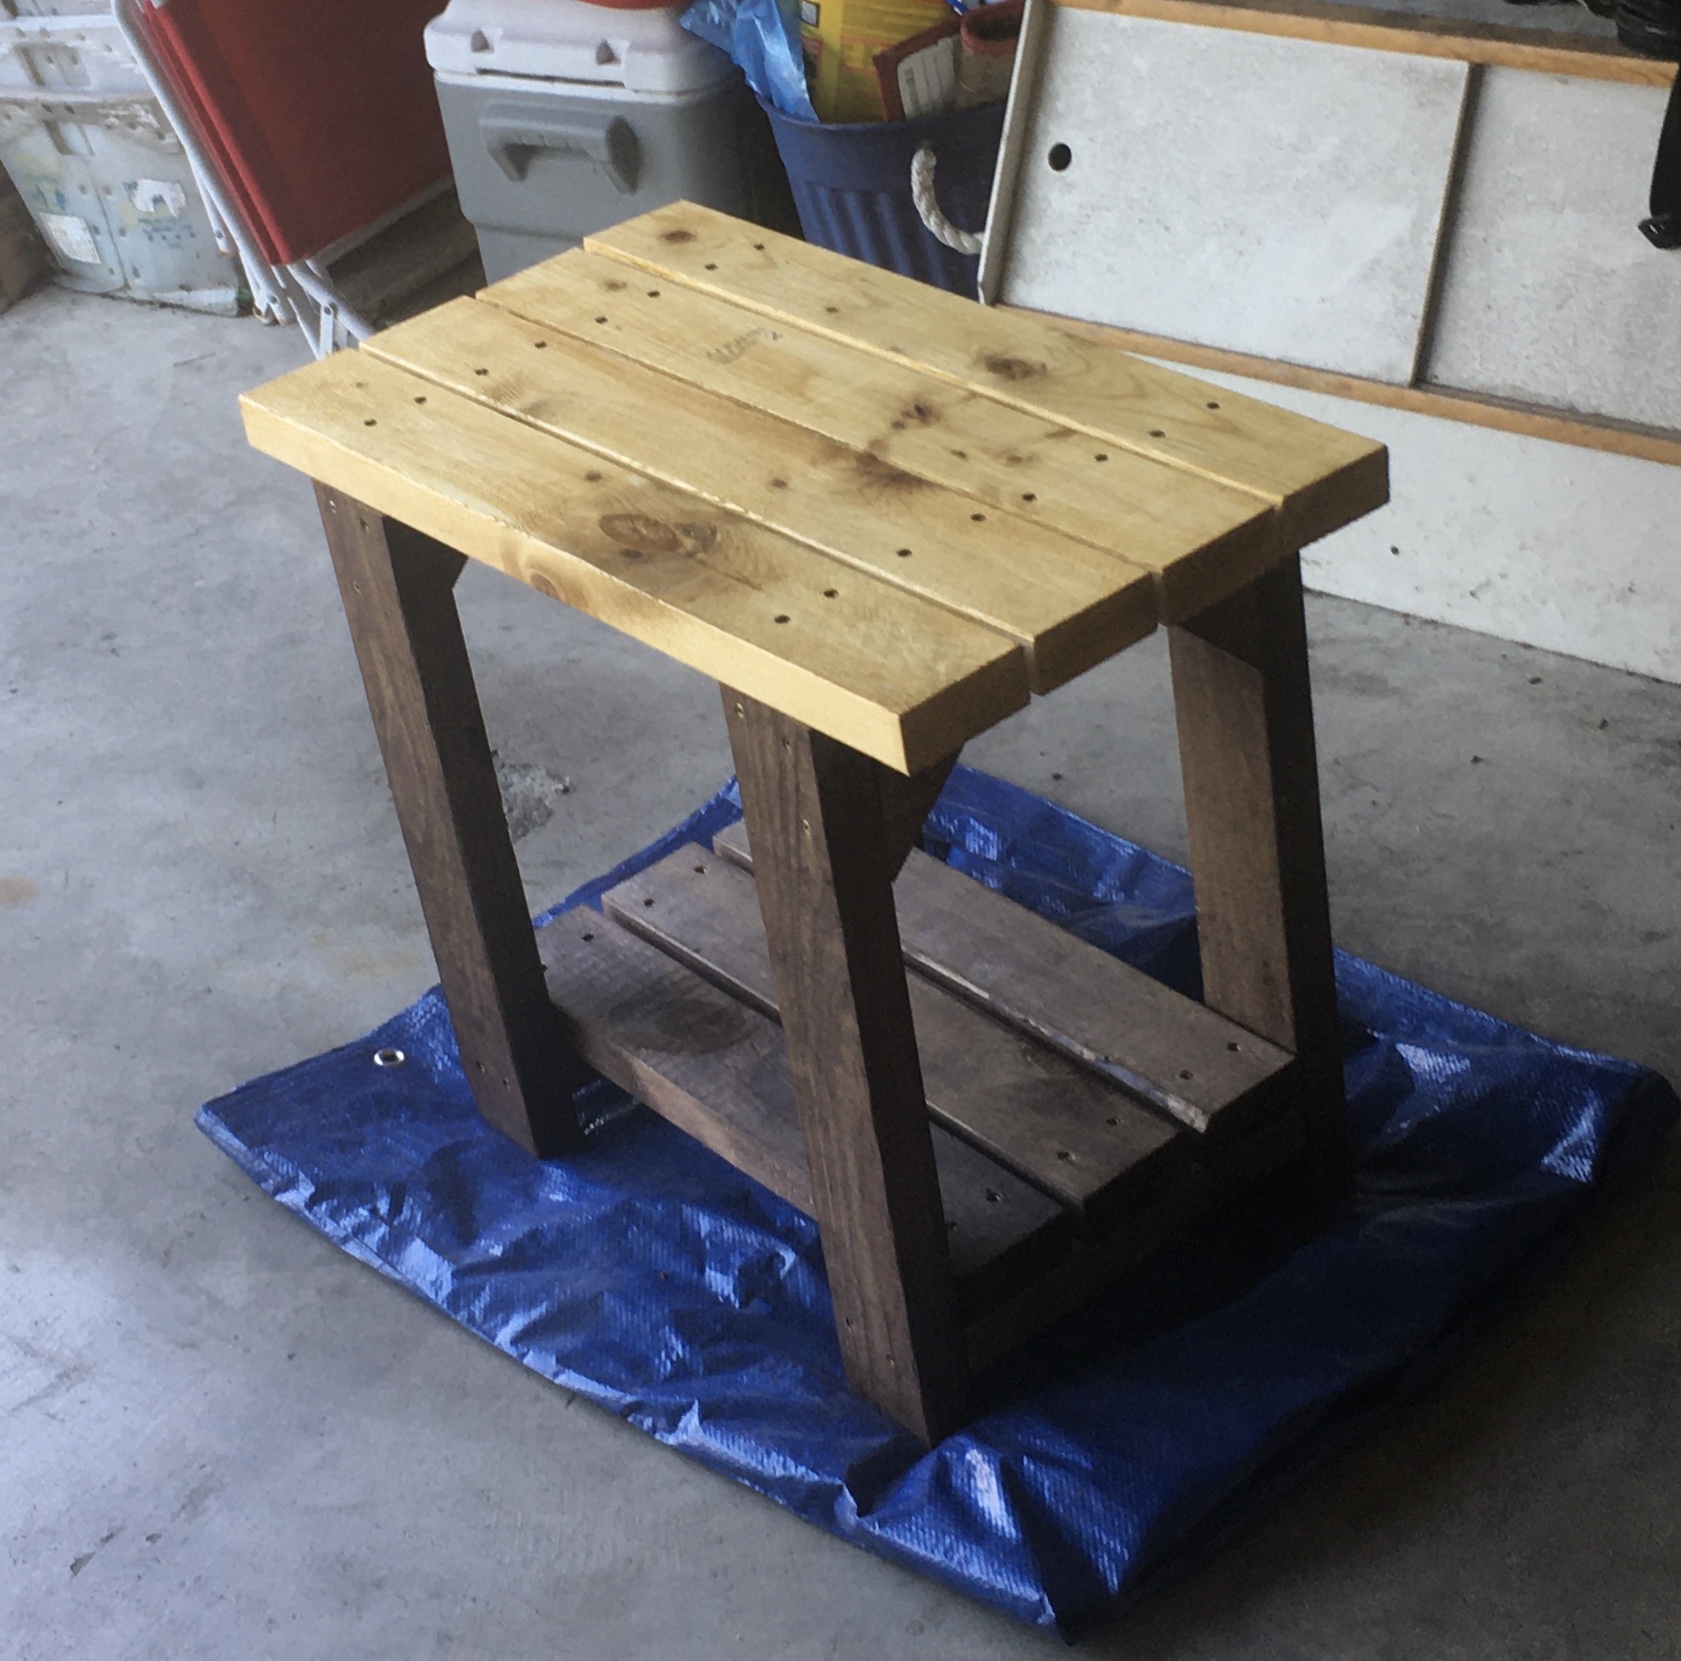
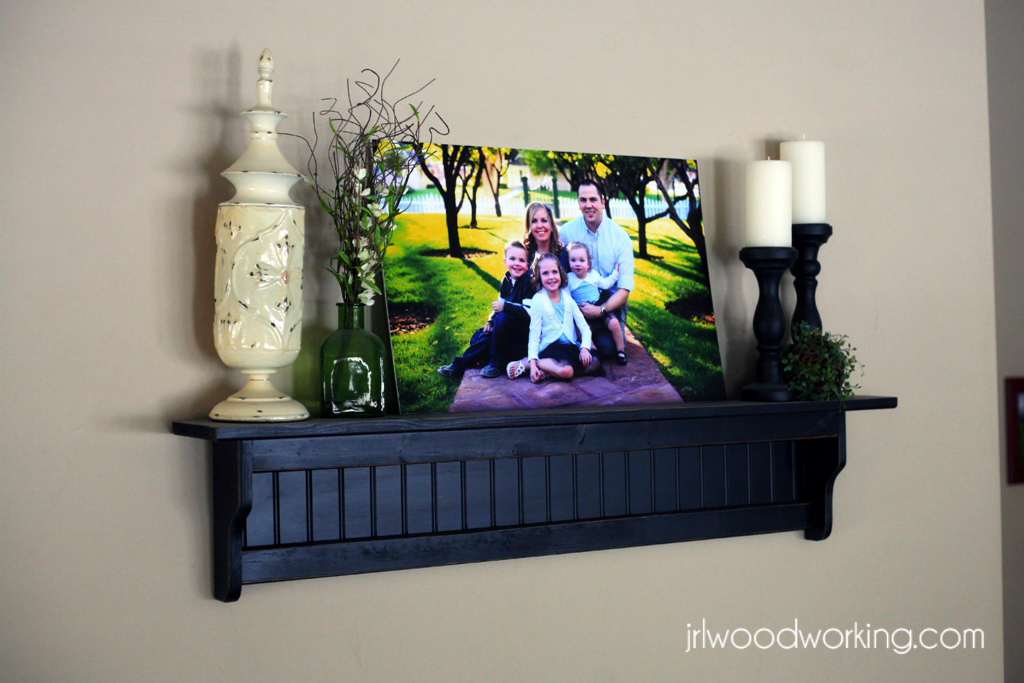
Made of old fence rail (the dark pieces) and cheap 2x4s and 1x12s .

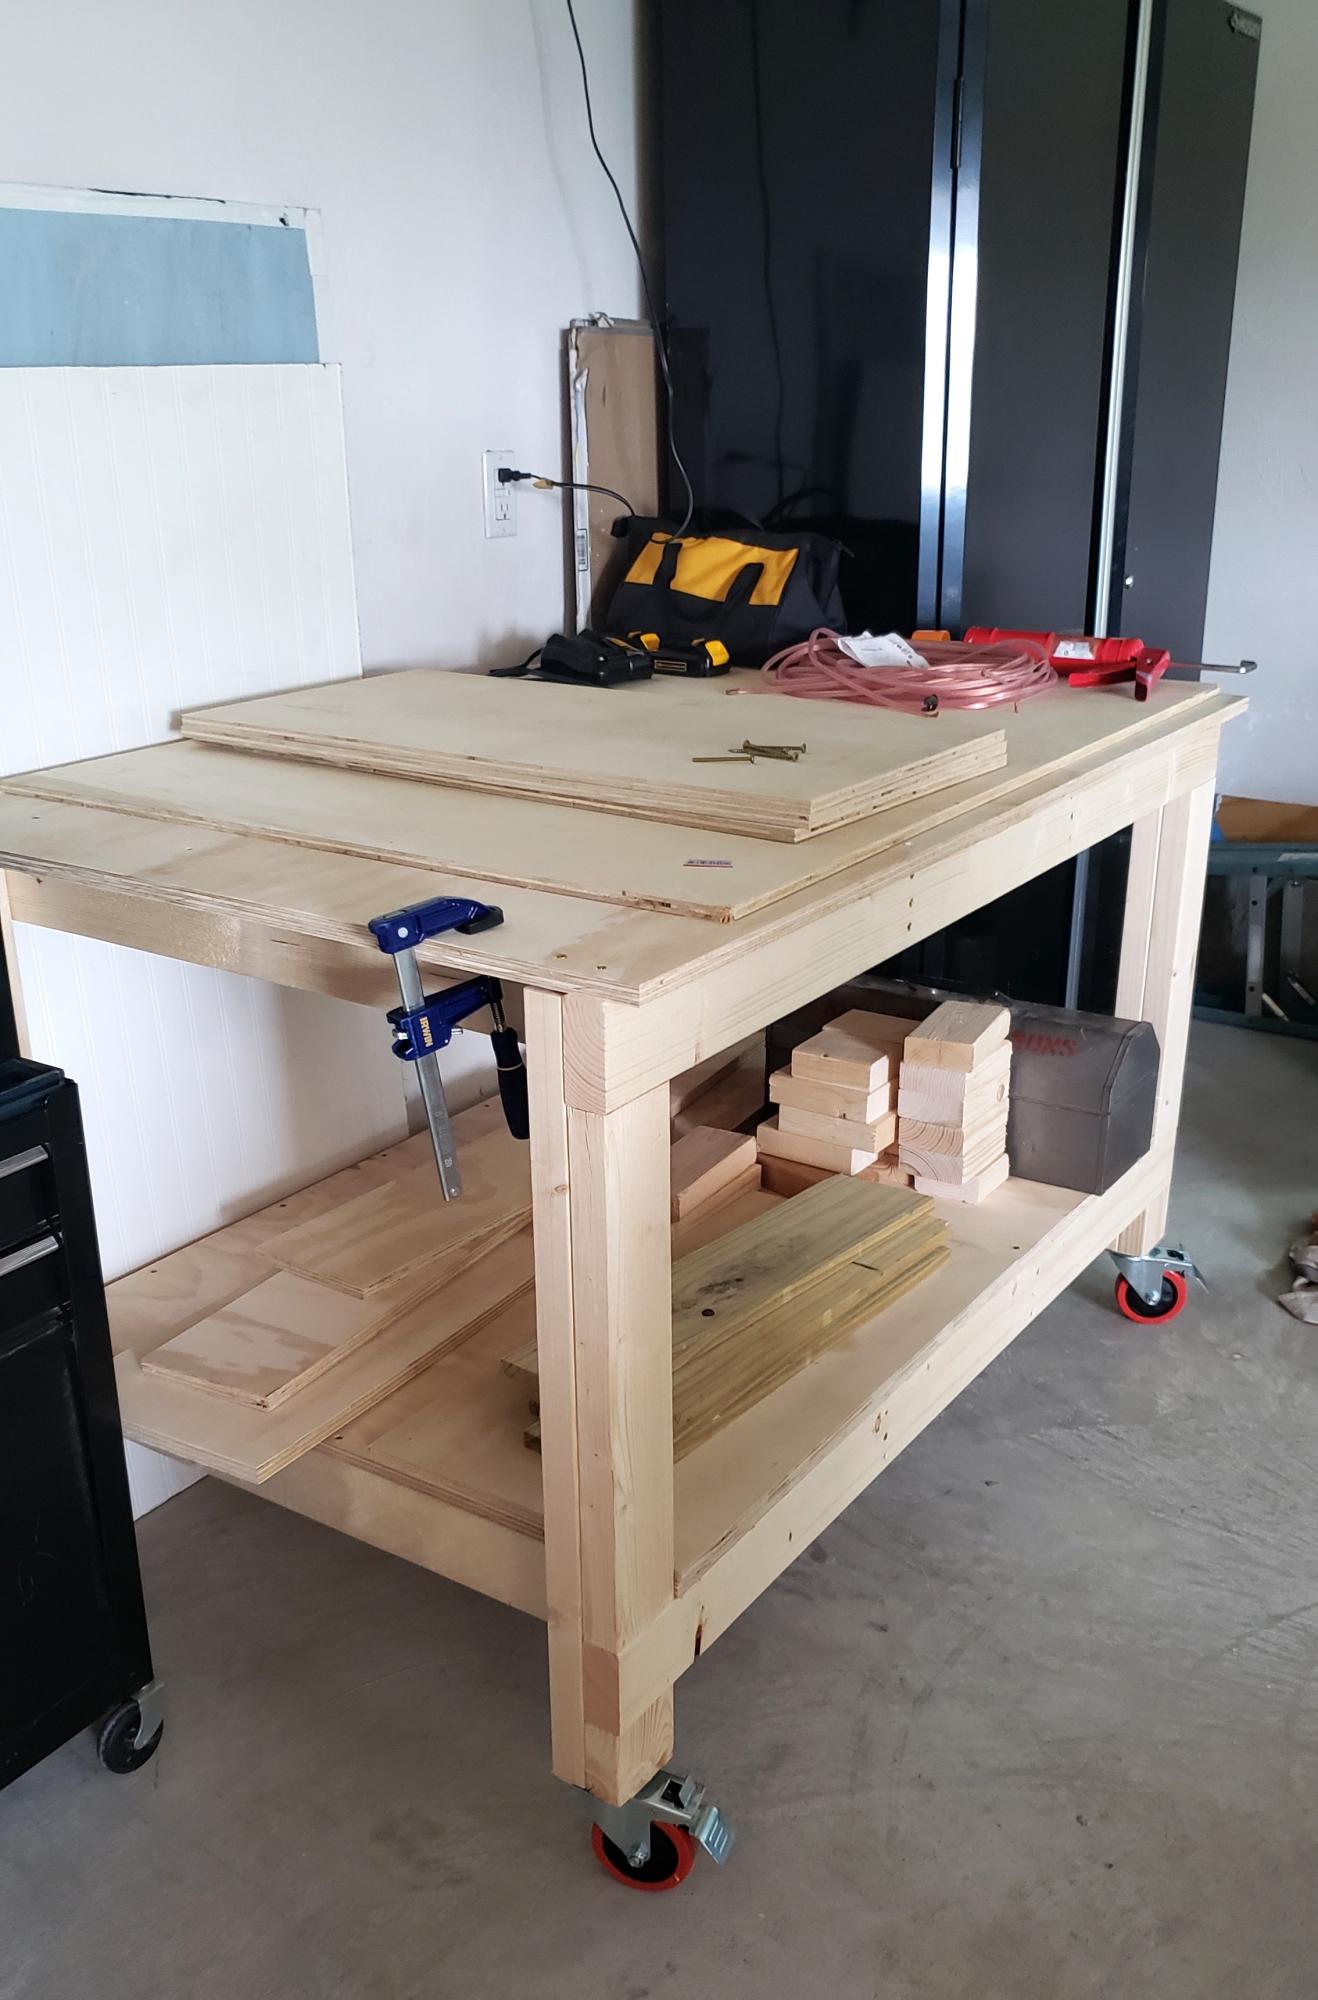
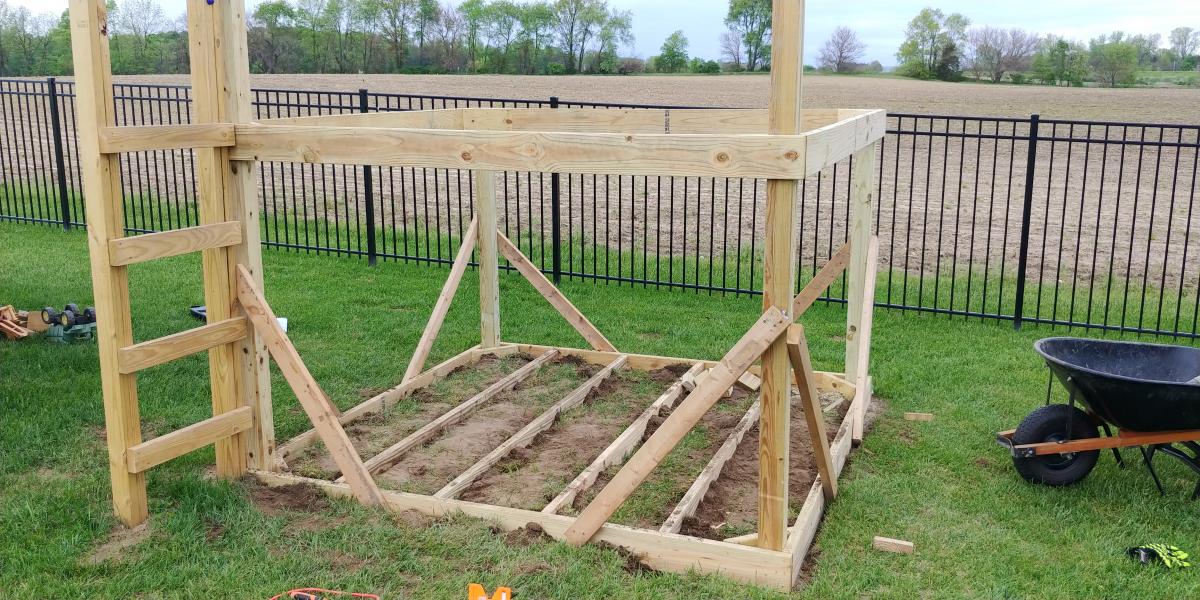
This is not as stable as I hoped, but for an afternoon's project that got all those tools off the workshop floor, it's not bad. I will add a diagonal brace at the back later. Much later.

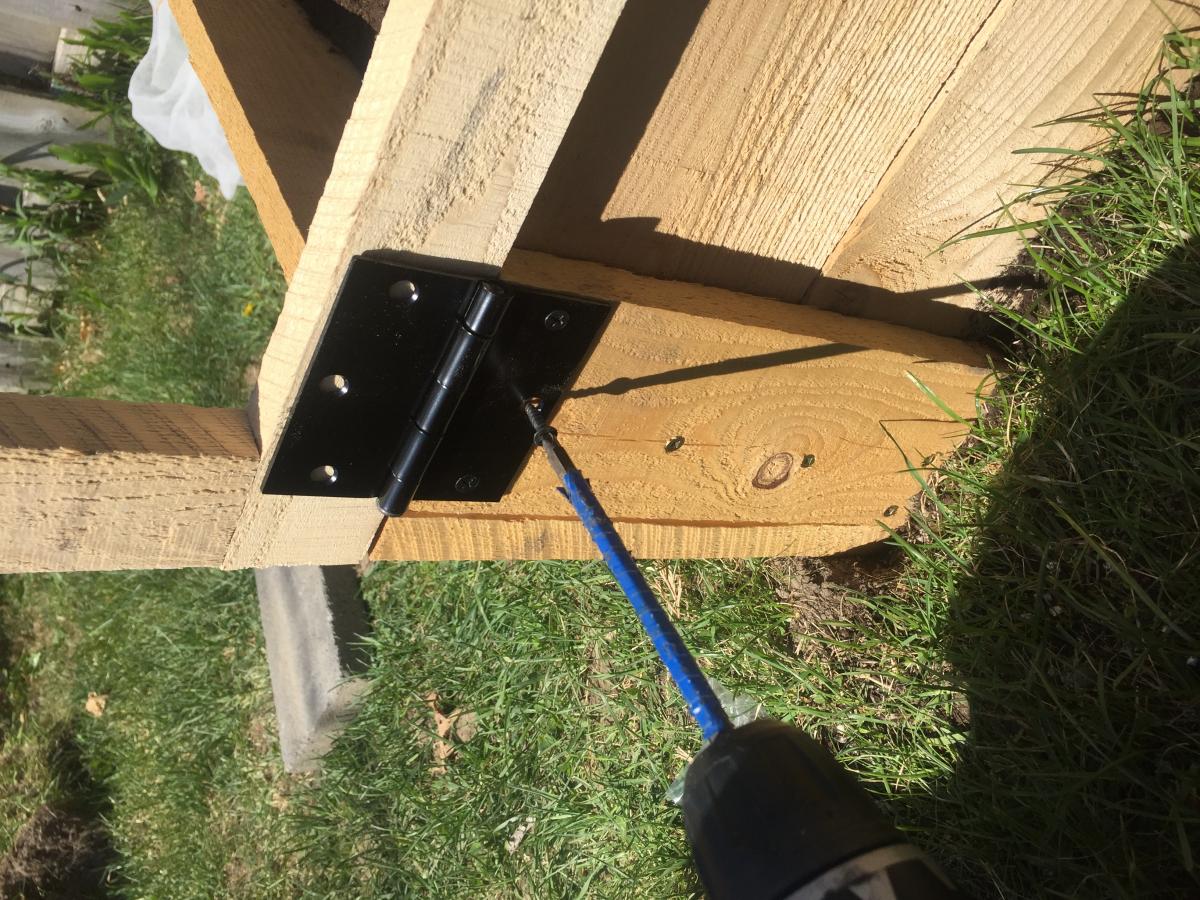
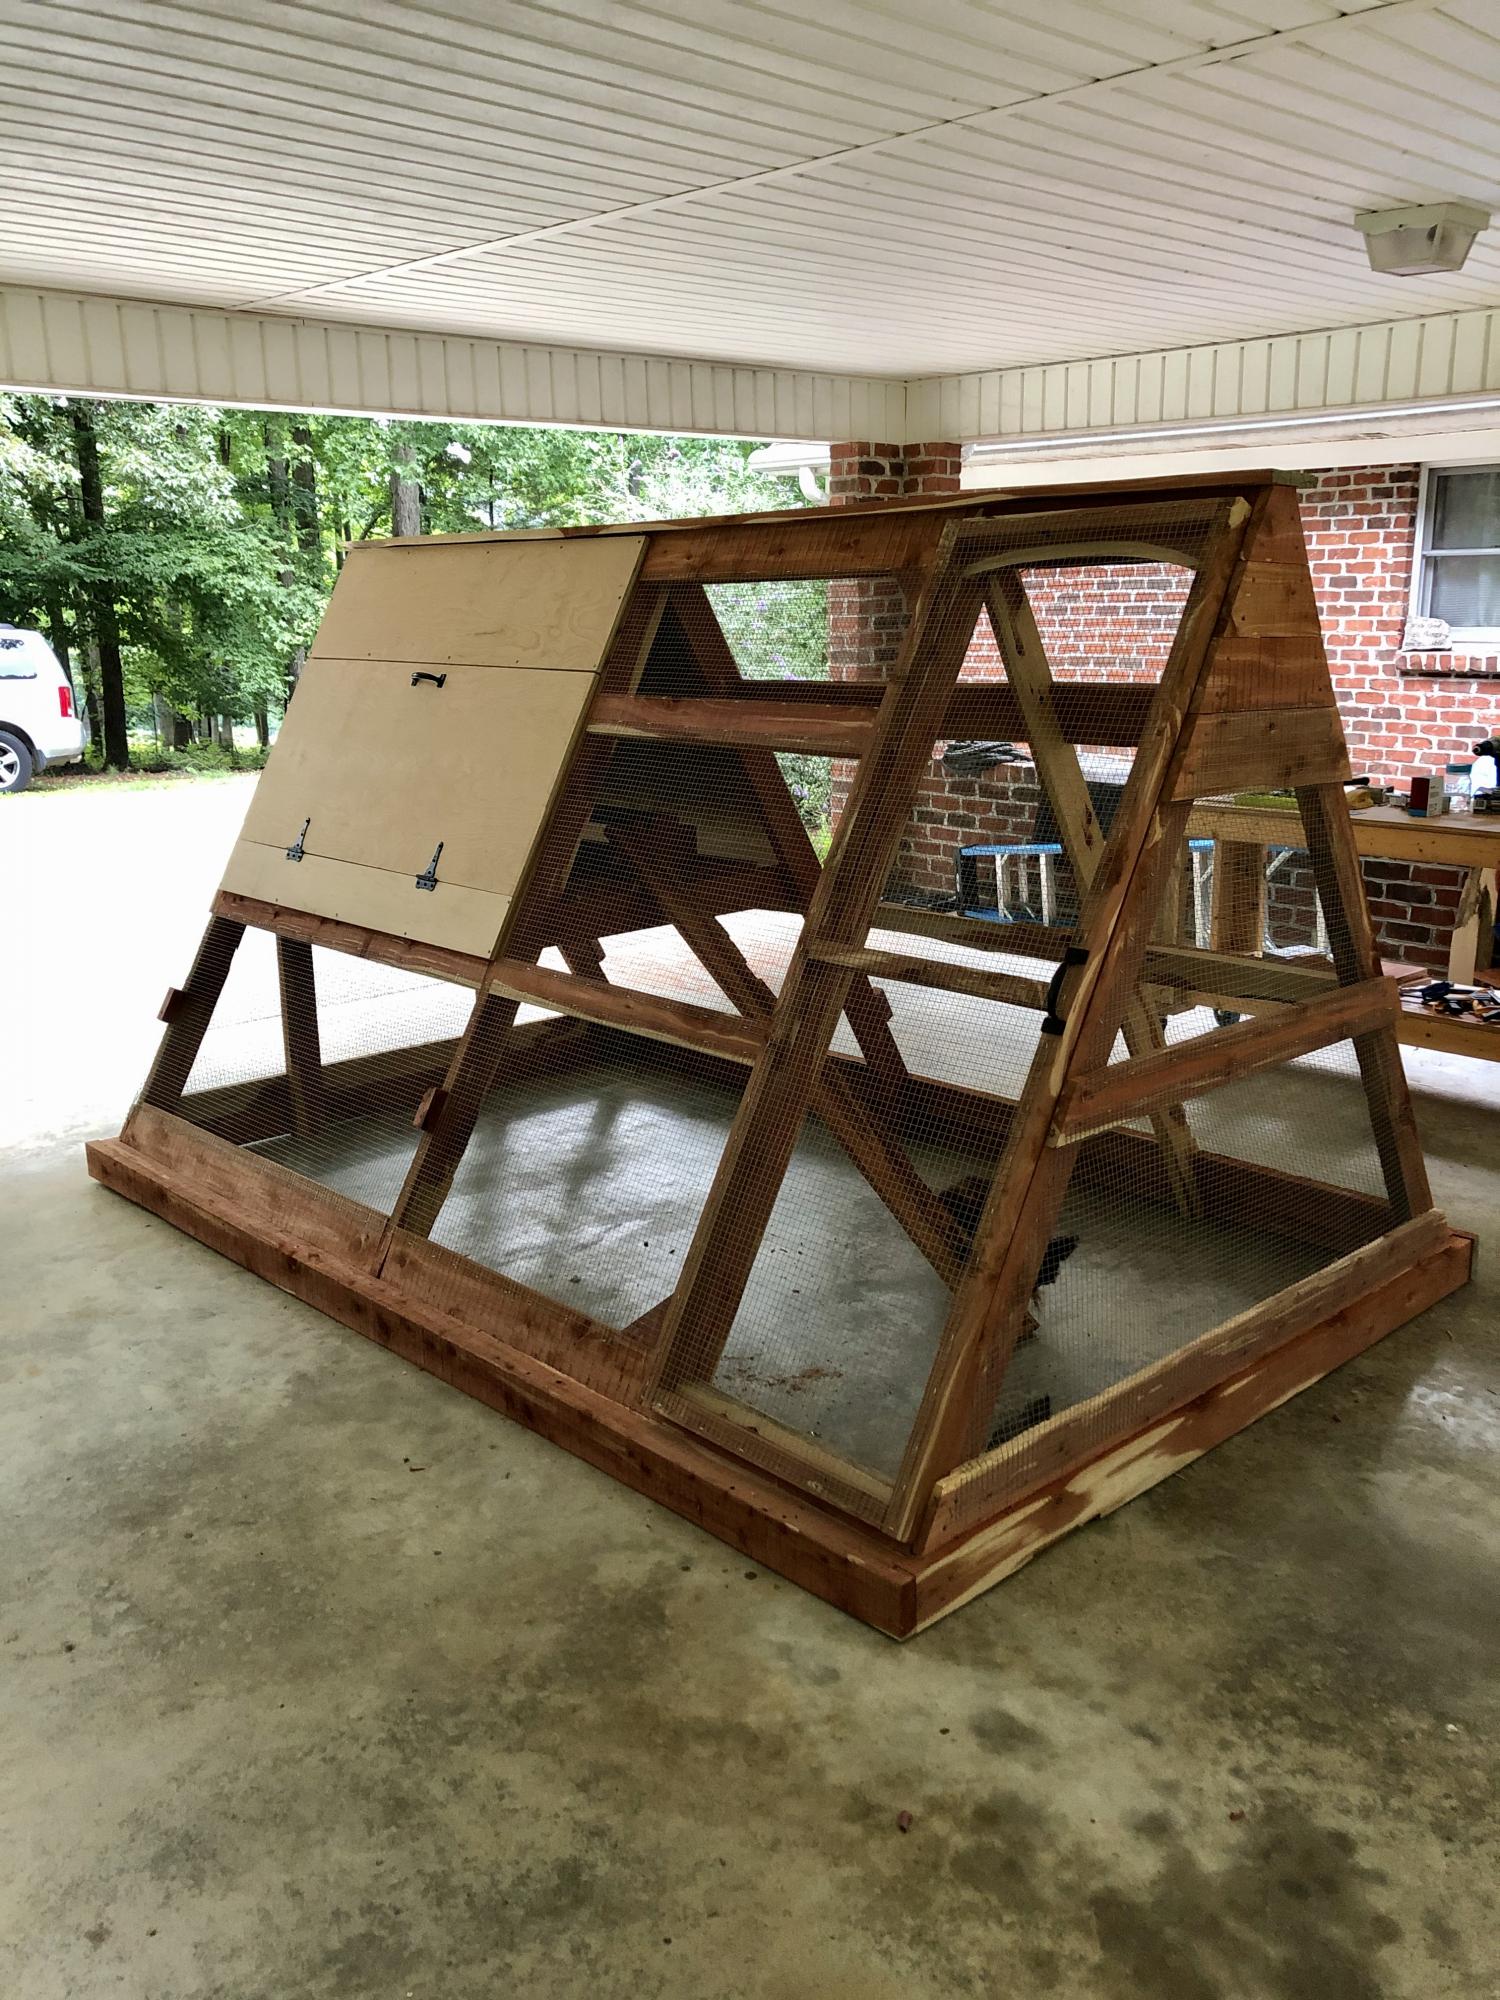
NOTE: My engineer friend notes that 2 braces at the rear, below the bottom shelf and below the top shelf, would minimize side-to-side wobbling, and 2 braces front to back, both under the bottom shelf, would minimize the front-to-back wobbling, They could be a scrap of plywood, a 1x6 or wider scrap. Just nail them in two or more places on each of the ladders and they make the structure more rigid. Screw them in if you want a shelf unit you can disassemble.

TIPS:
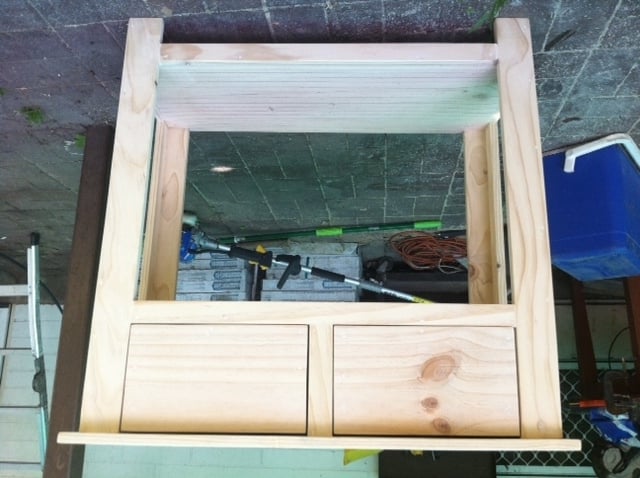
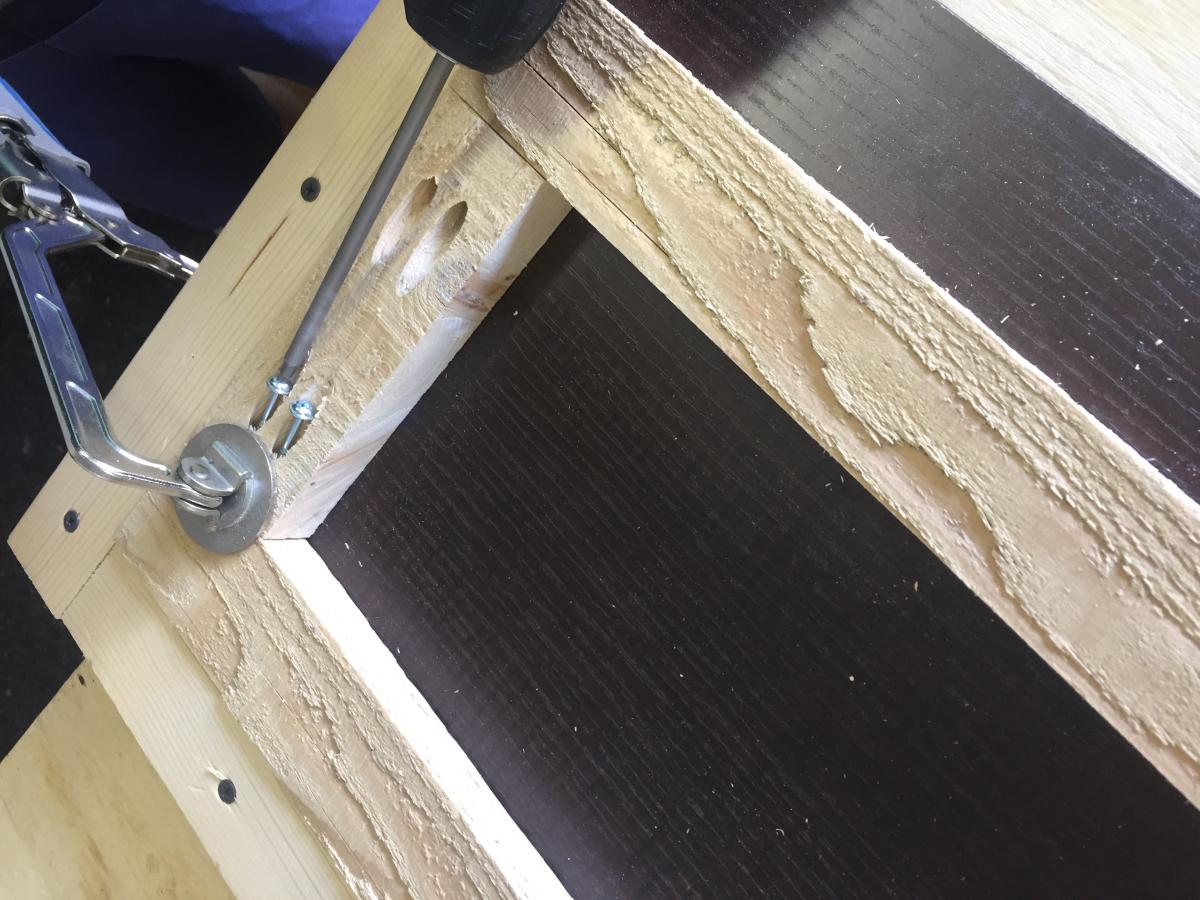
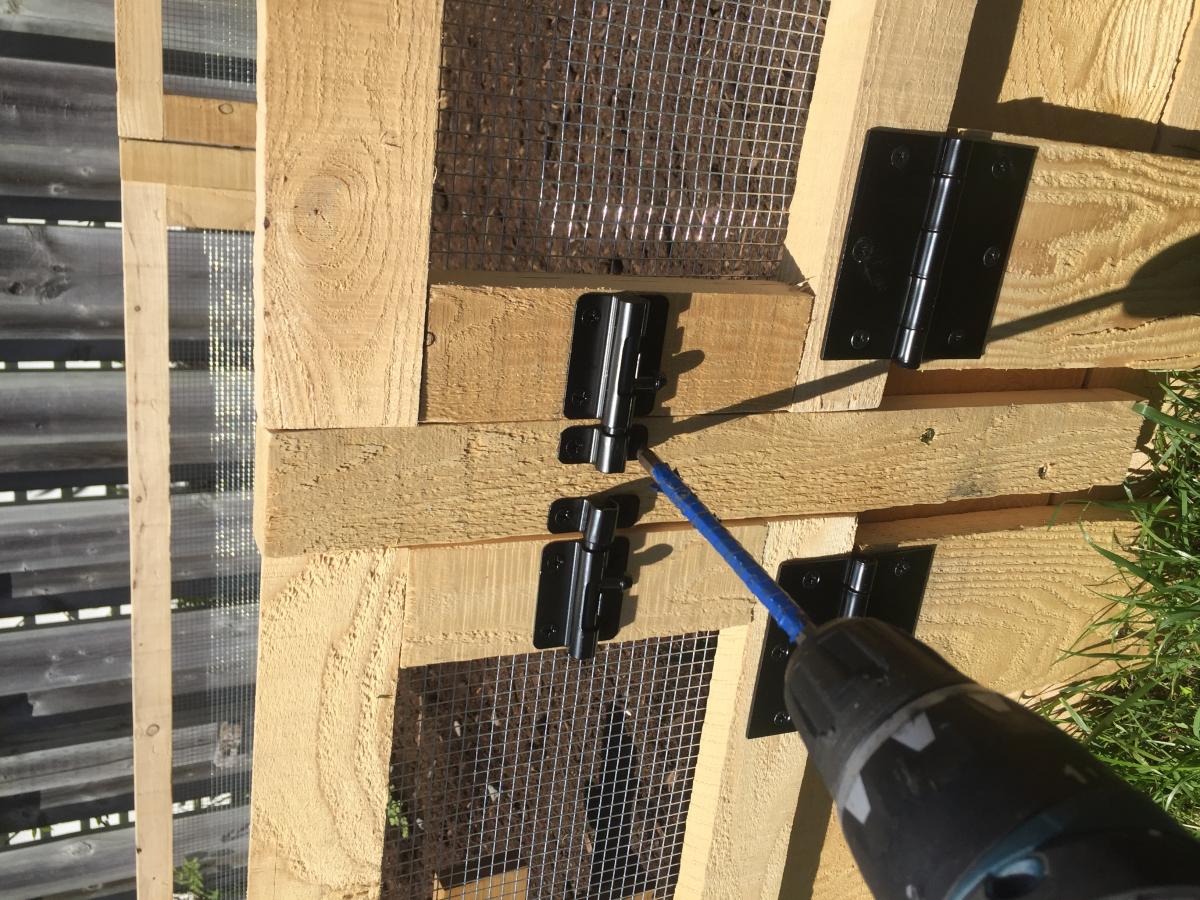
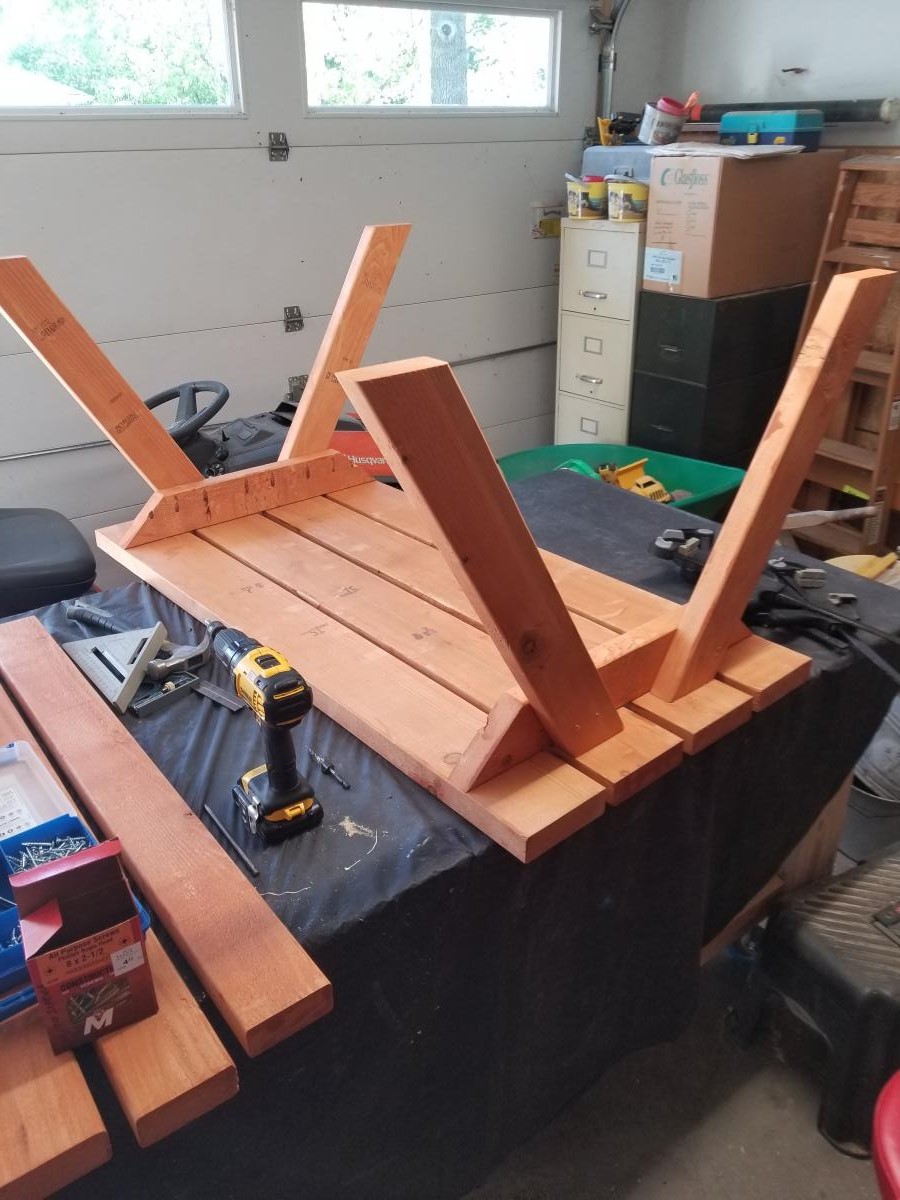
If you are using pockethole screws, start the screws in all the holes before you put the crosspieces on. Stop when you see the tip of the screw come through the first piece.

Clamp scrap 2x4 to the uprights to hold the crosspieces in place as you drill.

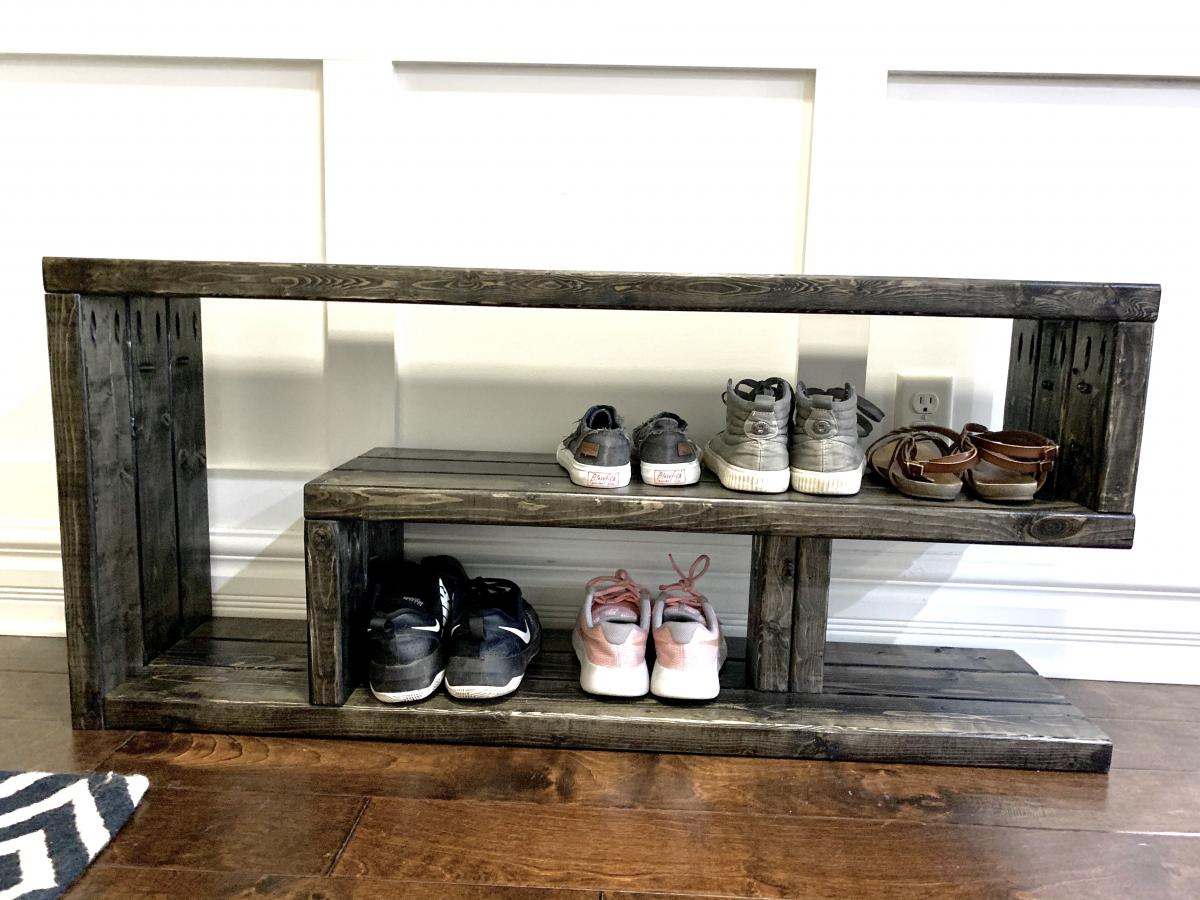
To get the shelves in place, lean the ladders against each other and attach the bottom and top boards on one side. Than pull the other ladder out as far as it needs to go and screw that side of the shelves in place.

Don't try this without clamps.

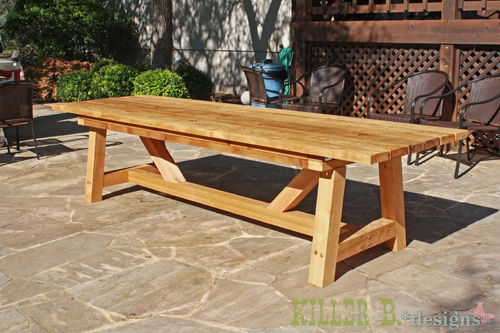
It could have been cheaper if I had used all reclaimed fence 2x4s, and if my errand runner had bought cheaper 1x12s. He bought top-grade when #2 would have worked for half the price,

Estimated Cost
$ 30
Estimated Time Investment
Afternoon Project (3-6 Hours)
Finish Used
None
Recommended Skill Level
Intermediate

Rolling Bar Cart

Submitted by mary tuper on Mon, 05/06/2024 - 12:13

This was my second project using plans on this site and I loved it - I made this for a friend's daughter who was moving into her own apartment. She and her girlfriends loved it too! It was very easy and quick to build. Wheels took a bit of time and effort!

This was a real hit and I'd love to make more, if I had room at my house I'd make one for myself!

Dartboard Cabinet

I had a big empty wall in my den/man cave, so I decided to build a dartboard cabinet instead of just hanging a dartboard on the wall. No plans for this, I just made it up as I went. Measured twice, sketched it out and cut as I went.

I use pine 1x4's for the frame and back. 1x3's for the accessory box, 1x2's for the door frame, and poplar strips for the doors and door braces. The darts are held by 6" long 2x2's with holes drilled.

Wood screws, finish nails, and small brads were used to hold everything together.

The chalkboards are simple MDF's cut and sprayed with chalkboard paint. Overlay hinges are used for the doors, and the dartbord is held on with screws from the back so it can be replaced when needed.

The Alabama A is hand-painted.

Estimated Time Investment
Day Project (6-9 Hours)
Finish Used
Minwax Classic Gray with light coats of spray glosscoat.
Recommended Skill Level
Beginner

Big Kids Picnic Table

Loved your plans for this and built a table for my 4 year old grandson who could destroy a box of rocks if given the opportunity! I was able to get by with (5) 2X4's instead of the (6) called for in the plans which was even better since I've now got an extra one for the next project. I used pocket hole screws, #8 x 2-1/2" exterior grade screws, and some Thompson's Water Seal and everything turned out even better than expected! Virtually no "scrap" to absorb either. Thank you for sharing your plans - I'm looking at those for the full-size version for someone that has asked if I could build one for him!

Built from Plan(s)
Estimated Cost
$30 - $35
Estimated Time Investment
Day Project (6-9 Hours)
Finish Used
Thompson's Water Seal Natural Cedar

Chicken Coop

Submitted by Elloh on Tue, 08/11/2020 - 11:05

This was my biggest build yet and these plans along with being able to see a few brag posts with modicifactions made this project less intimidating. I extended the coop in order to add a walk in door. The drop down doors on both sides will give plenty of access and help with cleaning. I've added door latches to all the doors since putting it in place. My dad provided the cedar so that greatly reduced my costs. This project took about six days to complete. The fun part was getting it out of my carport : ) This was built for my daughter's chickens and she is thrilled with it. So am I! Thanks for the plans Ana!

Estimated Cost
Hardware, screws, hardware cloth and plywood - around $150

Outdoor side table

Keeping budget with wood projects, made side table for outdoor fire pit area.

Estimated Cost
$25
Estimated Time Investment
An Hour or Two (0-2 Hours)
Finish Used
Legs and braces=rosewood stain
Top=honey pine
Recommended Skill Level
Starter Project

4-Foot Beadboard Wall Shelf

The 4-foot "classic beadboard" wall shelf is simple and cheap to make and it looks great for hanging pictures or decorations on the wall. The project requires only about $10 in materials, but it does required more advanced tools such as a chop saw, table saw, jig saw and router. Comparable shelves sell at between $60-$80.

I can build the project is about 1-2 hours, but it may take longer if you don't have all your tools set up. The plans are free on my woodworking blog at: http://www.jrlwoodworking.com/

You can also make the shelf in 2-foot and 3-foot lengths, simply shrink all the horizontal dimensions by one or two feet.

Estimated Cost
$10 + paint
Estimated Time Investment
An Hour or Two (0-2 Hours)
Finish Used
We used Rustoleum furniture spray paint ( flat black) and distressed it with sandpaper. You can use a Q-tip and a cherry gel stain to make the exposed wood pop. I don't like to put a primer on it because when you are distressing the wood, the primer shows through and looks funny if it is not the same color as the finished color.
Recommended Skill Level
Intermediate

Comments

kristenlotz

Fri, 01/04/2013 - 12:37

We actually built three of these for my husband's siblings for Christmas. The best part of it was the low cost. These only cost about $10 a piece and we left them unpainted so they could paint them to match their home decor. And whenever they look at their shelf, they will remember the hand-made Christmas present!

Rustic Corner Cupboard-Bar

Submitted by Anonymous (not verified) on Mon, 03/13/2017 - 18:36

Corner Cupboard built for use as a dry bar with a few mods for a more rustic look.

Built from Plan(s)
Estimated Time Investment
Weekend Project (10-20 Hours)
Recommended Skill Level
Intermediate

Love my table!

Submitted by Anonymous (not verified) on Sun, 05/28/2017 - 23:14

This is my one and only woodworking project so far, and I am so proud of it. I used reclaimed 2x6 redwook deck boards for the top and had to modify the design to make the table a little bigger. I also added an umbrella hole to the center. I'm hoping to add benches one of these days, but with two daughters and a baby, I'm not sure when that will be! Thank you, Ana, for your design!

Built from Plan(s)
Estimated Cost
Less than $100
Estimated Time Investment
Week Long Project (20 Hours or More)
Finish Used
Satin water-based polyurethane on the redwood top, primer and flat white paint on the legs.
Recommended Skill Level
Starter Project