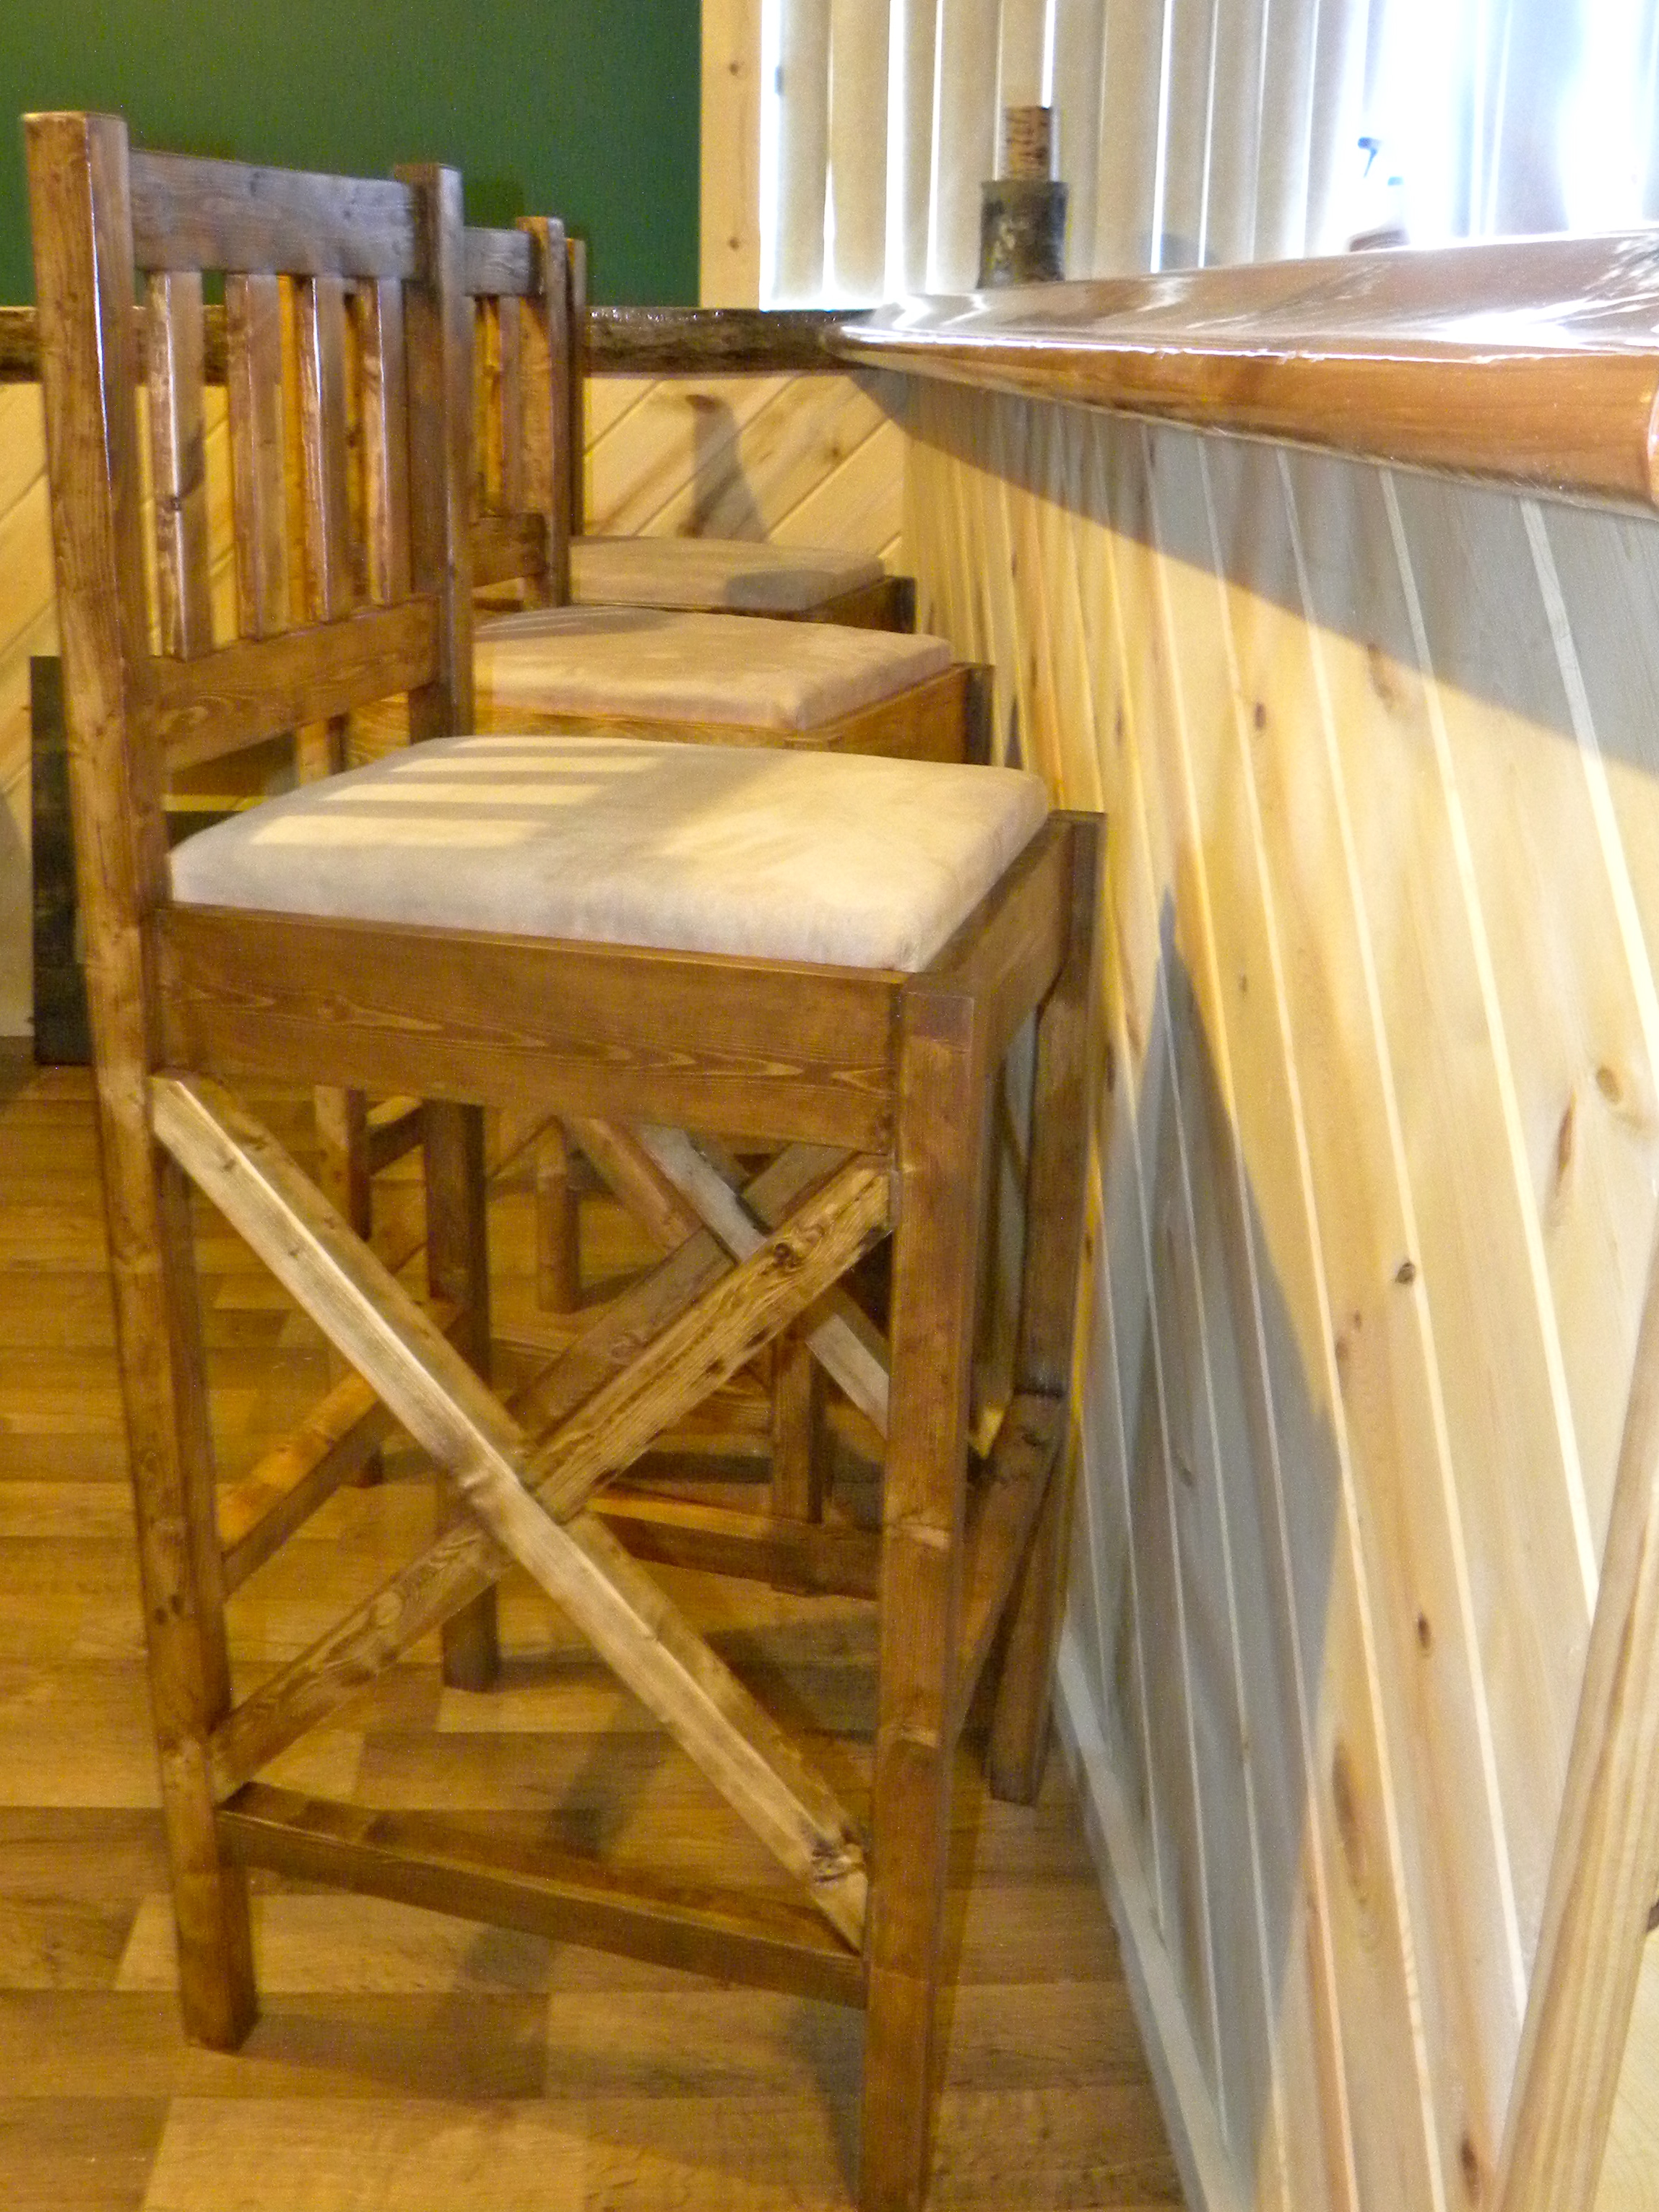
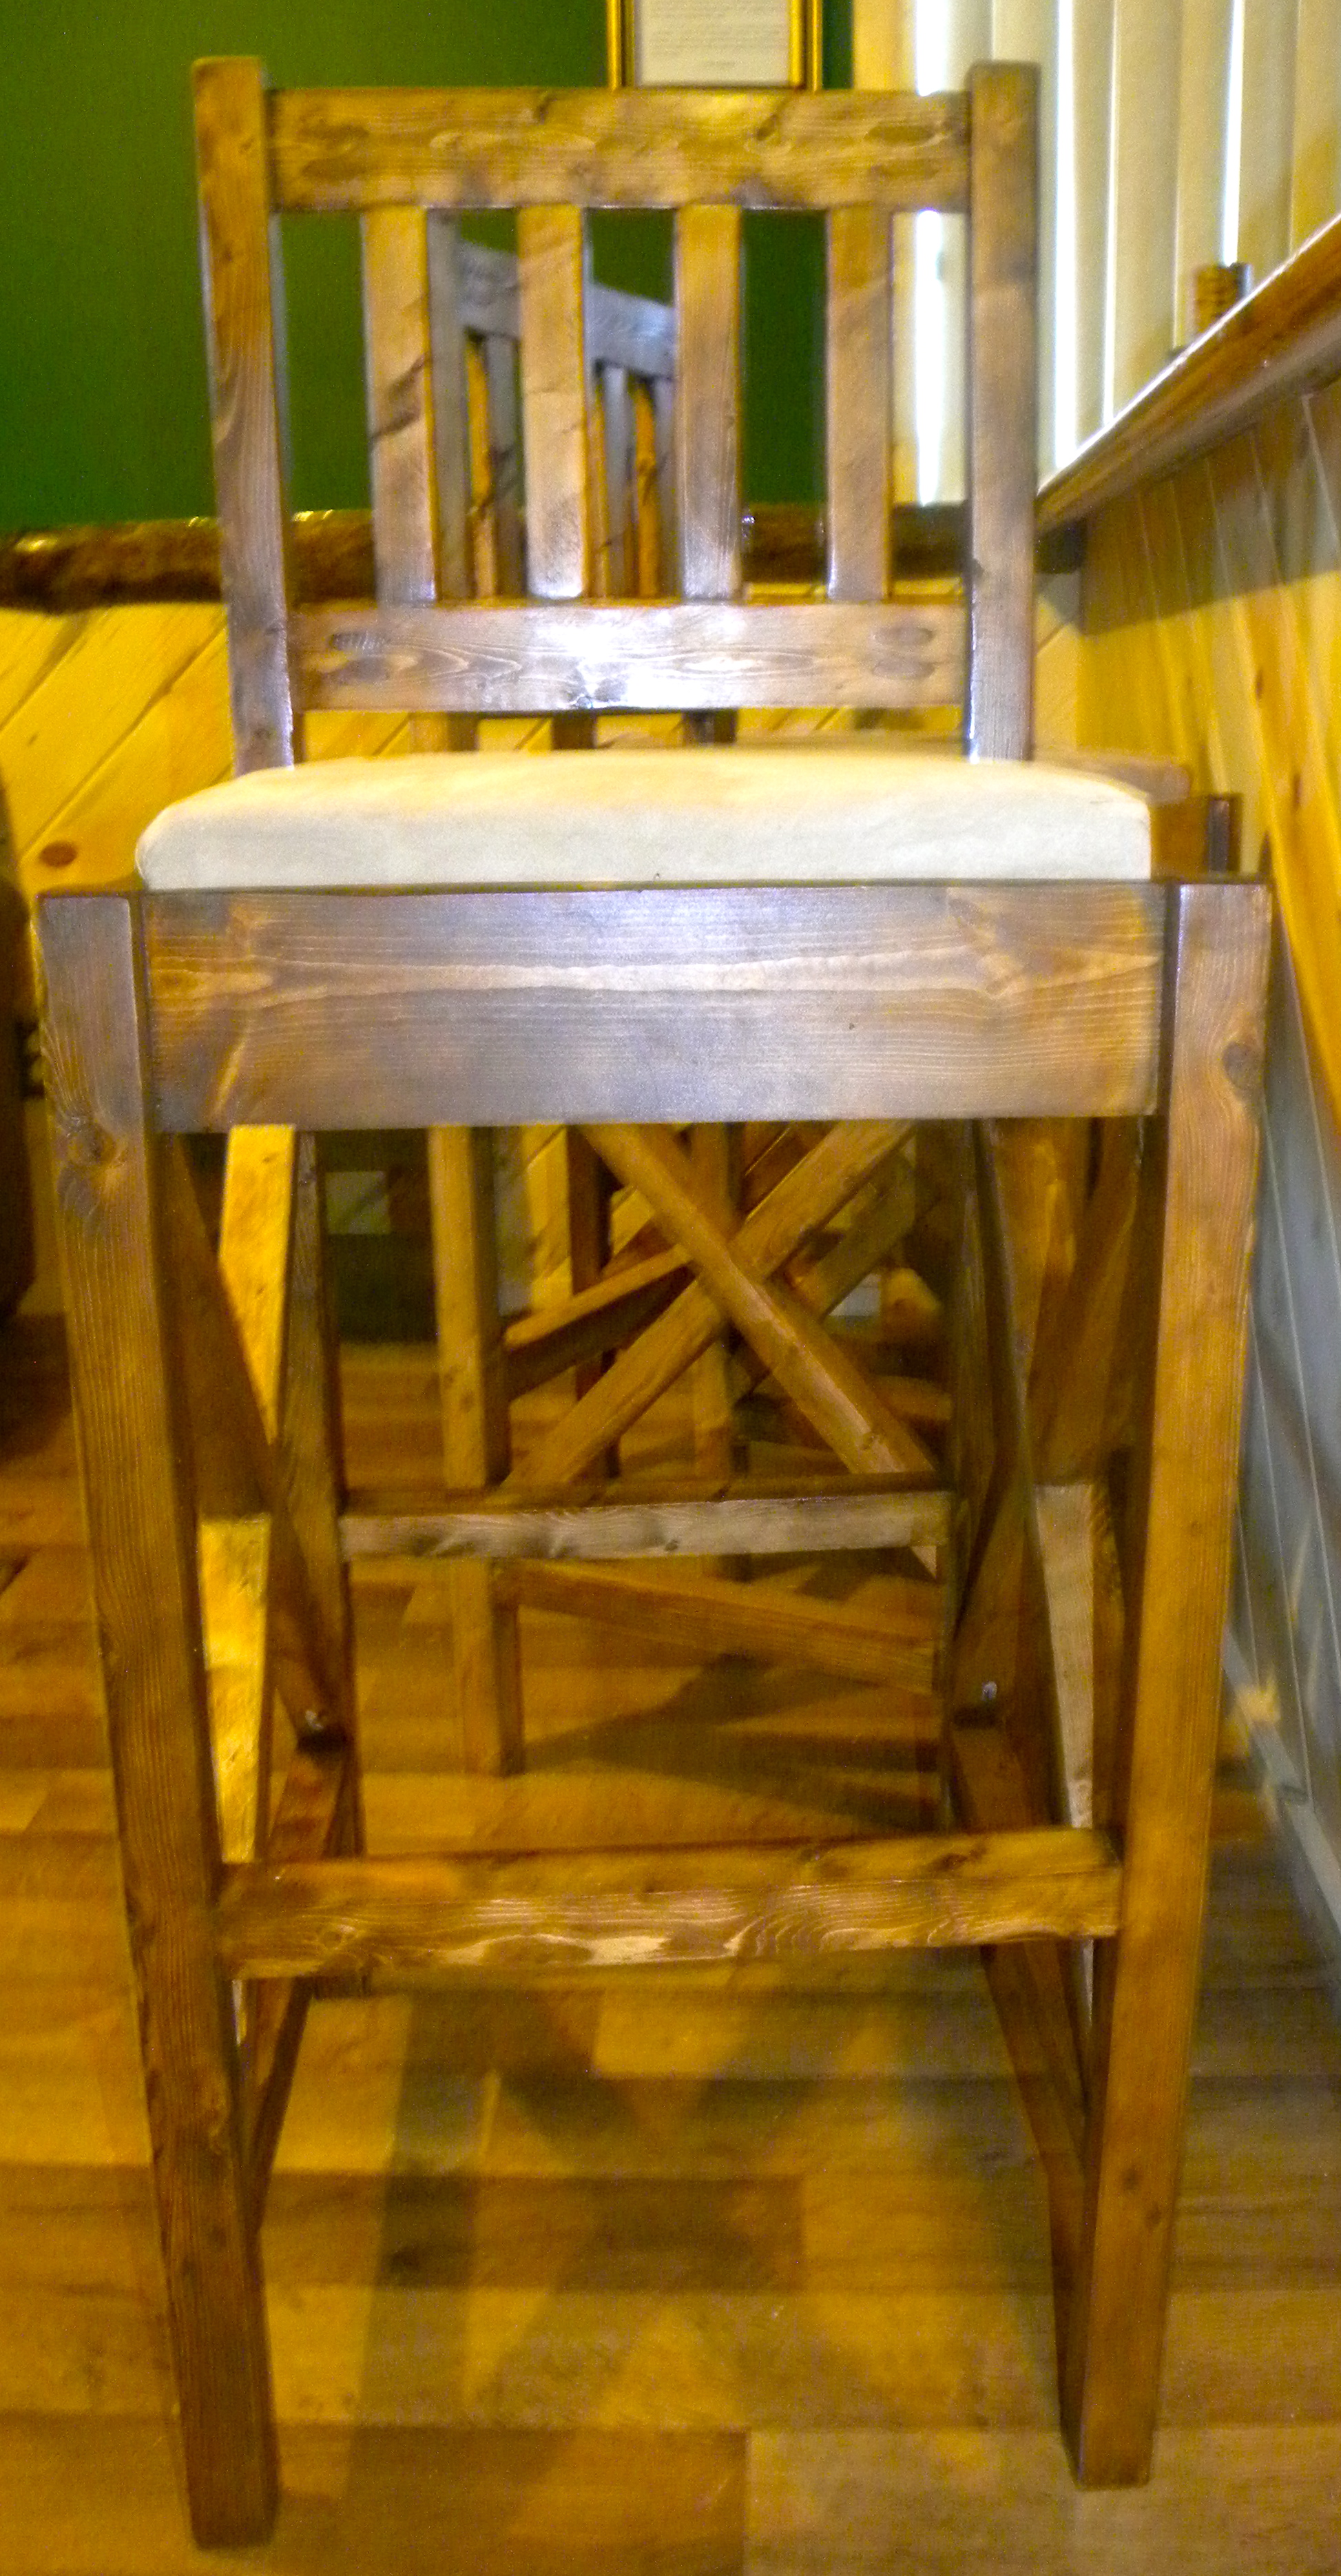
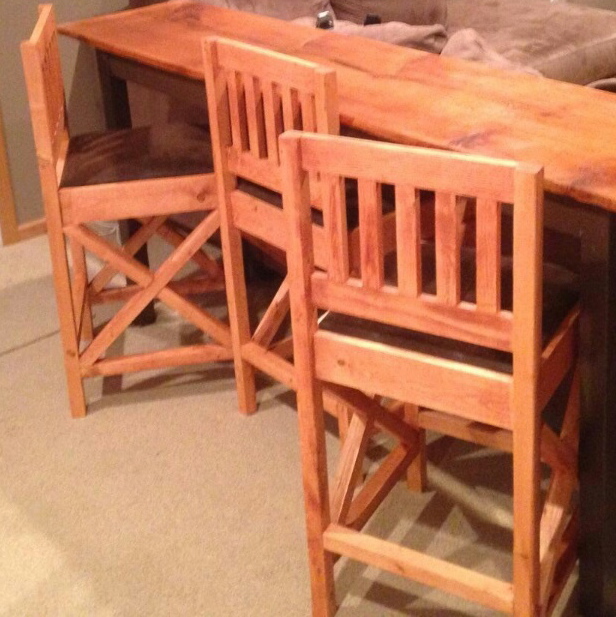
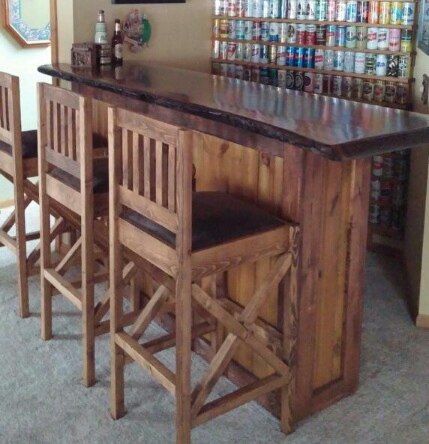
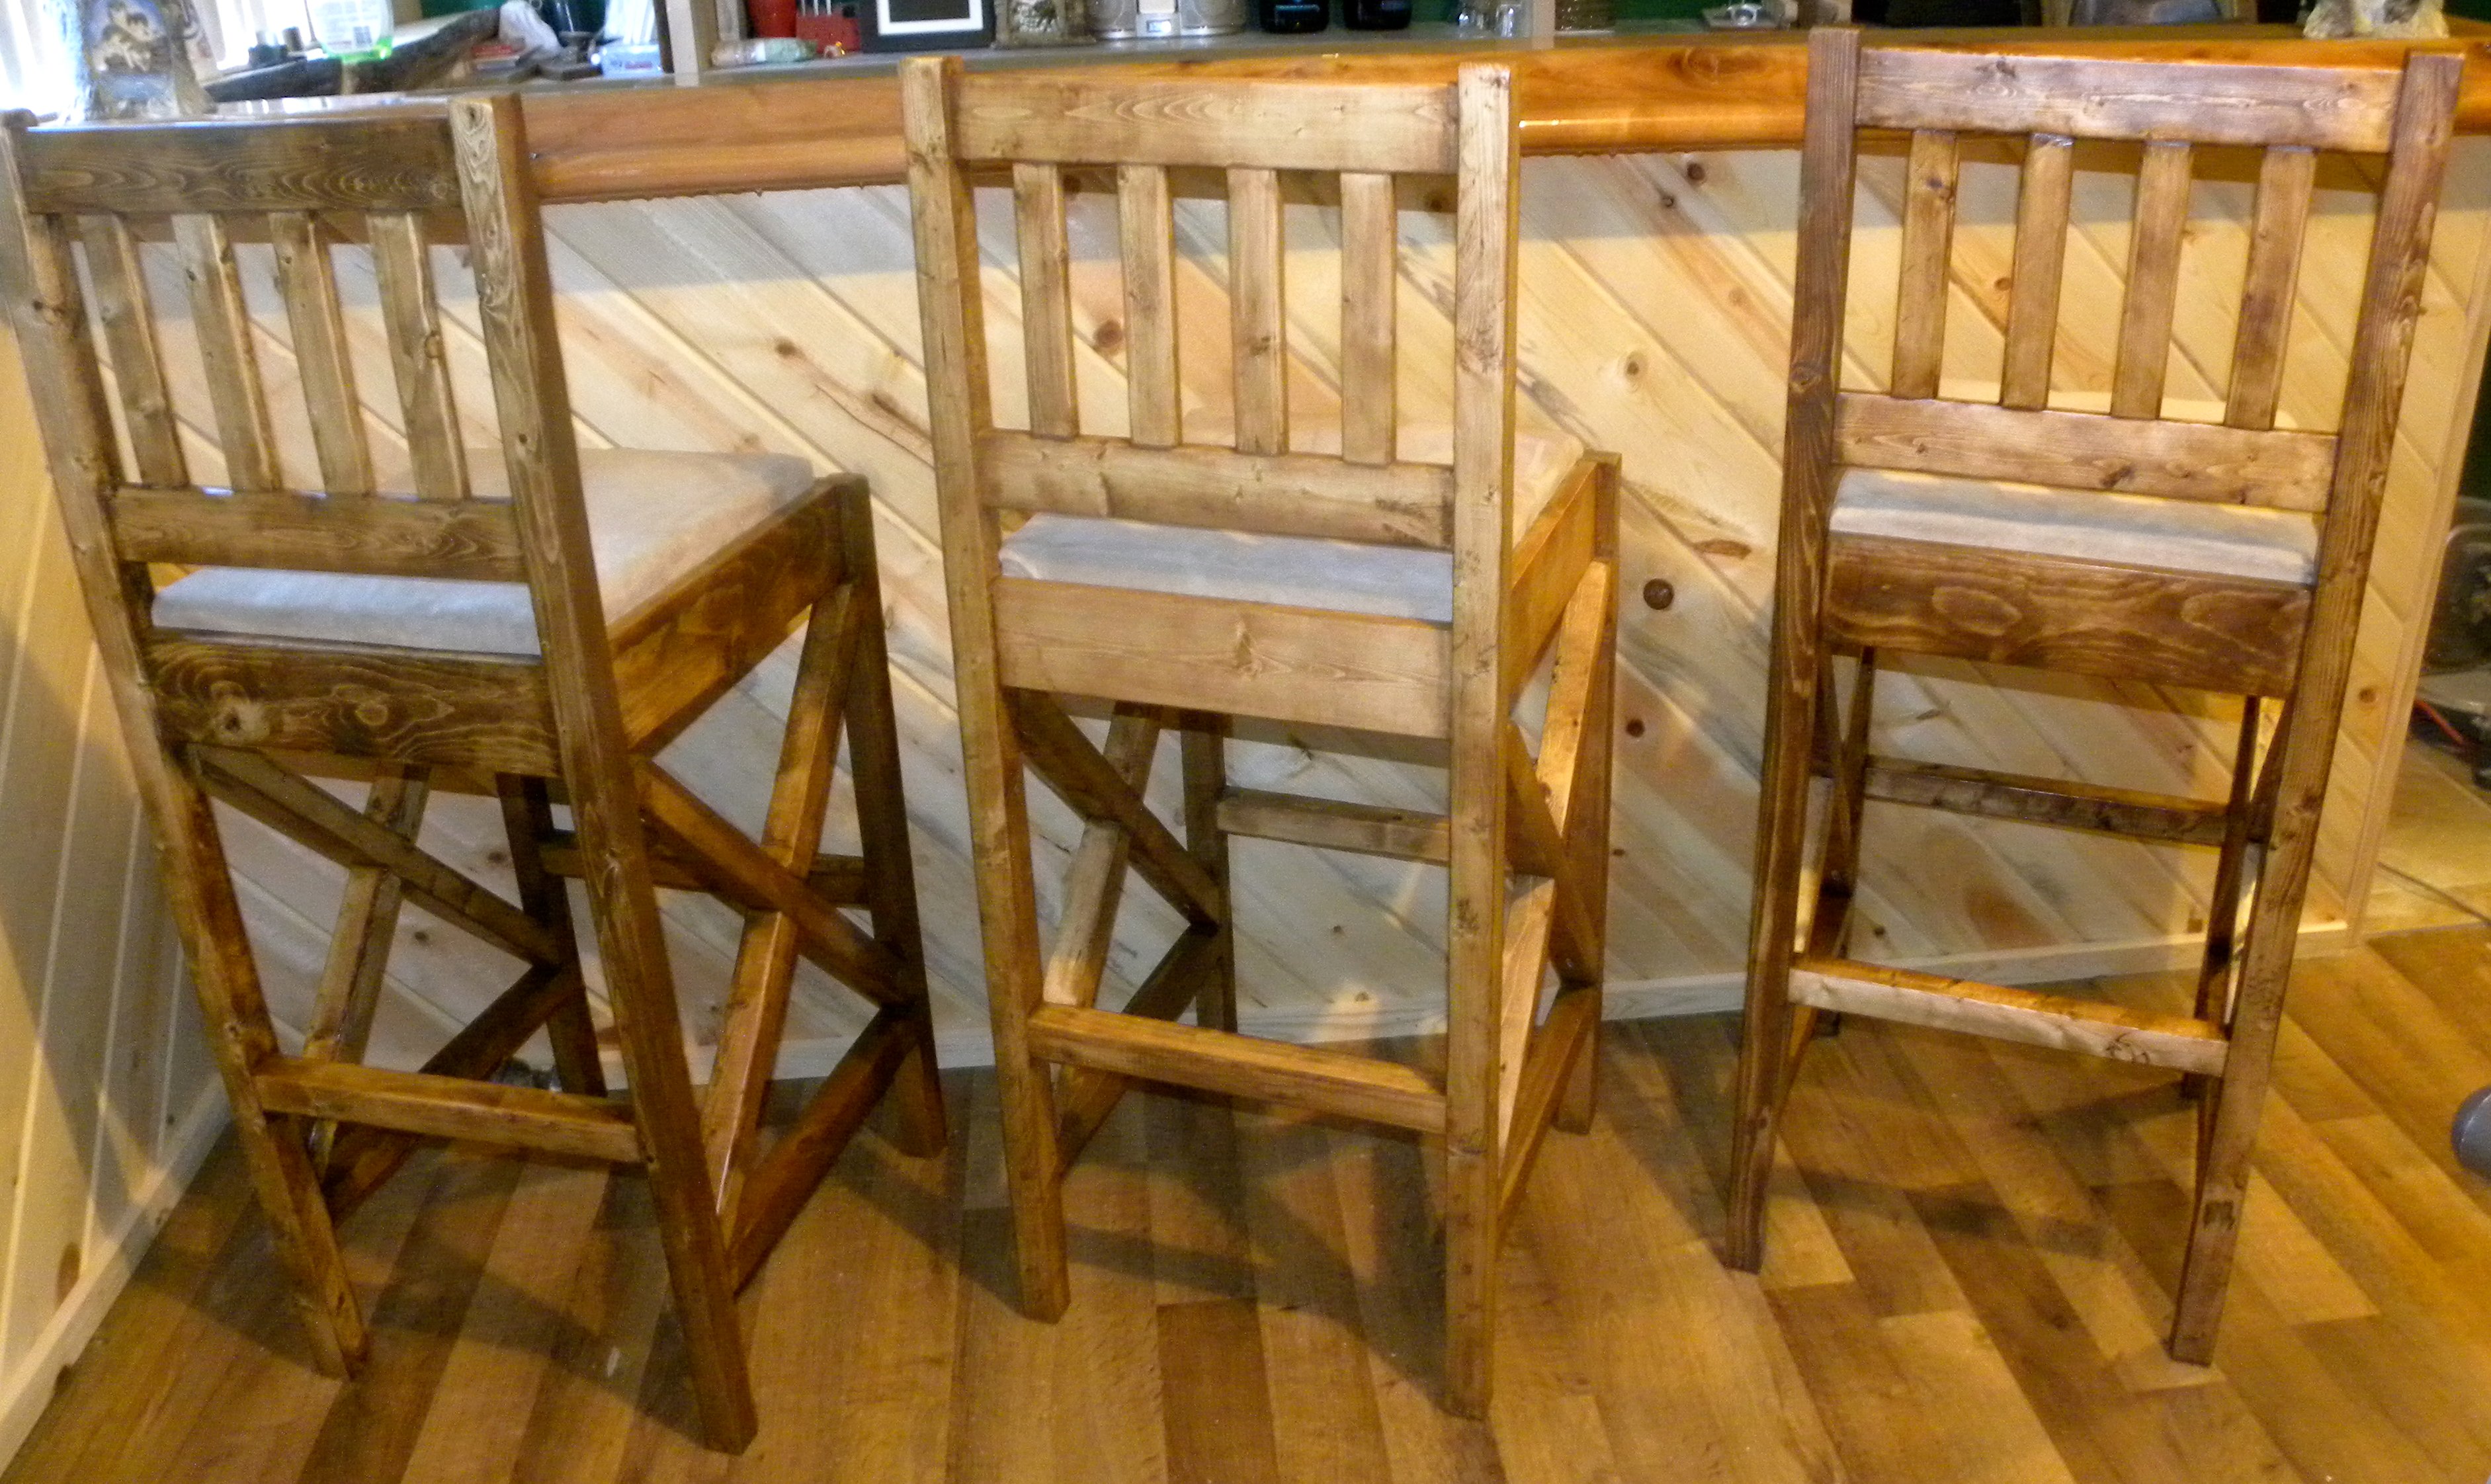
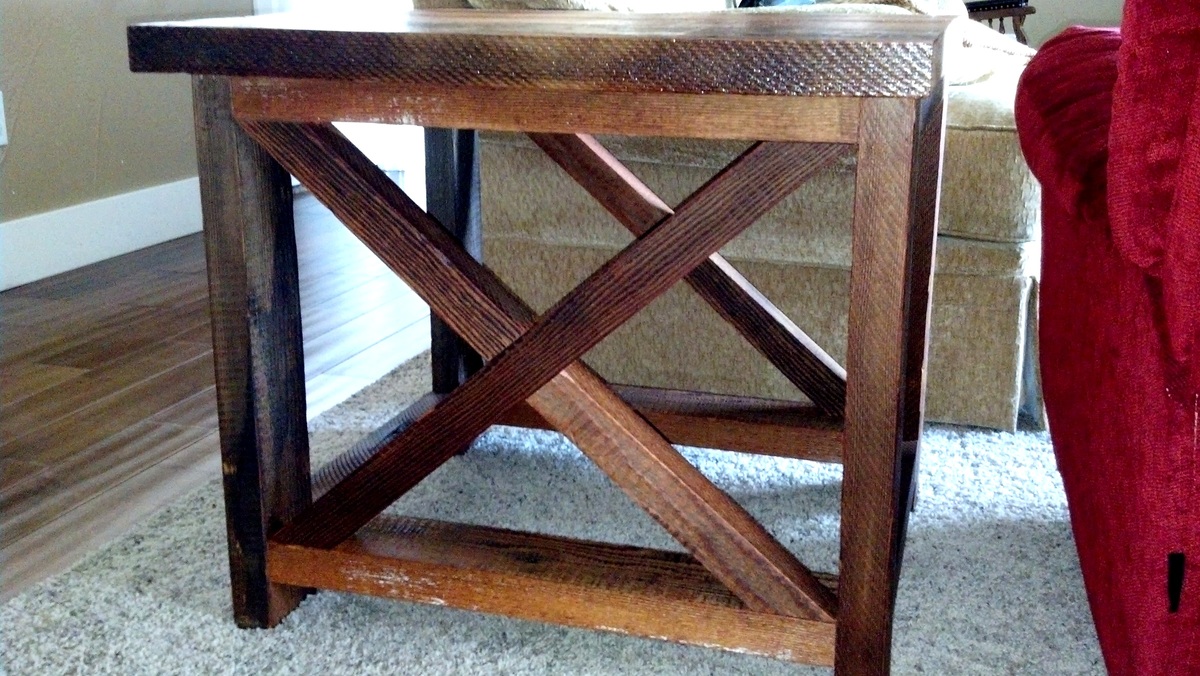
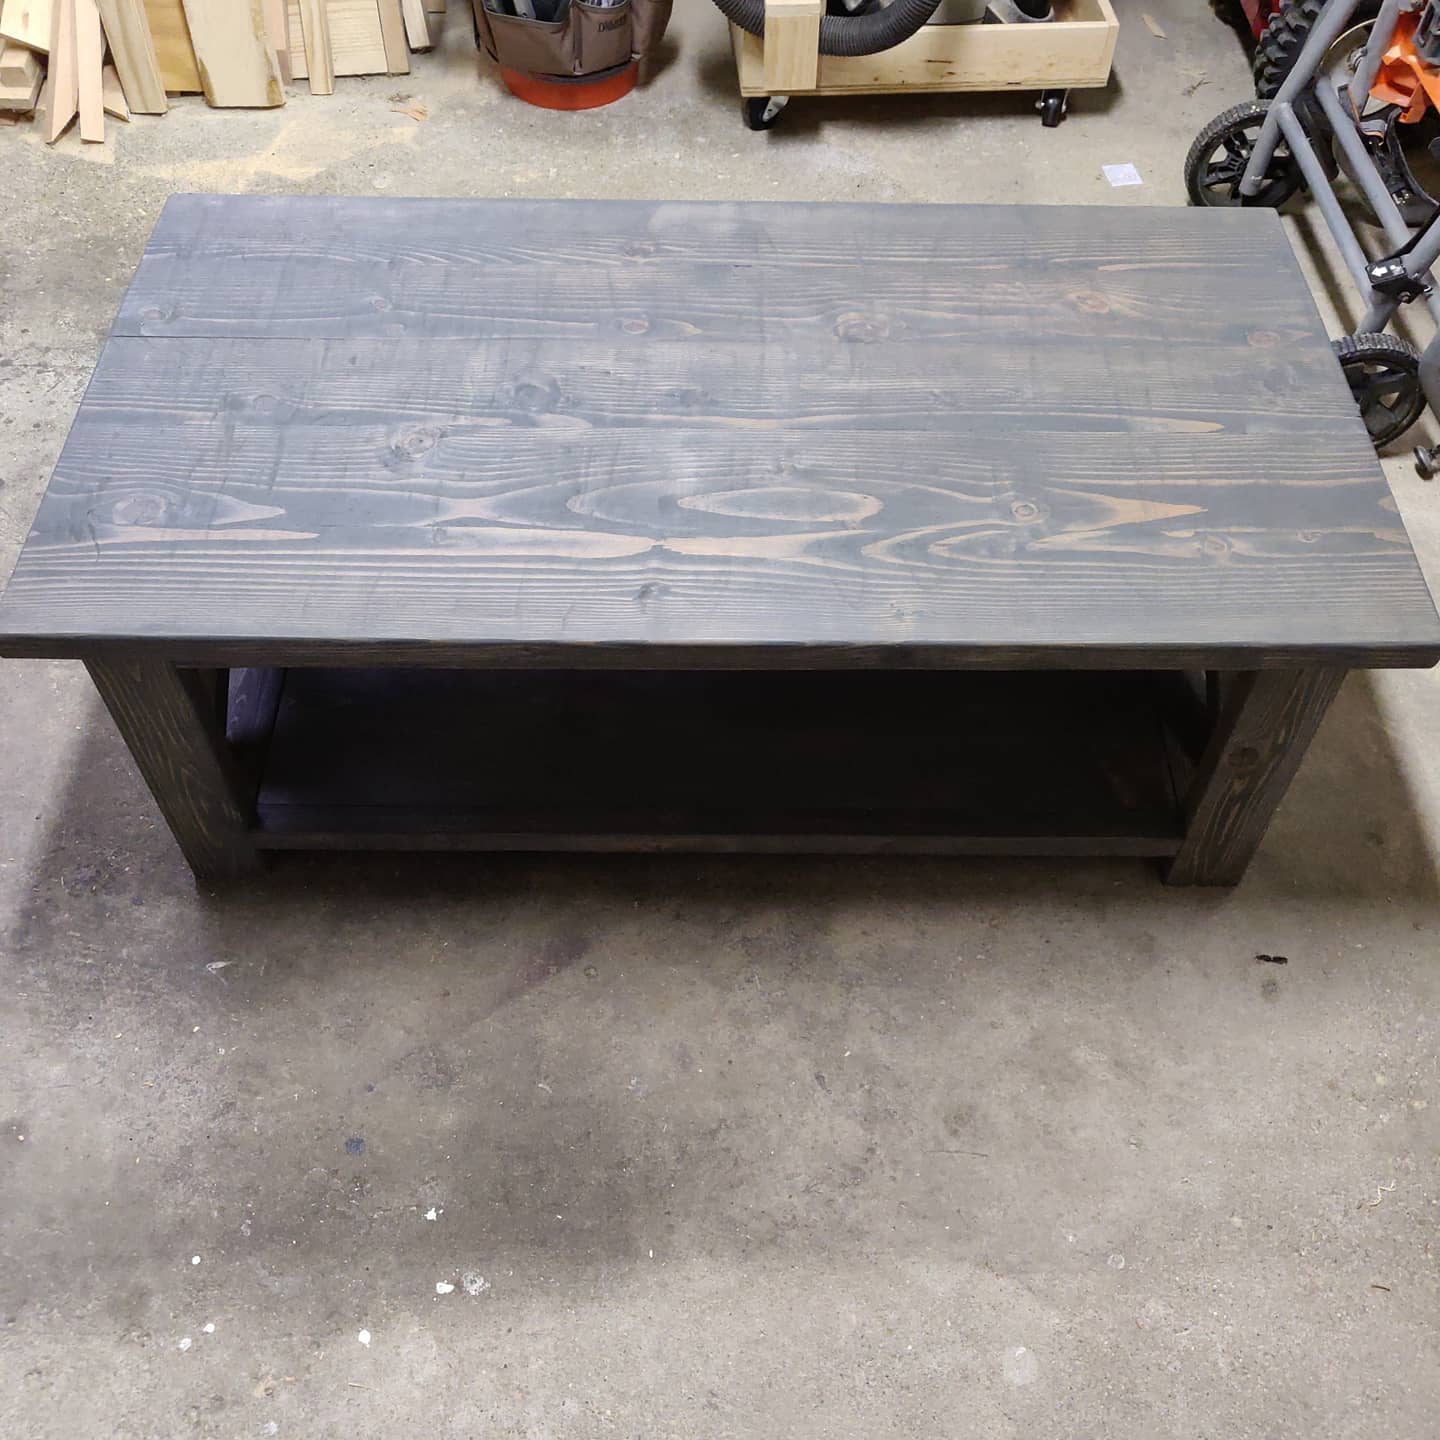
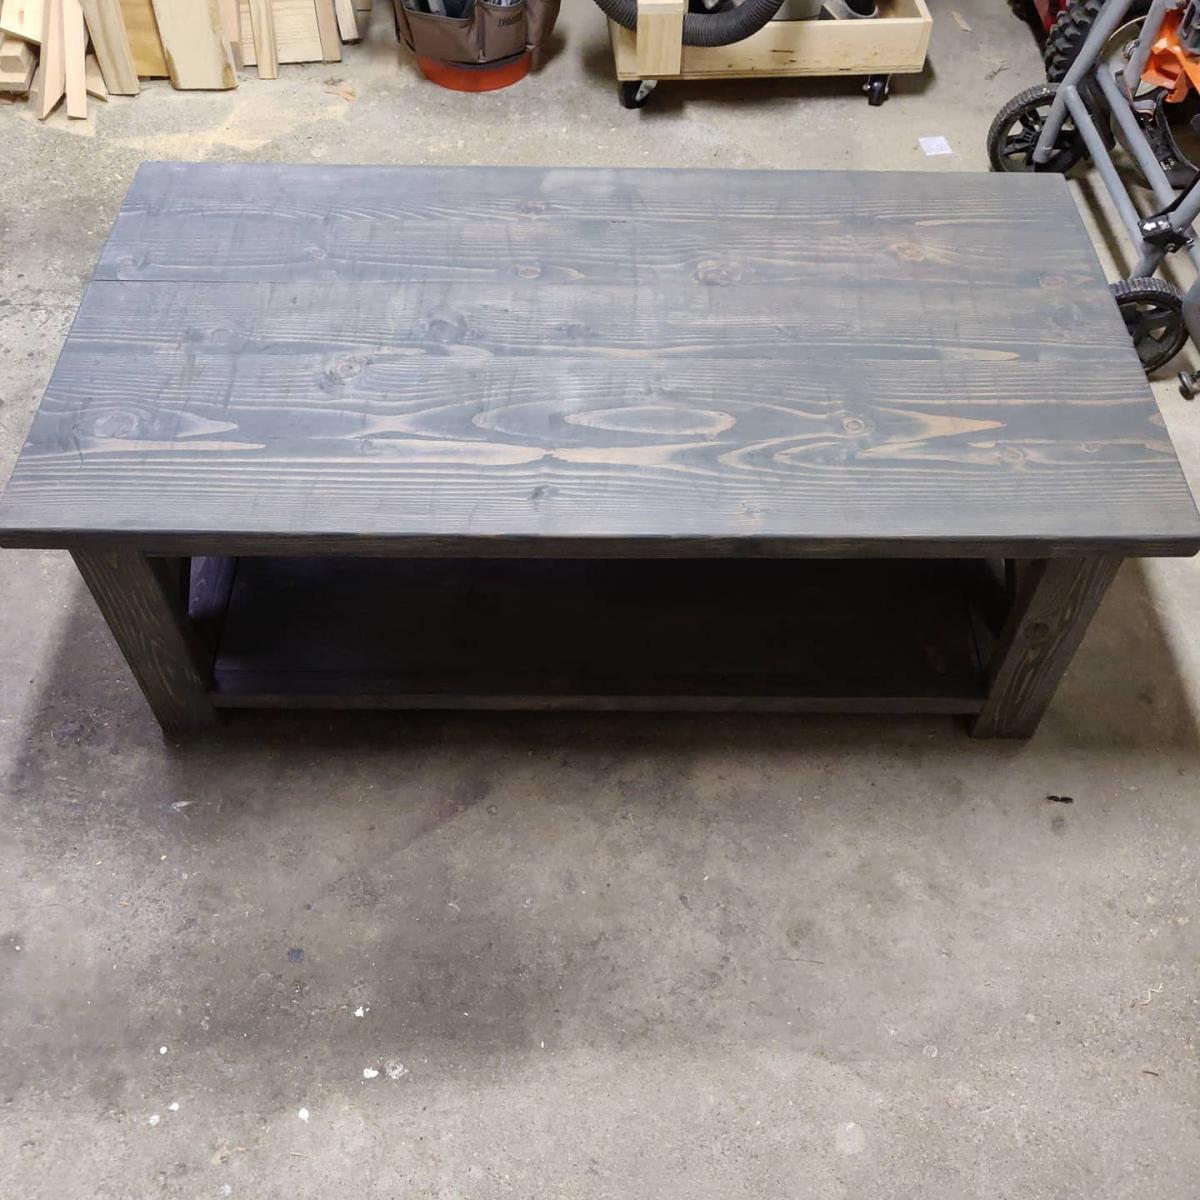
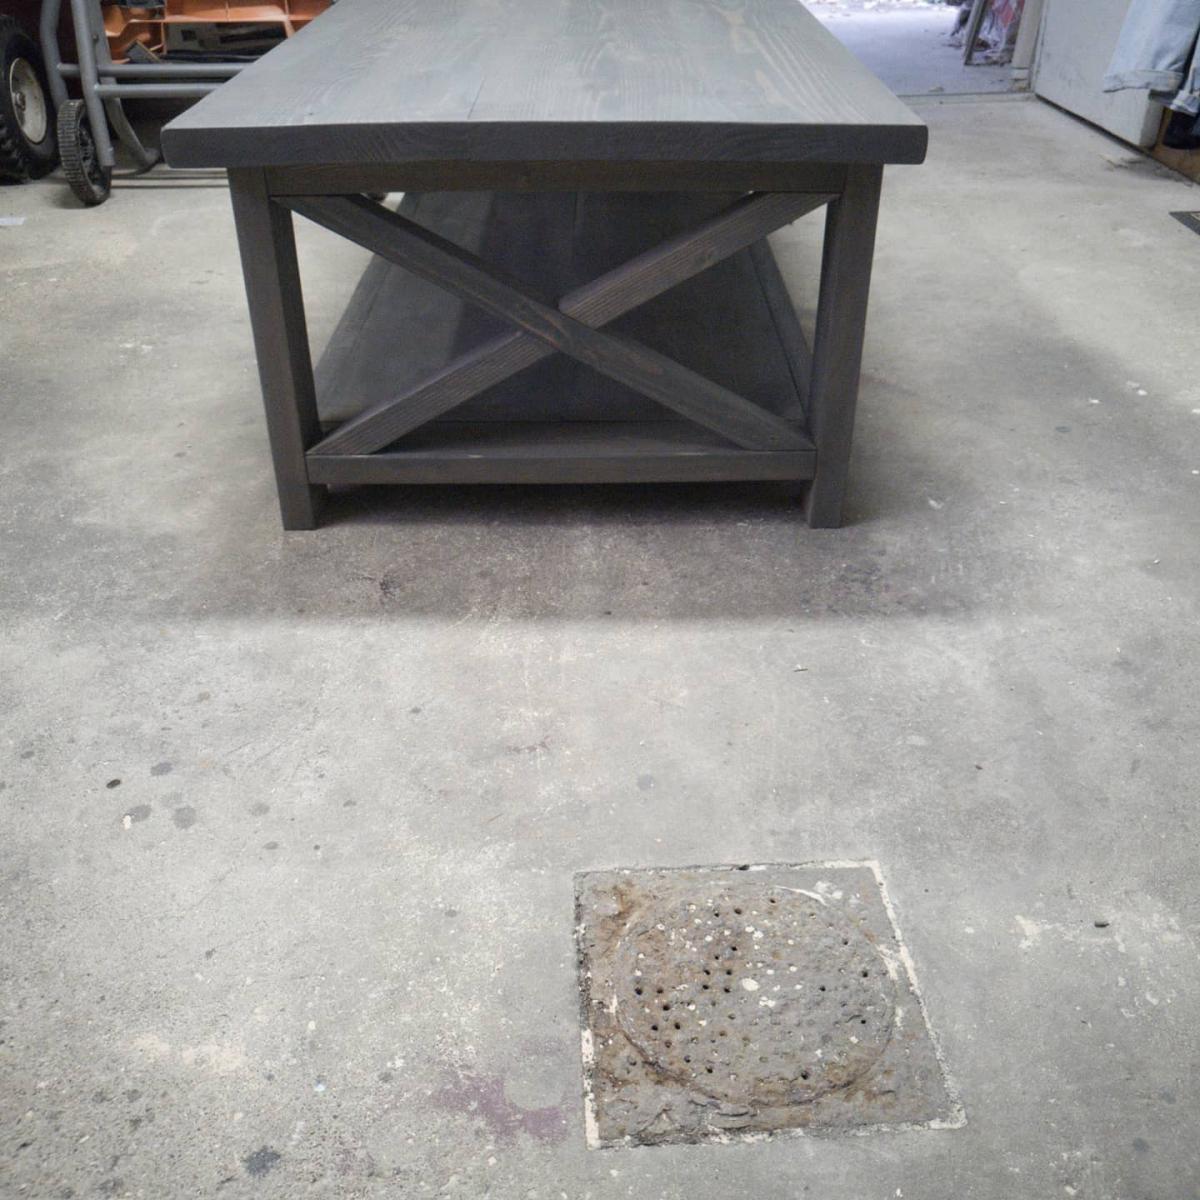
Community Brag Posts

Moses Basket Rocker

Submitted by bd on Sat, 04/19/2014 - 14:15

Pretty much followed the plan, except I raised the height of the platform. I intended to make the legs longer, but I forgot and cut them to the length on the plan. It looks like the sides of the basket aren't supported as well, but the basket stays in just fine.

I also added little wings on the end to support the ends of the basket. I wanted to be able to remove the basket from the cradle without screwing it in, but also wanted the basket to be secure so I added the little wings. It was easy.

Overall a pretty easy project, except the rockers are time consuming. They're not hard to make, you just need to take your time.

Built from Plan(s)
Estimated Time Investment
Weekend Project (10-20 Hours)
Finish Used
Sample paint on the clearance shelf - can't remember the color name.
Recommended Skill Level
Intermediate

Modular Closet System Using French Cleats

Submitted by Anonymous (not verified) on Tue, 08/13/2024 - 09:25

French Cleat Modular Closet System. This is the first carpentry project I have ever built. I bought myself a Makita Track Saw for my birthday in March. I was working and I have chronic health issues so I just paced myself. Left side first. Then the right side. Then I just finished the shoe component today. I had a U shaped inefficient builder system for the last 20+ years. I can't wait to do my other closets and build out several other projects. I love this site and the great plans that are here! Thank you, Ana!

Annette Hickman

Tow Mater Adirondack Chair

Submitted by Anonymous (not verified) on Mon, 02/06/2017 - 10:02

I made this chair for my 3 year old son who is obsessed with Disney Cars based off of Ana's 

Super easy little Adirondack chair plans.

Built from Plan(s)
Estimated Cost
$75
Estimated Time Investment
Day Project (6-9 Hours)
Finish Used
Various
Recommended Skill Level
Intermediate

Easy Build Basement Shelves

Submitted by Anonymous (not verified) on Tue, 05/20/2025 - 11:26

Basement storage shelves -
I’ve been wanting shelves down here for a long time but I couldn’t see how to do it with the spray foam walls and plastic over gravel floor. I modified Ana’s plans to make the top shelves extend back and anchor to the upper studs. Thankfully, the floor was level and I only had to put foam under the feet to protect the plastic. It’s not pretty but it gets the job done!

Chicken Coop

Submitted by Anonymous (not verified) on Sun, 07/10/2022 - 12:26

Great for a small flock of 5 or less.  

Comments

Seasonal And Holiday

How to Build a Raised Balance Beam for $60

Submitted by Anonymous (not verified) on Thu, 01/31/2019 - 14:49

From watching Olympic gymnast Simone Biles on the television to running, flipping and twirling all around our living room — my girls LOVE everything gymnastics. Both girls began competing with a local gymnastics club. Now that my oldest has moved up and is pretty serious about practicing her beam handstands and dismounts, she begged me to build a raised balance beam with suede covering so it would have a similar feel to her beam at the gym.

If you can relate to this, or even if you have a new gymnast (like my youngest in the pic above) wanting to improve their skills at home, then this comprehensive tutorial on how to build a raised balance beam is for you.

Full plans available on my blog The Creative 'Carr'penter. You can also find and pin this tutorial on Pinterest here.

Estimated Cost
Cost of materials were about $60. Could vary depending on materials used.
Estimated Time Investment
Afternoon Project (3-6 Hours)
Finish Used
I used an outdoor flat paint to finish the exposed pieces of wood. The remainder was covered in padding and suede fabric.
Recommended Skill Level
Beginner

Comments

Flip Top Storage Bench

Submitted by Linda7 on Tue, 10/01/2013 - 15:40

So my sister's house is on a rural, sandy lot. Did I mention sand...lots of sand. Her tile doesn't react well to sand-covered shoes , so they needed a place for guests to take off street shoes to replace them with spa booties. I offered to build them a storage bench for that purpose.
I modified the bench to make it shorter as per my sister's request. She also wanted the lower shelf modified to place a boot tray on it to catch the sand. I suggested replacing the lower shelf with rails to place the shoes on so the sand could fall off onto the boot tray. We nailed finish nails into the legs under the rails and slid the tray onto them. Now she can remove the tray easily to dispose of the...sand.
The finish on the body matches the mirror, which hangs above it. The lid of the bench was stained to match the finish on the doors, posts, etc. I used wrap around inset hinges from here: http://www.rocklerpro.com/product.cfm?page=5135&rrt=1
I checked this as a weekend project because of dry time for stain and poly.
Thank you, ANA for the awesome plans.

Estimated Cost
About $65
Estimated Time Investment
Weekend Project (10-20 Hours)
Finish Used
Minwax Express Color "Crimson" for body; Minwax "Ipswich Pine" water-based stain, followed by three coats of gloss poly for the top.
Recommended Skill Level
Beginner

Outdoor end tables

I made these two Ana White outdoor end tables for my patio. Next up will be the matching coffee table

Built from Plan(s)

Comments

Craft Table

Submitted by Anonymous (not verified) on Fri, 01/22/2016 - 19:34

This was a fun project to get my feet wet again in woodworking. We adjusted the plans slightly. Our table is 80" x 40". It is supported and bordered with a 2x4 frame that ties it all together. As my friend said, you can stand on that thing. Lots of fun, and can't wait for my wife to enjoy it.

Built from Plan(s)
Estimated Cost
$200-$250
Estimated Time Investment
Weekend Project (10-20 Hours)
Finish Used
Flat Behr Paint. Flat White (Shelves) and Sparrow (Top)
Recommended Skill Level
Intermediate

Swingset with playhouse

Submitted by Handy Dad on Thu, 12/19/2019 - 14:44

I deviated quite a bit from the plans.  Mostly, I used readily available swingset hardware to beef up the design. This stuff can be found on big online sites or specialty sites. 

I bought all of the swings, and ninja rope online along with the 4ft slide and safety handles.

Estimated Cost
$1200
Estimated Time Investment
Week Long Project (20 Hours or More)
Finish Used
Outdoor Stain/Urethane
Recommended Skill Level
Intermediate

Comments

Mudroom Bench

Submitted by BeingHome on Sat, 02/23/2013 - 22:26

With much needed seating in the mudroom, an unused space (nook) was used to build a mudroom bench and shelf. No plans were used. I basically looked on-line and mentally drew up an idea of how I wanted the final product to look.  


There were some setbacks such as not like the knock down textured walls (after partially painting the bench). I ended up covering the textured walls with hardboard and repainted.


A bench cushion was made for added comfort and style.


Complete tutorial for the bench is here and the bench cushion tutorial is here.


Thank you.


Julie

Estimated Time Investment
Weekend Project (10-20 Hours)
Finish Used
Behr Ultra (paint and primer in one) in ultra white finish.
Recommended Skill Level
Beginner

Comments

Cleverly6

Thu, 05/16/2013 - 13:48

Thank you so much for the idea and plan. I used it to turn an extra laundry room that we have off of our garage into a much needed mudroom. The most challenging project I have ever done before is hanging blinds. But with your help and some from the Home Depot employees, I did it! Our family is more than happy with it. Thanks!!!

BeingHome

Sun, 08/25/2013 - 22:28

Thank YOU so much! I would love to see a picture of your new mudroom area. :) I am happy the plans helped and of course Home Depot. ;)

Sorry for my delayed response. :(

BeingHome

Sun, 08/25/2013 - 22:28

Thank YOU so much! I would love to see a picture of your new mudroom area. :) I am happy the plans helped and of course Home Depot. ;)

Sorry for my delayed response. :(

Farmhouse Queen Bed with removable rails

Submitted by sunnydays on Fri, 02/06/2015 - 14:05

After dreaming about a new bed for ages, I finally built up the nerve to make our own.  This was actually pretty easy, but it helped to have hubby there for some parts, just because of the size and weight of this thing.

My 1x8s were 7.25", so to compensate, I just added a single 1x2 in the middle.  Perfect fit!

We like to move (!) so we modified the bed to be easily moveable.  I purchased some heavy duty bed hardware from Amazon ($25) and deck/joist hangers from Lowes. 

I put the deck hangers on the bottom of the 2x10s, and the 2x4s sit vertically and free in the hangers.  So, next time we move, we'll just pick up the 2x4s, and unlock the 2x10s from the head & footboards and take off!  :) 

We lowered the 2x10s so that the total height of the mattress + box spring + vertical 2x4s wouldn't be too high for me to climb on to every night.  I have knocked my toe nail on the side rail a couple of times already, so maybe in hindsight I should have raised it a teensy bit.  

I did forget to decrease the length of the side rail, since we didn't hang it on the inside like Ana did.  That's an easy fix, though.

For the finish I used Weathered Gray stain first....and freaked out because it looked SO gray!  But I convinced myself it would turn out, so I kept going.  Next I did some heavy sanding, followed up by Special Walnut stain.  Finished up with a coat of furniture wax over the layers.   

We LOVE our new bed!  Thanks, Ana, for the plans and your website!  Next up: replacing those 1999-era side tables and dresser!  :) 


Built from Plan(s)
Estimated Cost
$150
Estimated Time Investment
Weekend Project (10-20 Hours)
Recommended Skill Level
Beginner

Comments

jlp

Thu, 11/05/2015 - 09:57

Love the changes made to the bed.  Will definately make it easier to move (or put in the room in the first place.).  You mentioned that you had to shorten your side rails.  How long did they need to be?

Custom Wall to Wall Built-In

Submitted by Anonymous (not verified) on Wed, 07/02/2025 - 12:52

I meant to send this a while ago but your shelf help now when it was still shipping wood helped me build this entire built in (both bookshelves and the window seat) while I was pregnant with our second kid. I have a ton of videos of me sanding and priming. I had to hire someone to do the spray finish because I got sick but it wrapped up when I was 34 wks pregnant. I know you stopped shipping the shelf help now stuff but I really loved it and am sad you're no longer doing that. It was a great service. Anyways, I wanted to share with you. - Sam Elliott


Drop-Down Door Hutch Desk

Submitted by danicarby on Thu, 05/14/2015 - 13:47

I designed this desk from another desk I built. With this one, I wanted the overall foot-print smaller but still something that was able to organize all our office stuff and be able to close everything to keep it clutter-free. We have a small apartment, and although this desk is about the size of an up-right piano, it works perfectly into our living space!

I made it out of raw hardwood (Ash) and because I knew just the wood alone would make this desk heavy/bulky to move I made the top hutch removable. It's held in place by wood pegs (dominos). All the shelves are adjustable and the drawers are full-extension (something I've never had - wahoo)! The drop-down door is help up by 2 pull-out boards on each side (my first desk had chains). I spend a lot of money on this desk because I knew it was a chance in a lifetime to make and wanted it to be perfect and something that would last generations.

I built the main carcass off of plans/measurements I designed, but then all the insides, drawers, shelves, doors, etc where made as I built (because just a millimeter difference in building changes everything)!

If you want more pictures/descriptions of the building process I wrote about it in a 4-part series on my blog.

Estimated Cost
$1,000 for all wood & supplies
Estimated Time Investment
Week Long Project (20 Hours or More)
Finish Used
To achieve the ash gray color I used "General Finishes" brand water-based stains (equal mixtures of Walnut, Antique Oak & Whitewash) with 1/2 ratio of Pre-Stain Conditioner (bought from Woodcraft). I did 2-3 coats stain, lightly sanded and sprayed 2 coats of Ceramithane clearcoat using HVLP sprayer (sanding with 550 grit paper in between).
Recommended Skill Level
Intermediate

Comments

Coffee Bar

My husband building this using Ana White plans.  I just love getting to put a bunch of different items almost as a display.  I love this coffee bar  and it is now almost the focal point in our dining room.  I just love the presence it has in this room.

Built from Plan(s)
Estimated Cost
$200.00
Estimated Time Investment
Weekend Project (10-20 Hours)
Recommended Skill Level
Intermediate

Comments

Reclaimed Wood Bar Ensemble

Submitted by JoanneS on Sun, 01/03/2016 - 06:03

This bar ensemble for our family room was made mostly from reclaimed materials. Inspired by Ana’s plans, and modified to fit spaces and materials available. The 36” tall bar and 30” tall fridge cabinet are made from frames of 2x4, with the tops/shelves/outsides covered in ¼” plywood, and outside edges covered with corner moulding. The bar and fridge cabinet tops are edged in lattice. The frames for the counter height bench and stool are from 2x4. The padded seat for the bench is the back from another bench, re-purposed. The foam for the bar stool is scraps pieced together. Reclaimed materials used (mostly from a room we disassembled): 2x4 – formerly studs ¼” Plywood – painted plywood was formerly used as wall paneling Lattice –was used as trim to cover the wall paneling “seams” Bar stool seat – ¾” plywood from the closet, foam scraps pieced together Bar bench seat – foam and vinyl covered plywood (re-purposed back from another bench)

Estimated Cost
Cost: The total ensemble was super inexpensive (only about $50 in total) since most of it is reclaimed materials. The corner moulding, 1 quart gloss gray paint, a box of screws, and vinyl for the stool were the only things purchased for this build. The first partial quart of gray paint was left over from another project. The paint flakes were left over from the floor project and the poly was left over from my holiday gift builds. Glue, filler, sandpaper and other fasteners were already on hand.
Estimated Time Investment
Weekend Project (10-20 Hours)
Finish Used
All pieces received 2 coats of Clark & Kensington paint + primer in Smooth Slate, gloss. The tops for the bar and fridge cabinet then received a coat of gloss polycrylic, and a sprinkling of some Behr paint flakes (brown mix) over the wet poly. After drying, the tops received 3 additional coats of gloss poly. The bar and cabinet corners and stool legs have some scraps of self-adhesive felt applied to the bottoms to protect the floor.
Recommended Skill Level
Beginner

Redwood Shower Bench

Submitted by lwarteman on Sun, 10/20/2013 - 08:33

I wanted to build a small shower bench. I used the Providence Bench Plans and just made it a bit smaller with a few adjustments. This bench is 35" long and 18" tall. I did not use the cross supports on the bottom because it was so short. Also, you will see that I turned the bottom stretcher and side supports flat/horizontal. I put the screws for the seat boards through the top down just because this was the easiest way for me to do it. The plans did not show in detail how to attach the seat boards from the underside. It just said "finally, the seat boards." I guess they probably used a pocket jig. I bought a pocket jig and used it in the couple of places, but this was my first time using it. I used brown, coated decking screws in the places I did not use the pocket screws. This was my first attempt at building anything and my first time to use a pocket jig. I used a natural wood stain and Behr Weather-Proofing since it will be in a wet area.

Built from Plan(s)
Estimated Cost
$20
Estimated Time Investment
An Hour or Two (0-2 Hours)
Finish Used
Behr All-in-One Stain and Weatherproofing in Cedar Naturaltone (No. 5533). Because this is going to be in a wet area, I put 2 coats on and let each one dry 12-24 hours in between and before getting wet.
Recommended Skill Level
Beginner

Easy Build Fence Picket Planters

Submitted by vendo on Thu, 05/11/2023 - 12:14

I've been wanting to build this plan for quite some time! Took me about 2 hours to build and 1 hour to finish. Giving these as gifts for Mother's Day! Total cost was about $15 per planter. I scaled down the design after I found the plants I wanted to put in them. Ana has the best and easiest plans!


Seasonal And Holiday

Chunky X Base Table

Submitted by Anonymous (not verified) on Thu, 03/24/2016 - 20:56

So my sister in-law kept sending me tables on craigslist that were for sale. I didn't like anything I was seeing and to buy what I wanted I was looking at roughly $1000 so I found these plans and was like... YES! When I told the family I was doing this they were all pretty much like... "yeah sure, good luck"
I knew that I could do I just needed the plans which were here.

I pretty much stuck to the plans with a few exceptions. I made the table longer to accommodate the entire family on Friday Family Night...! It's a little over 10' long. Instead of 3 – 1x12x8 I went with 3 - 2x12x10. One because as I said earlier I wanted the table longer and two because I just felt that the 1x12 was too flimsy and I wanted something real solid. Because of that I ended up putting pocket holes on each side of all the 2x12 boards and I also put a 2x6 in the middle for additional support.

Everything was pretty much right on except for the base posts, for some reason they were about 2" too short which forced me to cut the upper parts of the X on the base a bit shorter as well. I ended up putting an additional 2 2x6 on top of the base to raise the table to the height I felt was necessary. If I did it over I would have just made my base post 2" higher and only used one additional 2x6 for the additional height.

I ended up staining it with a semi-transparent beige stain to give it a grayish look.

I gotta say everyone was like "holy crap...!" and thought it was beautiful. I gotta say it feels really good to build it yourself and especially when it comes out the way you want it.

thanks so much for the plans!!!

Estimated Cost
$200
Estimated Time Investment
Weekend Project (10-20 Hours)
Finish Used
2 coats of a semi-transparent beige stain from Olympic. Stain and Sealer in one
Recommended Skill Level
Beginner

Comments

SESchild

Thu, 06/04/2020 - 12:15

Hi Ana. I'm a new member here. My wife and I really enjoy your projects! Quick question about the Chunky X Base Table... we're about to build it and we're going to do it 10 ft long like you did. I'm curious how rigid the center span is? I'm guessing the span is roughly 6'. Is it bouncy? I was thinking about running 2 or 3 2x4 "joists" under thre table attached to the bases to provide more support. Thoughts? Suggestions? Thank you!

Back