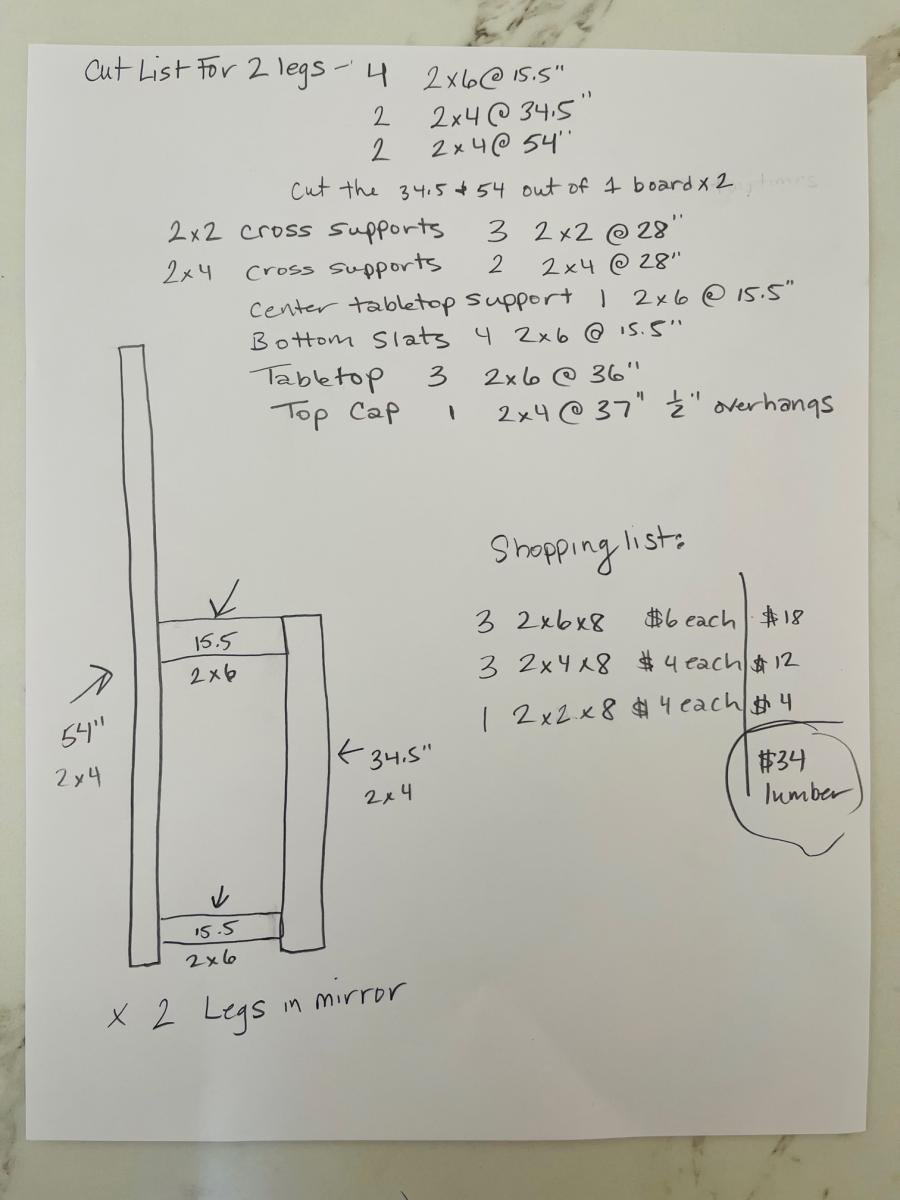
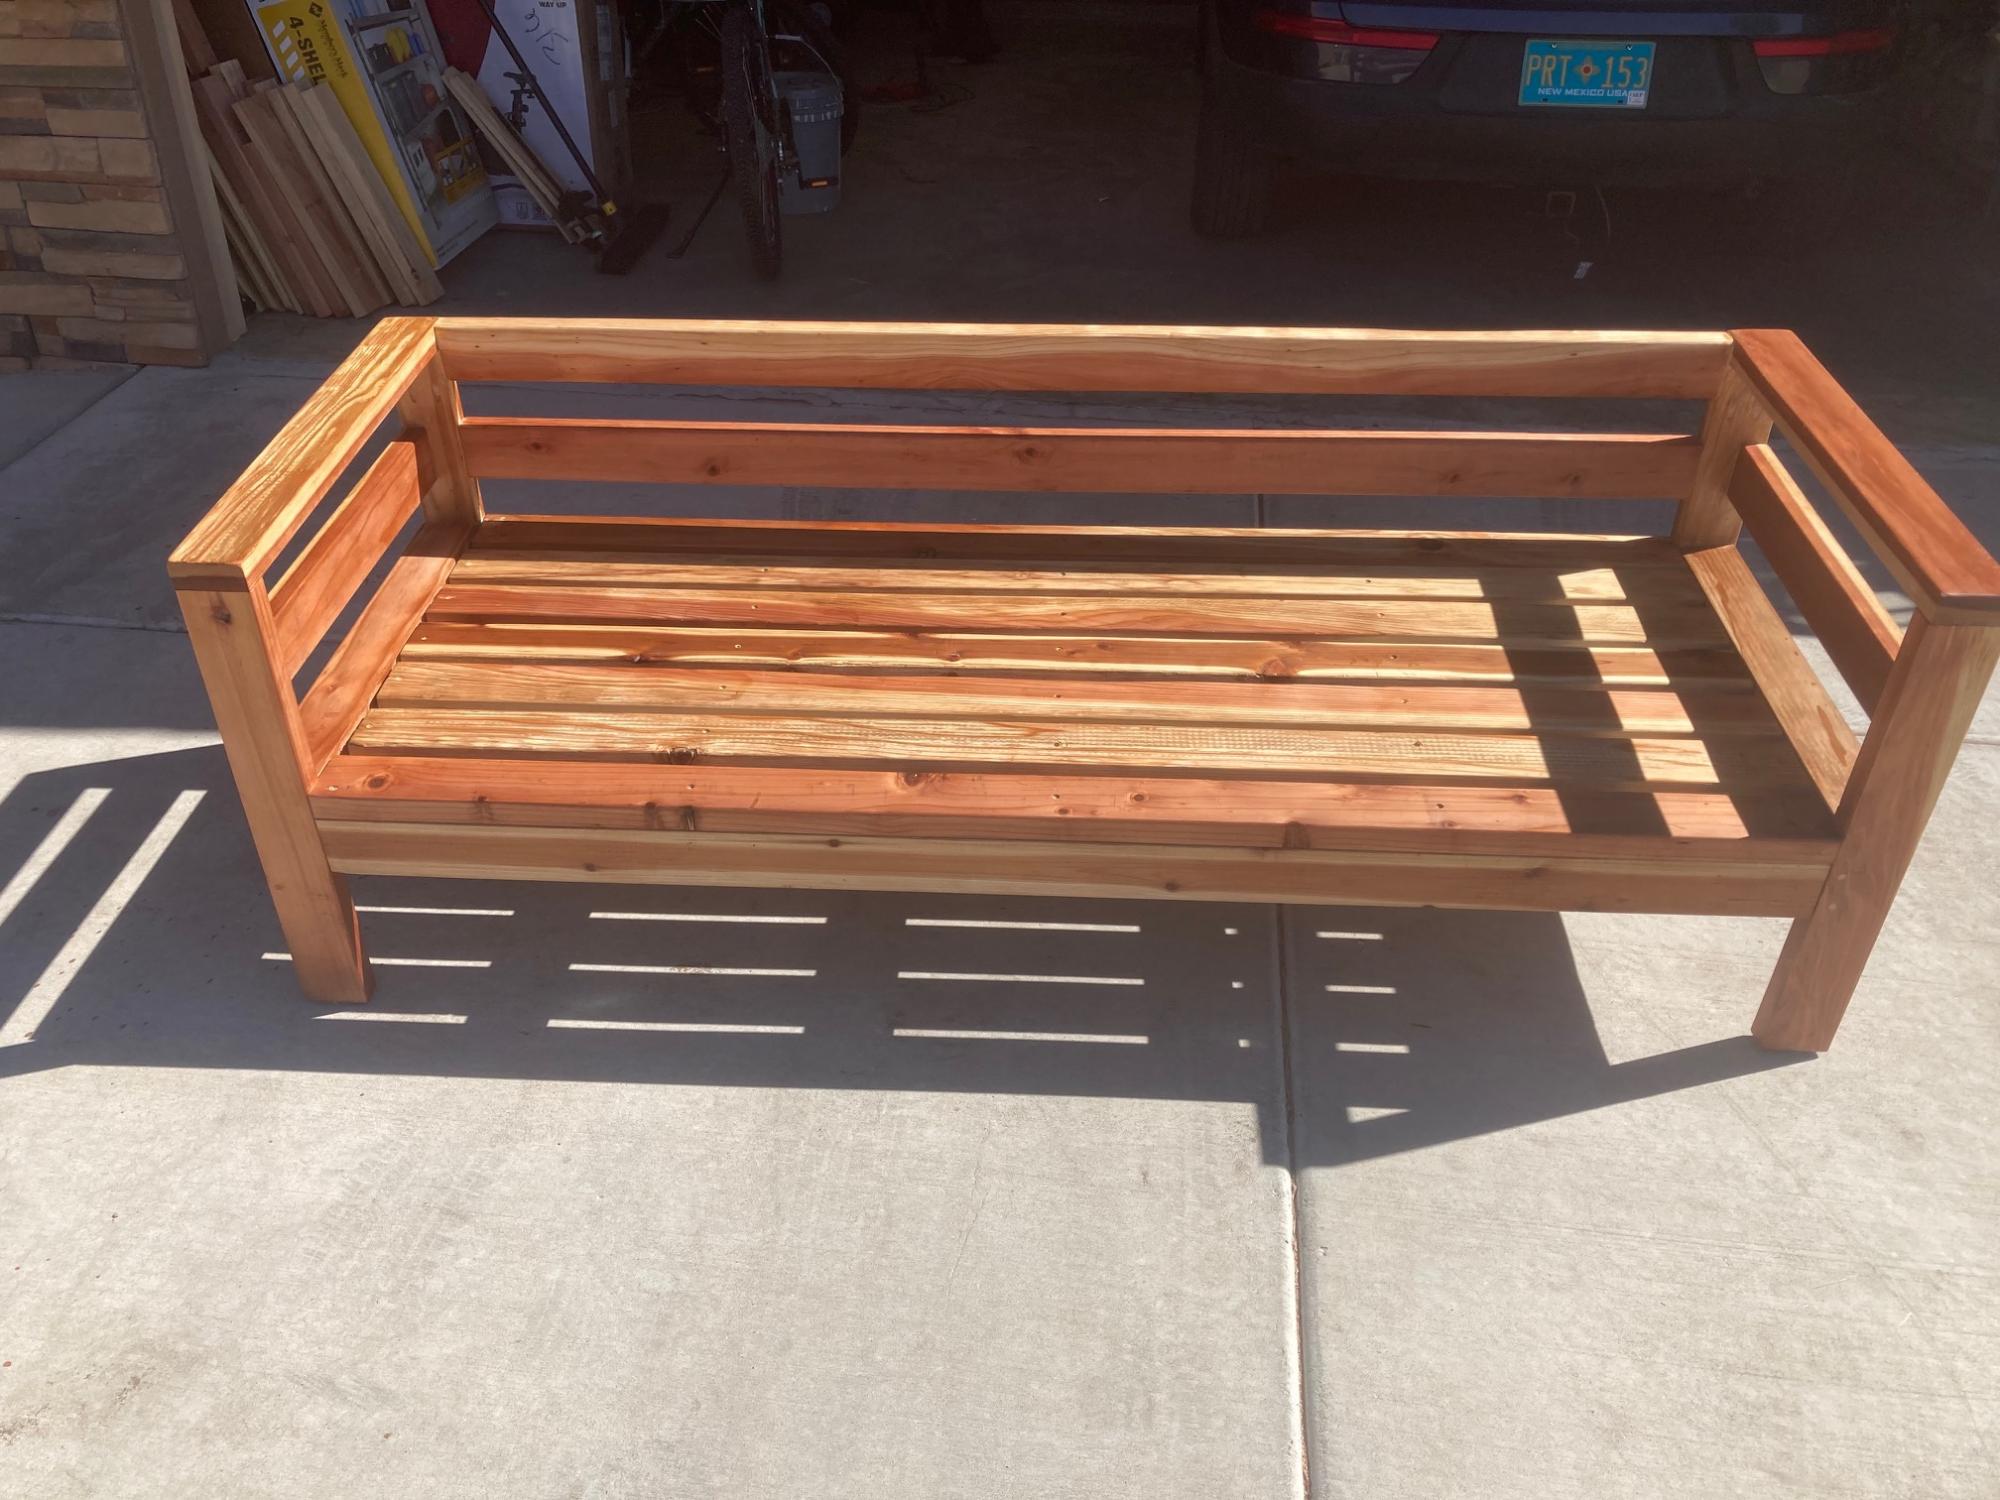
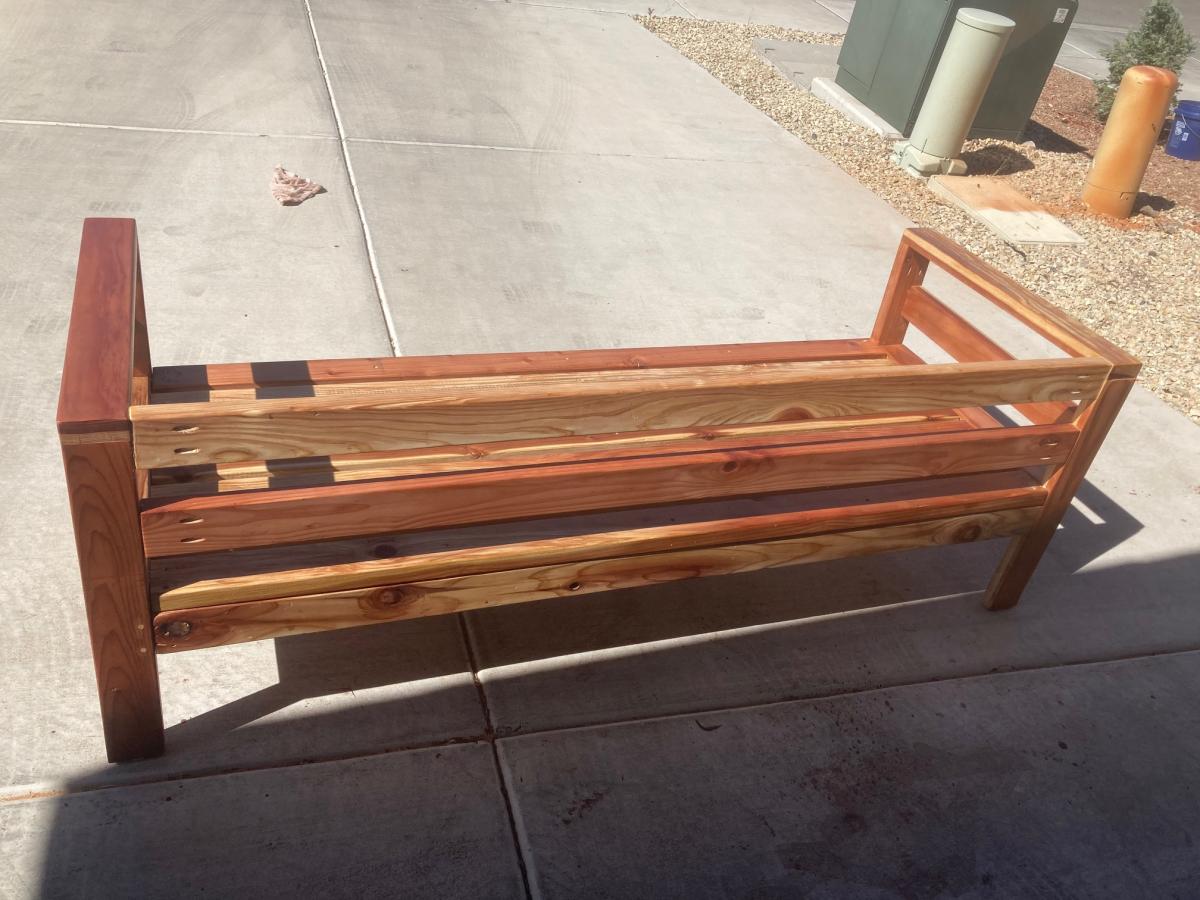
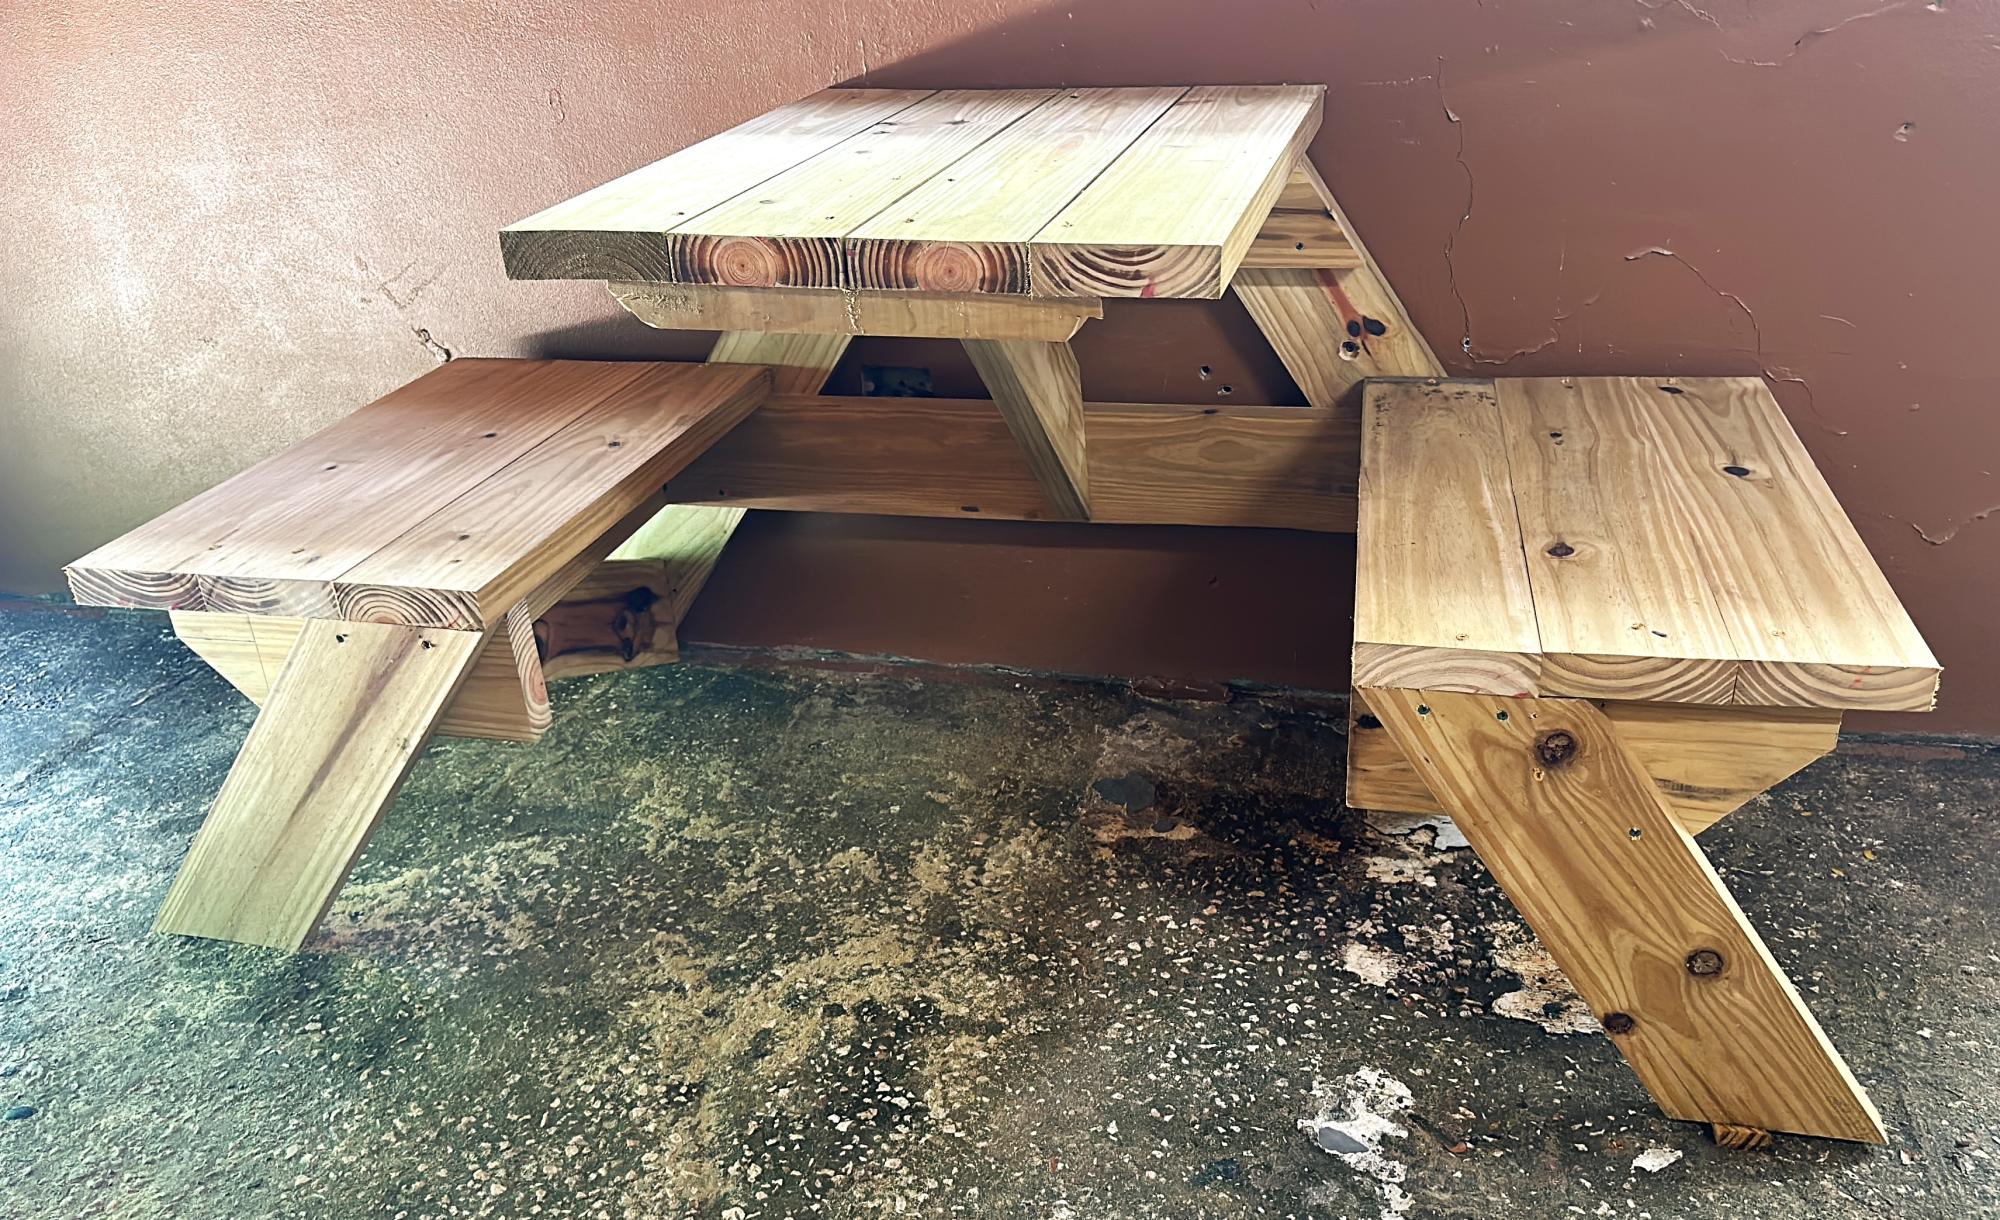
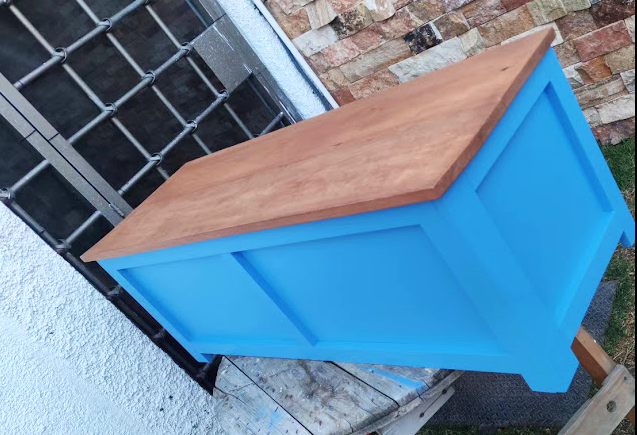
Big Kids Picnic Table
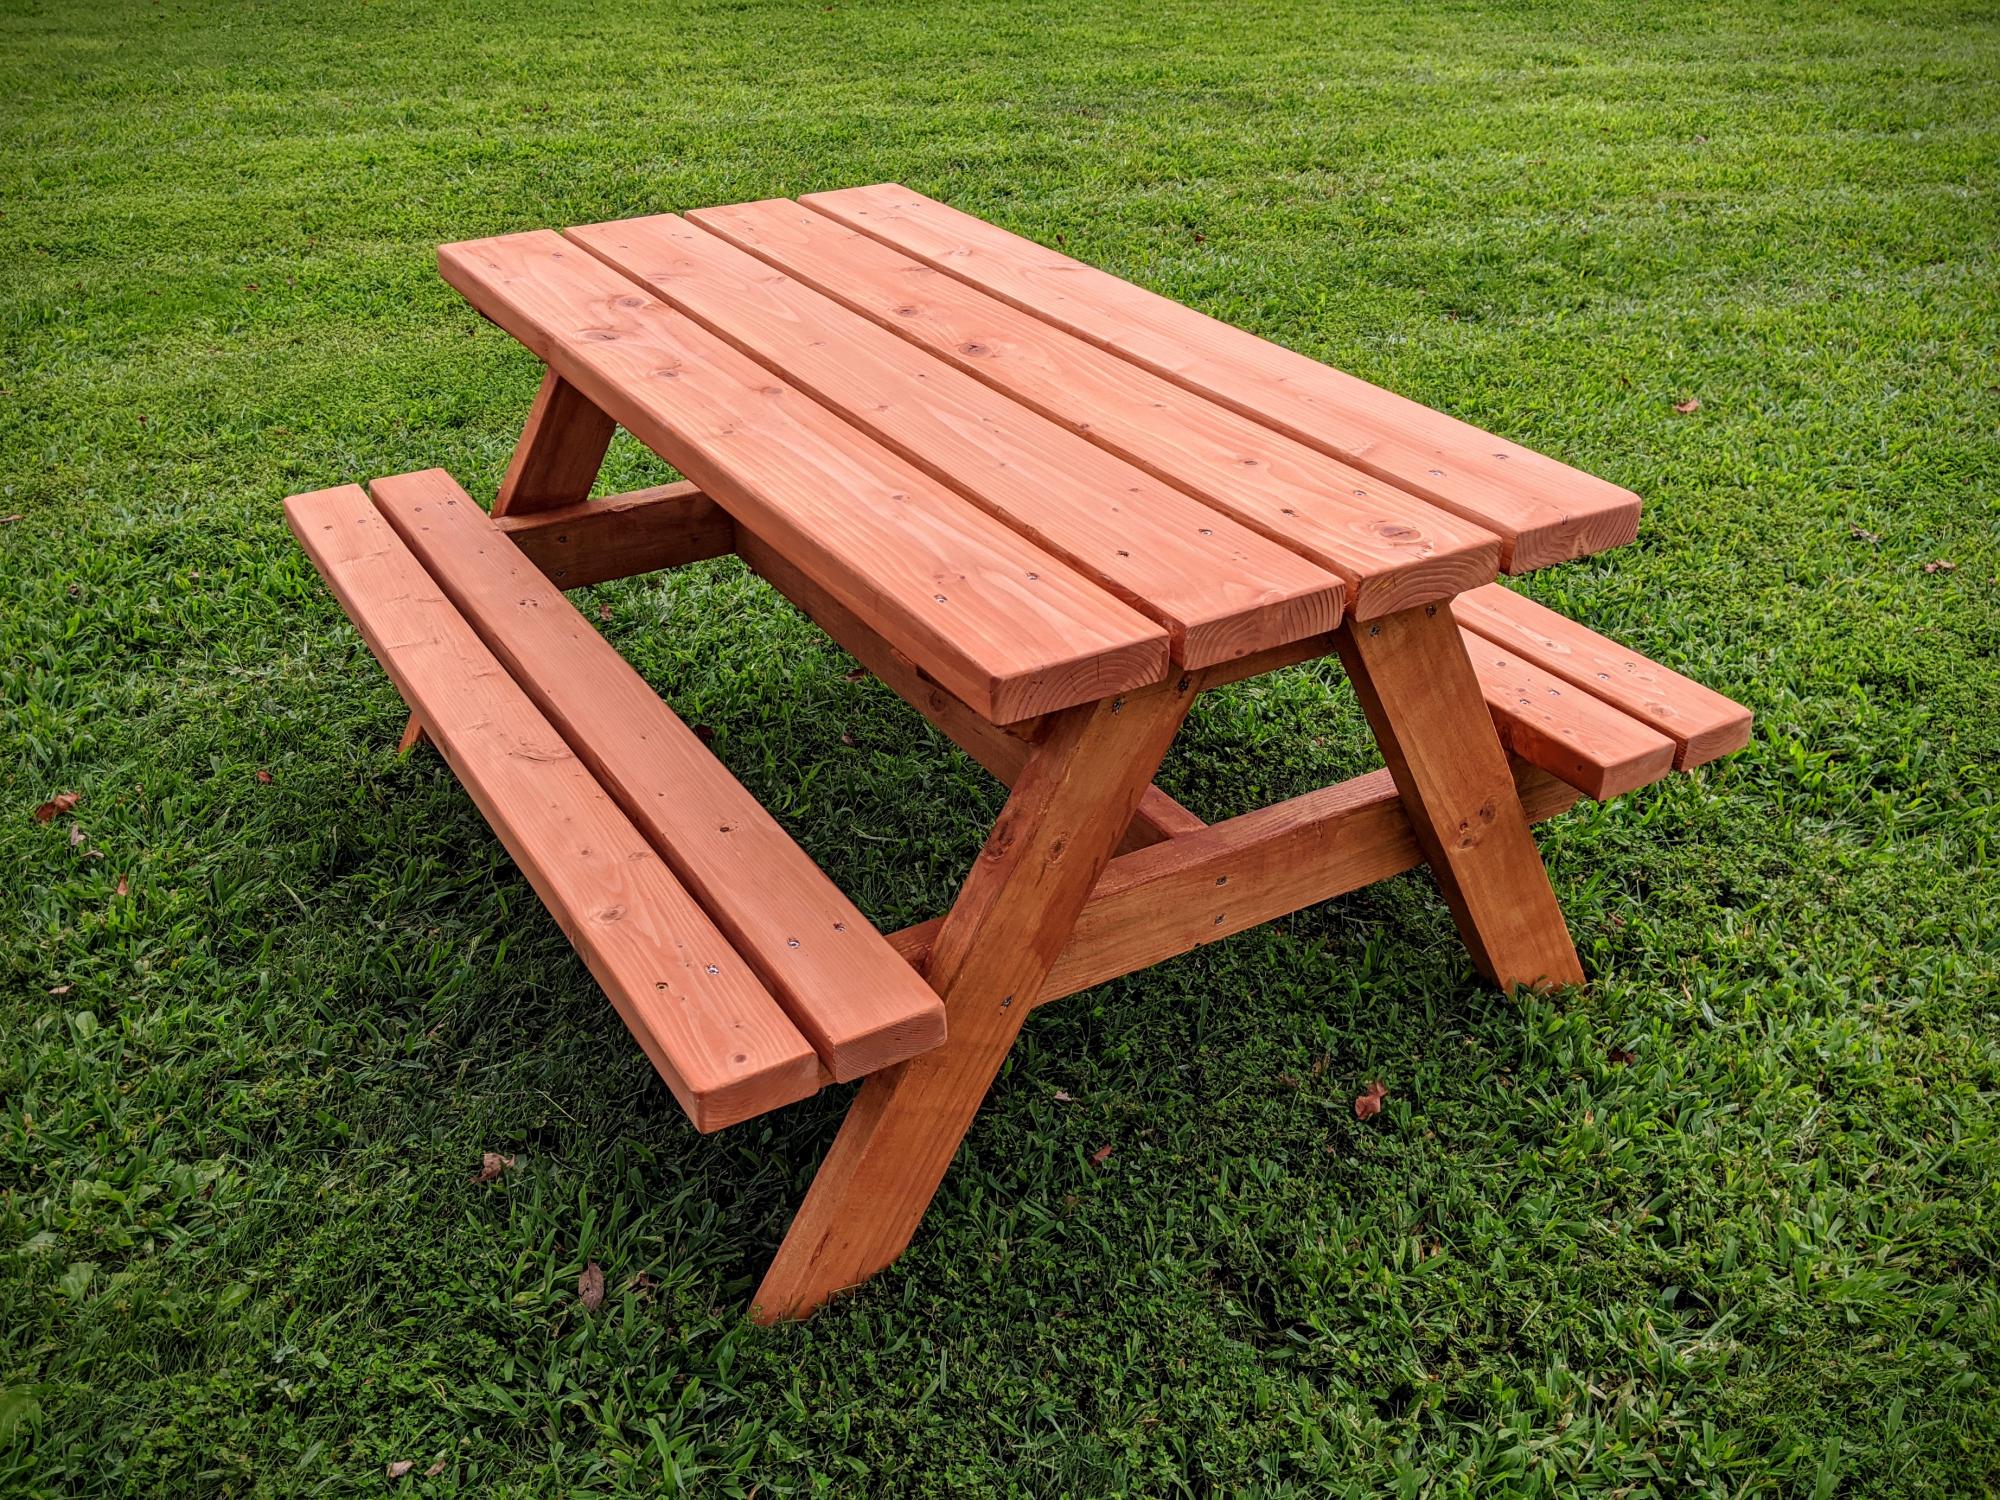
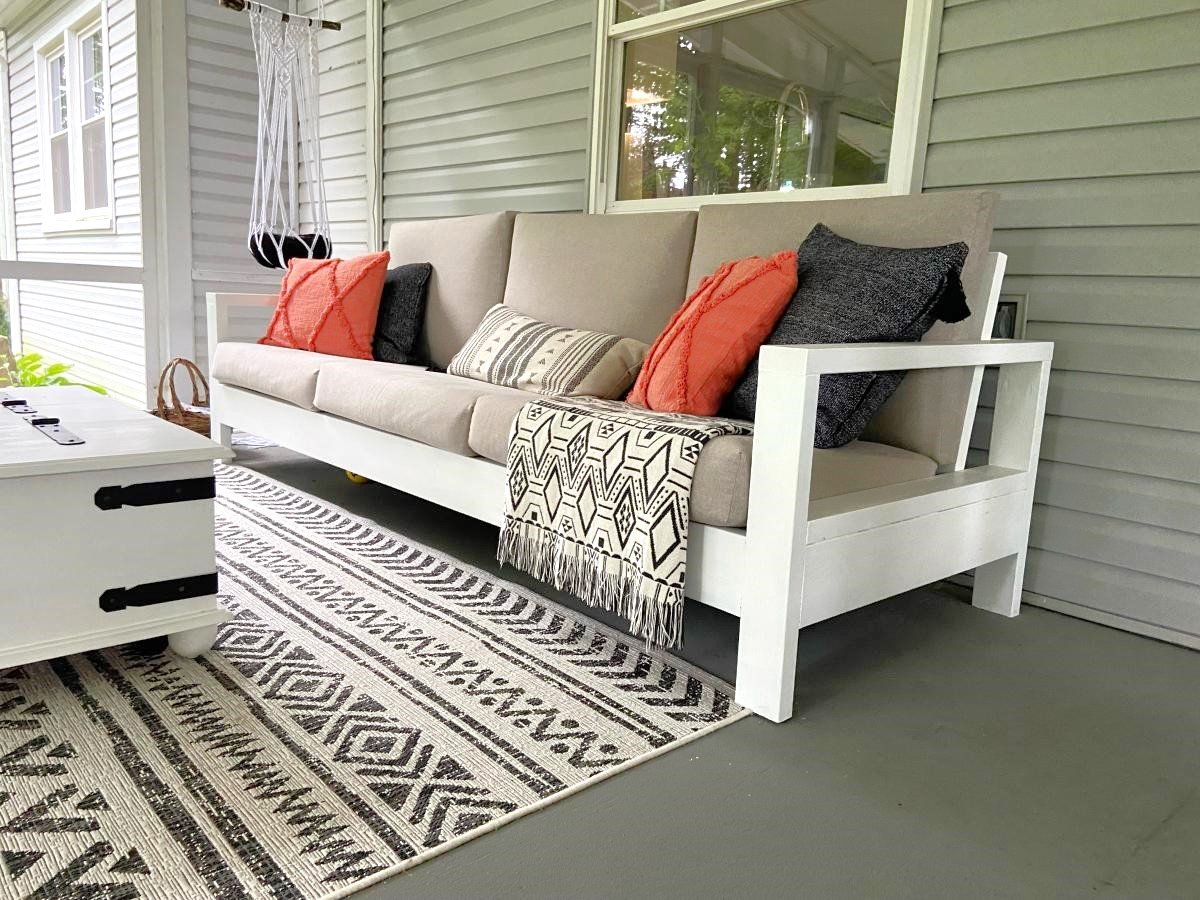
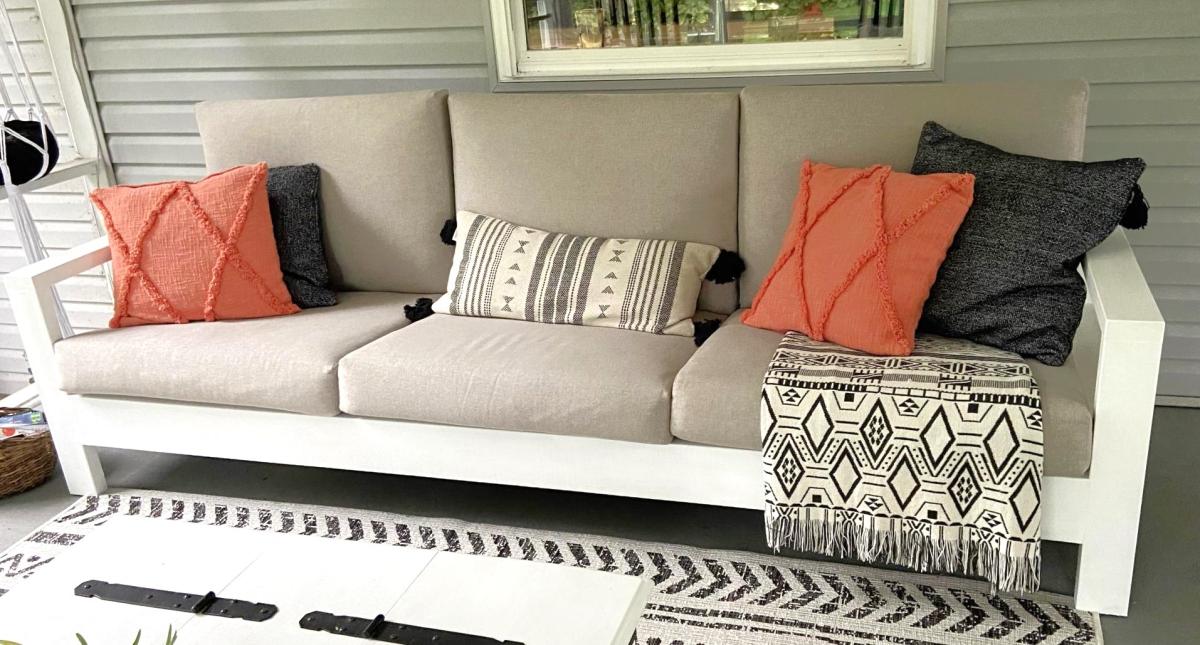
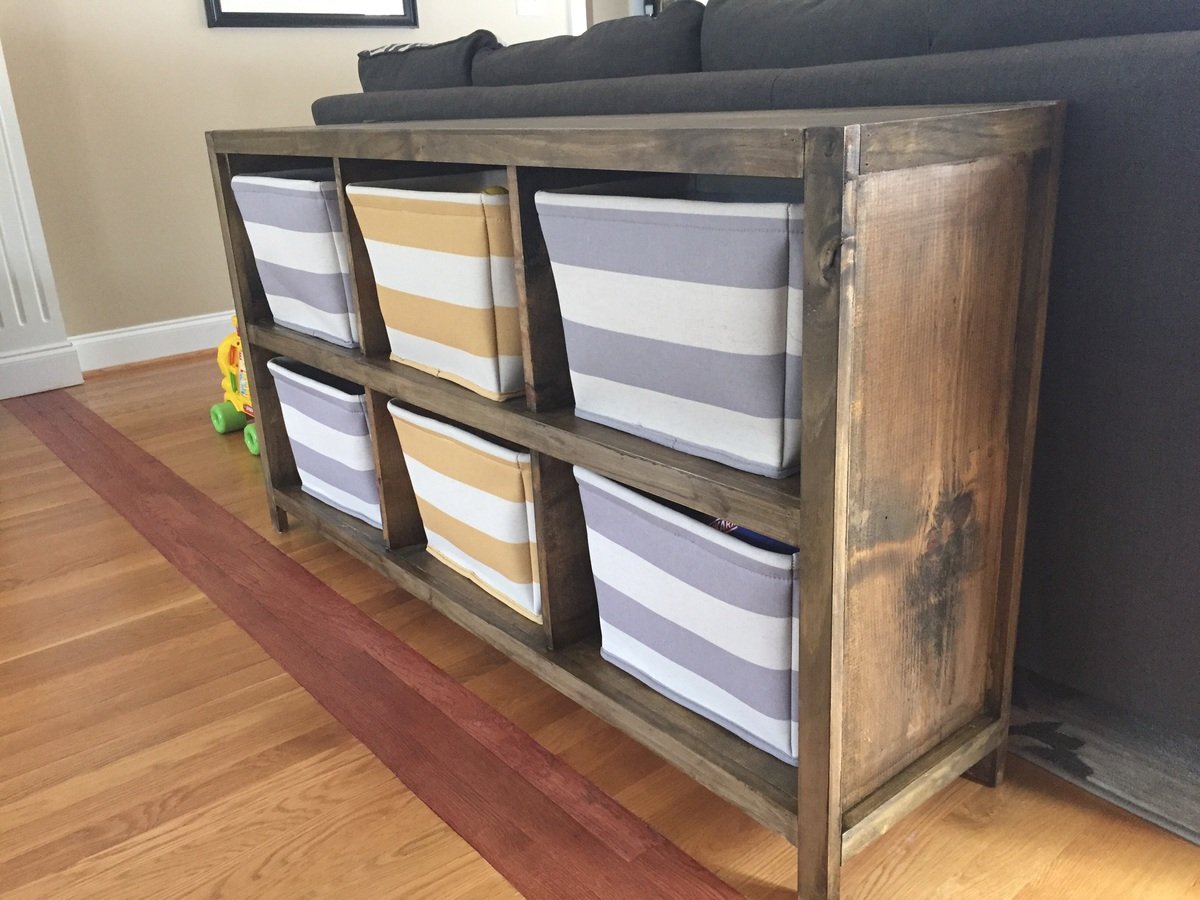
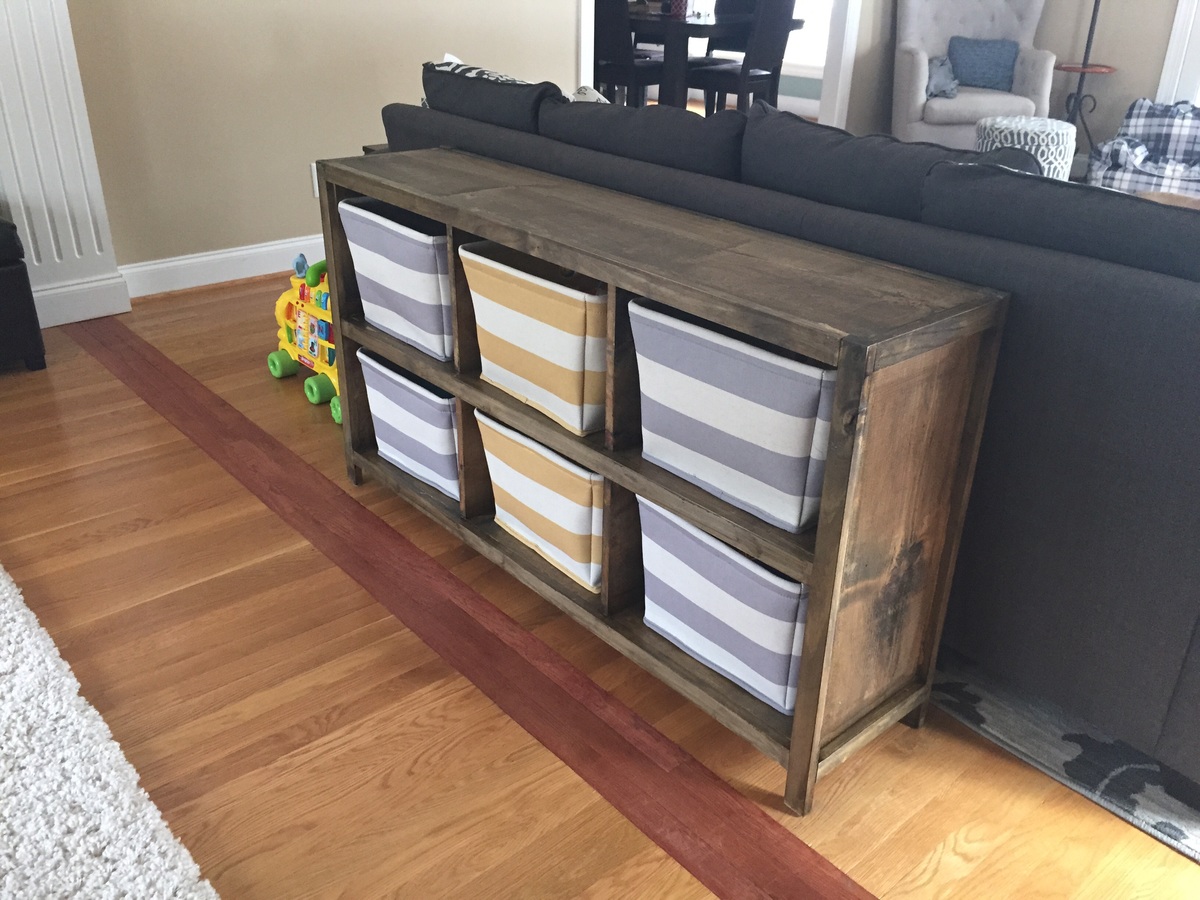
Built using Ana Whites plans for a Bigger Kids Picnic Table. Used pressure treated 2x4 for frame (legs and supports), 2x4 and 2x6 pine (fir) for table top and bench. Finished with Cabot's semi-transparent redwood stain and sealer.
Built from Plan(s)
Estimated Cost
$50.00 plus screws and finish
Estimated Time Investment
Afternoon Project (3-6 Hours)
Finish Used
Cabot's semi-transparent redwood stain and sealer
Recommended Skill Level
Beginner
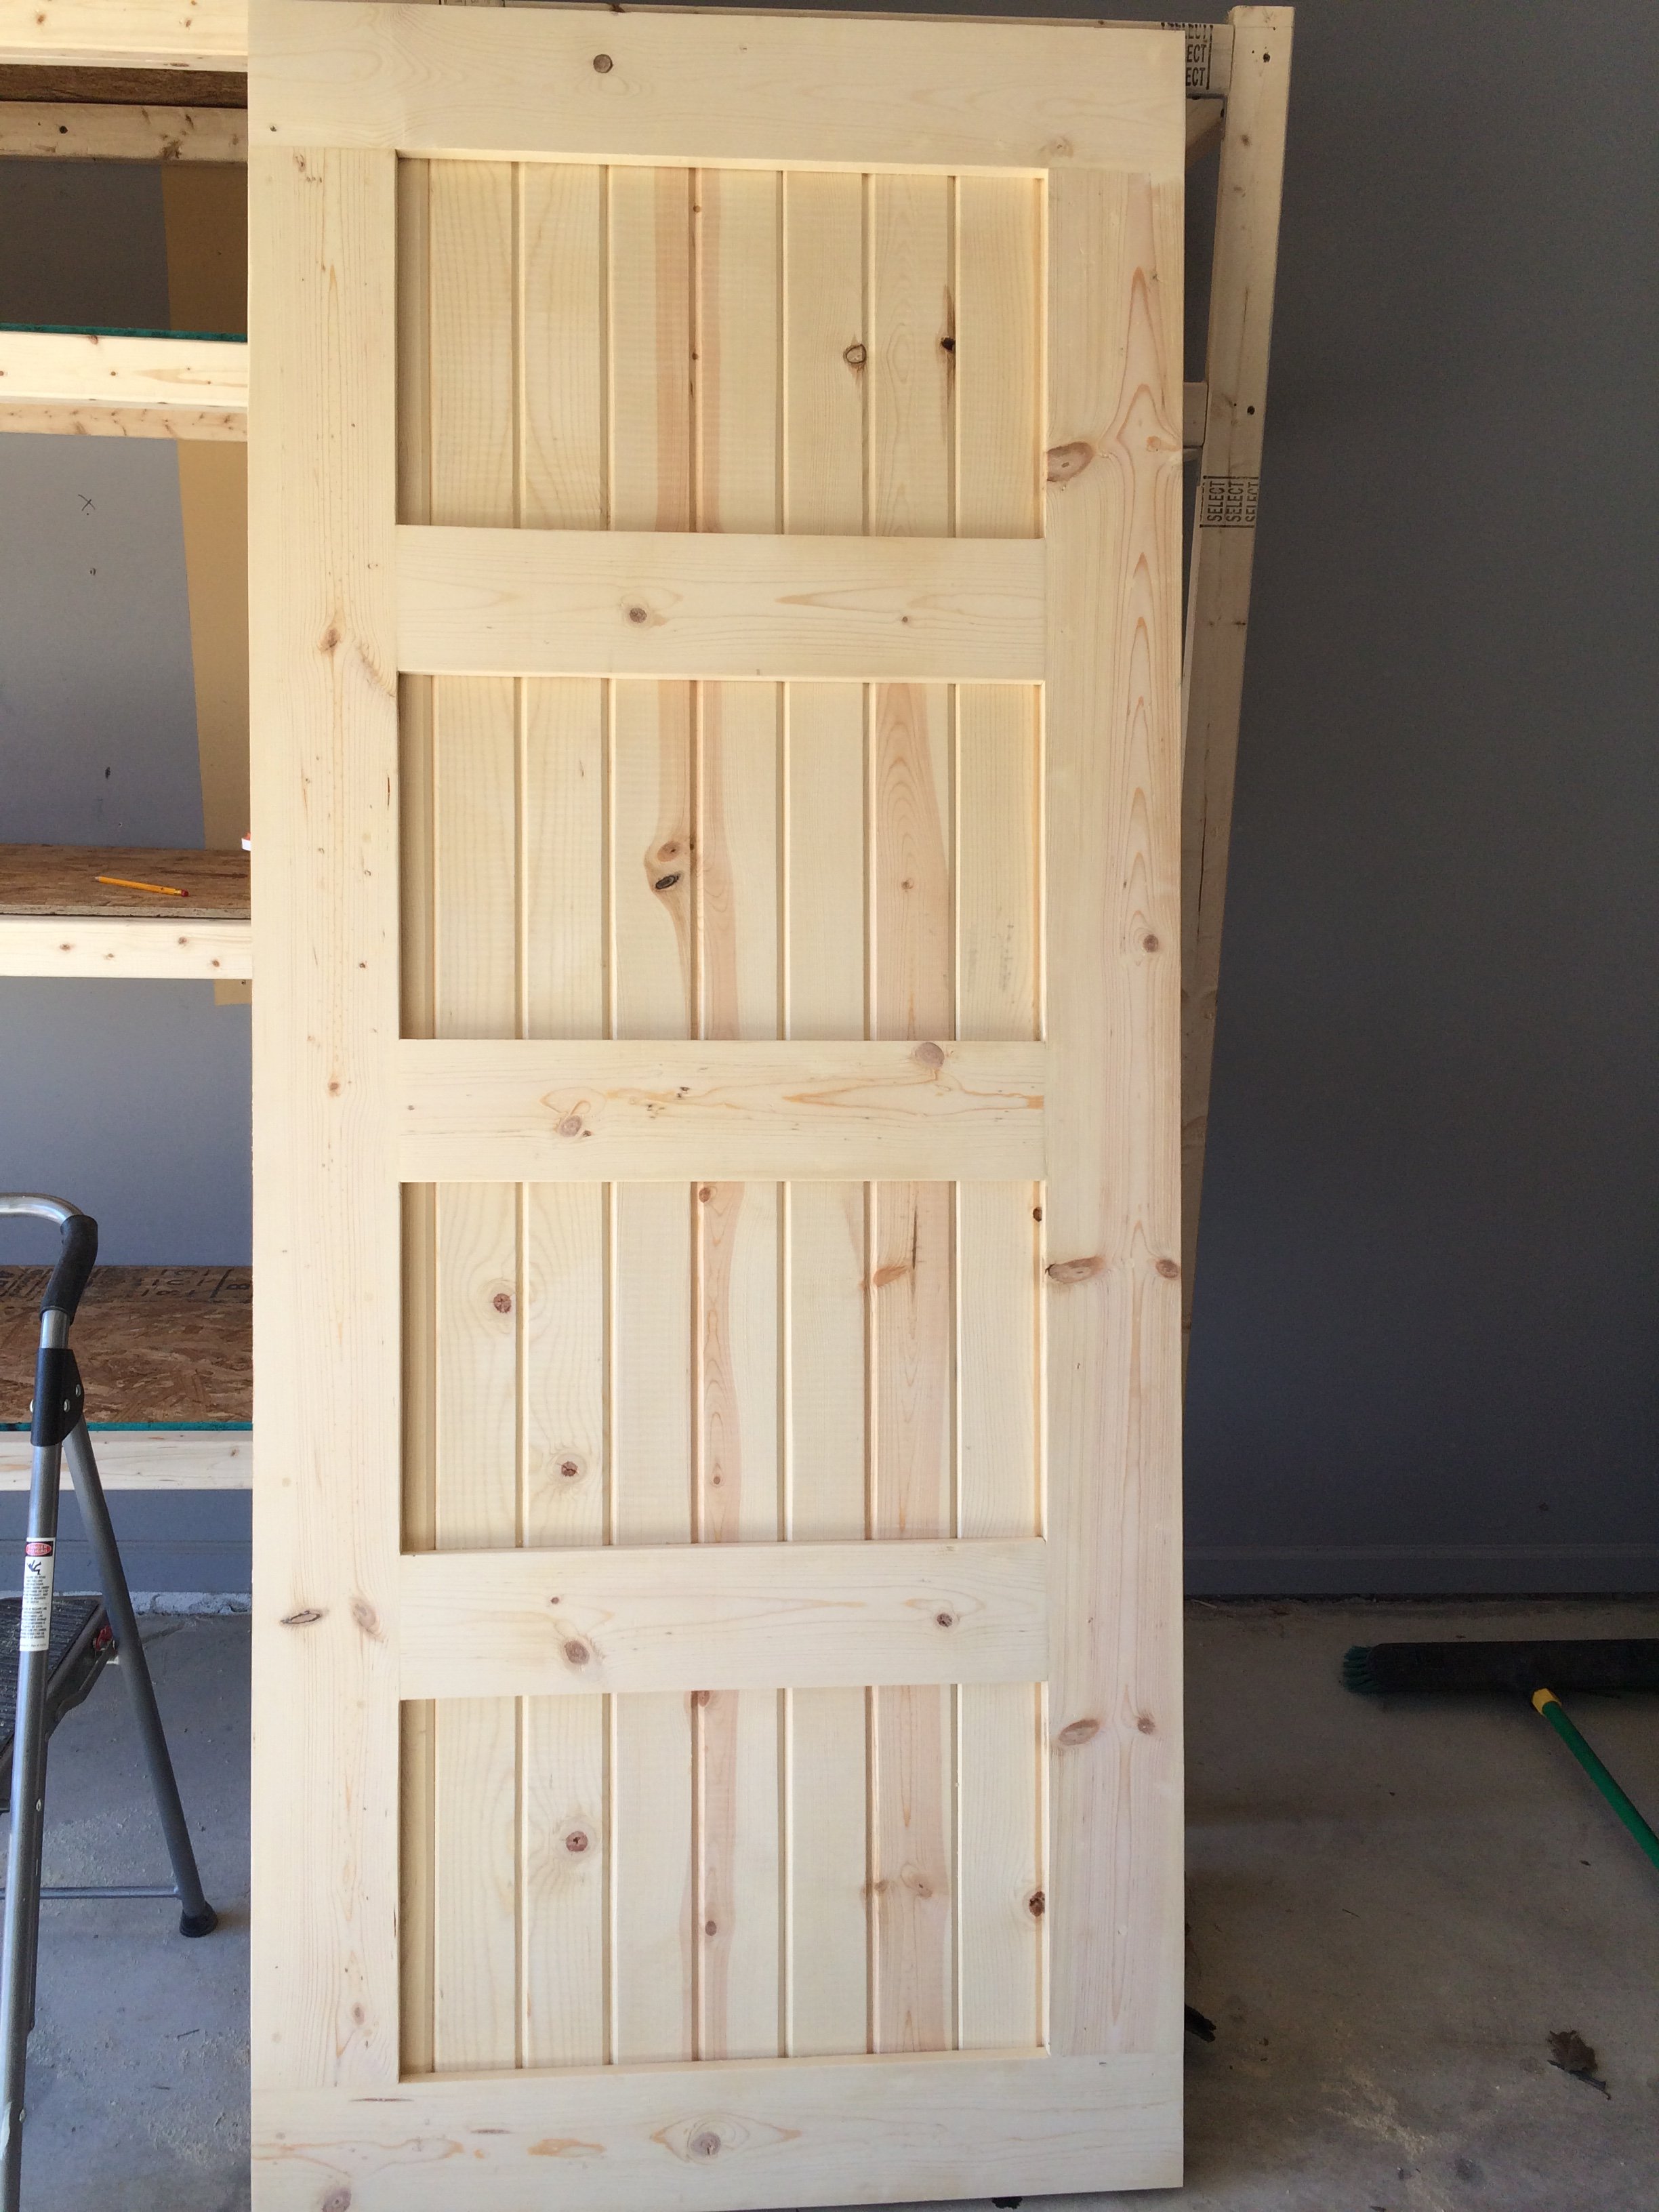


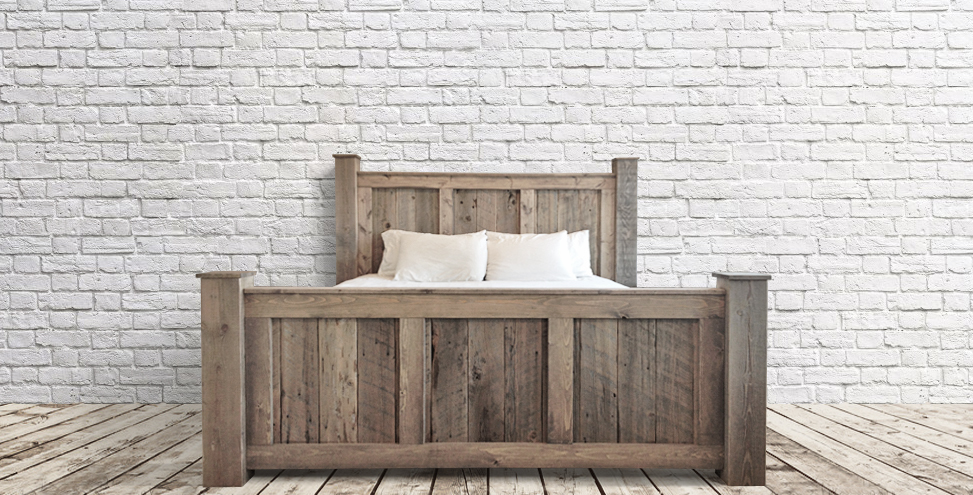


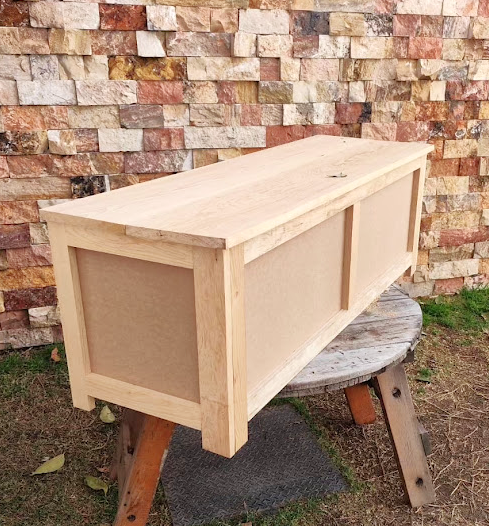
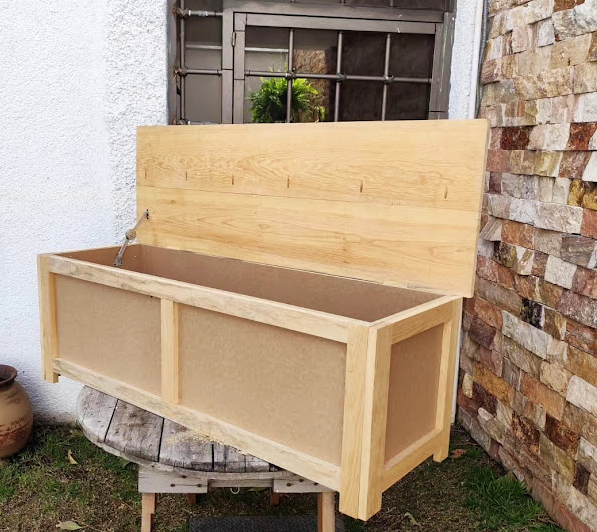


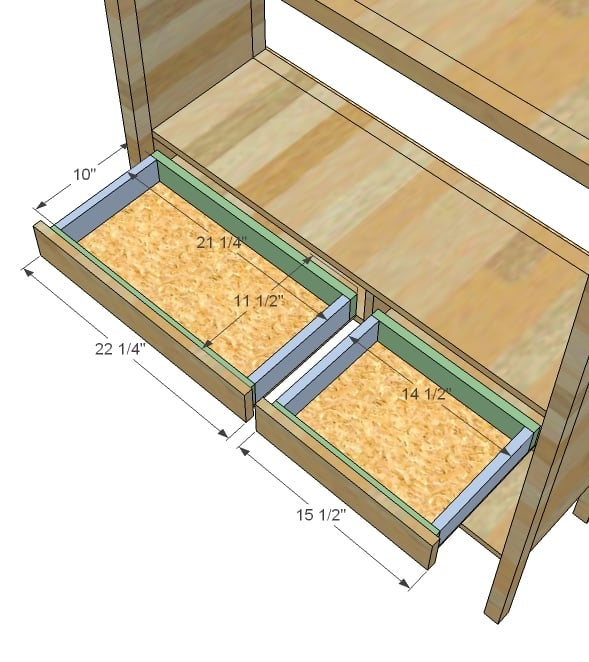
 ). Because I added the hidden drawer, I changed the opptional center support to 4X4 blockes that were pocket screwed under the center of the boxes. I ended up using birch plywood and fir for this build. For my first bed build I'm fairly happy with how it came out. Thanks again!