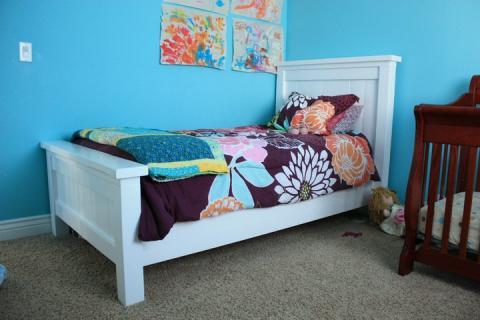
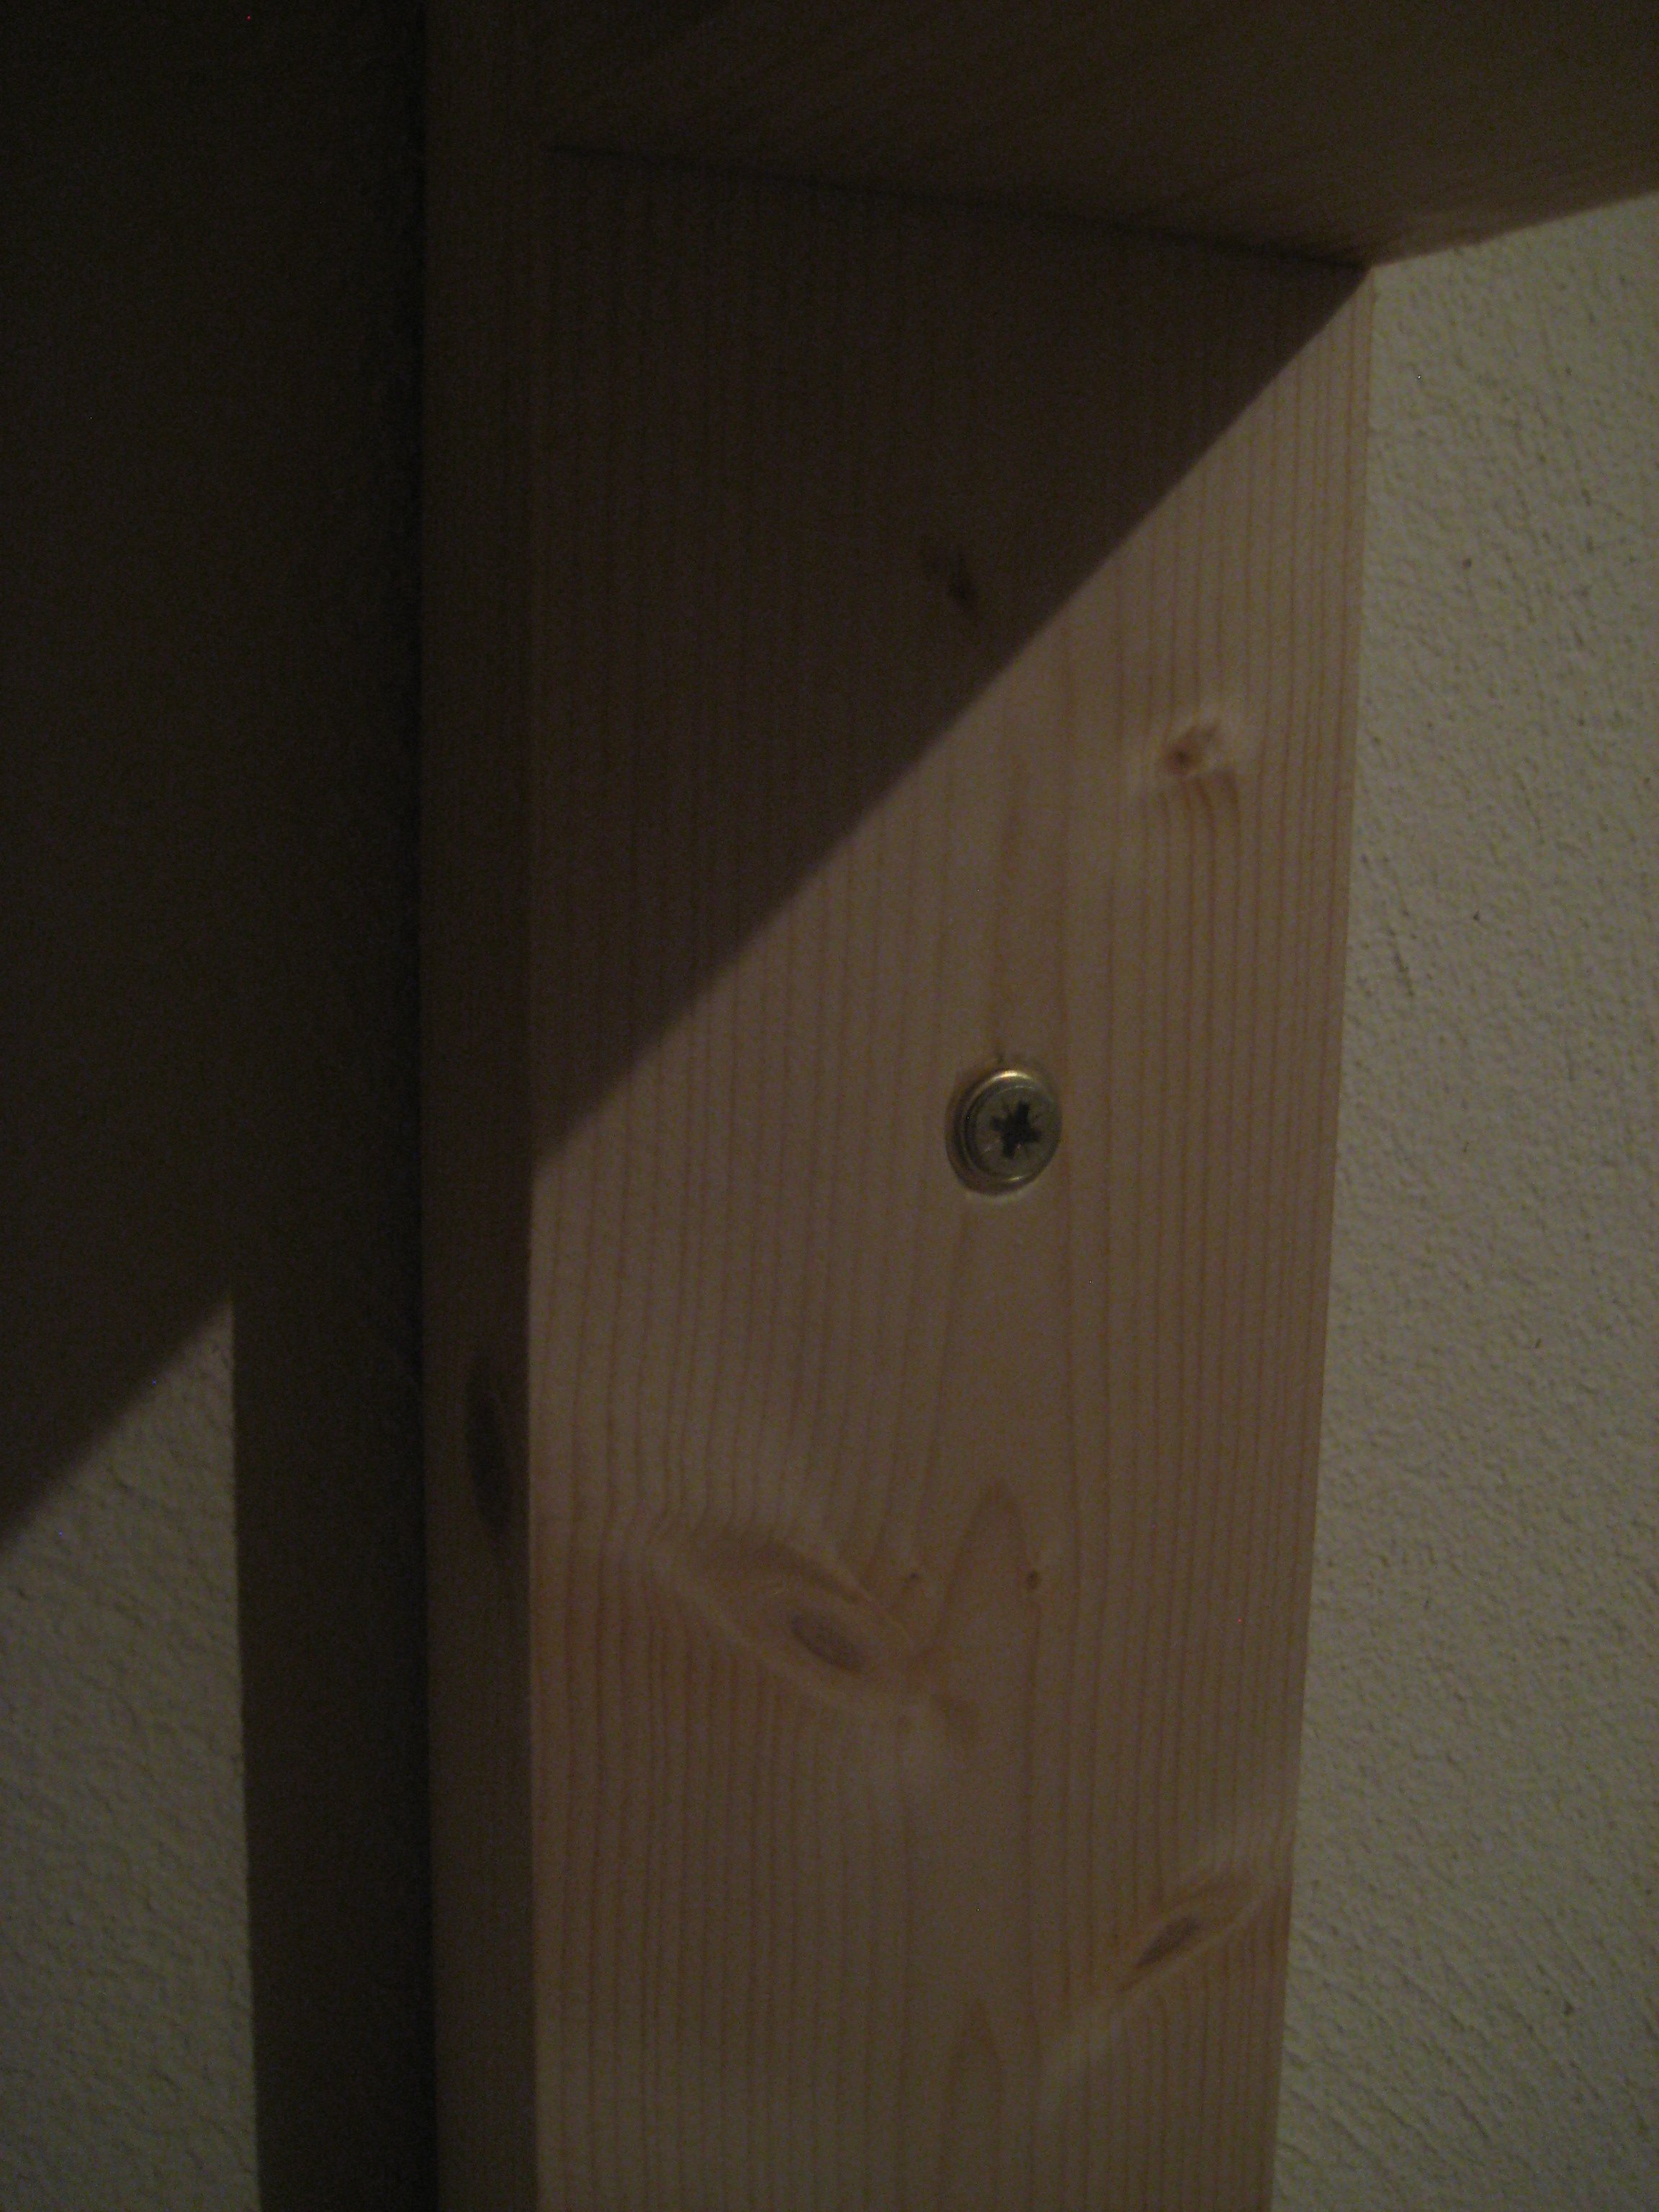
Community Brag Posts

DIY Queen Headboard

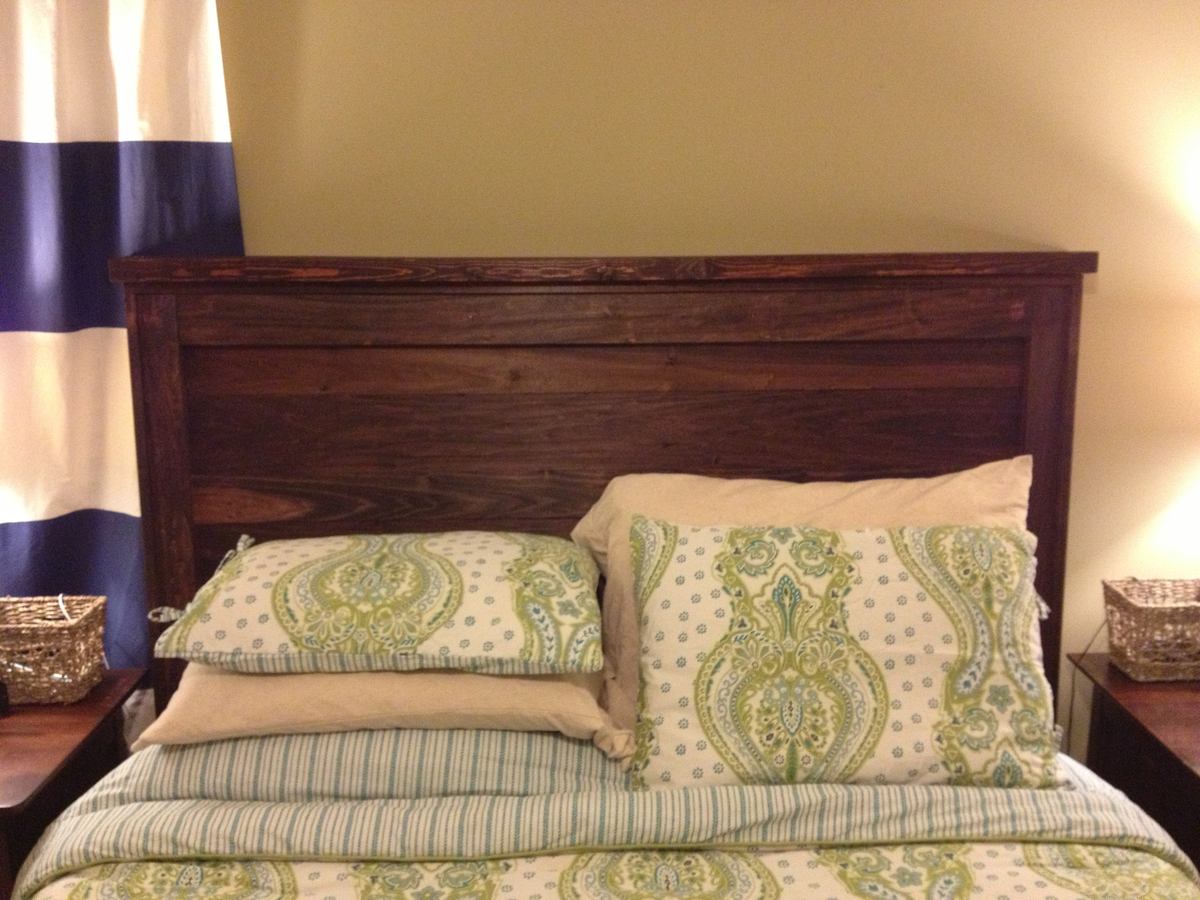
This is one of the coolest things I've ever built! My husband was so proud of me. :) I recently completed built-in bookcases in our 3rd bedroom/office and those were neat and much more complicated, but I think he likes this better because he sleeps next to it every night. This only took about 2 hours to build, but the staining made for a weekend project by the time it was completed and dry. We've gotten a TON of compliments on this and even had friends ask for me to make them one! Thanks, Ana!

Estimated Cost
$150
Estimated Time Investment
Weekend Project (10-20 Hours)
Finish Used
Medium Walnut Stain - Minwax, even coats, 2 applications, ample dry time between each (6-8 hours).
Recommended Skill Level
Beginner

Balin Console With Some Changes

We made this table from the original Balin Console table plans, but faced out the drawer fronts with some mitered trim and added some drawer stops inside to keep the drawers from falling out when pulled all the way.

The drawers were made with a cabinet grade plywood along with the sides and bottom of the table. We used 1x8s on the console top to get that nice wood look, where all corners and ends would be showing, but for the sides and bottom of the table, since the edges were all trimed out, the plywood worked out nicely. 

The legs seemed plenty sturdy without the extra trim, so we skipped that to get a more simple look.

Drawer handles were found at our local Home Depot.

For the finish, we stained (with Minwax ebony) the edges where we wanted distressing, then wiped on vaseline along edges and painted over in Behr Swiss Coffee (white) in matte. After drying we took sandpaper to the edges to show the dark stain through. Because we used matte paint, after everything was finished, we waxed with a clear wax and buffed for a nice shine and a smooth texture.


Pin For Later! 

Balin Console With Some Changes

Built from Plan(s)
Estimated Cost
$125 for plywood, wood pieces and knobs. We already had paint and stain.
Estimated Time Investment
Day Project (6-9 Hours)
Finish Used
Minwax ebony stain, vaseline where you want distressing, then paint Behr (matte) Swiss Coffee on top. Sand all surfaces to distress and smooth, then wax with clear wax to add shine.
Recommended Skill Level
Intermediate

Full Length Mirror Sliding Beauty Storage Cabinet

Submitted by csihoratio on Tue, 07/20/2021 - 07:30

Great idea being my wife is not a hair person she really loves it.

Estimated Cost
$40
Estimated Time Investment
Afternoon Project (3-6 Hours)
Finish Used
primer and white paint
Recommended Skill Level
Beginner

Comments

Walk mounted can organizer

Submitted by Anonymous (not verified) on Tue, 10/05/2021 - 20:13

Love this! My husband used this project to help boys learn to use power tools and work with wood. They made one and he did the others. THANK YOU!

Built from Plan(s)

Comments

Bookshelf Hidden Doors Over Closet

Submitted by Anonymous (not verified) on Mon, 10/23/2017 - 10:13

Hidden door bookshelves hide a furnace closet.  Built by Kraig Faulkner

Built from Plan(s)
Recommended Skill Level
Advanced

Comments

charkue

Thu, 09/17/2020 - 08:01

I'm currently working on a basement renovation project. I'm probably going to incorporate a feature like this for my mechanicals, too.

One important safety note for anyone who wants to do this: It's recommended that your furnace be a minimum of 30" away from any combustible materials. That includes walls and partitions. The image of this project displayed is right next to the furnace, which is not a good idea.

Sandbox fun

Submitted by rival on Mon, 05/25/2015 - 12:33

3 boys playing in the sand.

I used 2x8's for box base. I ran into spacing trouble, 1x4's must have been really new, they were about 1/16" over 3 1/2". I had to reduce spacing on each gap a hair to be able to close.

Built from Plan(s)
Estimated Time Investment
Afternoon Project (3-6 Hours)
Recommended Skill Level
Beginner

Hidden closet now a mantle

Needed somewhere to put Christmas stockings in my new house. And had to make it high enough so the new puppy couldn’t reach it. This was easy and perfect.

Built from Plan(s)

Comments

Fantastic Garden Beds

These garden beds are fantastic! They were so easy to build and look great in our backyard. We have always found ourselves with a garden covered in weeds or plants out of control. Our garden this year looks wonderful and we have hardly any weeds in the beds. Thanks for the great plans!

Estimated Cost
$15 each
Estimated Time Investment
An Hour or Two (0-2 Hours)
Finish Used
None
Recommended Skill Level
Starter Project

Comments

Seasonal And Holiday

queen headboarad

The plans on this were so easy to follow. Thanks so much for posting!

I ended up using screws instead of nails just because I am more comfortable with a drill than a nail gun. Seems like it is holding up fine :)

Estimated Cost
60.00
Estimated Time Investment
Afternoon Project (3-6 Hours)
Finish Used
MinWax Provincial. I painted it on and immediately wiped it off!
Recommended Skill Level
Beginner

Chicken Coop with Run

Submitted by Jen Marzen on Fri, 06/17/2011 - 02:10

My husband and I live on a small hobby farm and are growing/raising a lot of our own food. We decided to venture into working with chickens. We wanted to start out small so we got 6 chickens and needed a home for them. We found a kids play house one day while shopping and got the idea of modifying it into a chicken coop with a run. We took off with this idea and with quite a bit of modification and some extra building materials we were able to raise it up in the air and attach a run so our chickens would have a nice home to protect them from preditors and the emements and not to mention one that looks good in our yard!

Built from Plan(s)
Estimated Time Investment
Weekend Project (10-20 Hours)
Finish Used
Cedar deck stain and white outdoor house paint
Recommended Skill Level
Beginner

Comments

Heather Dalton (not verified)

Tue, 02/21/2012 - 19:08

Are the plans available? I have Black Copper Marans and Lavender Ameraucanas and I really need to separate the LAs from the BCMs and this would be perfect!

madrona (not verified)

Tue, 02/28/2012 - 10:21

I'd also love the plans!
Great job - it's beautiful!

guest (not verified)

Tue, 02/28/2012 - 10:22

I'd also love the plans - thanks!

Eliza B (not verified)

Thu, 05/31/2012 - 10:02

Can you please post the plans you used? I have 4 week old chicks that need a coop. Thank you very much.

Jen Marzen

Sat, 06/02/2012 - 15:22

Sorry guys there are no plans for this coop. My husband and i just "winged it" and built it without any plans.

It is a play house that we found at Mills Fleet Farm and we modified it to make it a chicken coop. We put together the play house based on instructions from the box (with a few of our own modifications to make the window on the ground etc.) added some chicken wire to the doors and bay window, added some 4x4 "stilts" and a floor to get the house in the air, and constructed a frame around it with 2x4's and wire fencing to make the run

Sorry I dont have any plans to give you guys!

Seasonal And Holiday

Farmhouse Table

I love this table and bench set! Very easy to build and didn't take too much time. We made it a family build. My kids helped put together the benches and table. My wife and kids did all the staining.

Estimated Cost
$150 for lumber and supplies.
Estimated Time Investment
Weekend Project (10-20 Hours)
Finish Used
Minwax Early American used with a staining pad. We applied two coats for a darker finish.
Recommended Skill Level
Beginner

Great Shelves - made to measure!

Submitted by tailspin10 on Fri, 09/04/2015 - 08:54

Thanks for the plans Ana!

I stuck to the design but changed the dimensions to suit the space and the boxes we intend to store. This made the shelves 7.5 feet high by 8.5 feet wide. The timber was supplied in 17’ lengths so this also meant very little wastage. The frame is composed of 2x4’s, the shelves are 4.5 x 1.5’s  - as I wanted the shelves slightly shallower this meant I could get away with three boards for each shelf instead of 4 as on the plans. 

For the short cross pieces I used woodglue and screws – to attach the long shelf pieces I just used screws. I predrilled holes in the first piece for each of the screws, but I didn’t drill a pilot hole in the next piece, the screws were self-tapping and didn’t need one.

The back wall is concrete block and I screwed each upright to the wall using wall plugs and screws. I’ve 2 young children and as the shelves are quite high I was afraid they might climb on them and tip them over otherwise. The attachment to the wall definitely makes the whole thing feel much sturdier – the structure is completely rigid.

The only real issue I encountered was that some of the boards were slightly twisted or warped – and I had to apply some force to keep everything square when I was gluing up. Overall I’m very happy with the end product, and found it reasonably easy to put together. Now its time to put the shelves to good use and start tidying up the garage!

Estimated Cost
$180 including screws - I'm in Ireland and unfortunately wood seems to be more expensive here :-(
Estimated Time Investment
Day Project (6-9 Hours)
Finish Used
I gave it a quick wipe of some old danish oil I was going to throw out, I'm not that bothered about finish as the shelves are in the garage.
Recommended Skill Level
Beginner

Chicken Coop with run

Submitted by Anonymous (not verified) on Sun, 01/31/2016 - 19:36

It took a while to come together and made several modifications but it is a great coop and was a major selling point of the house when we were relocated.  I had added a main tray under the roosts and a door to srape the poop out.  This made keeping the coop clean very easy.  

Built from Plan(s)
Estimated Cost
$800
Estimated Time Investment
Week Long Project (20 Hours or More)
Finish Used
Chicken Coop
Recommended Skill Level
Intermediate

Wall Jewelry Cabinet

Submitted by Anonymous (not verified) on Sun, 02/07/2016 - 22:15

I built this for Girlfriend this Christmas. It was fun to surprise her. I put some jewelry in it, wrapped it, and put it under the tree. I think it turned out really nice. I installed a recessed bead-board back and 1/8" glass in the door. All black hardware and a two tone finish.  She loves it but she filled it up real quick. I guess I could have built it bigger! wink

Built from Plan(s)
Estimated Cost
$70-$90 including lumber, paint, stain, glass, and hardware
Estimated Time Investment
Weekend Project (10-20 Hours)
Finish Used
Swiss Chalk Paint and Minwax pre-stain conditioner, Dark Walnut stain and Satin Polyurethane
Recommended Skill Level
Intermediate

Closet Organizer

Submitted by kristen on Sun, 02/05/2012 - 10:26

I needed a closet organizer for my daughter's room that could grow and change with her age. Right now it needed to have lots of shelves at her height to hold the massive amount of stuff an 8 year old can accumulate.

Once she transitions out of the toys, I plan on moving the shelves all to one side or the other for shoes, and adding another rod. Another possibility is shoes in the door organizer and 4 sections of hanging clothes...regardless, the end result has options that will grow with her!

I was able to keep the cost of this down because I used all scrap plywood to make the drawers. I did splurge in S4S pine lumber rather than trying to make rougher cuts nice.

On the left door is Ana's Behind Closet Door Storage plan as well :)

Estimated Time Investment
Week Long Project (20 Hours or More)
Finish Used
Kilz No VOC primer, Olympic No VOC paint in semi-gloss (white off-the-shelf tint)
Recommended Skill Level
Intermediate

Comments

Guest (not verified)

Sun, 02/05/2012 - 11:17

I love the idea of the stuffed animals on the door! Those things multiply so fast and get in the way of making the bed - great closet!

Cindy from Indiana (not verified)

Sun, 02/05/2012 - 18:58

Right now DD's room is a blank canvas. One of the first projects (after getting her window in) is to figure out the closet. I think this will be my inspiration!

Looks great!

kristen

Sun, 02/05/2012 - 19:25

Thank you! I am loving how organized her whole room is because of the closet being in good shape. And everything has a spot now, so it's easy for her to get it back where it needs to go!

Oh, those stuffed animals. I mentioned to her the idea of paring her collection down and she was horrified at the idea!

In reply to by kristen

claydowling

Mon, 02/06/2012 - 06:40

A shocking notion. I think there's a box in our storage area with my wife's stuffed animals somewhere. Keep in mind, my wife isn't a 20-something who just moved out of her parents' house. We have a grand-daughter. Stuffed animals are forever. In fact I think one of my nephews still has my teddy bear.

kristen

Mon, 02/06/2012 - 09:04

...at the bottom of the basket where her stuffed animals used to live, were two of mine from when I was little, lol!

But you bring up a good point about forever. I think I need to put a ban on any new ones joining her stuffed animal family from here on out. Pretty soon I'm going to need to add another closet to her room just for those!

Guest (not verified)

Thu, 02/23/2012 - 17:32

How did you build and incorporate the drawers?

In reply to by Guest (not verified)

kristen

Sat, 06/30/2012 - 20:46

claydowling

Thu, 02/23/2012 - 19:12

The easiest way to do a quick drawer, if you don't know how to do dovetails (and that's a simple skill totally worth learning), is to drill holes through the sides and into the front, and pin it with hardwood dowels. Use a domestic hardwood, you'll be a better dowel and a dimension that matches drills you own. The cheaper white imported dowels don't match any drill diameters that I can find.

hoffer5353

Thu, 06/28/2012 - 13:18

I am wanting to add shelves and drawers on a closet and am afraid it will be too big for the space. How wide is your closet?

In reply to by hoffer5353

kristen

Sat, 06/30/2012 - 20:53

Here is the post with the plan mock-up with dimensions:

http://pinktoesandpowertools.com/2012/01/24/how-to-build-a-closet-organ…

It says 65.5" wide on there, and I don't believe I made any changes, so that should be accurate. I think you could get away with having an approximately 46" wide closet. You could have the drawers in the middle and then 12" wide shelves on either side that would fit sweaters, jeans, shoes. If you made them adjustable like mine, then you could really maximize the space in there. Just make sure you give yourself plenty of room in front of the shelves if there is wall there--you want to be able to easily take things in and out.

Good luck!

mrs.T.La Forme

Mon, 02/04/2013 - 17:49

i just want to say I`m jealous i wish my closet looked like this. cant wait until I`m skilled enough to try it .

kristen

Tue, 02/05/2013 - 15:08

I'm looking forward to doing this to my closet too!! It's a good project to take on once you want to try out drawers for the first time--since it's behind doors, it doesn't have to be perfect. Good luck!

Full Size Bunk

Submitted by Anonymous (not verified) on Fri, 07/07/2023 - 11:30

Almost finished but I managed to alter the plans into a full over full! Just use 2×4 instead of 2×1 and use 2×6 for the legs.

Antonio

Built from Plan(s)

Low Loft Bed

Submitted by enweldon on Sun, 01/19/2020 - 19:09

Made several modifications to this plan.  Wanted the bed to be easy to change sheet, reduced overall height to 48in.  The mattress is fairly thick so I increased the rail height to 18in by adding another row on the side rail.  The ladder can be located on either end.  My munchkin now has a new bed and with some curtains, a new hideout.

Built from Plan(s)
Estimated Cost
$200 lumber, $50 hardwear, stain,
Estimated Time Investment
Week Long Project (20 Hours or More)
Finish Used
Red Oak Stain with a Satin Poly coat.

Outdoor Sectional

We have been looking for a deal on an outdoor sectional for a whole year. Nothing. The cheapest we could find was $899 for one that was much smaller than this one and with thinner cushions. So we upped and drove to the lumber yard and purchased the lumber on the list and got to building. The total cost of lumber was $200, the Spax screws we already had on hand. We used pocket holes for the joints. The wife made the cushions herself. She had most of the fabric on hand, we just had to buy 3 yards for the back cushions, which are made of standard size pillows. They have been sprayed with fabric protectant for outdoor use (I think she used the Scotch brand). The seat cushions are 5 inches thick (they are wrapped in silk film to protect them from getting soaked when it rains or when someone who just got out of the pool sits on them), around $100 for both. It took her a couple of days to sew the box cushion covers.

Estimated Cost
$400
Estimated Time Investment
Weekend Project (10-20 Hours)
Recommended Skill Level
Beginner
Seasonal And Holiday